How To Use Divi Blog Post Formats
Divi comes with post format support for video, audio, links and quotes.
Customizing the design of blog posts is a great way to make your content and web page stand out. The recommended way to do this within Divi is by creating a blog post template in the Theme Builder and assigning that template to all posts. However, there is another way to customize blog post formats if you’d like to use Gutenberg.
When you customize a blog post format with Gutenberg, please note that you won’t be able to style these blog post formats with Divi or assign a Theme Builder template to them. To customize blog post formats within Gutenberg you’ll need to have purchased a child theme that comes with styled post formats, create your own, or style them with custom CSS in Divi’s general settings.
In this doc, we’ll go over the 6 post format types that Divi supports and how to use them.
Divi Supports Six Post Formats
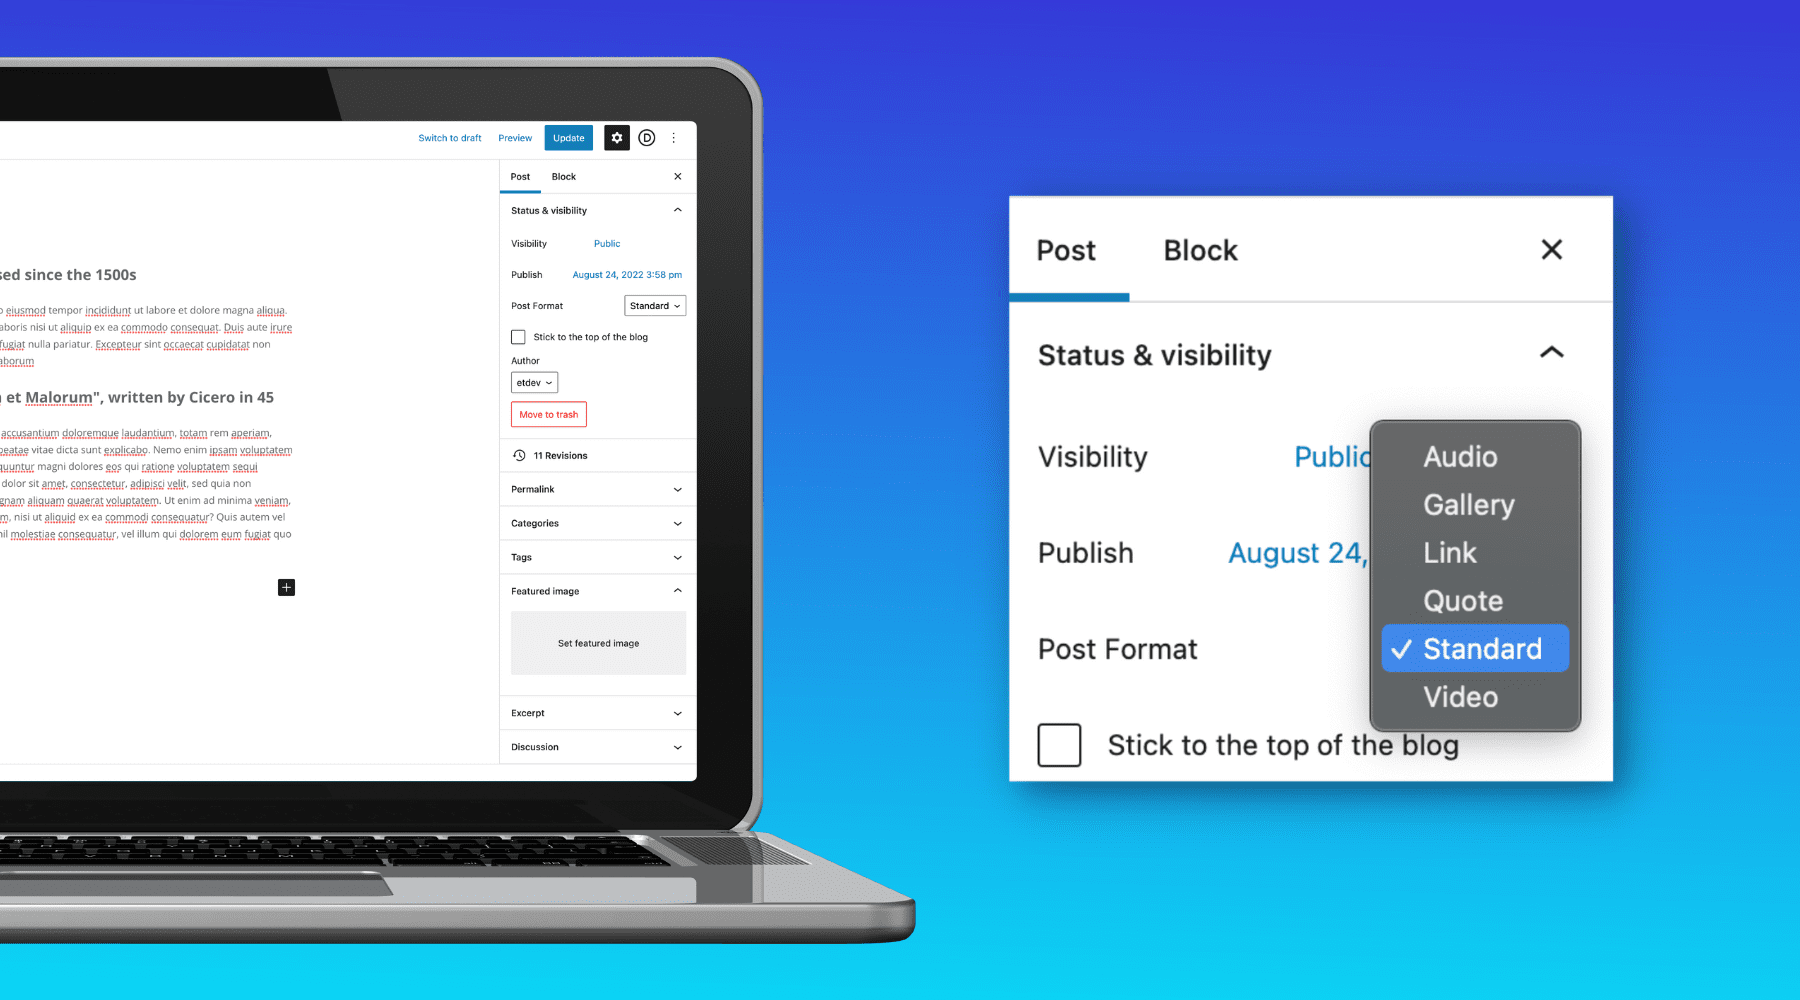
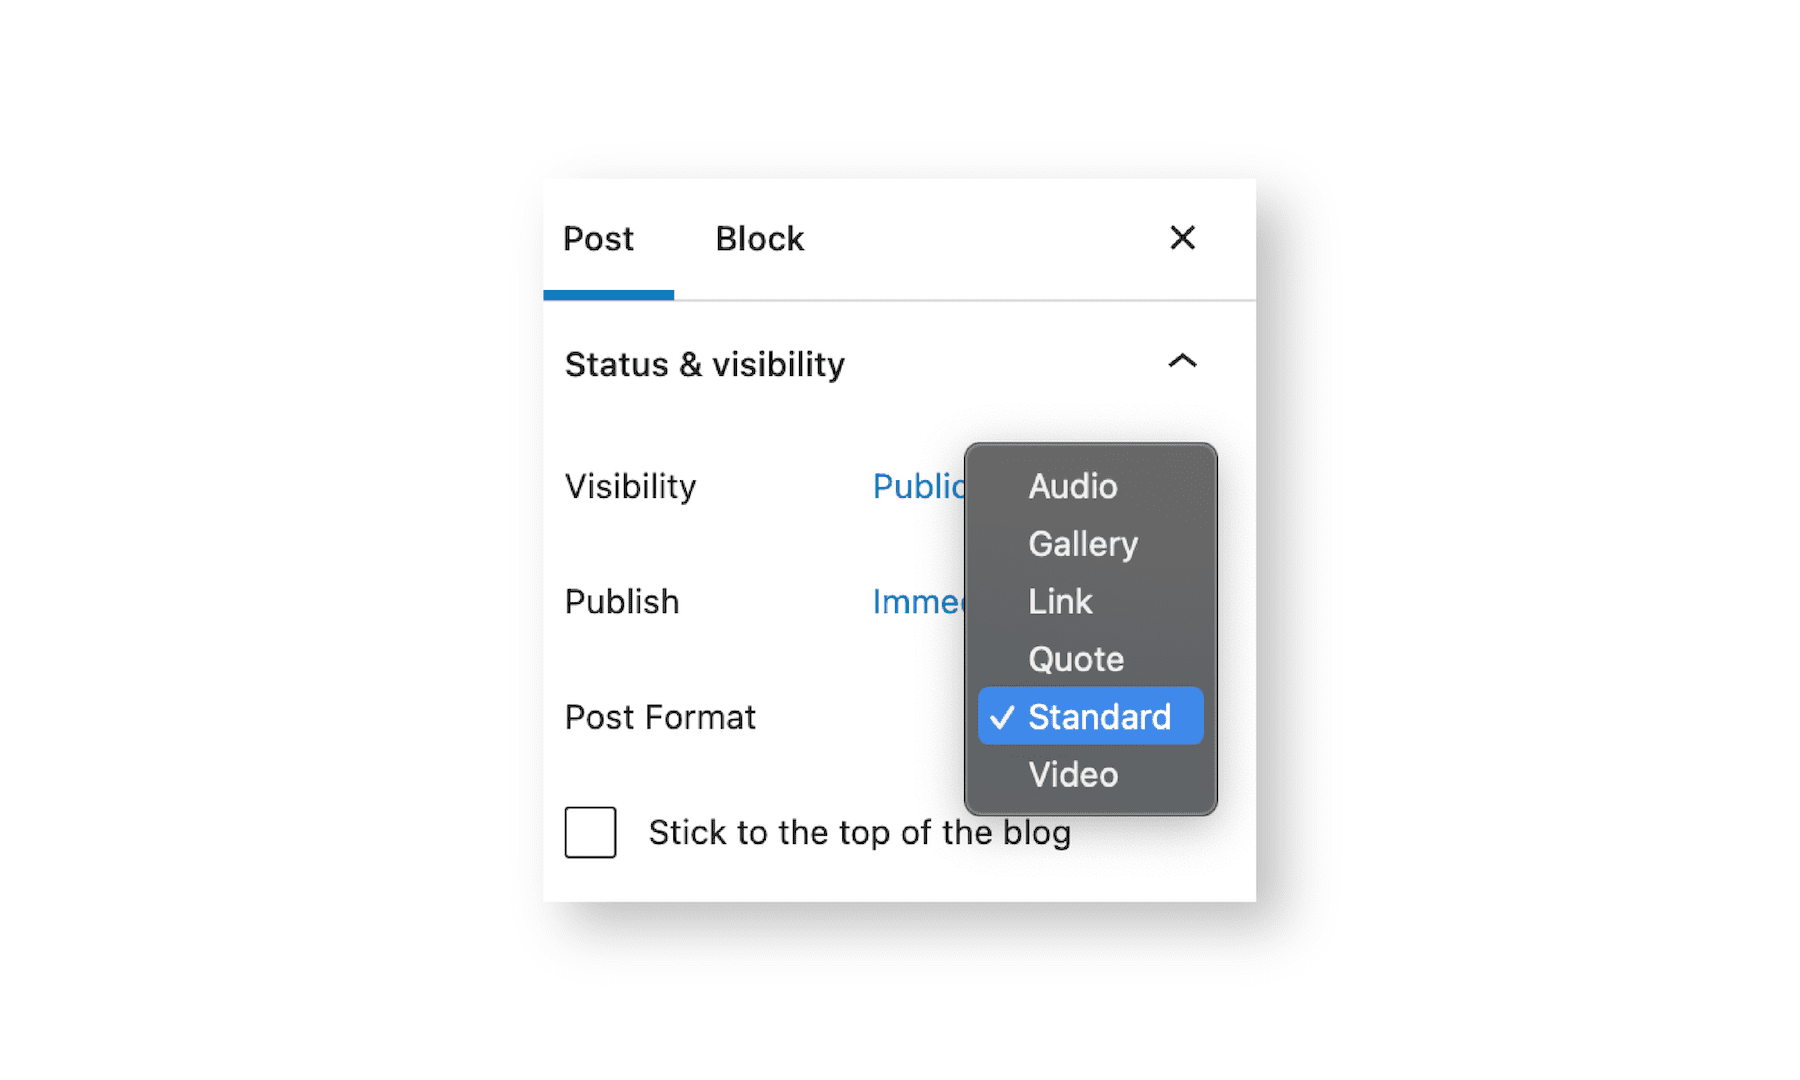
Post format is an optional value that can be assigned to WordPress blog posts that allow developers to design specific templates for each post format. Not all themes or plugins support custom post formats and it’s not required for theme developers to support all post formats. That’s why we recommend creating a blog post template in the Divi Theme Builder. However, Divi does come with post format support for standard, video, audio, links, gallery, and quotes. Each of these formats structures your post differently, putting more focus on the type of content that the format represents.
How to Select a Post Format
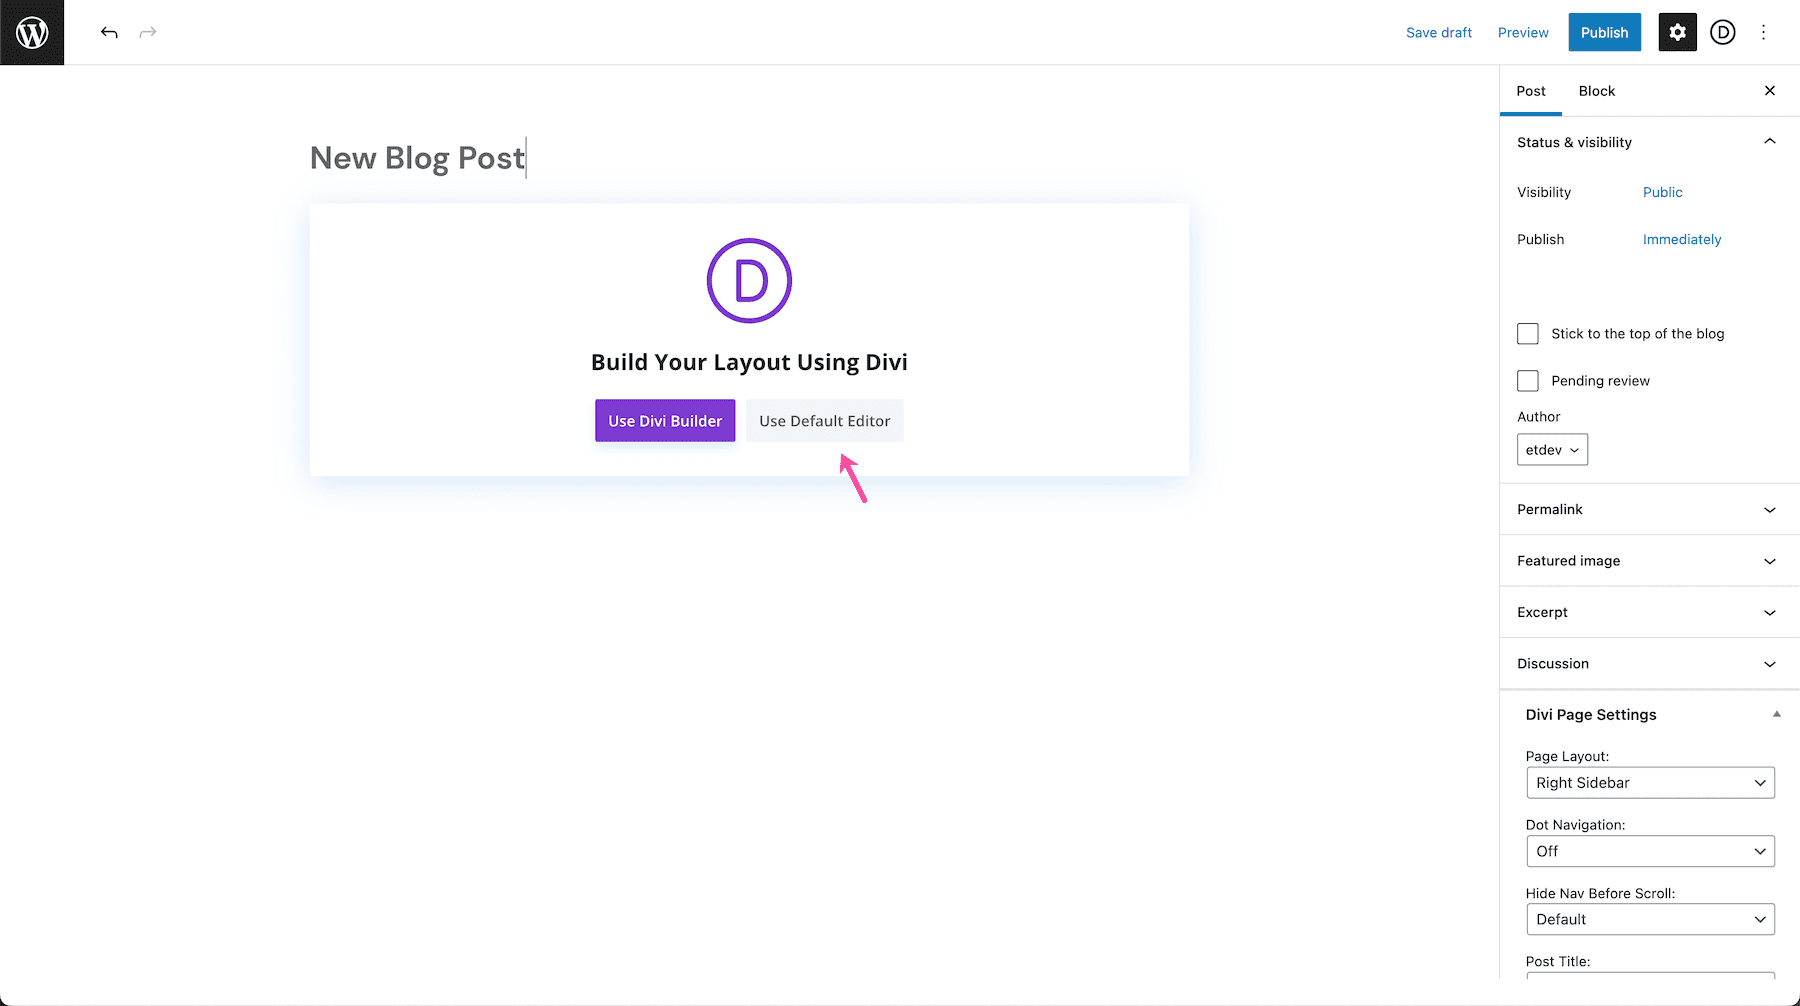
To select a post format, first, add a new post then click “Use Default Editor”.
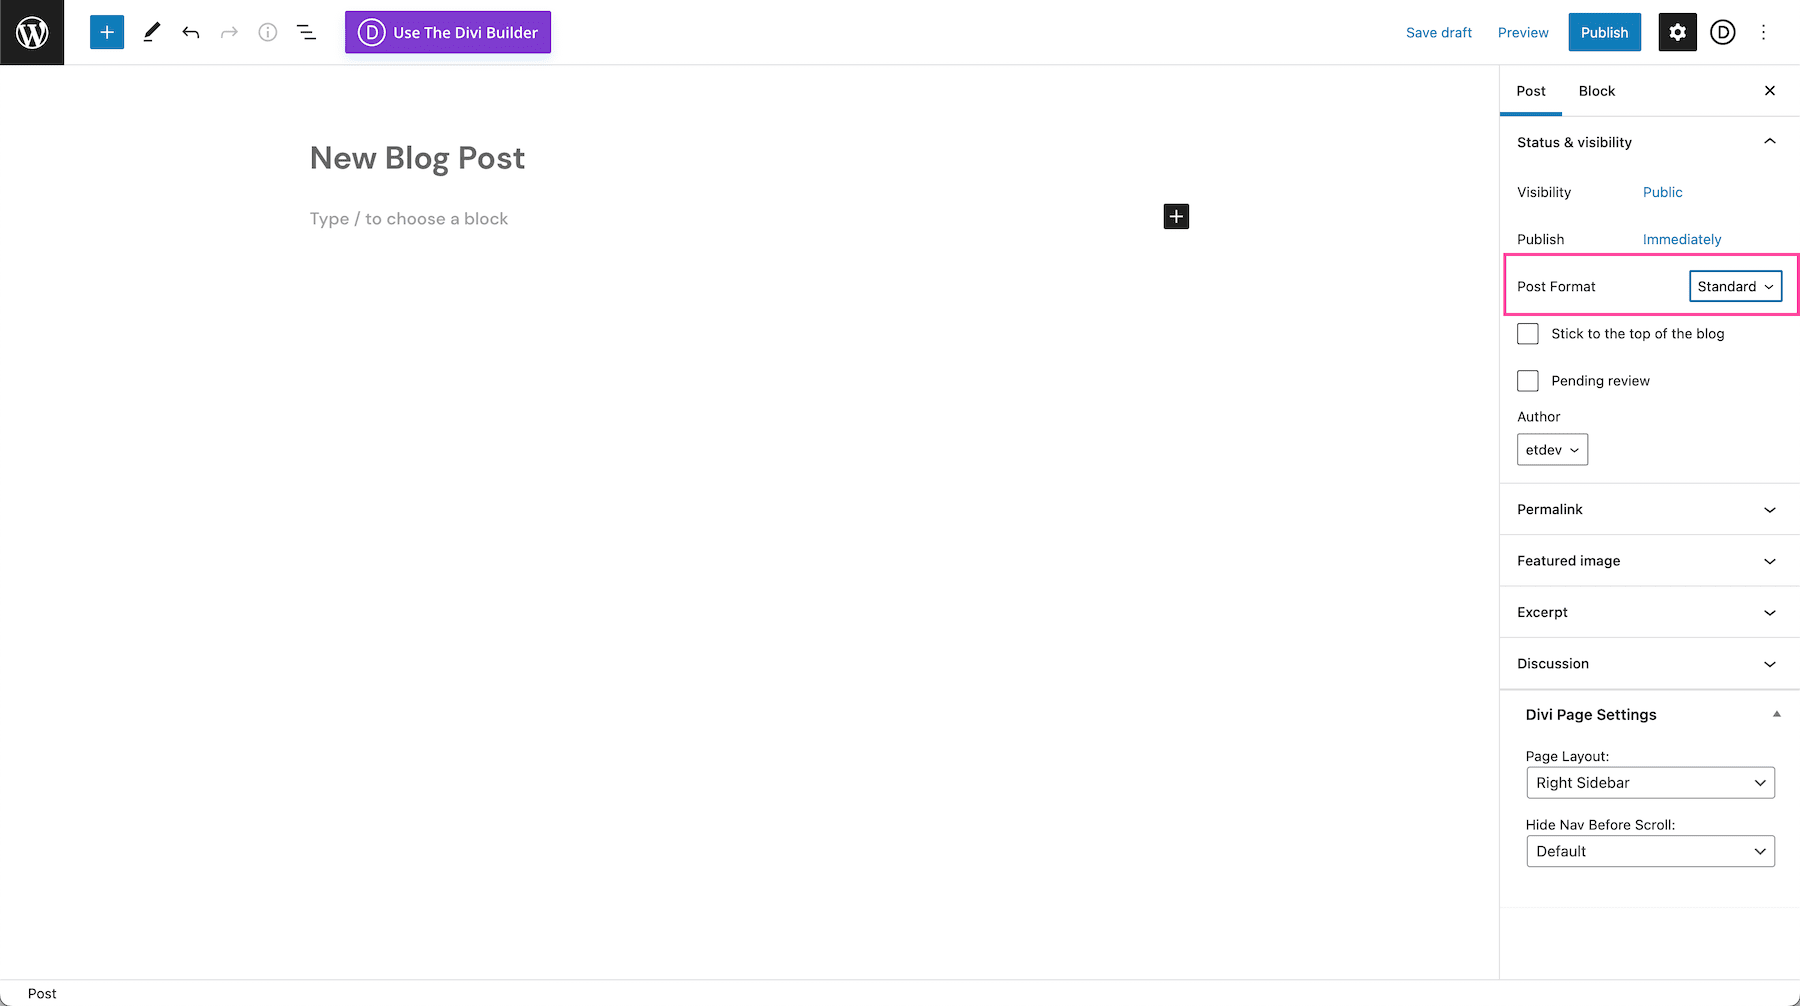
Once the post loads with the default editor, you’ll see an option appear in the sidebar that says “Post Format”. Click the dropdown menu to select your post type.
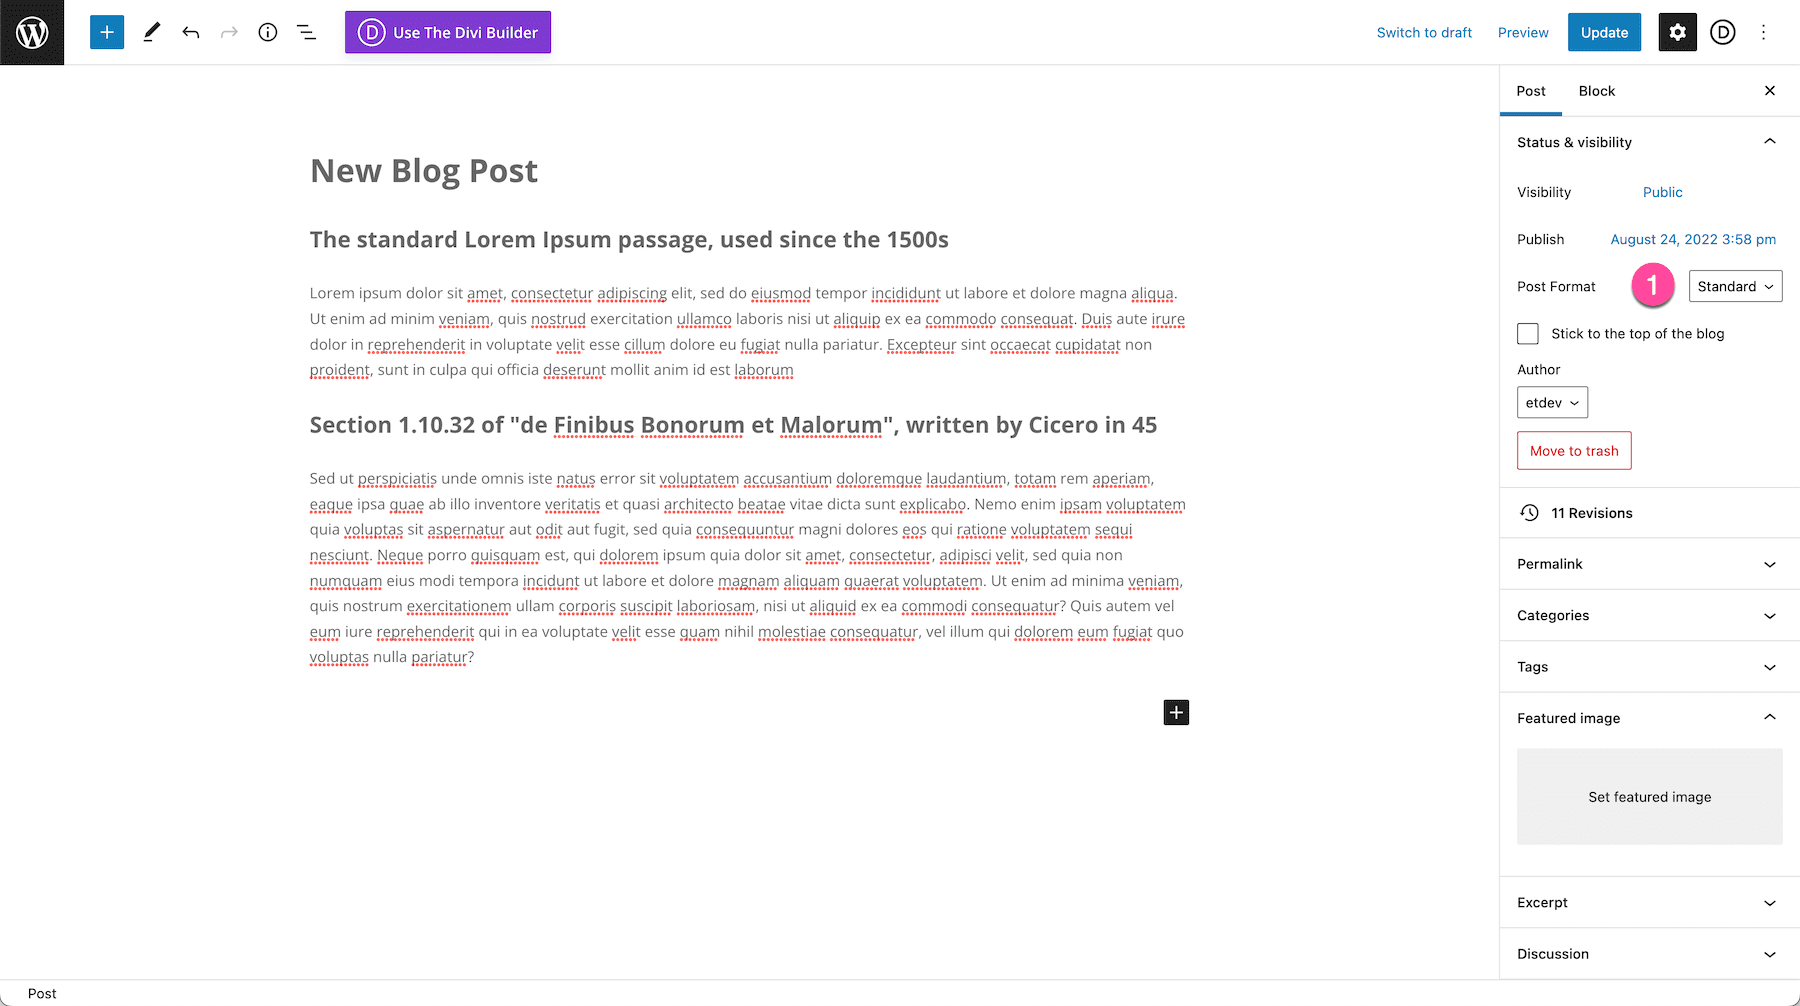
Using the Standard Post Format
Standard is the default post format in WordPress. You can use this post format for articles, blog posts, case studies, etc. Standard posts can also include other content types like links, images, galleries, and quotes.
Using the Video Post Format
When selecting the Video post format, the first video link in the post will be placed as a video at the top of your post. It also replaces the default post thumbnail with a video embed.
After selecting the Video post format, you’ll need to copy and paste a video link from YouTube or Vimeo into the blog post or upload a video directly to your website via the WordPress media library. This will automatically position the first video link used in your post as the format video and feature it at the top of the post.
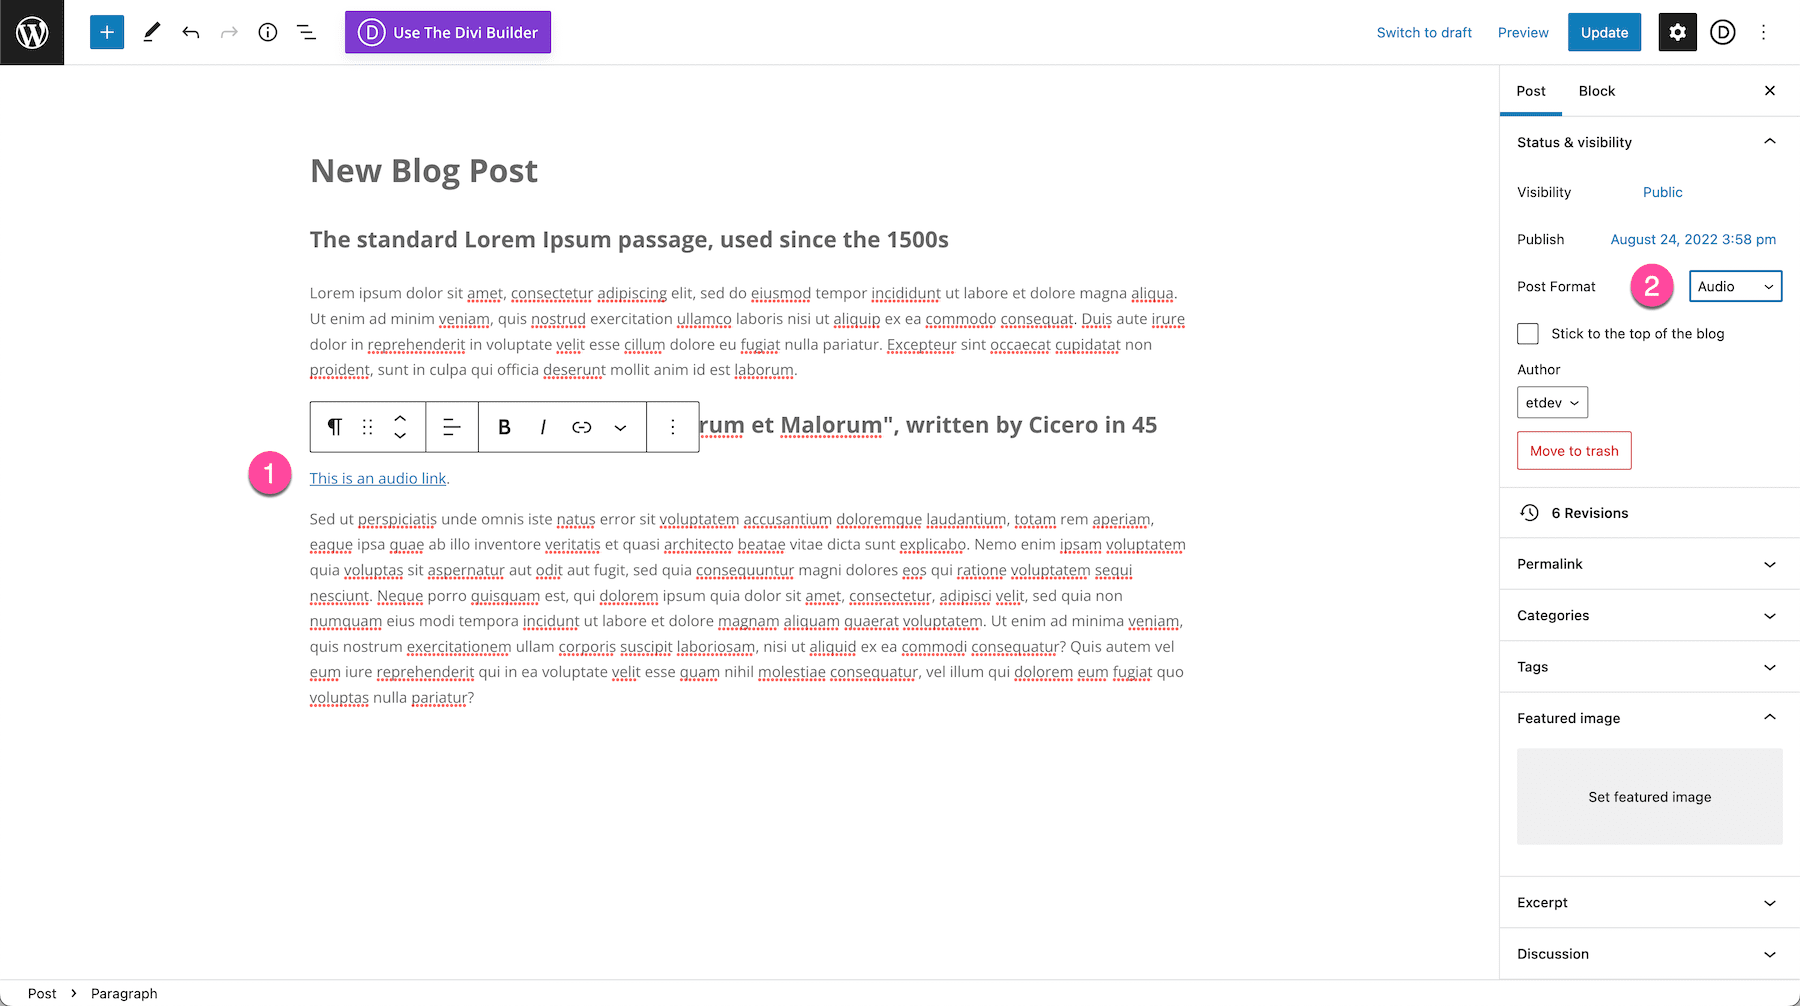
Using the Audio Post Format
Selecting the Audio post format will display an audio player on your post. It will also replace the standard Thumbnail image on index pages with your audio player. The audio player will play the first audio file that you embed into your post. To add an audio file to your post, use the “Add Media” button to upload your audio file. Once you upload a file, the theme will automatically use it for the post you are currently editing. The audio file must be uploaded while editing the post.
Using the Quote Post Format
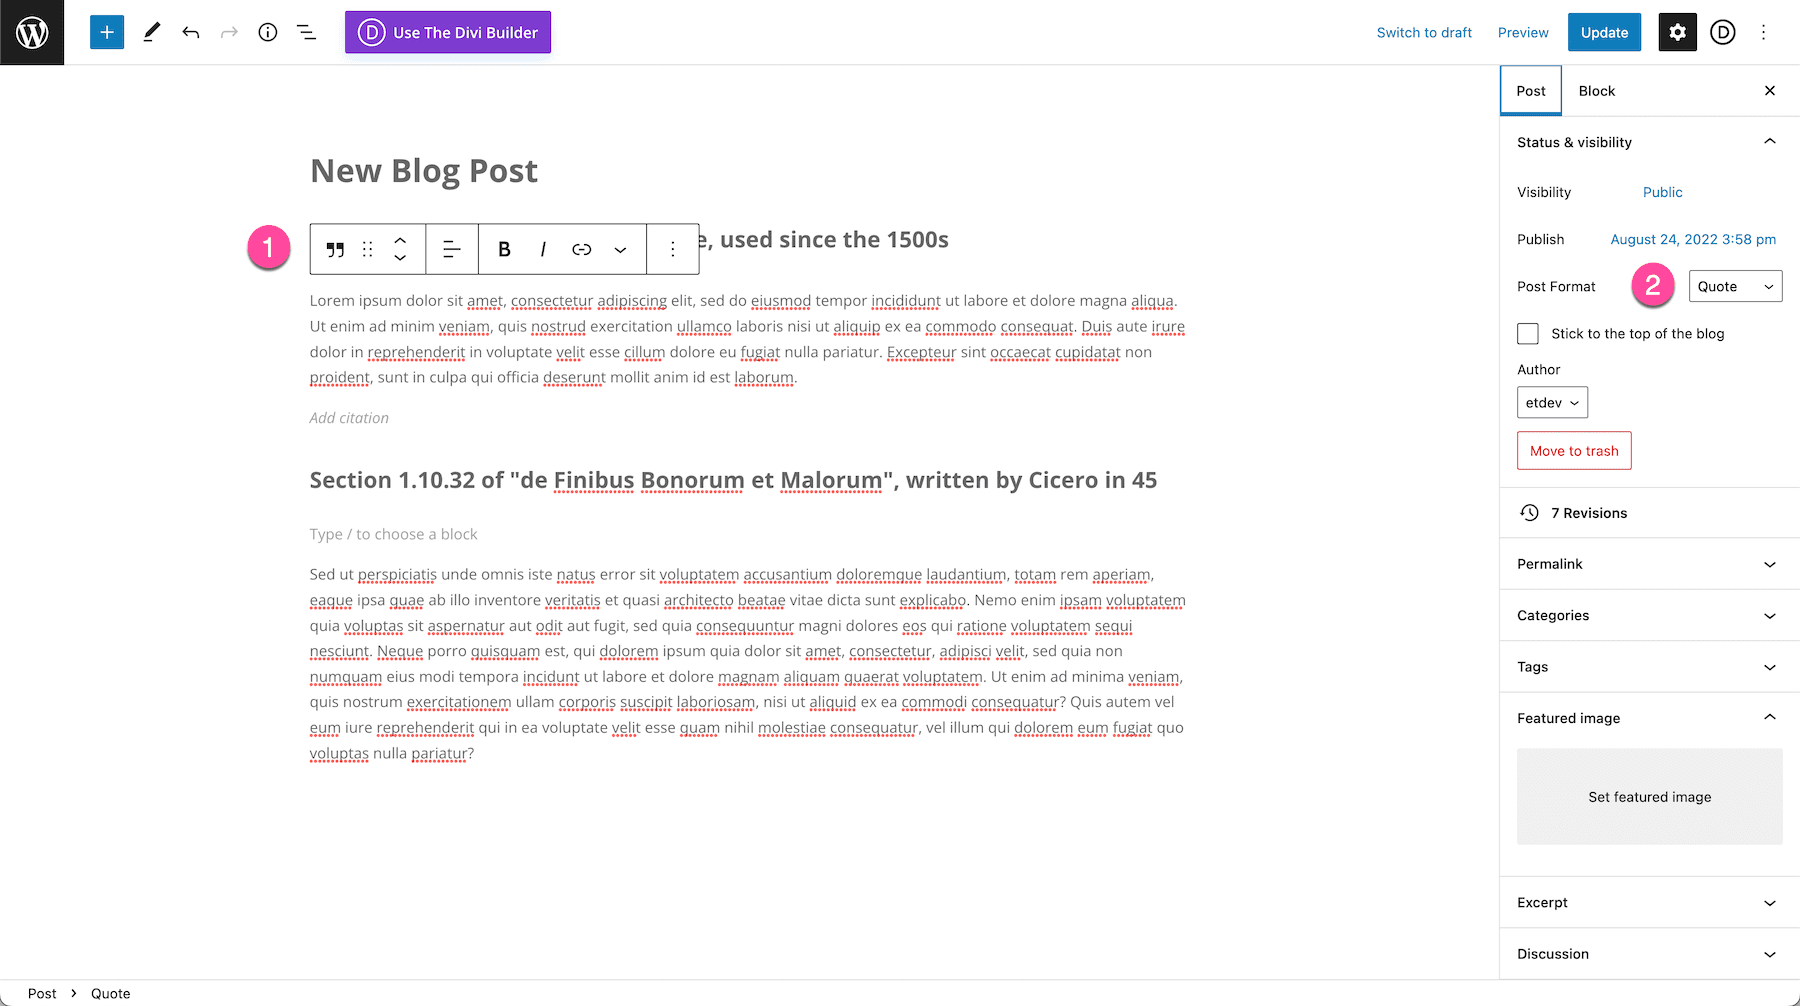
The Quote post format displays a stylized blockquote at the top of your post that is pulled from the first blockquote you have in the blog post. The stylized blockquote will also replace the standard thumbnail image on all index pages. To make a piece of text a quote, simply highlight the text and press the blockquote button to turn it into a quote.
Using the Gallery Post Format
The Gallery post format displays a gallery of images at the top of your post. It will also replace the standard Thumbnail image on all index pages with an image gallery slider. Once selected, the Gallery post format will use the first gallery that you added to your post.
To add a gallery to your blog post, click the black plus button on a new line to bring up the Gutenberg content blocks library and select “gallery”. Click the “upload” button to upload new photos or click “Media Library” to choose photos from your media library.
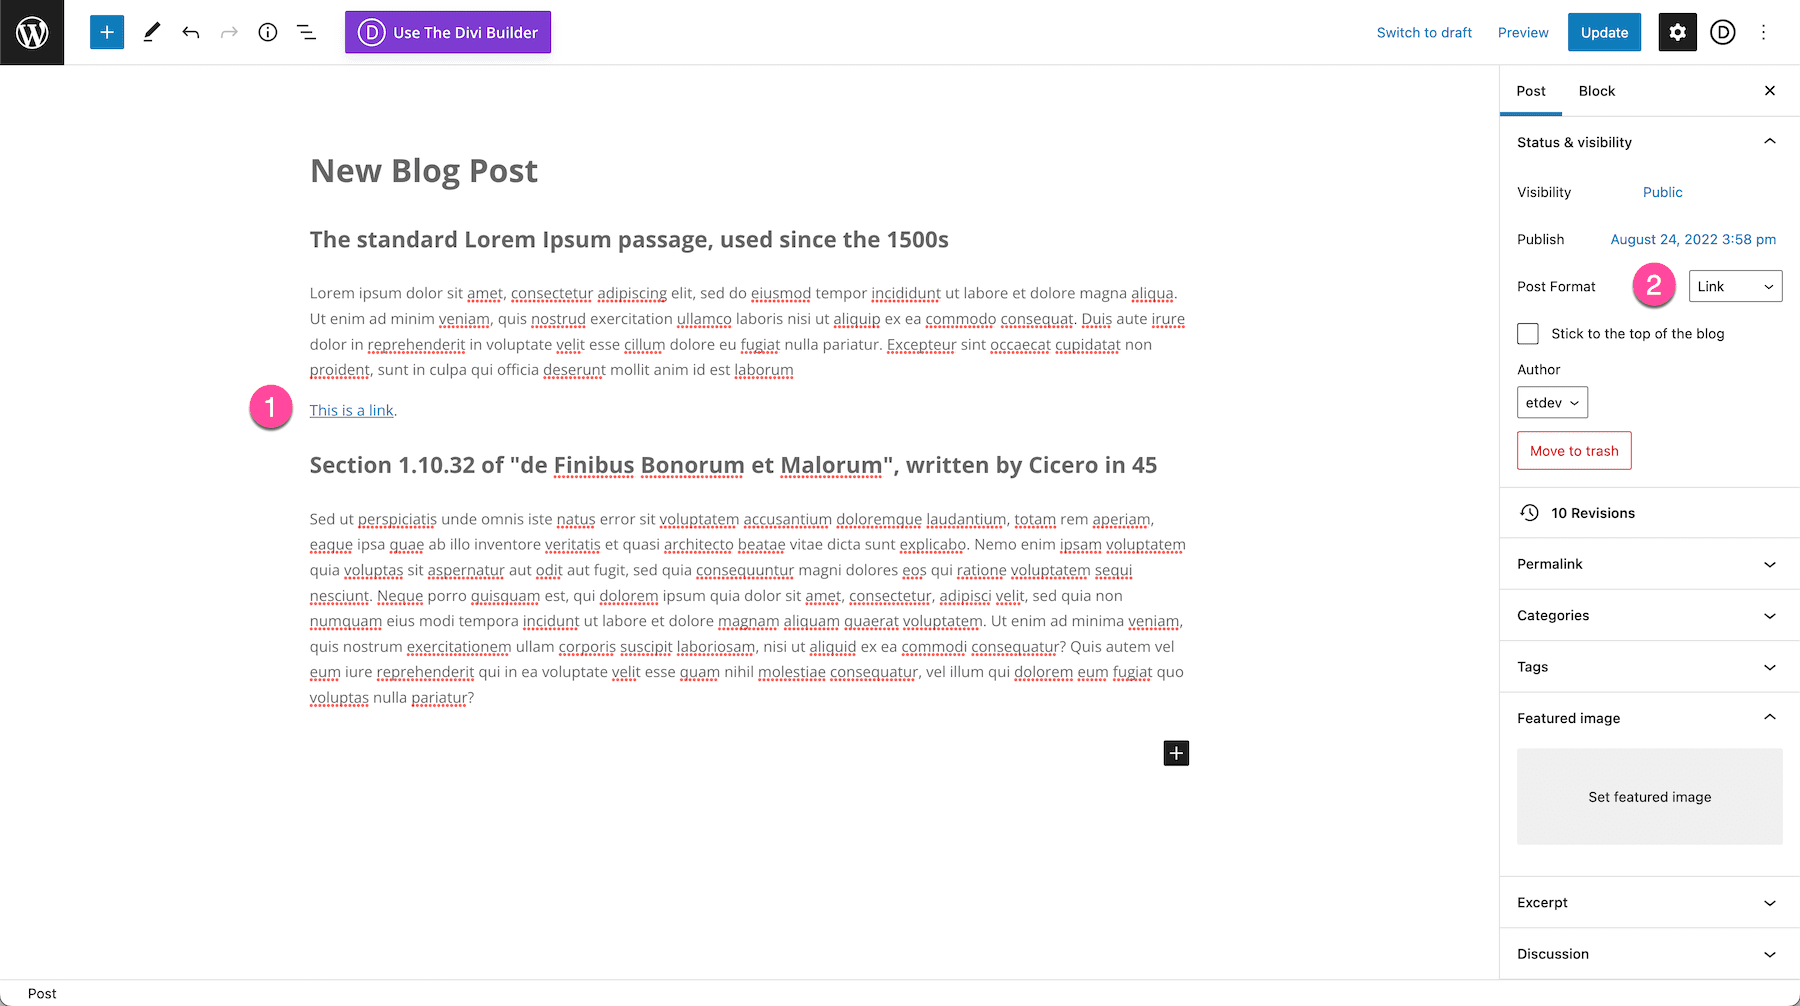
Using the Link Post Format
The Link post format displays a stylized link at the top of the post. Once selected, the link post format will use the first link in your post as the main URL link. This is the link that will be displayed at the top of the post and it will also replace the standard Thumbnail image on all index pages. To add a link to your post, you can use the “link” button in the WordPress post editor.
Style Divi’s Post Formats
There are three main ways to style post formats.
Code Custom Post Types
To edit the design of the default blog post formats, or to create new ones, you’ll need to know a little code and have a child theme installed.
To learn how to customize post formats with code, check out these resources:
- How To Create WordPress Post Formats
- How to Add Custom Templates and Design to Divi’s Blog Post Formats (Part 1 of 3)
- How to Add Custom Templates and Design to Divi’s Blog Post Formats (Part 2 of 3)
- How to Add Custom Templates and Design to Divi’s Blog Post Formats (Part 3 of 3)
Purchase a Child Theme
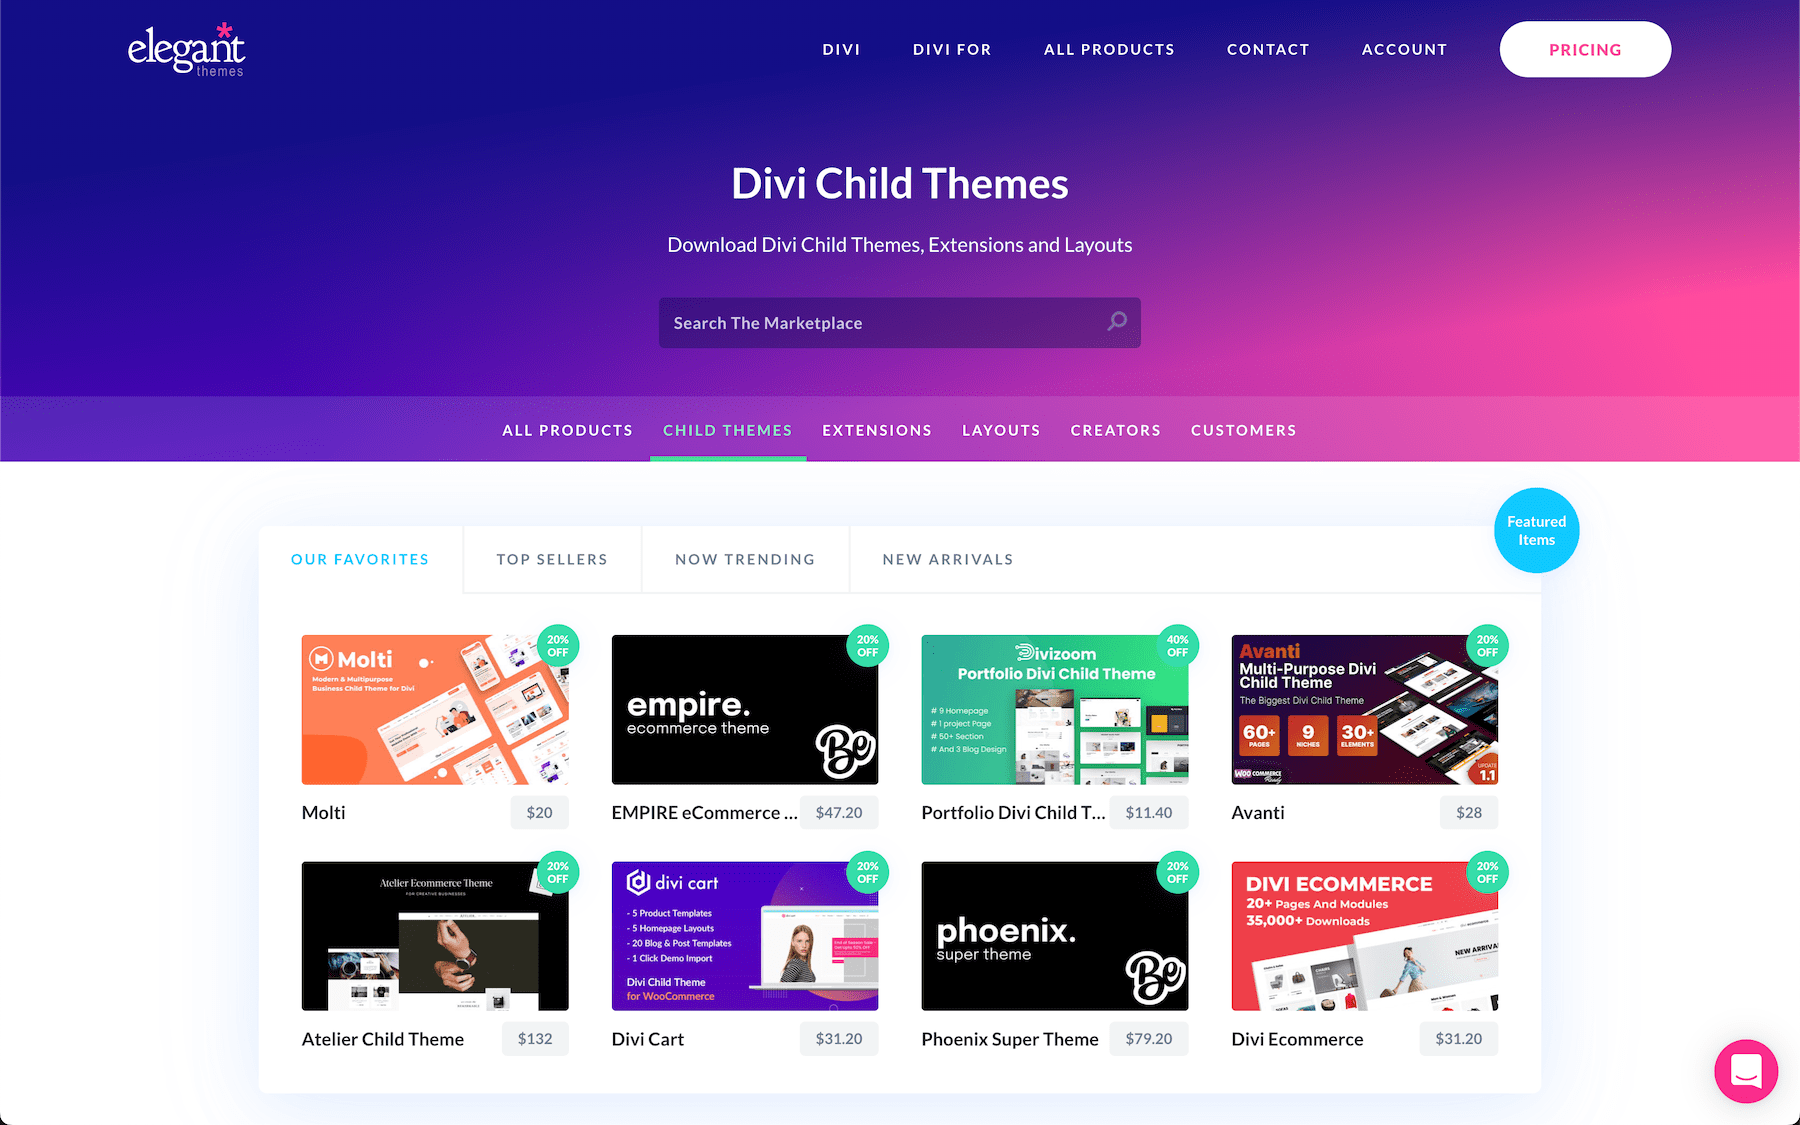
Alternatively, you could purchase a Divi child theme that comes with pre-designed post formats.
Style Post Formats With CSS
Another way to style blog post formats is to use custom CSS. You’ll need to know your way around the console and have knowledge of basic CSS but there are plenty of ways to target certain elements by using the inspection tool. To learn how to do this, check out this blog post.
More Resources
- Creating Stunning Event Custom Post Type Templates with Divi
- How To Create WordPress Post Formats
- How to Add Custom Templates and Design to Divi’s Blog Post Formats (Part 1 of 3)
- How to Add Custom Templates and Design to Divi’s Blog Post Formats (Part 2 of 3)
- How to Add Custom Templates and Design to Divi’s Blog Post Formats (Part 3 of 3)
