Using Divi Filter and Blend Mode Options
The Divi Filter and Blend Mode options give you the power to make all kinds of color adjustments to design elements in Divi.
The Divi Filter and Blend Mode options give you the power to make all kinds of color adjustments to design elements in Divi. It includes 16 unique blending effects that you can apply to any Divi element! In this document, we’ll explore how to use the Filter and Blend Mode options to modify your designs in unique ways.
Table of Contents
- How to Access Filter Options
- Tips & Best Practices for Using Divi’s Filter and Blend Mode Options
- Continue Learning
How to Access Divi Filter and Blend Mode Options
All Divi sections, rows, and modules have a Filter settings group that comes with a set of custom controls that allow you to adjust colors, contrast, brightness, and more. You can even blend elements together on the page with the 16 blend modes available.
To access filter options click the gear icon to open the settings of the element you’re working on and navigate to Design > Filter.
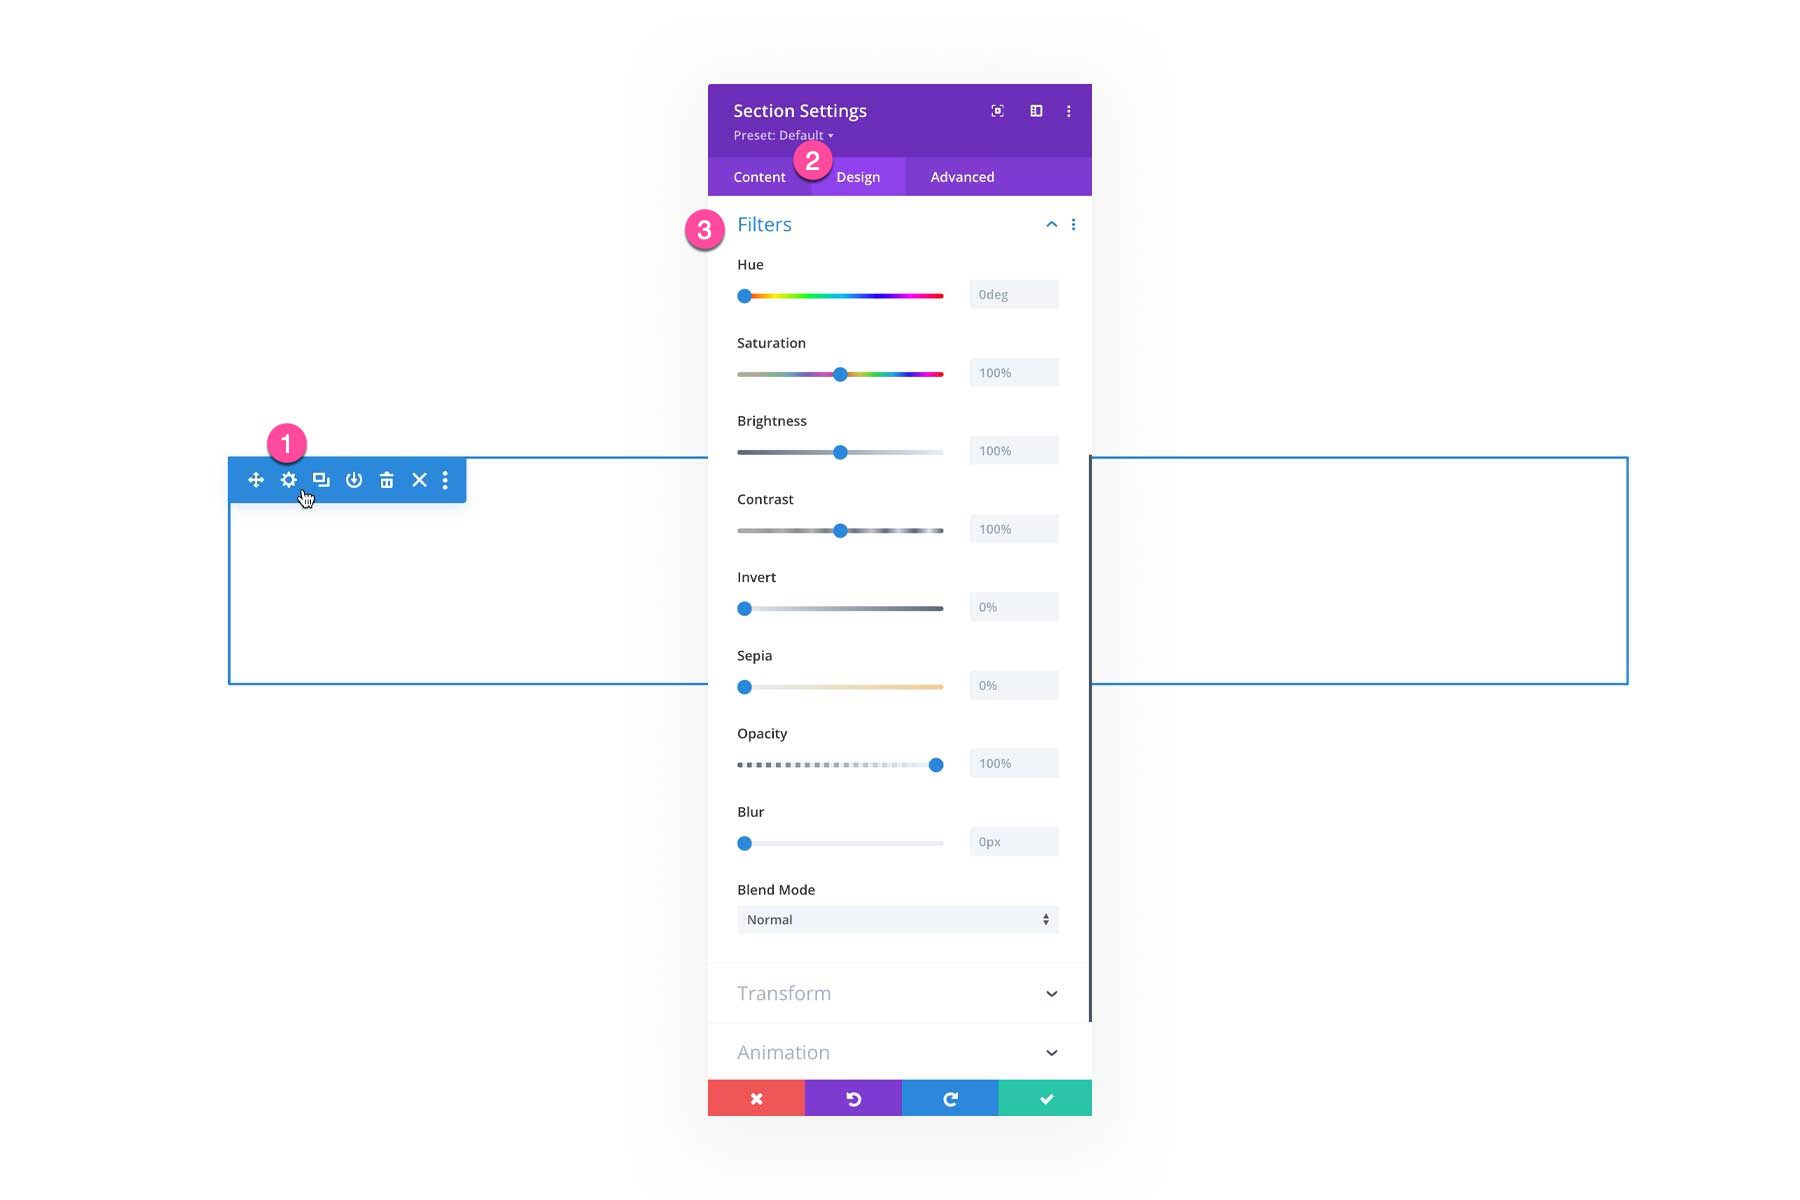
Divi Filter and Blend Mode Options
Let’s take a look at each individual filter option, what they do and how they work.
Hue
A hue is a pure color. Hues include primary colors (red, yellow, and blue) and secondary colors (orange, green, and violet). Drag and drop the range slider or input a numerical value to adjust the hue.
Saturation
Saturation determines the overall intensity and vibrancy of the colors. The higher the number the more intense and vivid the colors are, and the lower the number the more dim and desaturated the colors are. A value of 0% will produce a grayscale image.
Brightness
This determines the brightness of the image. The higher the number, the brighter the image, the lower the number, the darker the image.
Contrast
This determines the intensity of the difference between colors. The higher the number, the more contrast, the lower the number, the less contrast between colors.
Invert
Inverting colors means the color values become opposite values of what they are. Drag the range slider to determine the amount of inversion.
Sepia
Applying a sepia tone to an image gives it a soft brown. Drag the range slider to determine the intensity of the sepia tone applied.
Opacity
Opacity determines the amount of transparency for an element. Lessening the opacity increases the transparency of an element.
Blur
Increasing the blur of an element reduces its clarity.
Blend Modes
A blending mode defines how layers interact with one another. You can apply a blend mode to a layer to change how the colors blend with the lower layers.
Normal
In Normal mode, the layers are simply stacked on one another, there is no mixing.
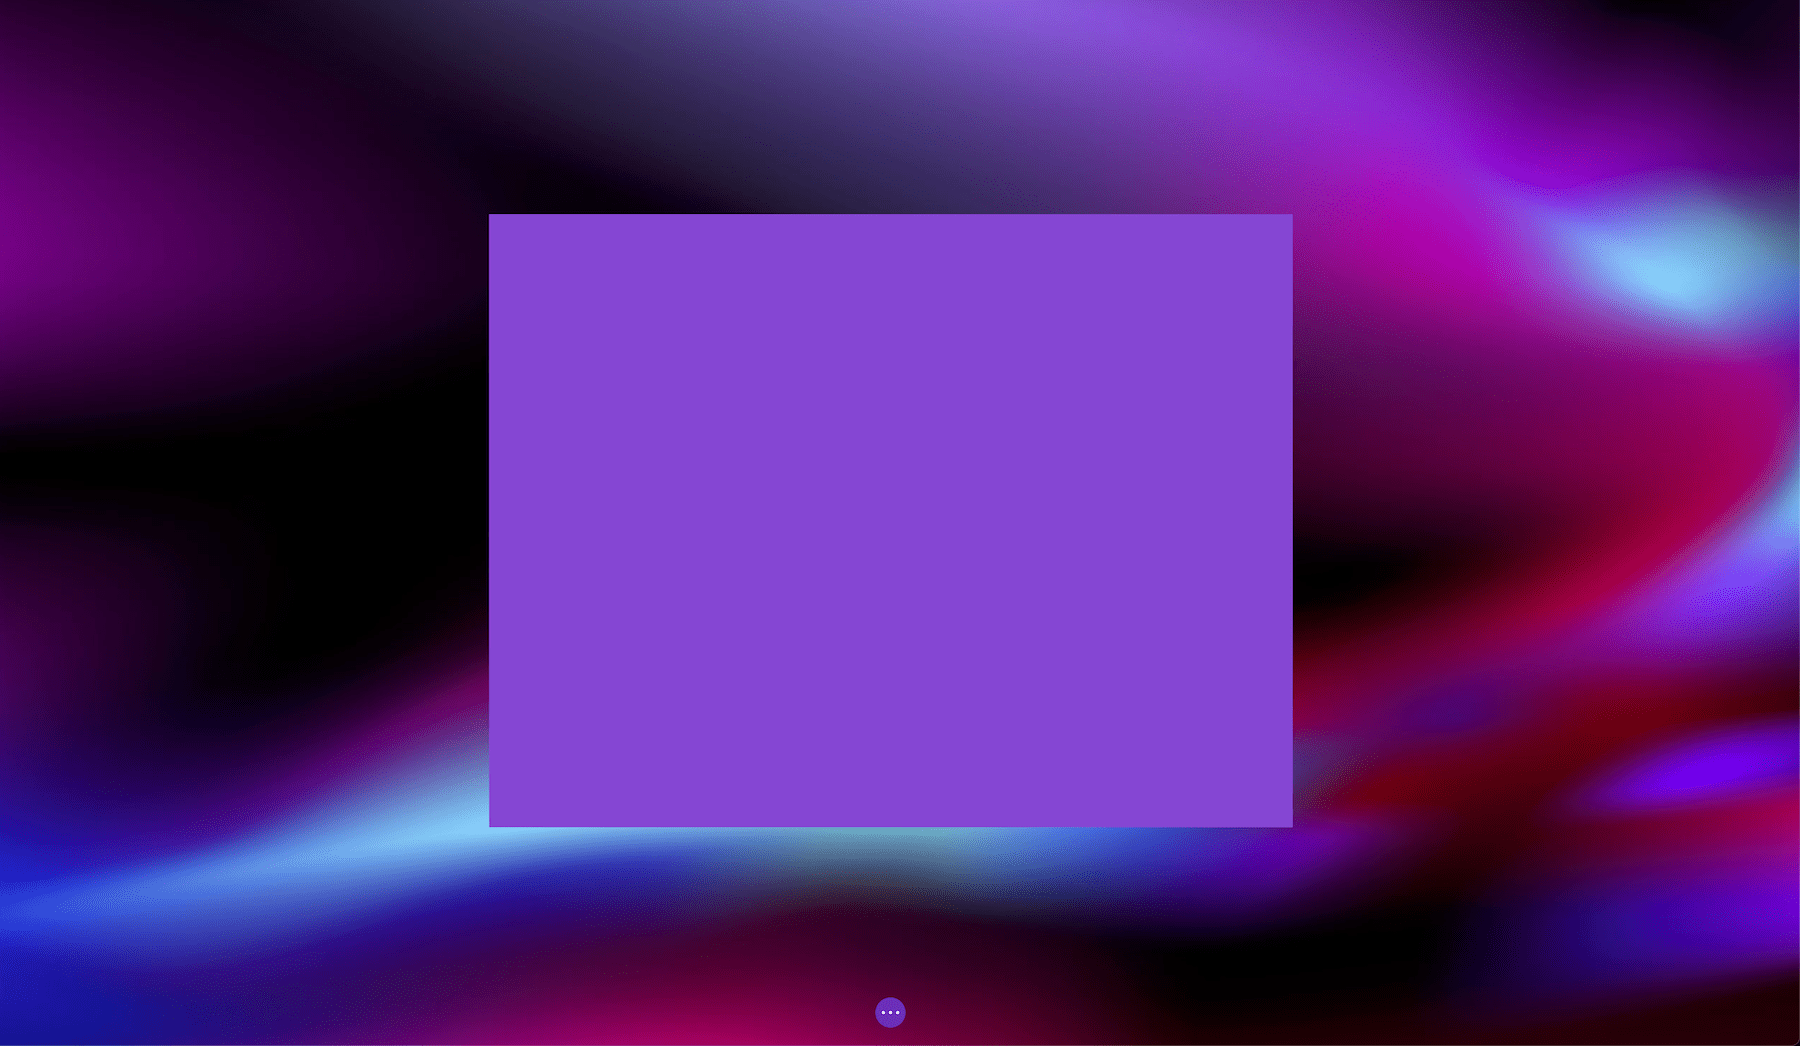
Multiply
In Multiply mode, the layers blend together, creating a darker color.
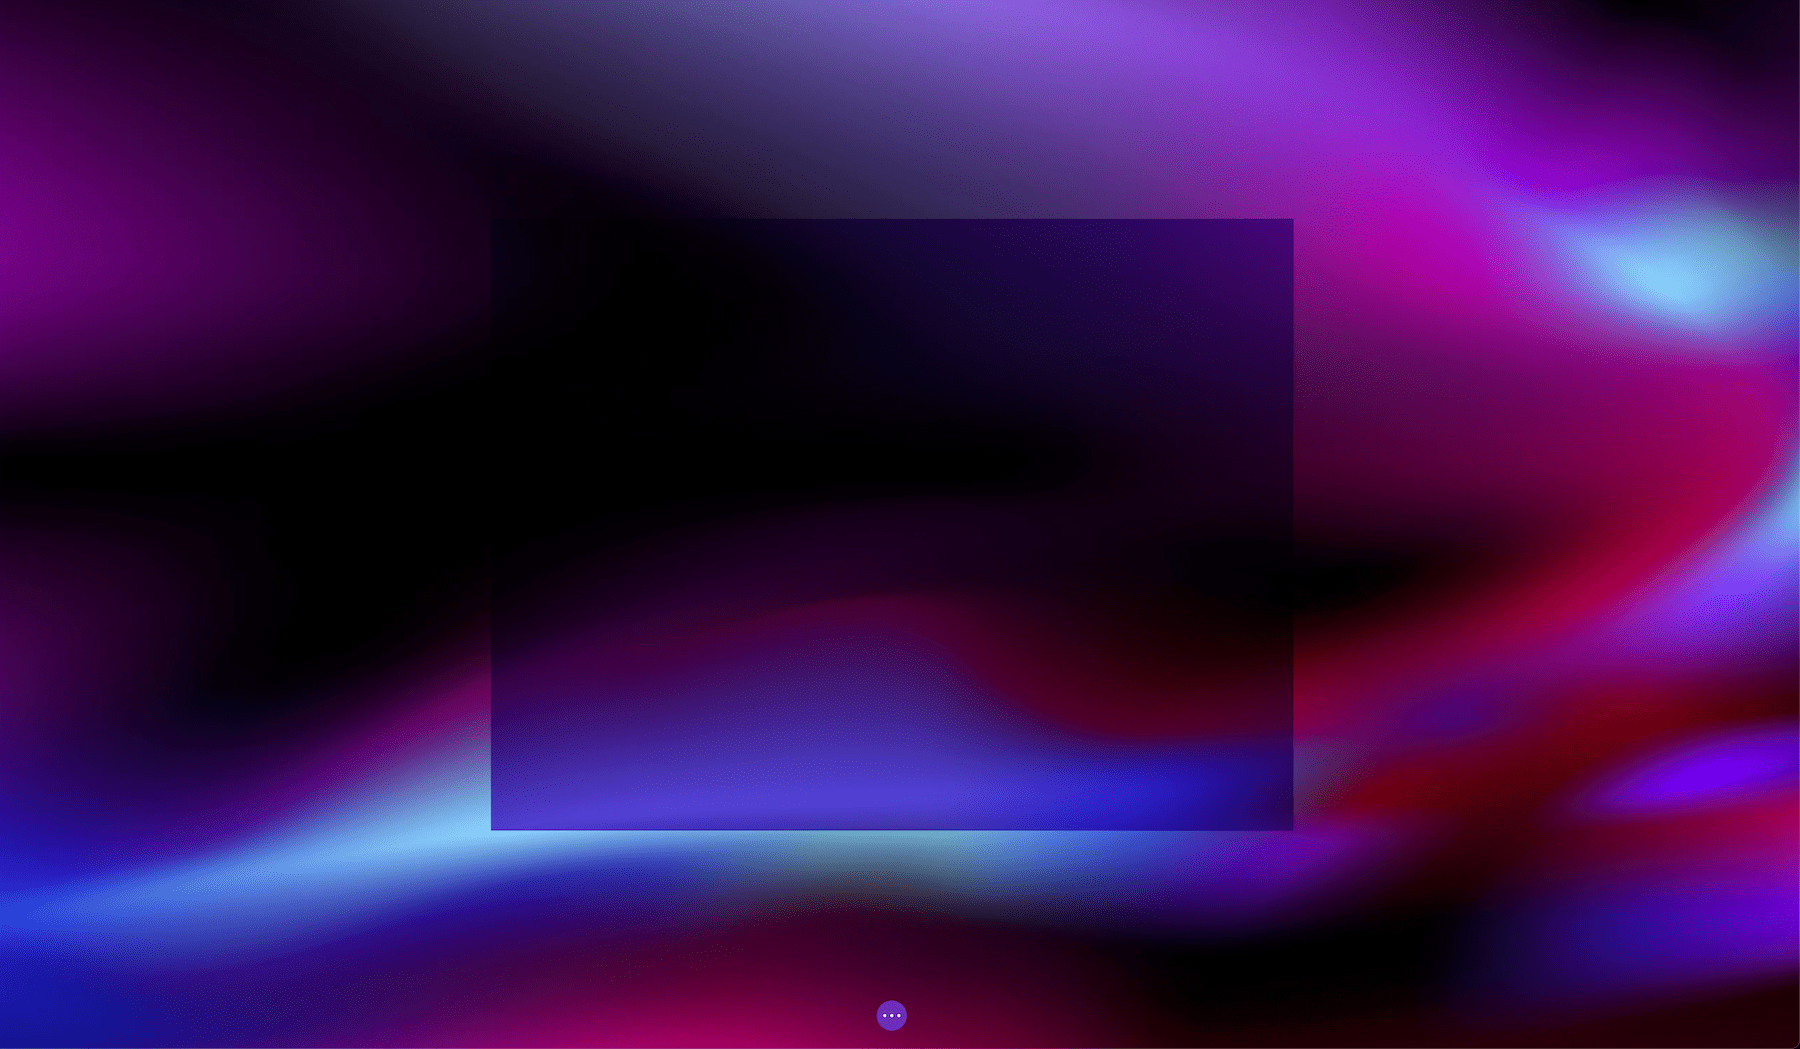
Screen
In Screen mode, the base layer is inverted and multiples with the blending layer. This creates the opposite effect of the Multiply mode, making the colors brighter than the original colors.
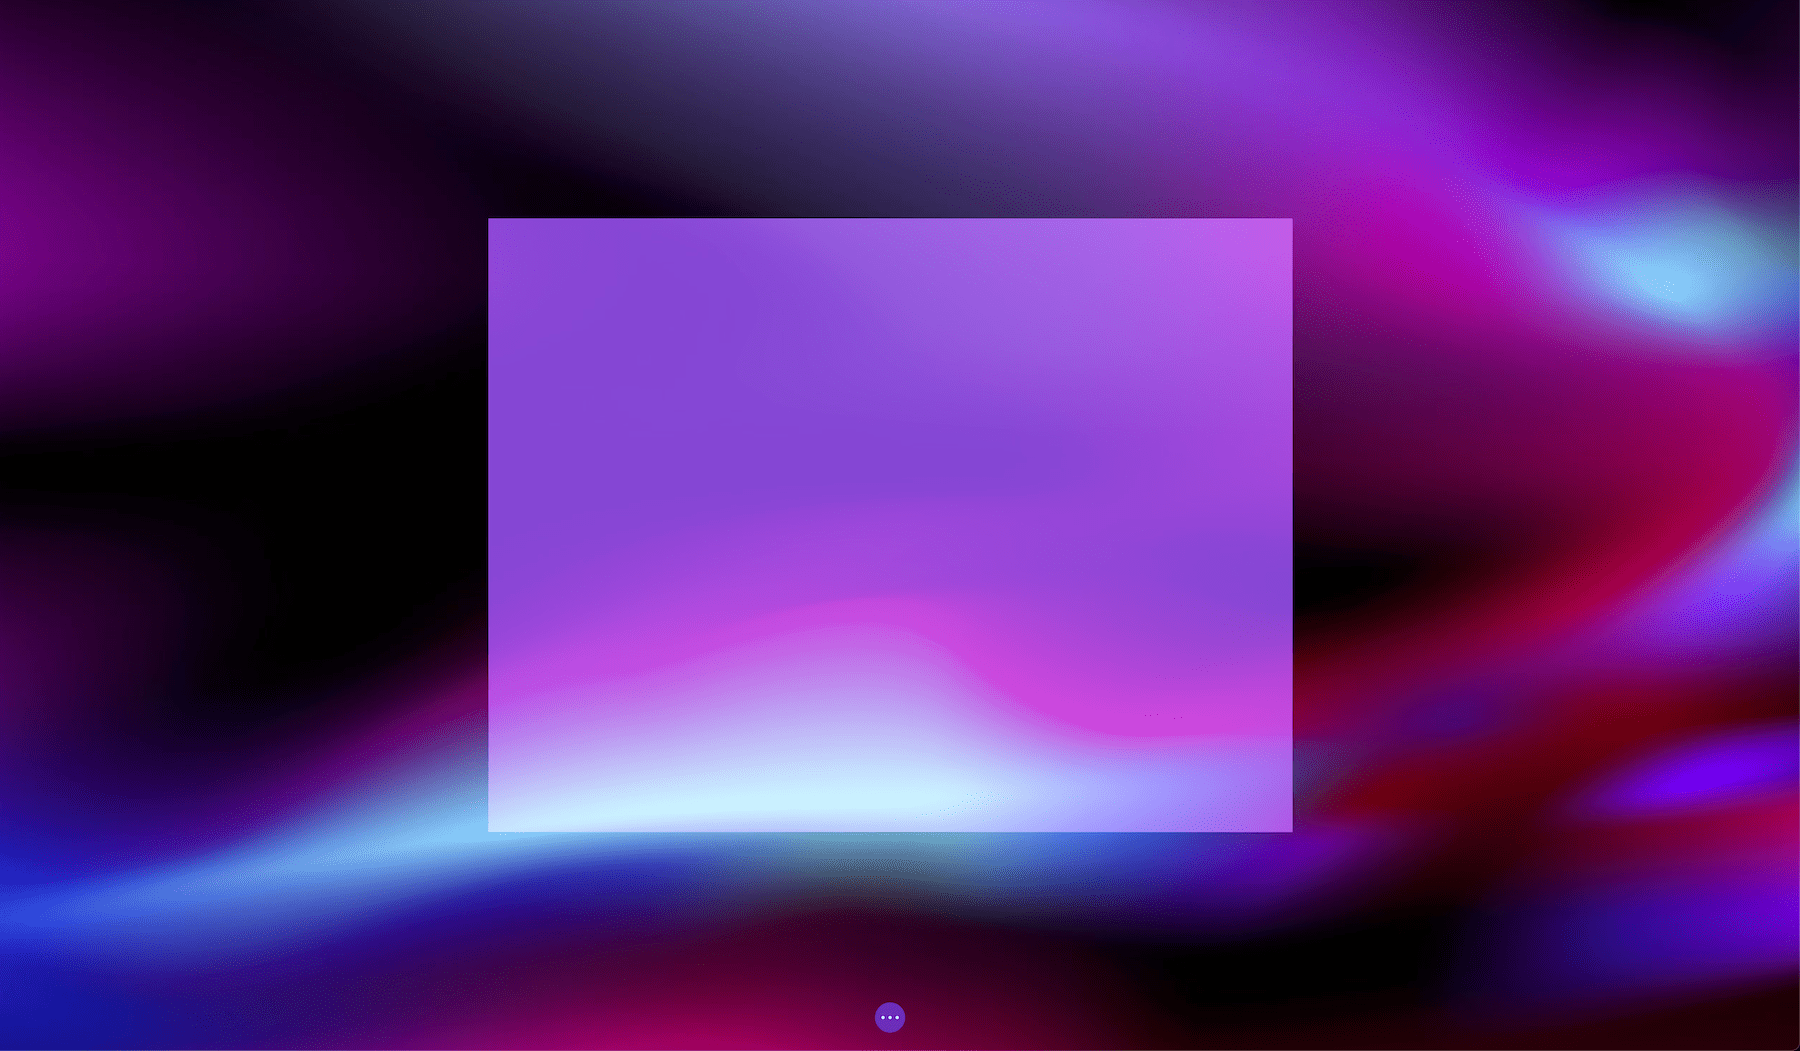
Overlay
In Overlay mode, the bright areas become brighter and the dark areas become darker.
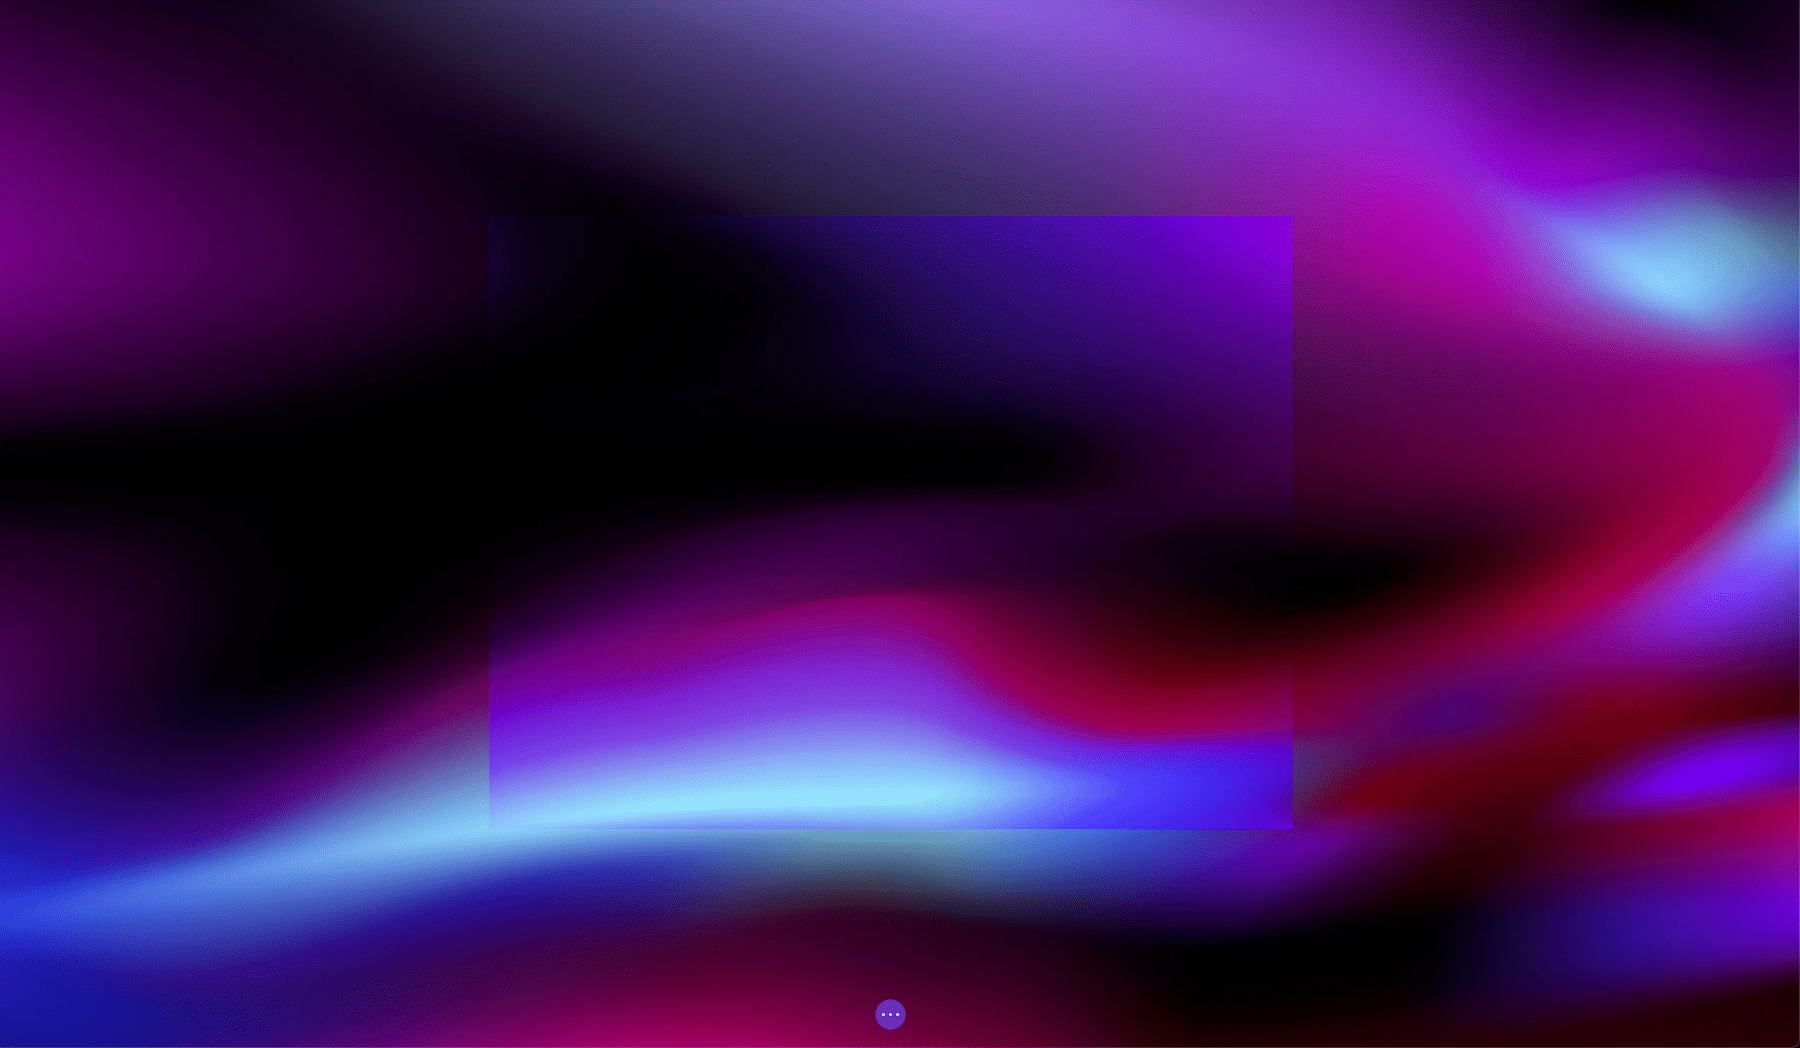
Darken
In Darken mode, the base layer and blending layer are compared and the dark colors are kept.
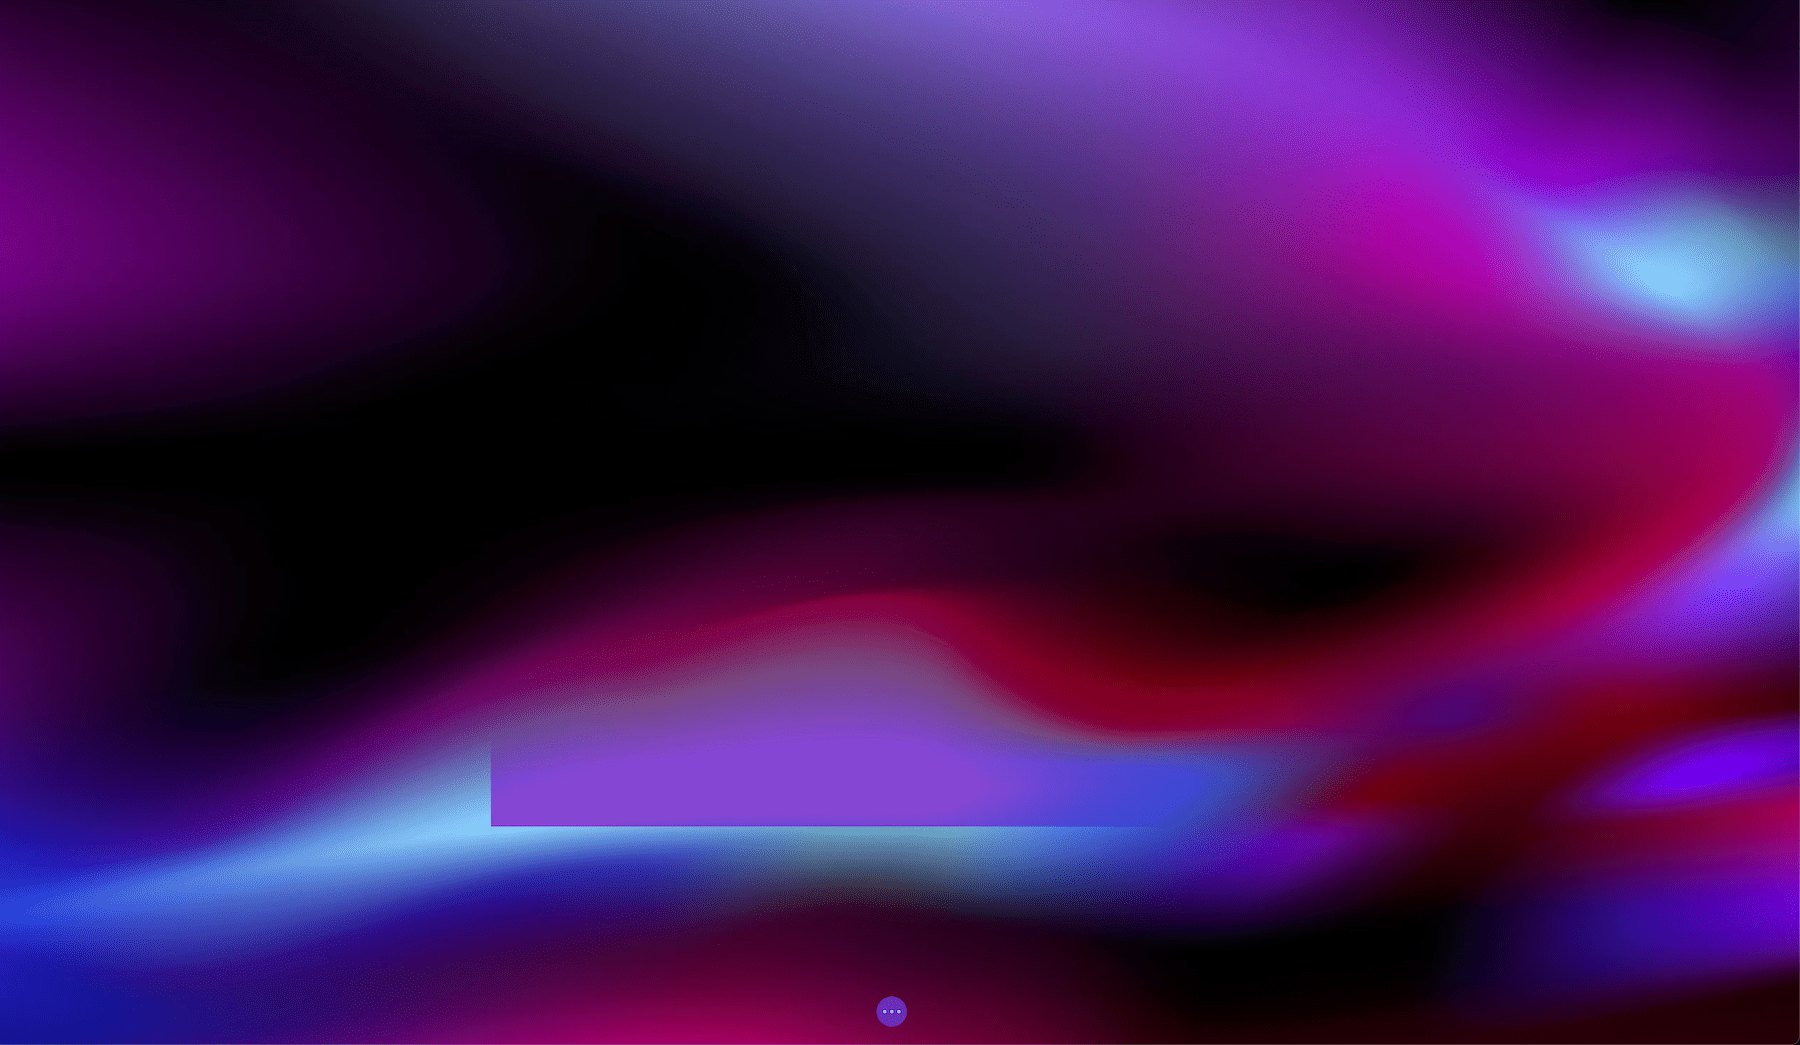
Lighten
In Lighten mode, the base layer and blending layer are compared and the lighter colors are kept.
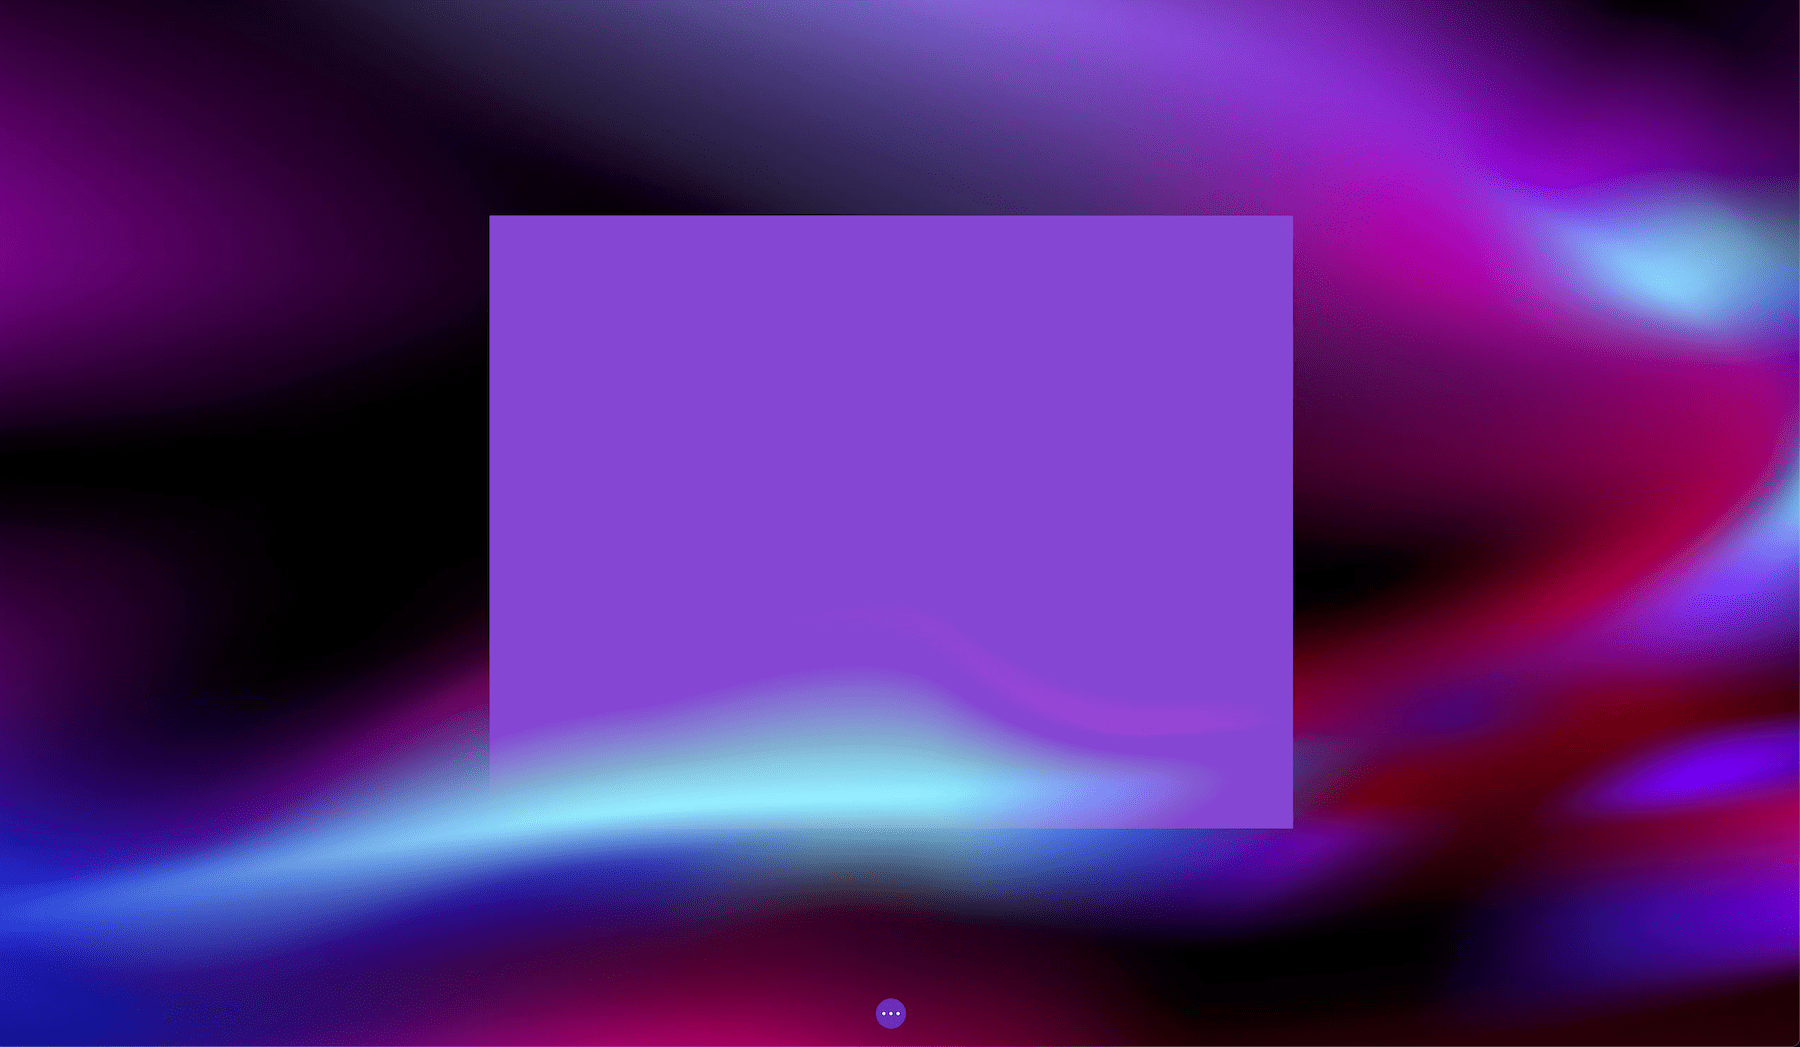
Color Dodge
In Color Dodge mode, the colors of the base layer are lightened and reduced in contrast. This creates an effect of saturated mid-tones.
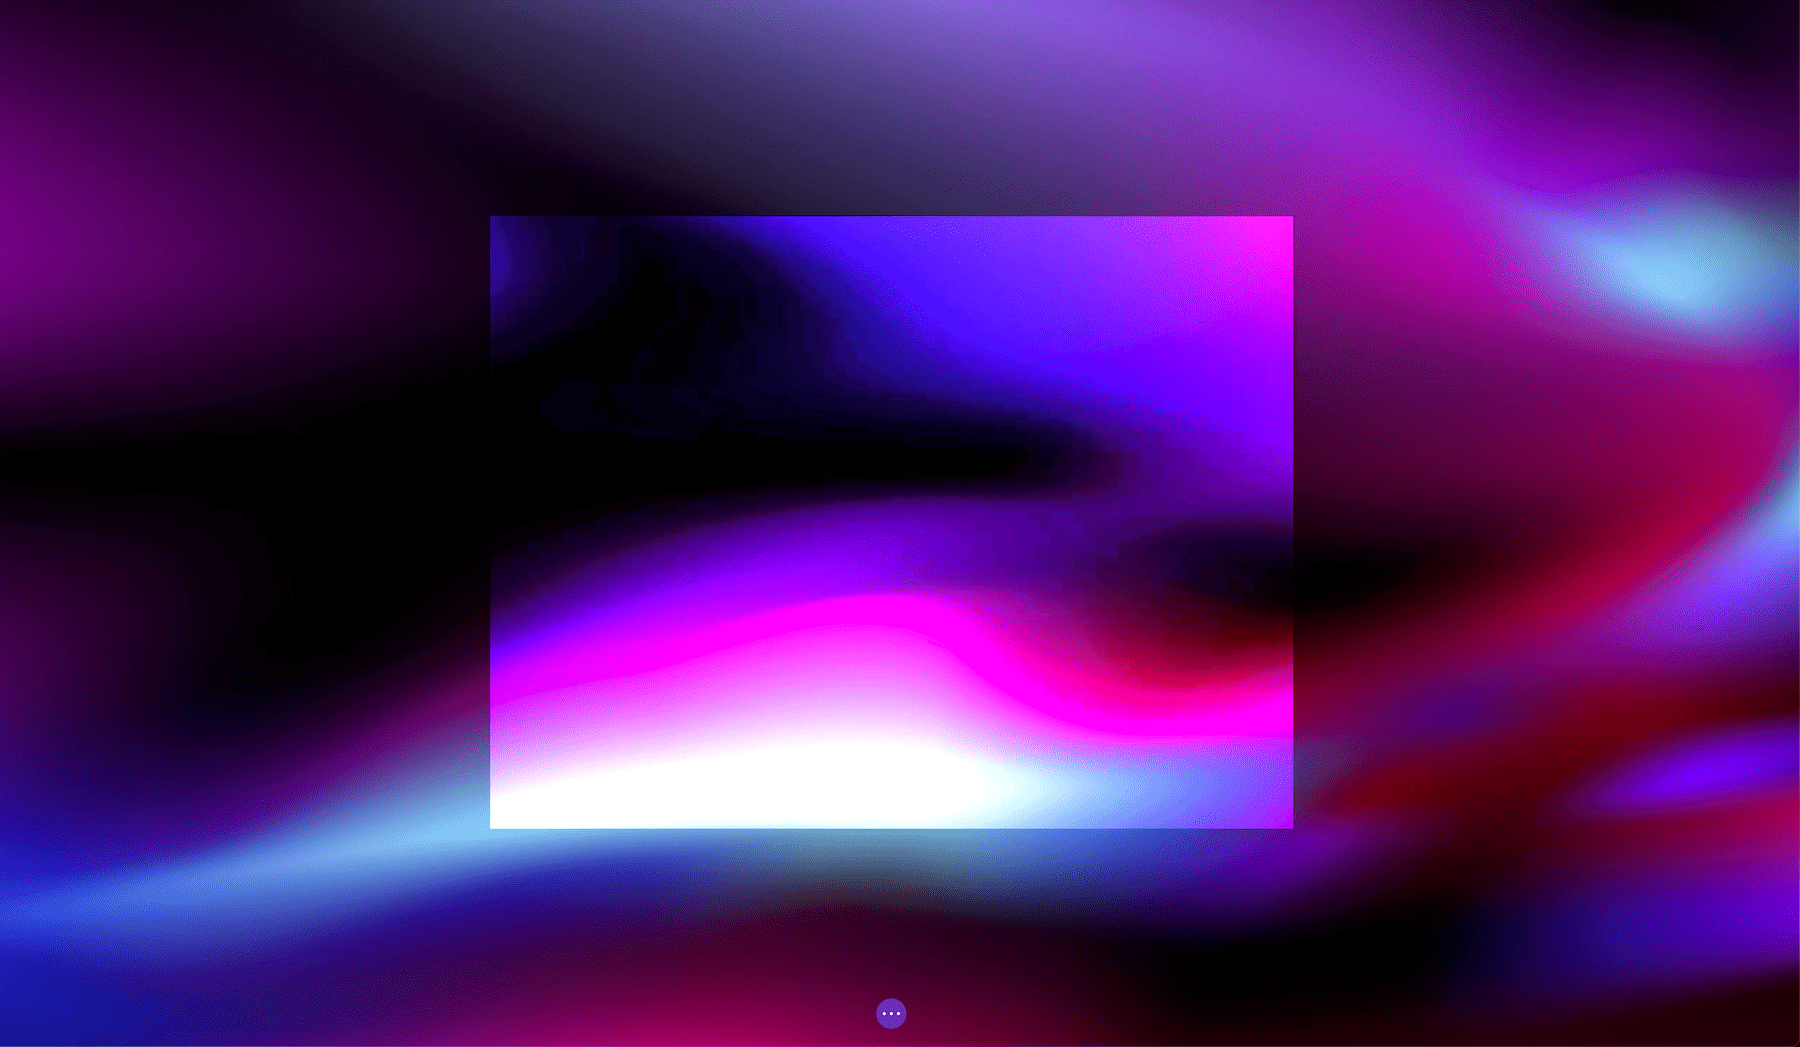
Color Burn
In Color Burn mode, the colors of the base layer darken, and the contrast increases and then blends with the colors of the blending layer. This mode is named after the photographic film technique of “burning” or overexposing prints in order to make the colors darker.
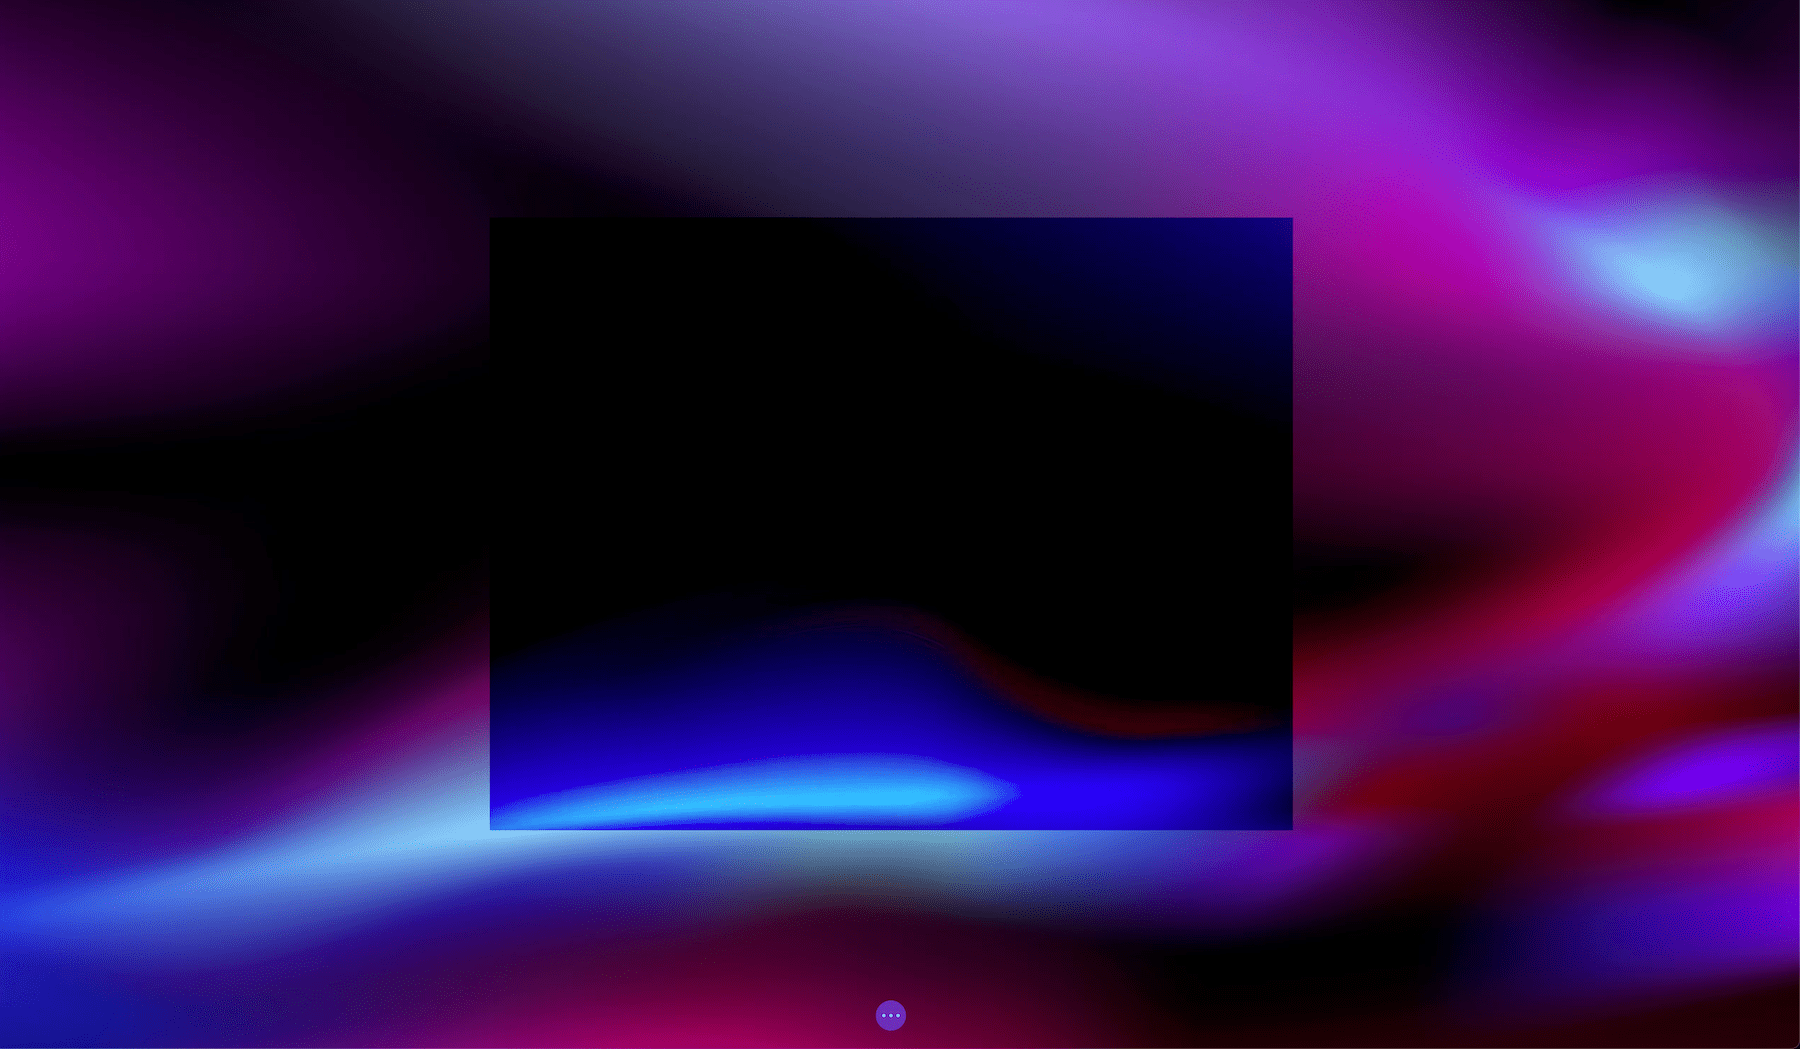
Hard Light
In the Hard Light mode, it all depends on the density of the blending layer. If the blending layer has lighter colors, then it will create a brighter effect like the Screen mode. However, if the blending layer has darker colors then it will create a darker effect like the Multiply mode.
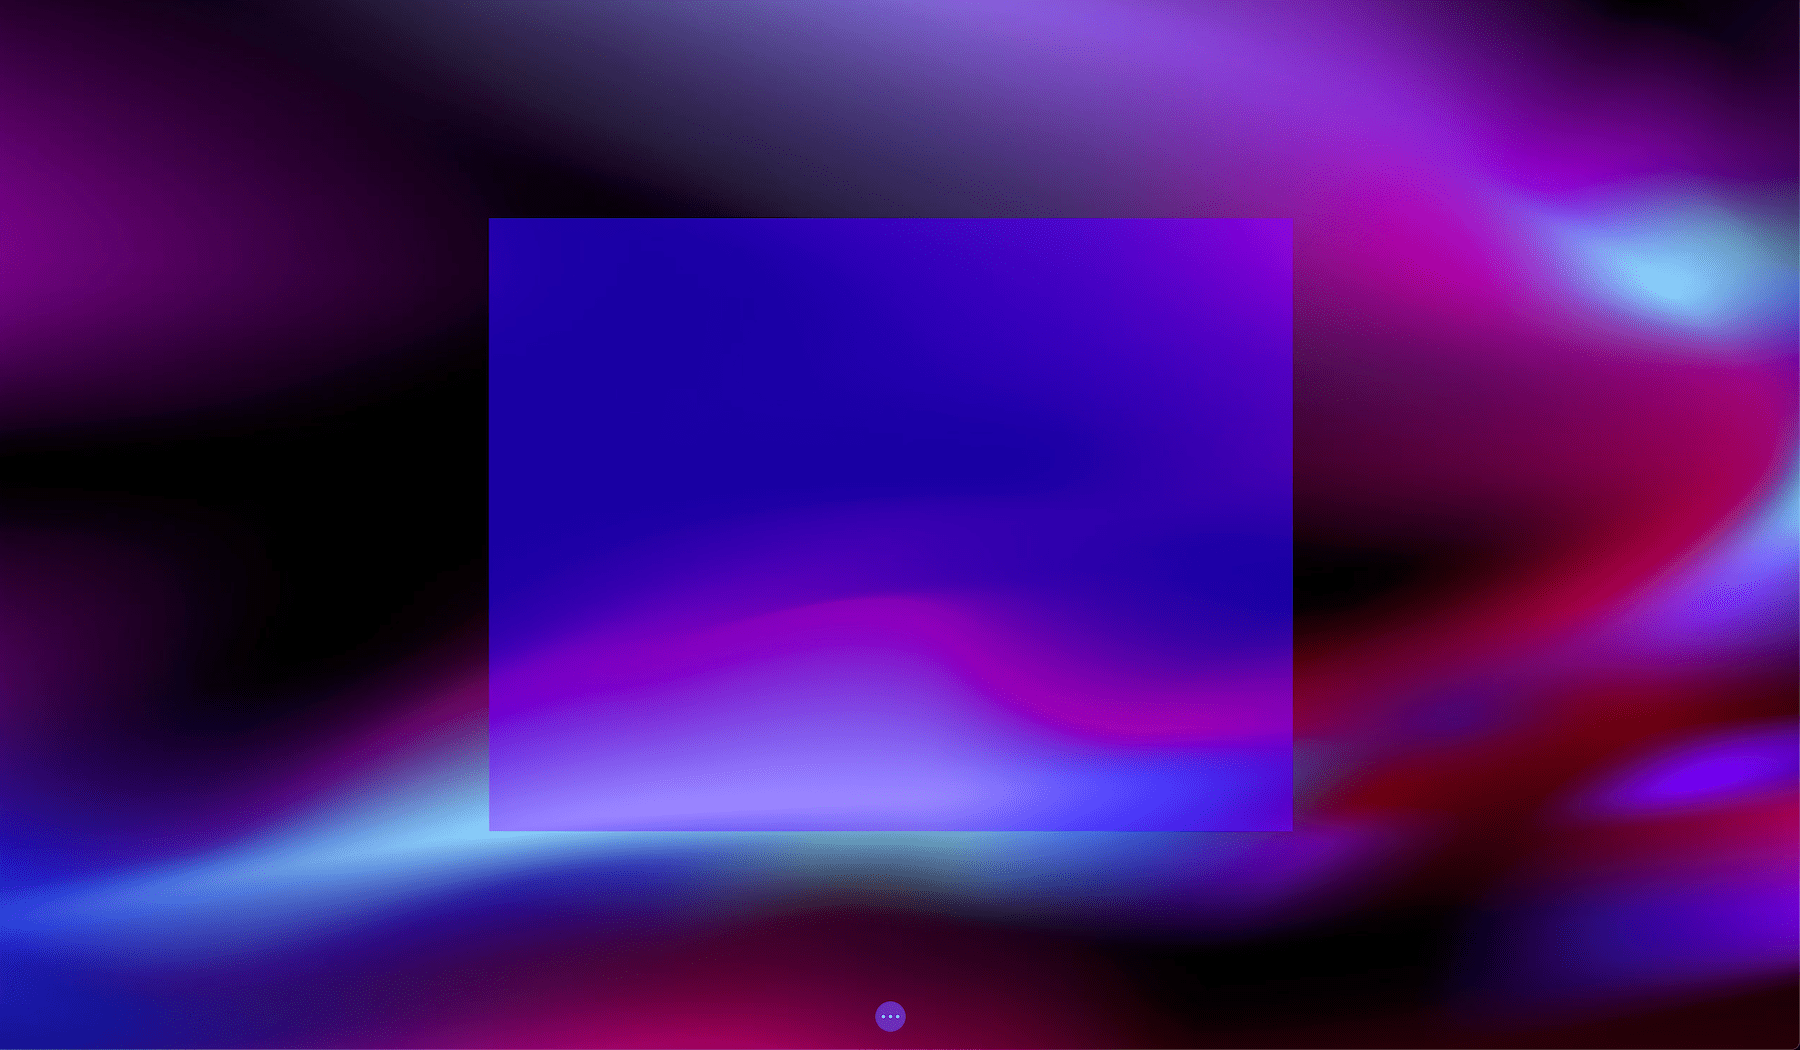
Soft Light
In the Soft Light mode, it all depends on the density of the blending layer. If the blending layer has bright colors, it will create a brighter effect like the Color Dodge module, and if the blending layer has darker colors it will create a darker color like the Color Burn mode.
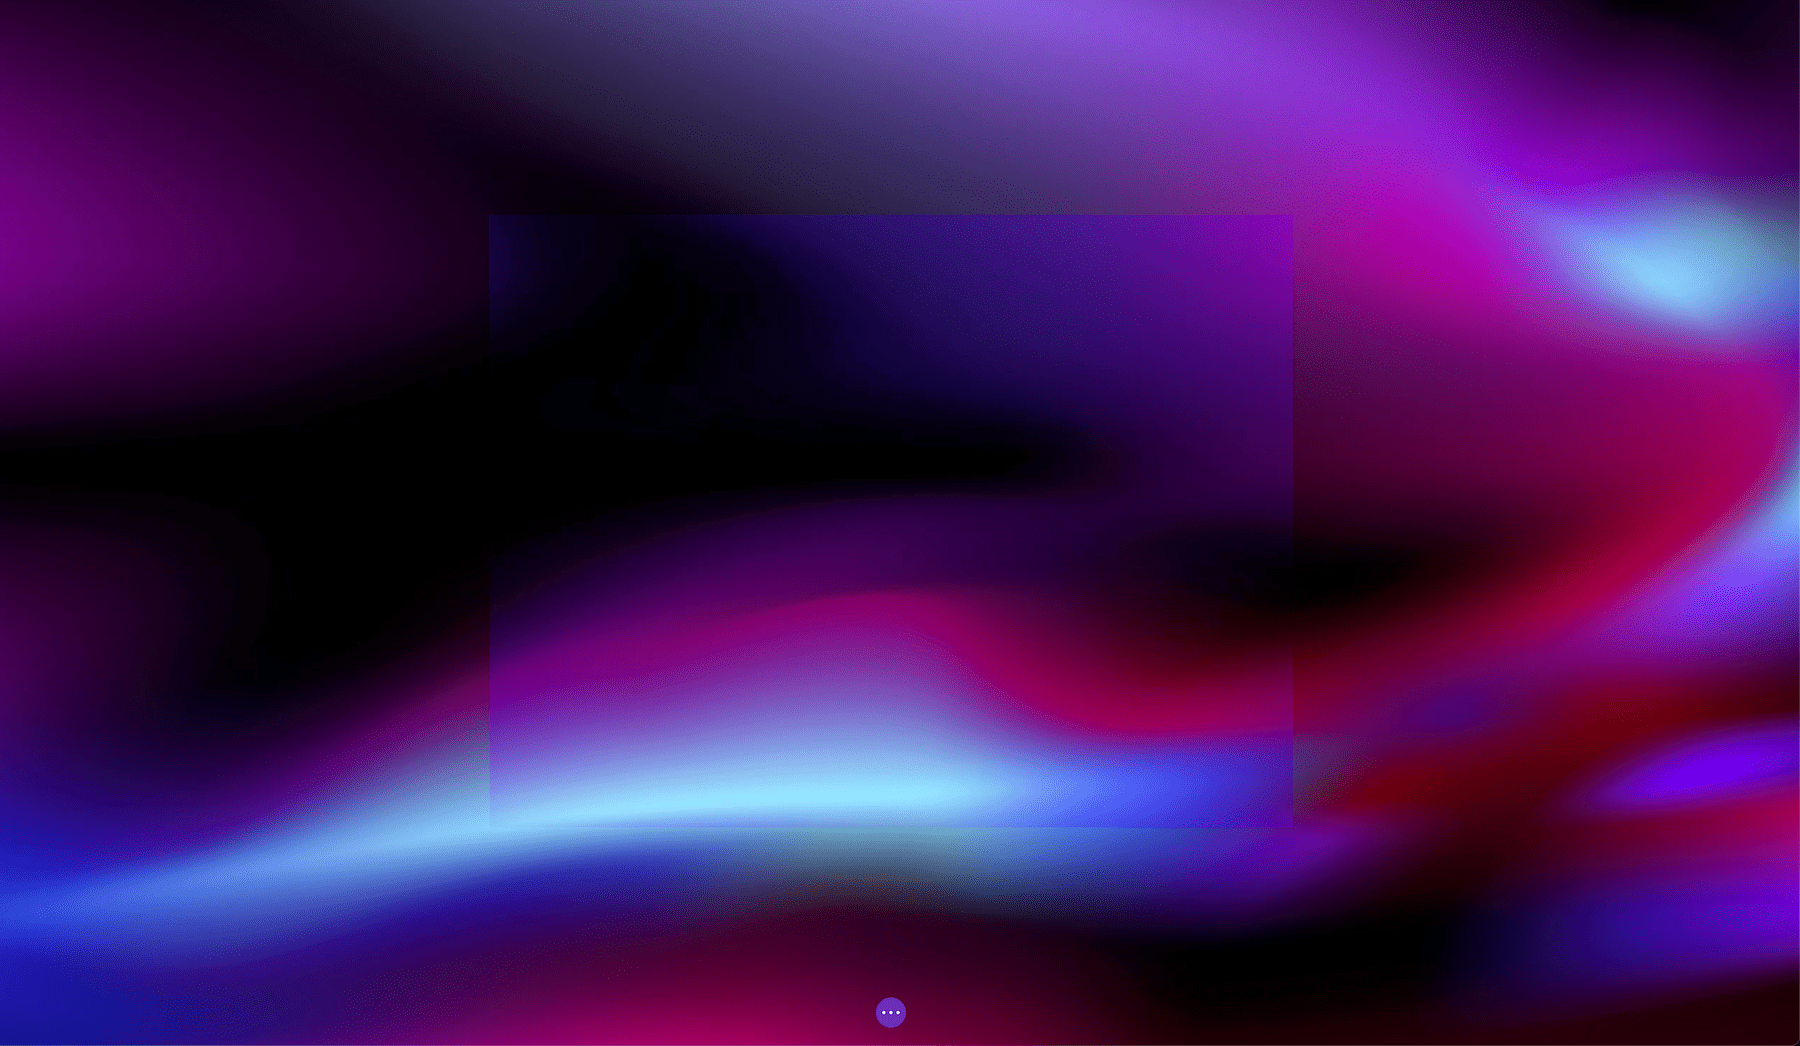
Difference
In Difference mode, the colors of the blending layer are subtracted from the base layer and uses the resulting value to combine with the original base colors. White inverts the base layer colors, black produces no change, and dark gray applies a slight darkening effect.
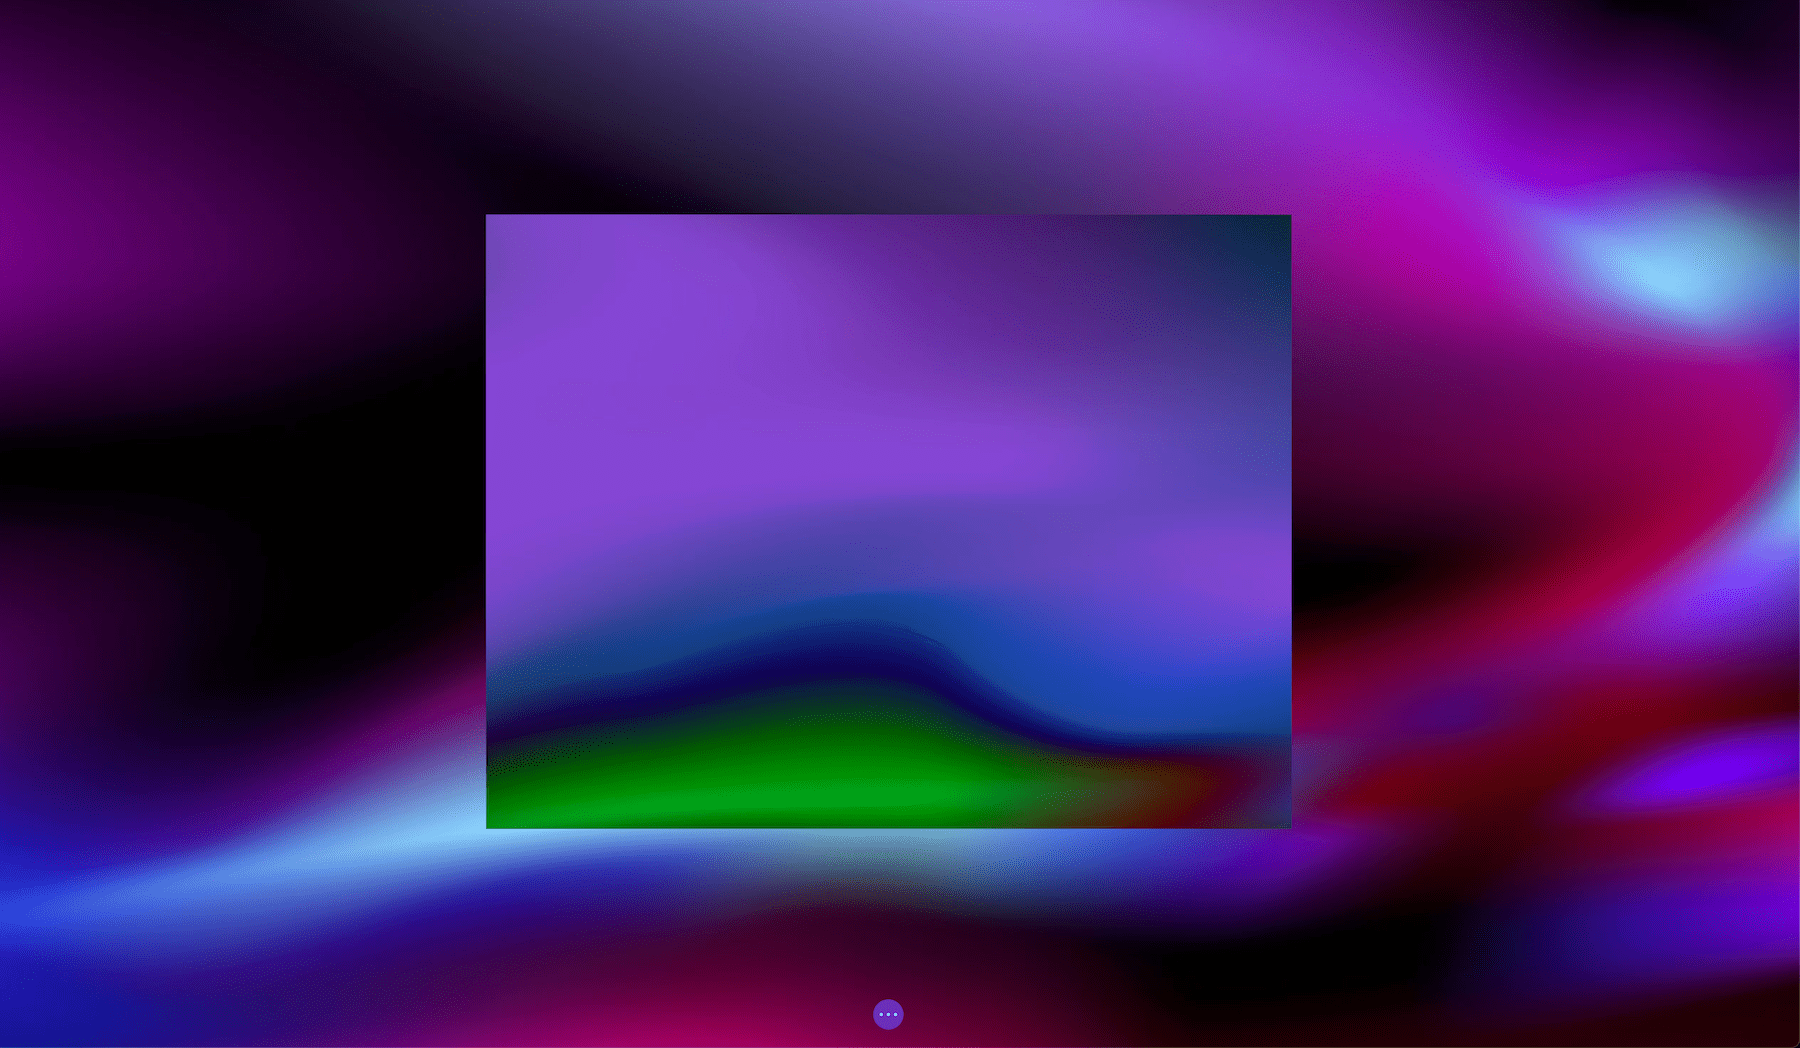
Exclusion
Exclusion mode is very similar to Difference. White inverts the base layer colors, black produces no change, and 50% gray produces 50% gray.
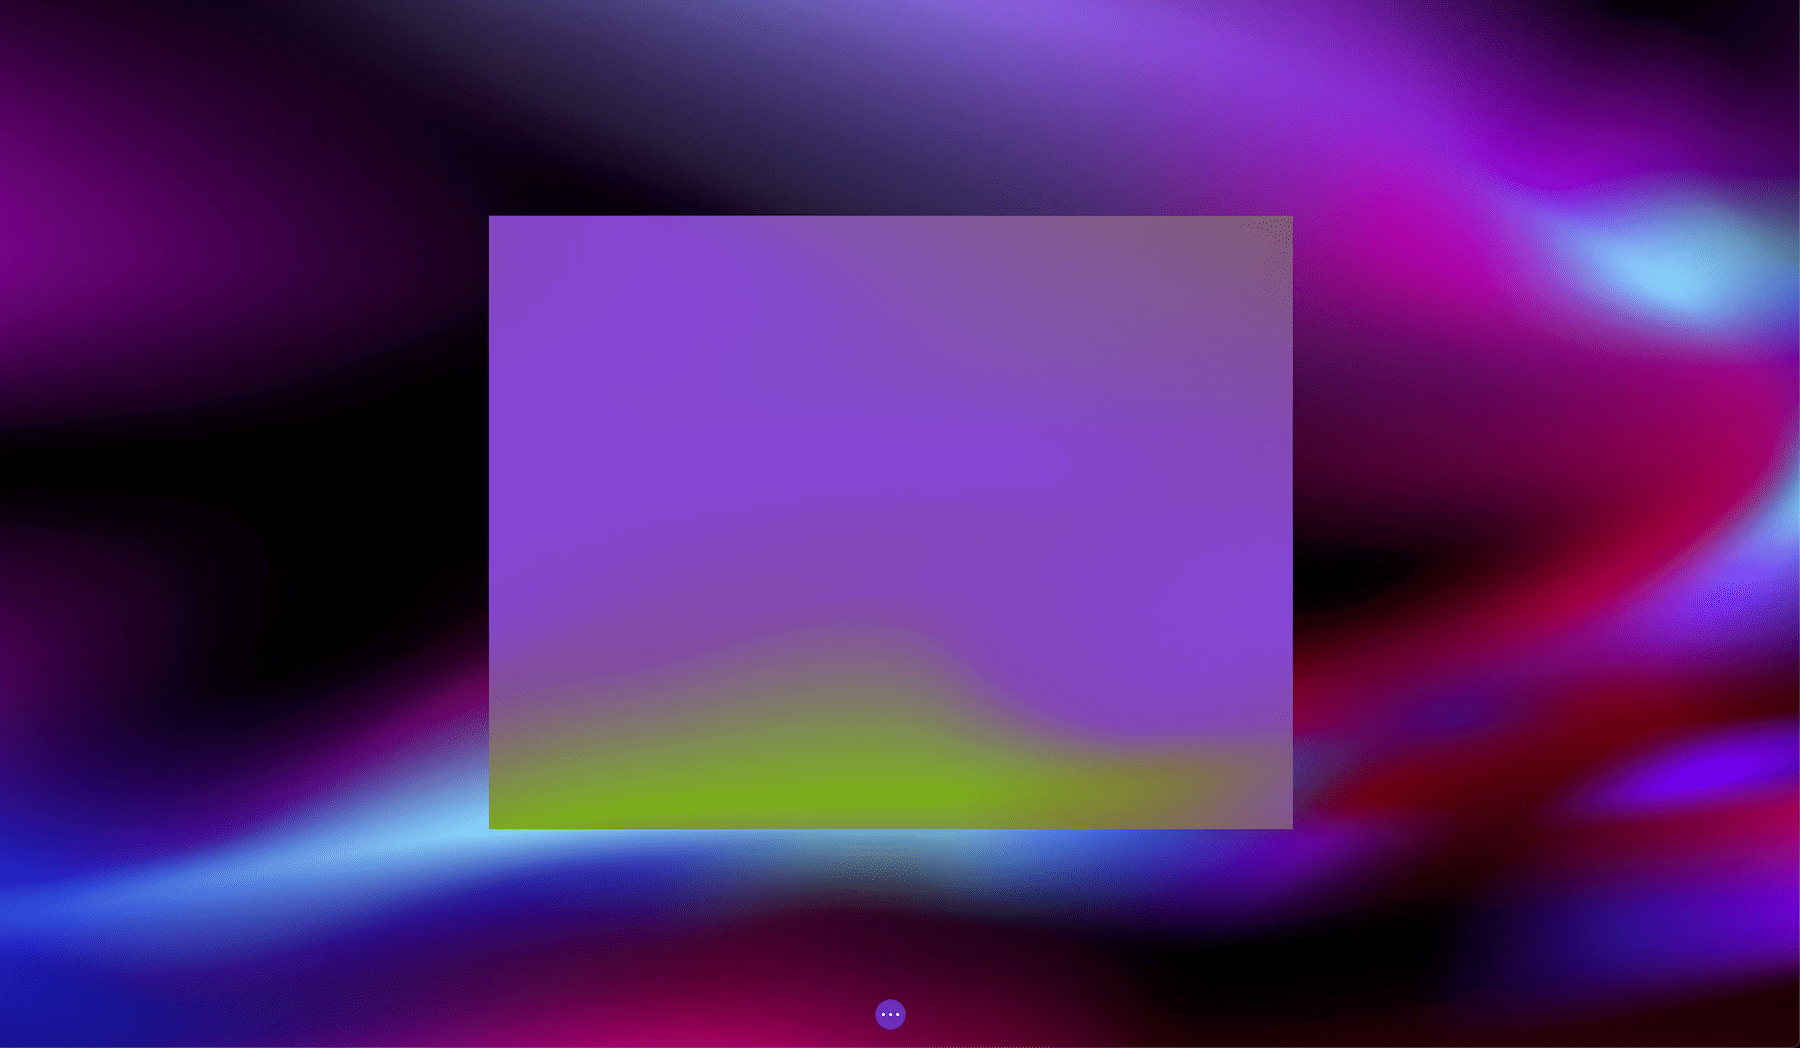
Hue
The hue blend mode preserves the luminosity and saturation of the base layer while adopting the hue of the blending layer.
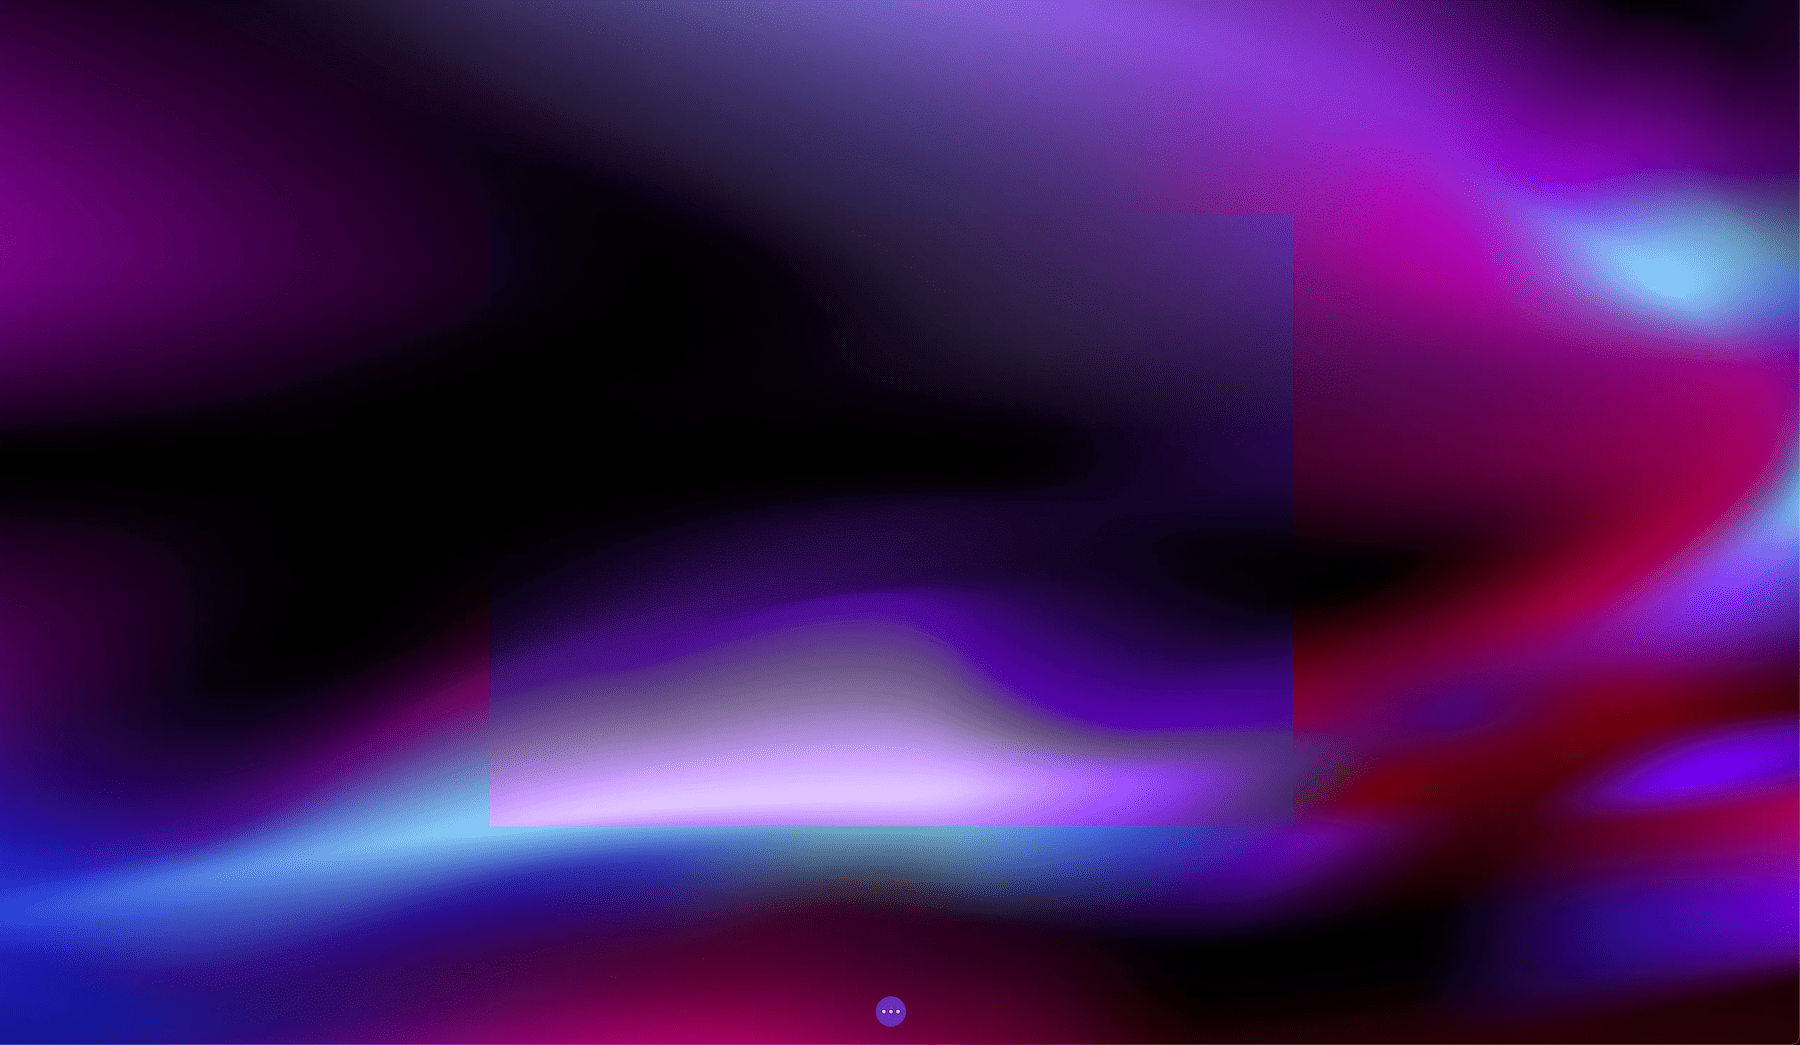
Saturation
The saturation blend mode preserves the luminosity and hue of the base layer while adopting the saturation of the blend layer.
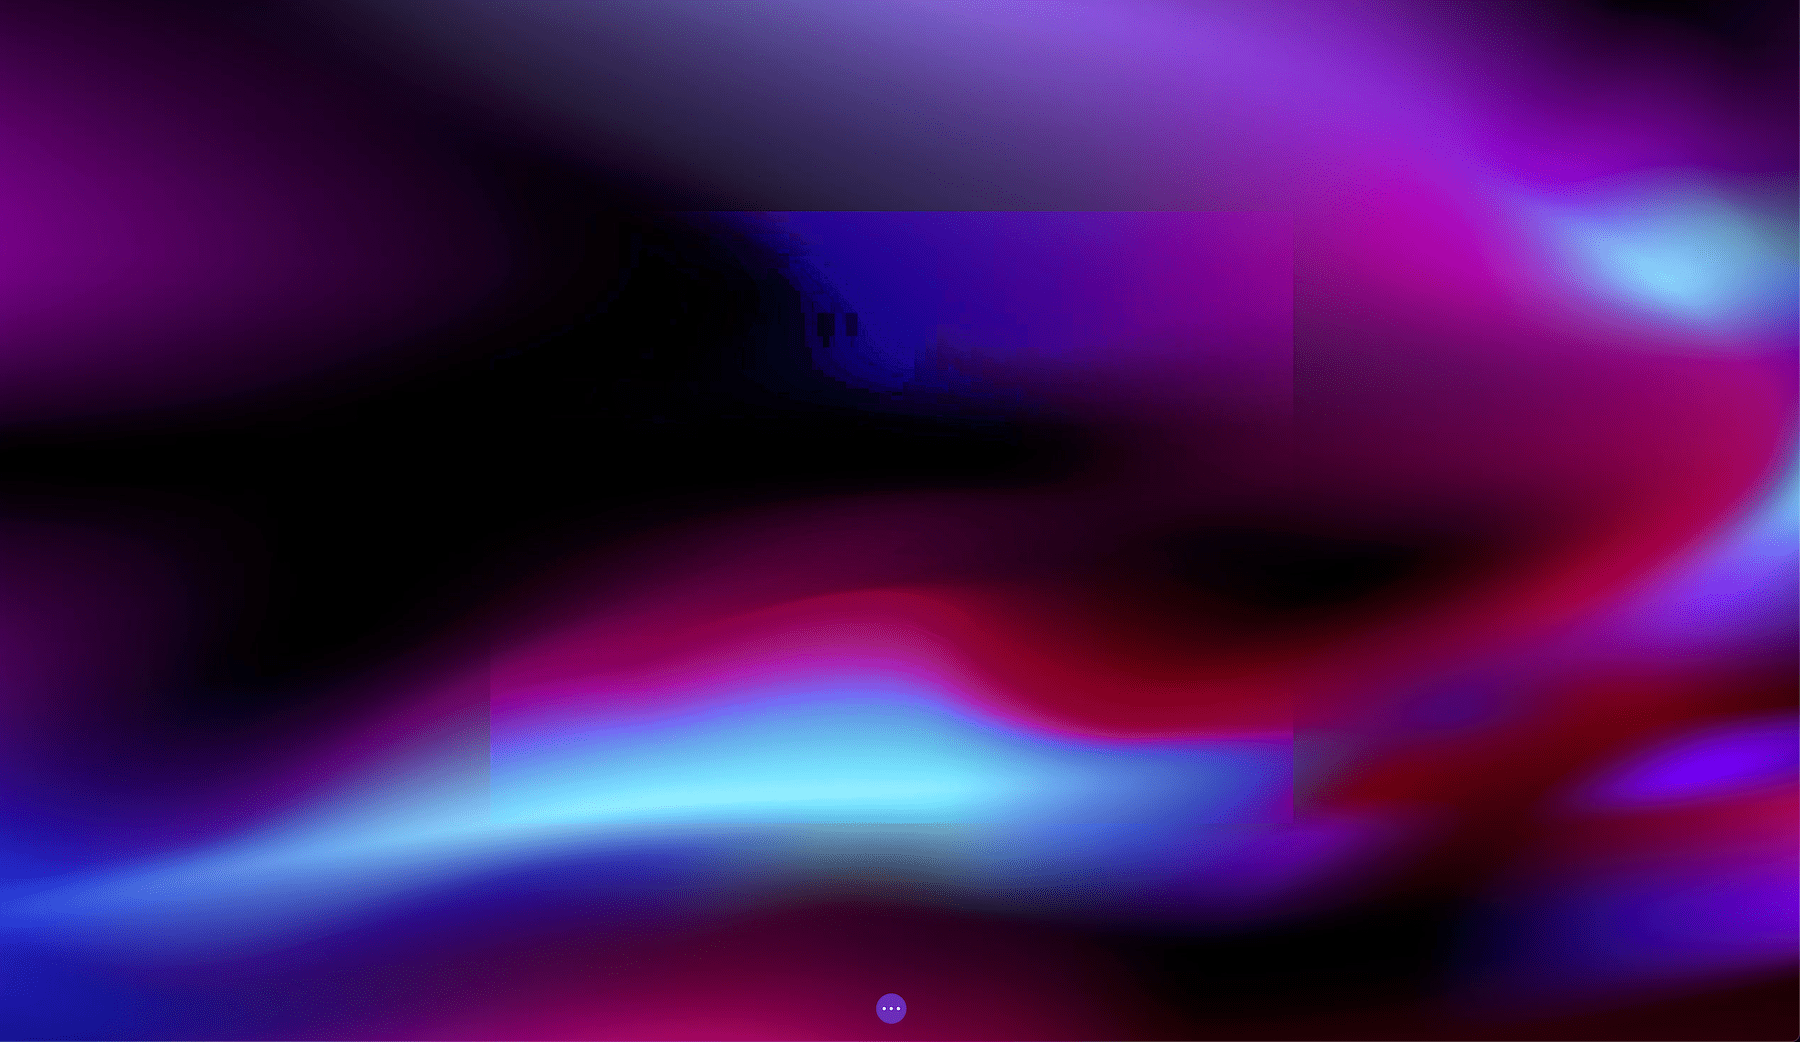
Color
The Color blend mode preserves the luminosity of the base layer while adopting the hue and saturation of the blend layer.
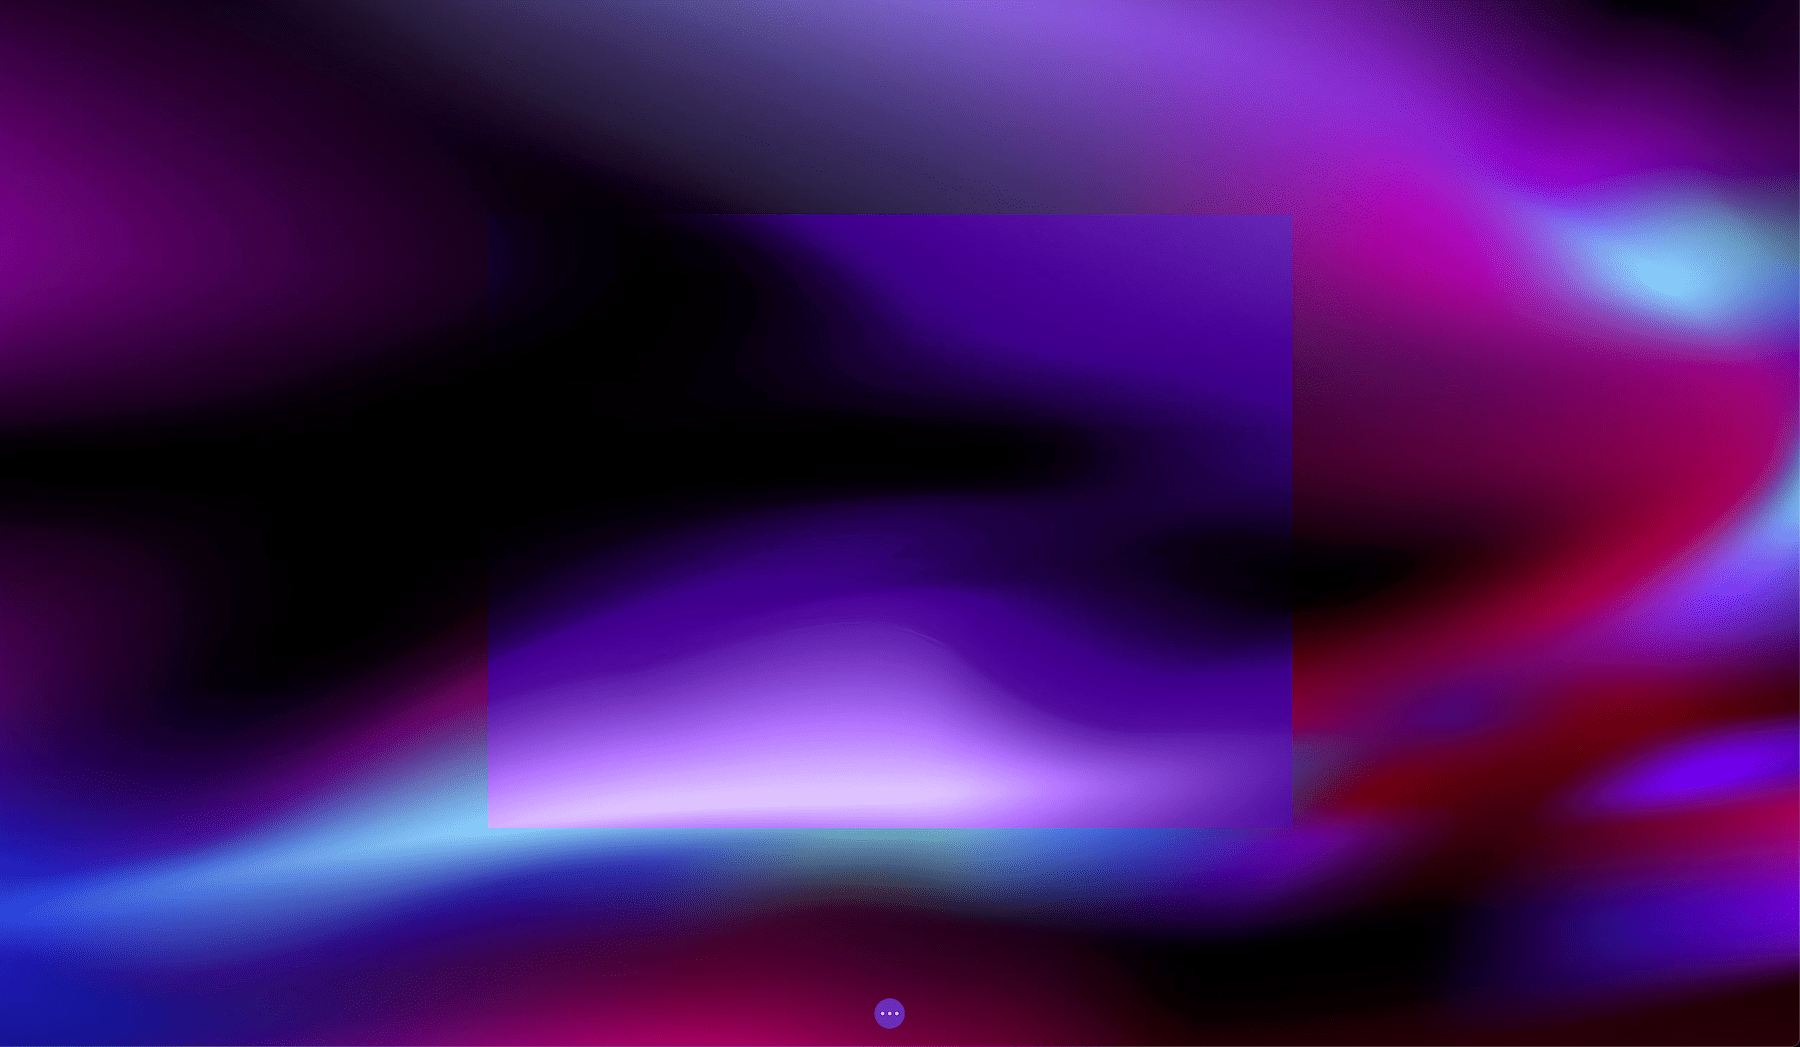
Luminosity
In Luminosity mode, the hue and saturation of the base layer are preserved while adopting the luminosity of the blend layer.
Tips & Best Practices for Using Divi’s Filter and Blend Mode Options
When working with Div’s Filter and Blend Mode options, keep these best tips and practices in mind.
Applying a Filter Affects Child Elements
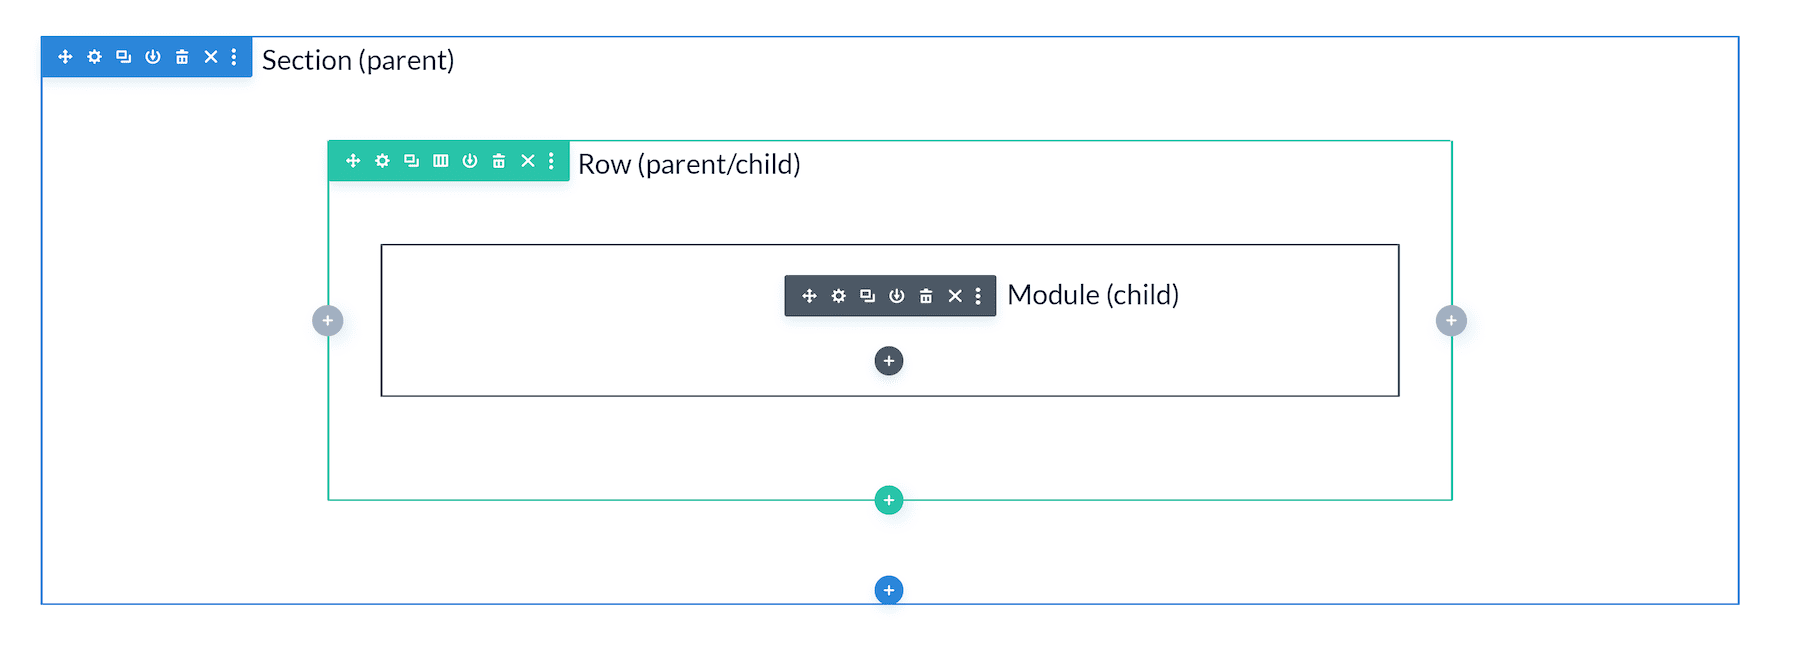
It’s important to keep in mind that when a filter is applied to an element (section, row, column, or module) it affects any child elements inside the parent element. So if you apply a filter to a Section, it will affect all the rows and modules inside that section.
Combine Filter Options With Hover Options
Applying filter effects on hover creates interactive designs that change appearance on hover. To learn more about hover effects, check out this doc.
Use Screen and/or Multiply Blend Modes for Masking Effects
Using the Screen and Multiple blend modes, you can create some truly stunning overlay effects using the Filters options. In the examples below we’ll create two sections that apply a peek-a-boo effect to text that shows the background image beneath it.

Screen Mode
- Add a Section.
- Add a background image to the section.
- Remove all the padding from the section.
- Add a Row.
- Add a white background to the row: #ffffff
- Set the row size to 100%
- Adding top and bottom padding to row: 300px.
- Set the Filter blend mode to Screen.
- Add Text Module.
- Add header text and set heading tag to h1. Center text.
- Font Weight: Ultra Bold
- Font Size: 7rem
Multiply Mode
- Add a Section.
- Add a background image to the section.
- Remove all the padding from the section.
- Add a Row.
- Add a black background to the row: #000000
- Set the row size to 100%
- Adding top and bottom padding to row: 300px.
- Set the Filter blend mode to Multiply.
- Add Text Module.
- Add header text and set heading tag to h1. Center text.
- Font Color: white #ffffff
- Font Weight: Ultra Bold
- Font Size: 7rem
Continue Learning
- Using Filters, Hero Sections, and CTA’s to Expand a Minimal Portfolio Homepage
- How to Recreate The Color Filters, Effects & Blend Mode Examples with Divi (Part 1)
- How to Recreate The Color Filters, Effects & Blend Mode Examples with Divi (Part 2)
- How to Use Divi’s New Filter Options to Beautify Your Images
