

A well-designed real estate website can showcase your listings, attract potential clients, and set you apart in a competitive market. I’ll walk you through how to build a real estate website using the versatile Divi theme. We’ll cover everything from choosing a domain name to integrating property listings and adding essential functionalities that your customers expect.
But first, a word about the difficulty of creating a good real estate website.
- 1 Do You Need to Know How to Code to Make a Real Estate Website?
-
2
How to Build a Real Estate Website
- 2.1 Step 1: Choose Between an All-in-one or Self Hosted Website Builder
- 2.2 Step 2: Choose a Domain Name and Hosting Provider
- 2.3 Step 3: Define Goals and Website Page Structure
- 2.4 Step 4: Choose a Design and Theme
- 2.5 Step 5: Build Your Website
- 2.6 Step 6: Add Essential Features and Expected Functionality
- 2.7 Step 7: Add High-Quality Content
- 2.8 Step 8: Optimize for SEO
- 2.9 Step 9: Test and Launch Your Website
- 2.10 Step 10: Maintain and Update Your Website
- 3 Get Started Today
Do You Need to Know How to Code to Make a Real Estate Website?
The truth is that you do not need to know how to code in order to build a real estate website. With modern website builders and content management systems (CMS), you can create a fully functional and attractive real estate website without writing a single line of code. These platforms offer drag-and-drop editors and customizable templates that make the process accessible to everyone. With the addition of some real estate-specific tooling, you can do everything you hope to do.
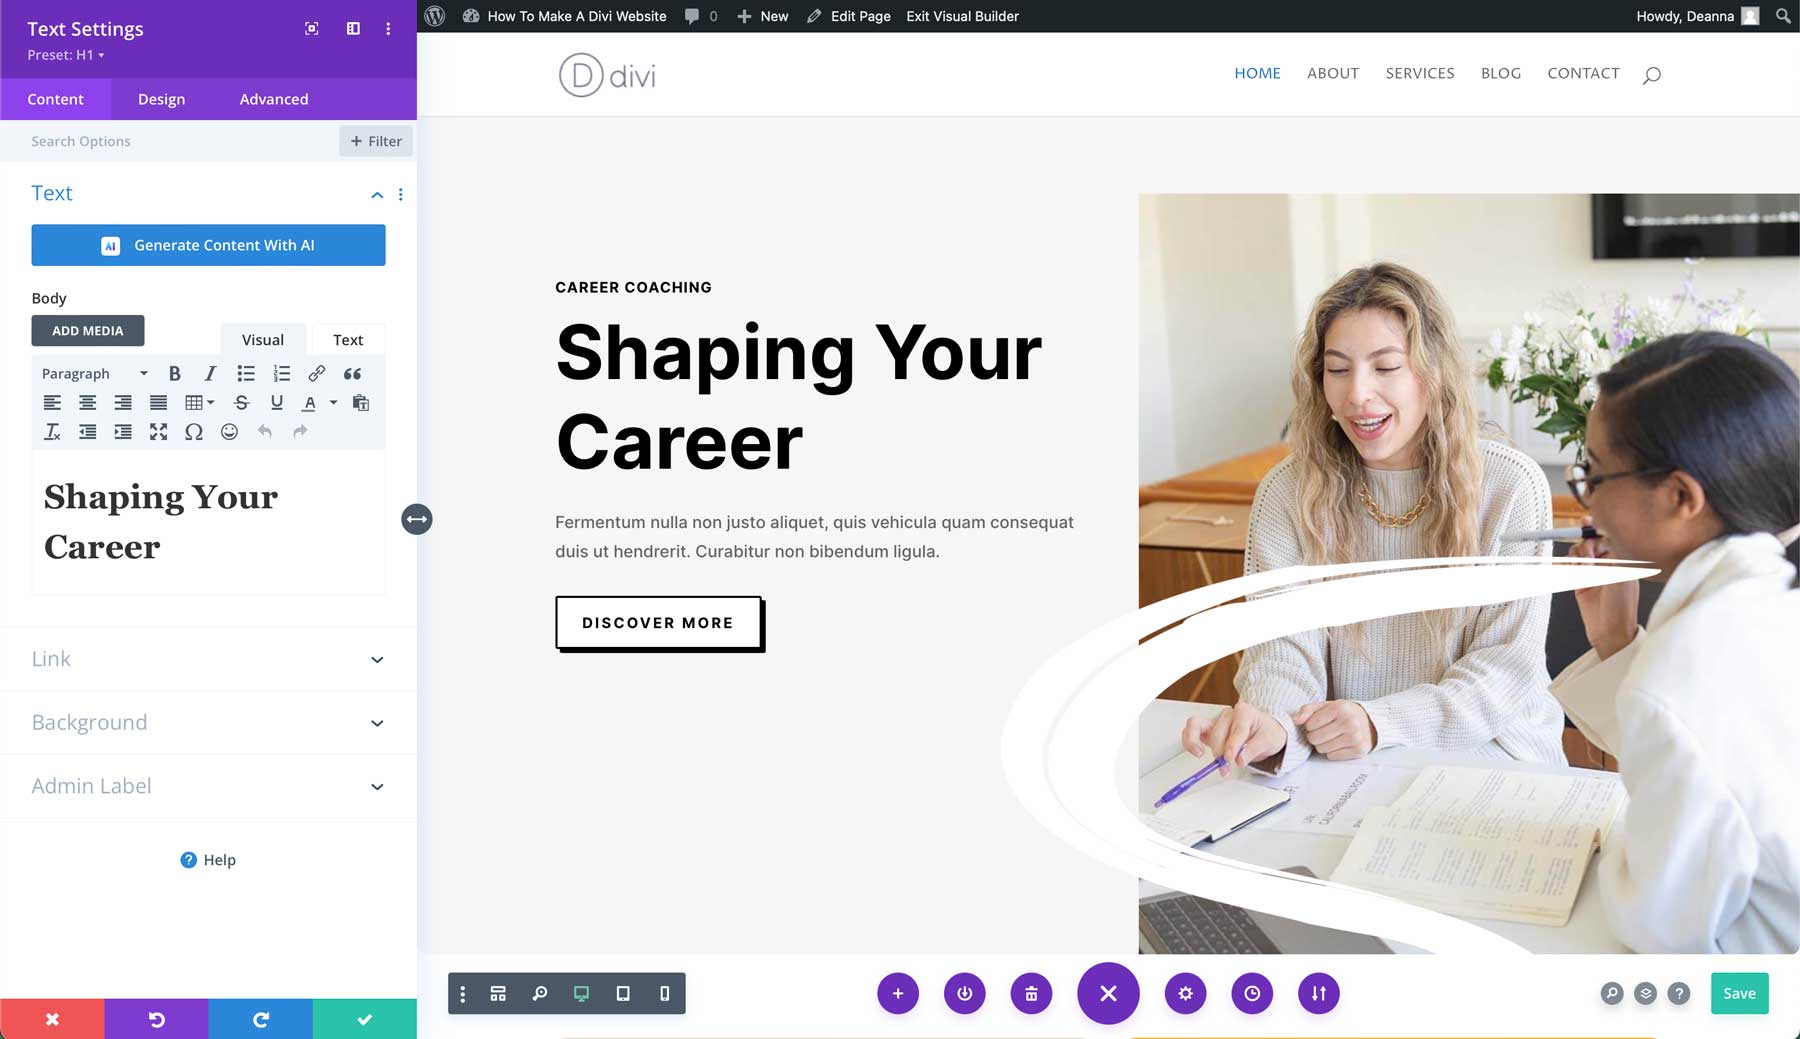
Divi helps business owners and agents create functional and interesting websites
Real estate websites are more complex than the average website due to the need for advanced features like property listings, virtual tours, MLS integrations, and advanced search. Therefore, you need a solution that can handle these complexities. This is why we’ll recommend Divi in just a moment.
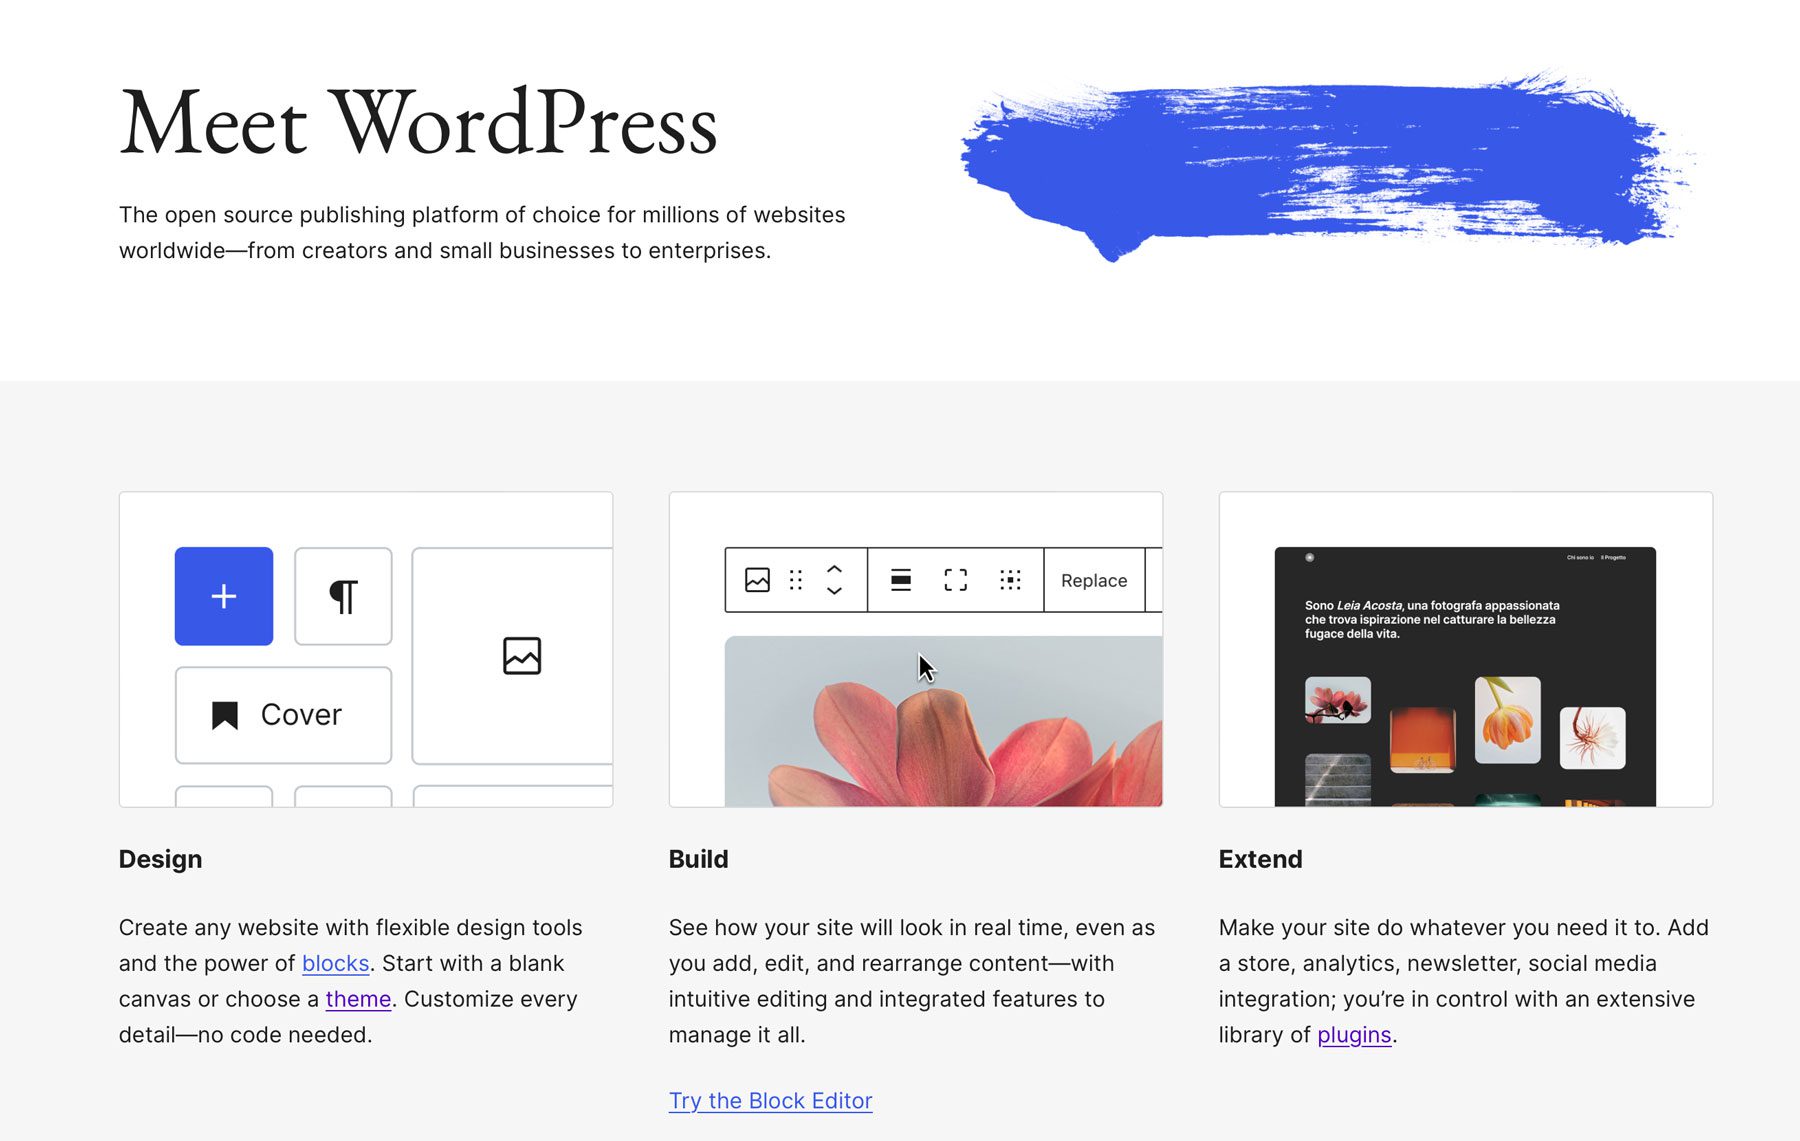
Why Should You Use WordPress to Create a Real Estate Website?
There are many options for building a real estate website, but WordPress stands out for several reasons:
- Ownership and Flexibility: WordPress is open-source, which means you own your website and can move it freely between hosts without being tied to a specific platform. This avoids the pitfalls of proprietary real estate platforms that lock you into their ecosystem.
- Budget-Friendly Options: Proprietary platforms often incur high monthly fees and setup costs. With WordPress, you can find hosting and maintenance solutions that fit any budget, offering flexibility during economic downturns.
- Unique Design Possibilities: It offers a wide range of customizable themes and plugins, allowing you to create a website design that stands out from competitors.
- Extensive Plugin Ecosystem: Plugins allow you to add functionality to your website, from advanced property listings to SEO optimization tools.
How to Build a Real Estate Website
I’ve broken down the steps to creating a custom real estate website into just ten steps. I also heavily linked to other resources so that if you find something that is confusing or catches your interest, you should be able to follow that link to help you out.
Step 1: Choose Between an All-in-one or Self Hosted Website Builder
You have two main options when it comes to creating your website:
- Self-Hosted Website Builder: Platforms like WordPress offer extensive customization and scalability. They are ideal if you plan to expand your website’s features. Tools like Divi bring in every feature you need to create a custom website.
- All-in-one Website Builder: Services like Wix or Squarespace provide an all-in-one solution with hosting included. They are user-friendly but may offer less flexibility. Costs are also very likely to be higher or increase unexpectedly due to subscription-based pricing structures and potential additional costs for features or bandwidth.
WordPress is one of the best platforms for you to consider. You’ll be able to add the tools you need to it to accomplish your goals.
I recommend using a CMS like WordPress for maximum flexibility and control. It balances ease of use and advanced features, making it a popular choice for real estate professionals. If you choose WordPress, your next decision will be to choose your hosting provider. This seems like a hard step, but hosting is so easy compared to what it used to be.
Step 2: Choose a Domain Name and Hosting Provider
Your domain name and hosting are the foundations of your website. One acts as the address to your website, and the other ensures that your visitors see something when they get there.
Choosing a Domain Name
Keep it simple and memorable by choosing a name that’s easy to spell and remember, such as www.YourNameRealty.com. Use relevant keywords that reflect your business, like “realty,” “properties,” or “homes.” Opt for a .com since it’s your most recognizable and memorable choice.
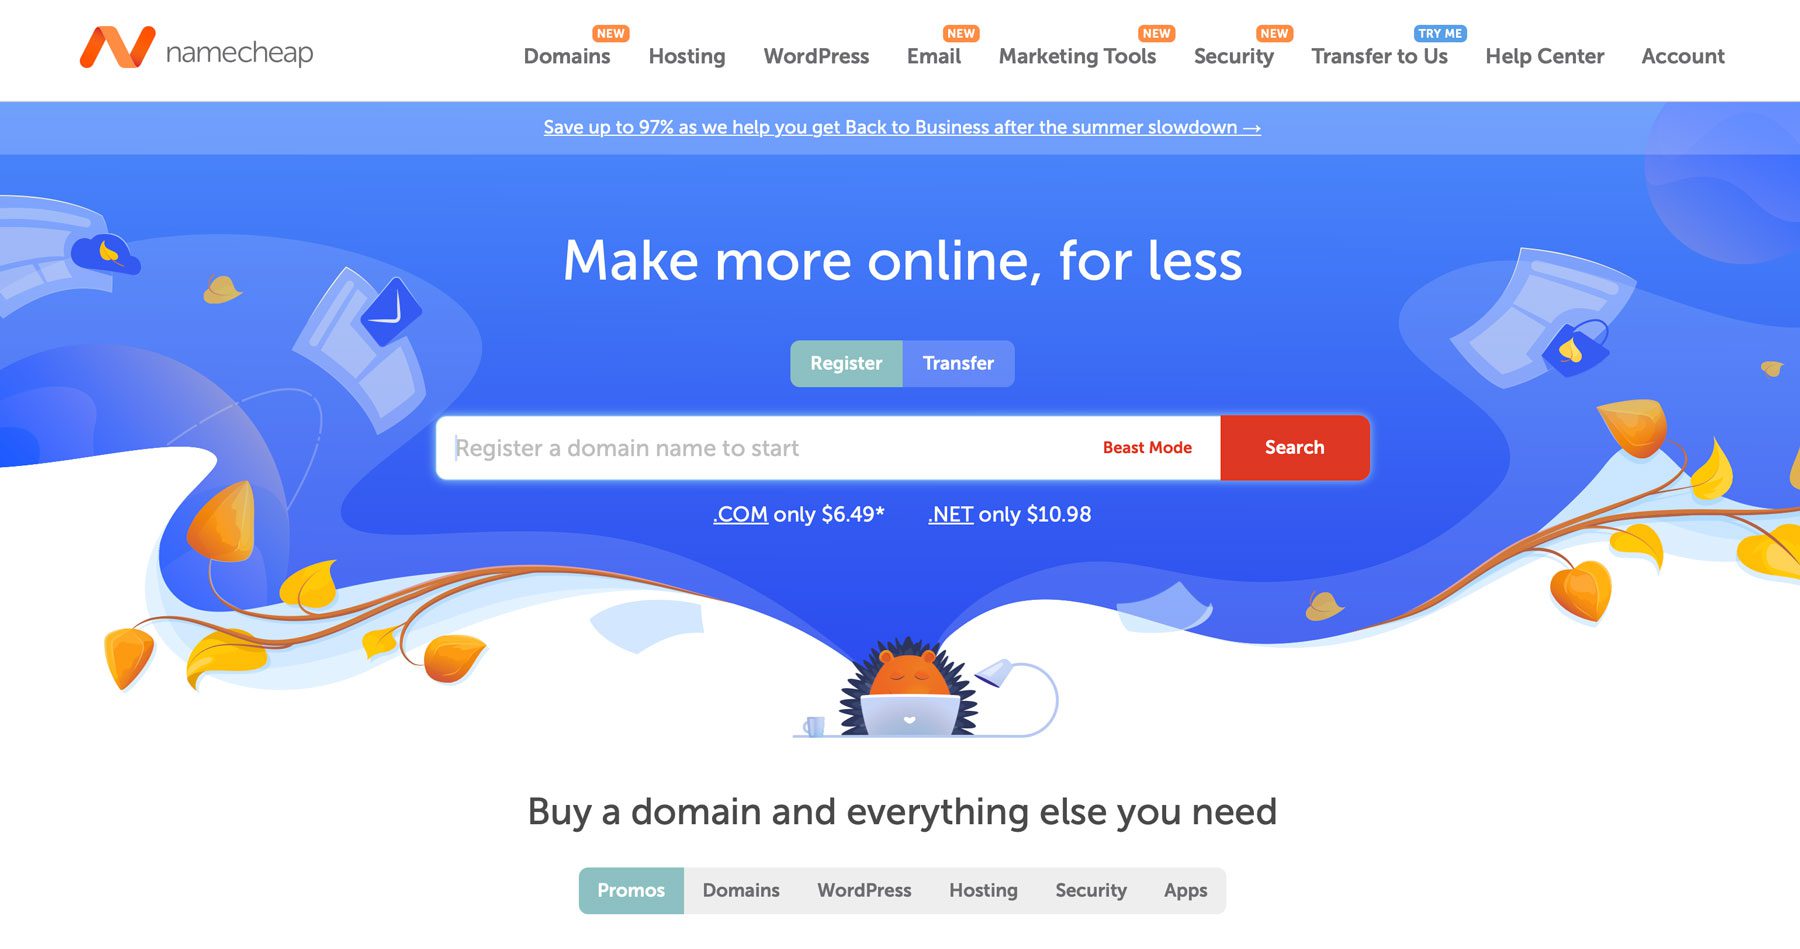
Namecheap is my favorite domain registrar, with good prices and an easy-to-use domain search tool
Use reputable domain registrars like Namecheap or register through your hosting provider for convenience.
Selecting a WordPress Hosting Provider
Hosting is not sexy but is of immense importance. Consider factors like reliability and uptime (99.9% uptime is a good place to start). Speed and performance are crucial—a fast-loading site improves user experience and SEO. Customer support should be available 24/7 for quick ticket resolution. Also, consider scalability—the ability to upgrade your hosting plan as your website grows.
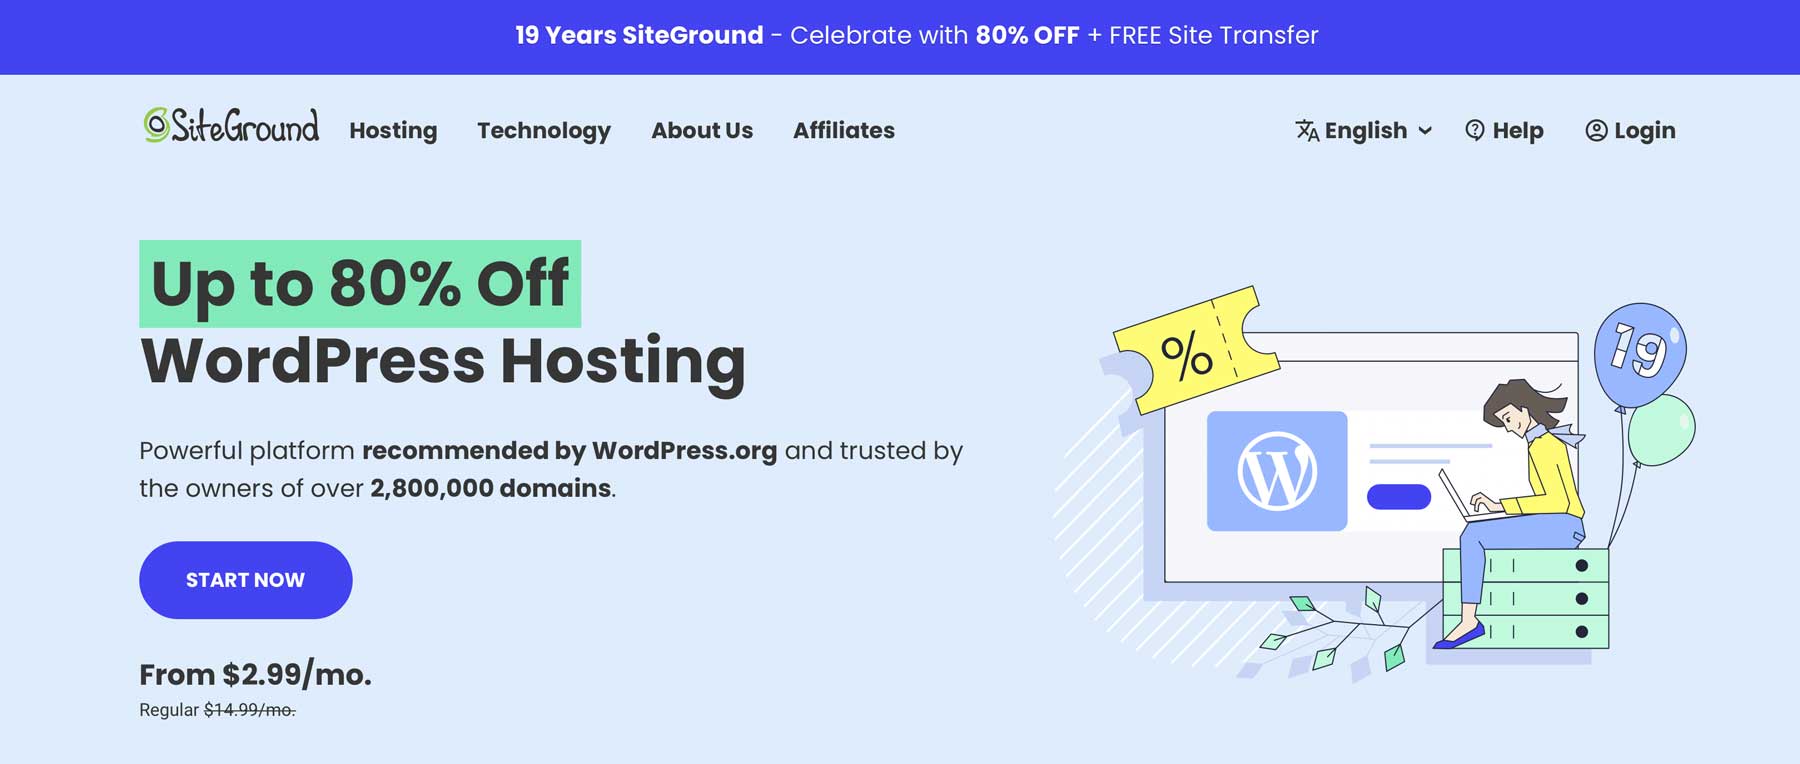
Siteground has been my host of choice for over 5 years now
SiteGround is known for its excellent performance and customer service. Plus, with Siteground, you can get your domain, hosting, and WordPress installation all in one place.
Here’s how to get a host up and running in a 3-minute video:
For more options, check out our Best Managed WordPress Hosting providers list.
Get Domain and Hosting with Siteground
Step 3: Define Goals and Website Page Structure
Before building your website, it’s important to understand what you want to achieve. Identify your target audience—are you catering to buyers, sellers, renters, or a combination? Set clear objectives, such as generating leads, showing off listings, providing market insights, or offering resources. Determine key features you will need, like property search functionality, virtual tours, contact forms, or a blog.
Having a clear plan will guide your decisions throughout the website-building process. It’ll also help with scope creep—as you go through the process, you’ll see lots of cool and interesting tools, but if you know you don’t need them, you won’t waste your time quickly launching a site.
Sample Page Structure for Real Estate Agent Sites
A clear website structure benefits user experience and SEO. Don’t get too complicated; you want each website page to be full of information (nothing worse than a Contact Us page with only a lonely contact form). Only create a new page if it doesn’t fit on any other page if you can make its content stand alone.
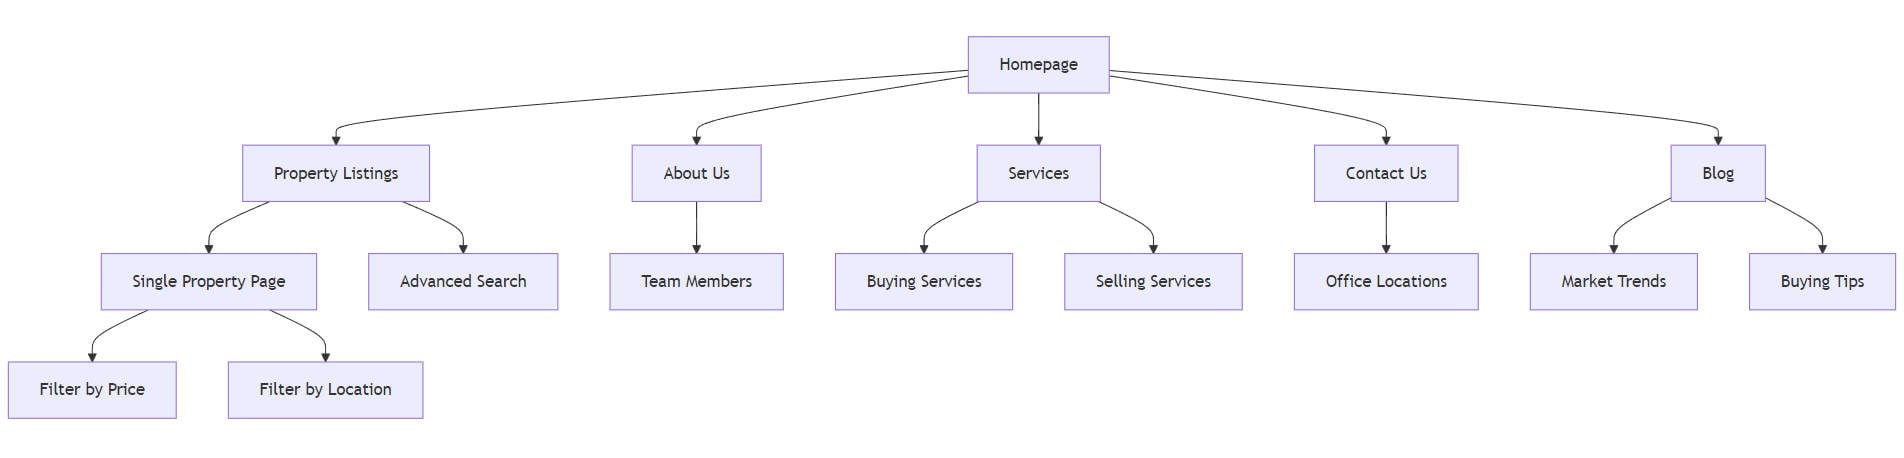
This is only a sample page structure that you can use to get started
Essential Pages for a Real Estate Website
Your website should include key pages like:
- Home Page: Introduce your brand and highlight key listings or services.
- Property Listings: Display your available properties with filters and search abilities.
- About Us: To build trust, share your story, mission, and team members.
- Services: Detail your services, such as buying, selling, or property management.
- Contact Us: Provide contact information and a form for inquiries.
- Blog: Offer valuable content like market insights, tips, and news.
For each of these, describe what you think you can build, what your visitors need, and a rough plan for building it.
Step 4: Choose a Design and Theme
WordPress users use themes to control the design of their sites. We recommend the Divi Theme, which offers a feature-rich visual builder and extensive customization options, making it ideal for real estate websites.

Benefits of Using Divi
Divi offers a multitude of benefits that make it a top choice for building your real estate website:
- Drag-and-Drop Visual Builder: Customize your site easily using Divi’s intuitive visual builder. No coding skills are required.
- Pre-Made Layouts and Templates: Access a library of well-designed layouts and templates tailored for real estate.
- Responsive Design: Ensure your website looks great on all devices, from desktops to smartphones.
- Advanced Styling Options: Fine-tune every aspect of your site’s appearance, including fonts, colors, and spacing.
- Global Elements and Styles: Apply changes site-wide with global elements, saving you time and ensuring consistency.
- SEO-Friendly Structure: Divi’s clean code and fast loading times improve search engine rankings.
- Integration with Popular Plugins: Integrates with essential plugins like Yoast SEO, WooCommerce, and more.
Installing Divi
For instructions on how to purchase, download, and install Divi, refer to our guide on How to Install the Divi Theme or watch this quick video below.
Step 5: Build Your Website
Divi Quick Sites provides everything you need to instantly launch your real estate website. You can choose a professionally designed Starter Site or use Divi AI to generate an entirely new design. Each Starter Site comes pre-loaded with essential web pages, stunning Theme Builder templates, customizable global styles and presets, and a ready-made navigation menu. From there, each Divi Starter Site is fully customizable with Divi’s drag-and-drop page builder.
Introducing the Realty Starter Site
Divi offers the Realty Starter Site for real estate professionals to get up and running quickly, which includes core pages like Home, About, Services, and Contact. It also features Theme Builder templates that control the overall layout of various sections of your website, ensuring a consistent design across the board.
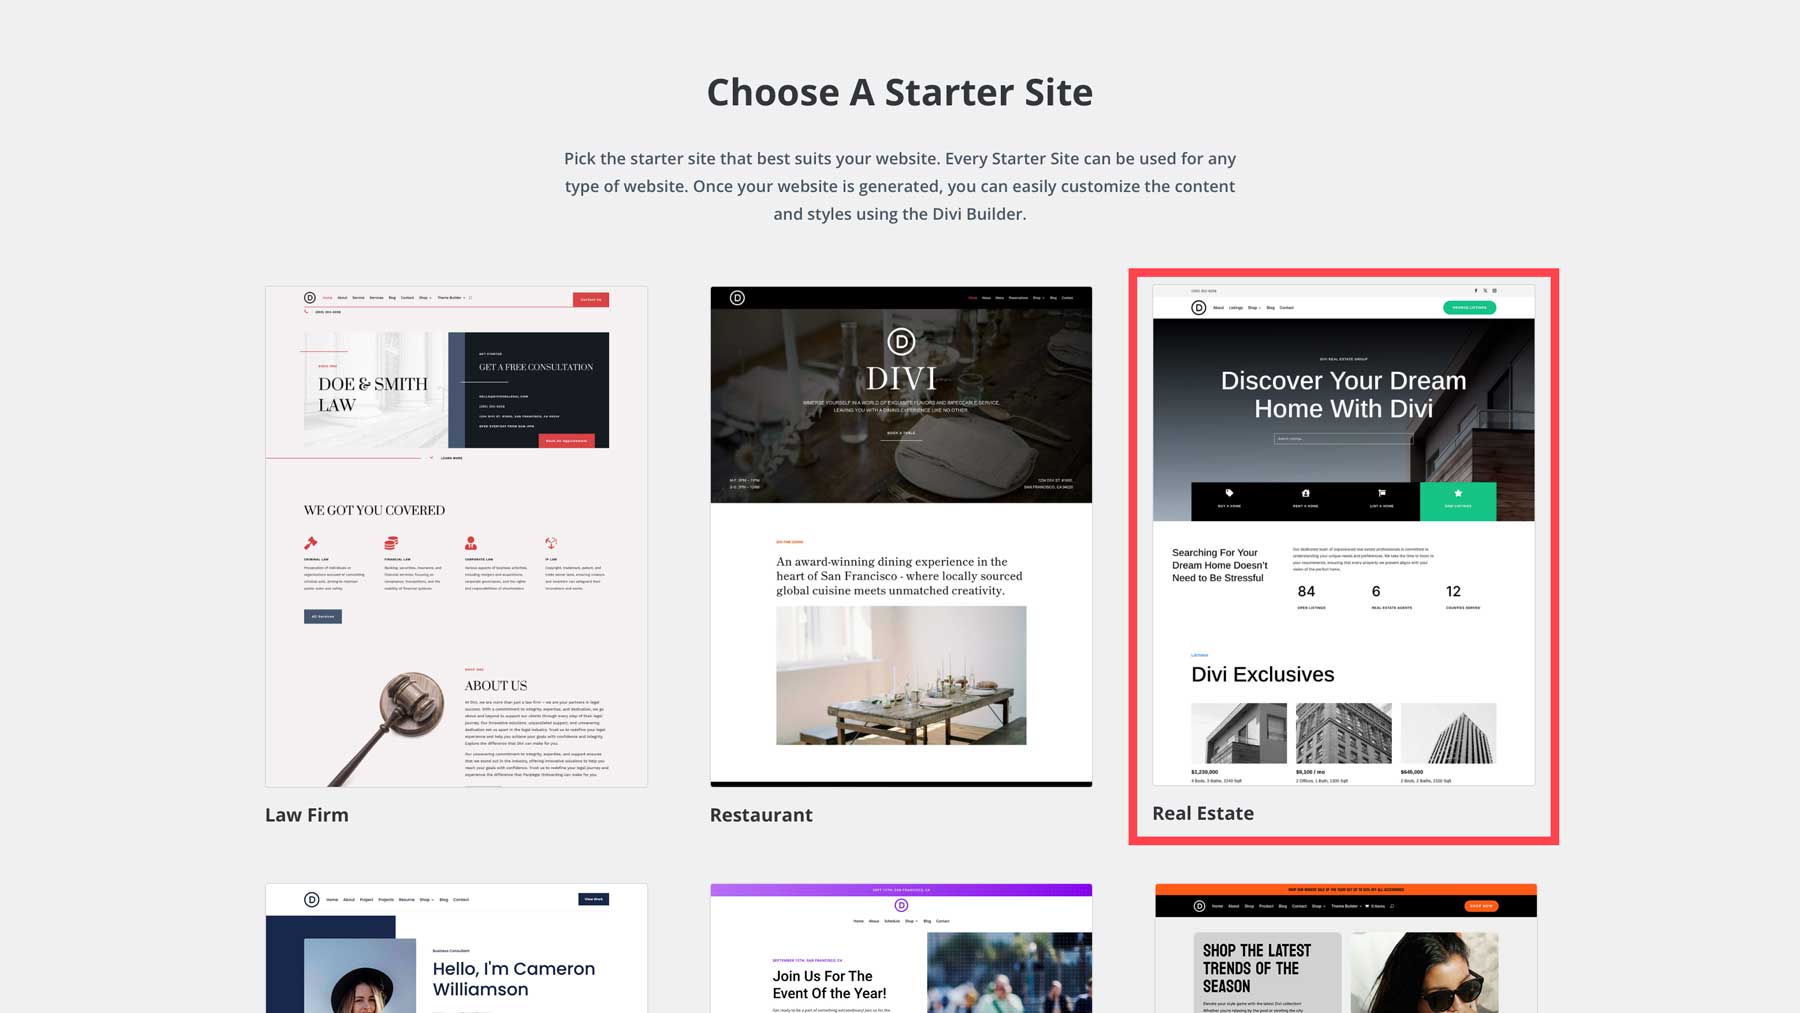
Starter Sites are built from top to bottom in under 2 minutes. Load a Starter Site and update the content to fit your needs.
Here are the core pages that will be generated for you:
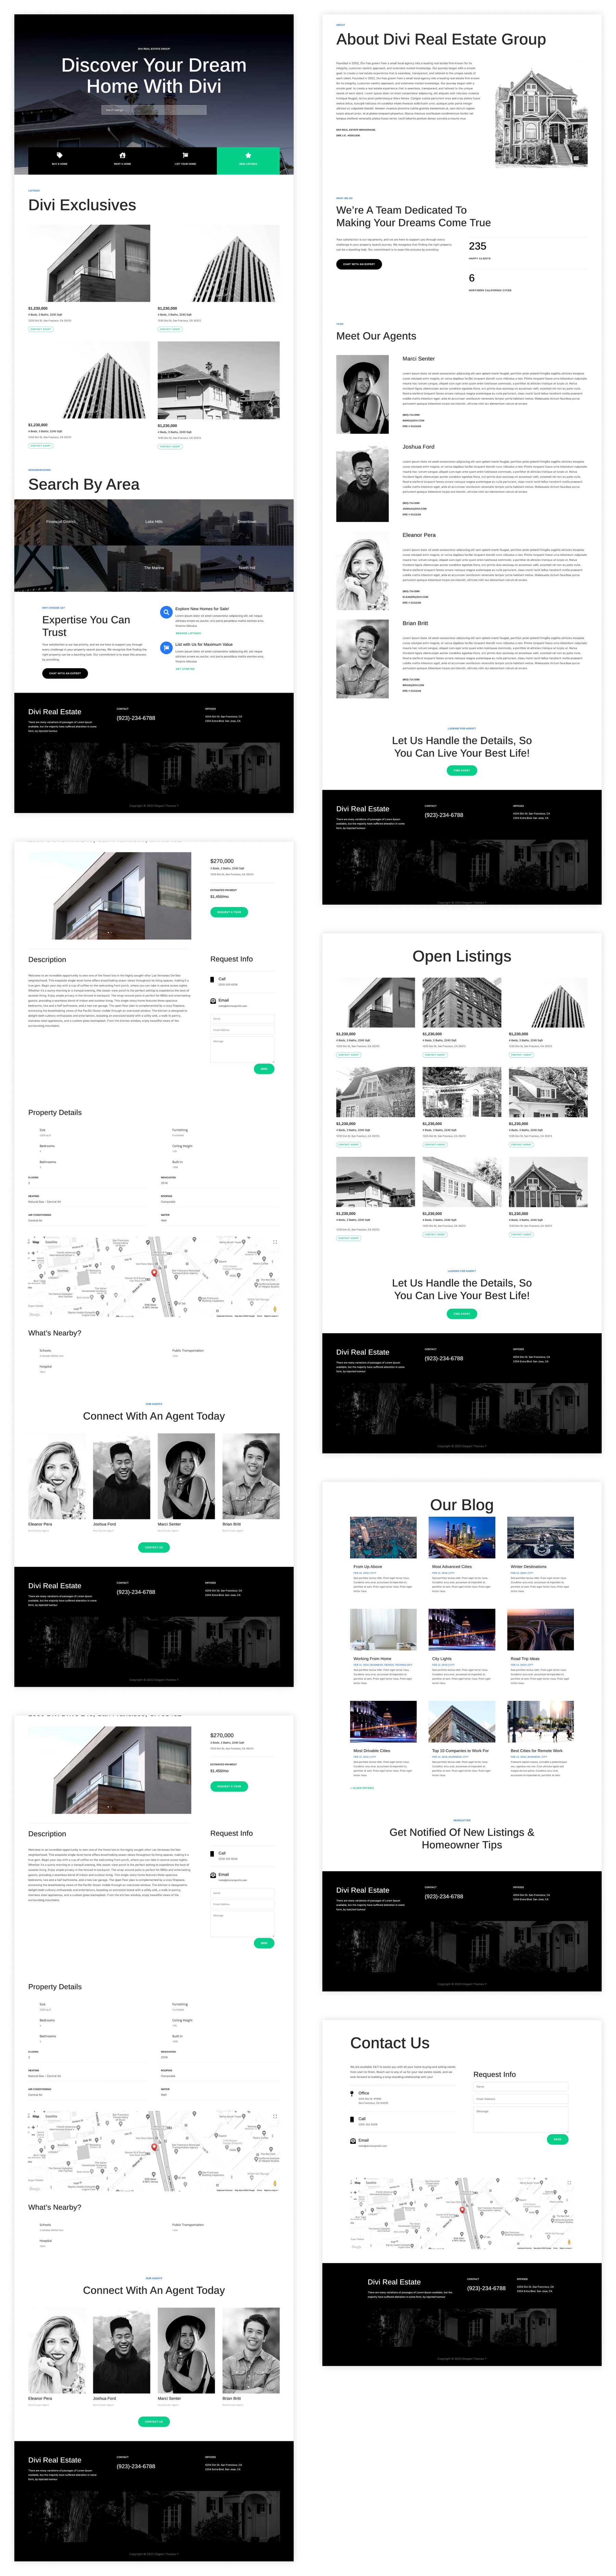
To launch a Starter Site, follow our detailed guide on How to Use Divi Starter Sites. After your site is created, customize it further to integrate real estate-specific plugins, as referenced below.
Once your site is created, you can customize it further. Edit the Theme Builder templates by navigating to Divi > Theme Builder. Here, you can modify headers, footers, and other global elements. Changes you make in the Theme Builder are automatically applied across your entire website, ensuring consistency.
For a full explanation of what’s in the Realty Starter Site, visit our detailed guide on Divi’s Real Estate Starter Site.
Step 6: Add Essential Features and Expected Functionality
Make your website better with plugins to add more of what your users expect from a real estate website.
Note: For instructions on installing plugins, see our guide on How to Install a WordPress Plugin. Plugin updates are best managed from Divi Dash (especially if you have more than one website you are maintaining).
Property Listings Management
Use plugins to manage and display properties effectively.
Easy Property Listings
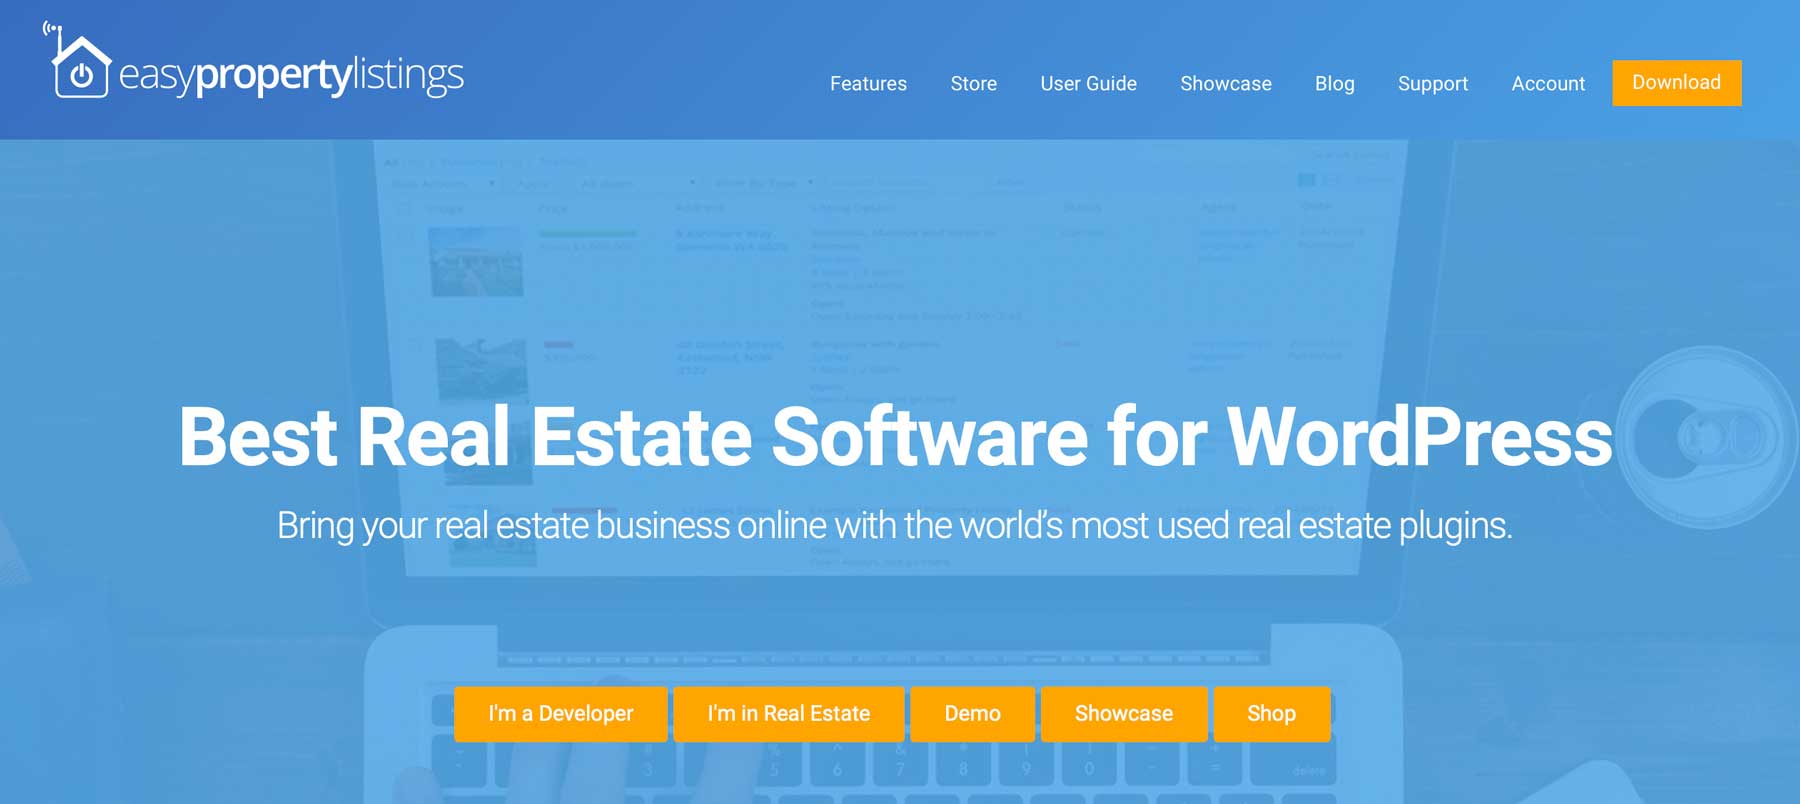
Create and manage property listings with ease. This plugin offers customizable templates and advanced search functionality, helping visitors find properties that match their criteria. It integrates directly with Divi, making it valuable for listing your properties.
Realtyna WPL
This is ideal for agencies requiring MLS/IDX integration. It provides automatic property updates from multiple listing services, ensuring your listings are always current. It’s suitable for growing agencies looking to expand their listings effortlessly.
Lead Capture and Contact Forms
WPForms
A beginner-friendly, drag-and-drop form builder that allows you to create custom contact forms, surveys, and newsletter signup forms. WPForms helps you capture leads effectively and integrates with popular email marketing services.
Bloom Email Opt-In

Create attractive opt-in forms to grow your email list. Bloom offers multiple display types and triggers, allowing you to target visitors at the right time. It integrates smoothly with major email marketing platforms.
SEO Optimization
Improving your search engine visibility is crucial.
Rank Math SEO
![]()
Offers easy-to-use features for deploying schema markup and helping with your local SEO. It includes a step-by-step setup wizard, making it easy to optimize your site even if you’re new to SEO.
For more on optimizing your site with Rank Math, check out:
Rank Math SEO Plugin: A Guide and Divi SEO: How to Optimize Your Divi Website with Rank Math
Performance Optimization
Fast loading times to improve all sorts of metrics like user experience, dwell time, and bounce rates.
WP Rocket
Speeds up your site by caching and minifying files. It’s user-friendly and helps improve page load times without requiring technical expertise.
EWWW Image Optimizer
Reduces image file sizes without quality loss, allowing your pages to load faster and improving overall site performance.
For more plugin recommendations, see our list of the Best WordPress Plugins.
Step 7: Add High-Quality Content
Providing your visitors with the best content on local listings is crucial. Many real estate websites miss this key cornerstone. If visitors can’t get accurate property info, see pictures, or know how to schedule an open house, they will find another site with that information. You can address this by focusing on these fundamentals for real estate websites.
Property Listings
Property listings are best displayed on your website using a custom post type. The two real estate plugins above can help make that easy for you. Otherwise, you can create your own custom post types with a tool like ACTP. As far as what needs to be included on your listing pages, include these:
- Invest in high-quality images and provide detailed descriptions highlighting each property’s unique features and benefits.
- Use plenty of meta fields to place property information. This will include, at the minimum, listing price, address, square feet, acreage, bed/bath counts, general description, and other details that you normally get.
- For immersive experiences, incorporate virtual tours using tools like WP VR.
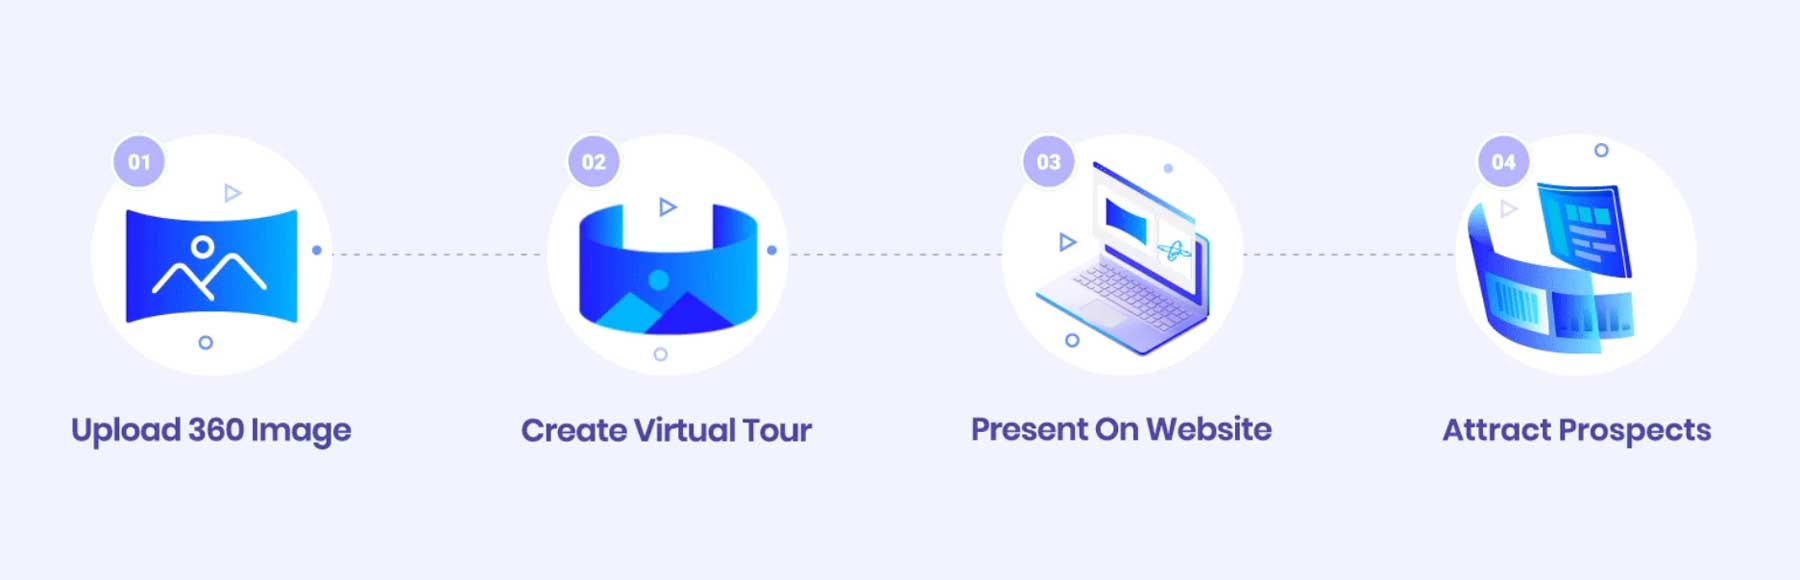
VR or 360 video might be advanced but if you have those assets, you might as well use them on your website
If you hope to sync your site with your preferred MLS, use a third-party plugin with those integrations. Again, you’ll want to research Easy Property Listings or Realtyna.
Blog Posts
Regularly publish informative blog posts to establish yourself as an authority in the industry. Topics can include:
- Market trends and analysis
- Home buying and selling tips
- Community spotlights highlighting local neighborhoods
- Real estate investment advice
- Information on school districts, commuting times, and other items of importance
High-quality content not only engages visitors but also improves your site’s SEO. When Google determines who to feature in search results, it never knowingly sends traffic to sub-par websites. Creating the best local content in your market is a great long-term strategy.
Step 8: Optimize for SEO
Implementing SEO best practices will significantly improve your site’s visibility in search engine results.
Conduct Thorough Keyword Research
Use tools like Semrush, Moz, or Google Keyword Planner to identify high-value keywords relevant to your niche. Focus on long-tail keywords like “luxury homes in [Your City]” or “first-time homebuyer tips” to target specific audience segments.
Optimize On-Page Elements
- Meta Titles and Descriptions: Write out compelling and unique meta titles and descriptions for each page, incorporating your target keywords.
- Header Tags: To structure your content logically, use H1 tags for page titles and H2/H3 tags for subheadings.
- Content Quality: Ensure your content is informative, engaging, and provides value to the reader. Aim for in-depth articles that answer common questions your audience might have.
Improve Site Speed and Mobile Experience
Search engines favor fast-loading, mobile-friendly websites. Use tools like Google PageSpeed Insights to analyze your site’s performance and make necessary improvements.
- Set Up a Free Cloudflare Account: Implement edge caching to deliver content faster to users globally.
- Optimize and Lazy-Load Images: Use image optimization plugins and enable lazy loading to improve page load times. EWWW, mentioned above, does this well.
- Use Browser Caching and Minify Resources: Use plugins like WP Rocket to cache pages and minify CSS, JavaScript, and HTML files.
- Implement Critical CSS and Speculative Loading: Optimize how CSS is delivered and consider preloading resources to improve performance. Speculative loading is an experimental feature that can start loading a new page’s files when visitors hover over a link with their mouse.
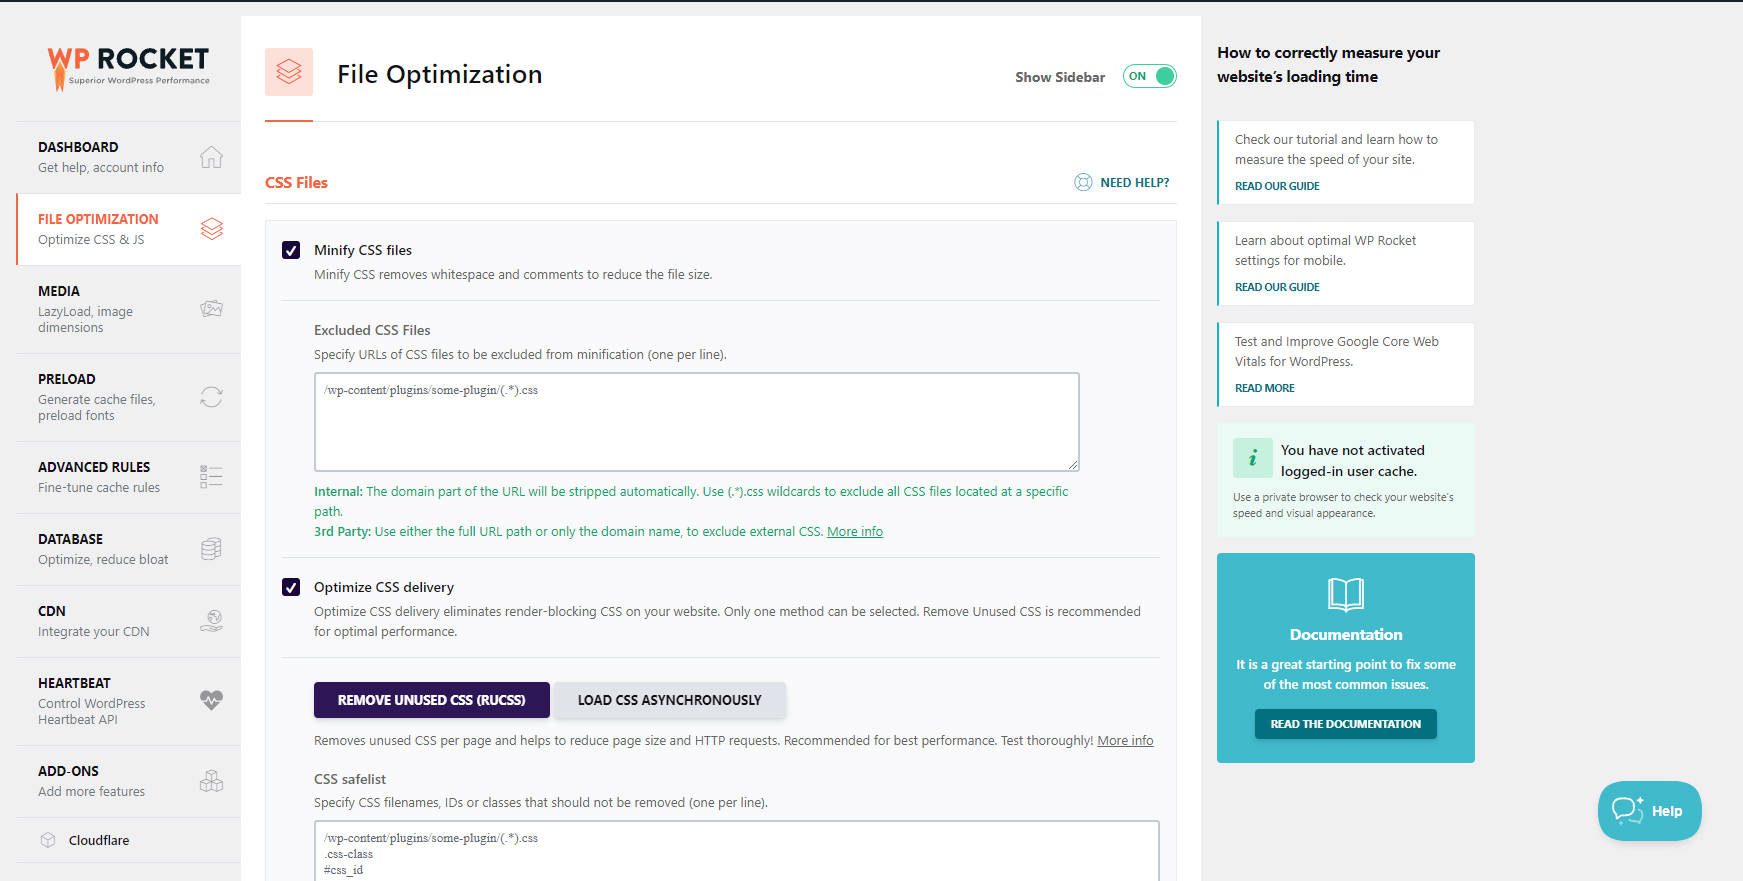
I’ve greatly improved the loading speed of many sites with WP Rocket. There are free speed optimization plugins as well, but they require a little more tailoring to get the right configuration.
Implement Technical SEO Best Practices
Technical SEO is of utmost importance for real estate websites due to the high level of competition. Ensuring your site is technically sound can give you a significant advantage to lesser sites.
- XML Sitemap: Generate an XML sitemap using your SEO plugin to help search engines index your site efficiently.
- Robots.txt File: Create a robots.txt file to guide search engine crawlers. Use a tool like Bot Logger to track crawling patterns of Google and Bing and create helpful rules so they spend their budget wisely.
- SSL Certificate: Secure your site with HTTPS to build trust with users and search engines.
- Use Google Accepted Schema: Schema can do a lot, but Google only recognizes some of it for its rich results. For a real estate business, you’ll likely want to start with LocalBusiness, Sitelinks search box, FAQ, Breadcrumbs, Event, Video, and Vacation Rental.
- Run Free Ahrefs Site Audit: Ahrefs offers weekly crawling of your site to find technical issues. After a few weeks, you’ll be able to find and fix most of the glaring issues from their site audit alone.
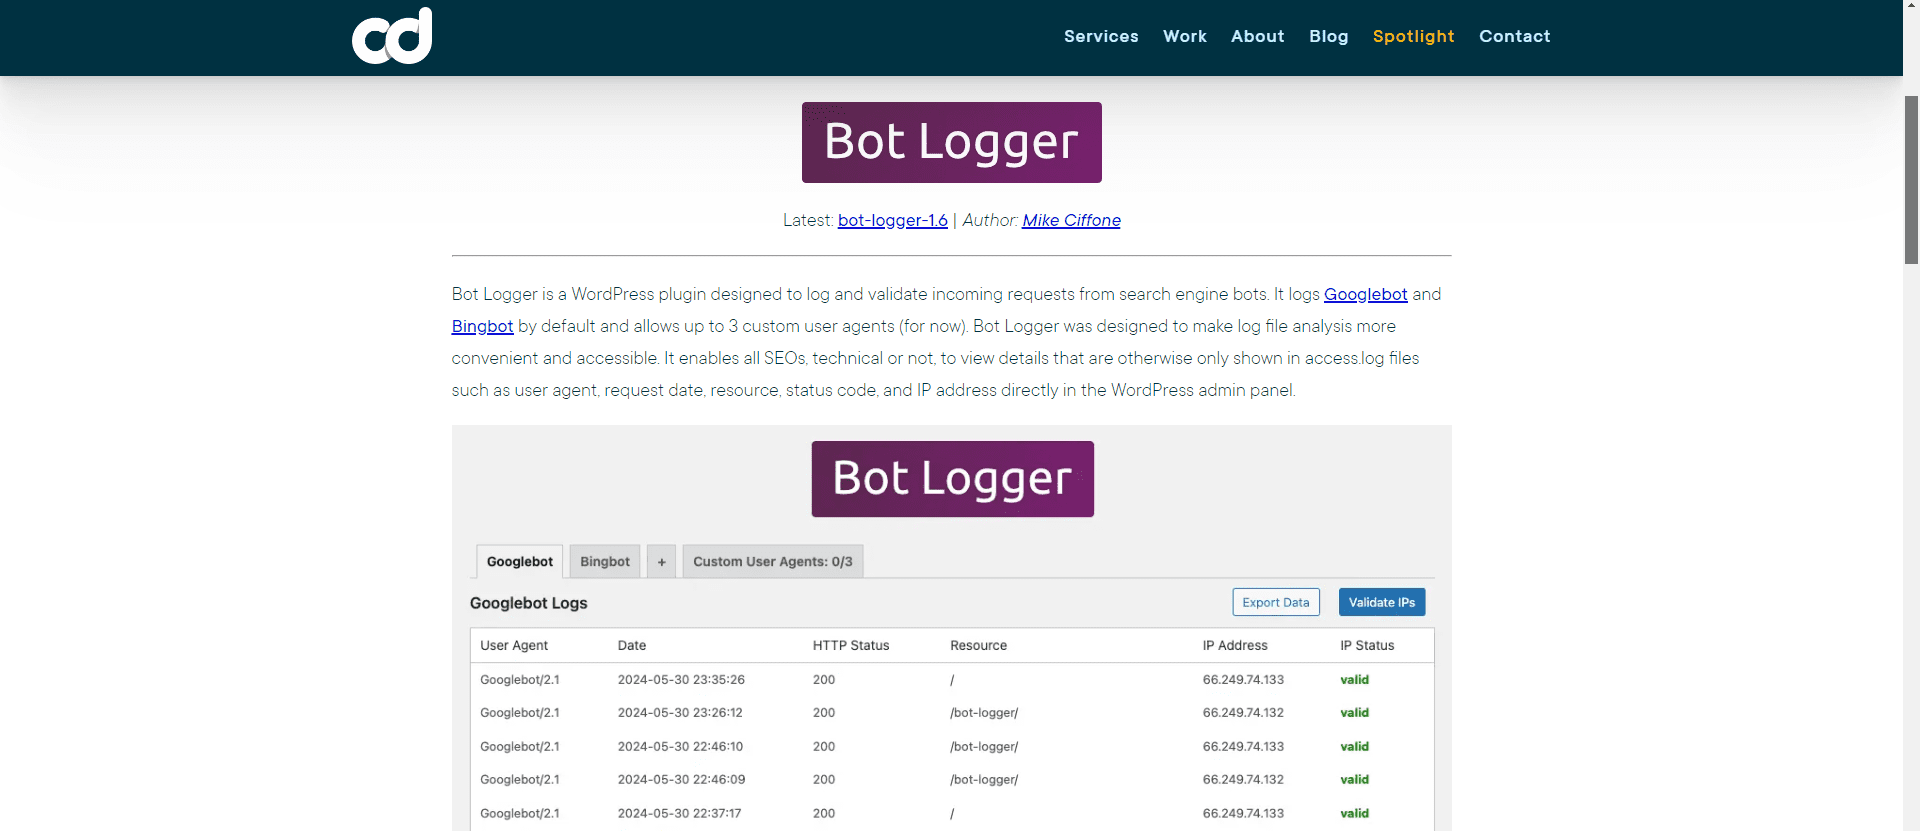
See when Google crawls your site and which pages they land on. Helps you see if there are crawling issues you should fix.
Focus on Local SEO
Local SEO fundamentals are crucial for appearing in local search results and the Google Map Pack.
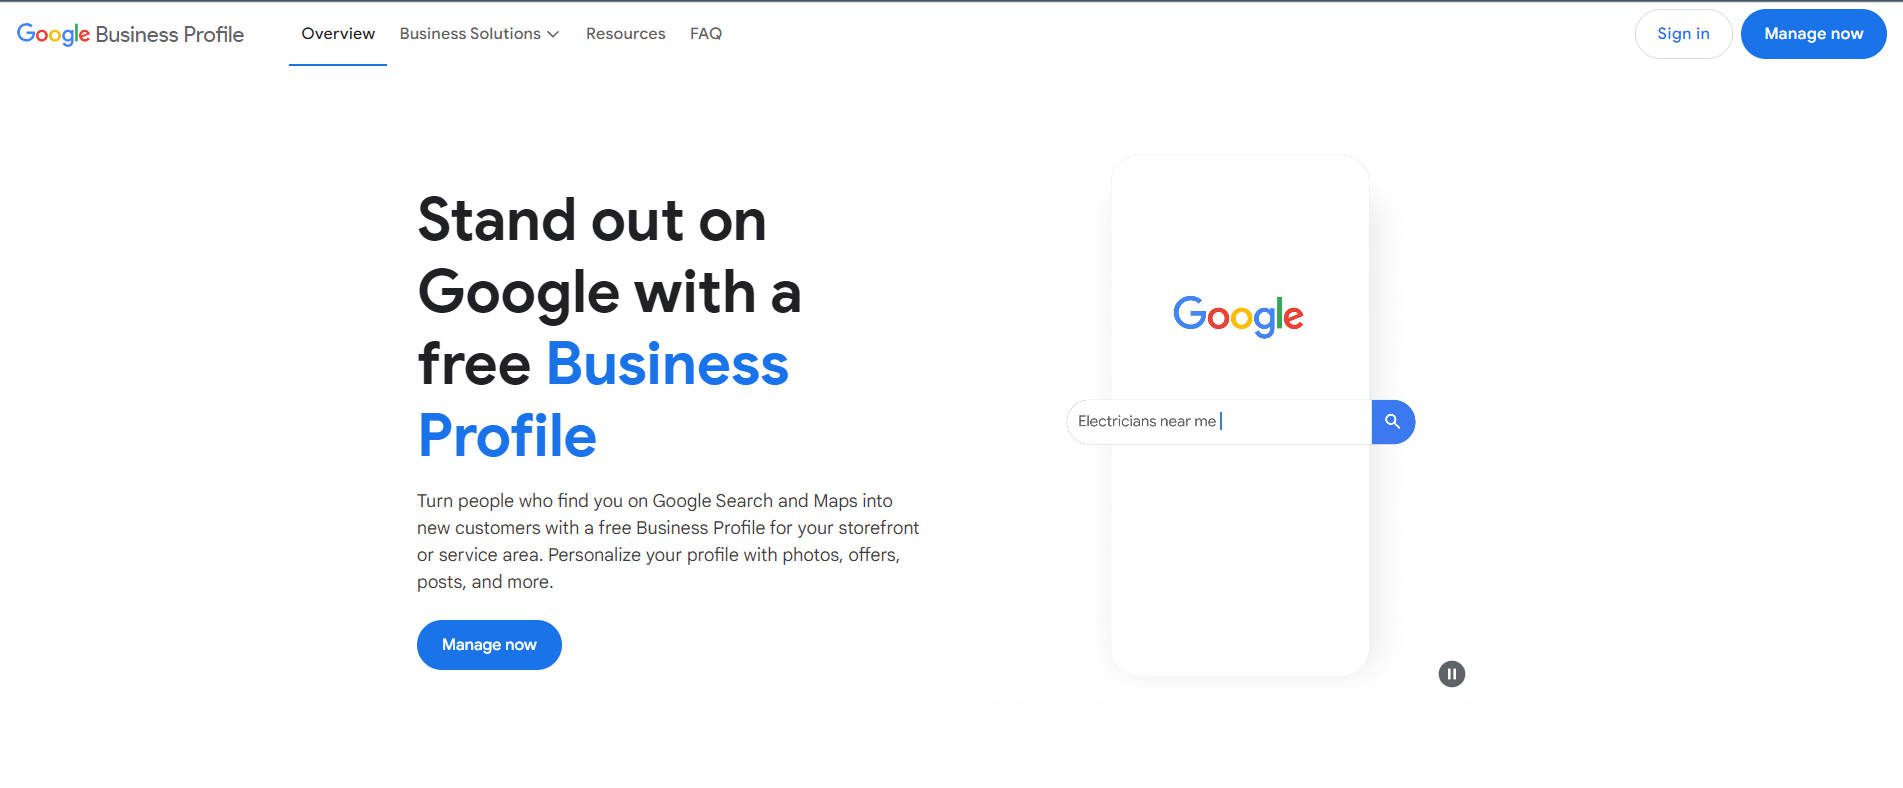
GBP is absolutely essential for local businesses
- Google Business Profile: Claim and optimize your profile with accurate information, high-quality images, and regular updates. Also consider Bing’s business listing as well once you’ve fully optimized Google’s.
- NAP Consistency: Ensure your Name, Address, and Phone number are consistent across all online platforms (this is less important than it used to be, but you still want accurate information).
- Local Citations and Backlinks: Get listed in local directories and obtain backlinks from reputable local businesses and organizations.
Step 9: Test and Launch Your Website
Before going live, thoroughly test your website to ensure everything functions correctly.
Checklist for Testing a Real Estate Website
- Functionality: Test all forms, buttons, and interactive elements to ensure they work properly. Submit test inquiries to verify contact forms.
- Cross-Browser Compatibility: Check your site on different browsers (Chrome, Firefox, Safari, Edge) to ensure consistent performance.
- Responsive Design: Verify that your site displays correctly on various devices and screen sizes.
- Performance: Use tools like GTmetrix or Google PageSpeed Insights to assess loading speeds and optimize as needed.
- Accessibility: Ensure your site is accessible to users with disabilities by following WCAG guidelines.
- SEO Audit: Use SEO auditing tools to check for issues like broken links, missing meta tags, or duplicate content.
- Remove Placeholder Content: Ensure all demo content is replaced with your own text and images.
- Set Up Analytics: Install Google Analytics to track visitor data from day one.
- Submit Sitemap: Submit your XML sitemap to Google Search Console and Bing Webmaster Tools for indexing.
The work of managing a website (especially a growing and successful website) is never done. You’ll learn so much by simply publishing your site, finding small issues, and figuring out how to overcome them.
Step 10: Maintain and Update Your Website
Your website is a living platform that requires ongoing maintenance to stay secure, relevant, and competitive. Here’s how to keep it in top shape:
Regular Updates
Regular website updates ensure that your website remains secure and functions smoothly.
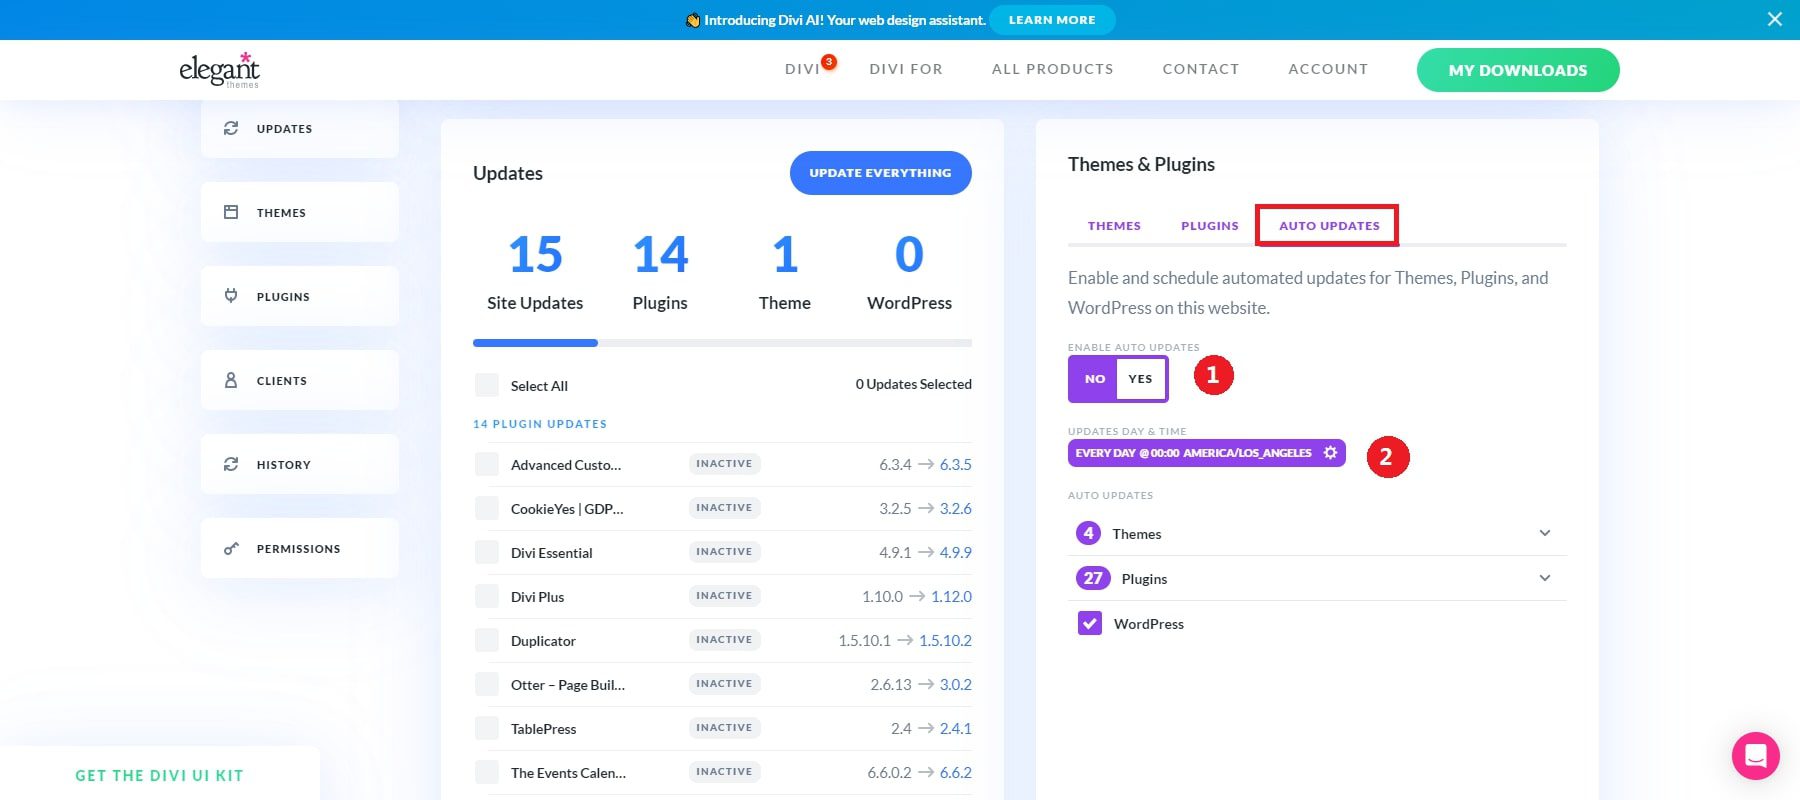
- Core, Themes, and Plugins: Update WordPress core, themes, and plugins to take advantage of security patches and new features. We developed Divi Dash, which is free for all Divi Theme users, to help you manage your WordPress theme and plugin updates.
- Content Freshness: To keep your audience engaged, regularly add new listings, update existing ones, and publish blog posts.
- Scheduled Backups: Use plugins like UpdraftPlus to automate backups of your site to a secure location.
Security Measures
Protecting your website from security threats is paramount.
- Security Plugins: Install a security plugin like Wordfence or Sucuri to monitor your site for threats.
- Strong Passwords: Use complex passwords and consider implementing two-factor authentication for admin accounts.
- User Permissions: Limit administrative access to trusted individuals and assign appropriate user roles.
- Firewalls: Use a web application firewall (WAF) to protect against common web attacks.
- DDOS Protection: Implement measures to mitigate Distributed Denial of Service (DDoS) attacks, such as working with a reliable hosting provider or using specialized DDoS protection services.
Performance Monitoring
Understanding how your site performs helps you make informed decisions for improvements.
- Analytics Review: Regularly review Google Analytics to understand user behavior and identify popular content. I also like using Microsoft Clarity to learn how people interact with my sites.
- Search Console Monitoring: Look at Google Search Console for crawl errors, security issues, or penalties.
- Feedback Collection: Encourage users to provide feedback through surveys or contact forms to identify areas for improvement. Sometimes, you don’t know what people want unless you ask them.
Get Started Today
Building a real estate website is complex but is sure to give your business visibility and more client engagement. Following these steps, you can create a professional and effective website that showcases your properties and establishes your brand in the competitive real estate market. Remember, your website is a living platform—regular updates and improvements will keep it performing at its best.
Need Assistance? Our support team is here to help you every step of the way. Send us a message if you have any questions about Divi or need guidance as you build your real estate website.
Using WordPress and Divi gives you all the tools you need to create a stunning real estate website that meets your business goals and exceeds your client’s expectations.
Here is a rundown of all the tools mentioned in this post for easy reference:
| Tools for Real Estate Websites | Description | ||
|---|---|---|---|
| 1 | Divi Theme | Best WordPress Theme & Page Builder | Get |
| 2 | Divi VIP | Expedited Customer Support | Get |
| 3 | SiteGround | WordPress Hosting | Get |
| 4 | Domains with SiteGround | Domain & Hosting | Get |
| 5 | Namecheap | Affordable Domain Registrar | Get |
| 6 | Wix | Website Builder | Get |
| 7 | Squarespace | Website Builder | Get |
| 8 | WooCommerce | E-commerce Plugin | Get |
| 9 | Easy Property Listings | Real Estate Listings Plugin | Get |
| 10 | Realtyna | Real Estate Plugin | Get |
| 11 | WPForms | Contact Form Plugin | Get |
| 12 | Rank Math | SEO Plugin | Get |
| 13 | WP Rocket | Caching Plugin | Get |
| 14 | EWWW Image Optimizer | Image Optimization Plugin | Get |
| 15 | WP VR | Virtual Reality Plugin | Get |
| 16 | Semrush | SEO Tools & Analytics | Get |
| 17 | UpdraftPlus | Backup Plugin | Get |
| 18 | Sucuri | Security Plugin | Get |


The video above has nothing to do with the Post. The title is not about Building a Real Estate Website For Agents. It’s about web hosting.