Hover effects are some of the simplest microinteractions a user can have with a site. The Divi theme has a fantastically easy set of hover effects that you can use to create an engaging UX for each and every person who visits your site. One of the more striking and useful of these effects within Divi is being able to change an image when a user hovers their cursor over it. From ecommerce shops to portfolios or even just as a fun surprise for your users, changing an image on hover can add a whole new dimension to your website. Let’s dig in and see how easy Divi makes this.
Preview
Desktop
Mobile
Load Up the Divi Visual Builder
The first thing that we need to do is load up the visual builder. For this tutorial, we are going to be using the Dog Groomers layout pack for the example. You can use this with any layout that you have designed or loaded, too.
Load Your Page or Layout Pack
To load the pack, when you open a new page in Divi, select Choose a Premade Layout, and search for “Dog Grooming.”
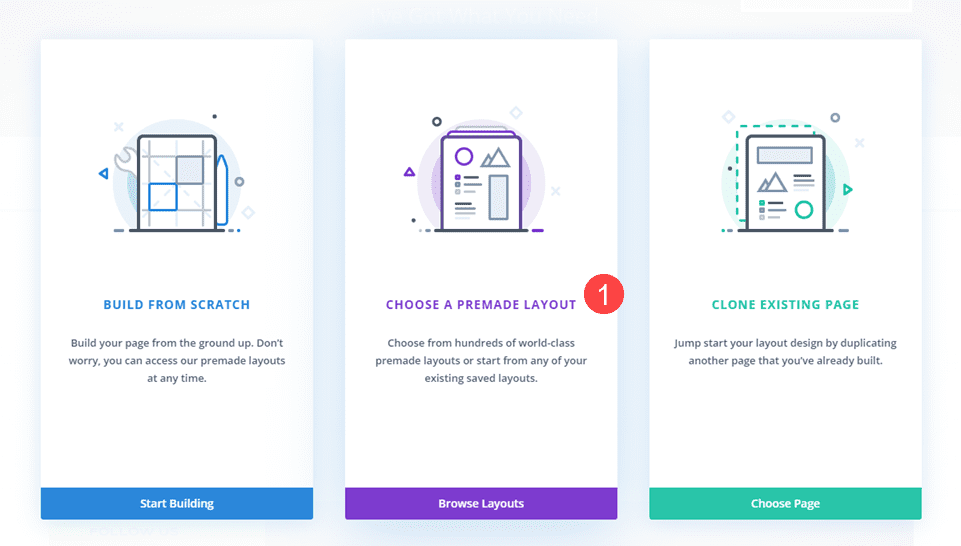
You can also find it by clicking the purple + icon at the bottom of the Divi Builder and doing the same thing.

Find Your Image(s)
When you’re in the Divi Builder, simply locate whatever images that you want to add the effect to. While each effect will be added separately, you can definitely add the hover effect to any number of elements on your page.
We want to note that you can use this on any element that contains an image. This effect is not limited to the Divi image module. So whether you’re using a Blurb or CTA or even a Column background, you can enable this the hover effect to change images.
Open the Module Settings
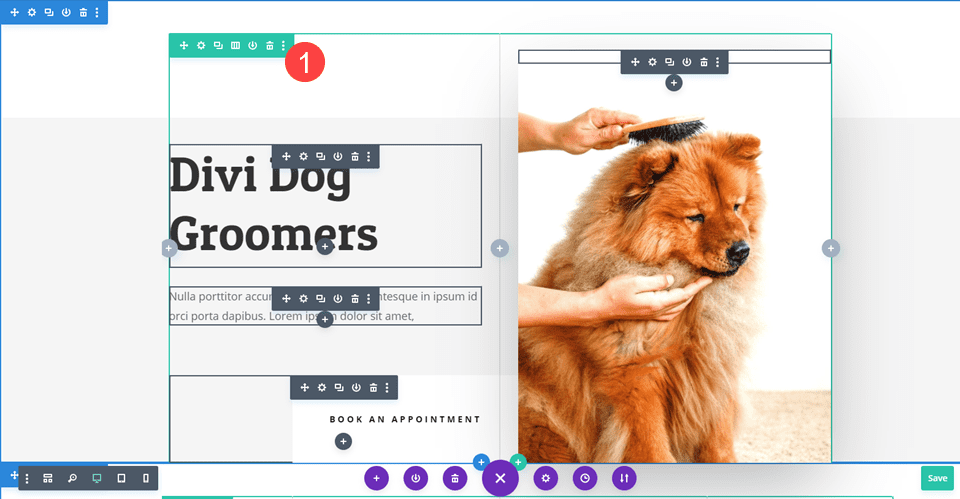
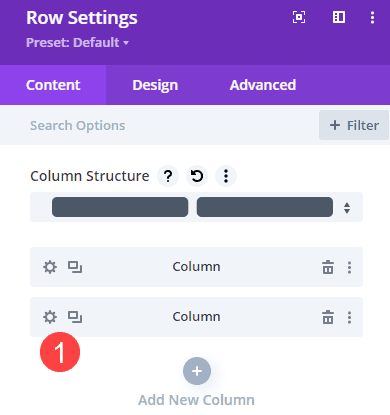
When you’ve made your decision, click the gear icon and enter the Module settings for whichever module contains the image. In the case of this layout pack, the image we’re going to apply the hover effect to is the background of the right-most column in the first row. But as we said before, it can be any element that uses an image in any way. Divi’s hover effects are powerful.
Find the Image in the Settings
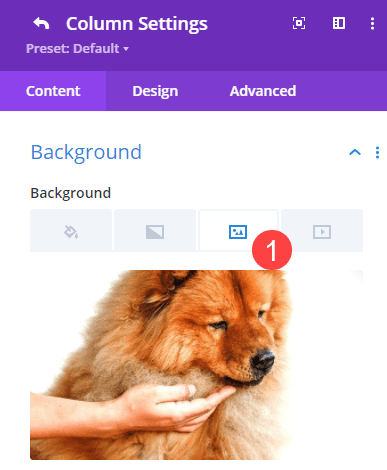
Once you’re in the correct Column settings, be sure to select the Content tab. Scroll until you find the Background options.
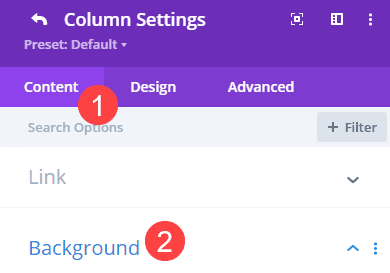
Under Background, Divi gives you the option to use either a solid color, a gradient, an image, or a video in .mp4 format. And while hover effects can be applied to any of these, we’re working in the Image tab, third from the left.
Enable Hover Effects
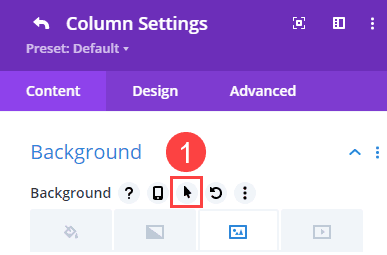
Move your mouse over the word Background (the smaller subheading), and find the Arrow Icon in the options that appear. This is the toggle for Divi Hover Effects. This same option will appear next to/above any element in the Divi Builder onto which you can apply a hover effect, not just images. So keep that in mind for other designs, too.
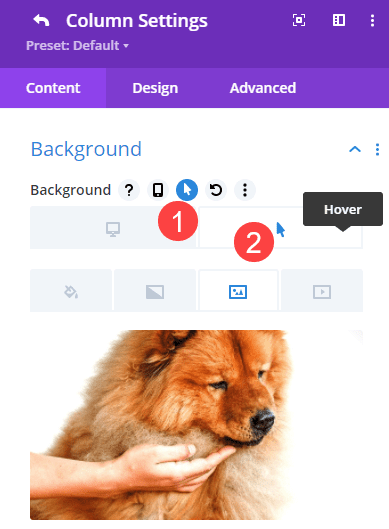
With this enabled, two new tabs appear. The left tab is the base image that appears with no interaction. It applies to mobile, too, unless set differently in the Responsiveness settings.
Choose Your New Image
When you move your cursor down to the image, you will be given the normal options: to replace the image or to delete the image. If you choose the Trashcan icon, this will enable the hover effect, only it will make the image disappear. Because we want to change the image on hover, not remove it, we’re going to either click the image itself or the gear icon.
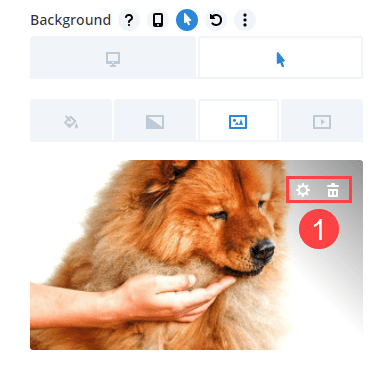
Choose the Hover (Replacement) Image
Doing so will open your Media Library. You can then choose the new image that you want your users to see when they hover over the original.
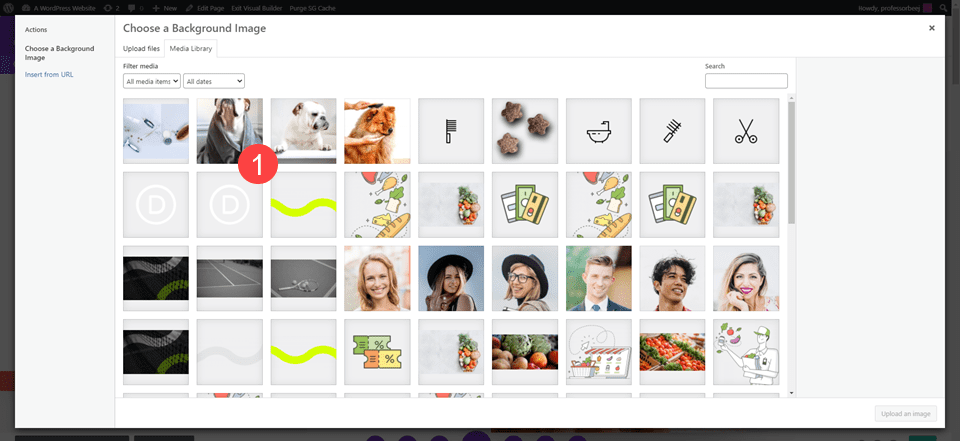
Whatever image you choose will now appear in the visual builder as well as under the hover tab of the column settings.
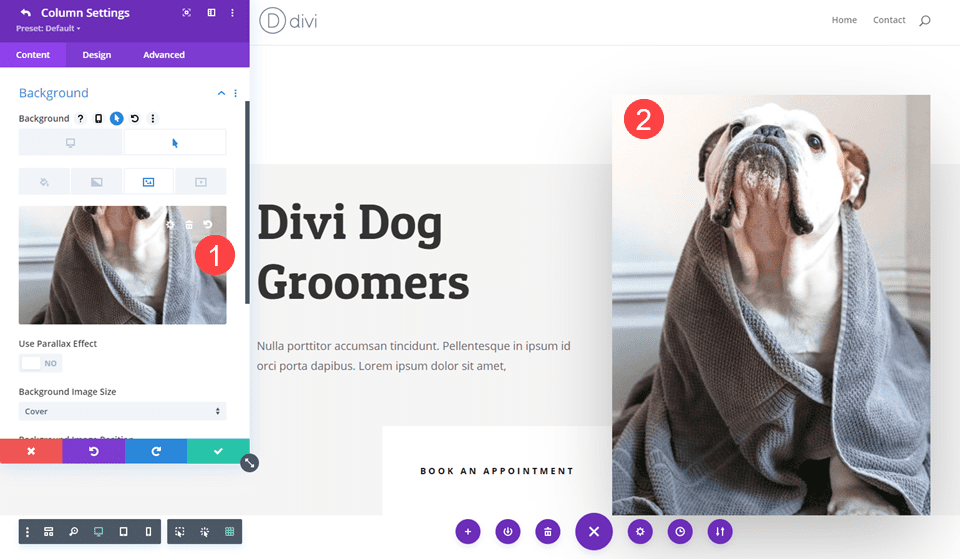
Check for Errors with the Original Image
We always suggest making sure that the original image stayed the same, too. So to verify, click into the left tab and make sure the original image is still in place.
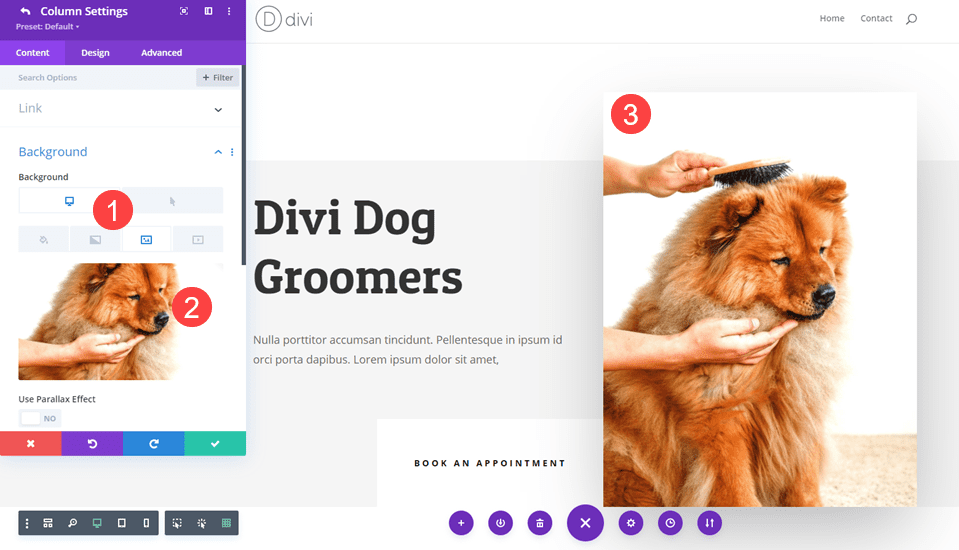
If things are good, then you’re okay to save your settings. We also try to point out to users that when working inside the column subsettings of a row, you must be sure to click the green save checkmark twice. It may look as though you’re images disappear when you save, but that’s just Divi taking you out of the Column settings and back into the Row.
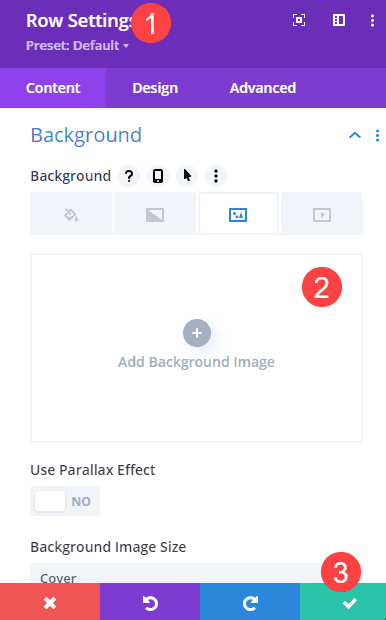
Just press the green checkmark again, and you will be all set. Just save the overall page settings now, and your changes will be live and ready for your users to hover over!
Note that Divi might not render the hover effect inside the Visual Builder itself. This is because other tasks use the hover interaction inside the builder. But when you press the green Save button for the page, the changes will show on the front end of your site.
Final Results
If you’ve gone through the steps of this tutorial, then your final results should look something like this.
Desktop
Mobile
Conclusion
The Divi Builder is full of powerful tools that anyone can use to make an interesting and interactive website. Whether you want to showcase a before-and-after for a client, a process timeline for a piece of art, or just have a fun swap as an Easter Egg for users who happen to mouse over a single image, Divi gives you that ability with just a few clicks. And with hover effects to change images on any element, not just the image or gallery modules, you can design your site in your normal style, using your favorite elements, and not have to change up what makes your designs unique to accommodate specialized modules. Have fun with it!
What fun interactions have you been able to accomplish with changing images on hover? Let us know in the comments!
Article featured image by AlexTanya / shutterstock.com




i tried to do the effect but the hover effect is applied to the div parent created to hold the img, so when the img is smaller than the big div, the effects isn’t fine
In the article, the images were added as a background of the Column, background Images will be automatically be adjust/resized to cover the whole Column container. Make sure to set the Background Image Size to “Cover” by going to Row Settings > Column Settings > Content > Background > Background Image: https://prnt.sc/hKdOlcrJVZlV
If it doesn’t help, feel free to reach out to the Support Team.
In September 2022 (8 months after this post was published) Divi added hover effects to the its modules. The image swap (in a DIVI Image Module) can be done with the hover option, but there is one big limitation: the transition is too quick and the duration cannot be changed through the transitions option (Advanced>Transitions>Transition Duration).
Question: is there a way to code this transition duration?
Note: I cannot use the column image background because the way they will stack (I have other modules on the same row under the images).
Can you do this with woocommerce product images? There is a specific plugin to allow that effect. But I’m plugin fatigued!
Just started using Divi, and it was love at first sight for me. Tons of tutorials and helpful guides on how to get started, just can’t get enough of this amazing theme.