One of the most interesting ways to show chronological information is with a timeline. Whether it’s step-by-step instructions, a list of experience for a resume, a list of projects for a portfolio, or even blog posts, timelines can make the information visually appealing. You can create your own timelines within the Divi Builder using a plugin called Divi Timeline Module.
Divi Timeline Module, which is a third-party plugin by Tortoise IT via Elegant Marketplace, adds several new modules (the main module and three companion modules) to the Divi Builder to create two different types of responsive timelines:
- One where you create content for each point on the timeline. Each item in the timeline can have its own content, links, colors, fonts, icons, etc.
- One that uses your existing content from either pages, posts, media, or projects.
In this overview, I’ll step through making both types of timelines and then I’ll show an example of building a blog page. For this overview, I’m using free images from Unsplash.com. Let’s get started.
Installing the Divi Timeline Module Plugin
Installation is simple. Just upload the plugin and activate as you would any plugin. There’s no other setup required.
Creating a Timeline
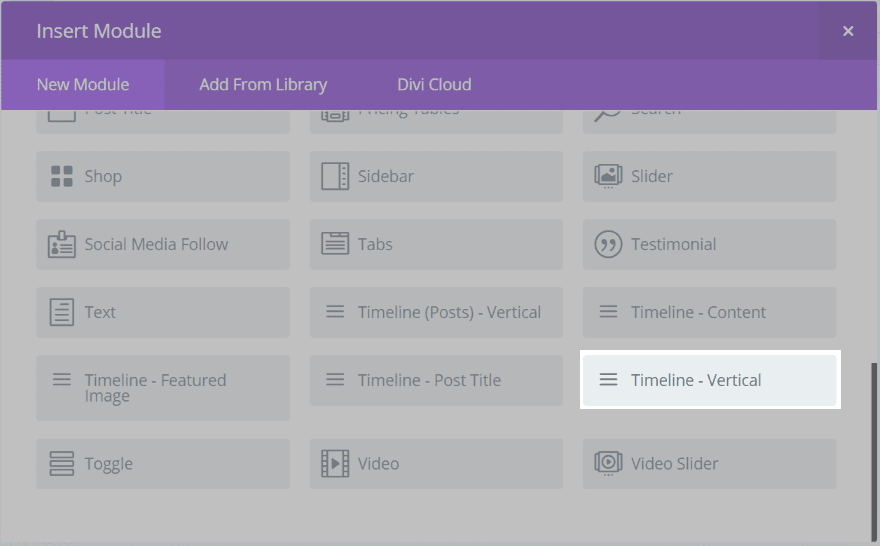
There are four modules: (Post) – Vertical, Content, Featured Image, and Vertical. Although it will work with multi-column layouts, single-column layouts work best. Timeline – Vertical or Timeline (Posts) – Vertical will be used within the pages. The rest will be used to create a layout.
Timeline Vertical
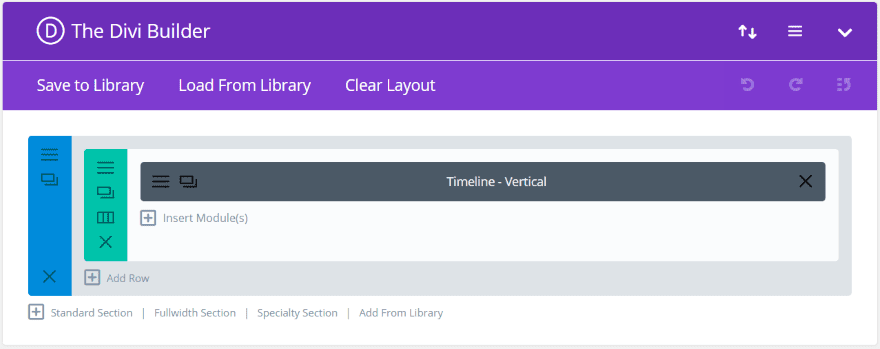
Add the Timeline – Vertical module to a single-column row.
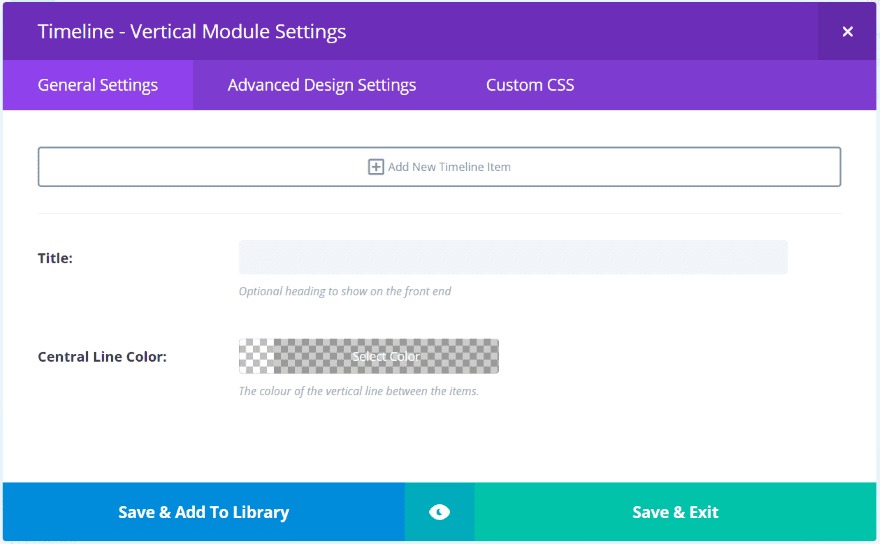
In the General Settings we can add a new timeline item, provide a title for the timeline, and choose the timeline’s color. Click Add New Timeline Item to create each of the timeline elements.
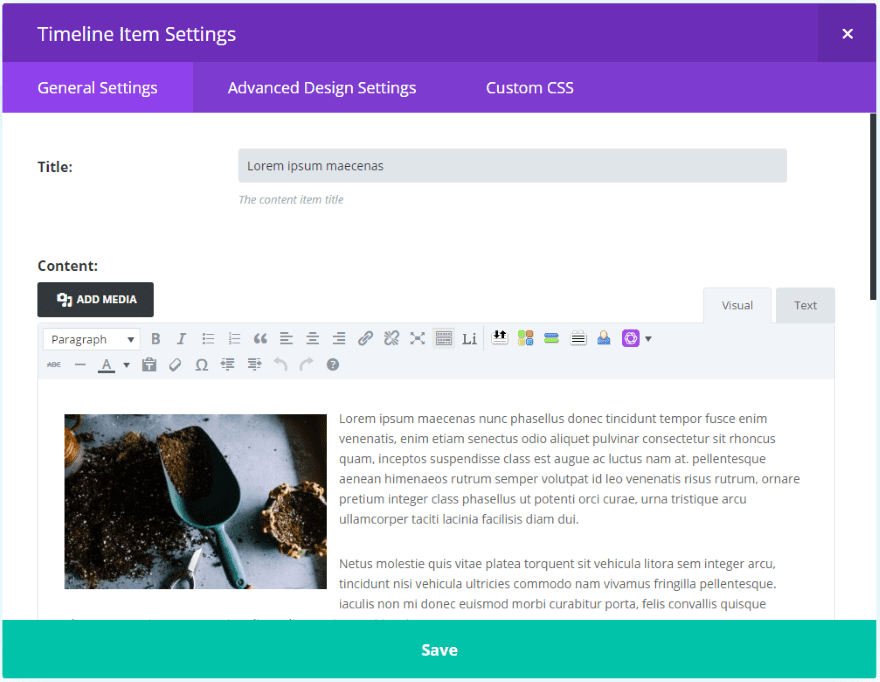
Clicking Add New Timeline Item opens a content editor complete with text, media, label, show more button, icon, icon color, background color, and image/icon animation. It also includes all of the standard Advanced Design Settings as well as Custom CSS.
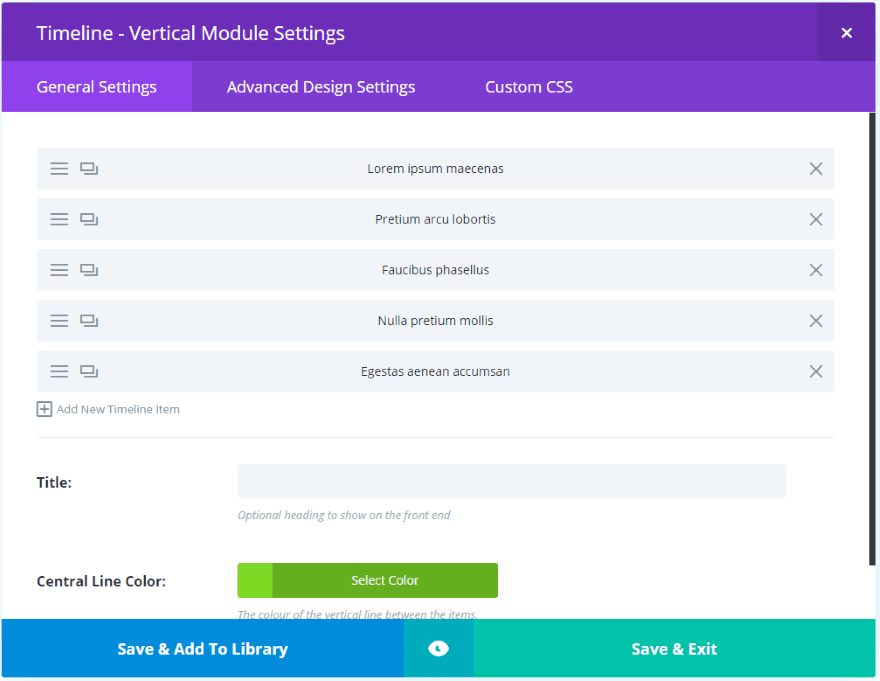
Add as many timeline elements as you want. You can see here that I’ve added five elements and changed the Central Line Color to green. Within the timeline elements I selected icons and colors for each element.
Timeline Vertical Result
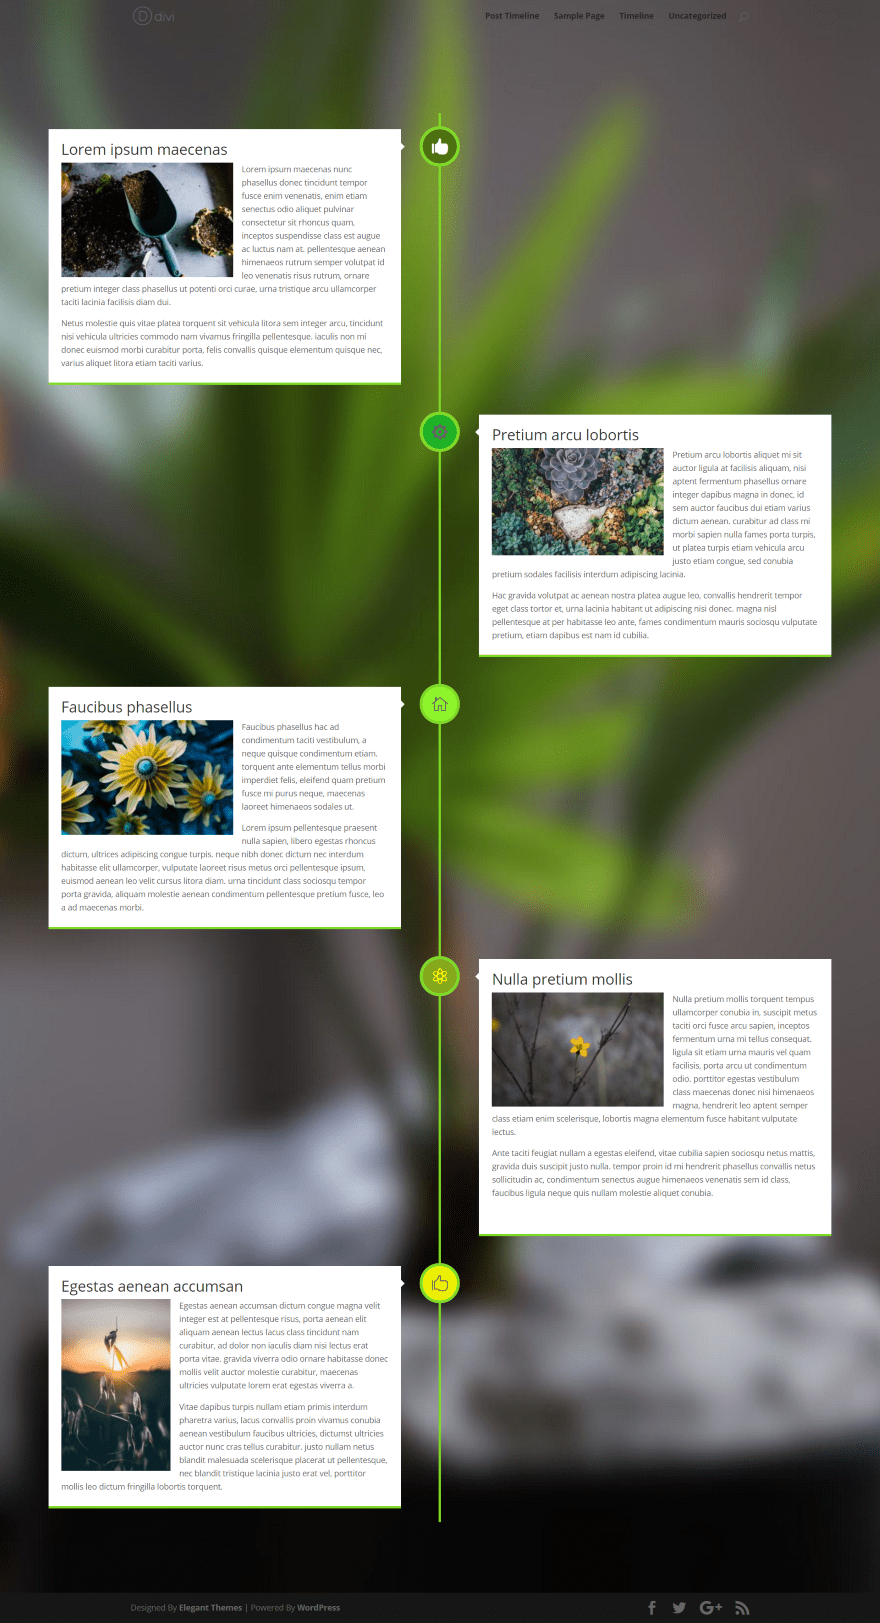
Here’s the quick timeline that I made. It has five items – each with their own content and icons. The color that I chose for the line was also added to the bottom of the content windows. I’ve added a background image to the section that holds the module.
Of course by using the Advanced Design Settings the module can be styled to match the page, so you don’t have to have a white background or these fonts.
This is a great choice for numbered steps of instructions, resume, list of products, portfolio, etc.
Post Timeline
You can also create a timeline from your content. This includes posts, pages, media, or projects. How it works can get a little complicated but it’s easy to create.
You’ll need to do two things:
- Create a layout
- Create the page and choose that layout
All of the modules needed to create the layout and the page are included. Let’s create an example using sample blog posts.
Create a Layout
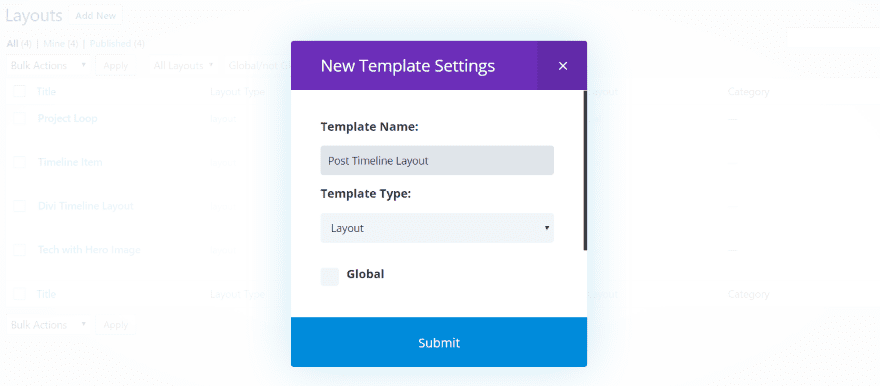
First, create a layout. In the dashboard, go to Divi, Divi Library, and select Add New. Give the layout a name that makes sense to you (I chose Post Timeline Layout). Select Layout as the Template Type. Leave Global unchecked. Click Submit.
The layout you create will display the posts (or the post-type you choose). Think of this as creating your own blog module, only you get to design the layout of the posts. It’s not that, but that example helped me to understand it easily. Well, it kind of is that, but not really. Moving on.
This layout is built using the Timeline Content, Featured Image, and Post Title modules that are included in the plugin.
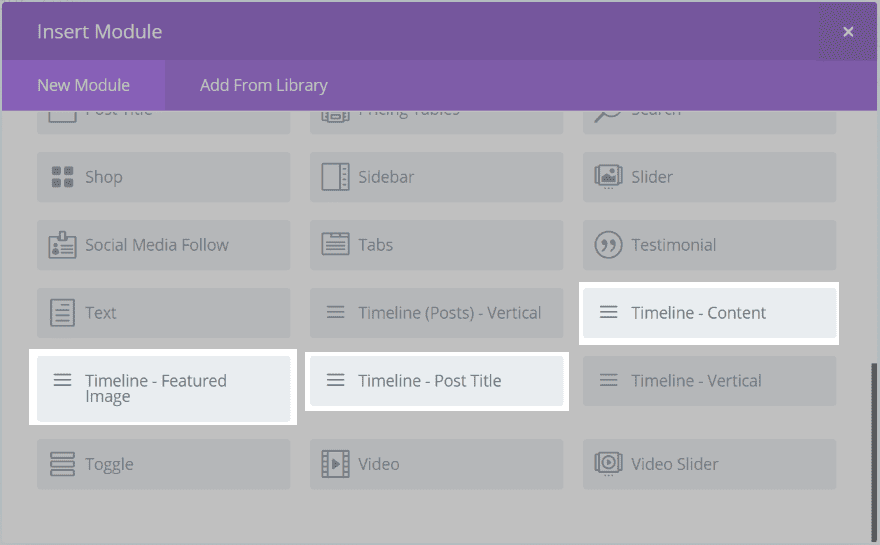
To create the layout, choose a two-column layout and place the Timeline – Featured Image module on the right, and the Timeline – Post Title and Timeline – Content modules on the left. Of course you might want to play around with layouts a little bit, such as using only the image or title, or placing them in different configurations, but let’s build the regular layout first.
Note – these modules are not used within a page like most Divi Builder modules. They’re meant to be used within a layout that will be called by the Timeline (Posts) – Vertical module.
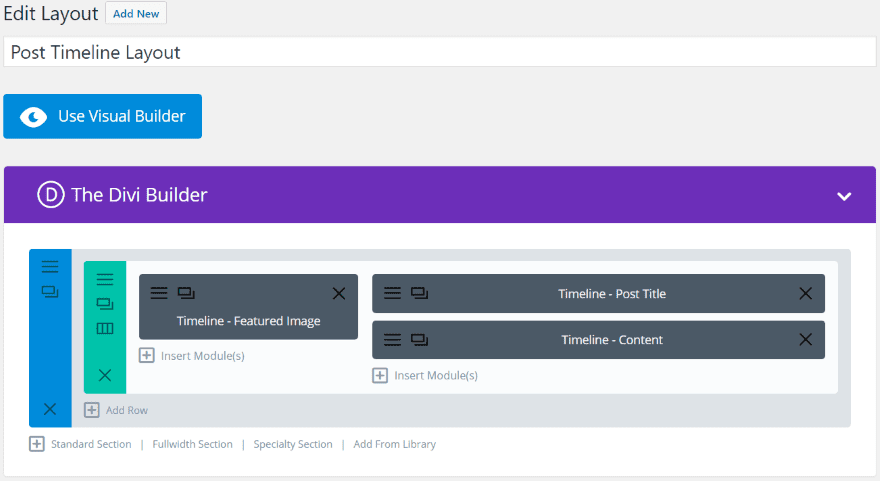
This is the layout as it looks in the Divi Builder. As expected, each of these modules have their own options including General Settings, Advanced Design Settings, and Custom CSS.
I’m using a 1/3, 2/3 layout but 1/2, 1/2 works too. It will partially depend on the size of the featured image you want to use and the amount of content you want to display, as well as other settings such as font sizes.
Once you’ve placed your modules and chosen all of your settings select Update in the right under Publish.
Let’s look closer at each module.
Featured Image Module
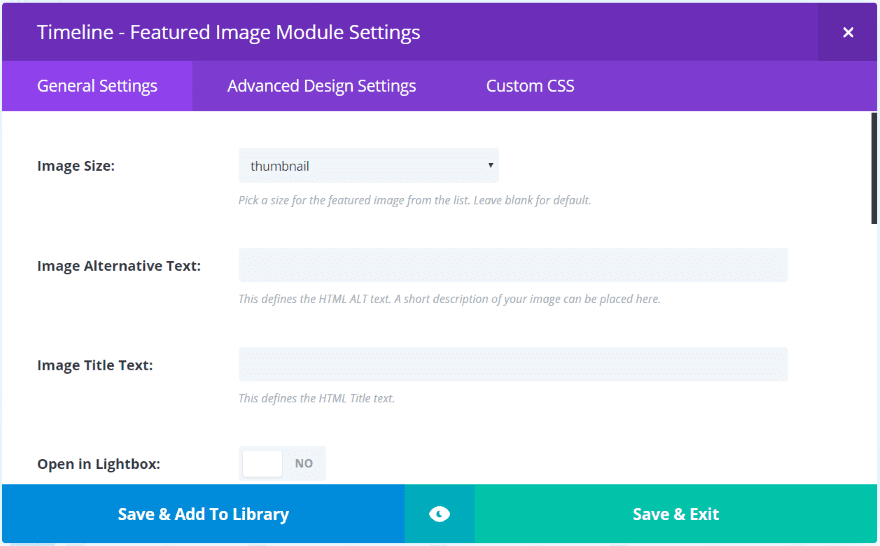
The Featured Image Module does exactly what you’d expect – it displays the featured image of a post. It includes a dropdown box where you can choose the image size. It also includes alternate text, title, open in lightbox, link URL, open in same window or new tab, animation, remove the space below the image, alignment, disable for devices, and admin label.
I’m choosing a medium image size and turning off animation.
Post Title Module
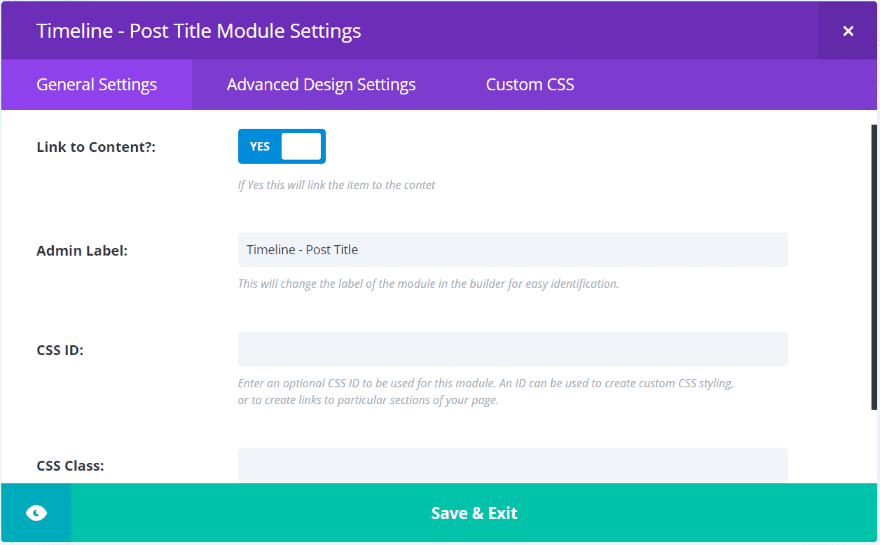
The Post Title Module lets you link to the content and change the admin label and set CSS settings. I recommend leaving the Link to Content setting set to Yes. I left the rest set to their defaults.
Content Module
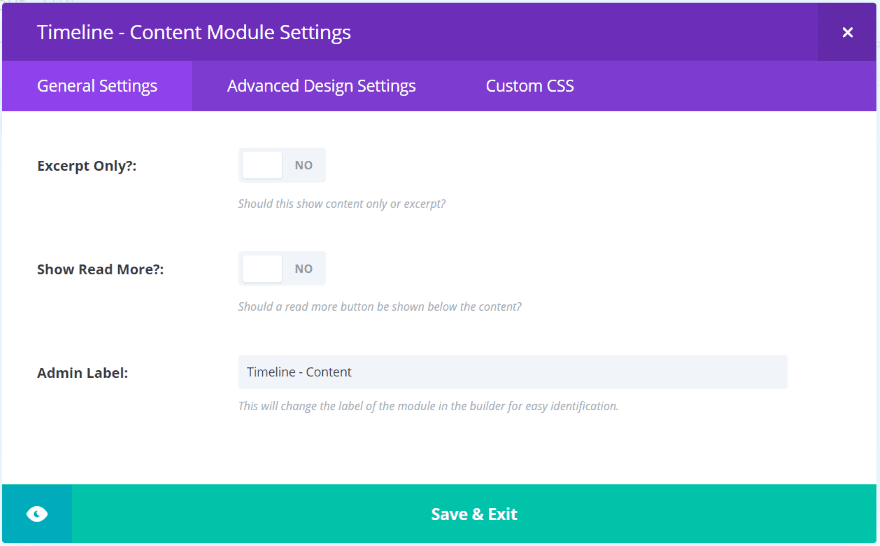
The Content Module lets you choose to show experts or content, and display a Read More button. I set it to show an excerpt and the read more button.
Create the Page
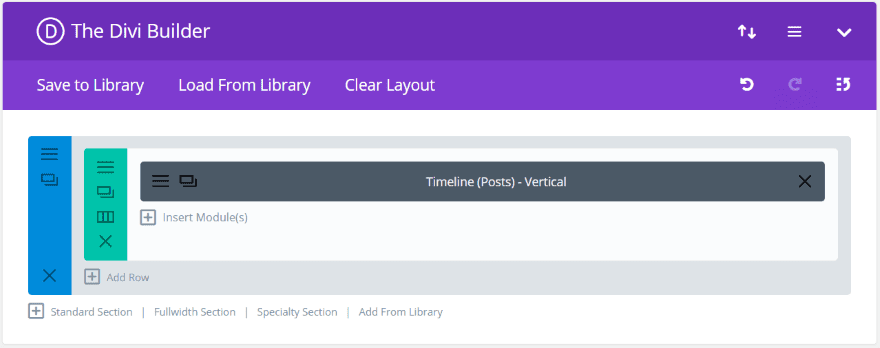
Create a new page using the Divi Builder and drop the Timeline (Posts) – Vertical module into a single column layout.
Timeline (Posts) Vertical Module Settings
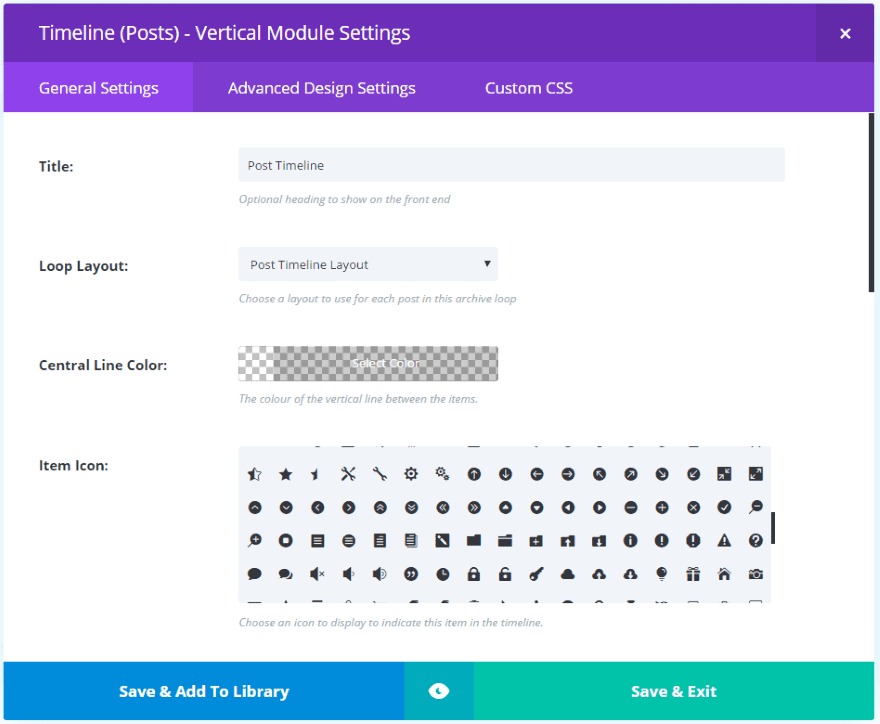
This module will call the layout that you created. Here you have a lot of options including title, layout, central line color, icon for the items on the timeline, show numbers or icons, icon/number color and background color, animation, pagination, post type, number of posts to display, post offset (which post to start with), taxonomy, and admin label.
In order to call the layout you created, select it from the dropdown list called Loop Layout. Scroll down and chose Posts as the Post Type in order to display blog posts.
Once you’ve made all of your choices, publish the page.
Post Timeline Result
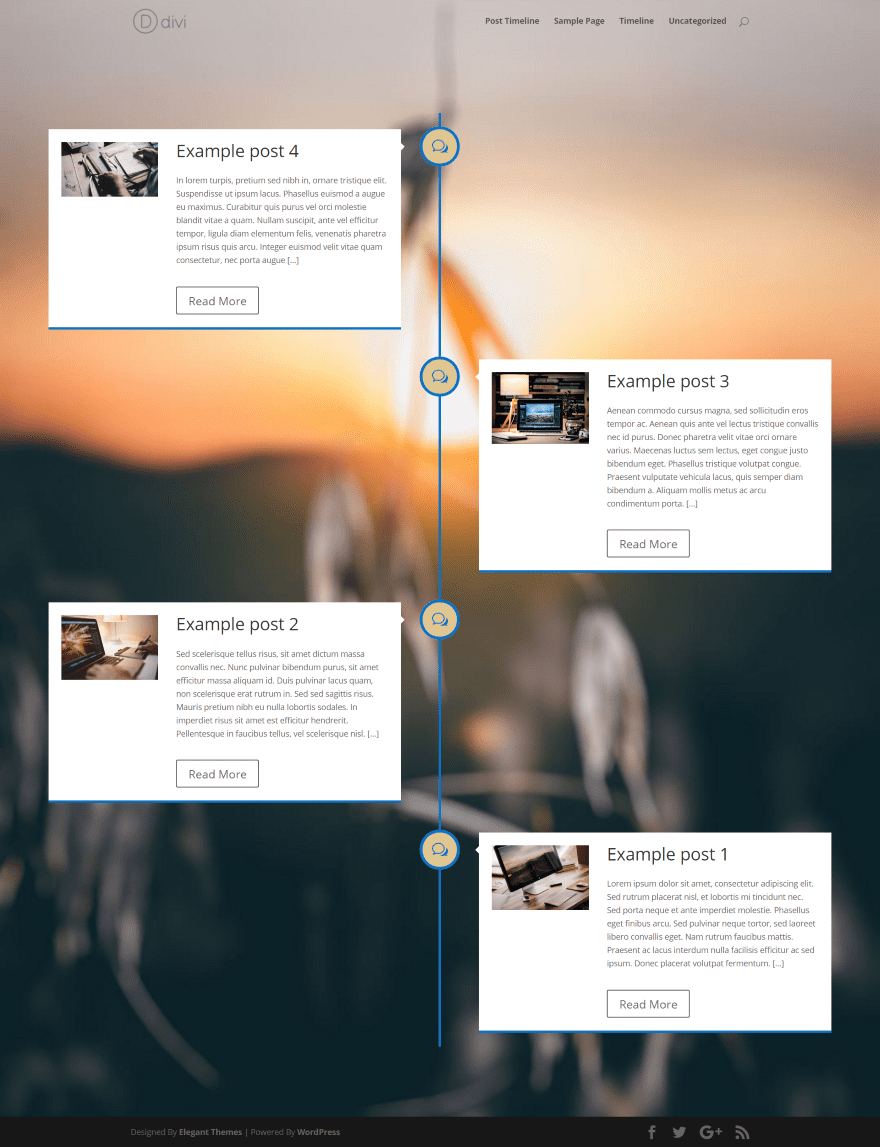
The result is a blog page with my latest posts on a timeline. I’ve placed the timeline over a background image (the image is added to the section). With this module the icons are global. I’ve set the timeline to blue with a tan icon background and blue icons. The post module can be further styled to match the page using the Advanced Design Settings.
A Blog Example
The timeline can be used within other layouts. I wanted to create a blog layout that displays a few posts at the top and then the rest within a timeline.
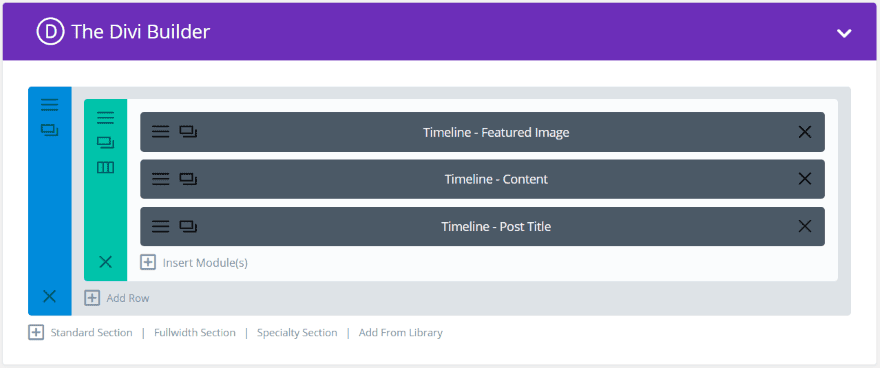
I created a layout in a single column with the image at the top, content in the middle, and the title at the bottom.
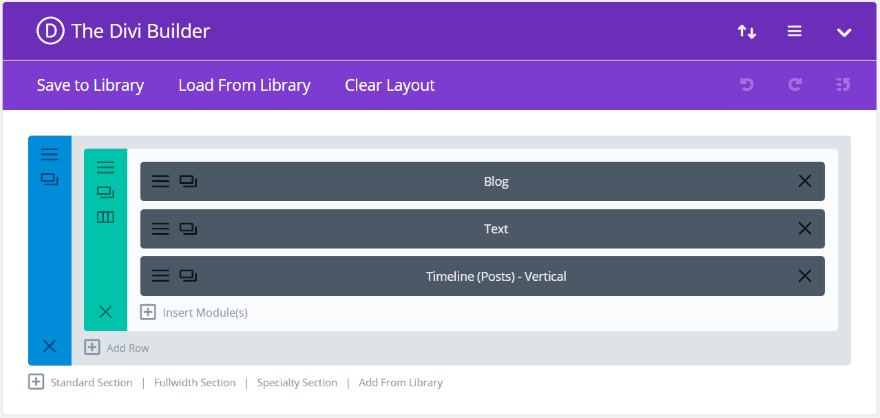
I then created a page with a Blog module and the Timeline (Posts) – Vertical module. I set the Blog module to display three posts in a grid. I set the Timeline module to have an offset of 3 so it will ignore the posts that the Blog module will display and start at post number 4. I placed a Text module between them with a message that alerts the visitor that the content below the blog posts are still part of the blog.
Blog Page Result
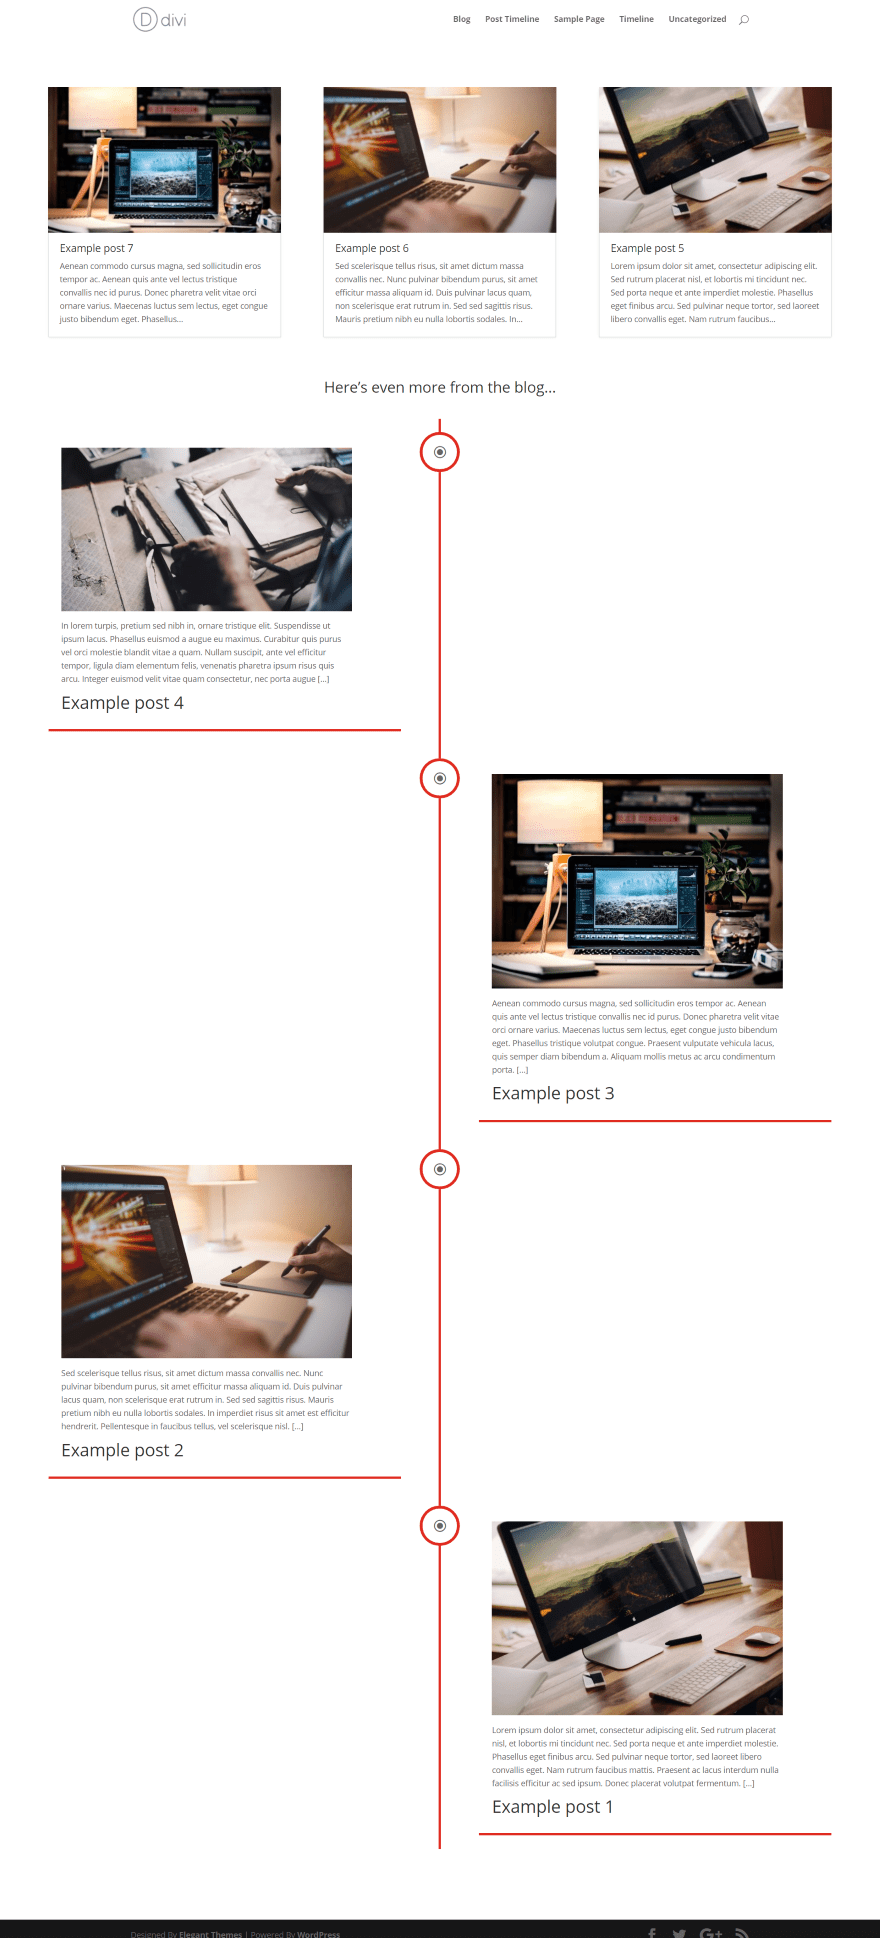
Here’s the blog page. The result is a clean layout that guides the reader through the content. Of course this doesn’t have to just be a blog page. This could also be used to show projects for a portfolio page, artwork, services, etc.
Final Thoughts
Timelines are great design elements to display chronological or numerical data. Divi Timeline Module adds this functionality to the Divi Builder, providing an easy way to create custom timelines or use your content such as pages, posts, media, or projects to create chronological timelines to display within your layouts.
The plugin is easy to use and all of the design settings you’d expect from any Divi Module are here. It doesn’t take long to learn and creating the layouts and pages is as fast and simple as using the Divi Builder. If you want to add a timeline to your website, Divi Timeline Module is a great choice.
You also have other timeline plugins on the market so you can see which ones have the features you are looking for.
We’d like to hear from you. Have you used Divi Timeline Module? Let us know about your experience in the comments.
Featured Image via Ollie The Designer / shutterstock.com


This plugin has very bad support. Tickets get “Escalated to Plugin Developer – Pending Investigation” and after that the ticket gets closed.
And nothing happens.
I opened a ticket first of May. Now it is June 10.
Great support.
Hi,
Is it possible to add pdf files to the timeline? How does one go about that?
I love the plugin… have purchased already. One point i’d like to make on this article is, and it’s only small, but I needed to see the end result of what you were creating before going through the step by step instructions. Maybe you could rearrange it next time you do one?
Purchased and implemented. Immediately, site slowed down. 502 errors. Deactivated other plugins. No change. Contacted support and this was his verbatim response:
“Please can you contact your site hosting provider and ask them to check the PHP error logs? They should be able to fix any issue that they find on the server as our plugin functions perfectly on all current sites.”
Gee, that’s nice to know. I’m using WP Engine. Kinda doubt it’s their server but I will check.
I purchased this a while ago and I could not get it to function properly. I obviously tried to reach out to support, but after multiple fruitless (no response except for the robot text) I asked for a refund. I have still not heard anything from support or the author.
I would highly recommend testing support and reaching out to the author first before spending money on this product. I feel like a real sucker for purchasing this module.
Same problem here…
I don’t think it’s server error…
I increase the memory limit but nothing to do the page can be displayed.
Tim, Divi needs lots of resources server-side wise. So that could be it. I use a VPS for my website and I never had this problem since I have more resources to allocate.
Hope this helps.
Looks terrific. Great article! Will purchase.
Maybe Divi should have Timeline Module itself, not used a third-party plugin.
Alright idea, but the vertical spacing between induvidual posts should be adjustable to less than always full height: that’s a bit of a waste of space…
This is what I have been searching for since a year. As a plugin. And now it comes as Divi-module. Even better. Thank you so much, this will be helpful in so many ways!
Wow! That’s exactly what I was looking for 🙂 I was literally a moment from hiring a programmer to do something similar. 😉
Yes!! I have been needing something like this fi several customers!!
Hihi, “The Content Module lets you choose to show experts or content”
yes, I want to show experts… ;=)
I like this module because I was searching for a way to do some storytelling with clearly defined chapters + featured image…. so I think this is the way I can create that.
Wonderful! I just love this look and functions! Amazing!
Thanks Randy, an excellent review. You went and documented it better than I could have done myself 😉
Thanks
Sean
I love the fact that you create and extend your amazing designs! Keep up with the great work and you will actually help the world become a better place!
This looks unlike anything I’ve seen around and would be great choice for simple designer resume (I’m on it now).
My clients are asking for this .. great timing. Please raise the price, or offer a premium version, so you add/build more functionality & ability to customize. This is a great page layout concept that many have attempted, but no one does very well. Thanks!
That looks incredible! I’m making some changes on my website right now and I love these ideas.
The timeline does give an awesome professional look to the content.
Thanks for the great addition!