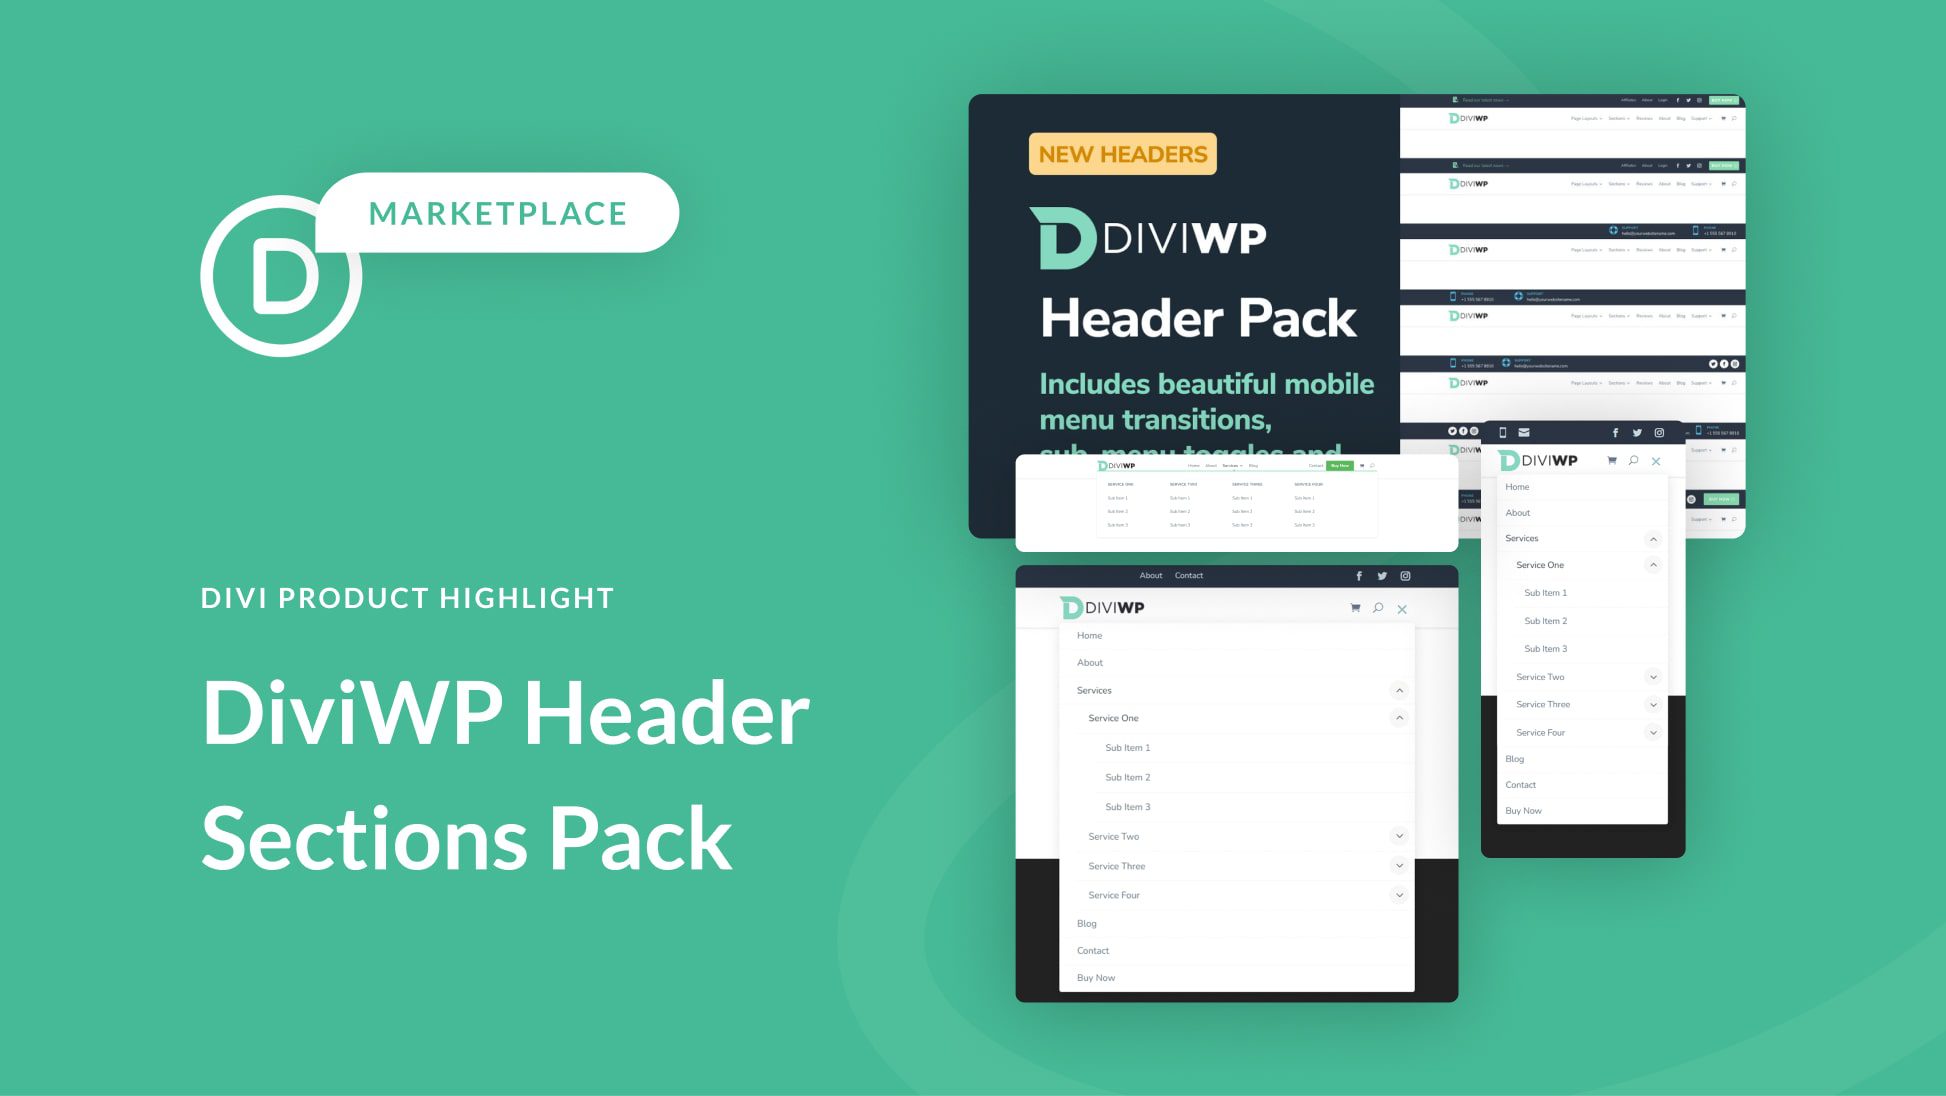
DiviWP Header Sections is a layout pack of 20 header modules you can use on your Divi website. It is built with the Divi builder and can be completely customized using Divi’s module options. In this product highlight, we’ll take a look at each one of the header designs and help you decide if this product is right for you.
Let’s get started!
- 1 Installing Divi WP Header Sections
-
2
DiviWP Header Sections Pack
- 2.1 Header Layout 1
- 2.2 Header Layout 2
- 2.3 Header Layout 3
- 2.4 Header Layout 4
- 2.5 Header Layout 5
- 2.6 Header Layout 6
- 2.7 Header Layout 7
- 2.8 Header Layout 8
- 2.9 Header Layout 9
- 2.10 Header Layout 10
- 2.11 Header Layout 11
- 2.12 Header Layout 12
- 2.13 Header Layout 13
- 2.14 Header Layout 14
- 2.15 Header Layout 15
- 2.16 Header Layout 16
- 2.17 Header Layout 17
- 2.18 Header Layout 18
- 2.19 Header Layout 19
- 2.20 Header Layout 20
- 3 Customizing the DiviWP Header Sections Pack
- 4 Purchase the DiviWP Header Sections Pack
- 5 Final Thoughts
Installing Divi WP Header Sections
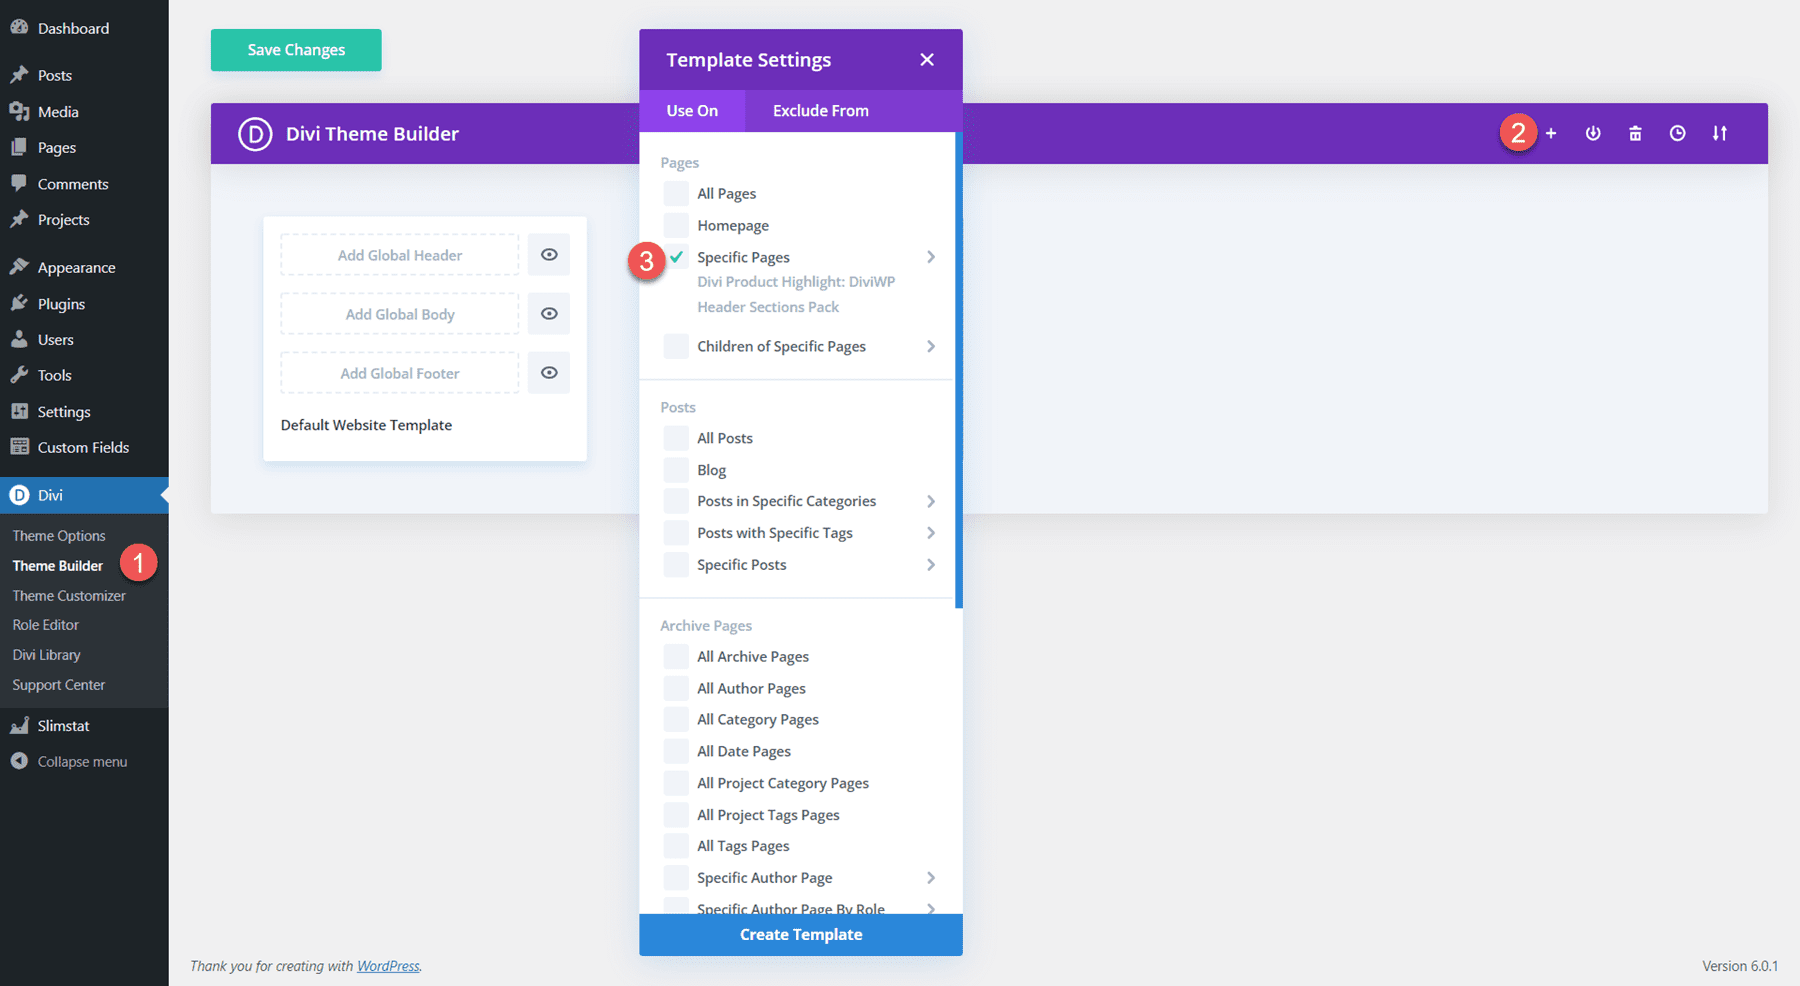
After purchasing the DiviWP Header Sections Pack on the Divi Marketplace, extract the ZIP file containing the header section JSON files. Then, open the Divi theme builder settings in the WordPress dashboard. Click Add New Template, then Build New Template. In the template settings, select the pages you want the header to appear on. For this tutorial, I am adding the header to a specific page.
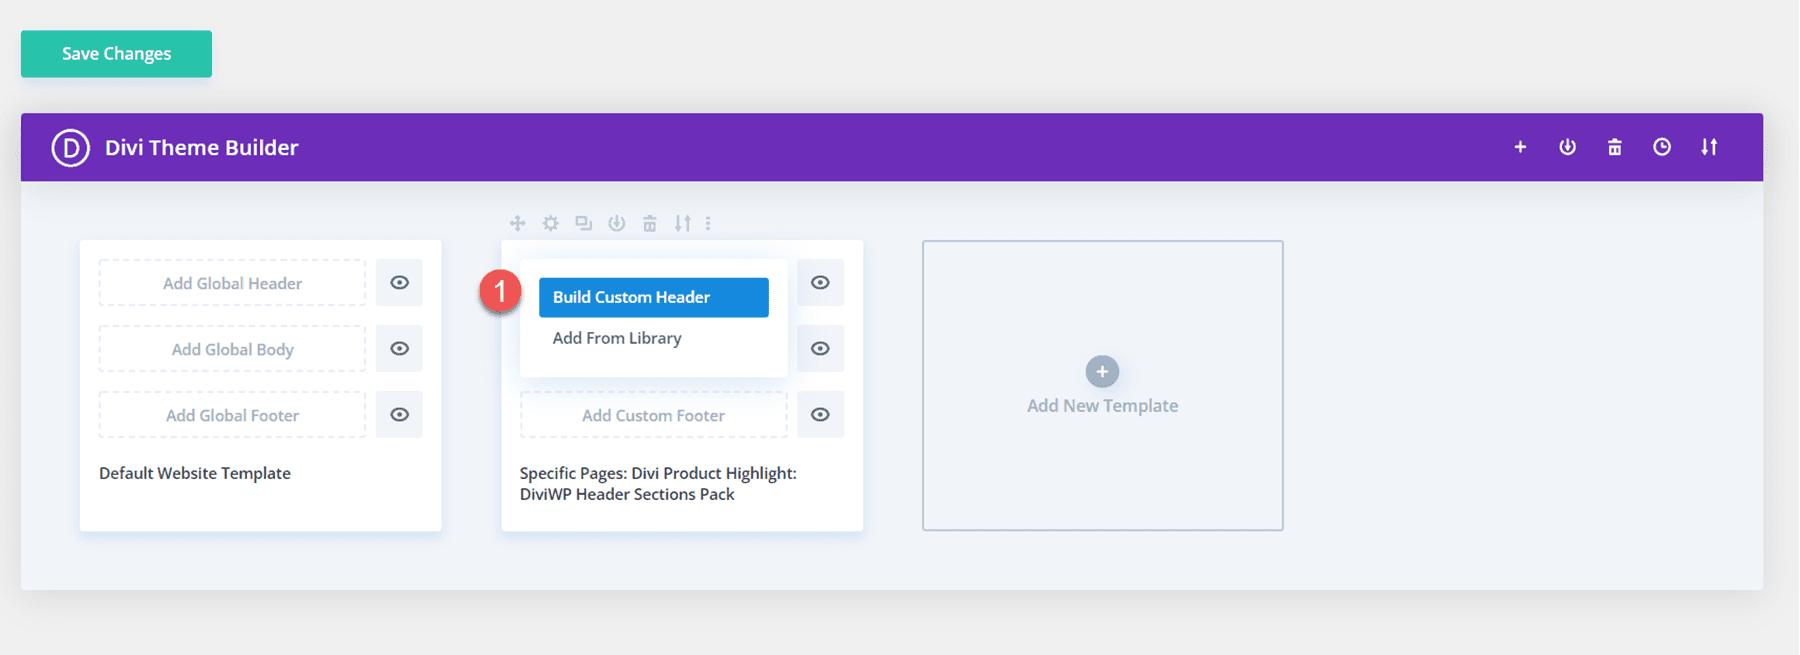
Next, click Add Custom Header and select Build Custom Header. The header layout page will open up in the Divi builder.
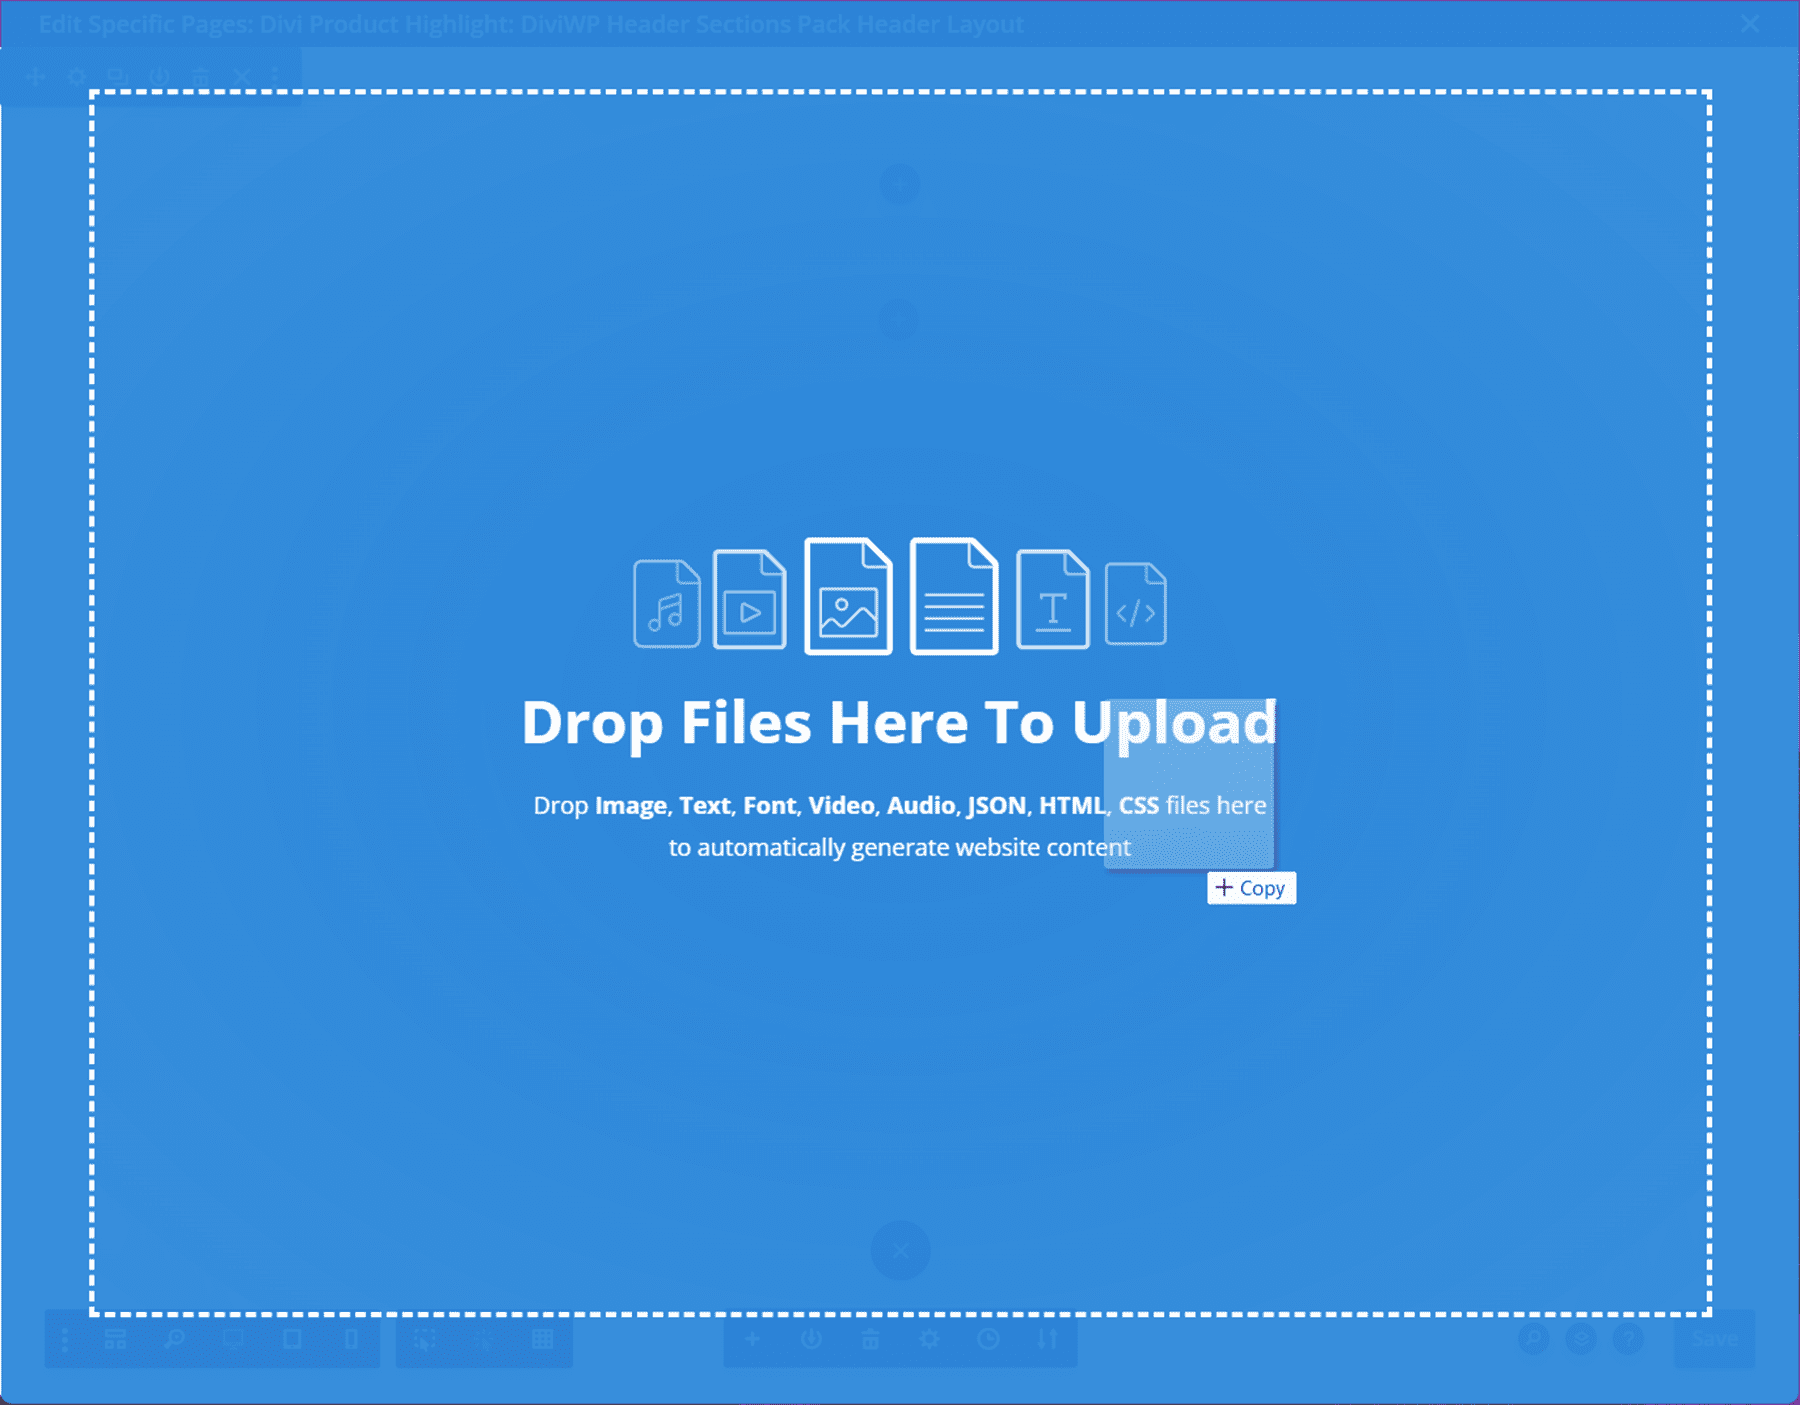
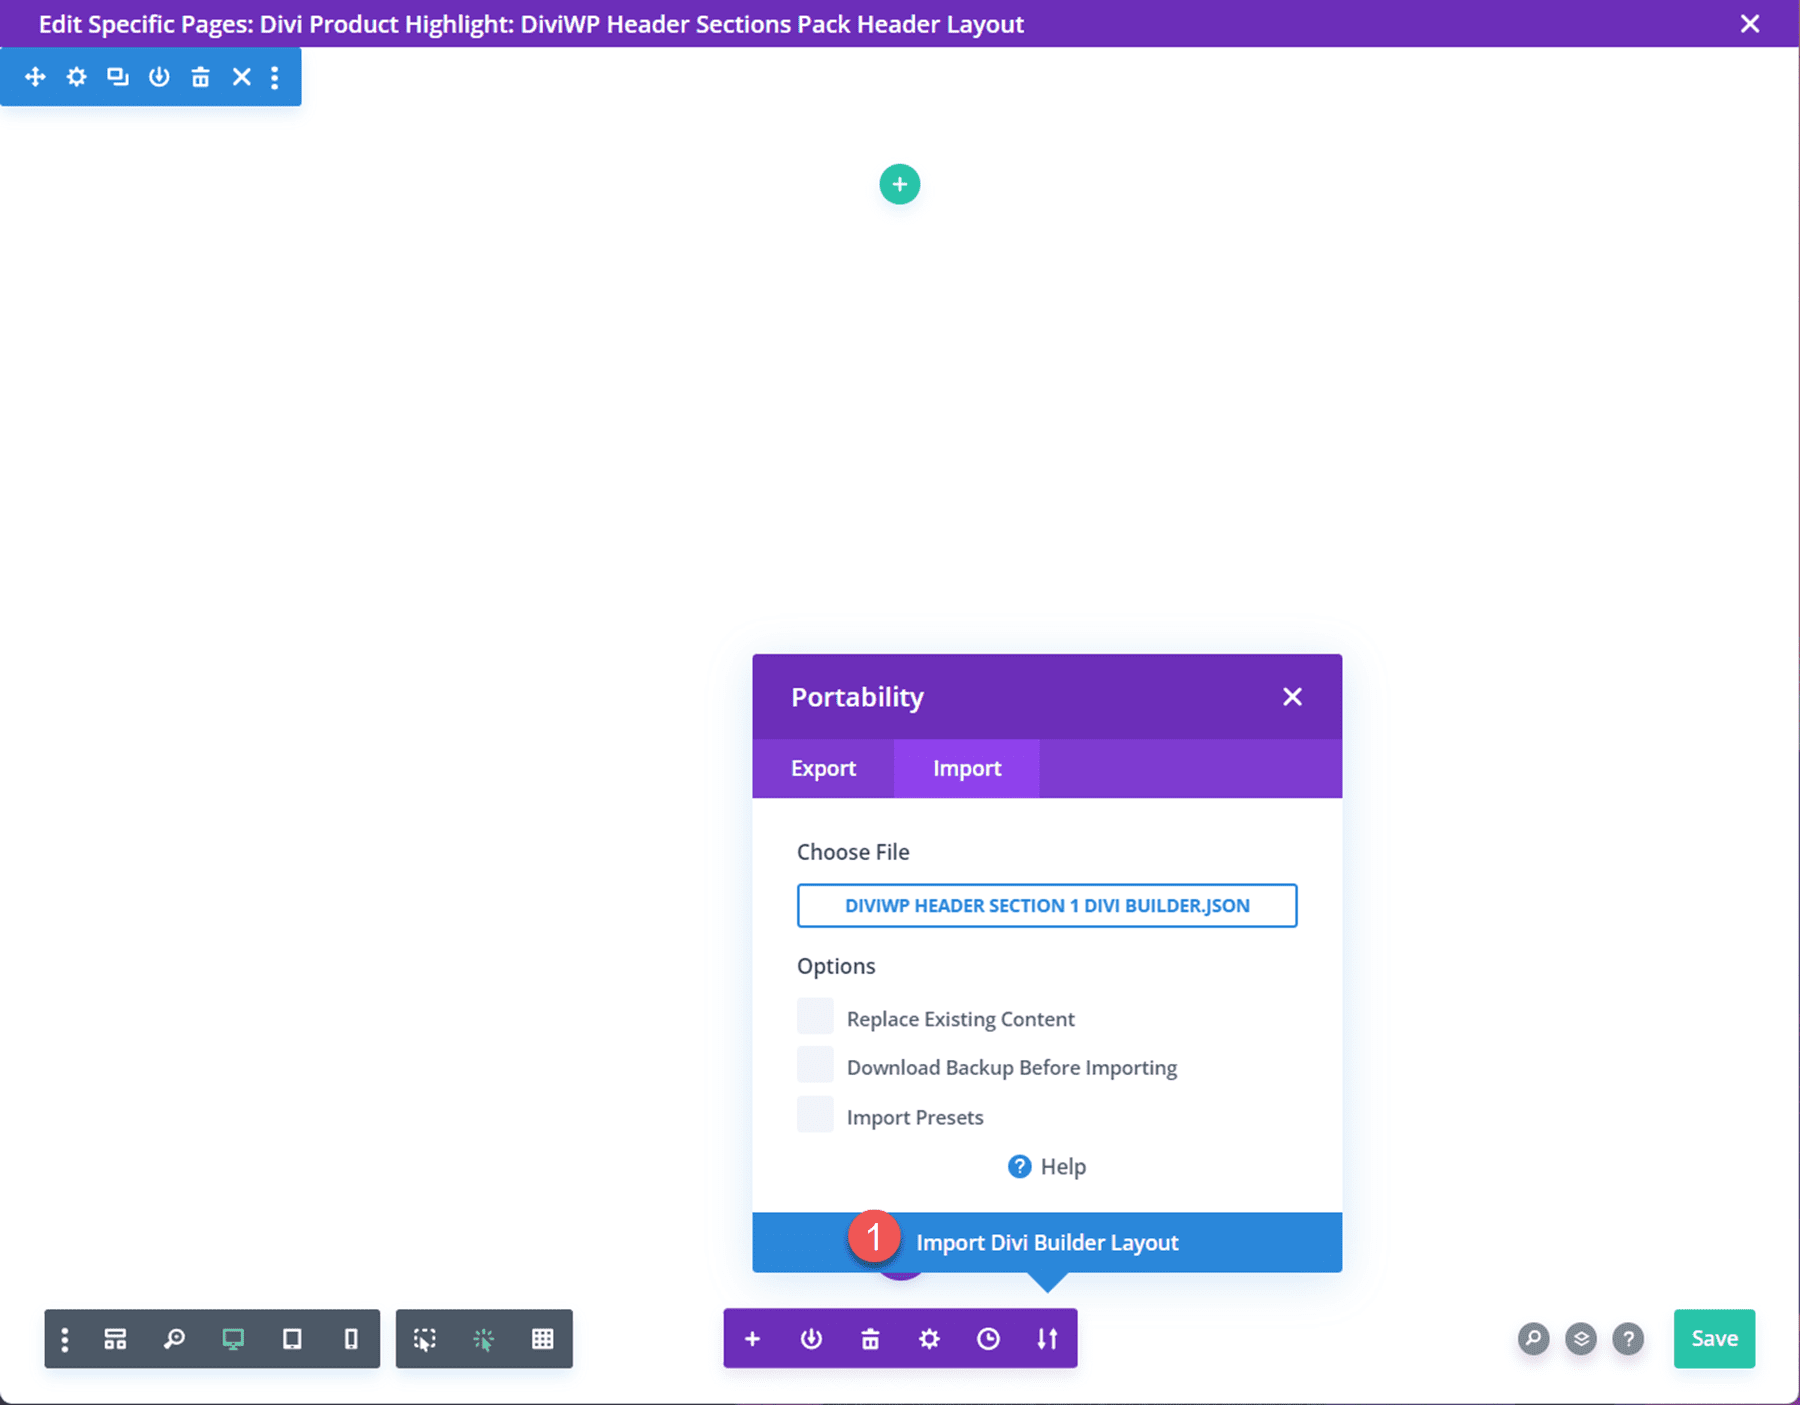
To import a header layout, simply drag and drop the JSON file onto the page or use the portability function to import the layout.
Select Import Divi Builder Layout to finish importing the layout. Now the header section should appear on the page.
DiviWP Header Sections Pack
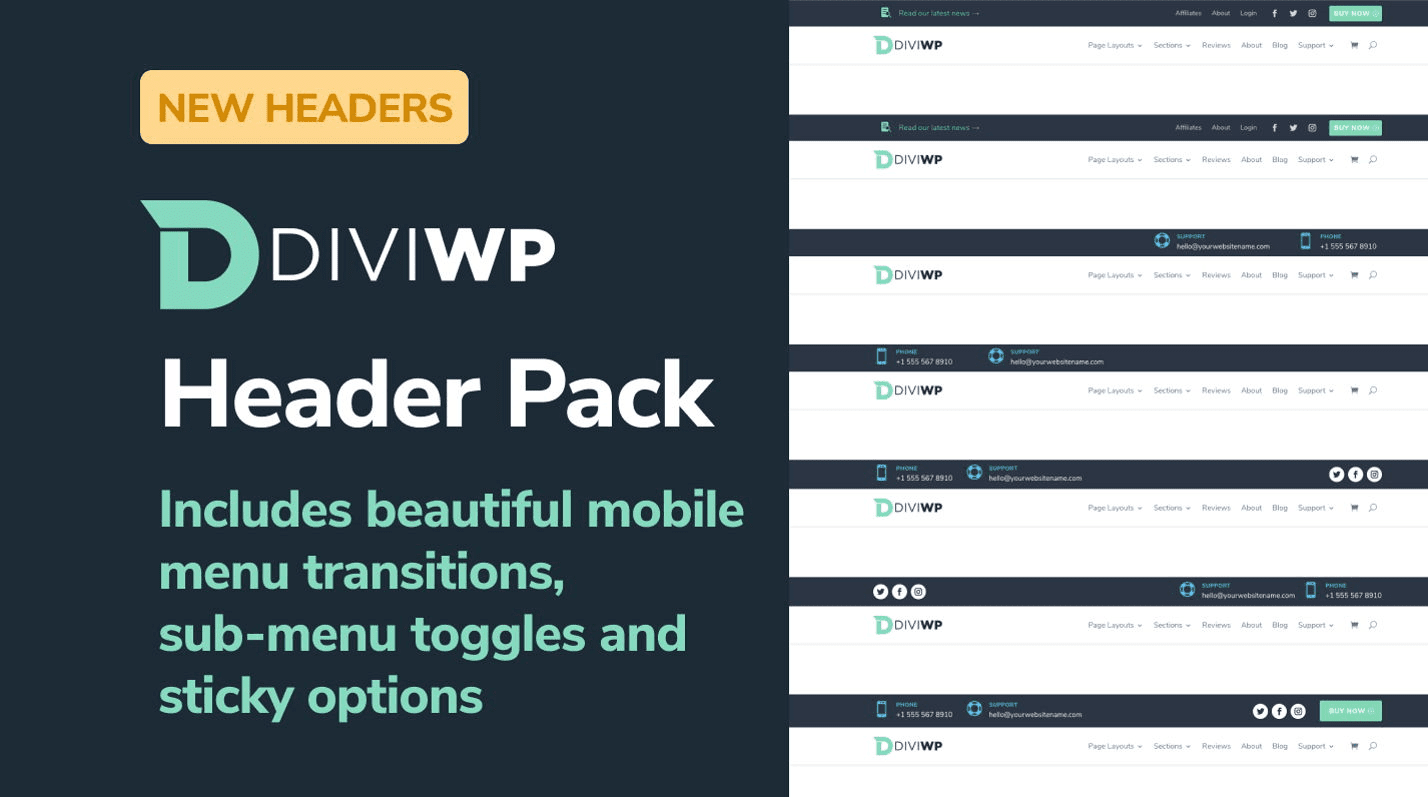
The DiviWP Header Sections Pack comes with 20 different header layouts. Each of the layouts has a sticky and non-sticky version and is fully responsive. You can easily customize the design of each layout because it is built with the Divi Builder. Let’s take a look at each header layout now.
Header Layout 1
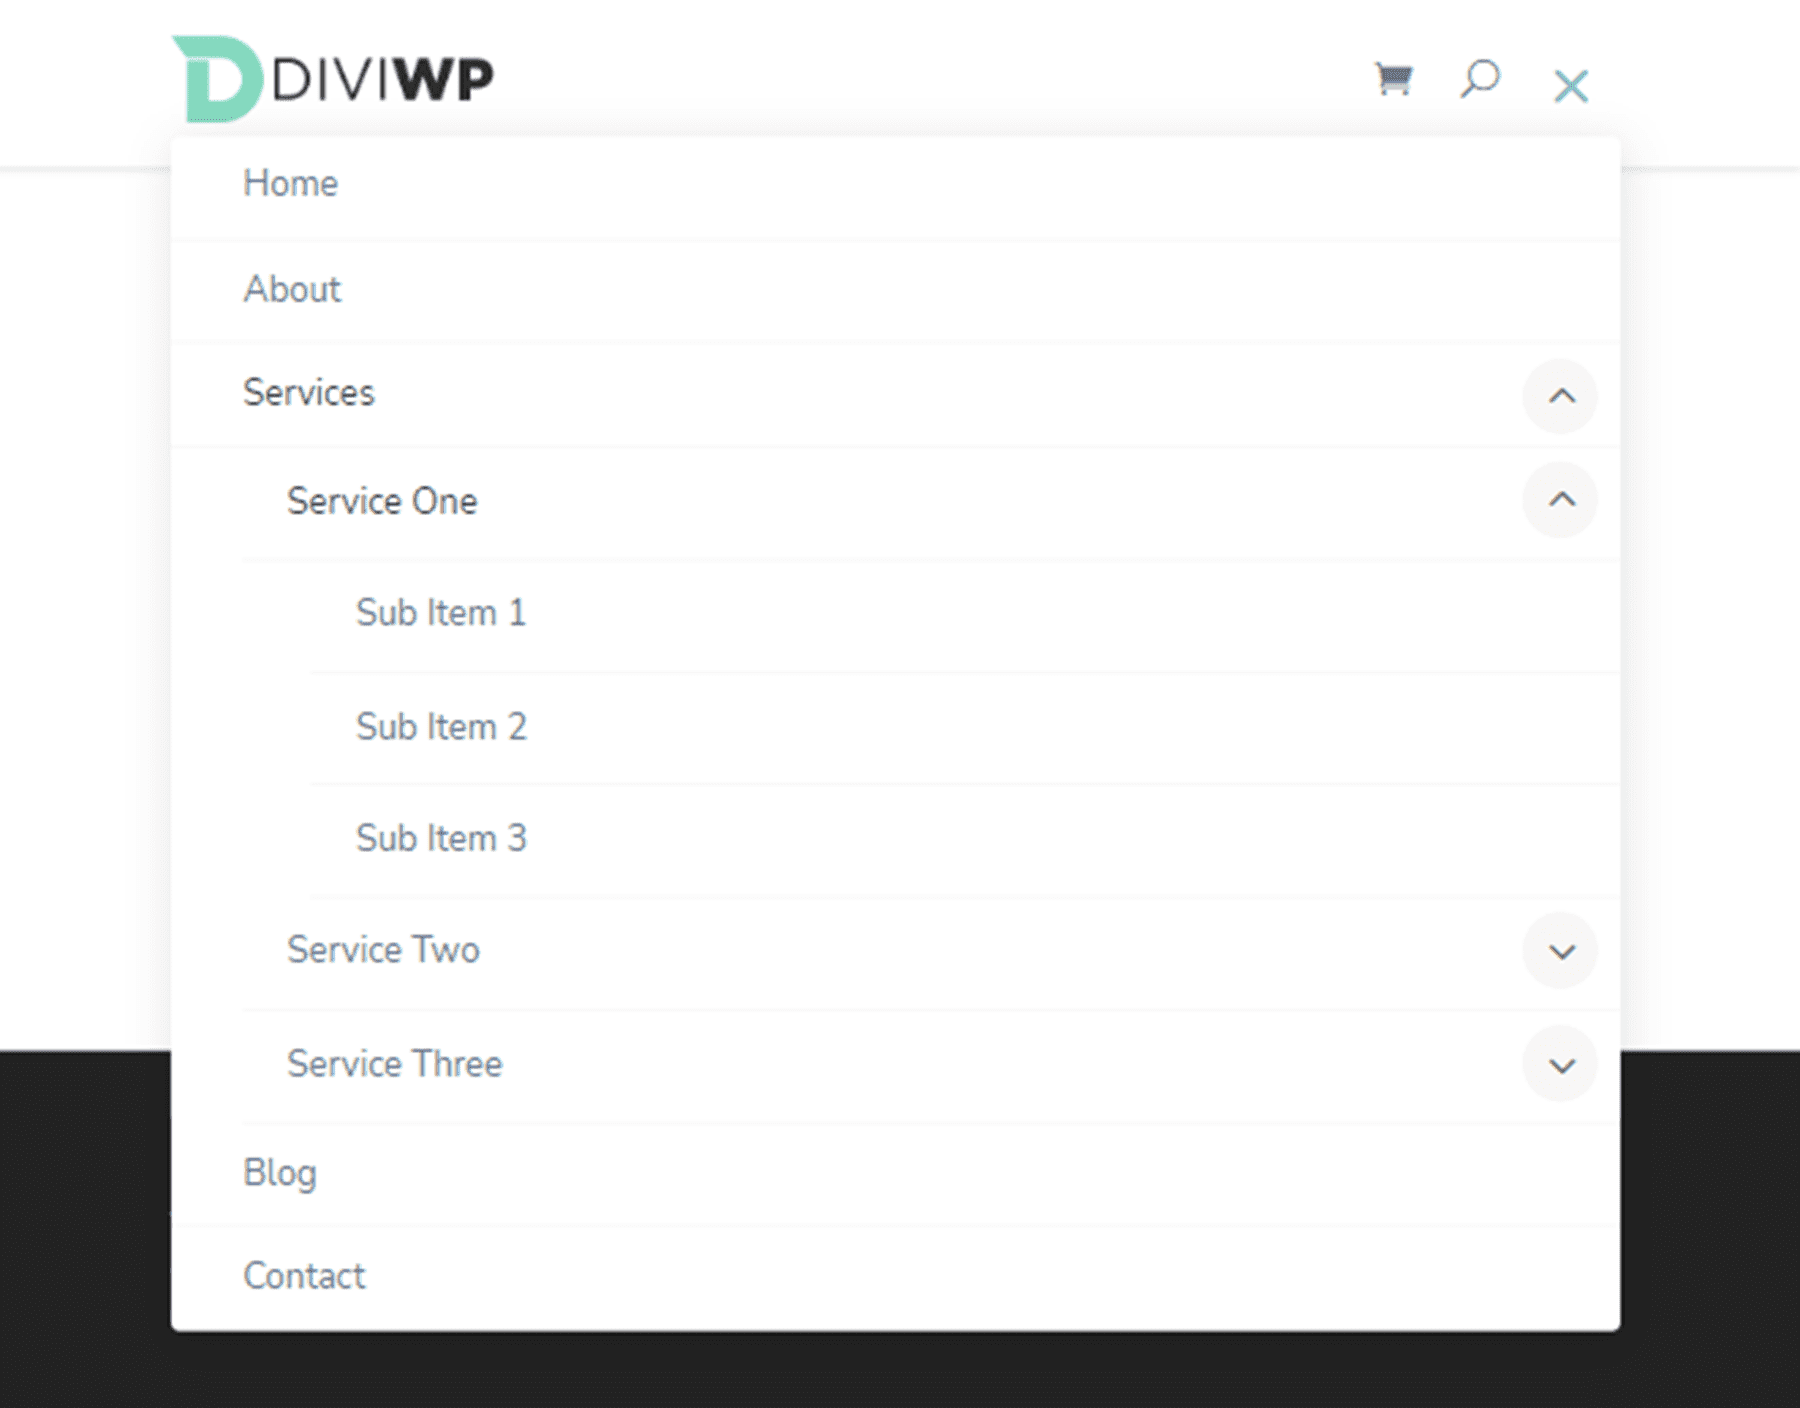
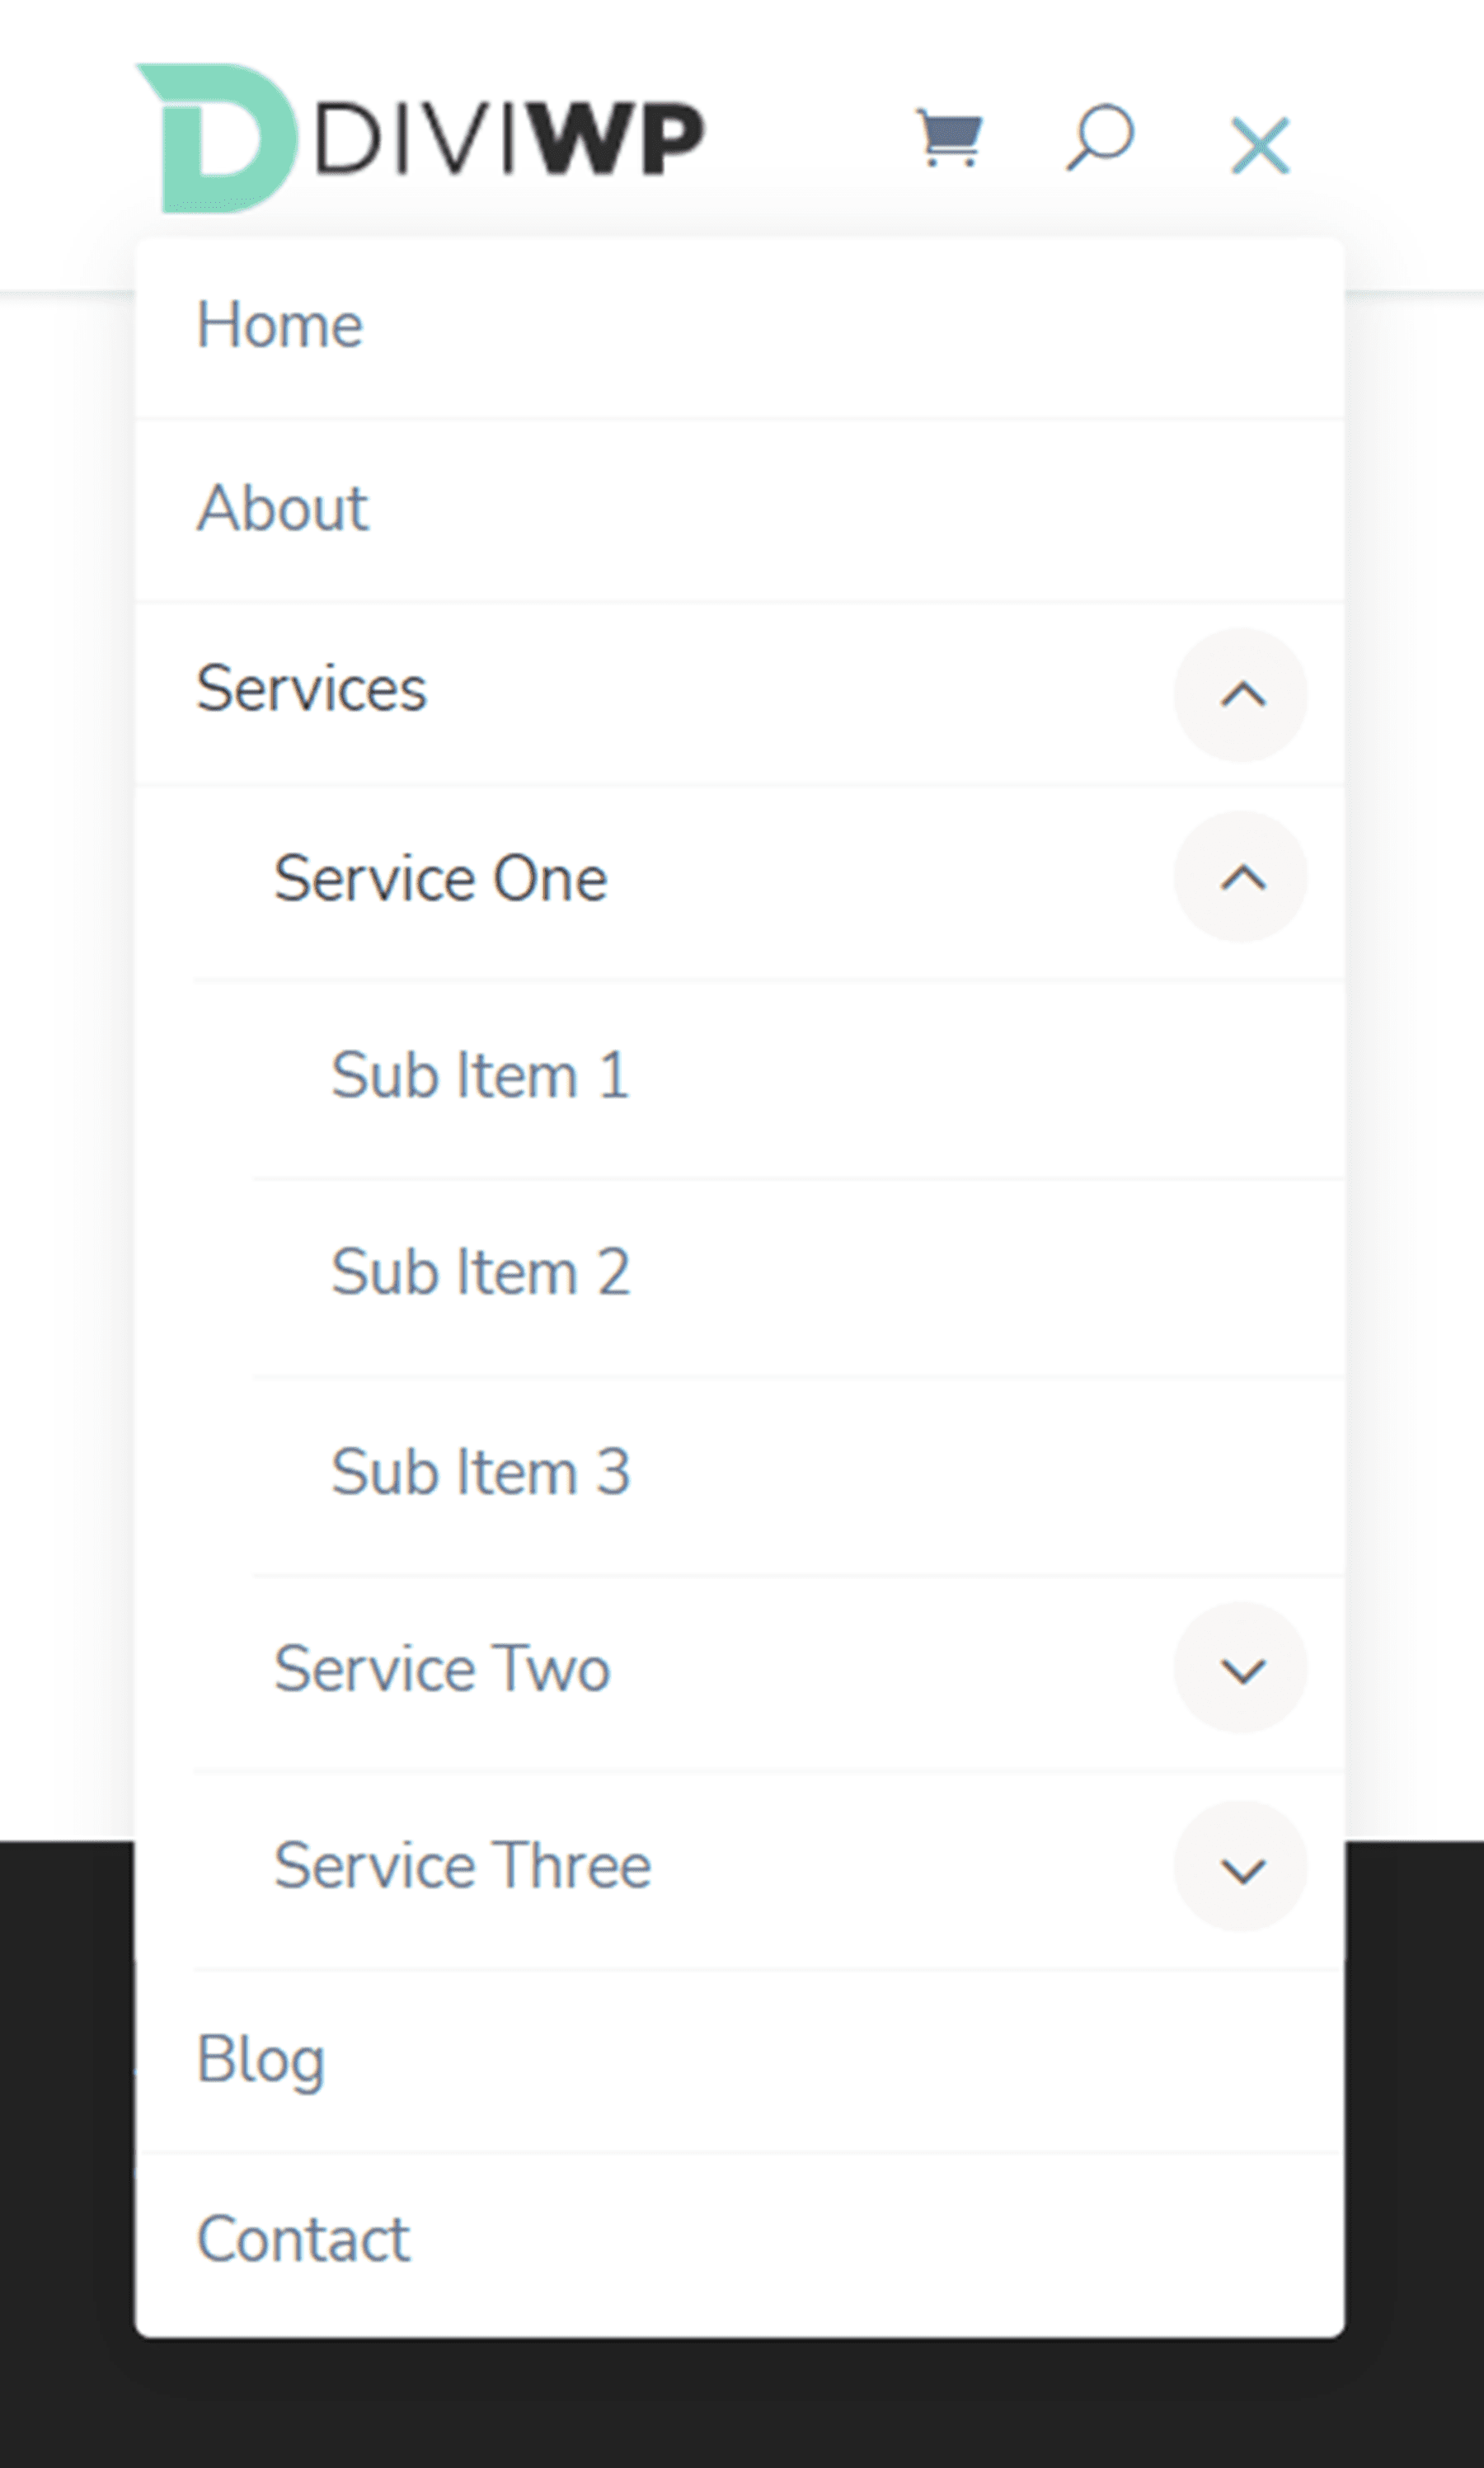
The first header layout in the pack is a right-aligned menu module with a logo on the left and shopping and search icons on the very right. It uses fade-in drop-down menu transitions for the desktop and fade-in mobile menu transitions for tablet and mobile.

Header Layout 2
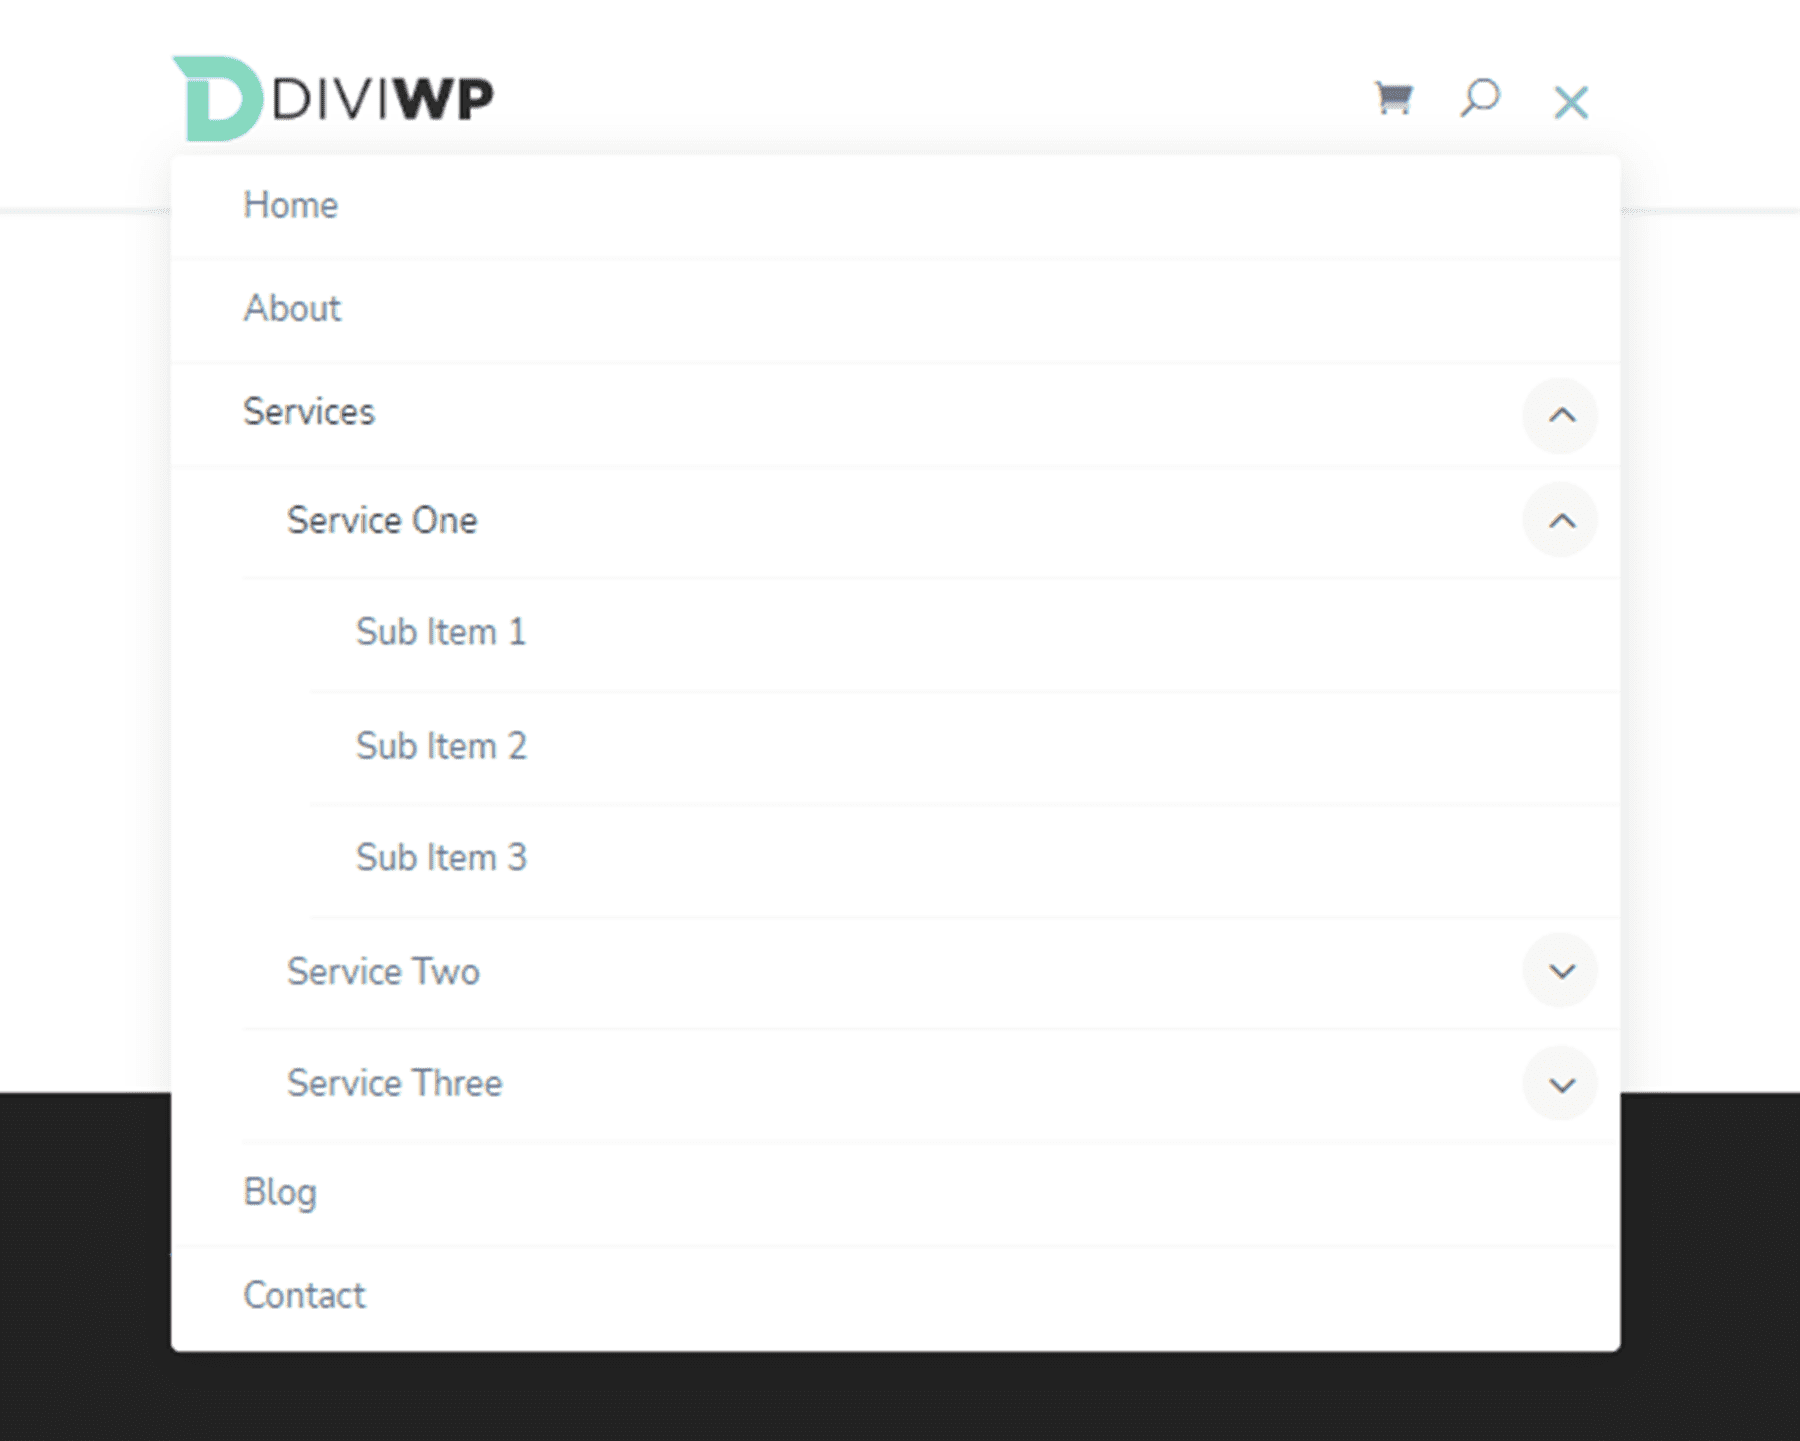
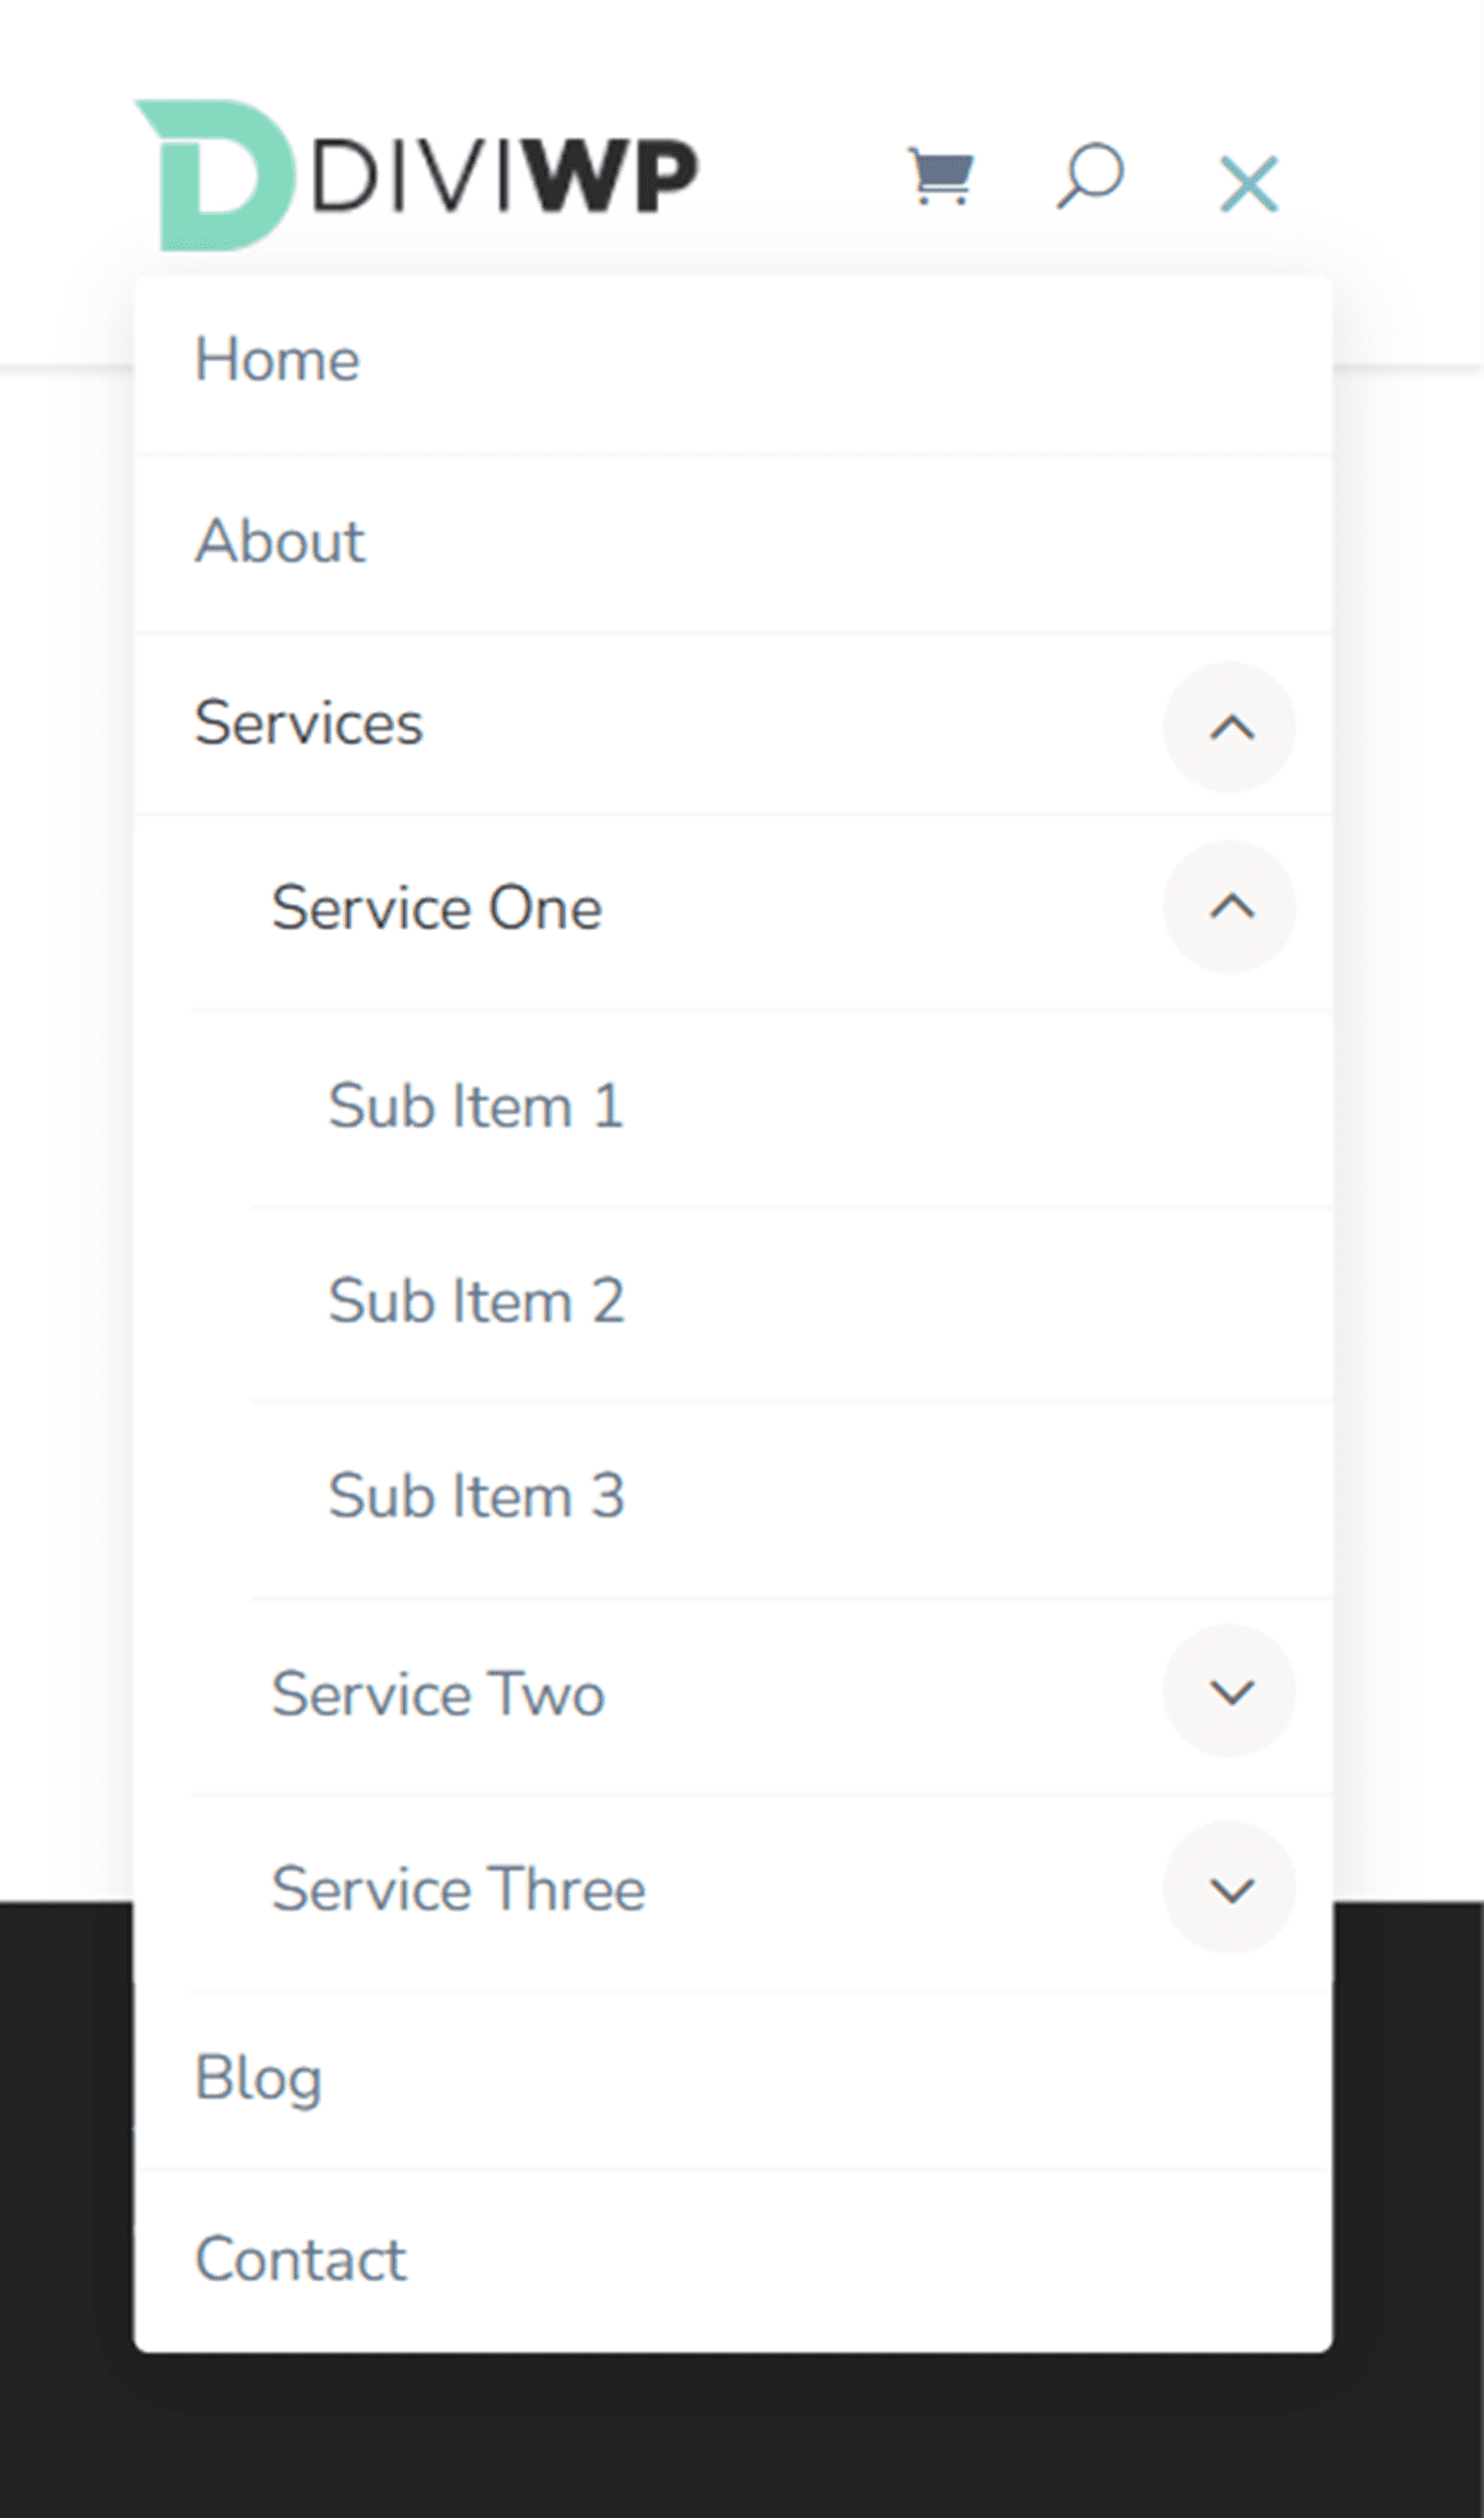
Header Layout 2 is very similar to Layout 1, but the menu height is taller.

Header Layout 3
The third layout style features a split menu with a button on the very right.

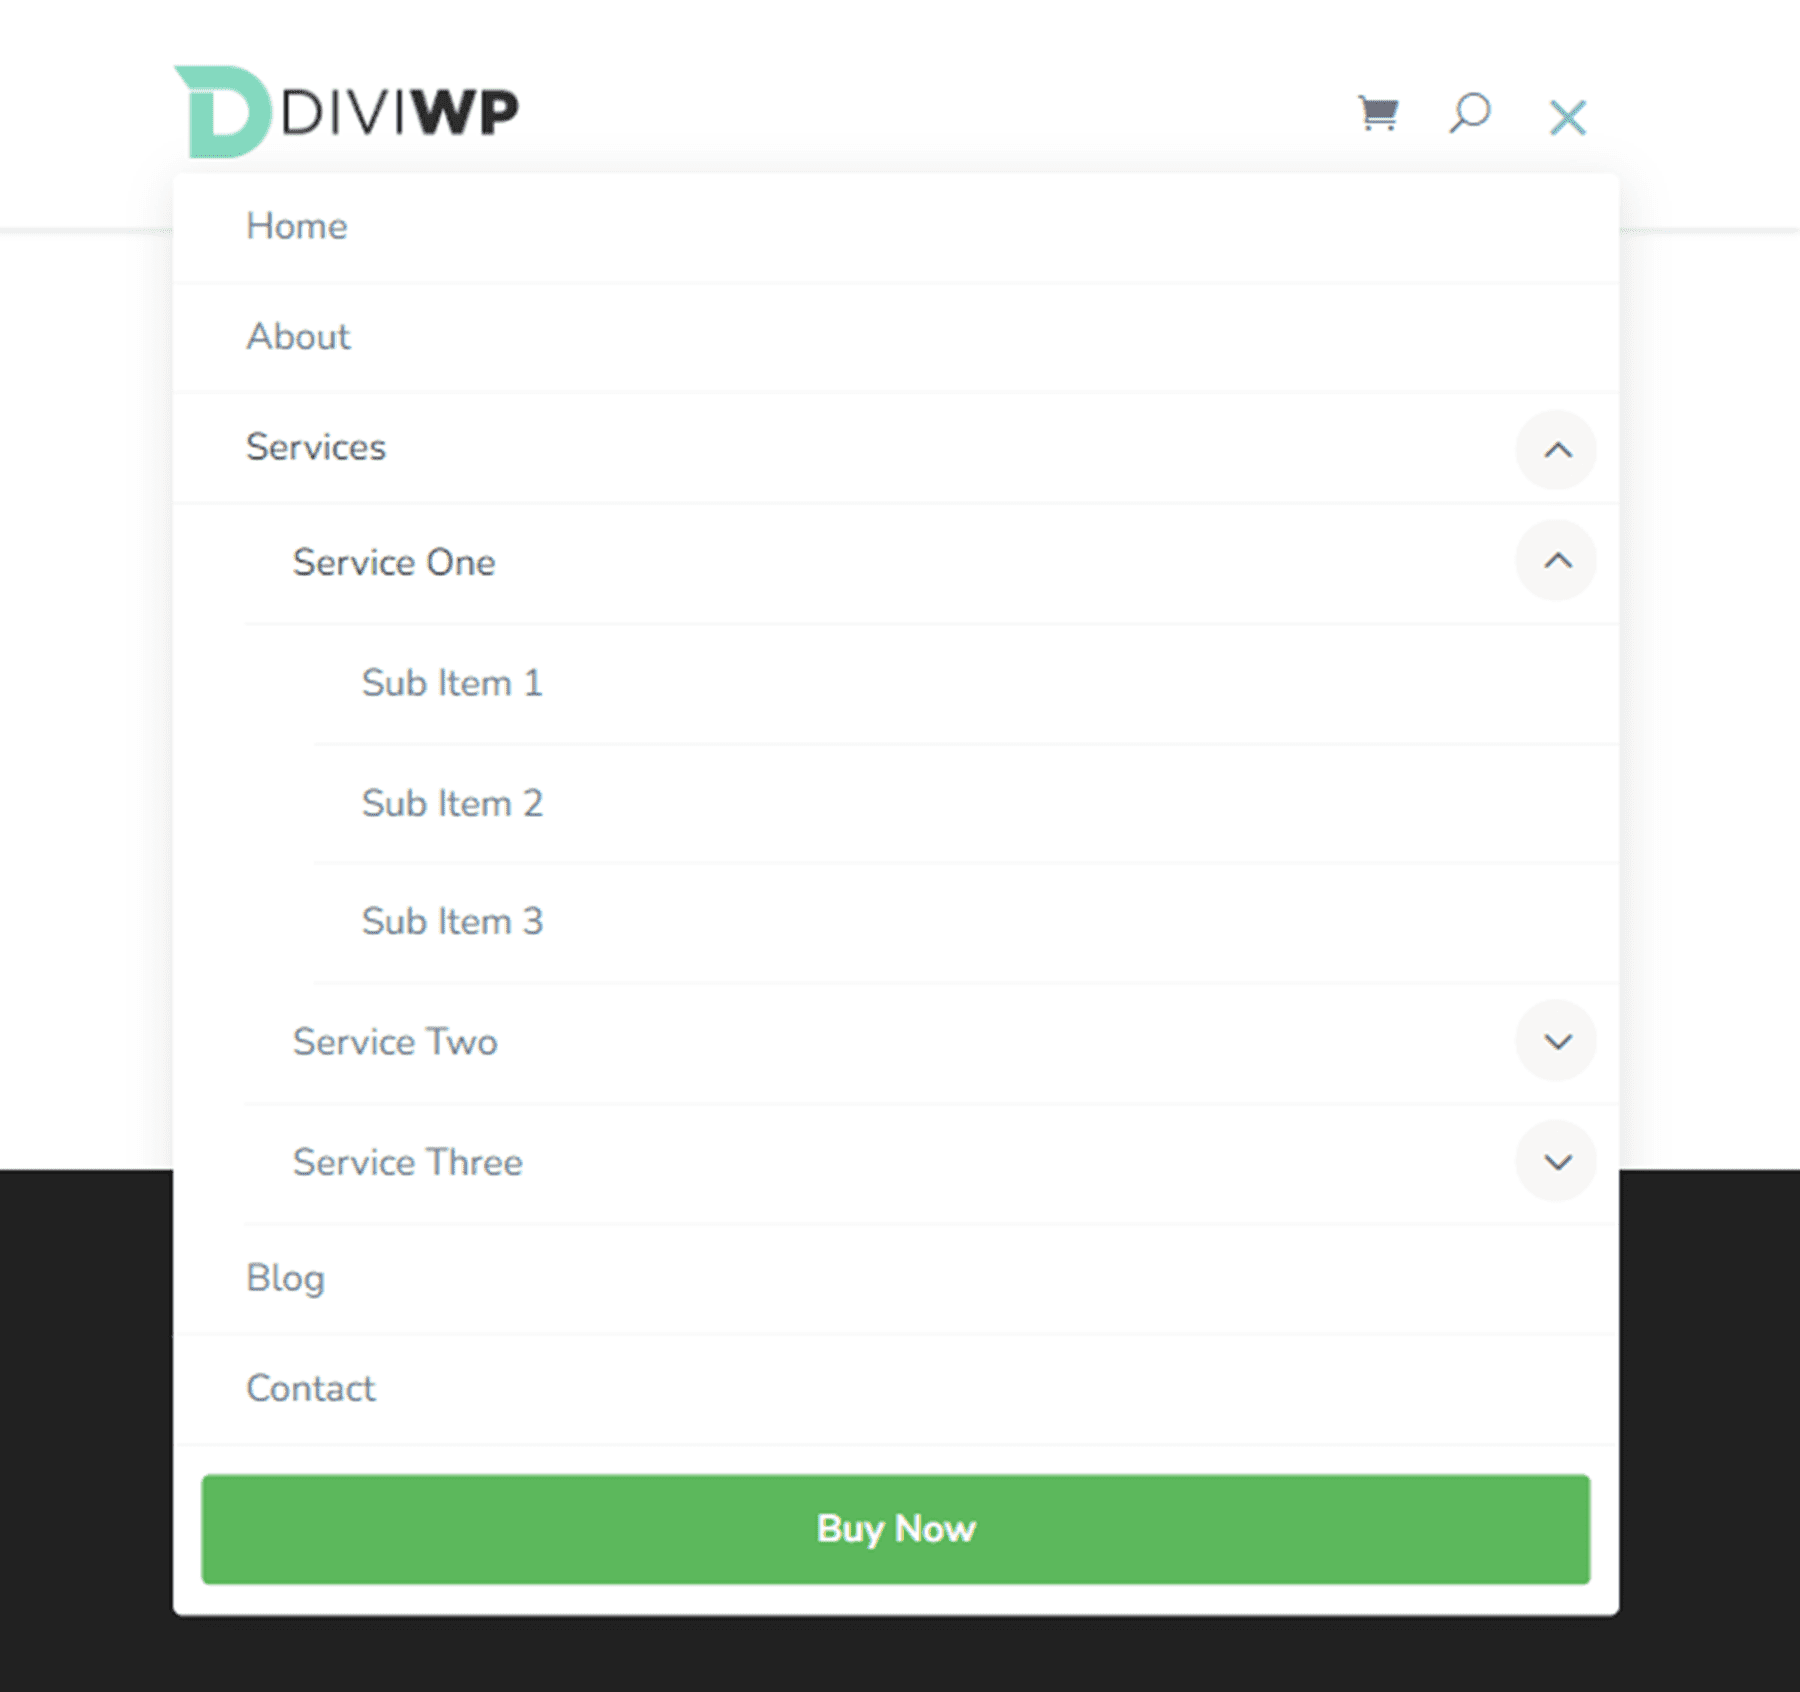
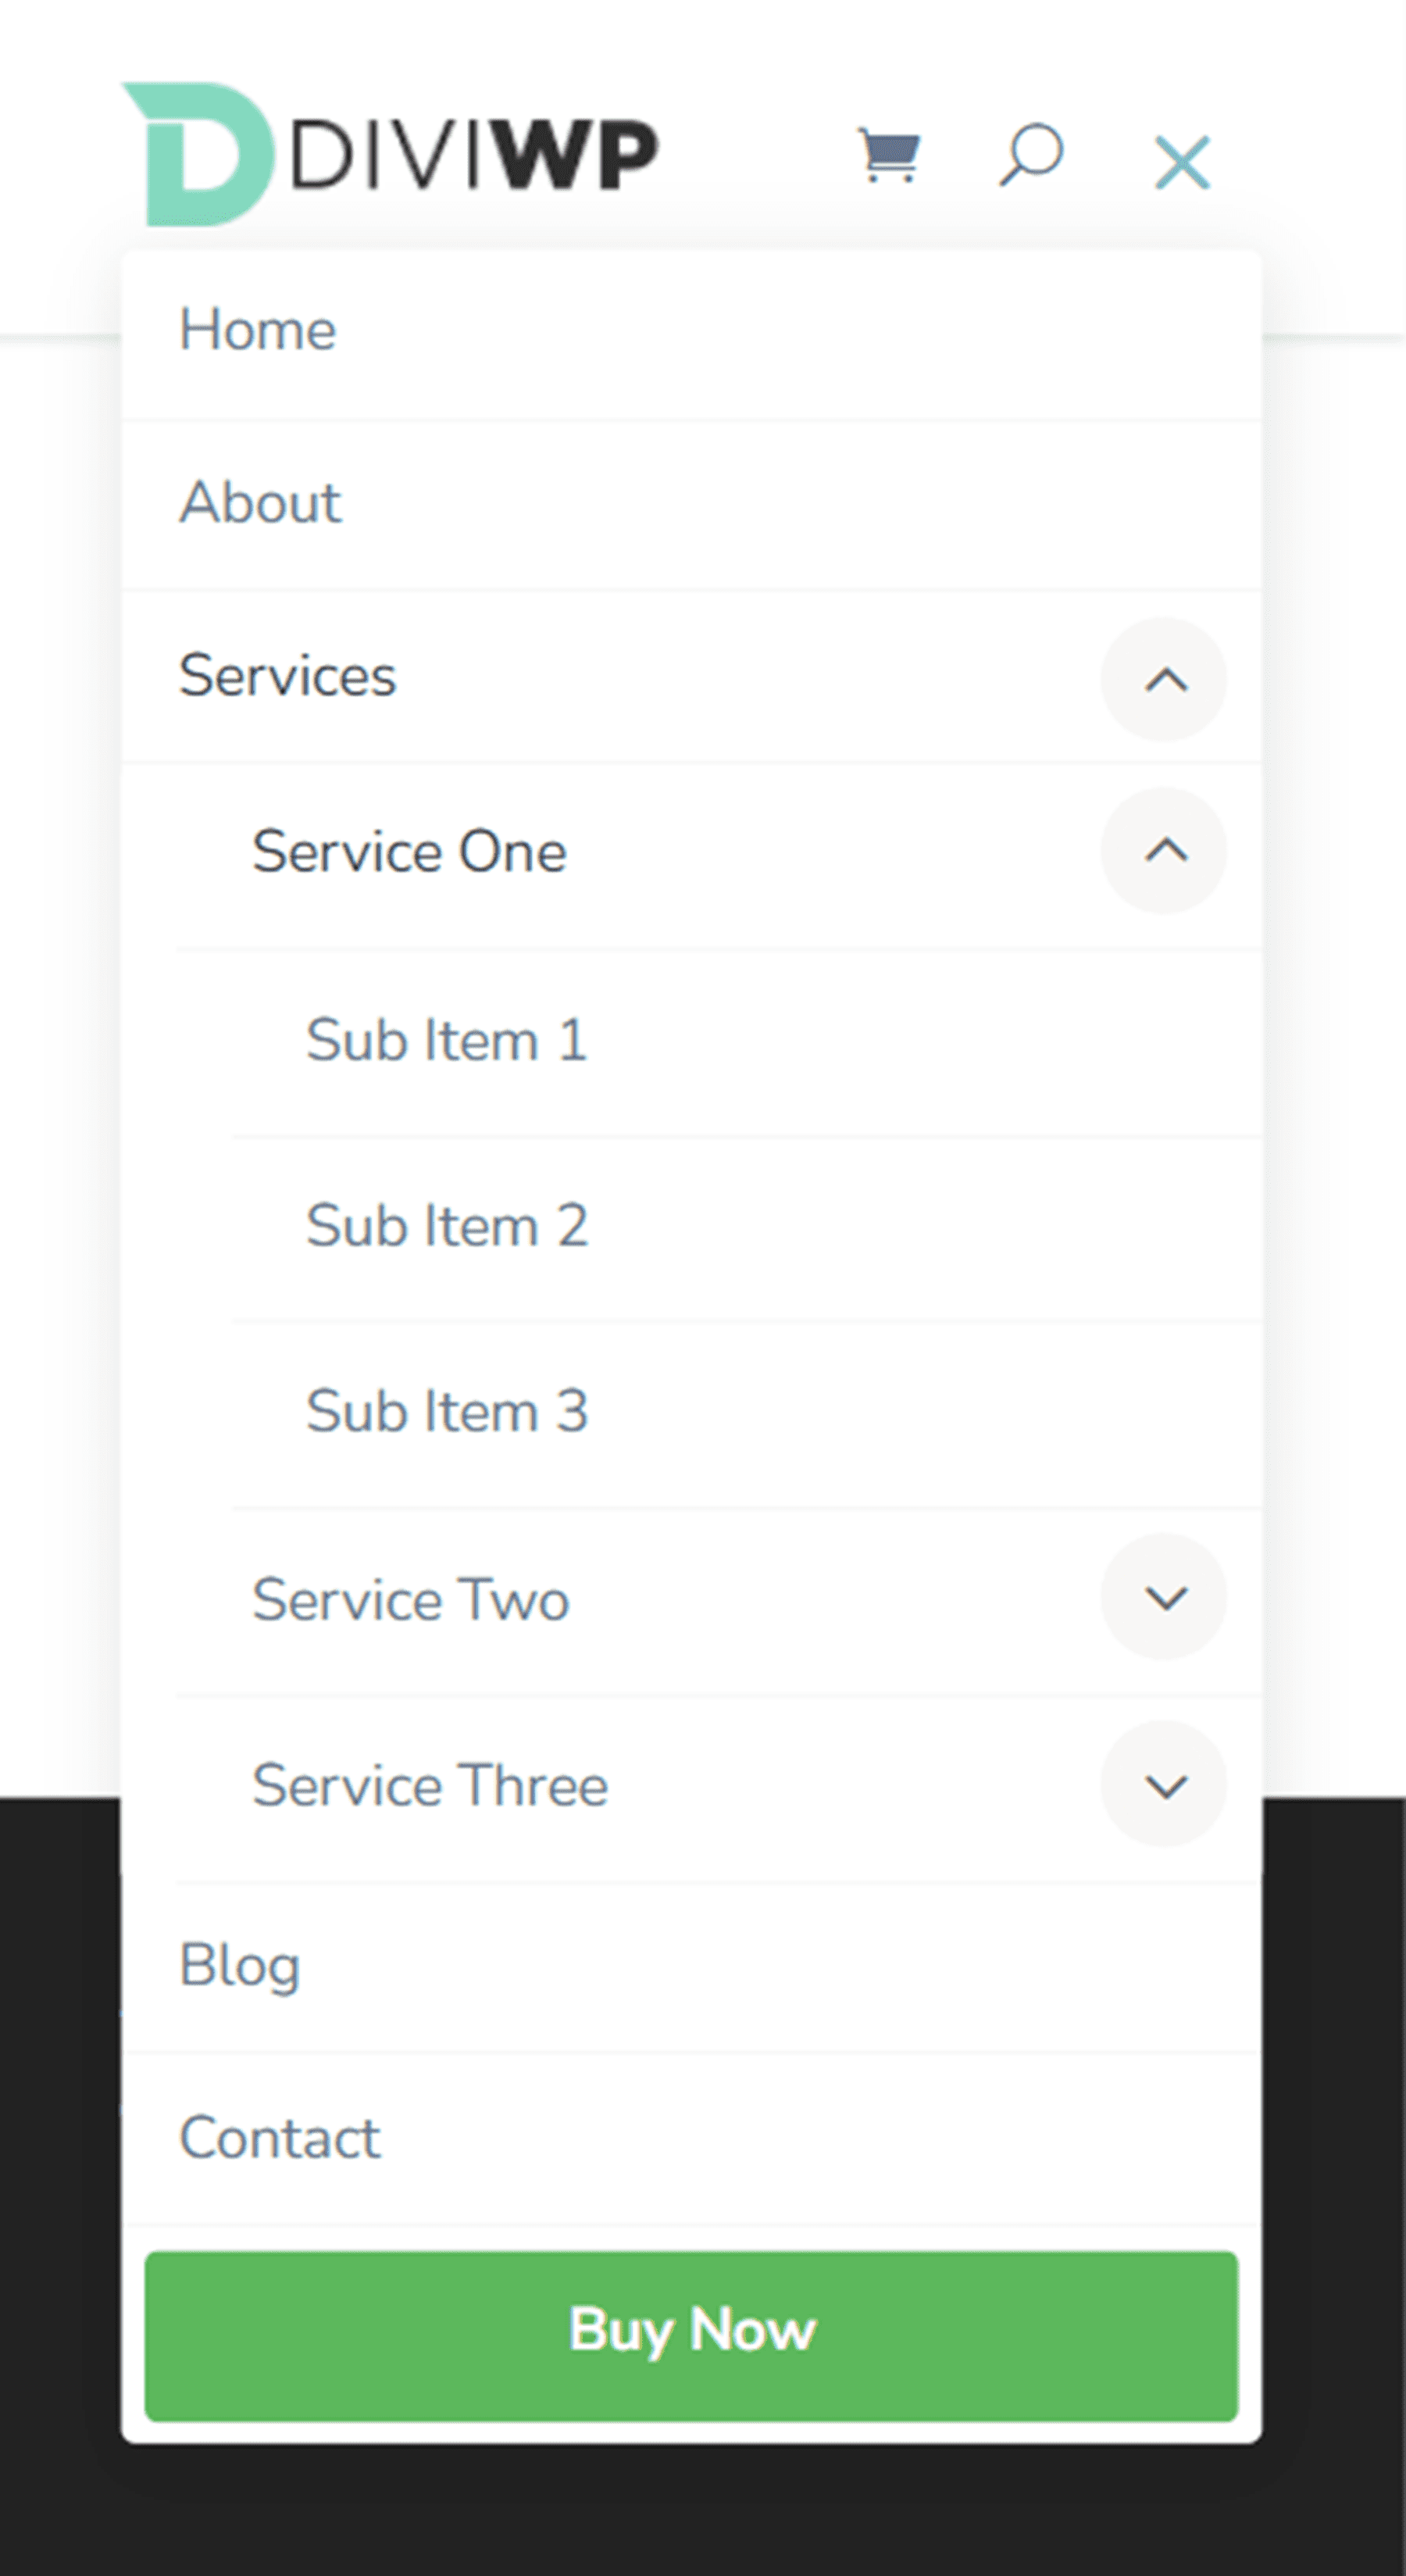
To achieve this design, you will need to add a custom CSS class to some of the menu items. In the WordPress dashboard, navigate to Appearance > Menus. At the top of the page, open the Screen Options and enable CSS Classes.

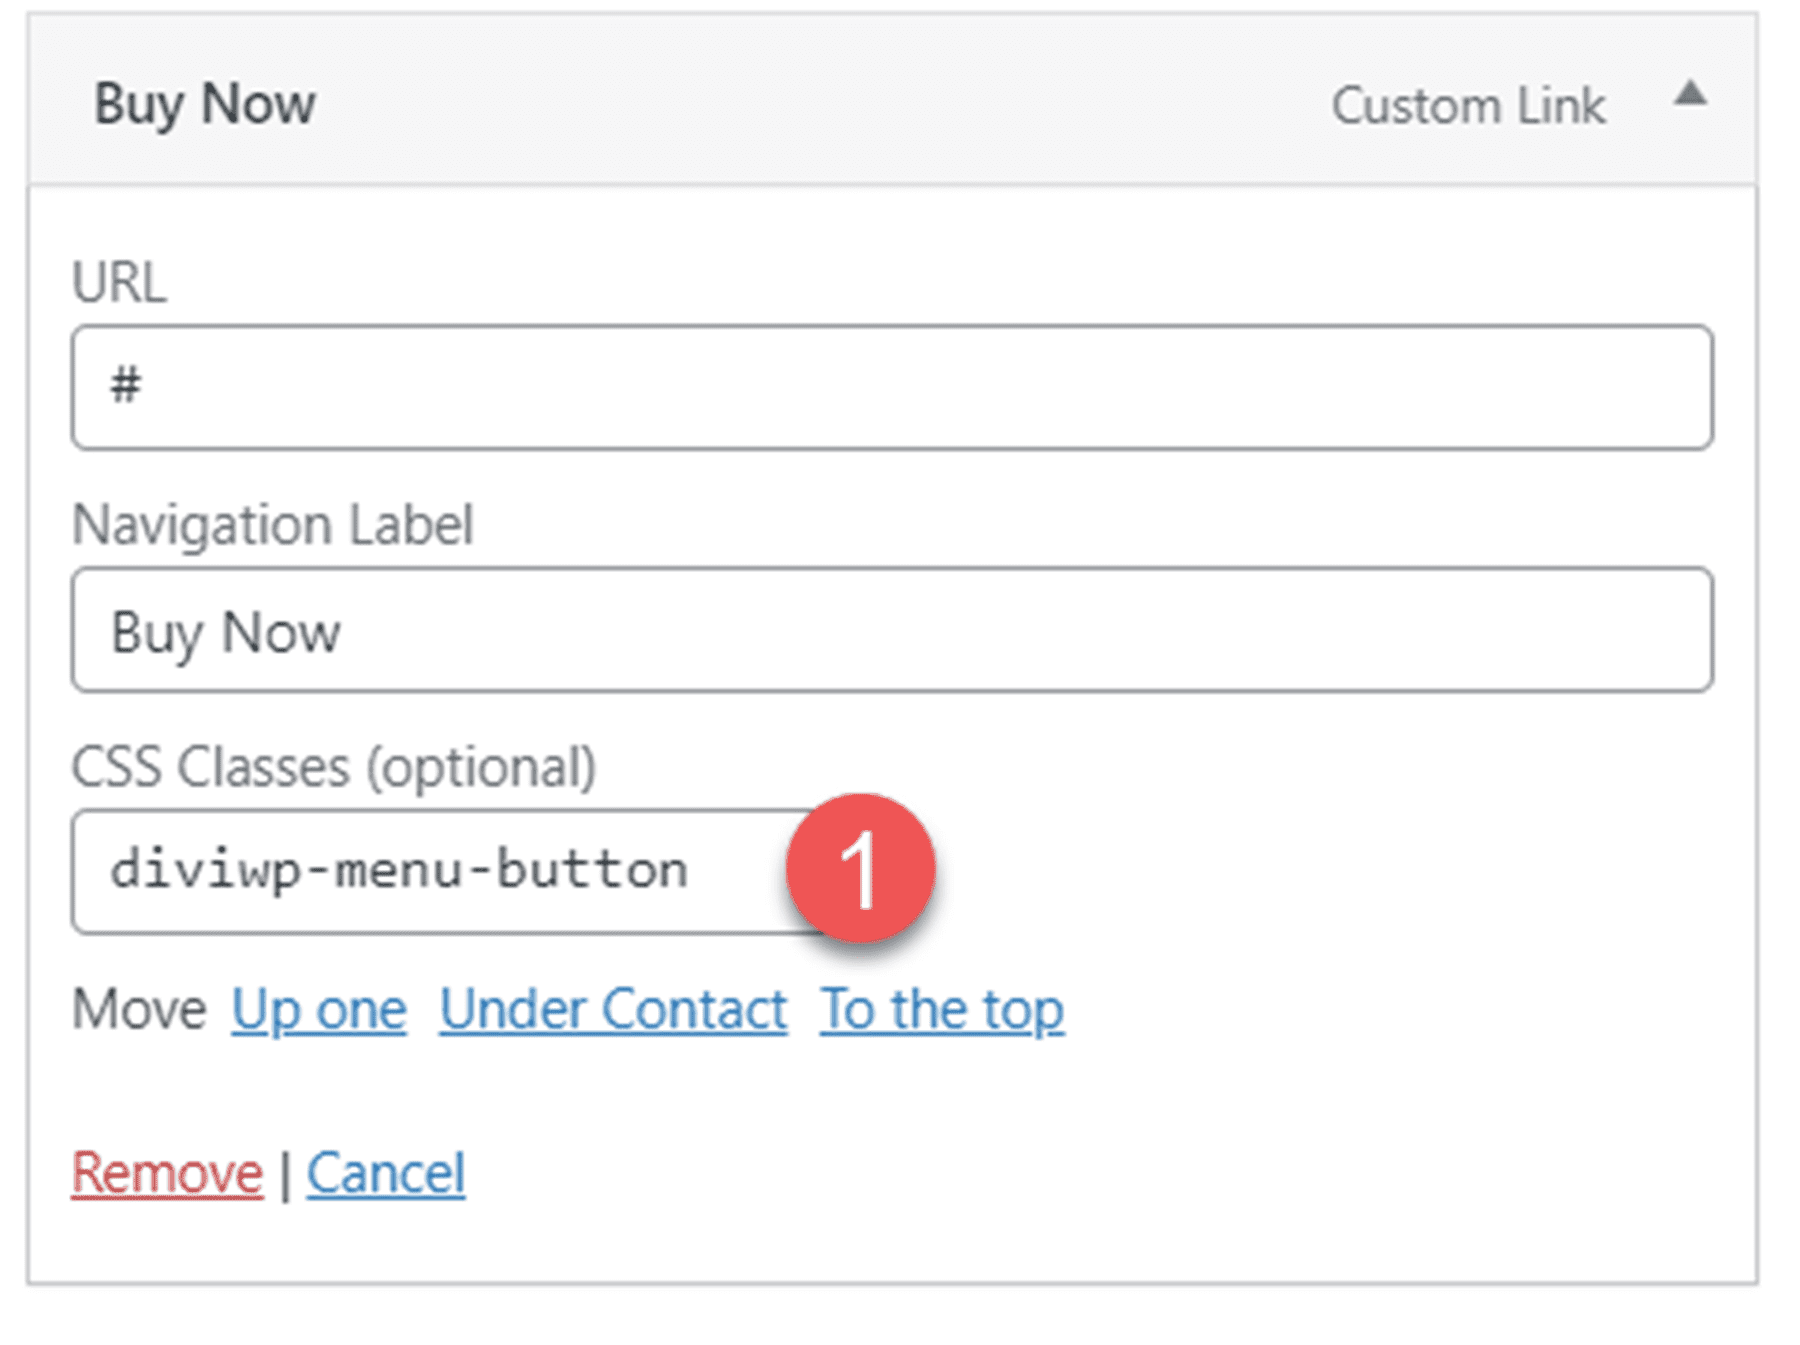
Then, open the menu item you would like to display as a button and add the CSS class diviwp-menu-button.
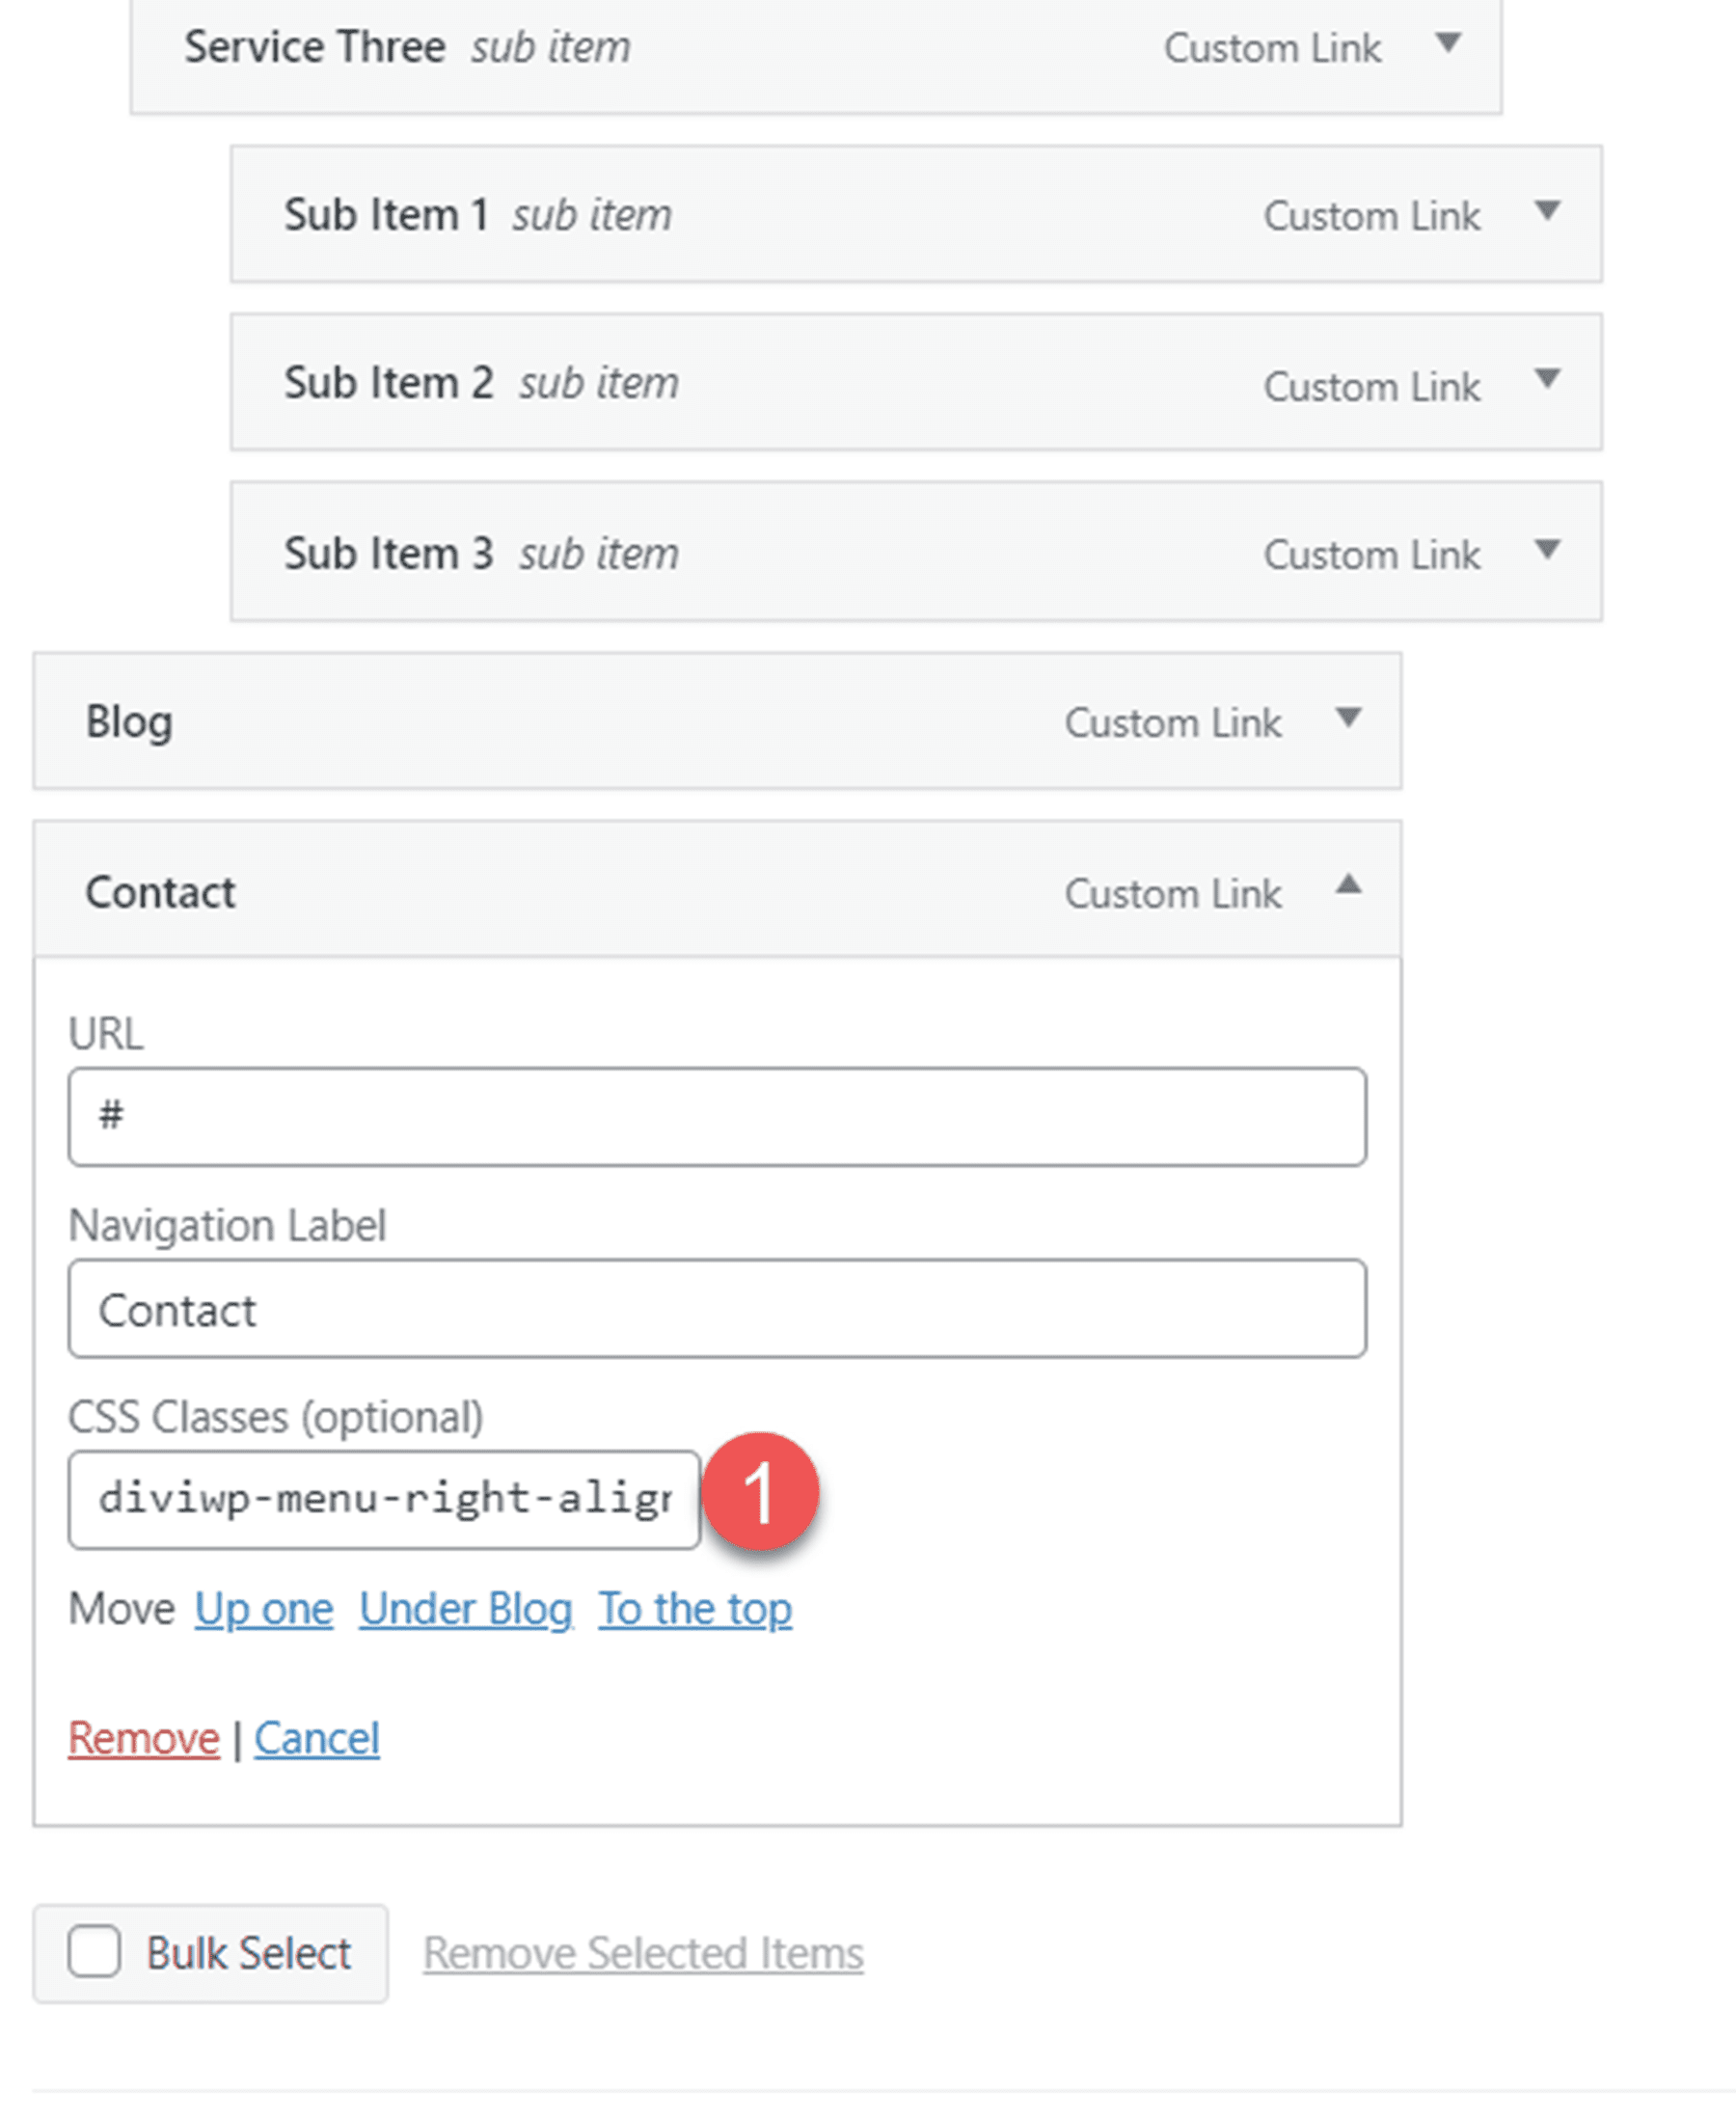
Next, add the CSS class diviwp-menu-right-align to the menu item you would like to align to the right. Anything to the right of this item will be aligned to the right of the header, and everything to the left of this item will be center-aligned.
Header Layout 4
Header Layout 4 is similar to Layout 3, except with slide-in mobile menu transitions and fade-in drop-down transitions for tablet and mobile sub-menus. Additionally, the parent menu item for the sub-menu is not linked.

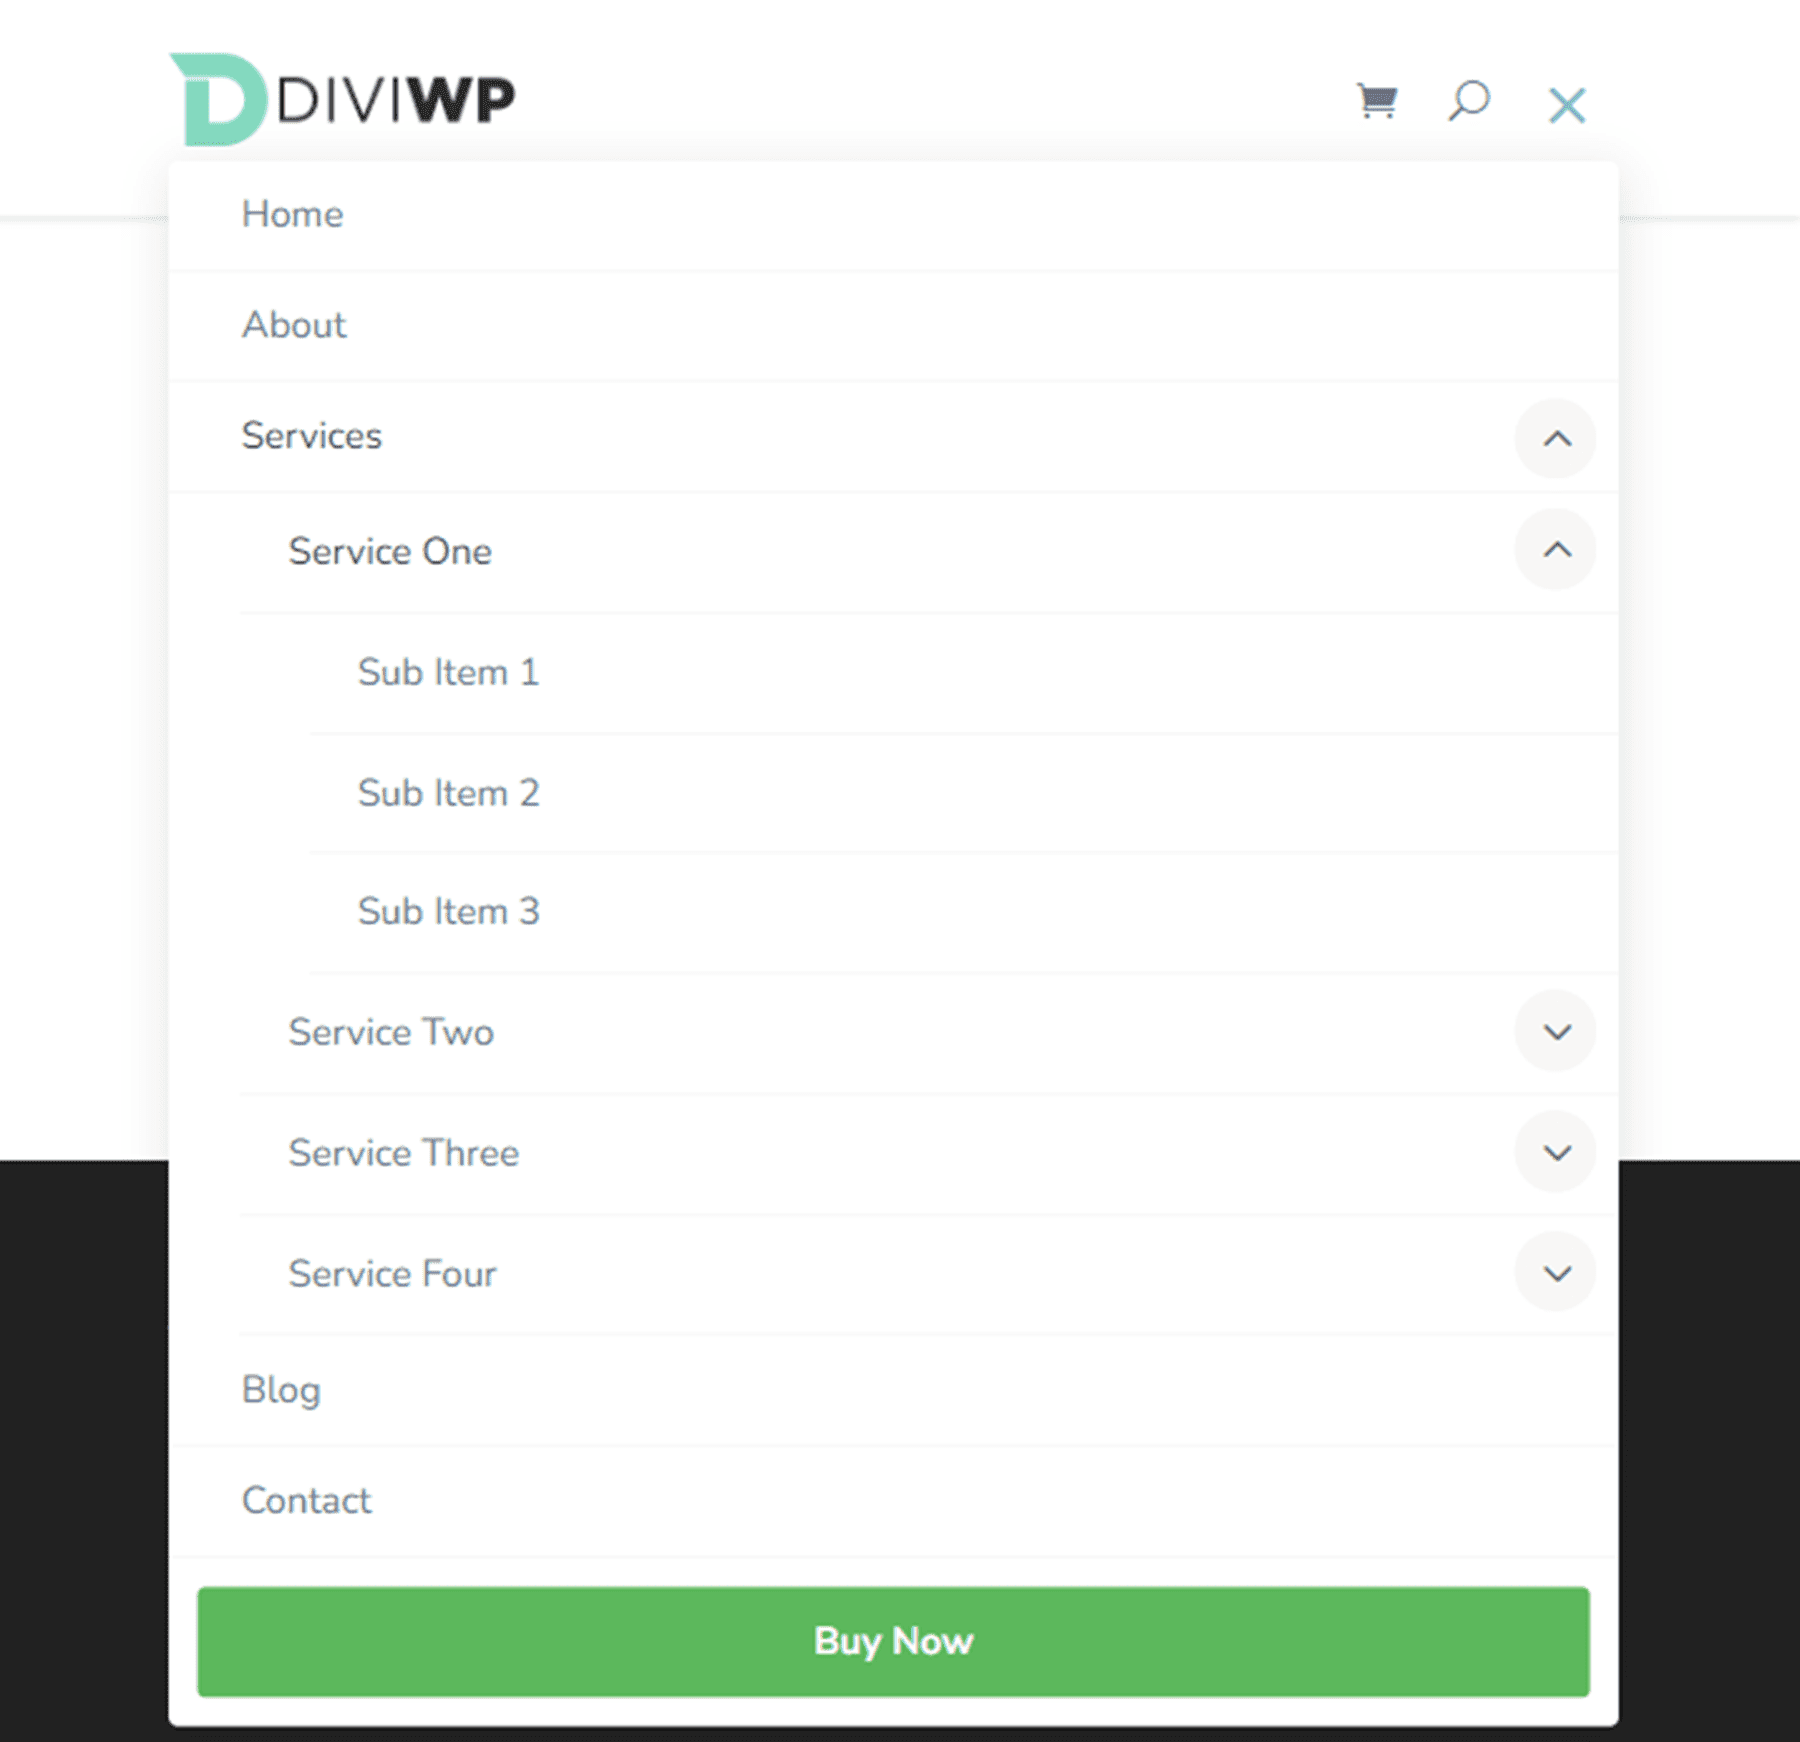
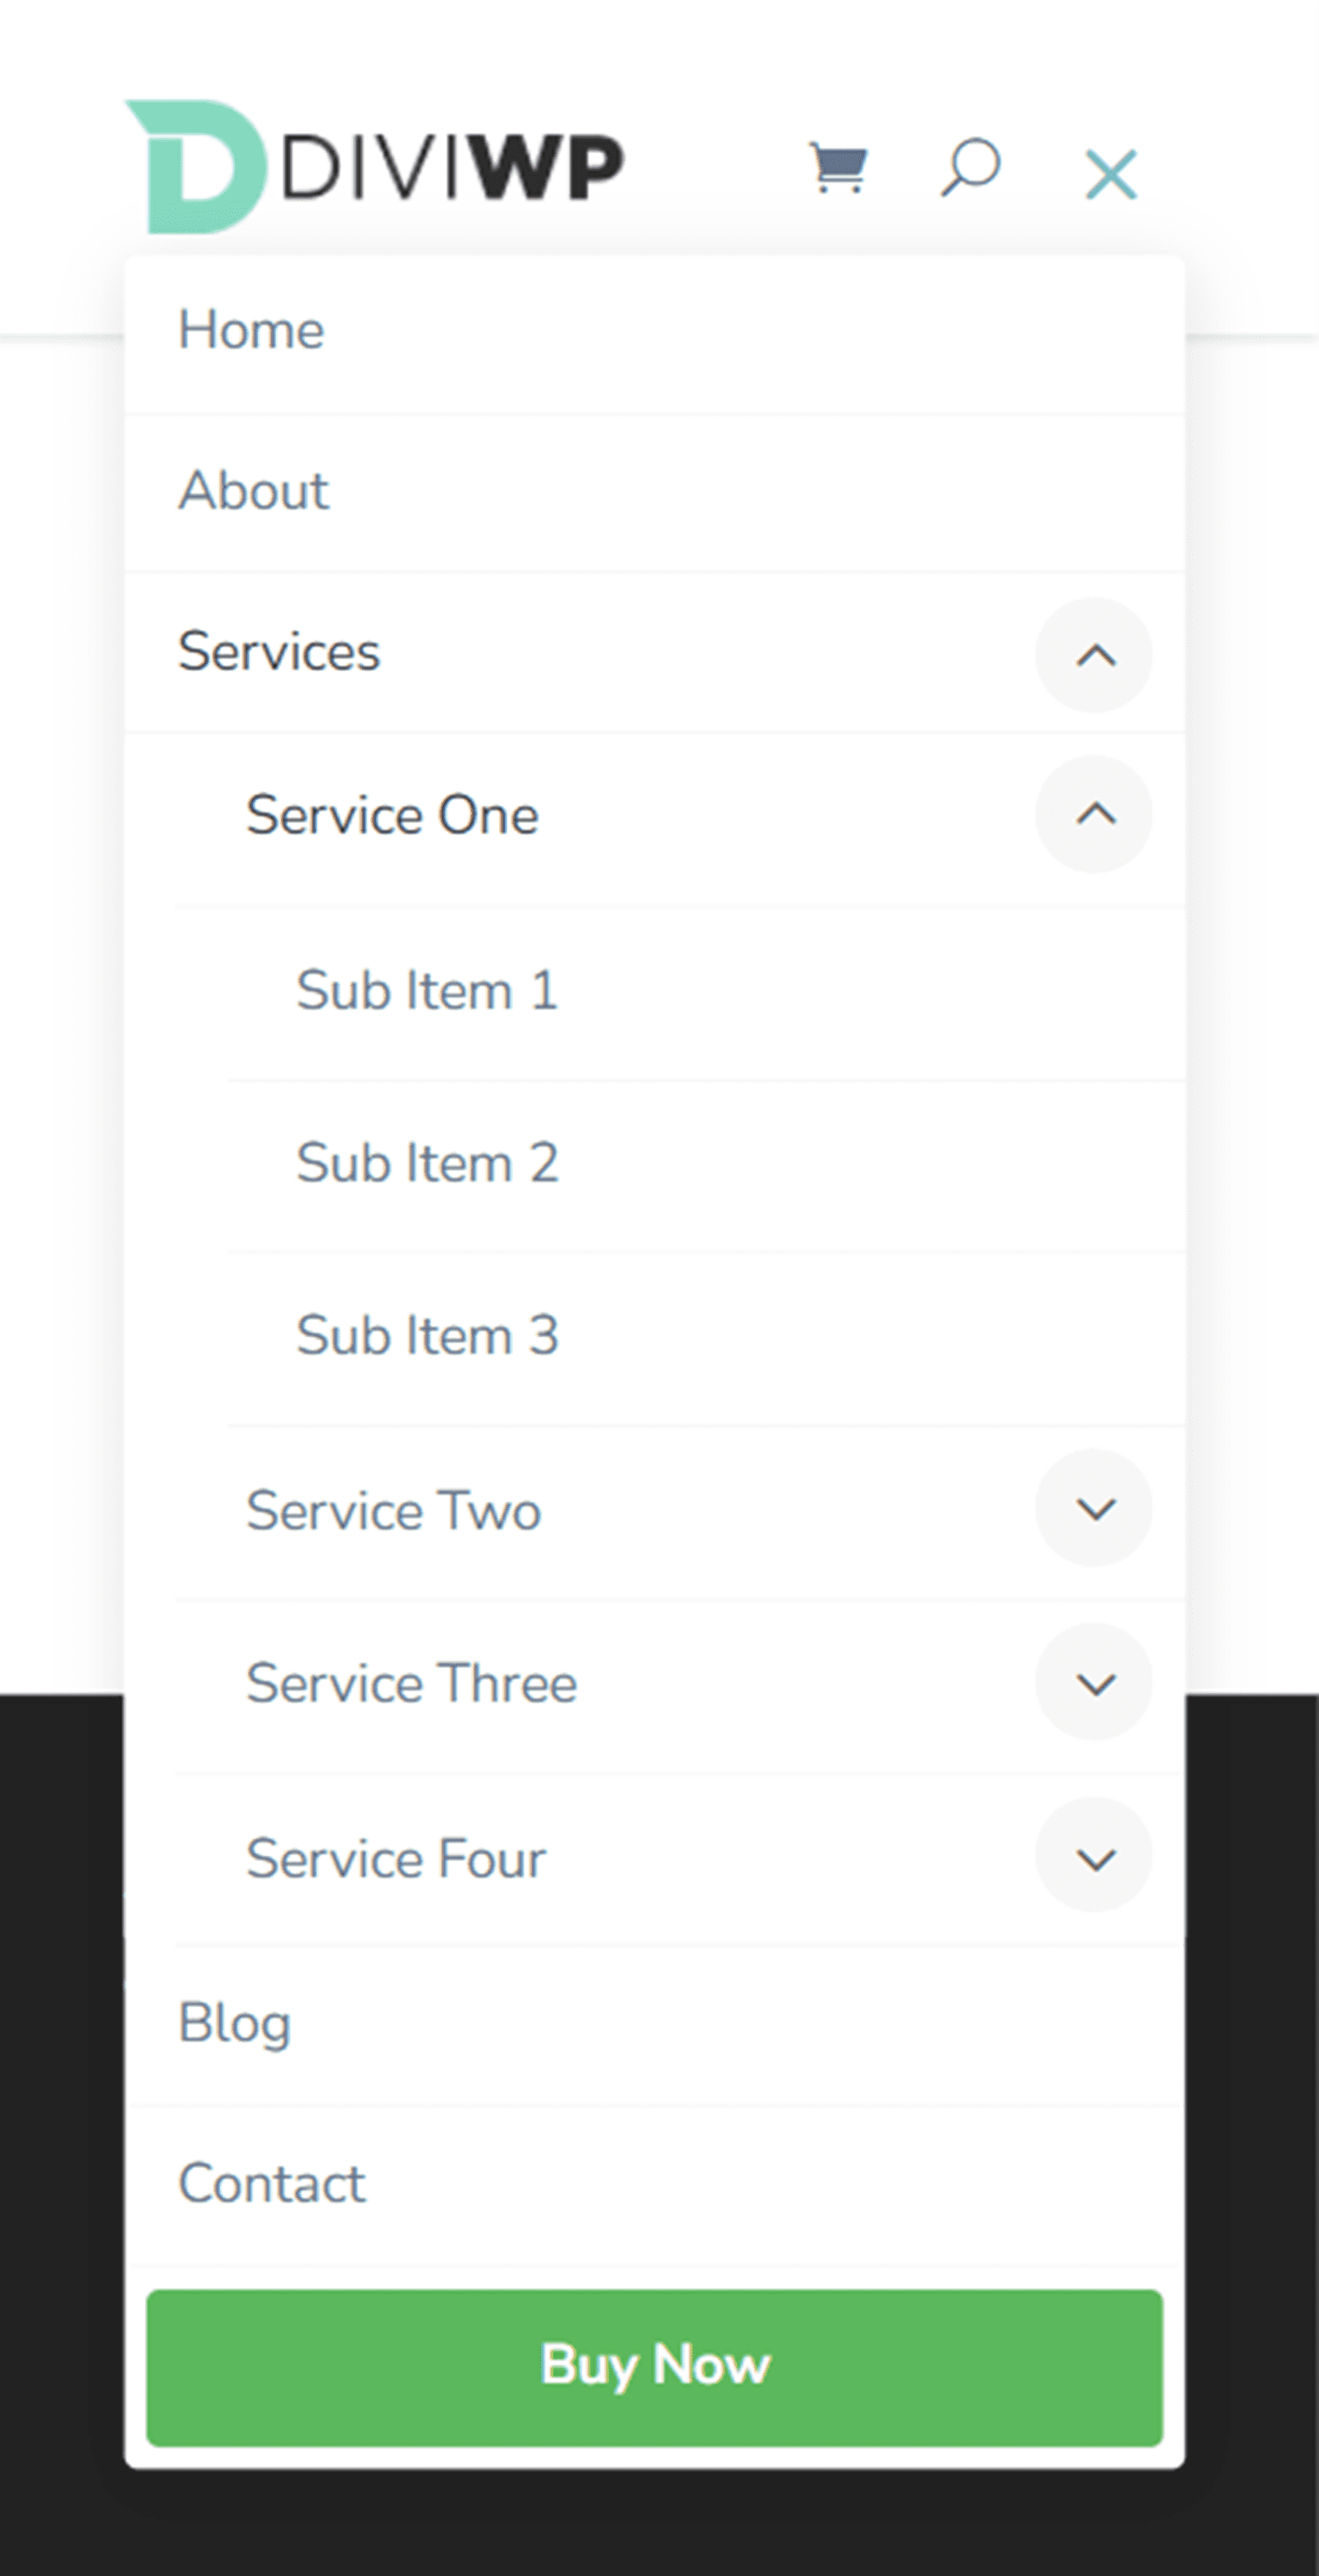
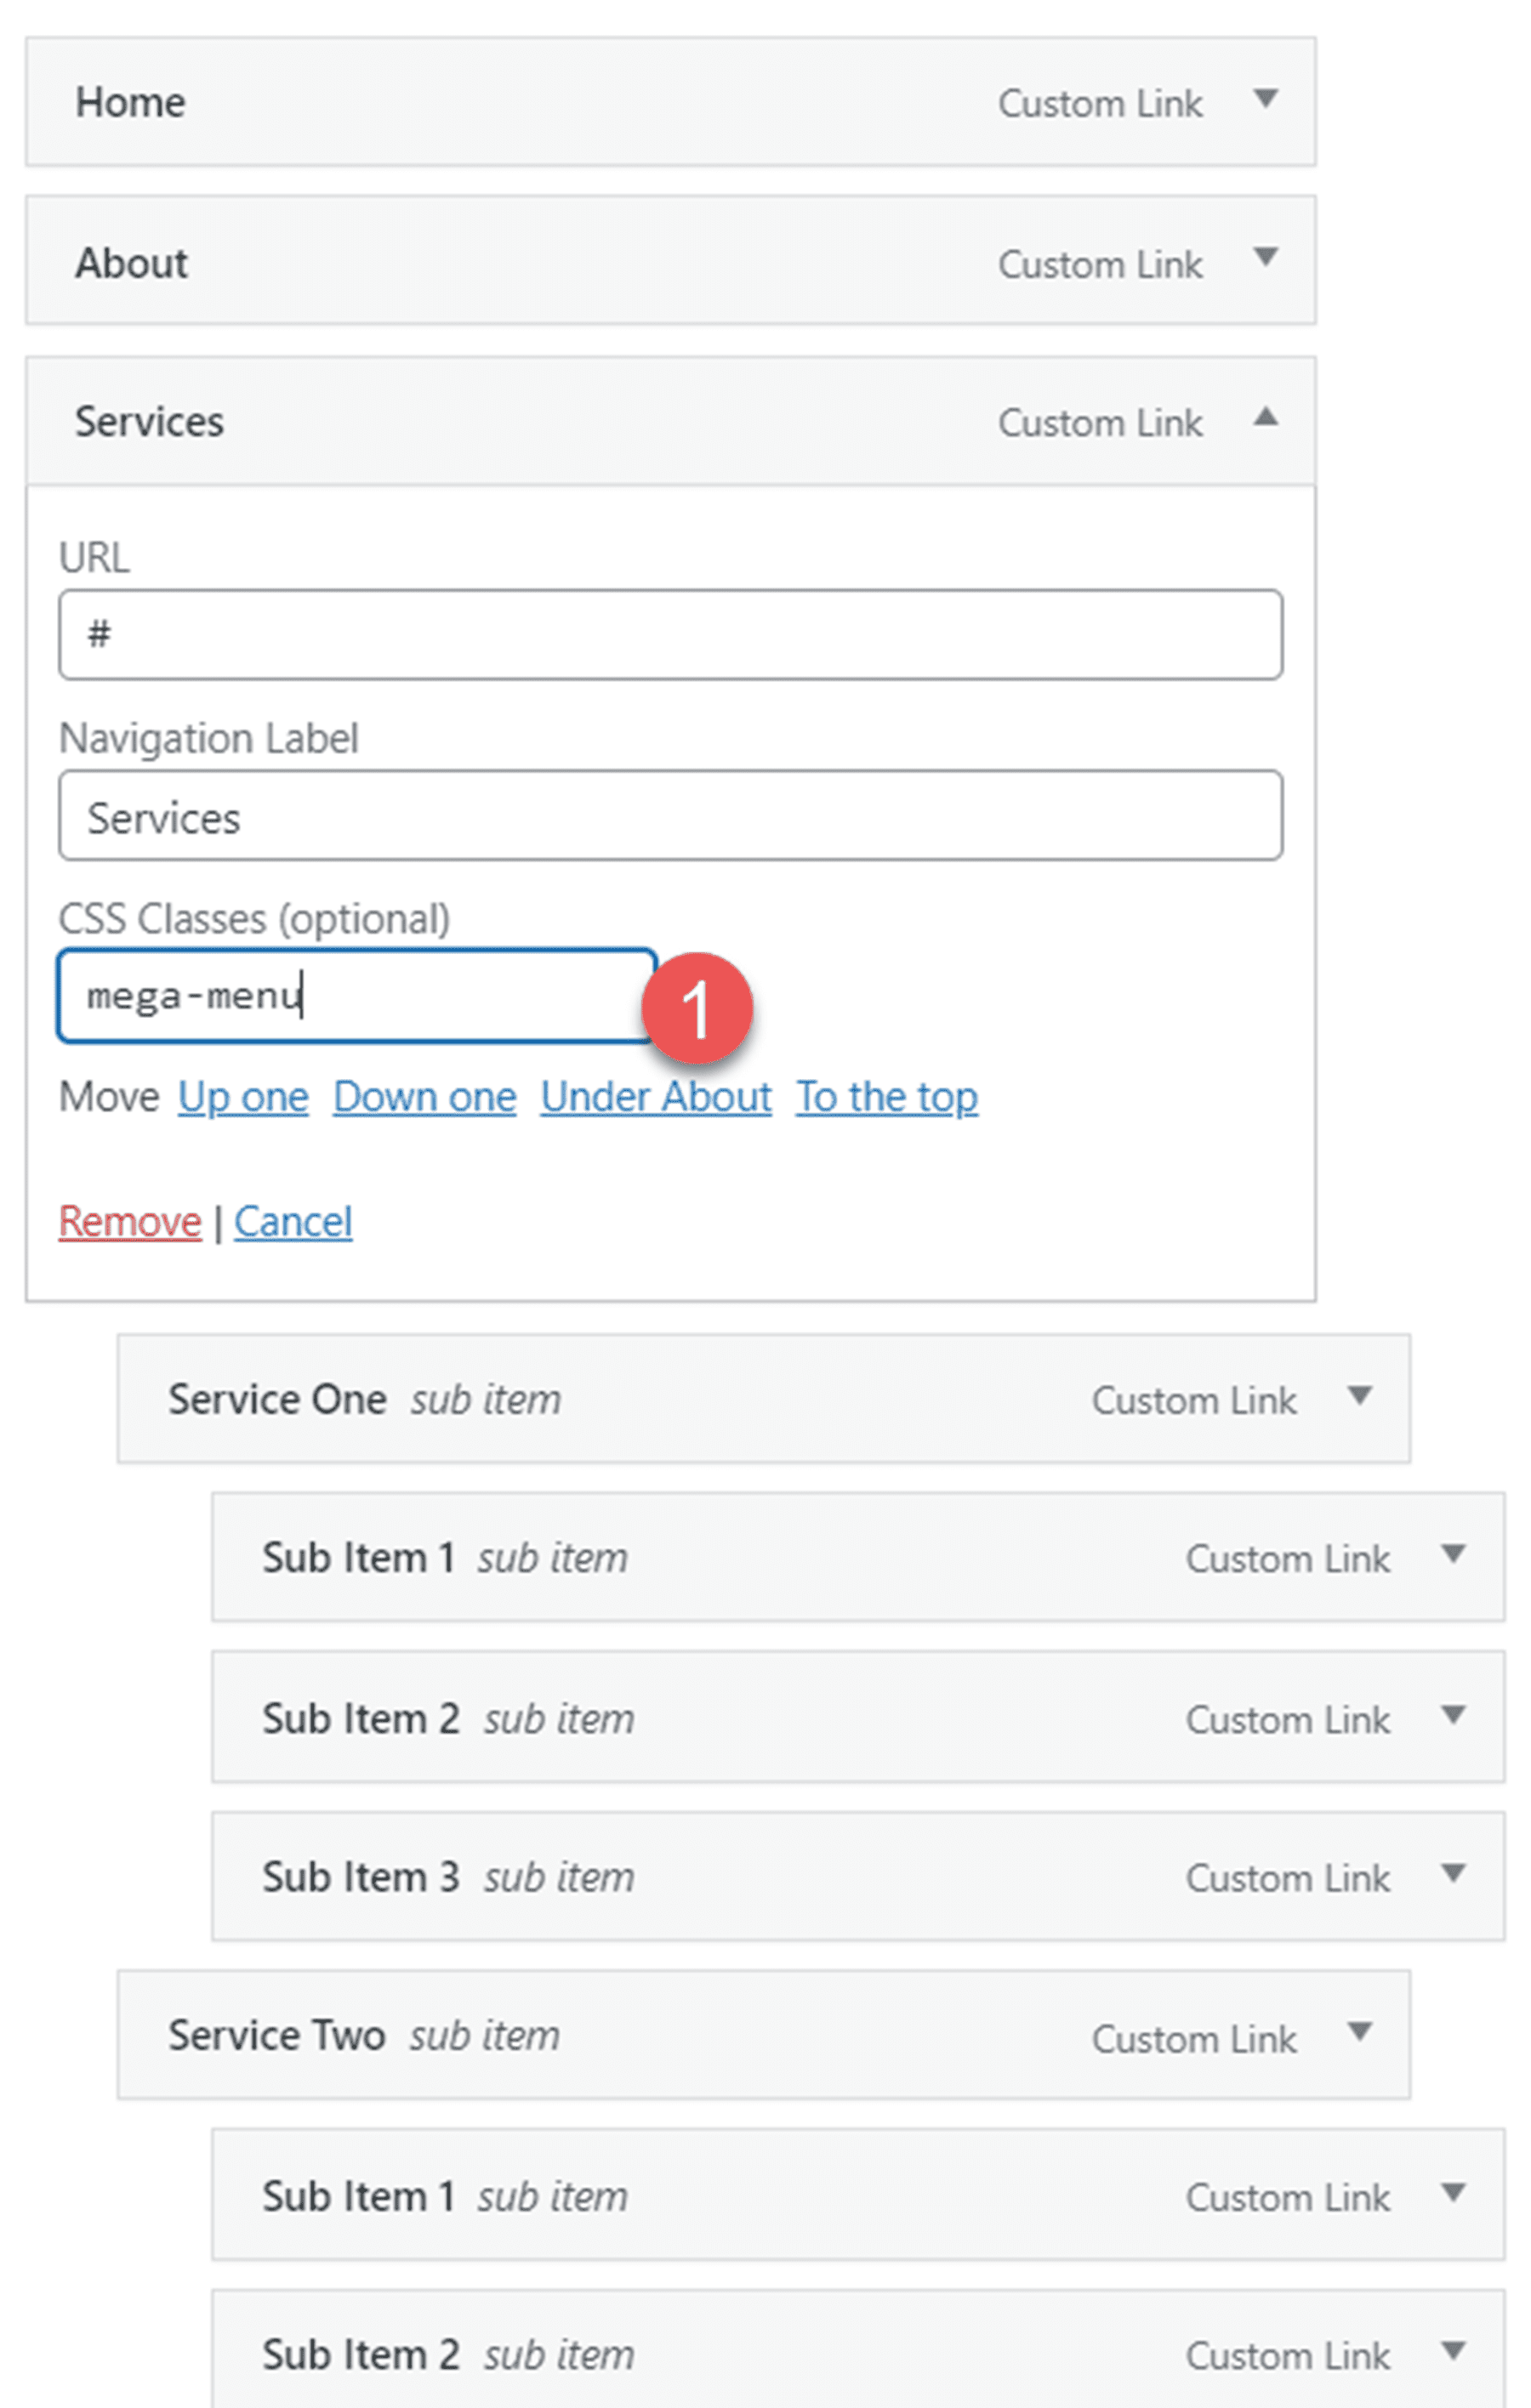
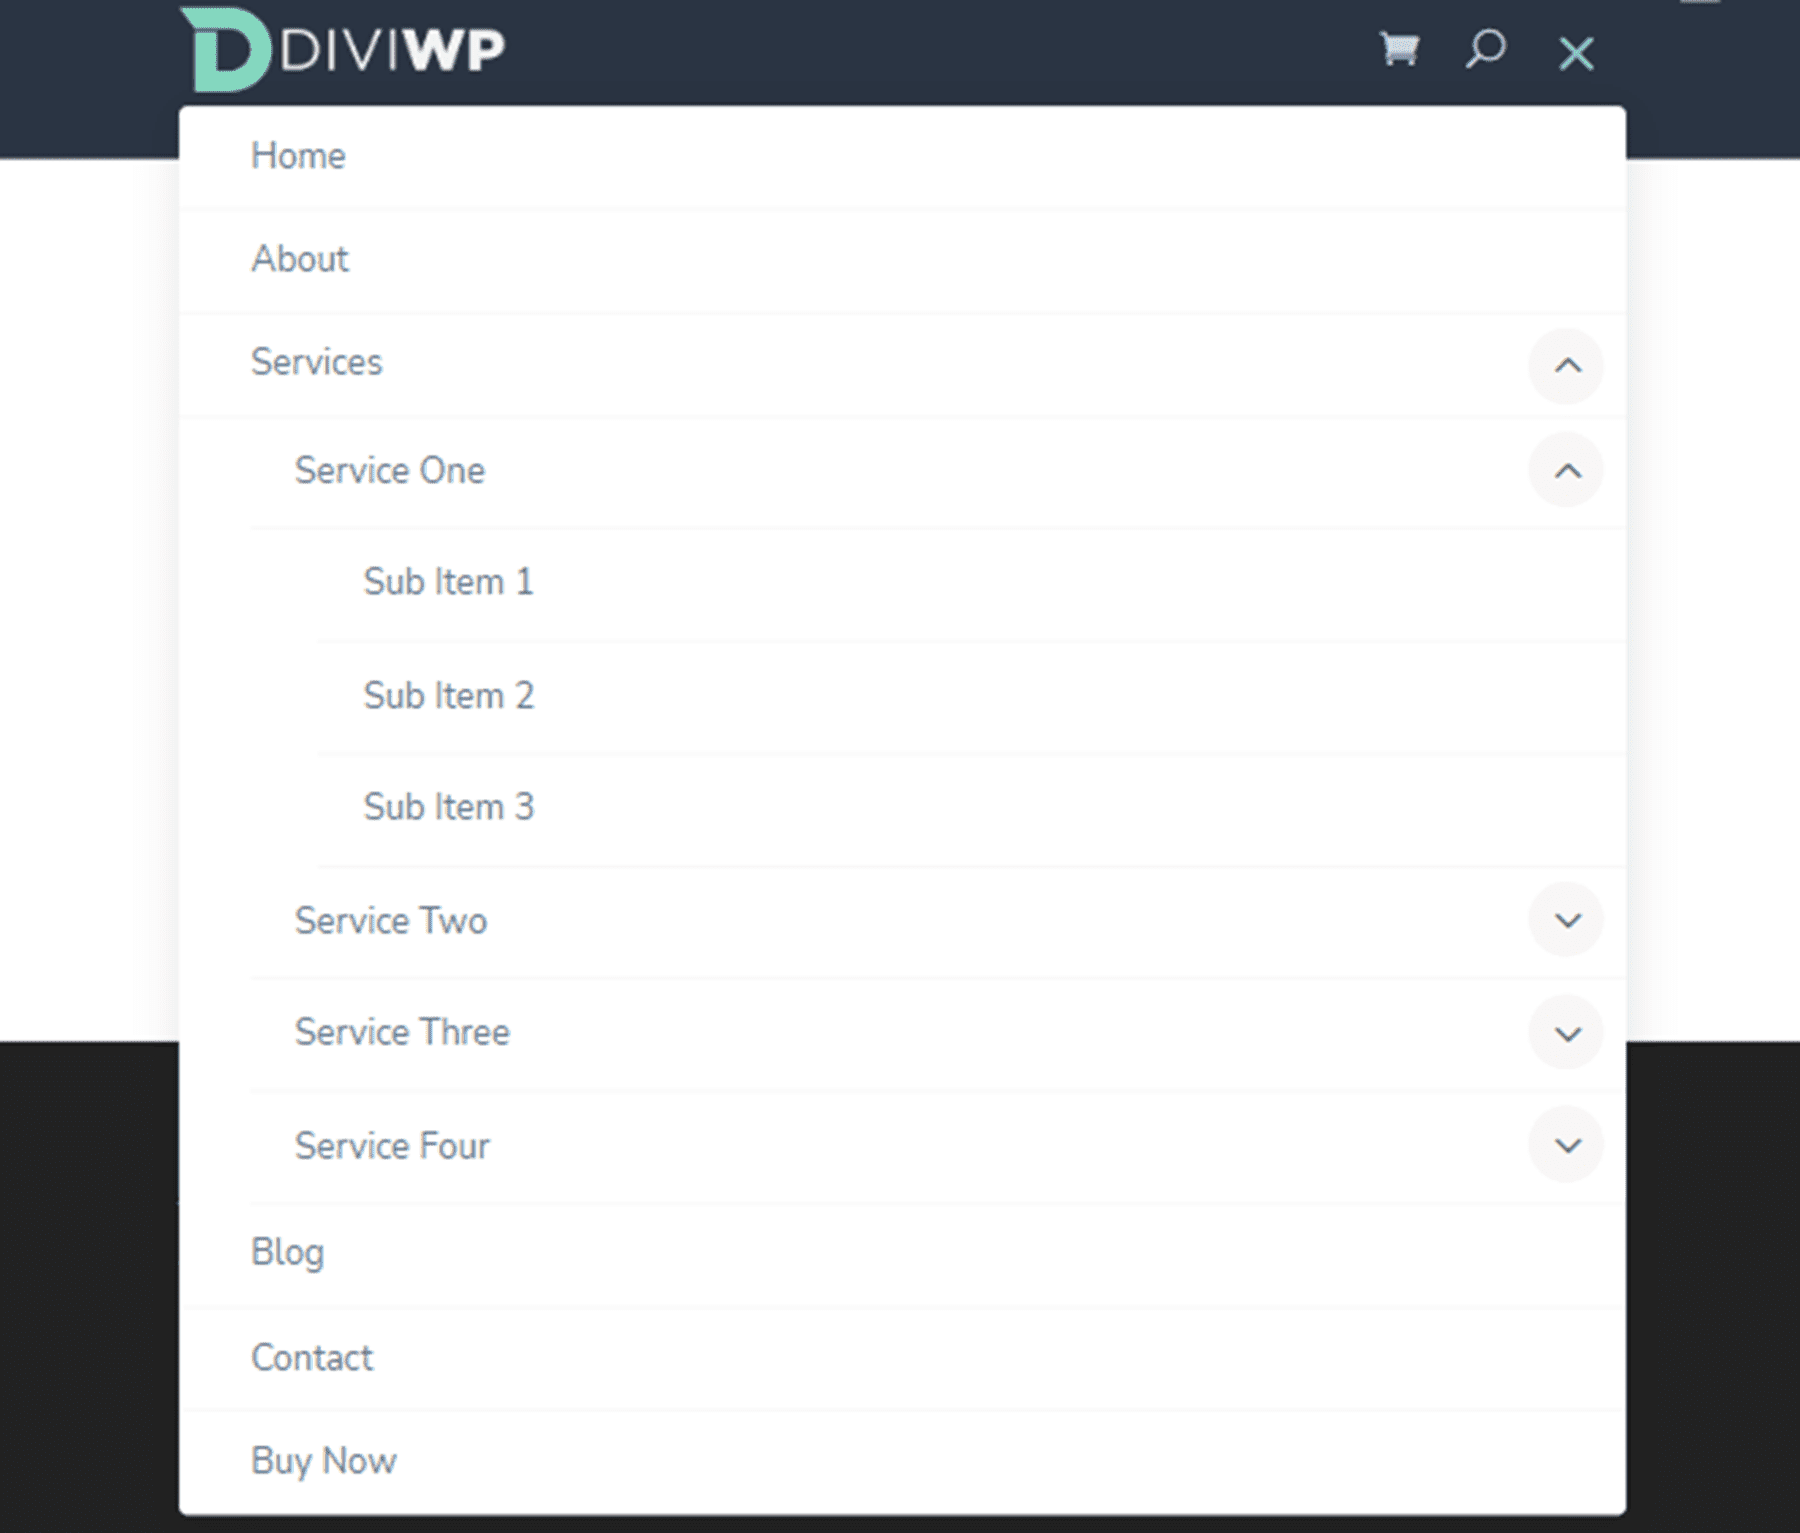
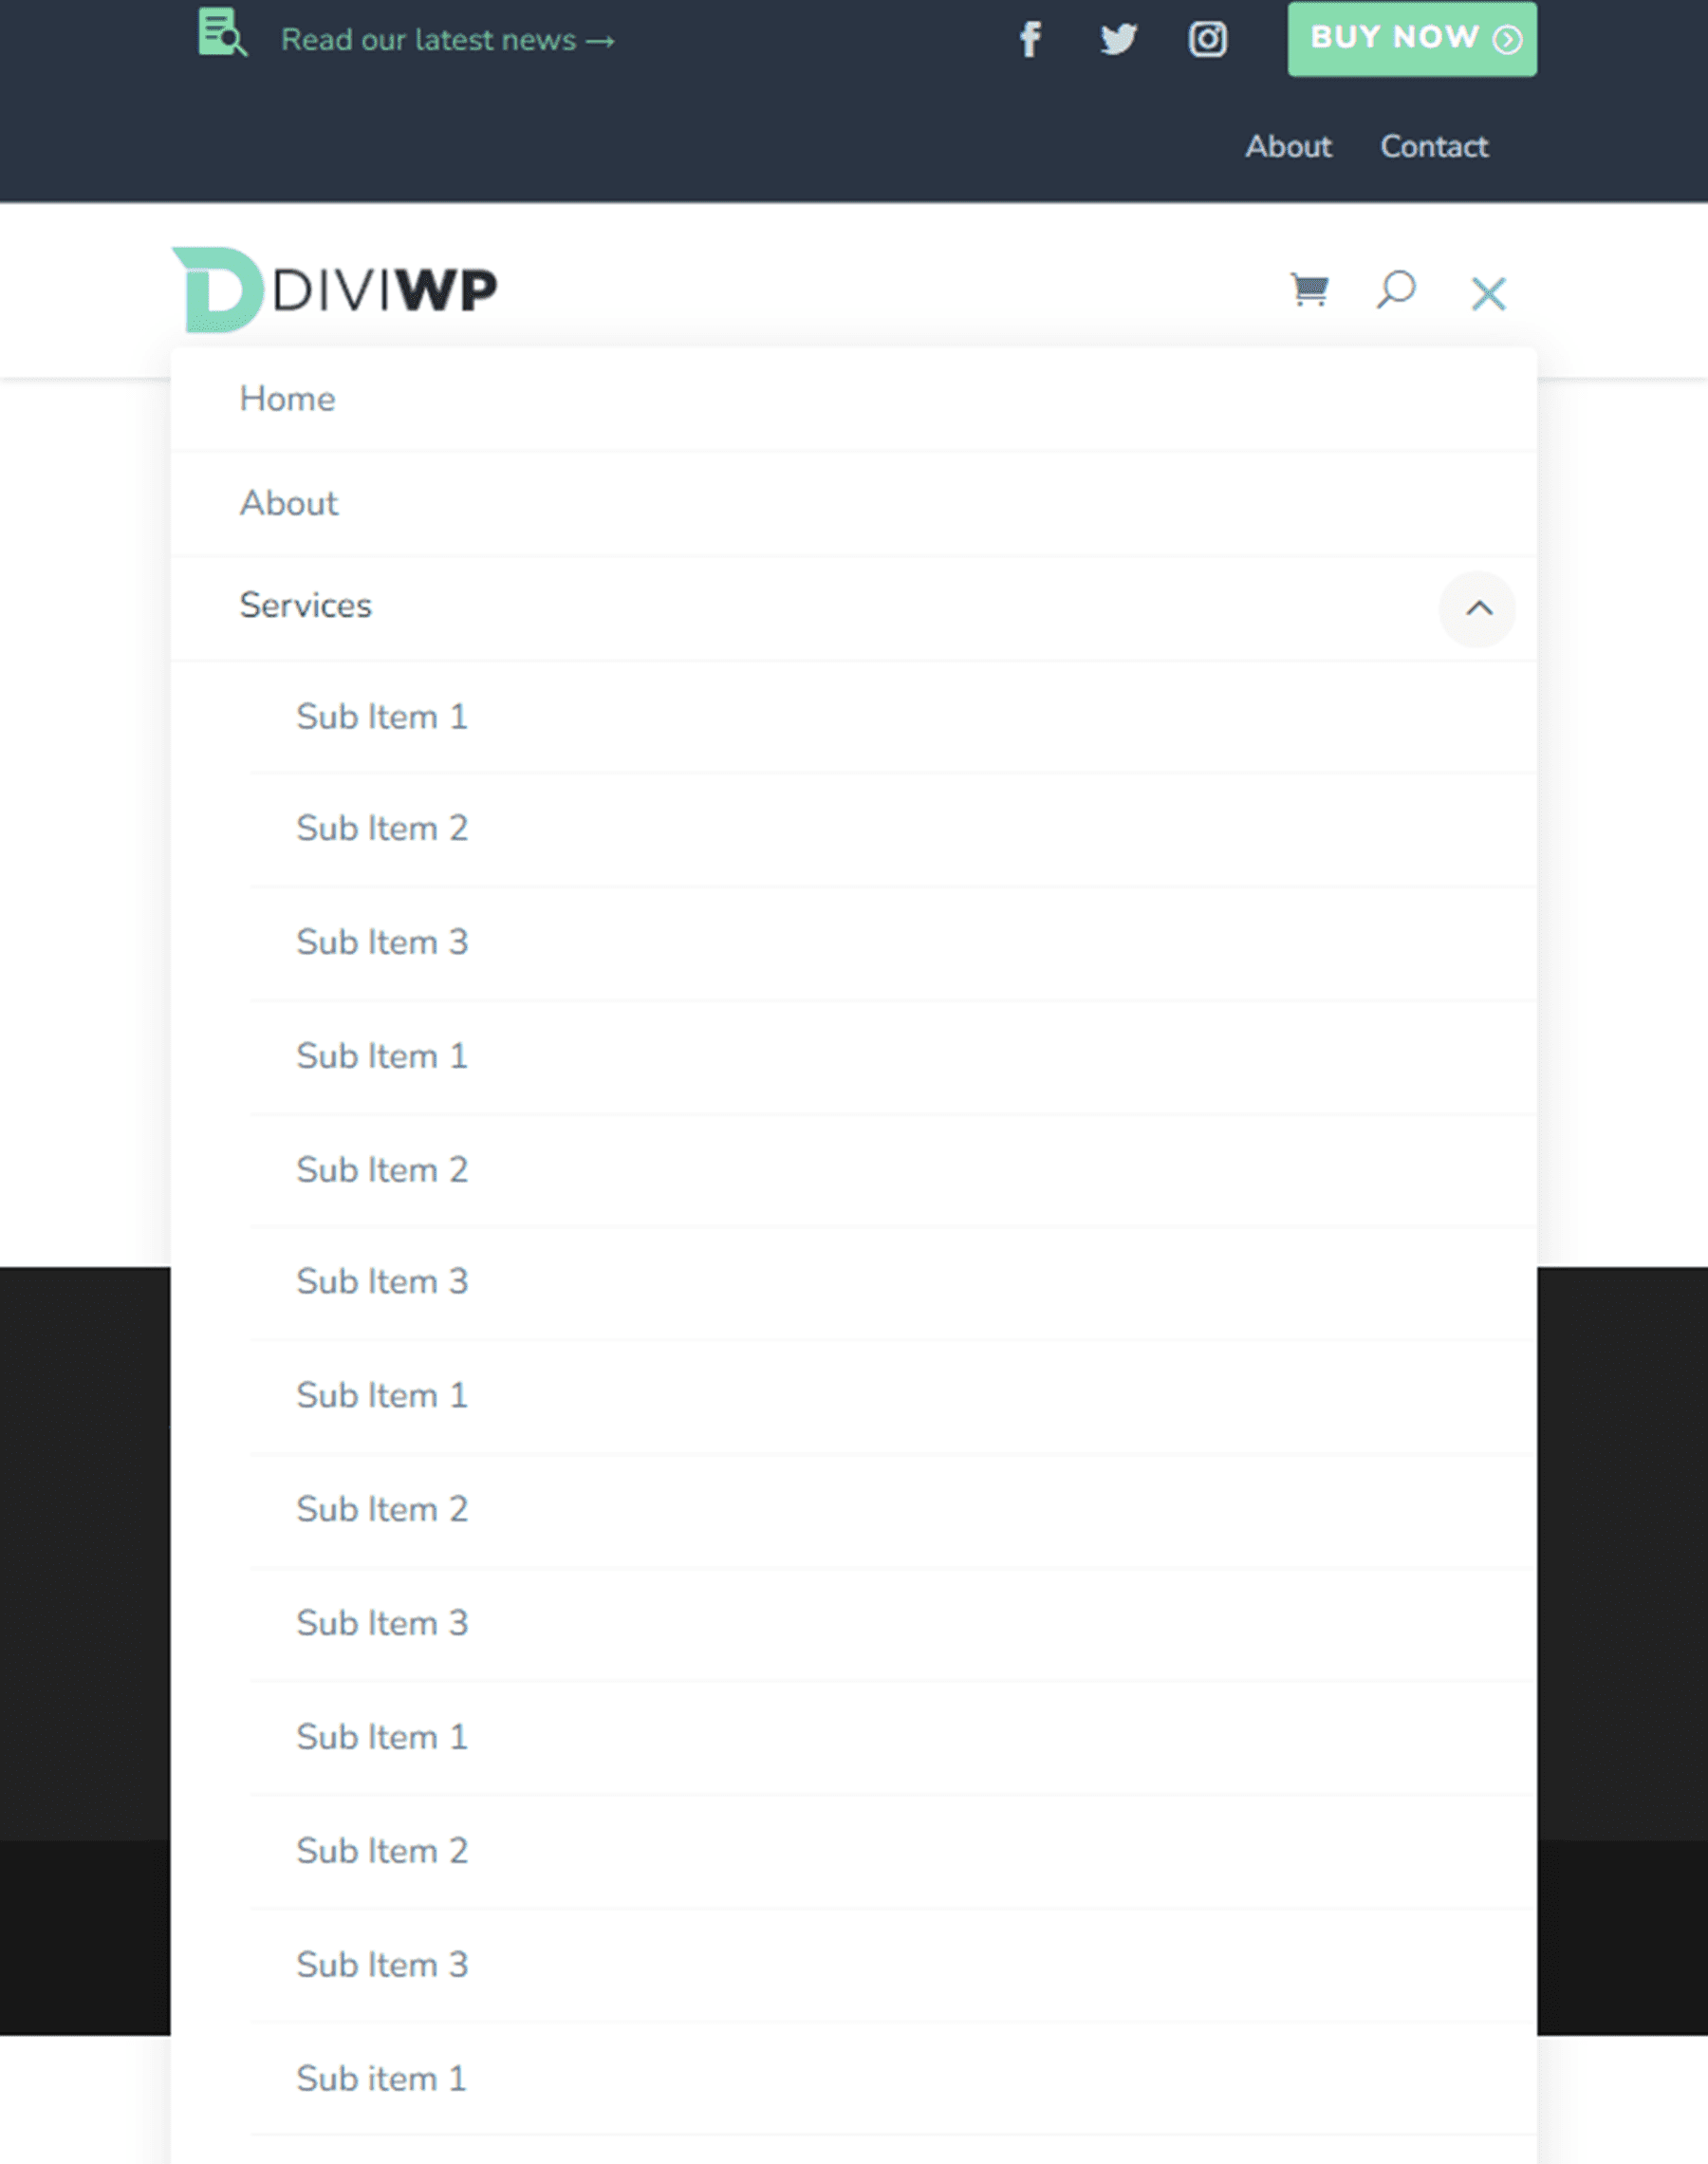
I used Header Layout 4 to demonstrate a mega menu layout. To achieve this design, first follow the instructions to create a mega menu. Be sure to enter the CSS class mega-menu on the parent item. Each of the header sections in the DiviWP Header Sections Pack supports mega menus.
Header Layout 5
Layout 5 is a right-aligned header with a dark background. It features fade-in mobile menu transitions.

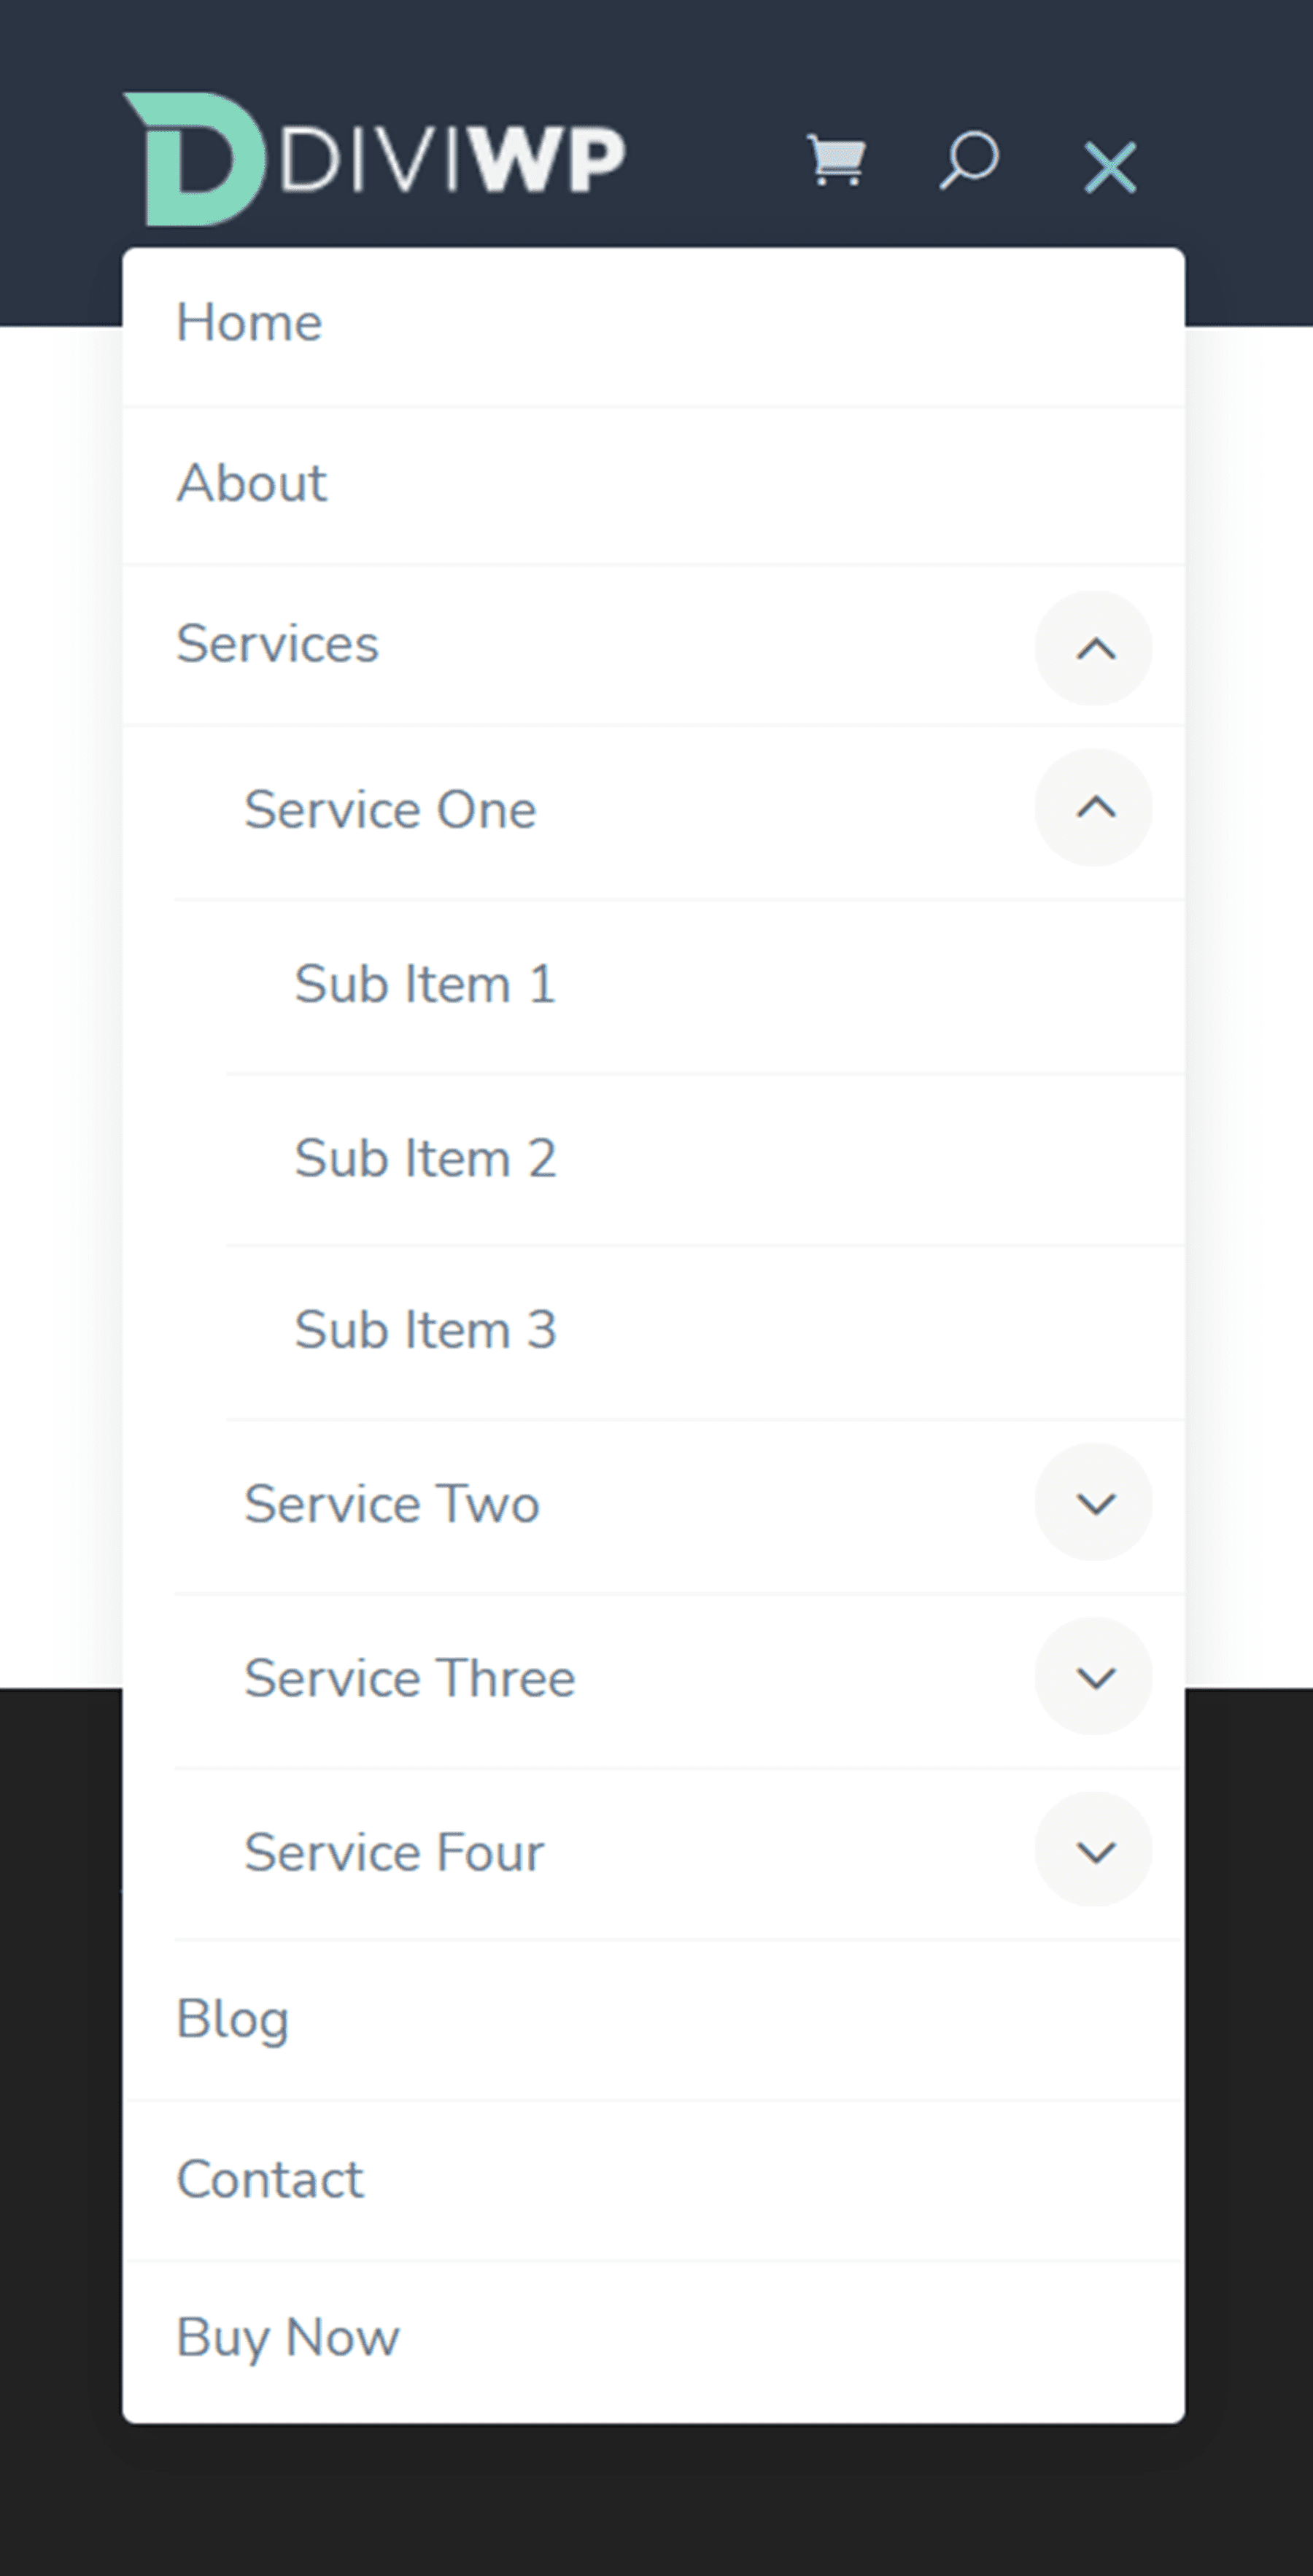
Header Layout 6
Header Layout 6 also features a dark background section. The sub-menu also has a dark background style.

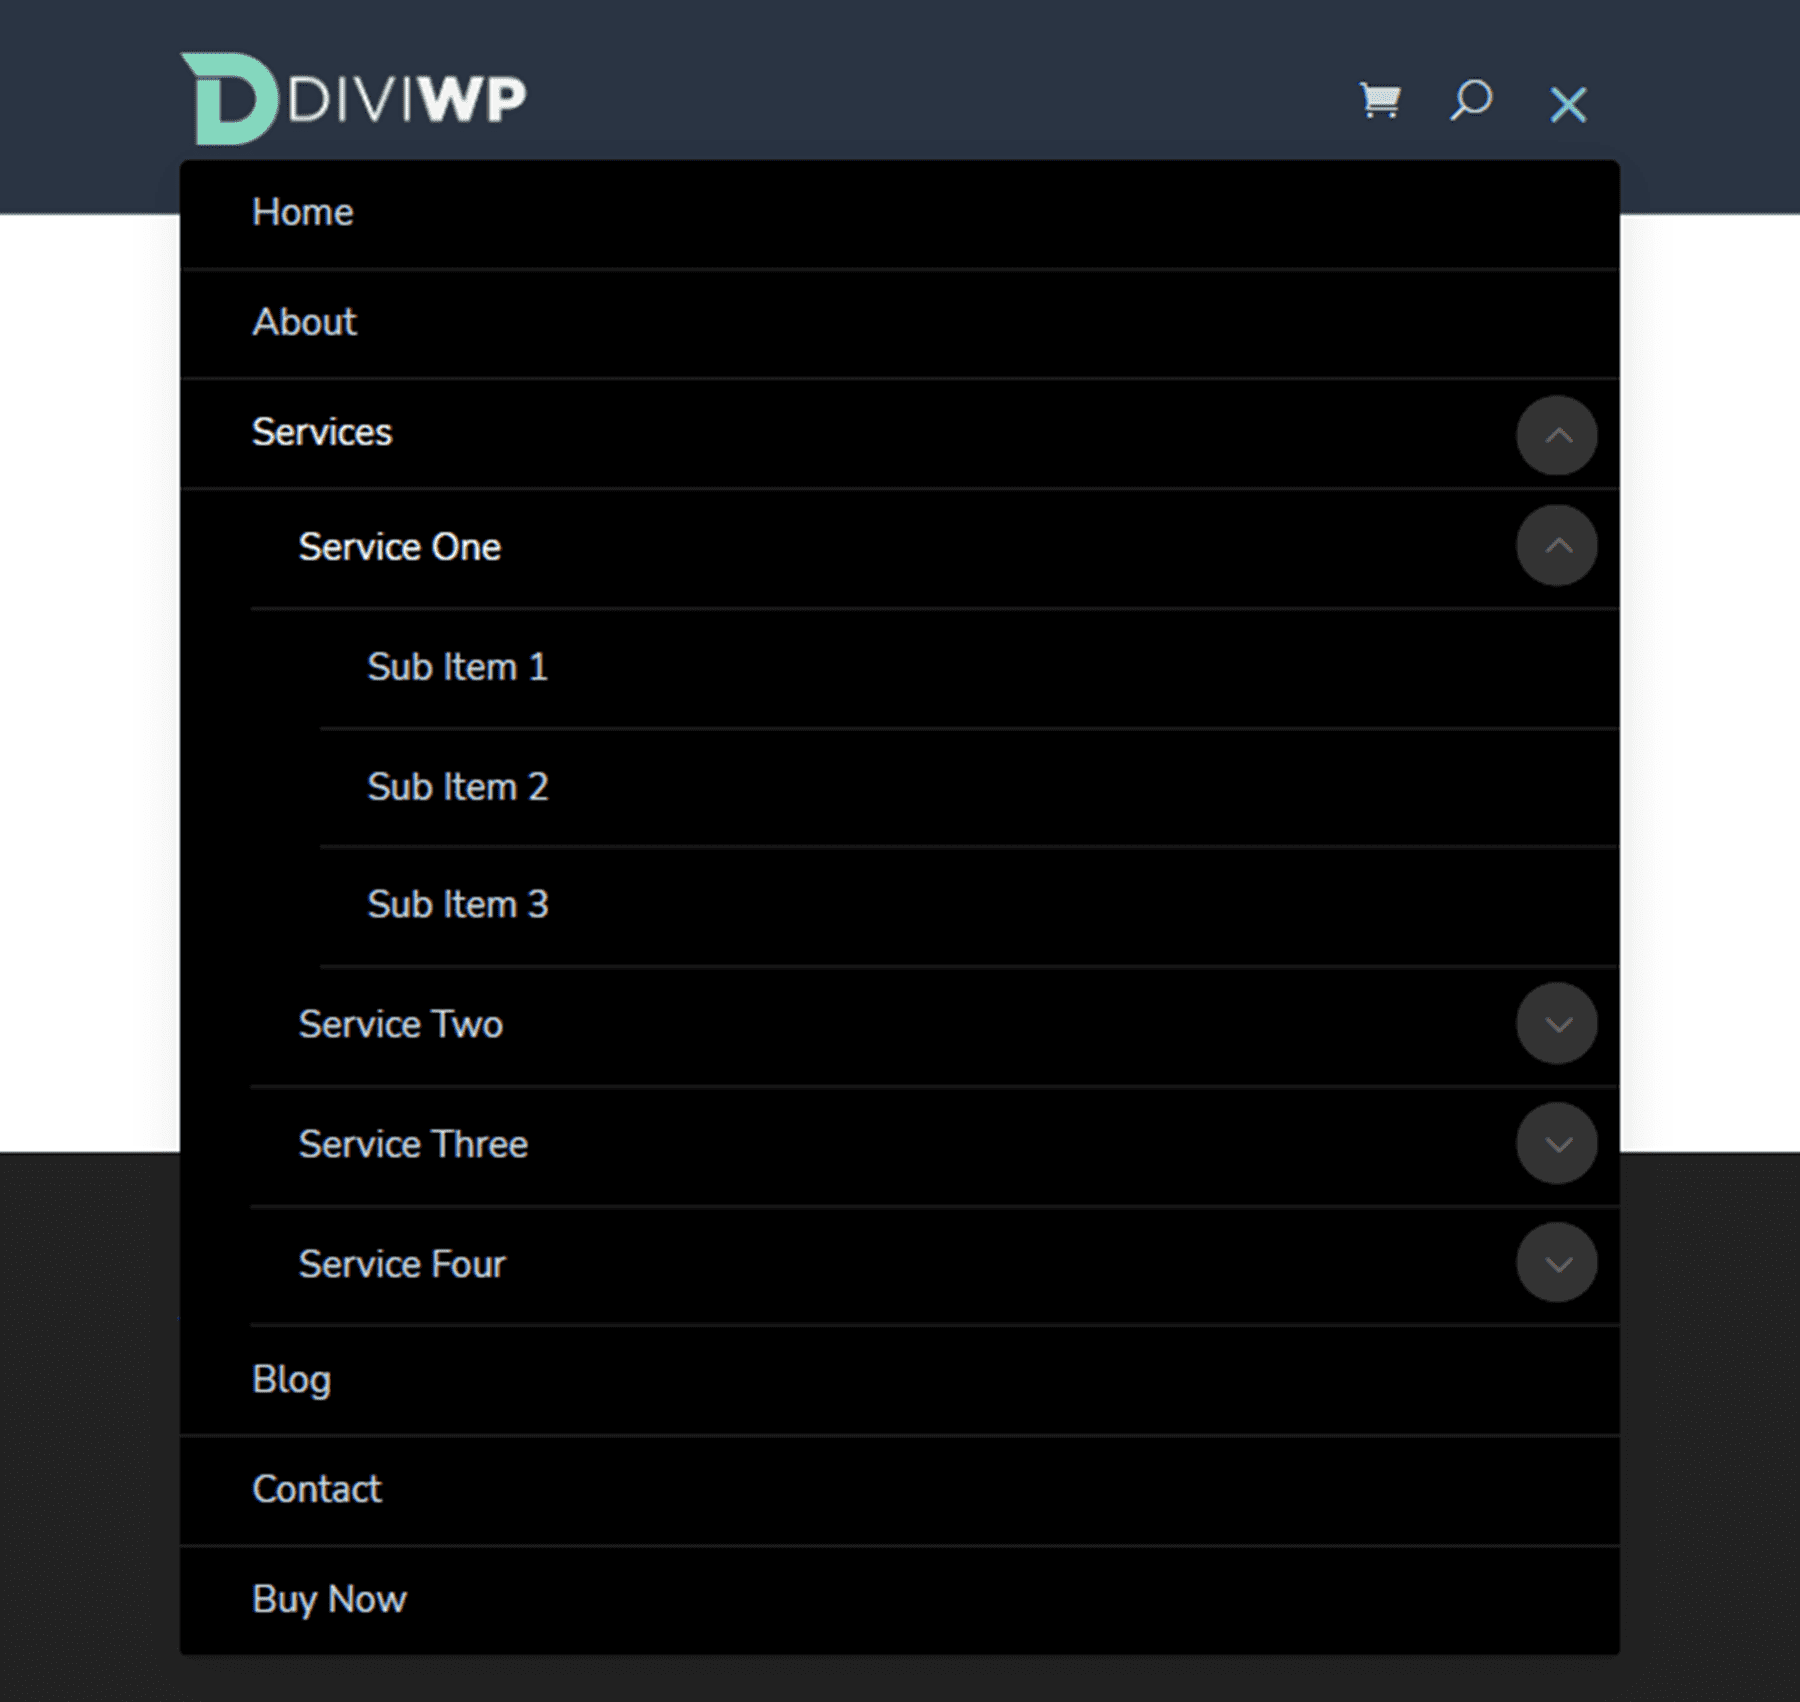
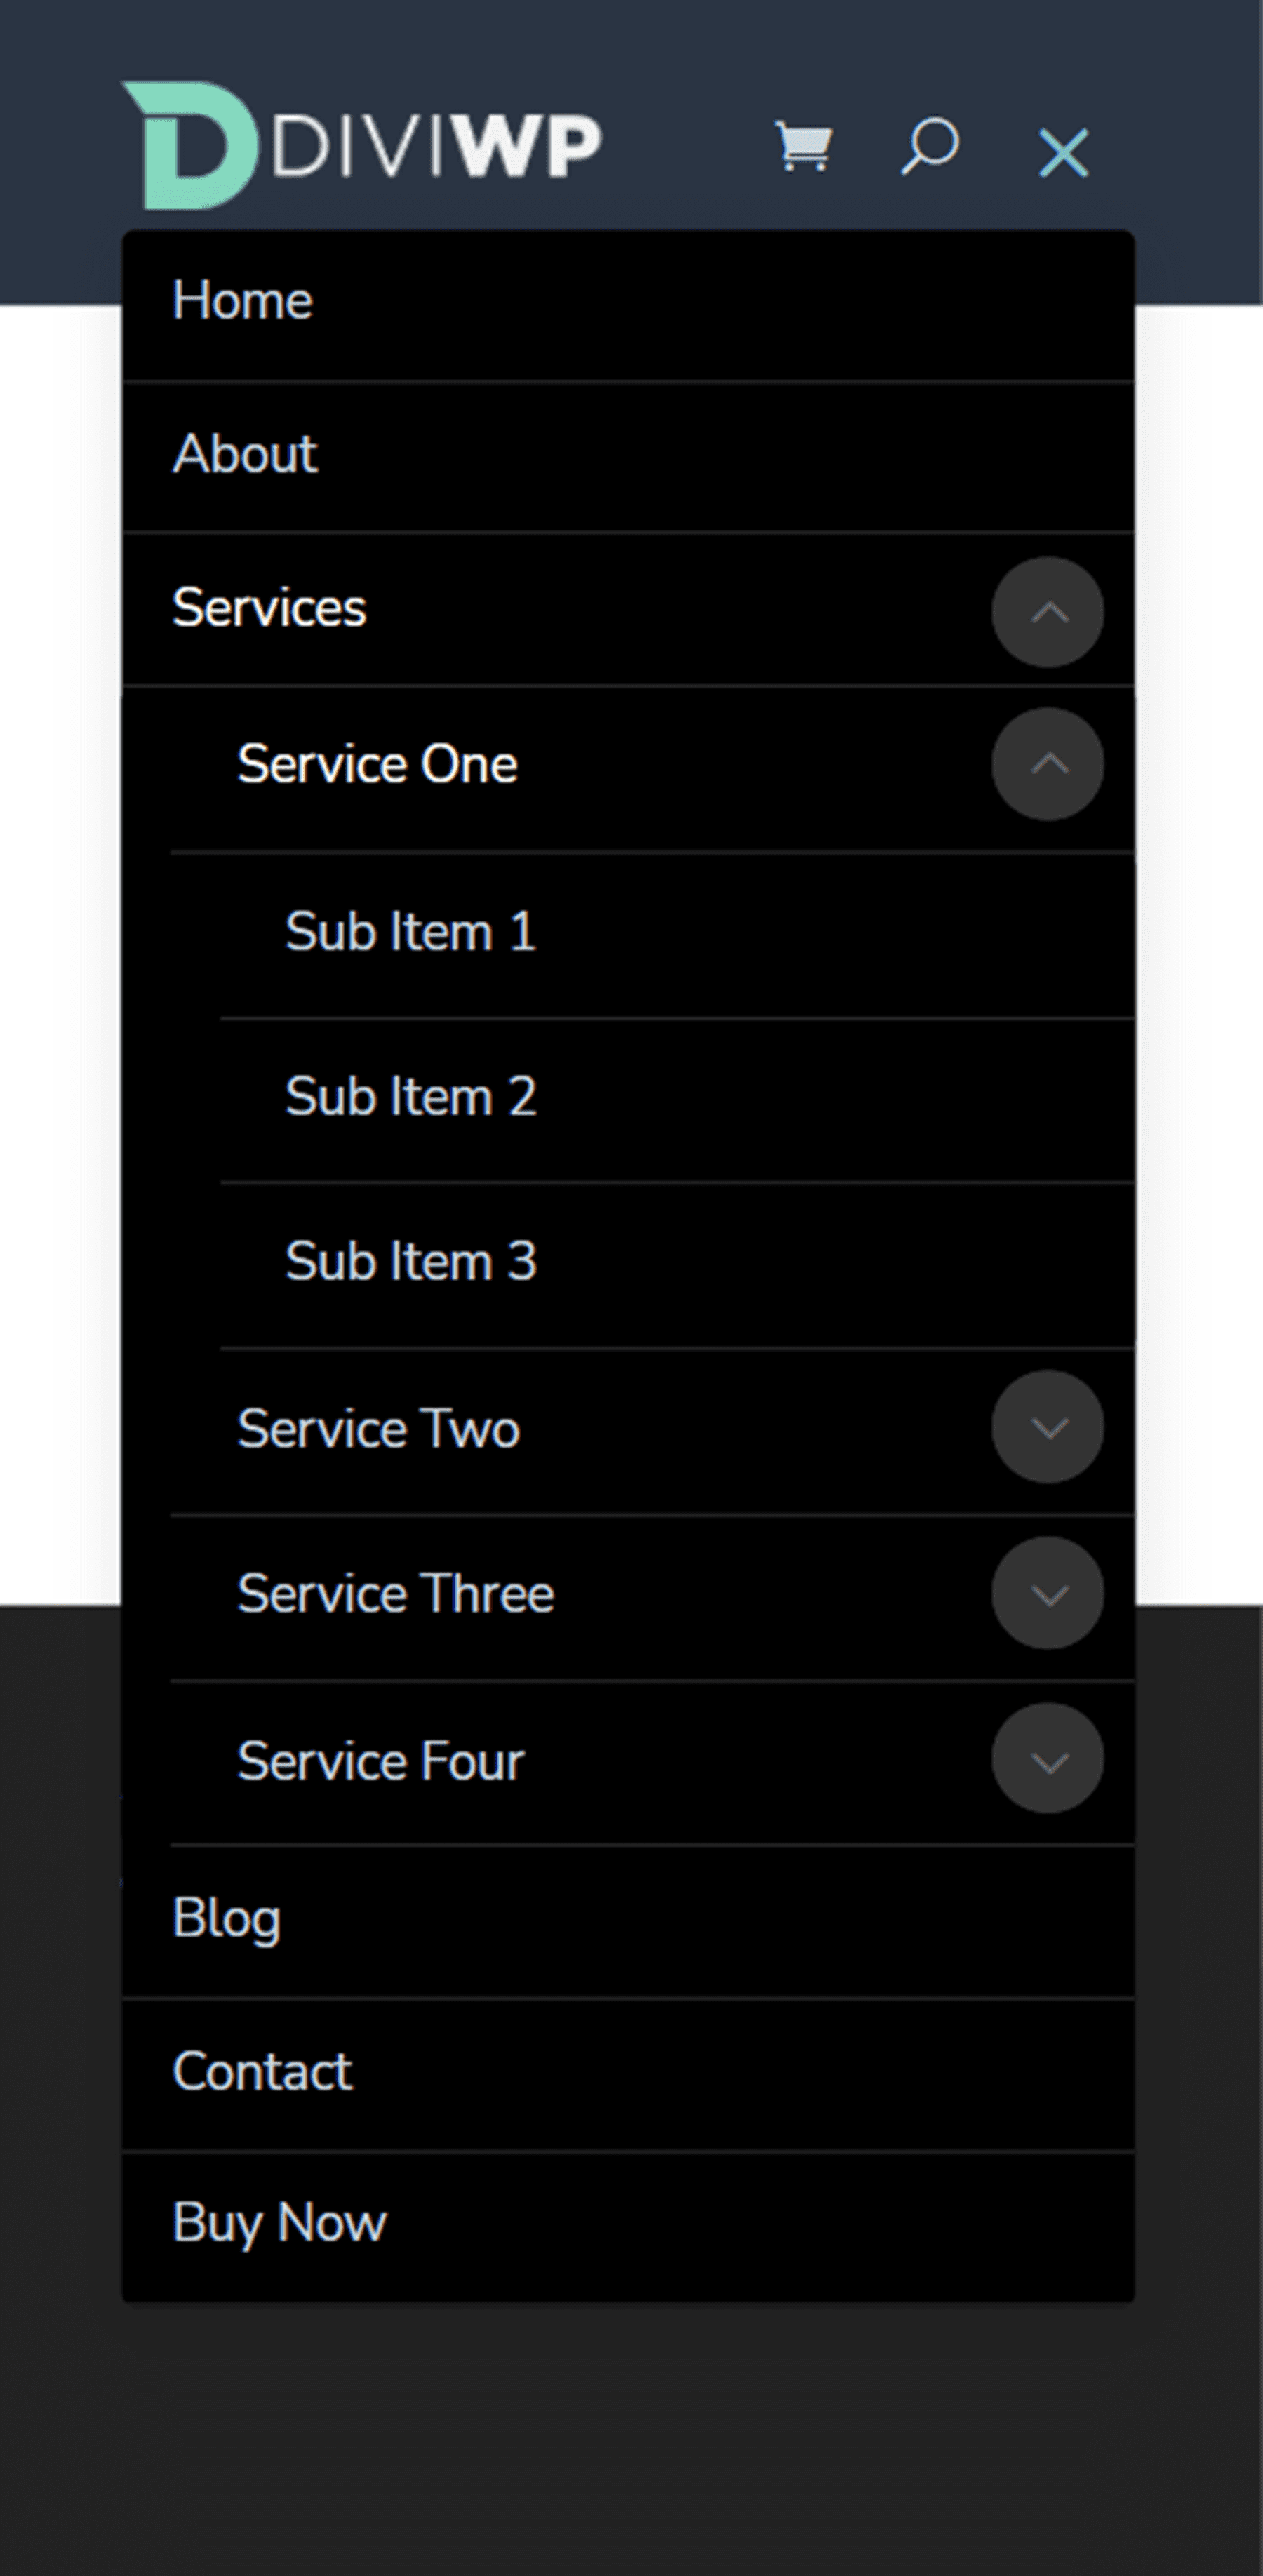
Header Layout 7
Layout 7 has a light background and has a 3/4 – 1/4 row column layout with the button on the right. The button also appears alongside the hamburger menu icon on tablet and mobile.

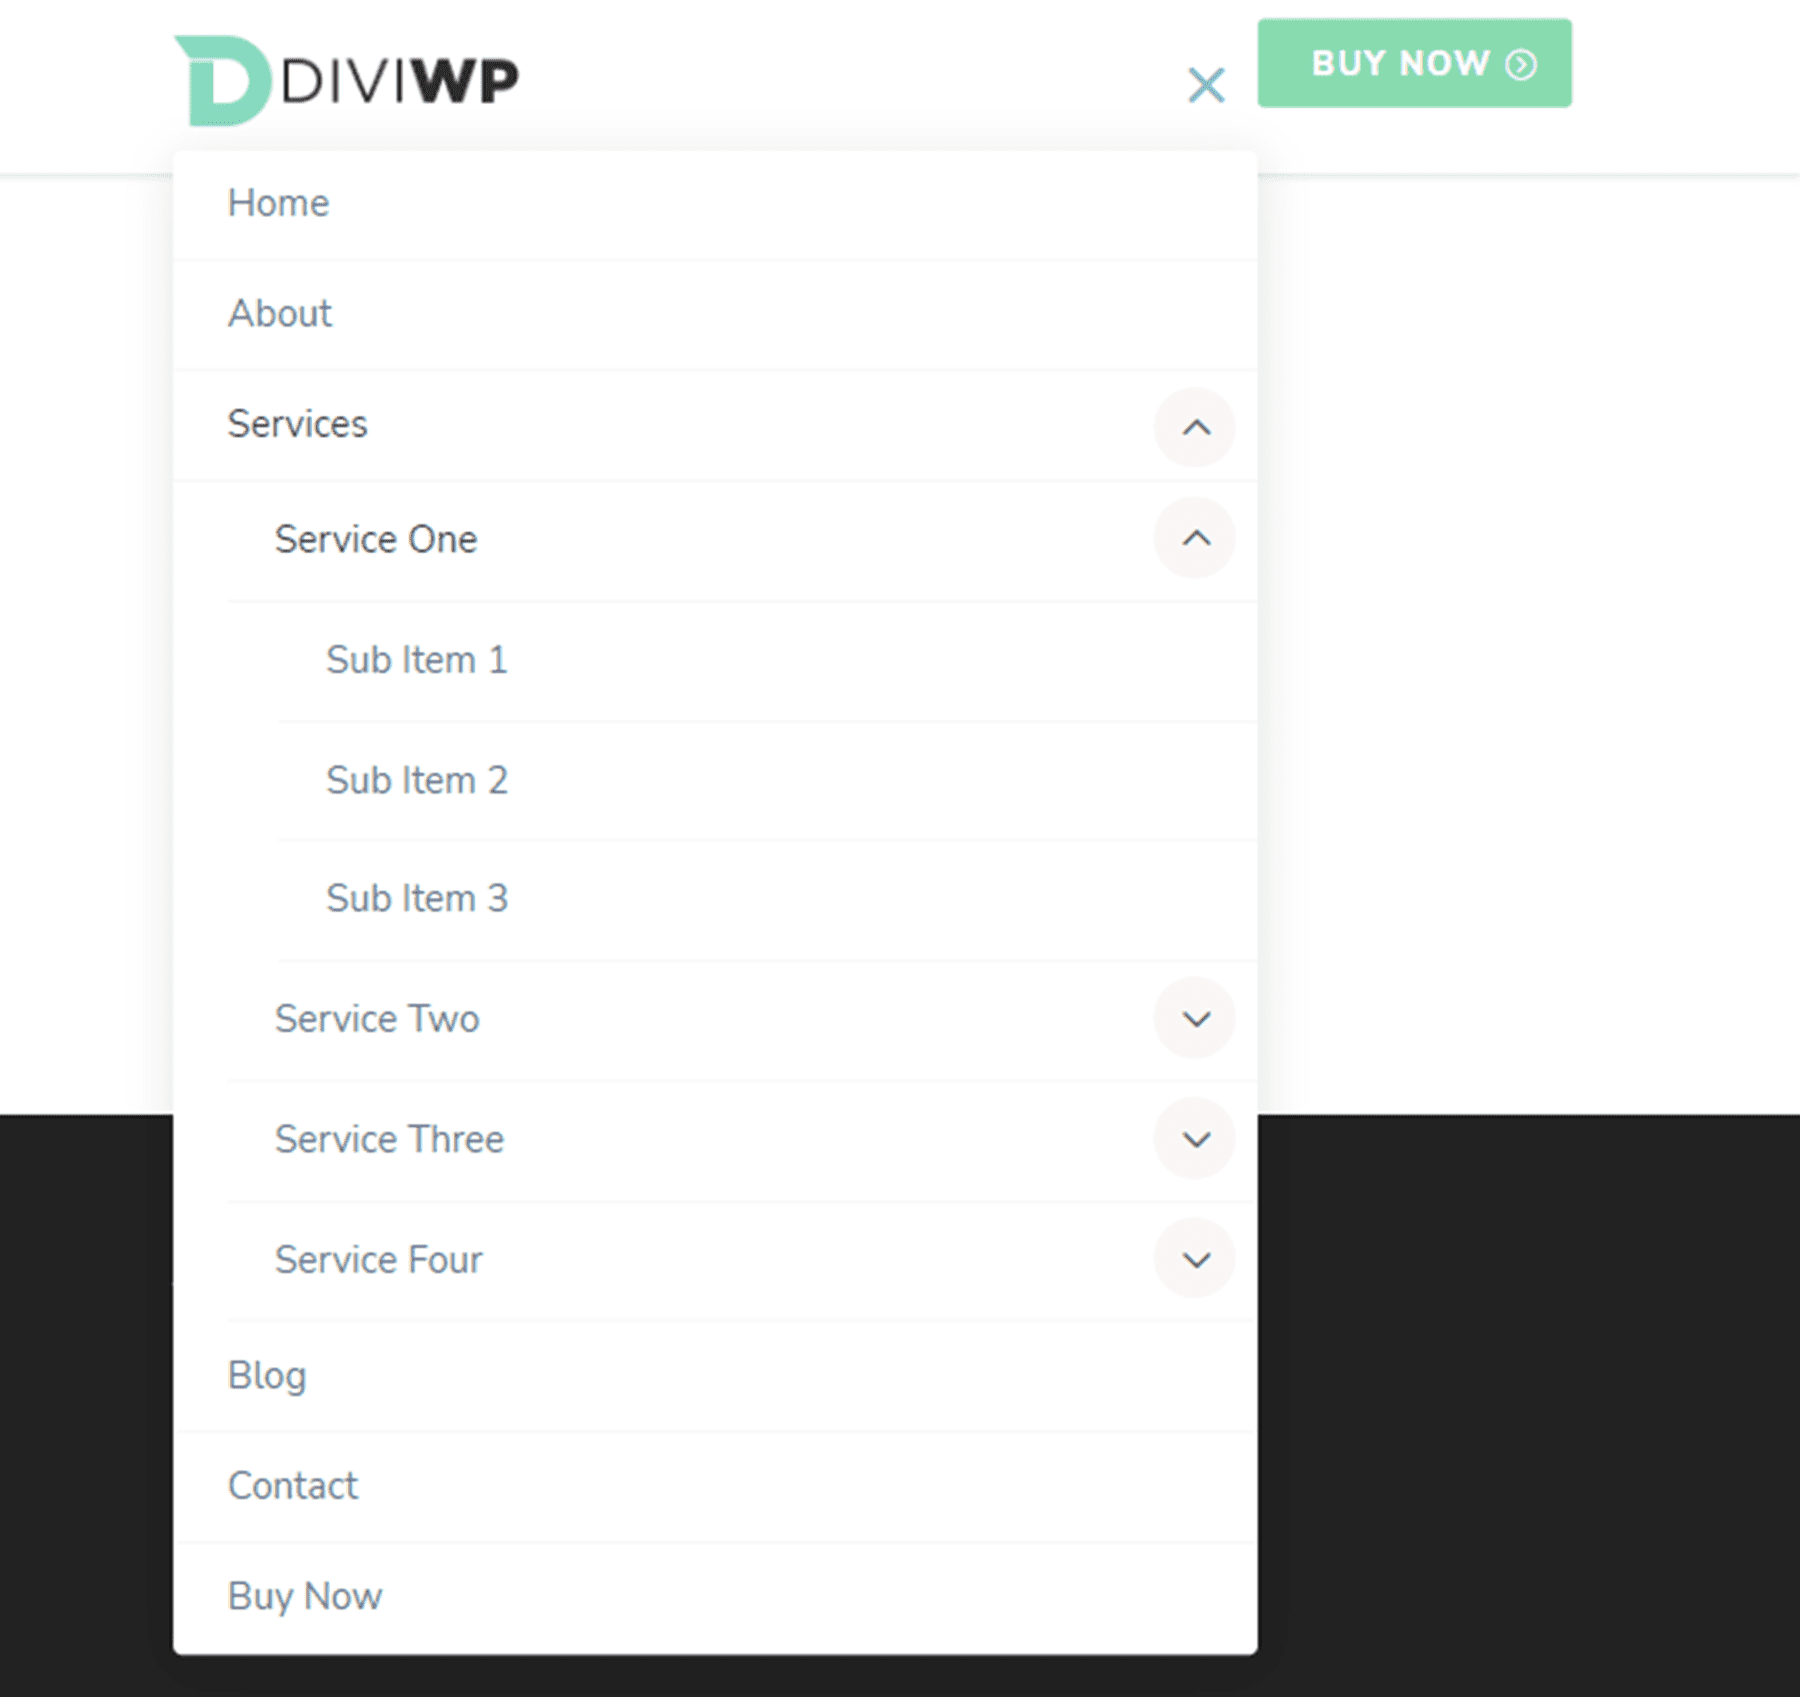
Header Layout 8
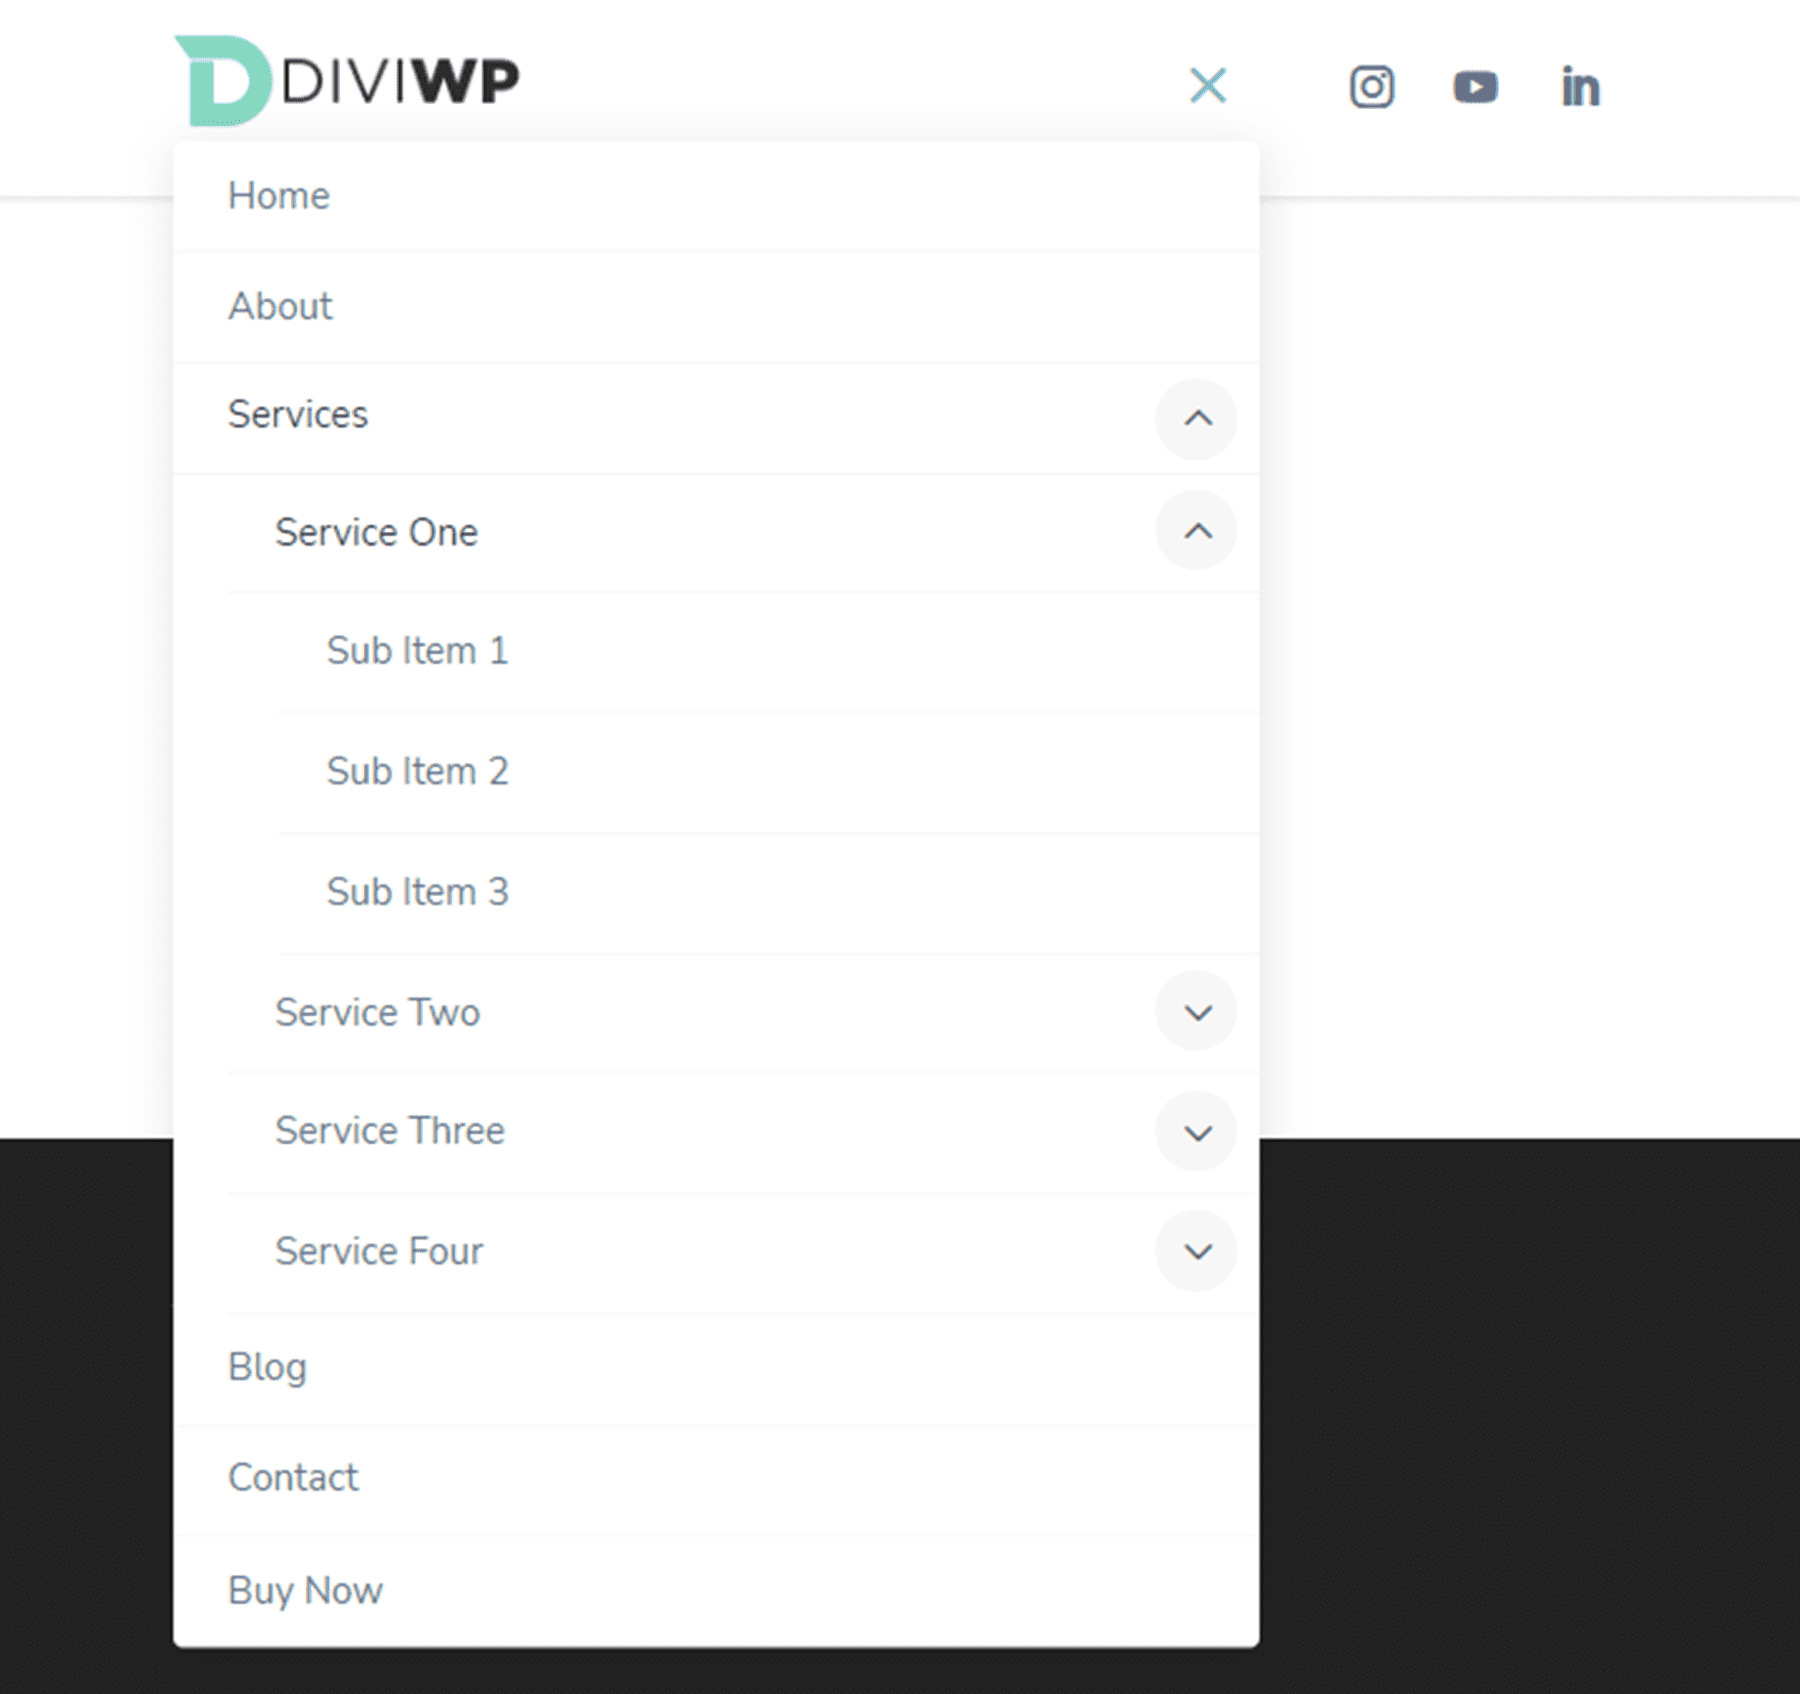
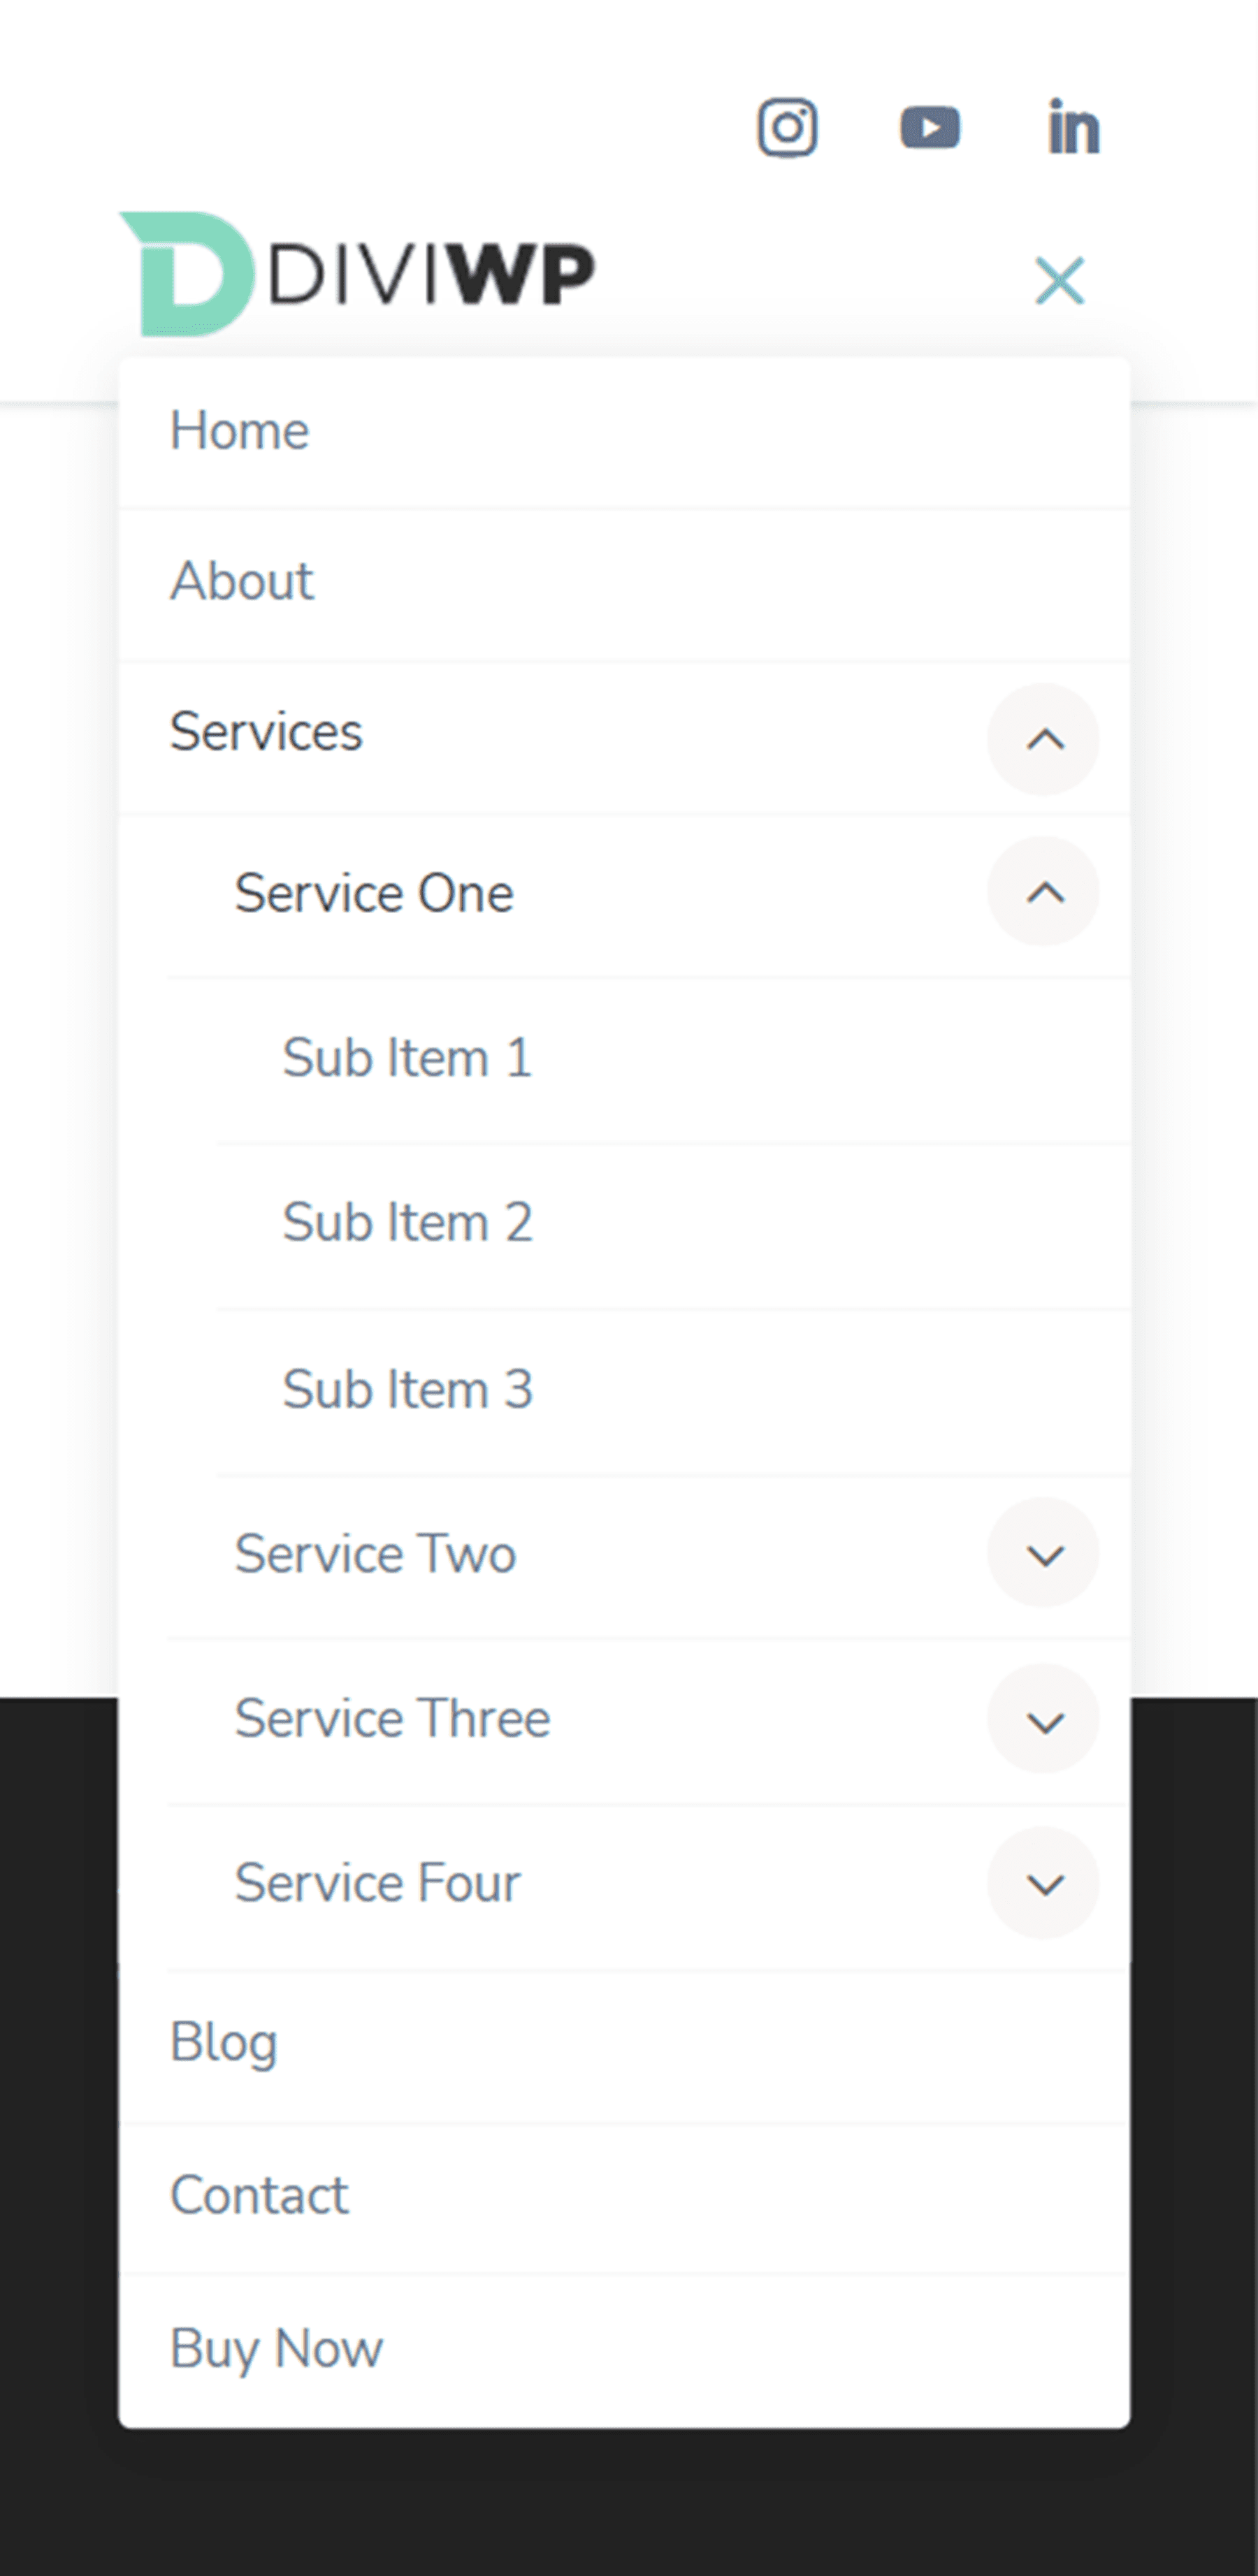
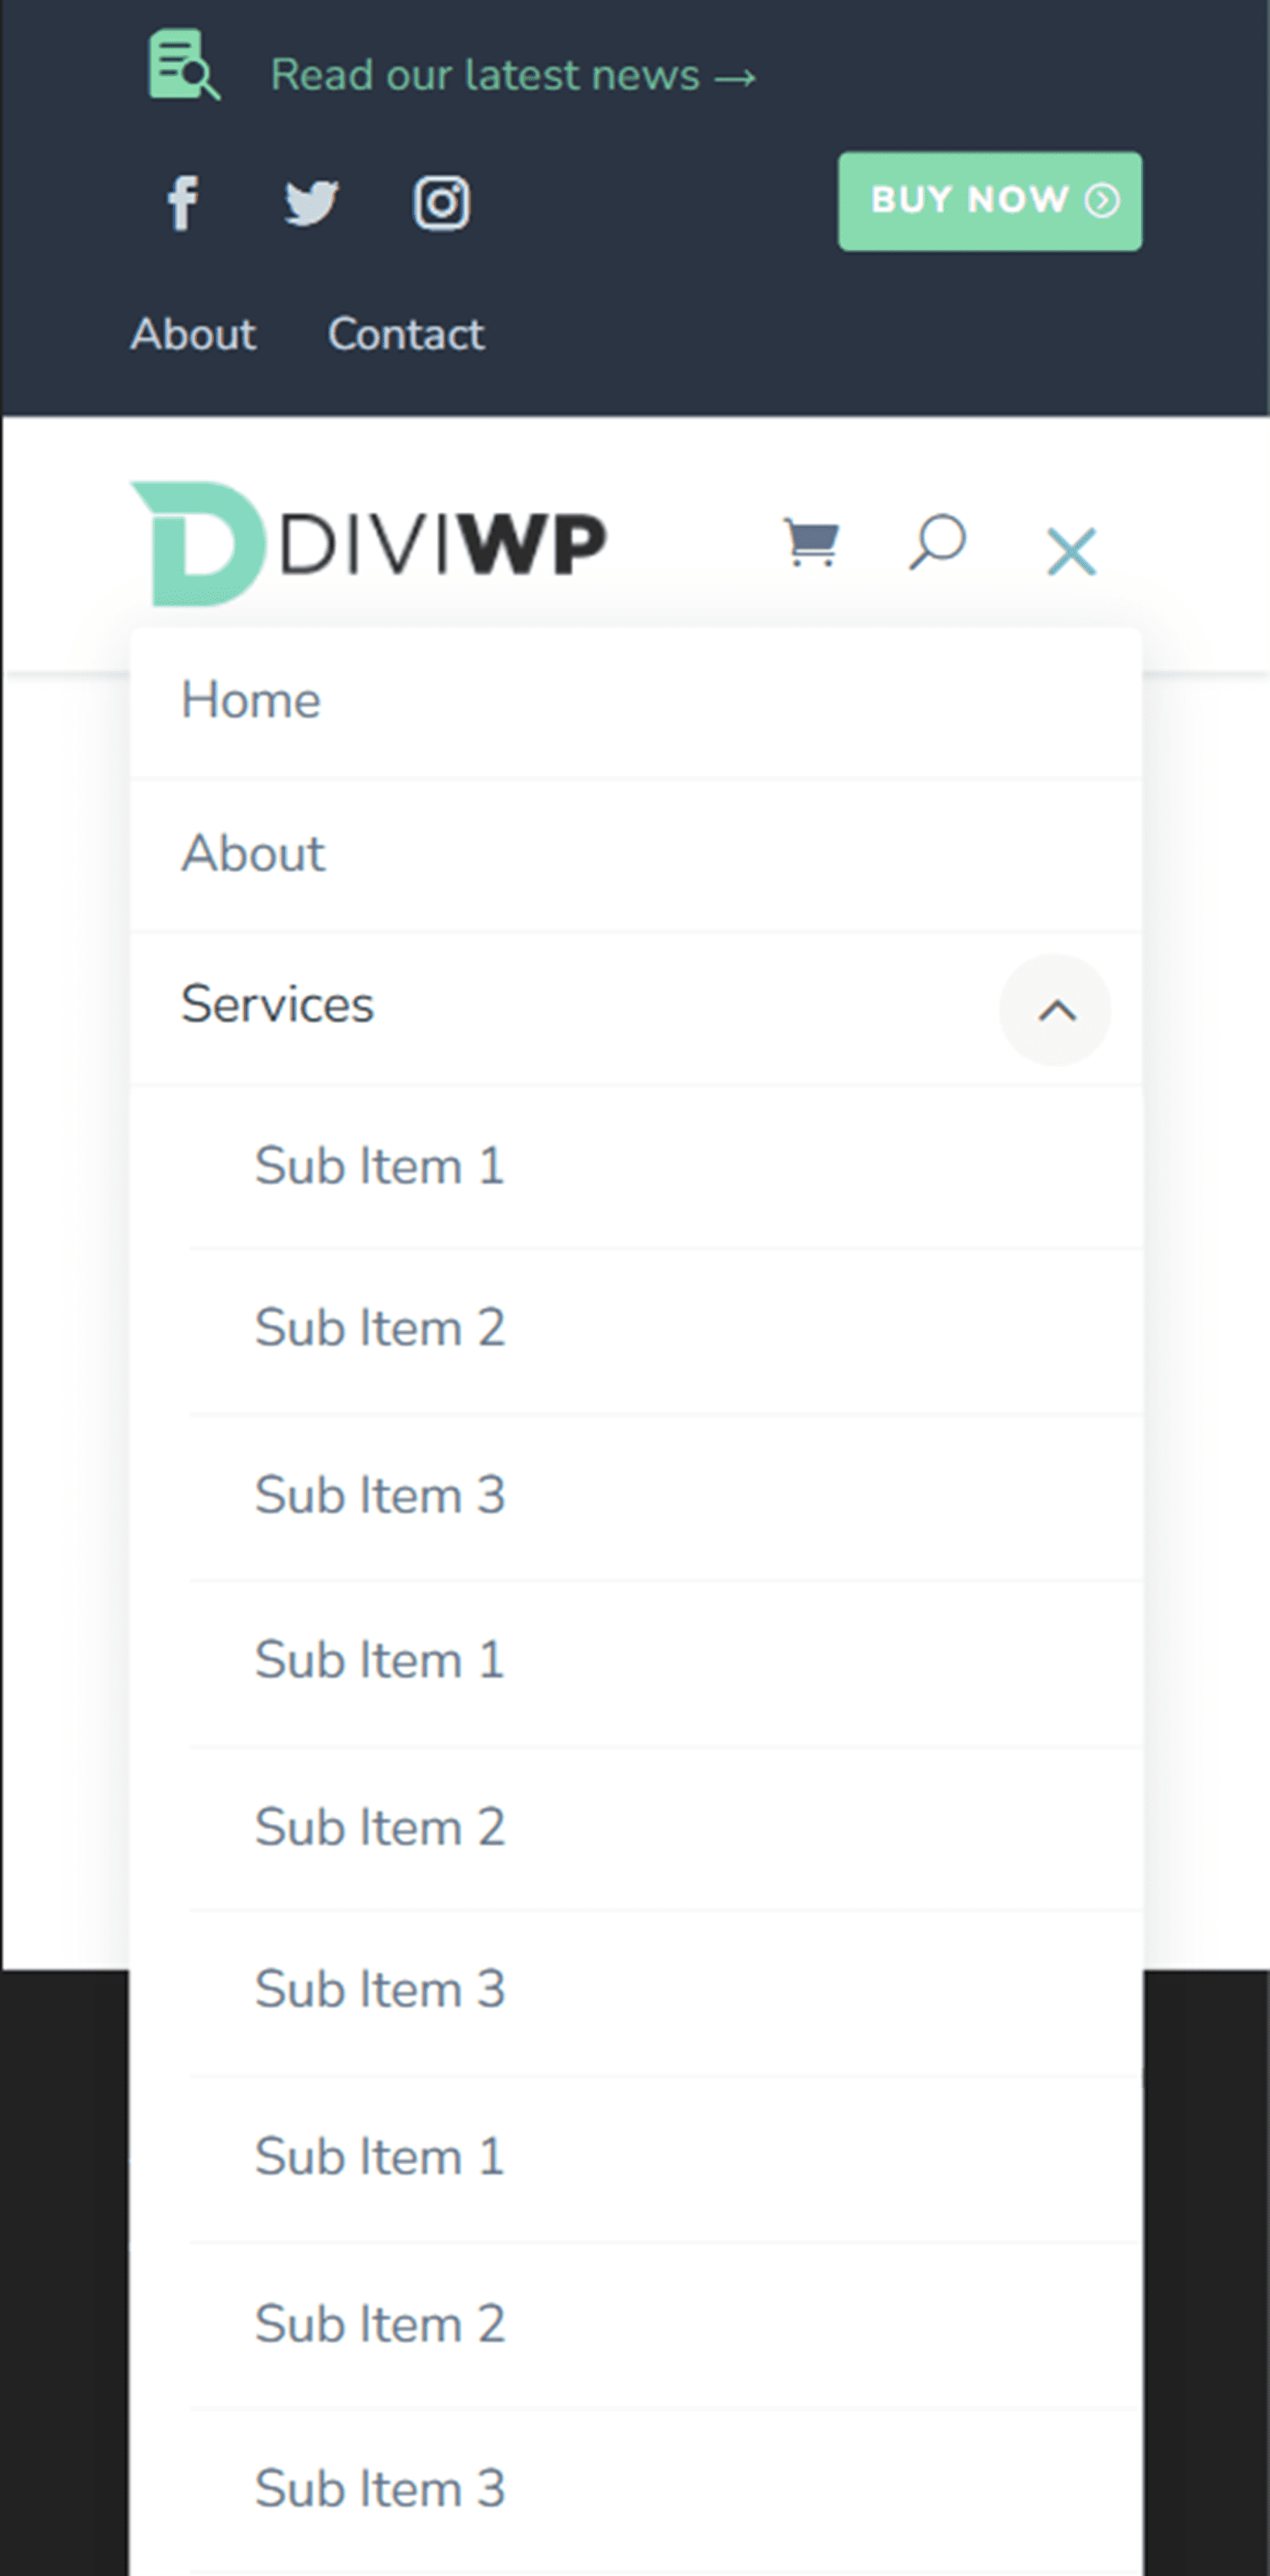
Layout 8 features social media icons on the right. On mobile and tablet devices, social media icons appear alongside the hamburger menu icon. The header also uses fade-in drop-down transitions for the tablet and mobile sub-menus.

Header Layout 9
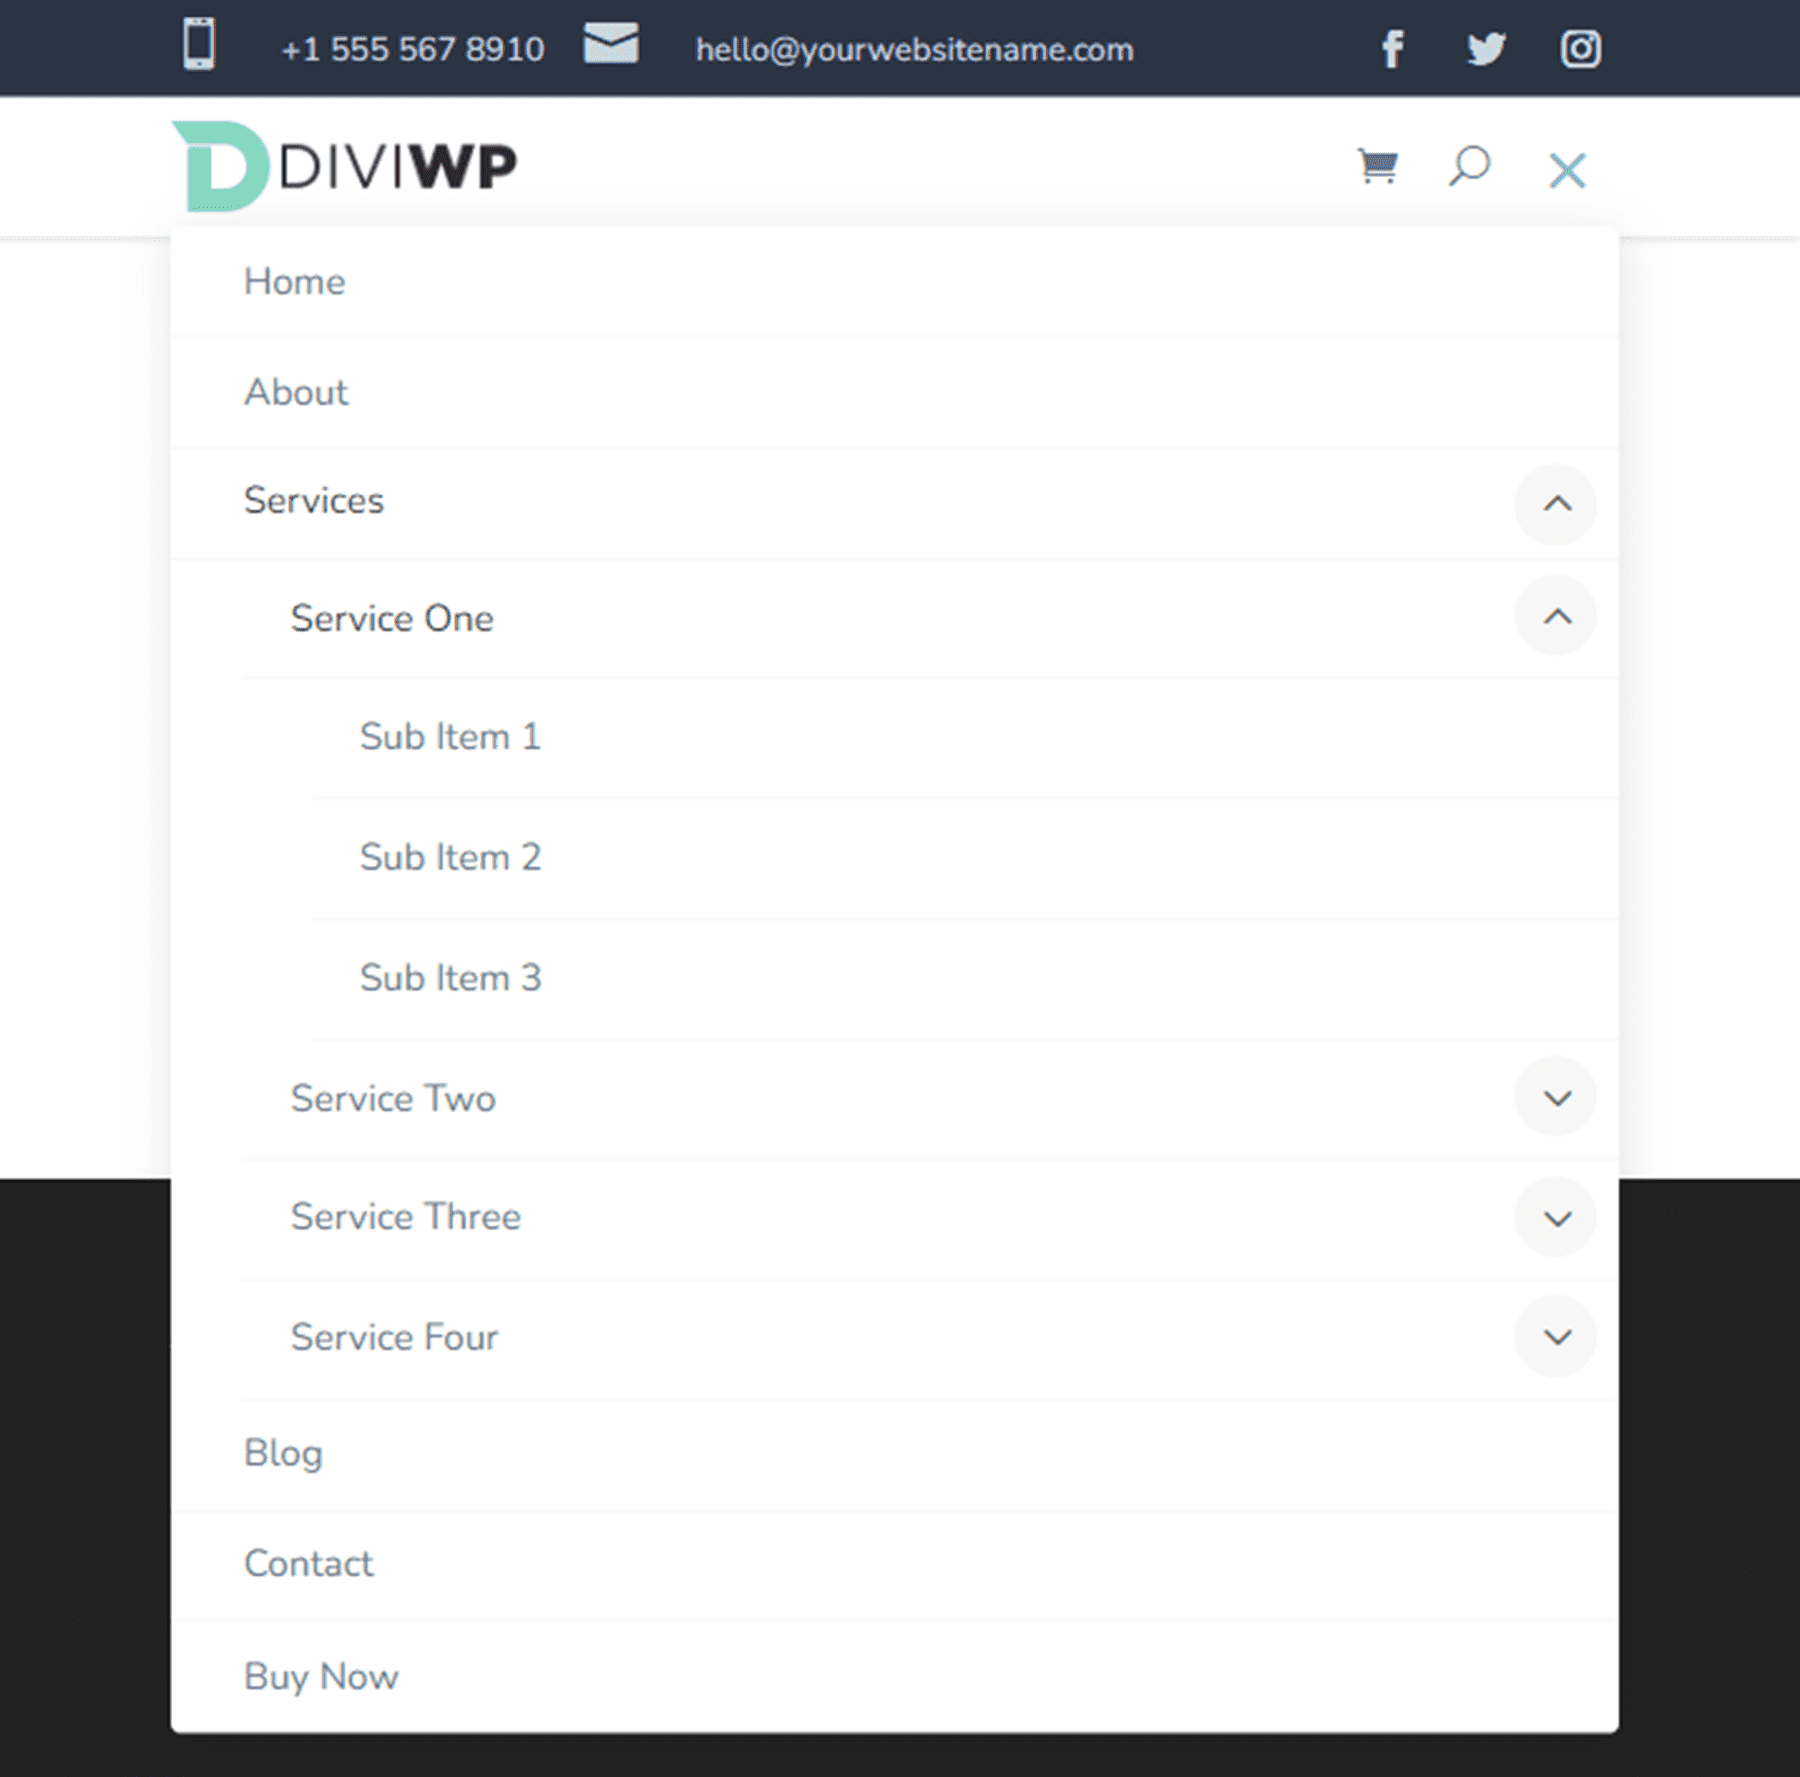
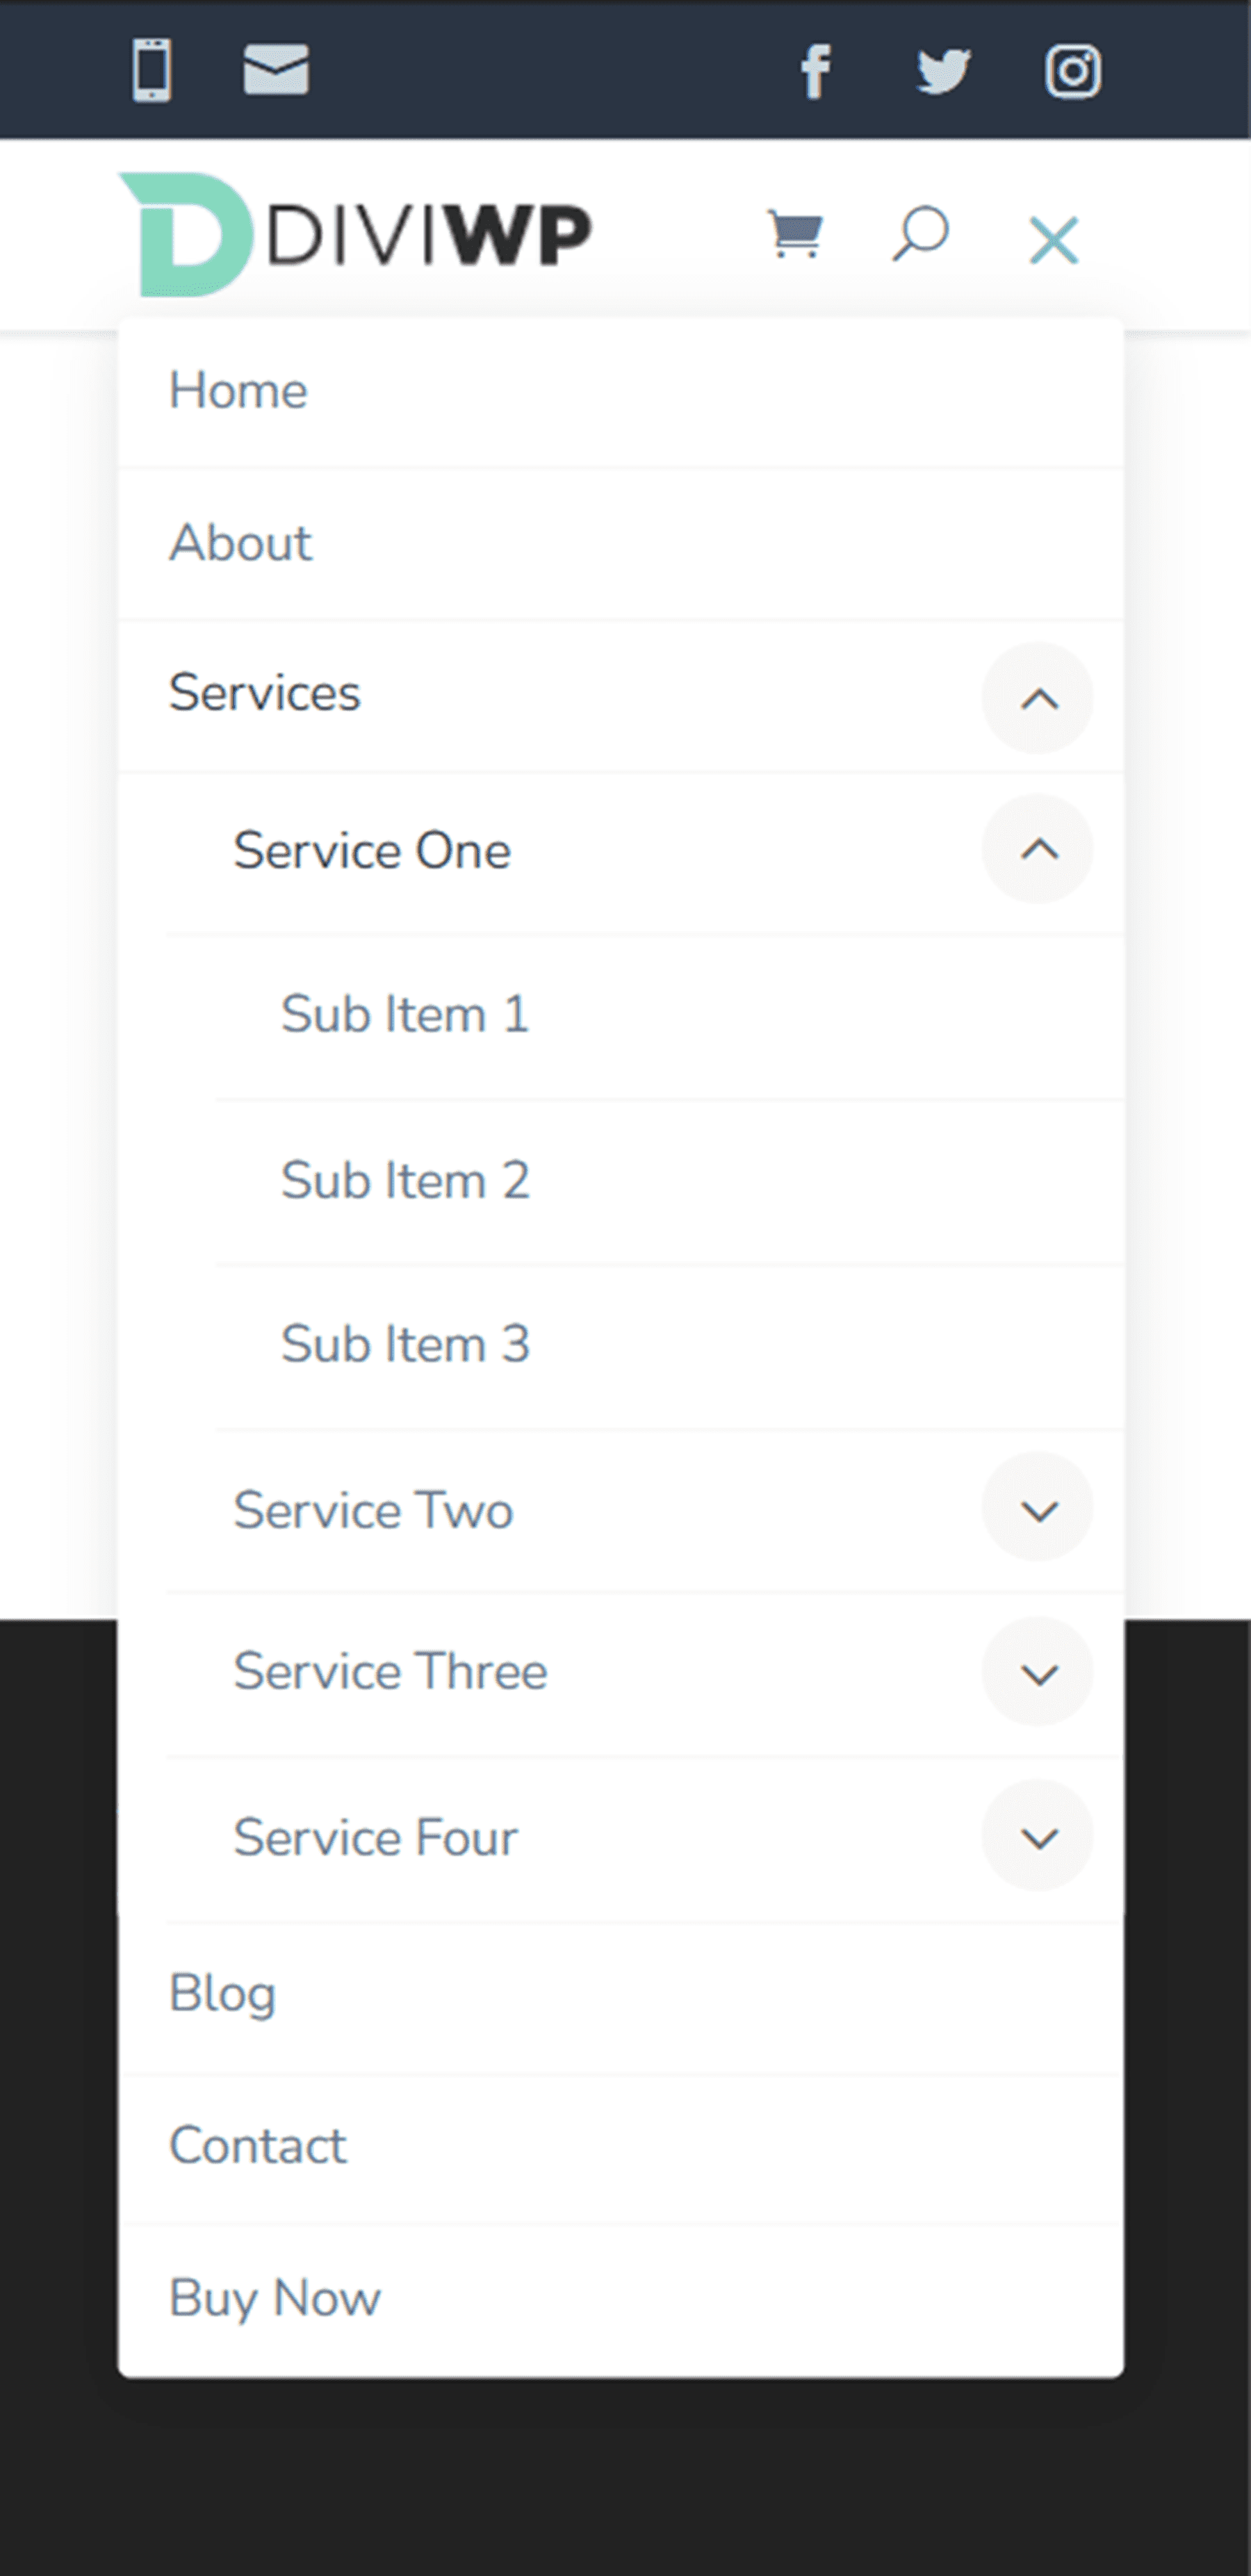
Header Layout 9 has a dark top row with blurb modules for contact information and social media follow icons. The main menu is the same as Header Layout 1.

Header Layout 10
Header Layout 10 has a top row with a menu module and a social media follow module, allowing you to add additional menu items or links to the top menu bar. Again, the main menu is the same as Header Layout 1.

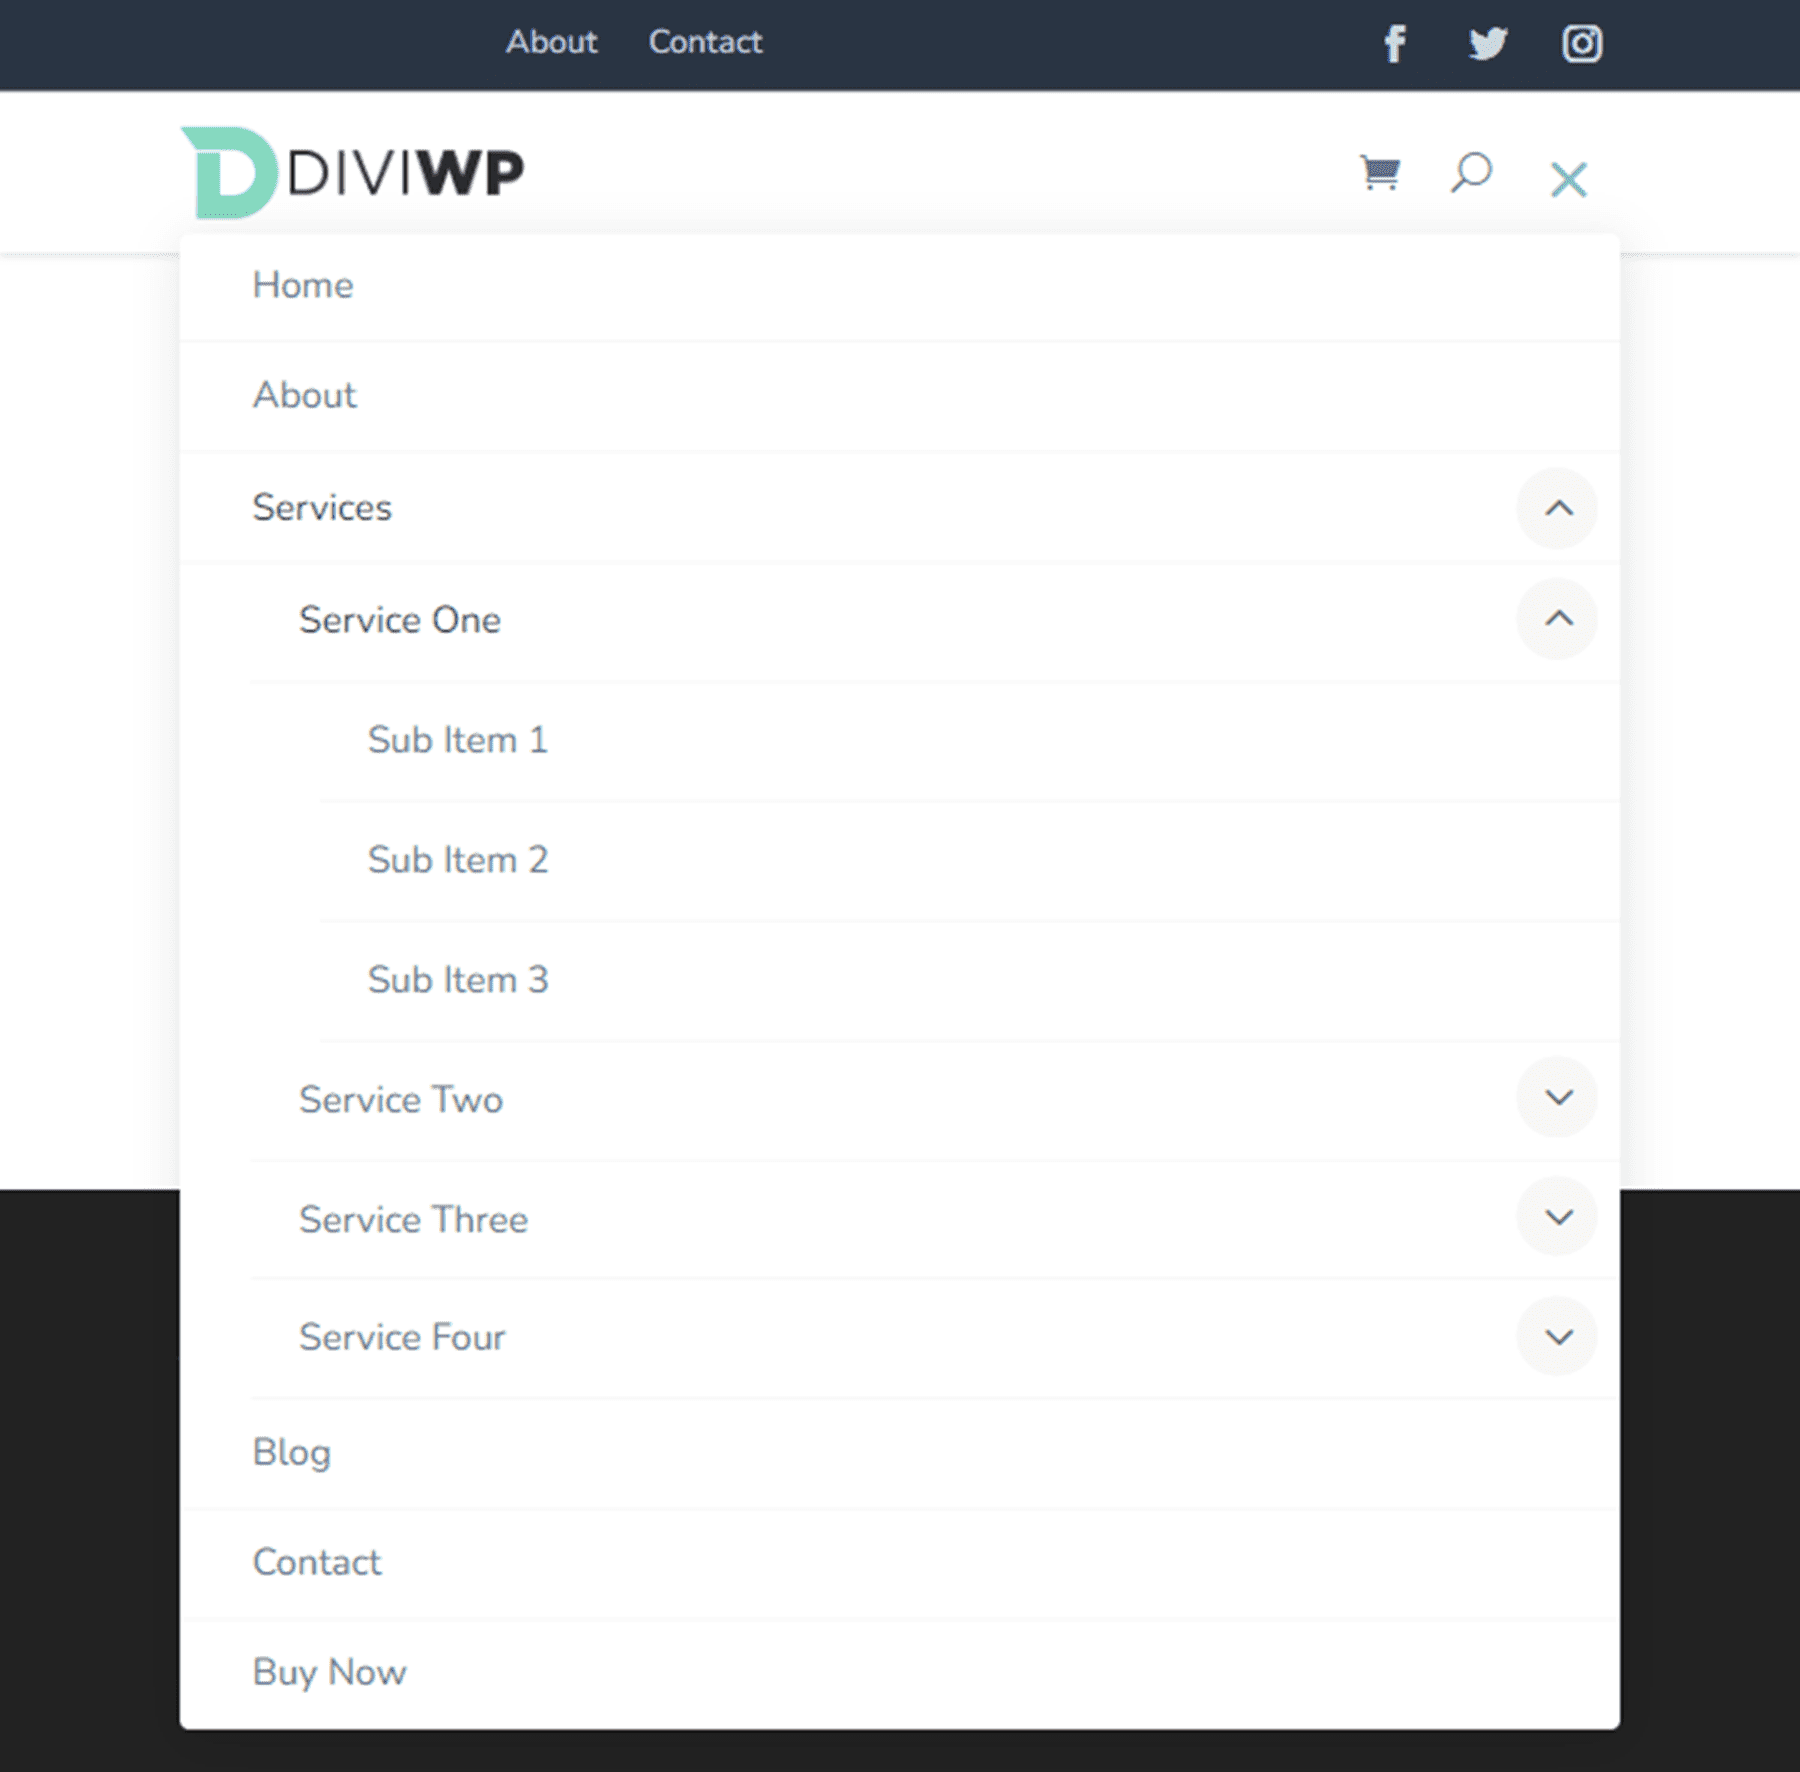
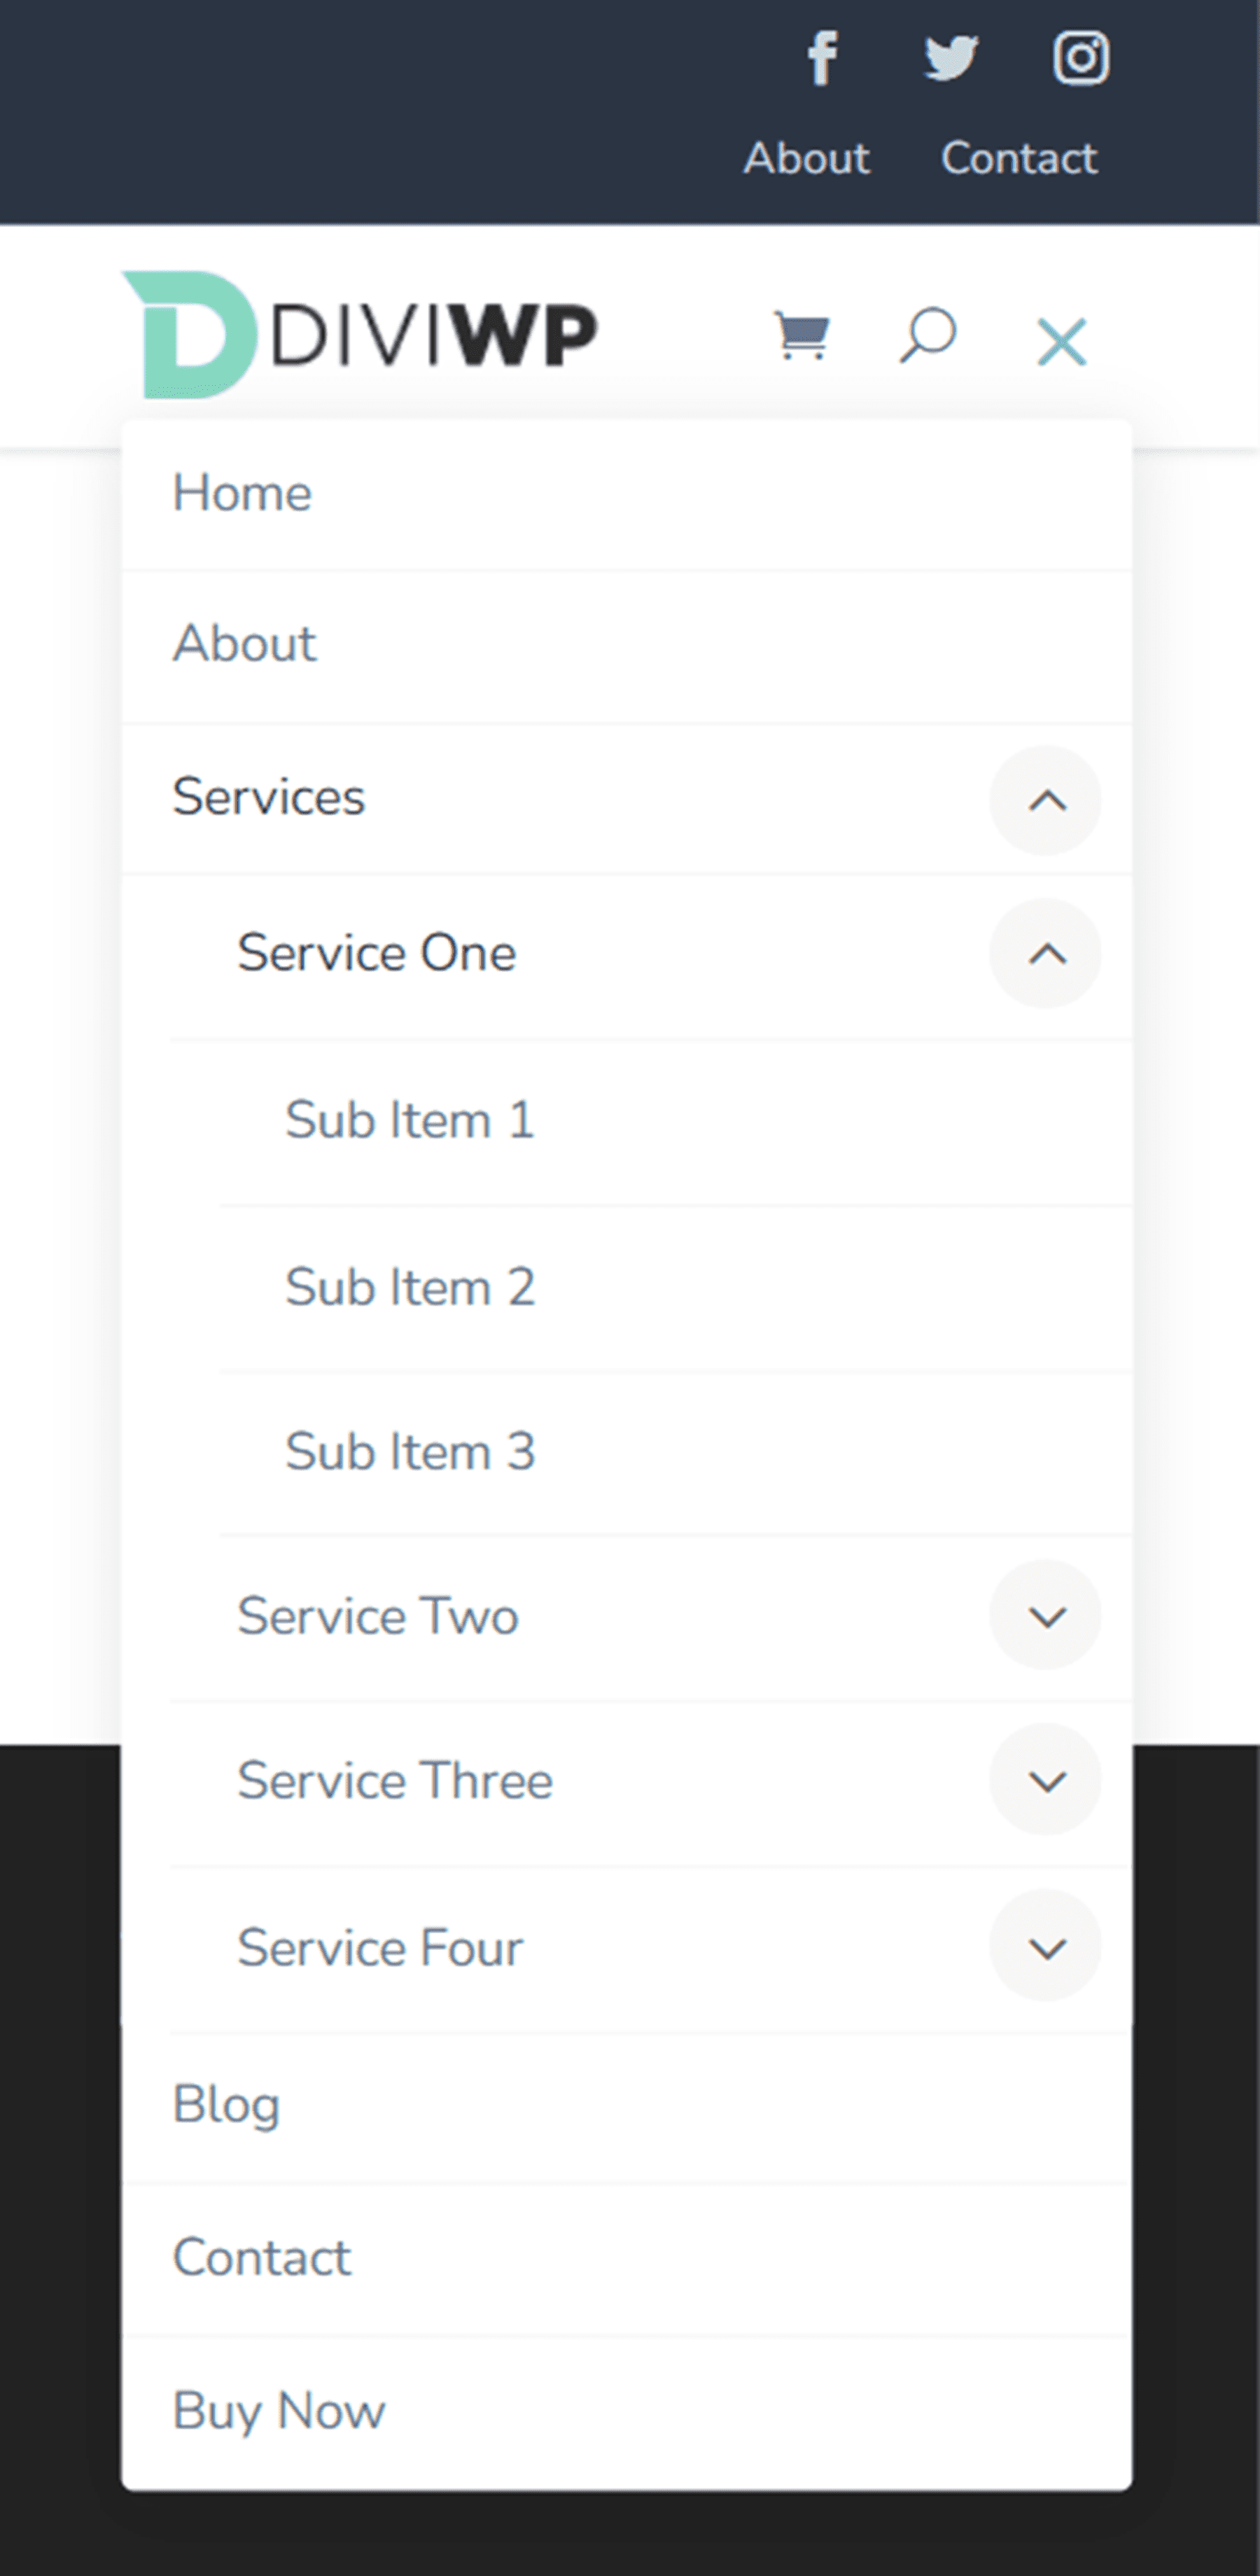
Header Layout 11
The top row of Header Layout 11 features a blurb module, social media follow icons, and a button. Again, the main menu is the same as Header Layout 1.

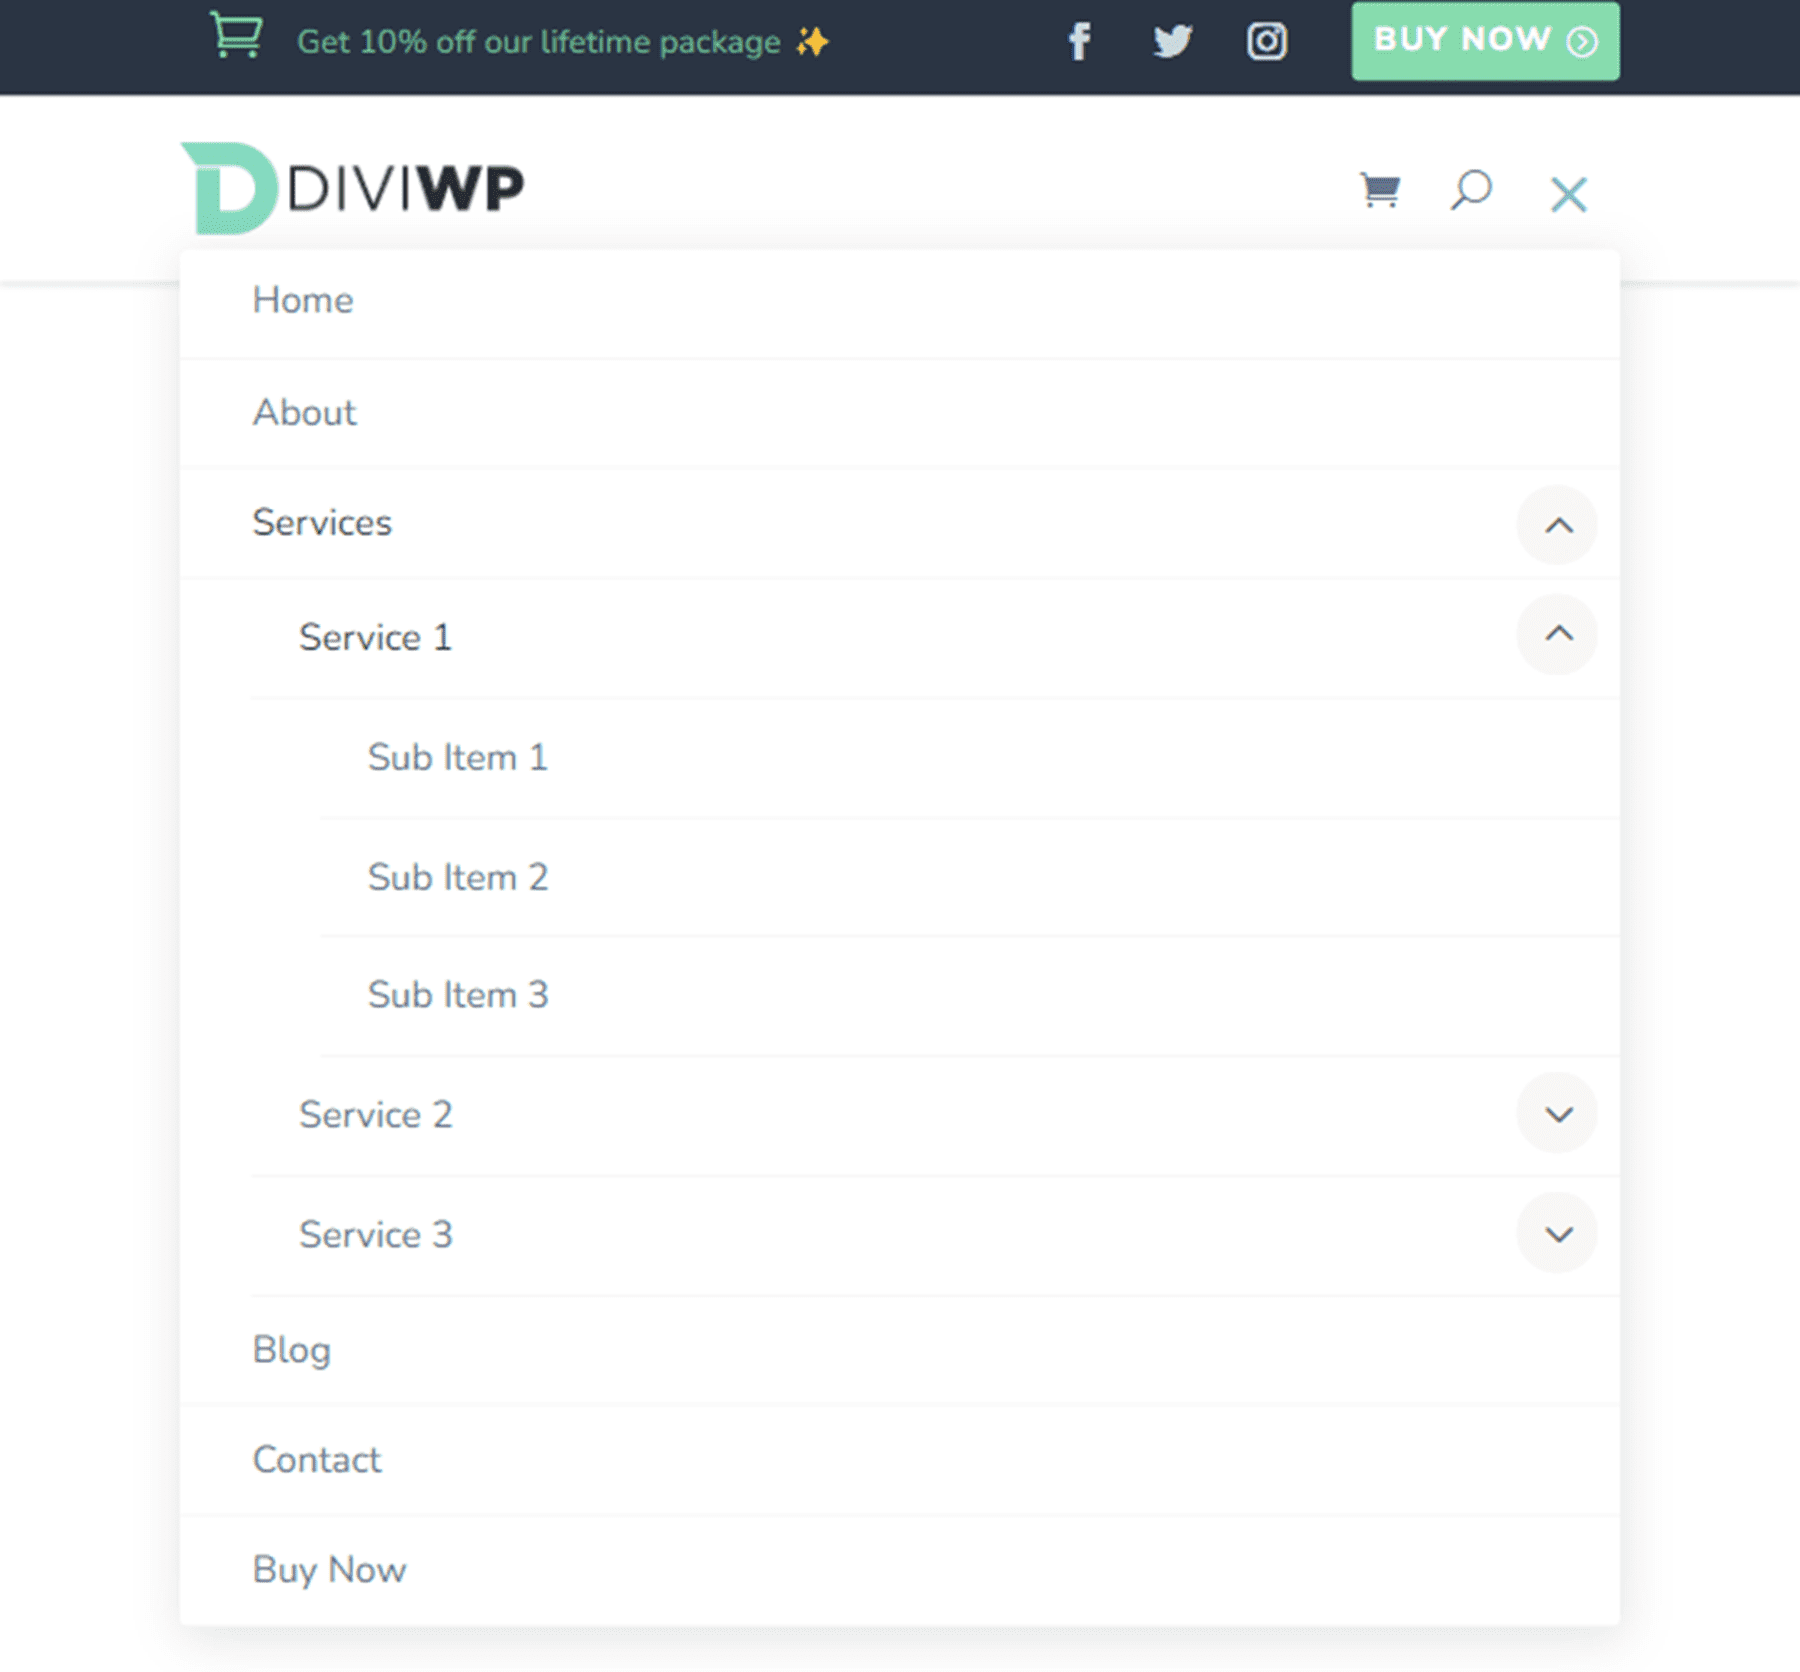
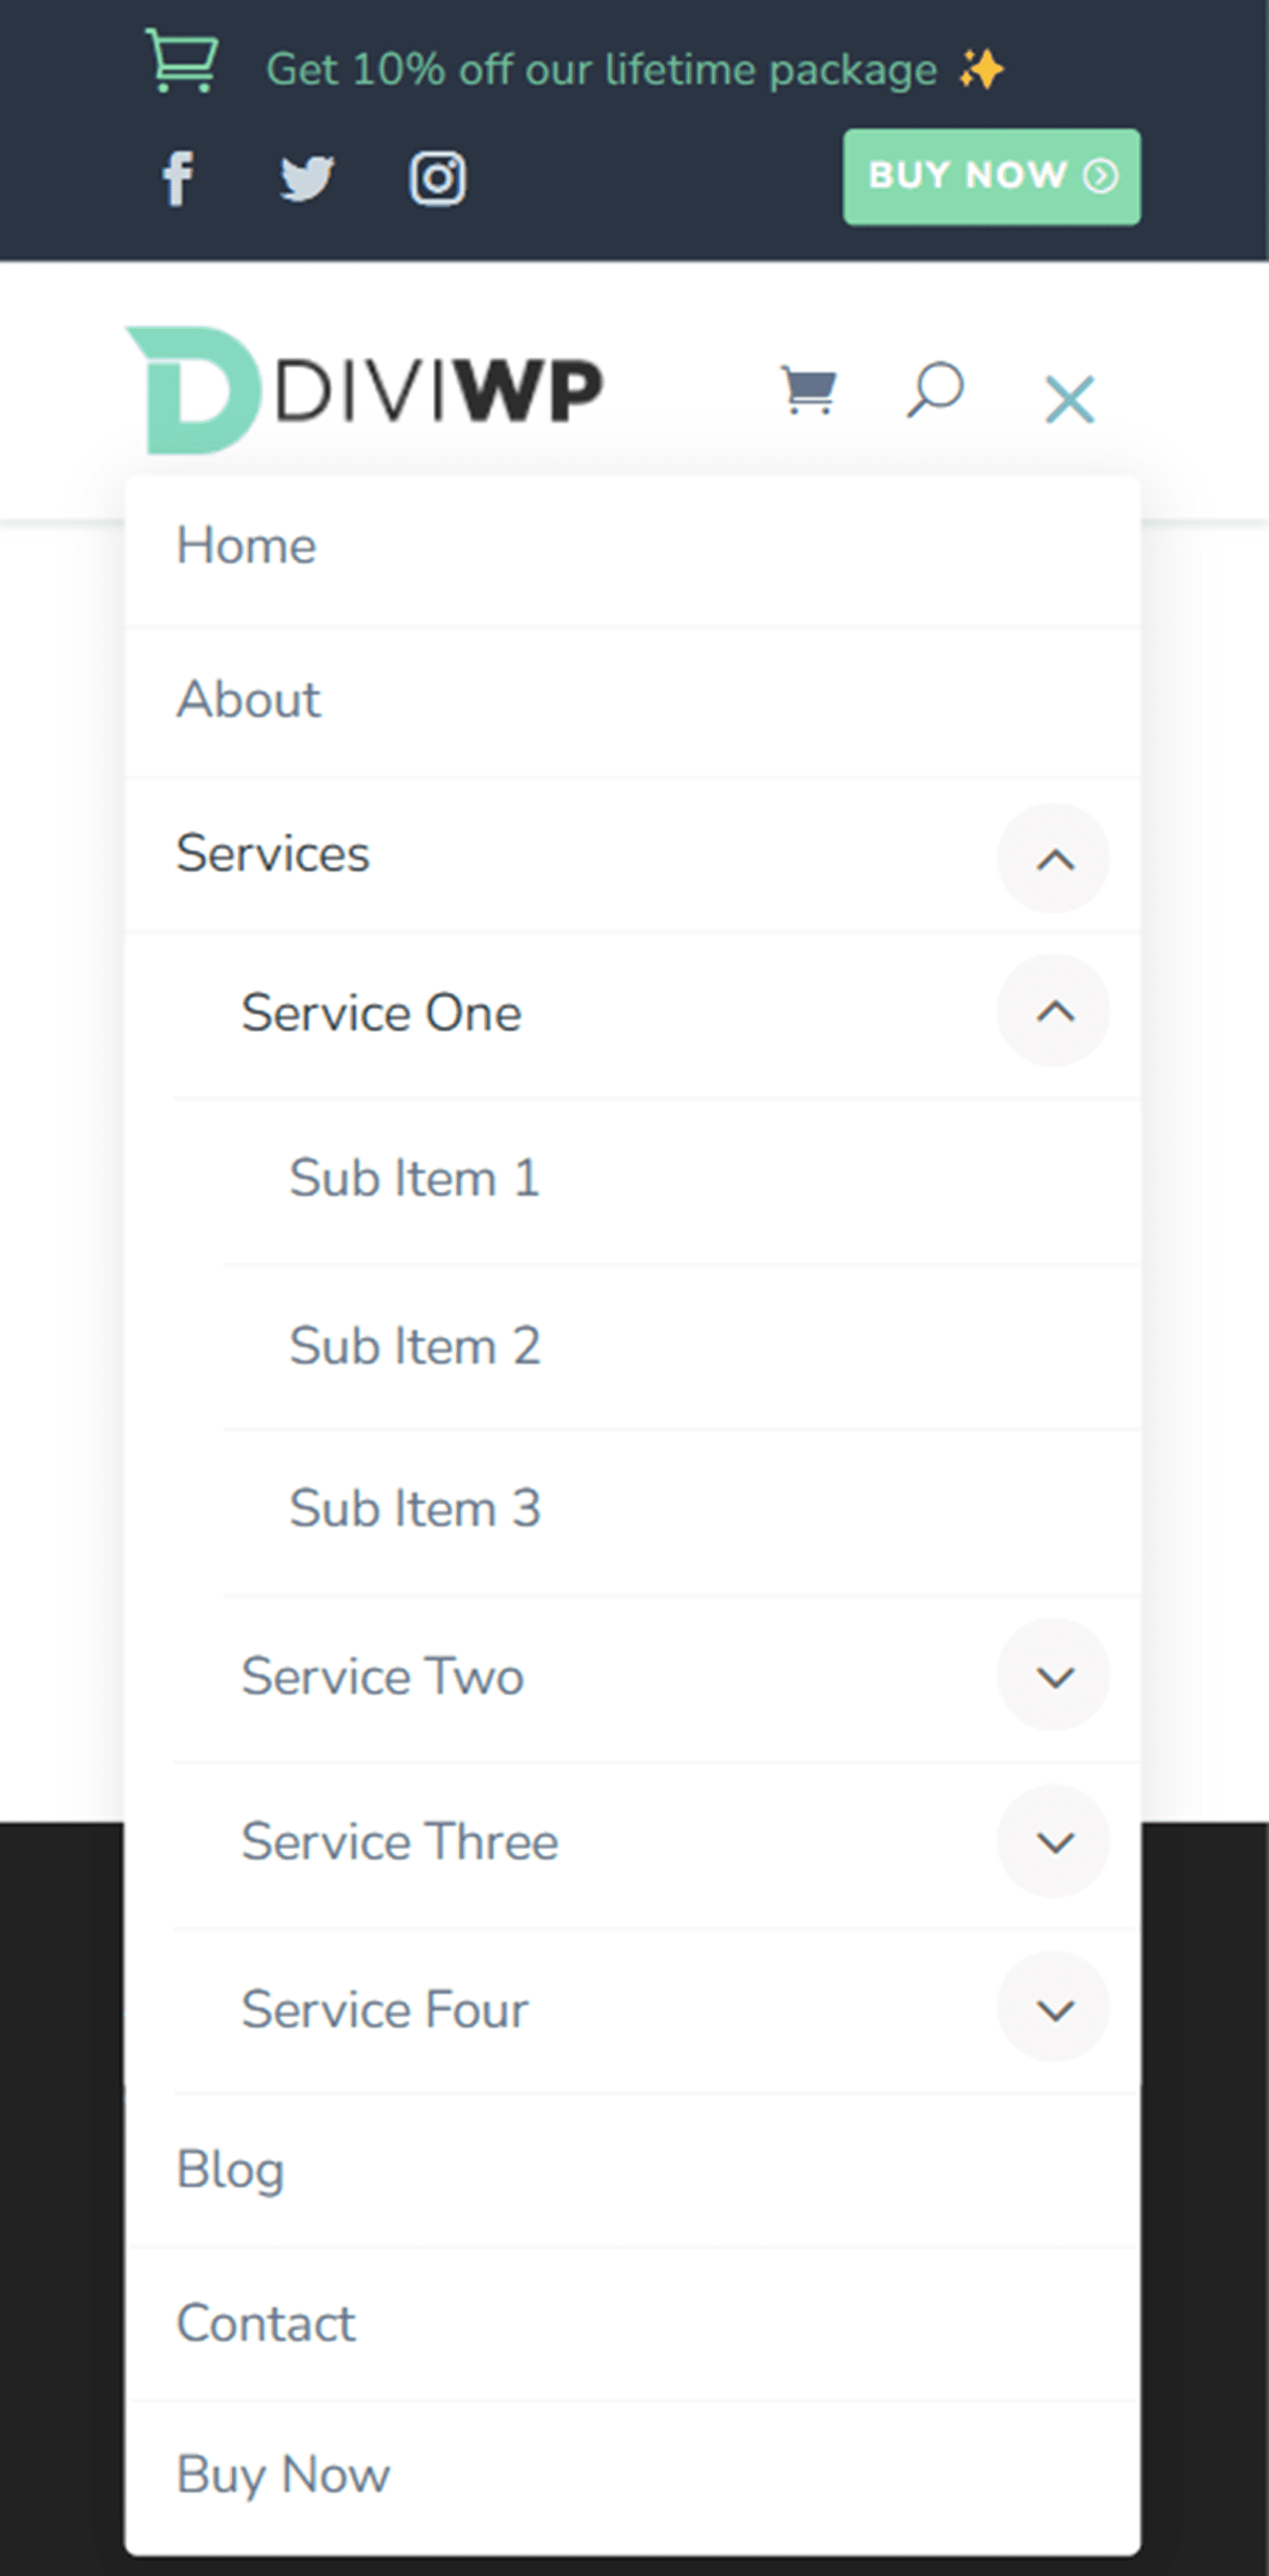
Header Layout 12
Header Layout 12 places social media icons on the left side of the top row and two blurb modules on the right. Once again, the layout for the main menu is the same as Header Layout 1.

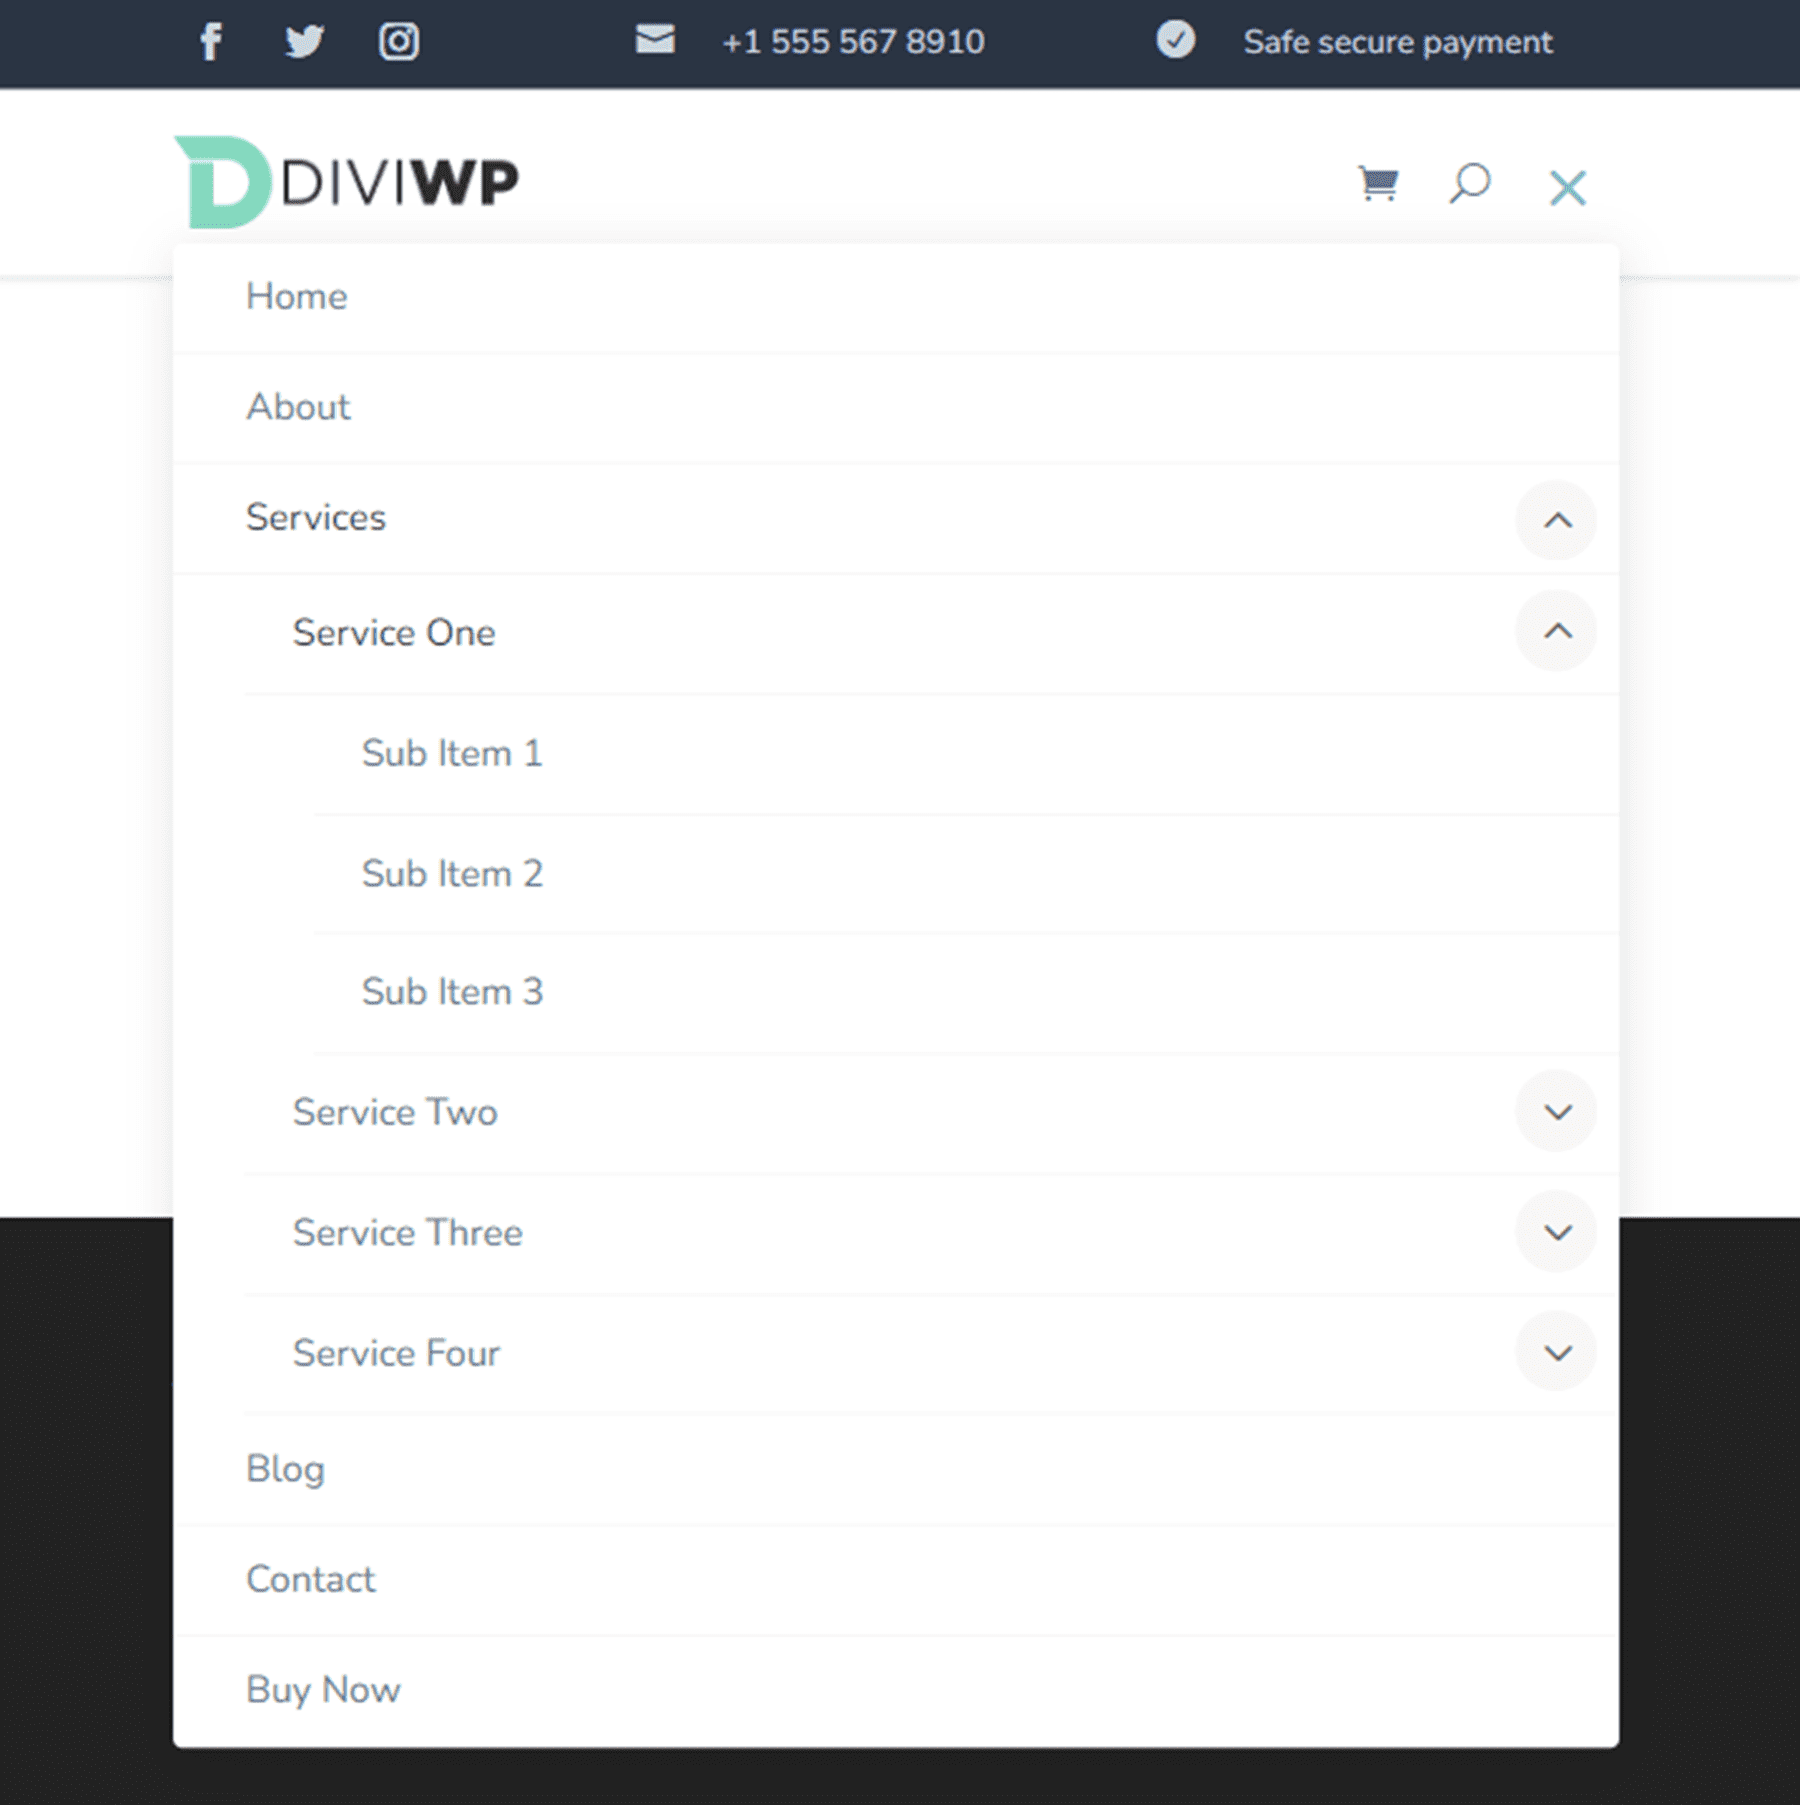
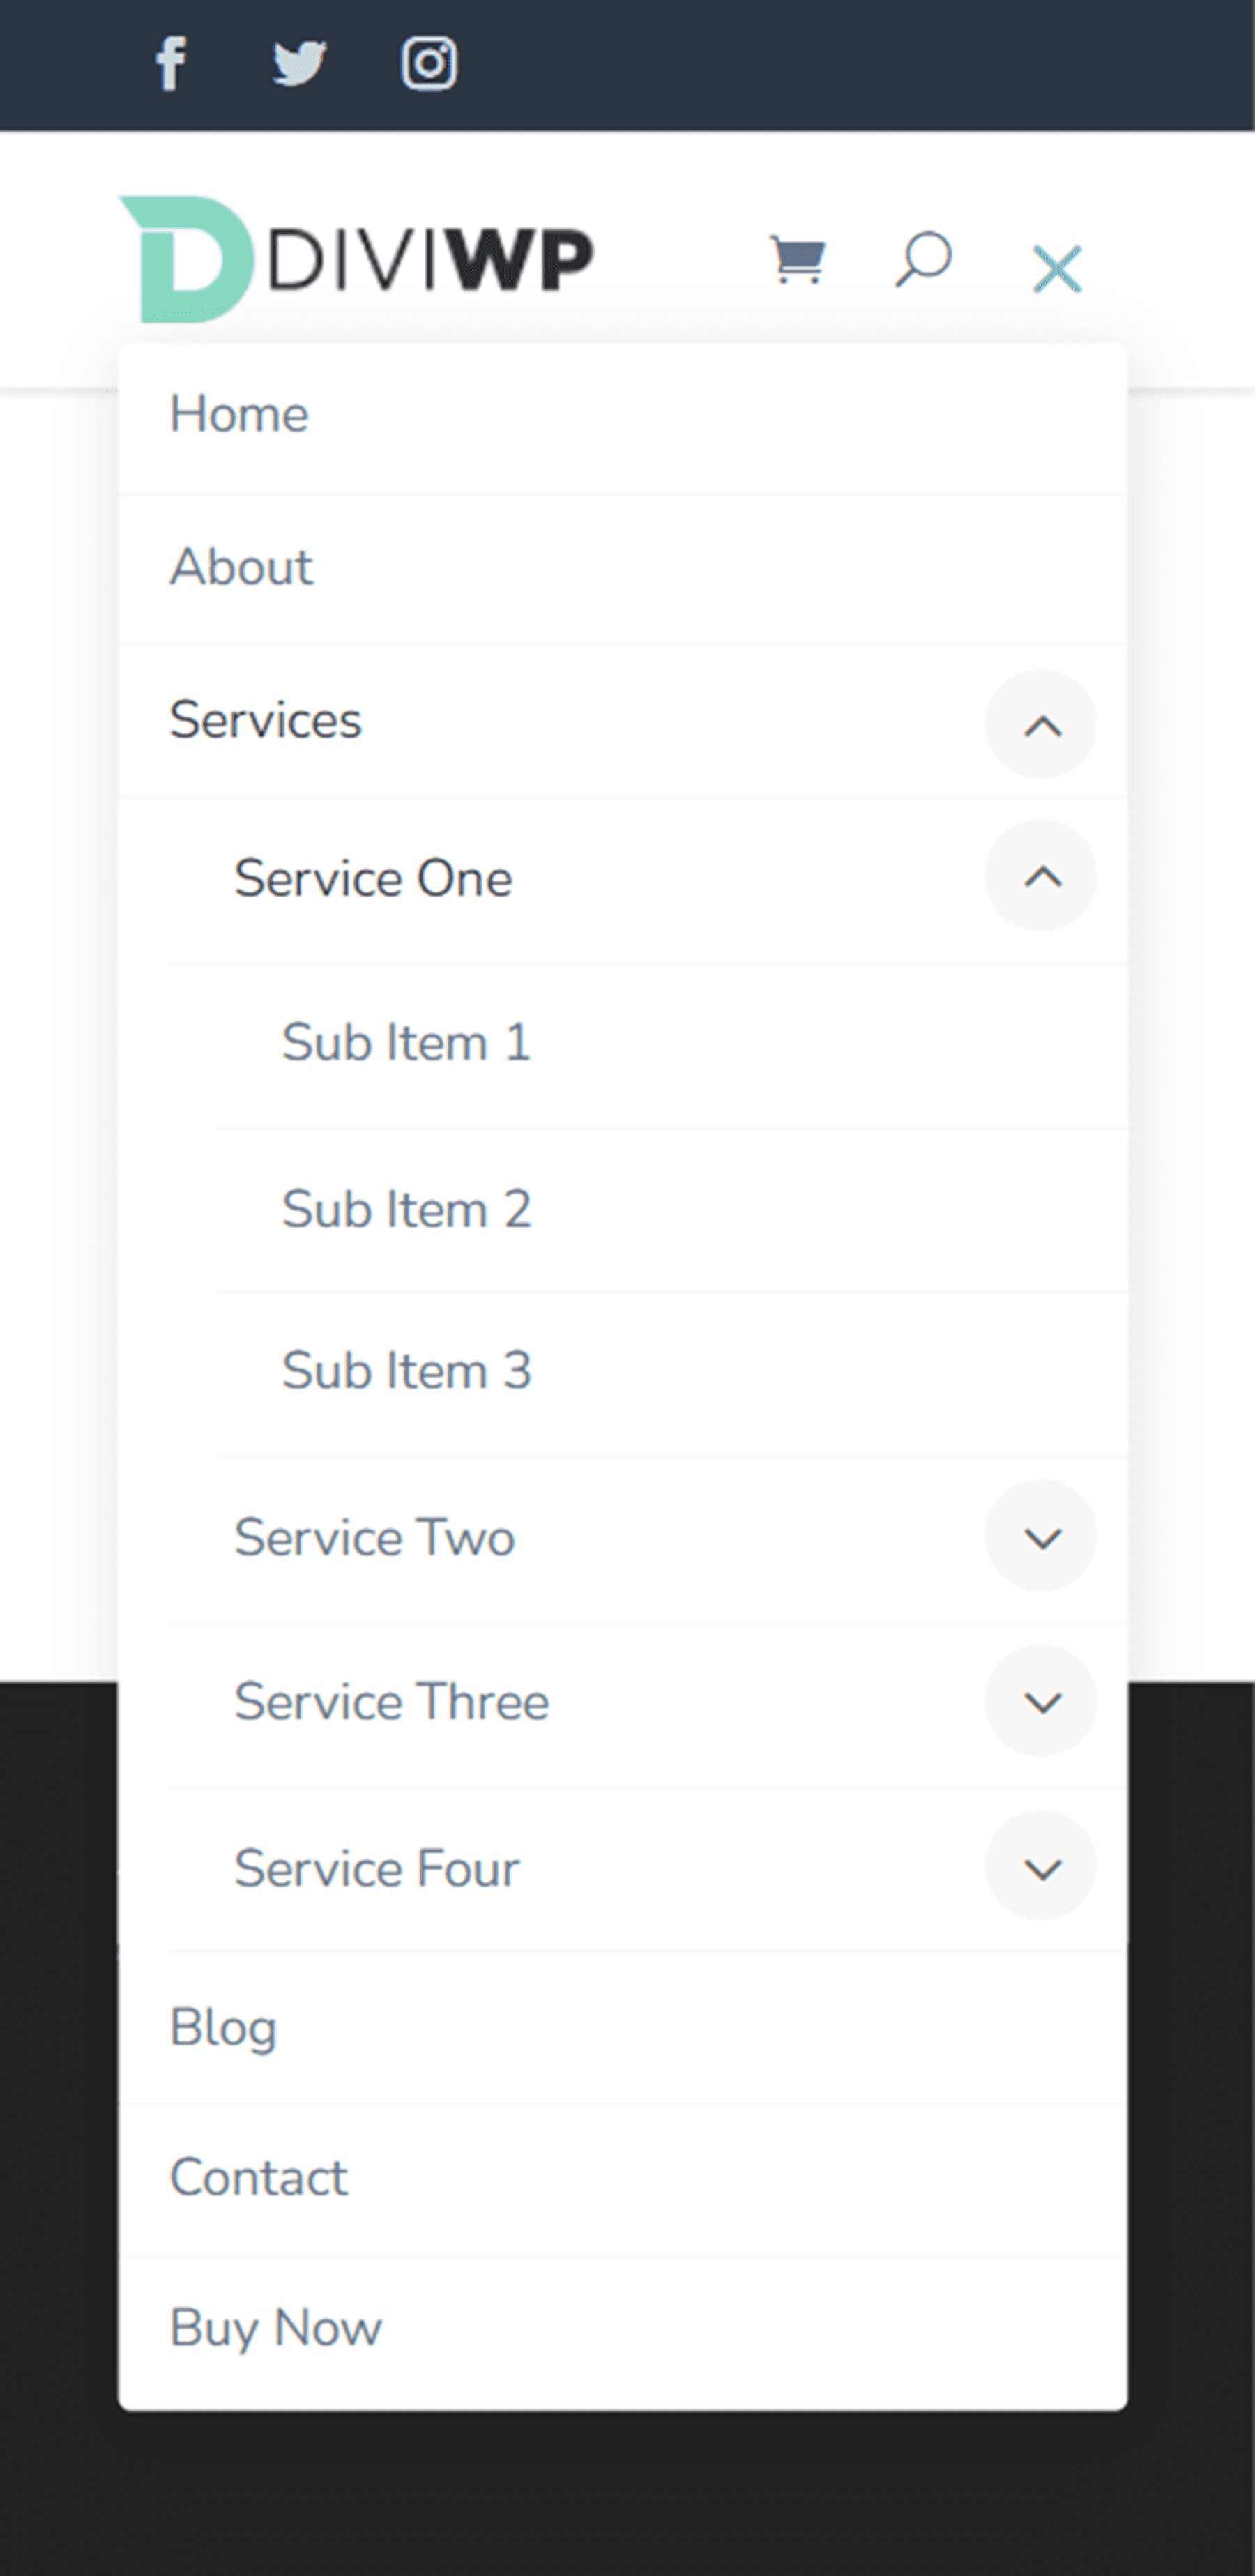
Header Layout 13
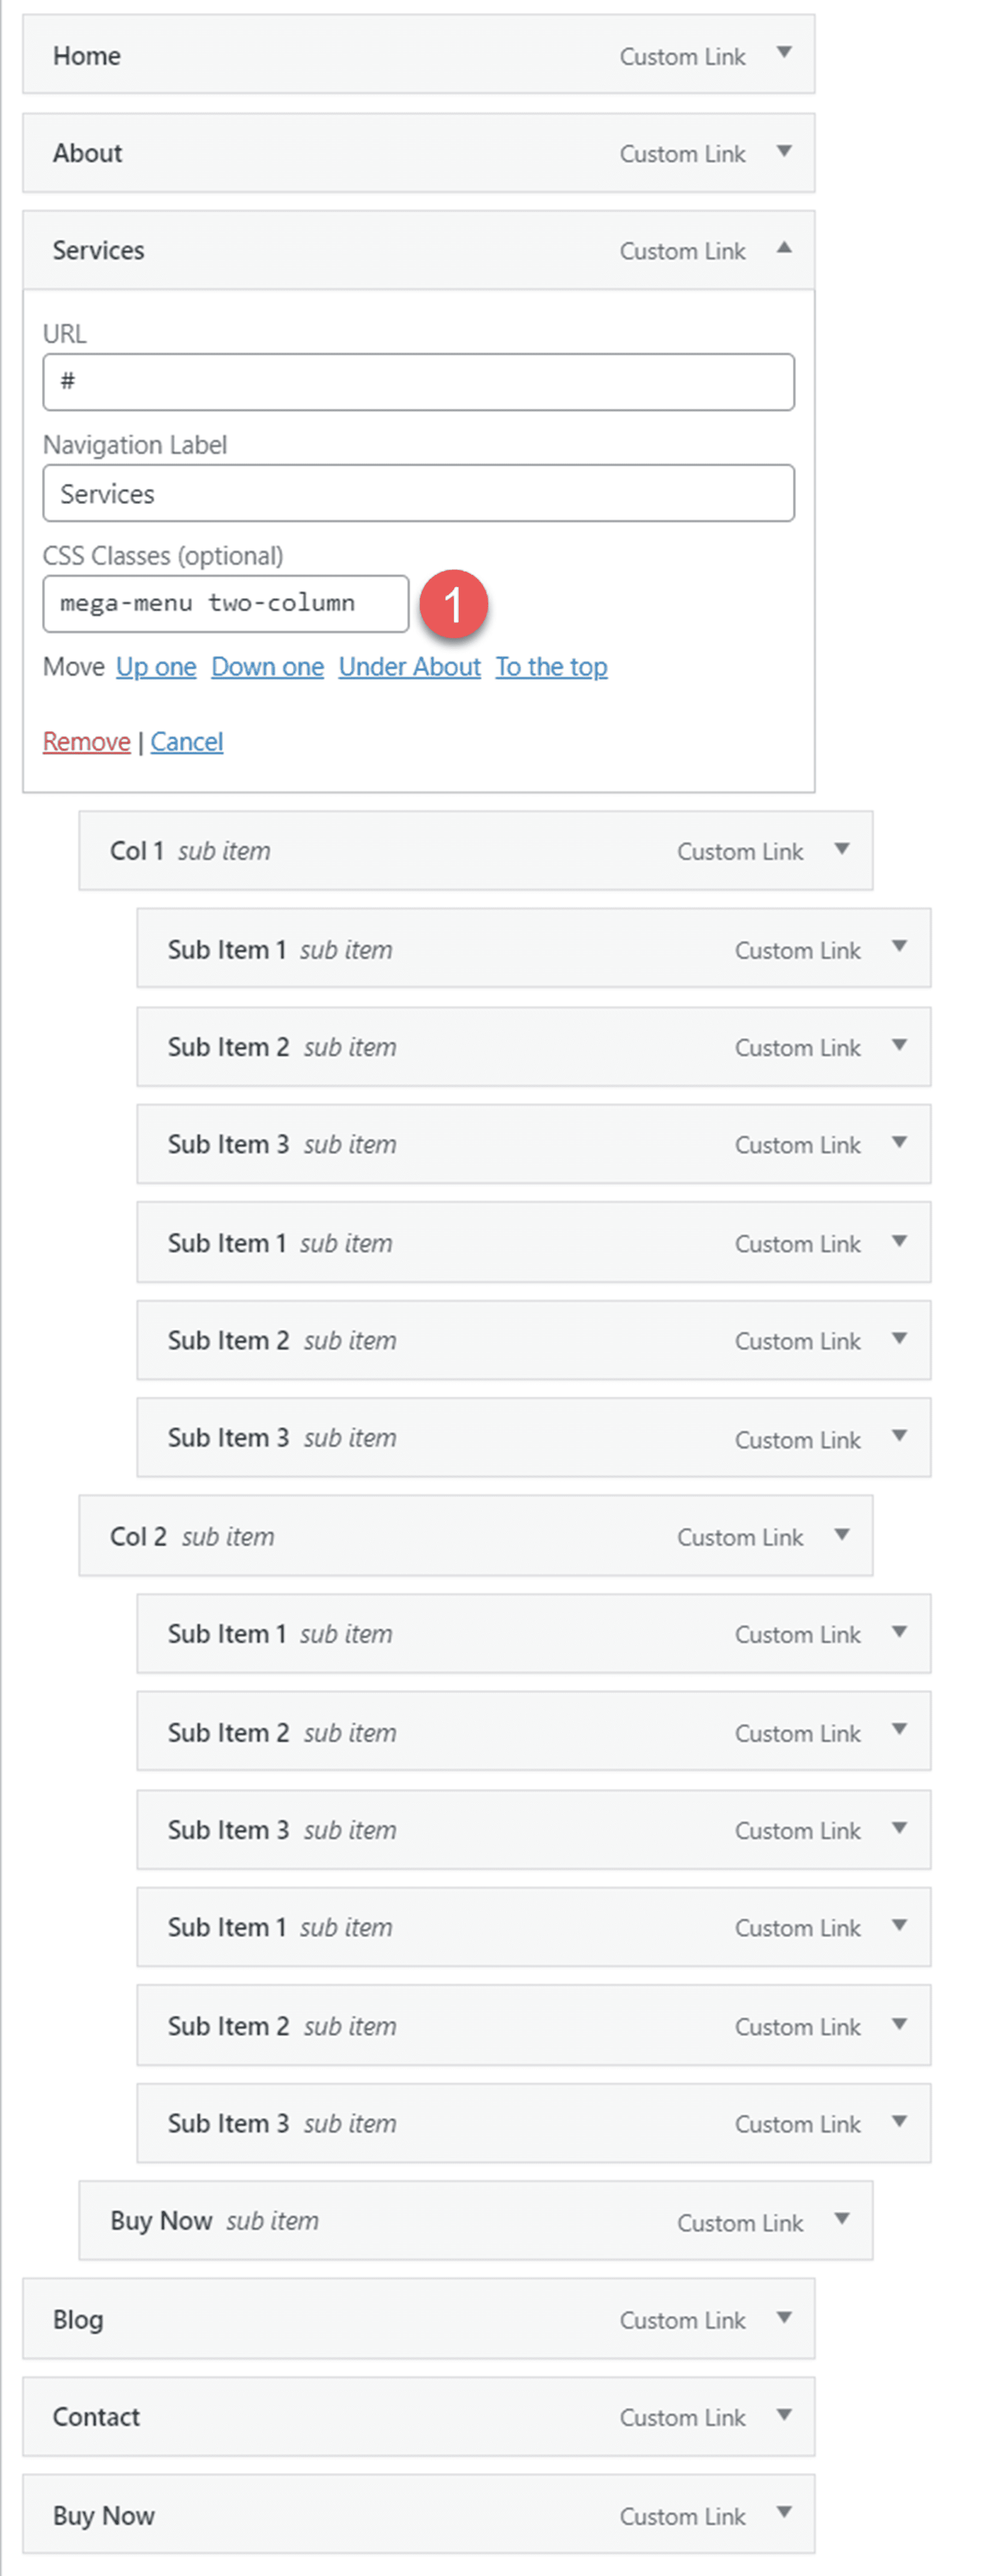
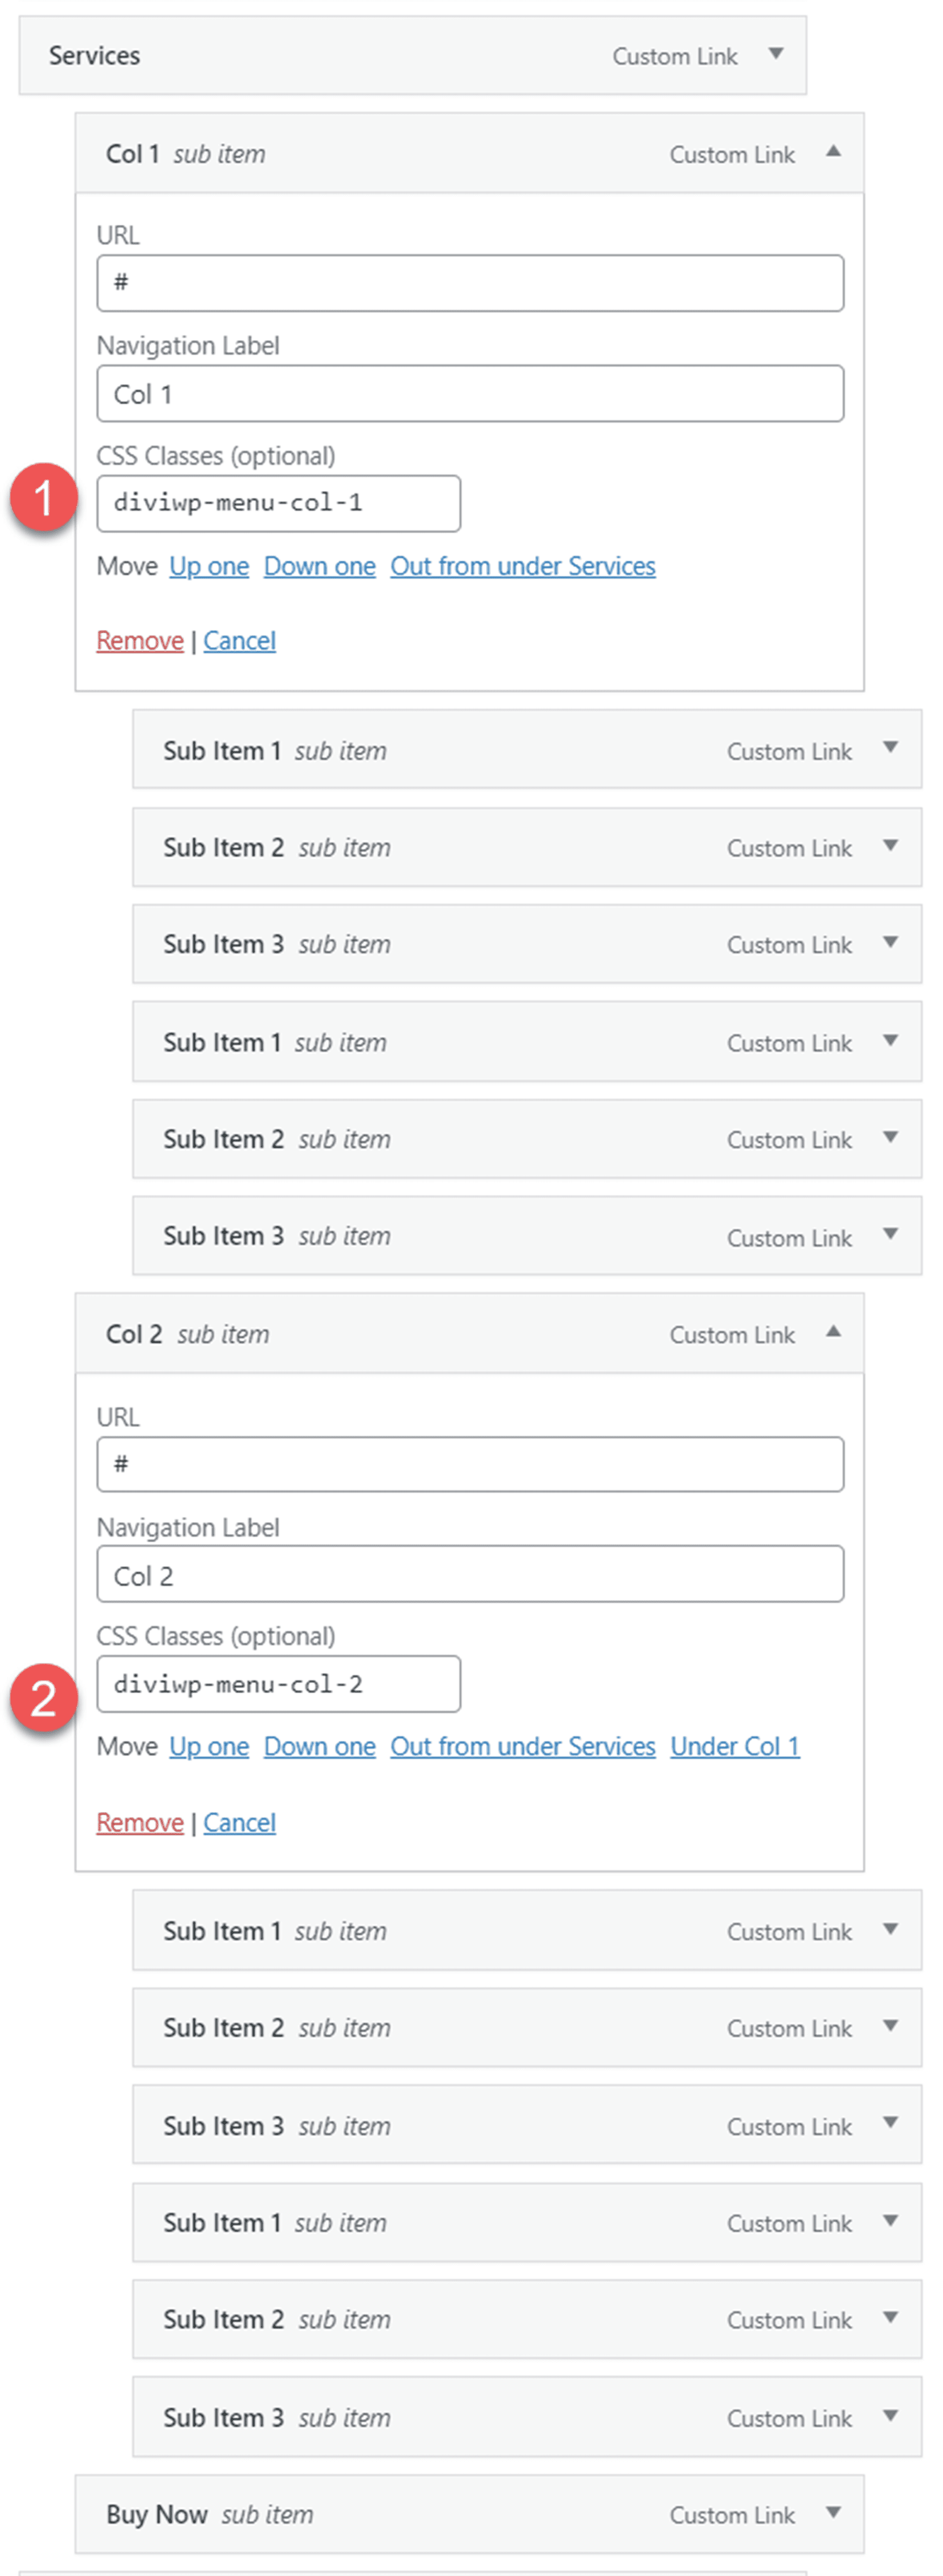
Header Layout 13 features a blurb module, a menu, social media icons, and a button on the top menu. It also comes with a 2-column mega menu layout for desktop with an optional button at the bottom. To achieve this design, you will first need to create a menu with a parent menu item, two sub-menu items for the two columns (labeled Col 1 and Col 2 in the screenshot below), and the menu items below.

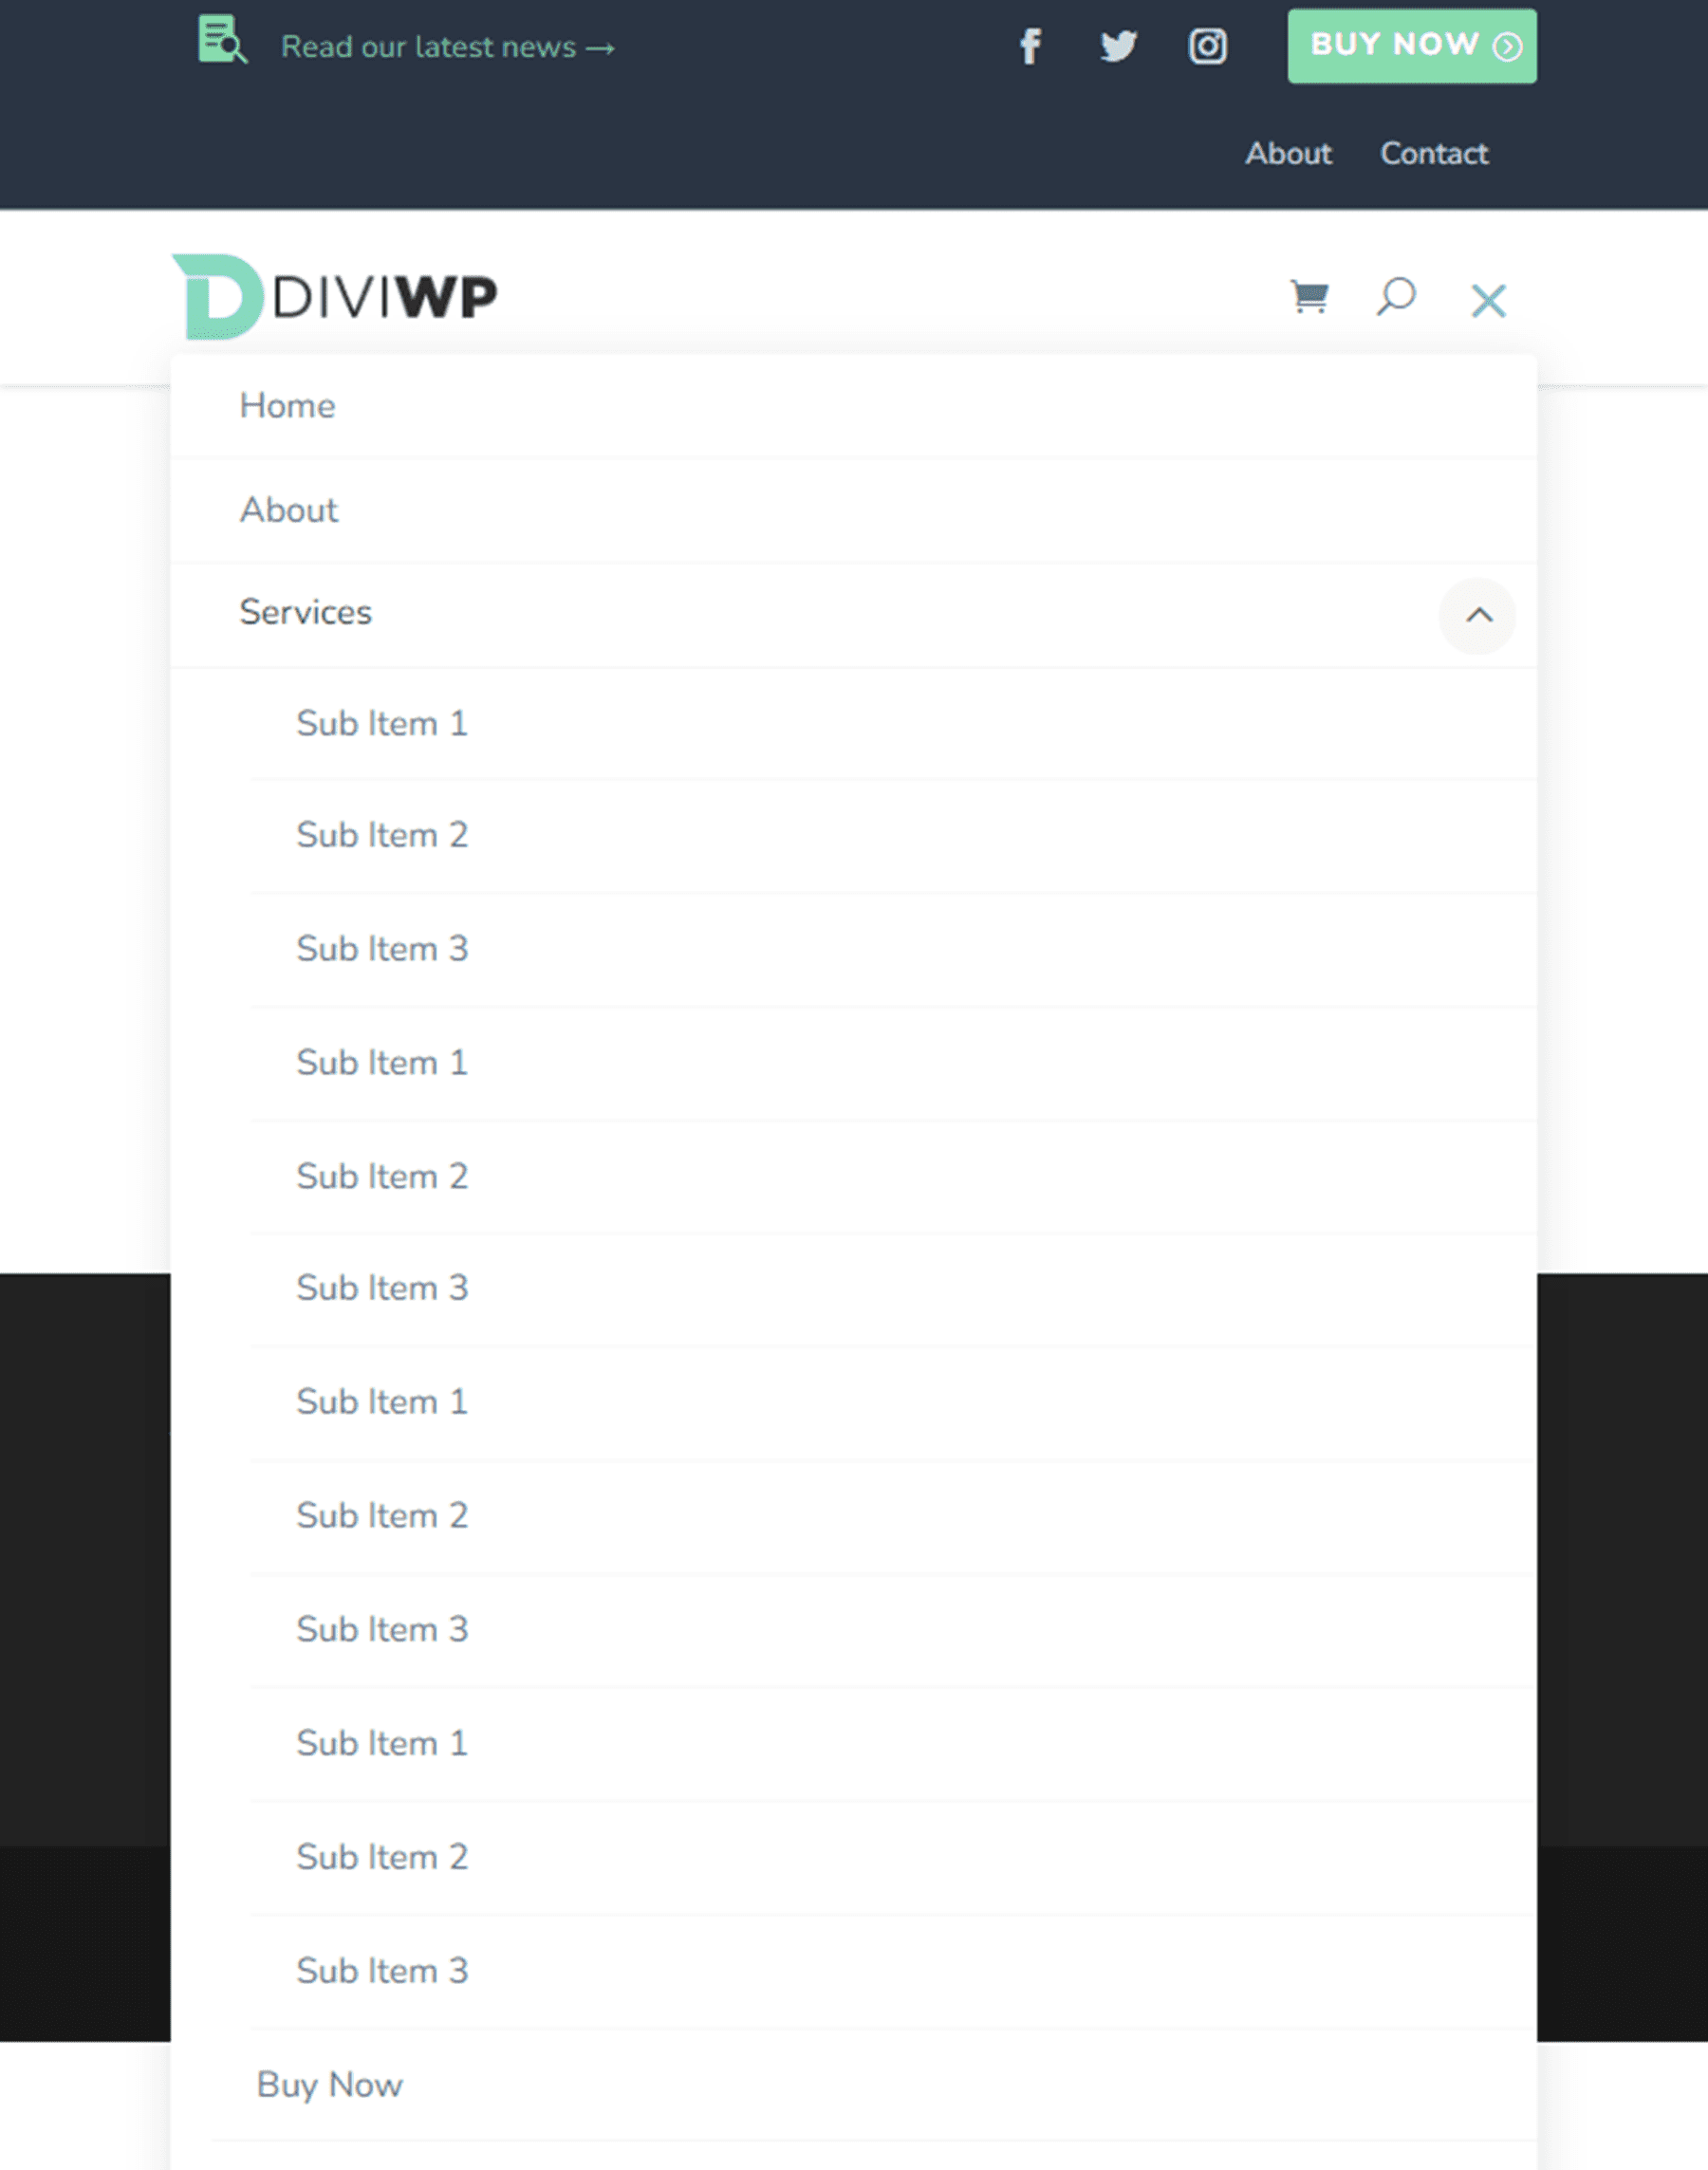
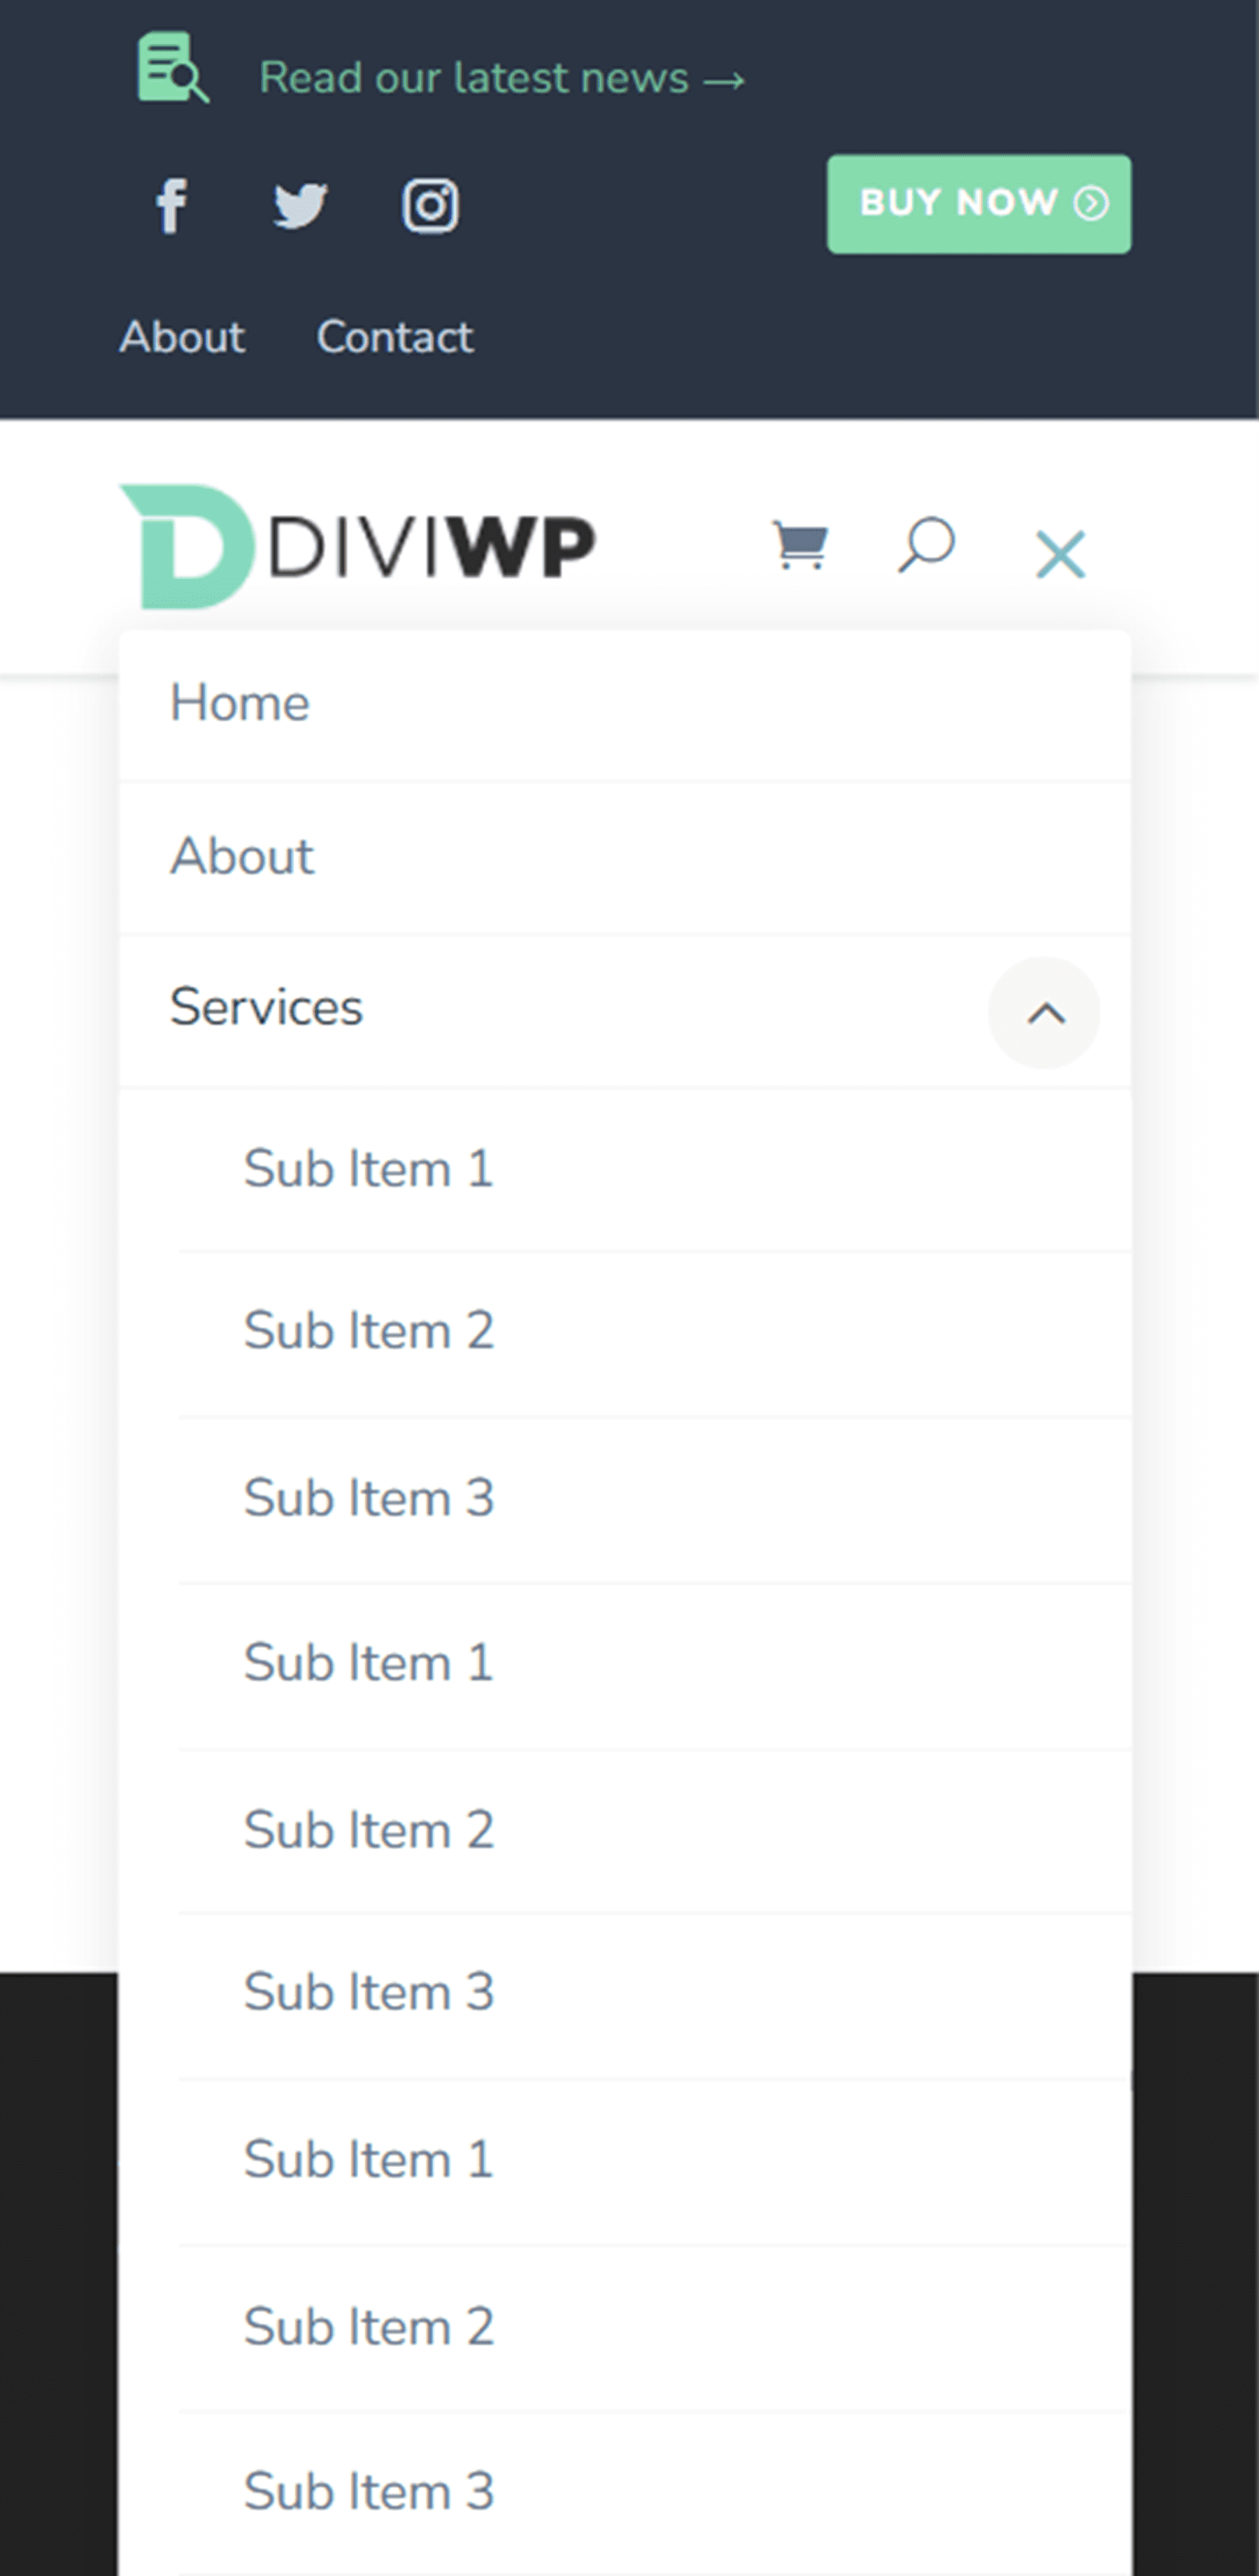
First, add the CSS Class mega-menu two-column to the parent item.
Then add the CSS Class diviwp-menu-col-1 to the first column menu item, and diviwp-menu-col-2 to the second column menu item.
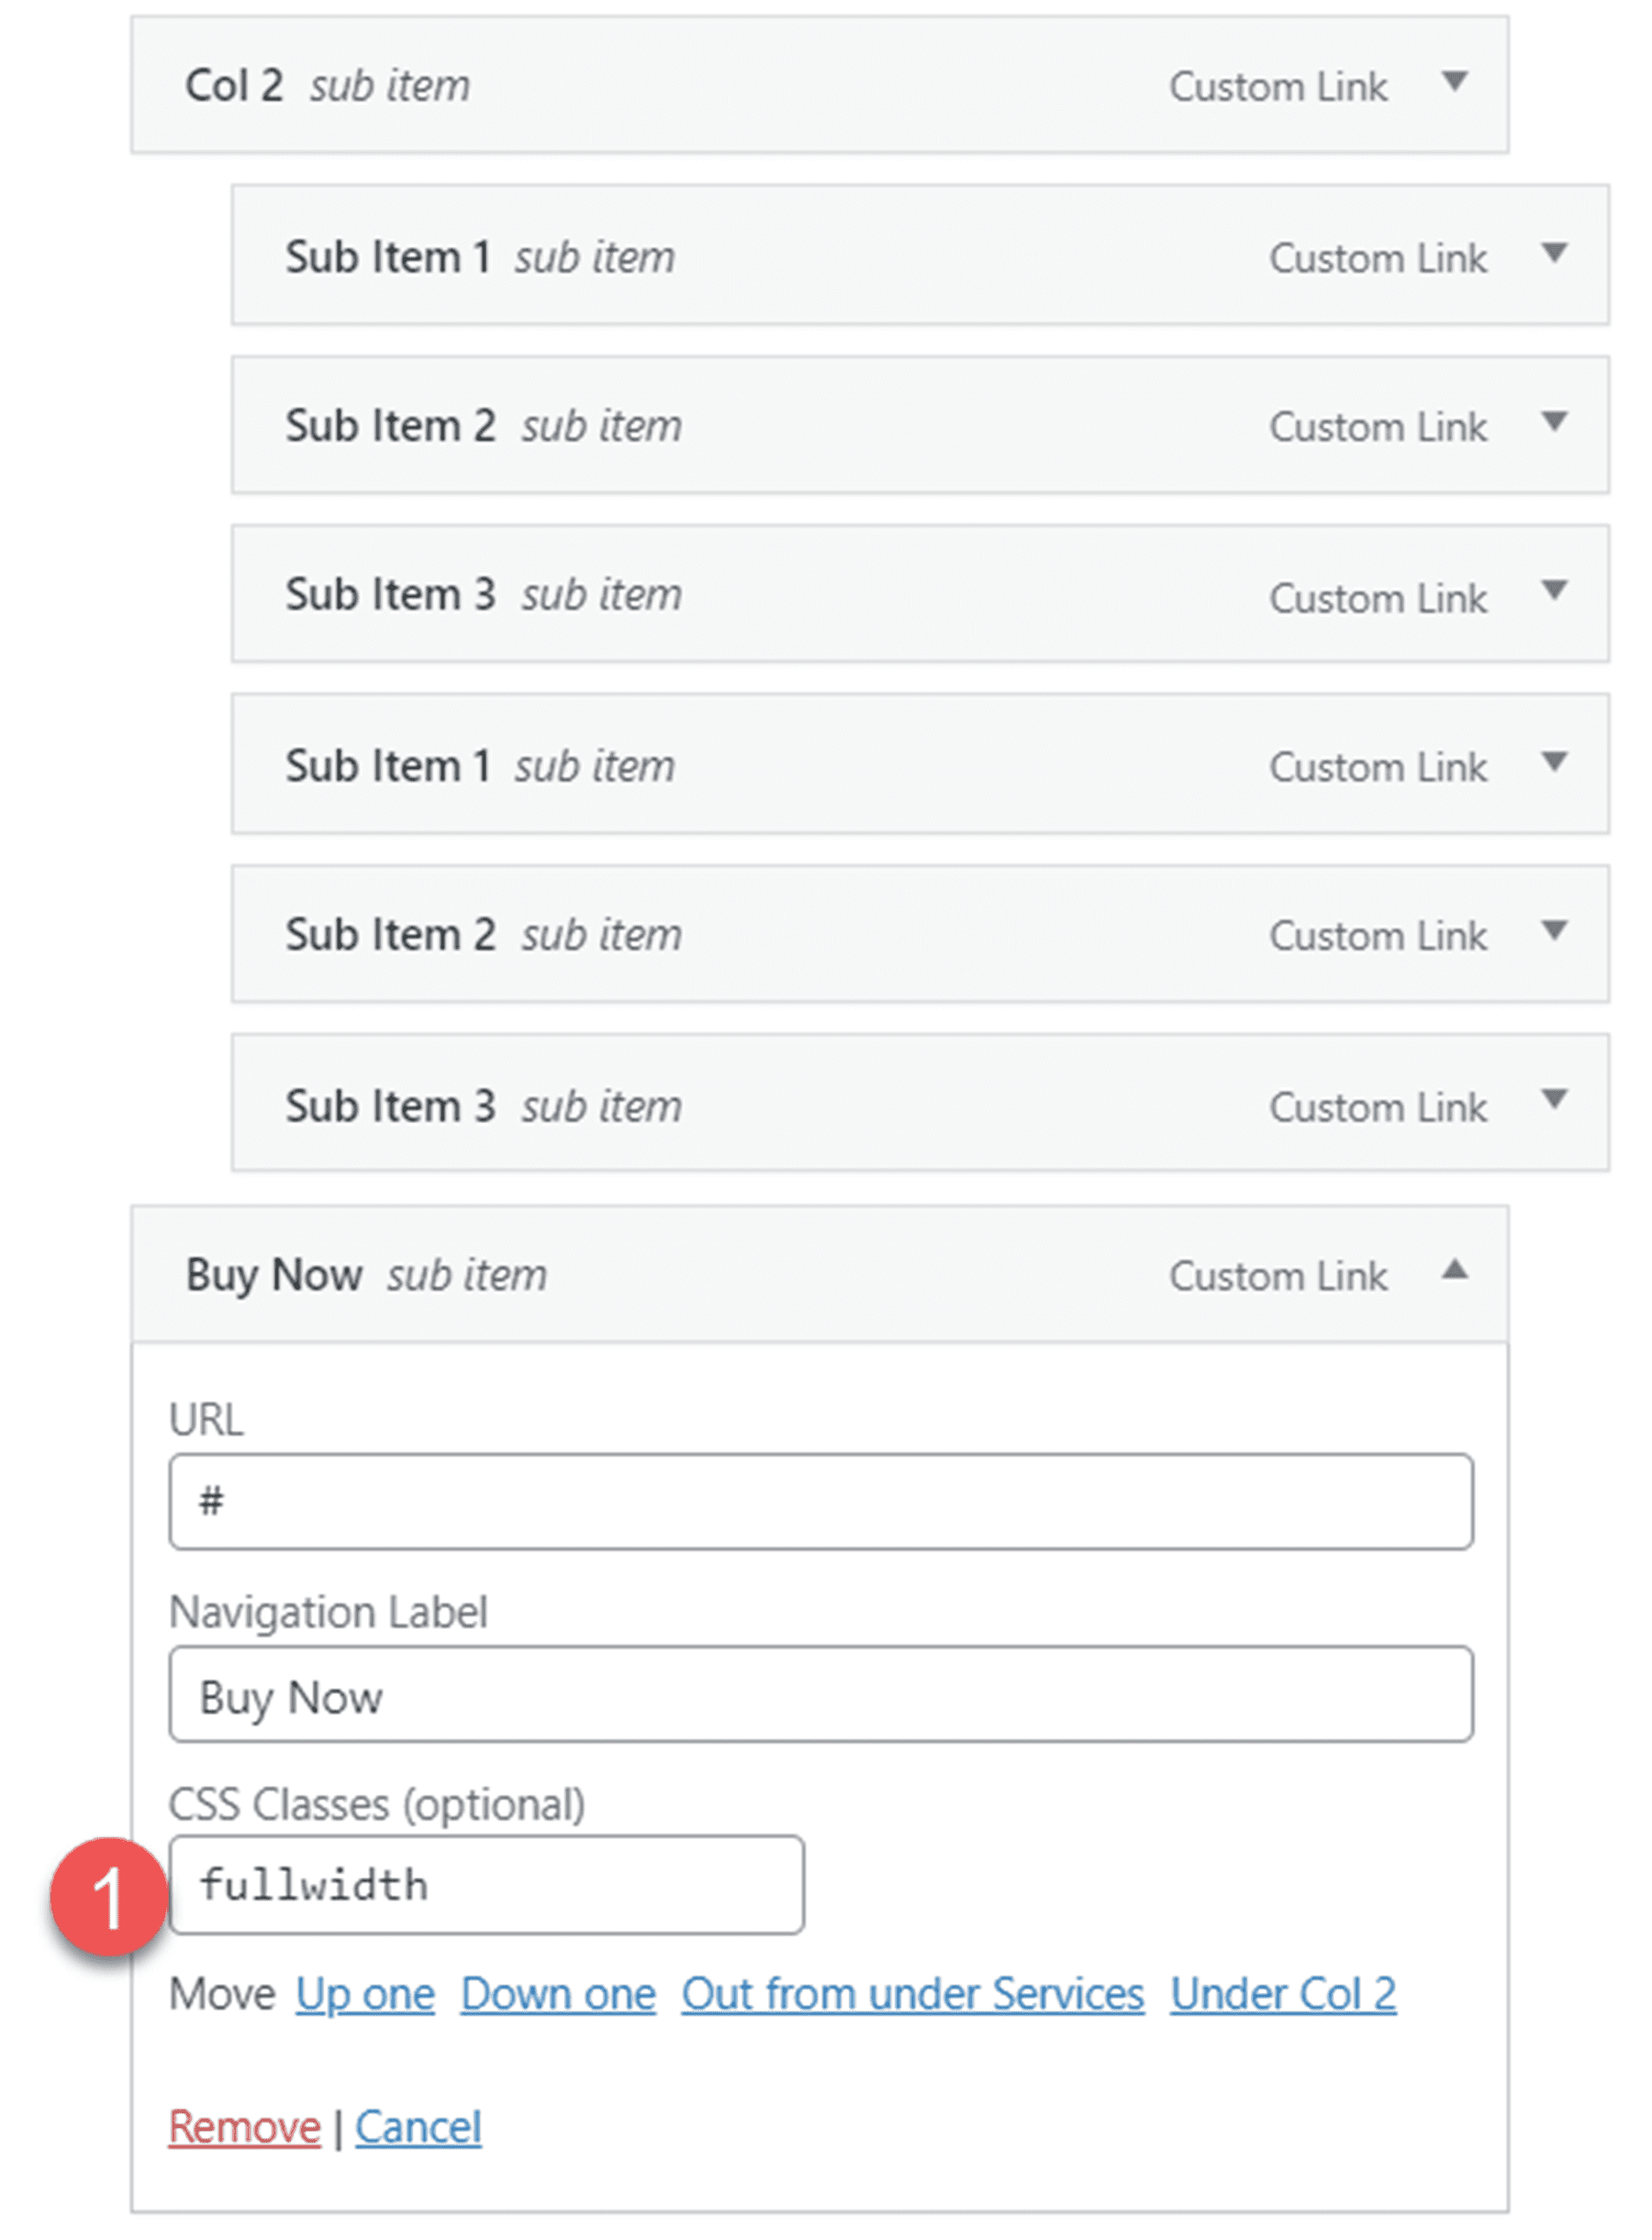
Finally, add the CSS Class fullwidth to the button menu item.
Header Layout 14
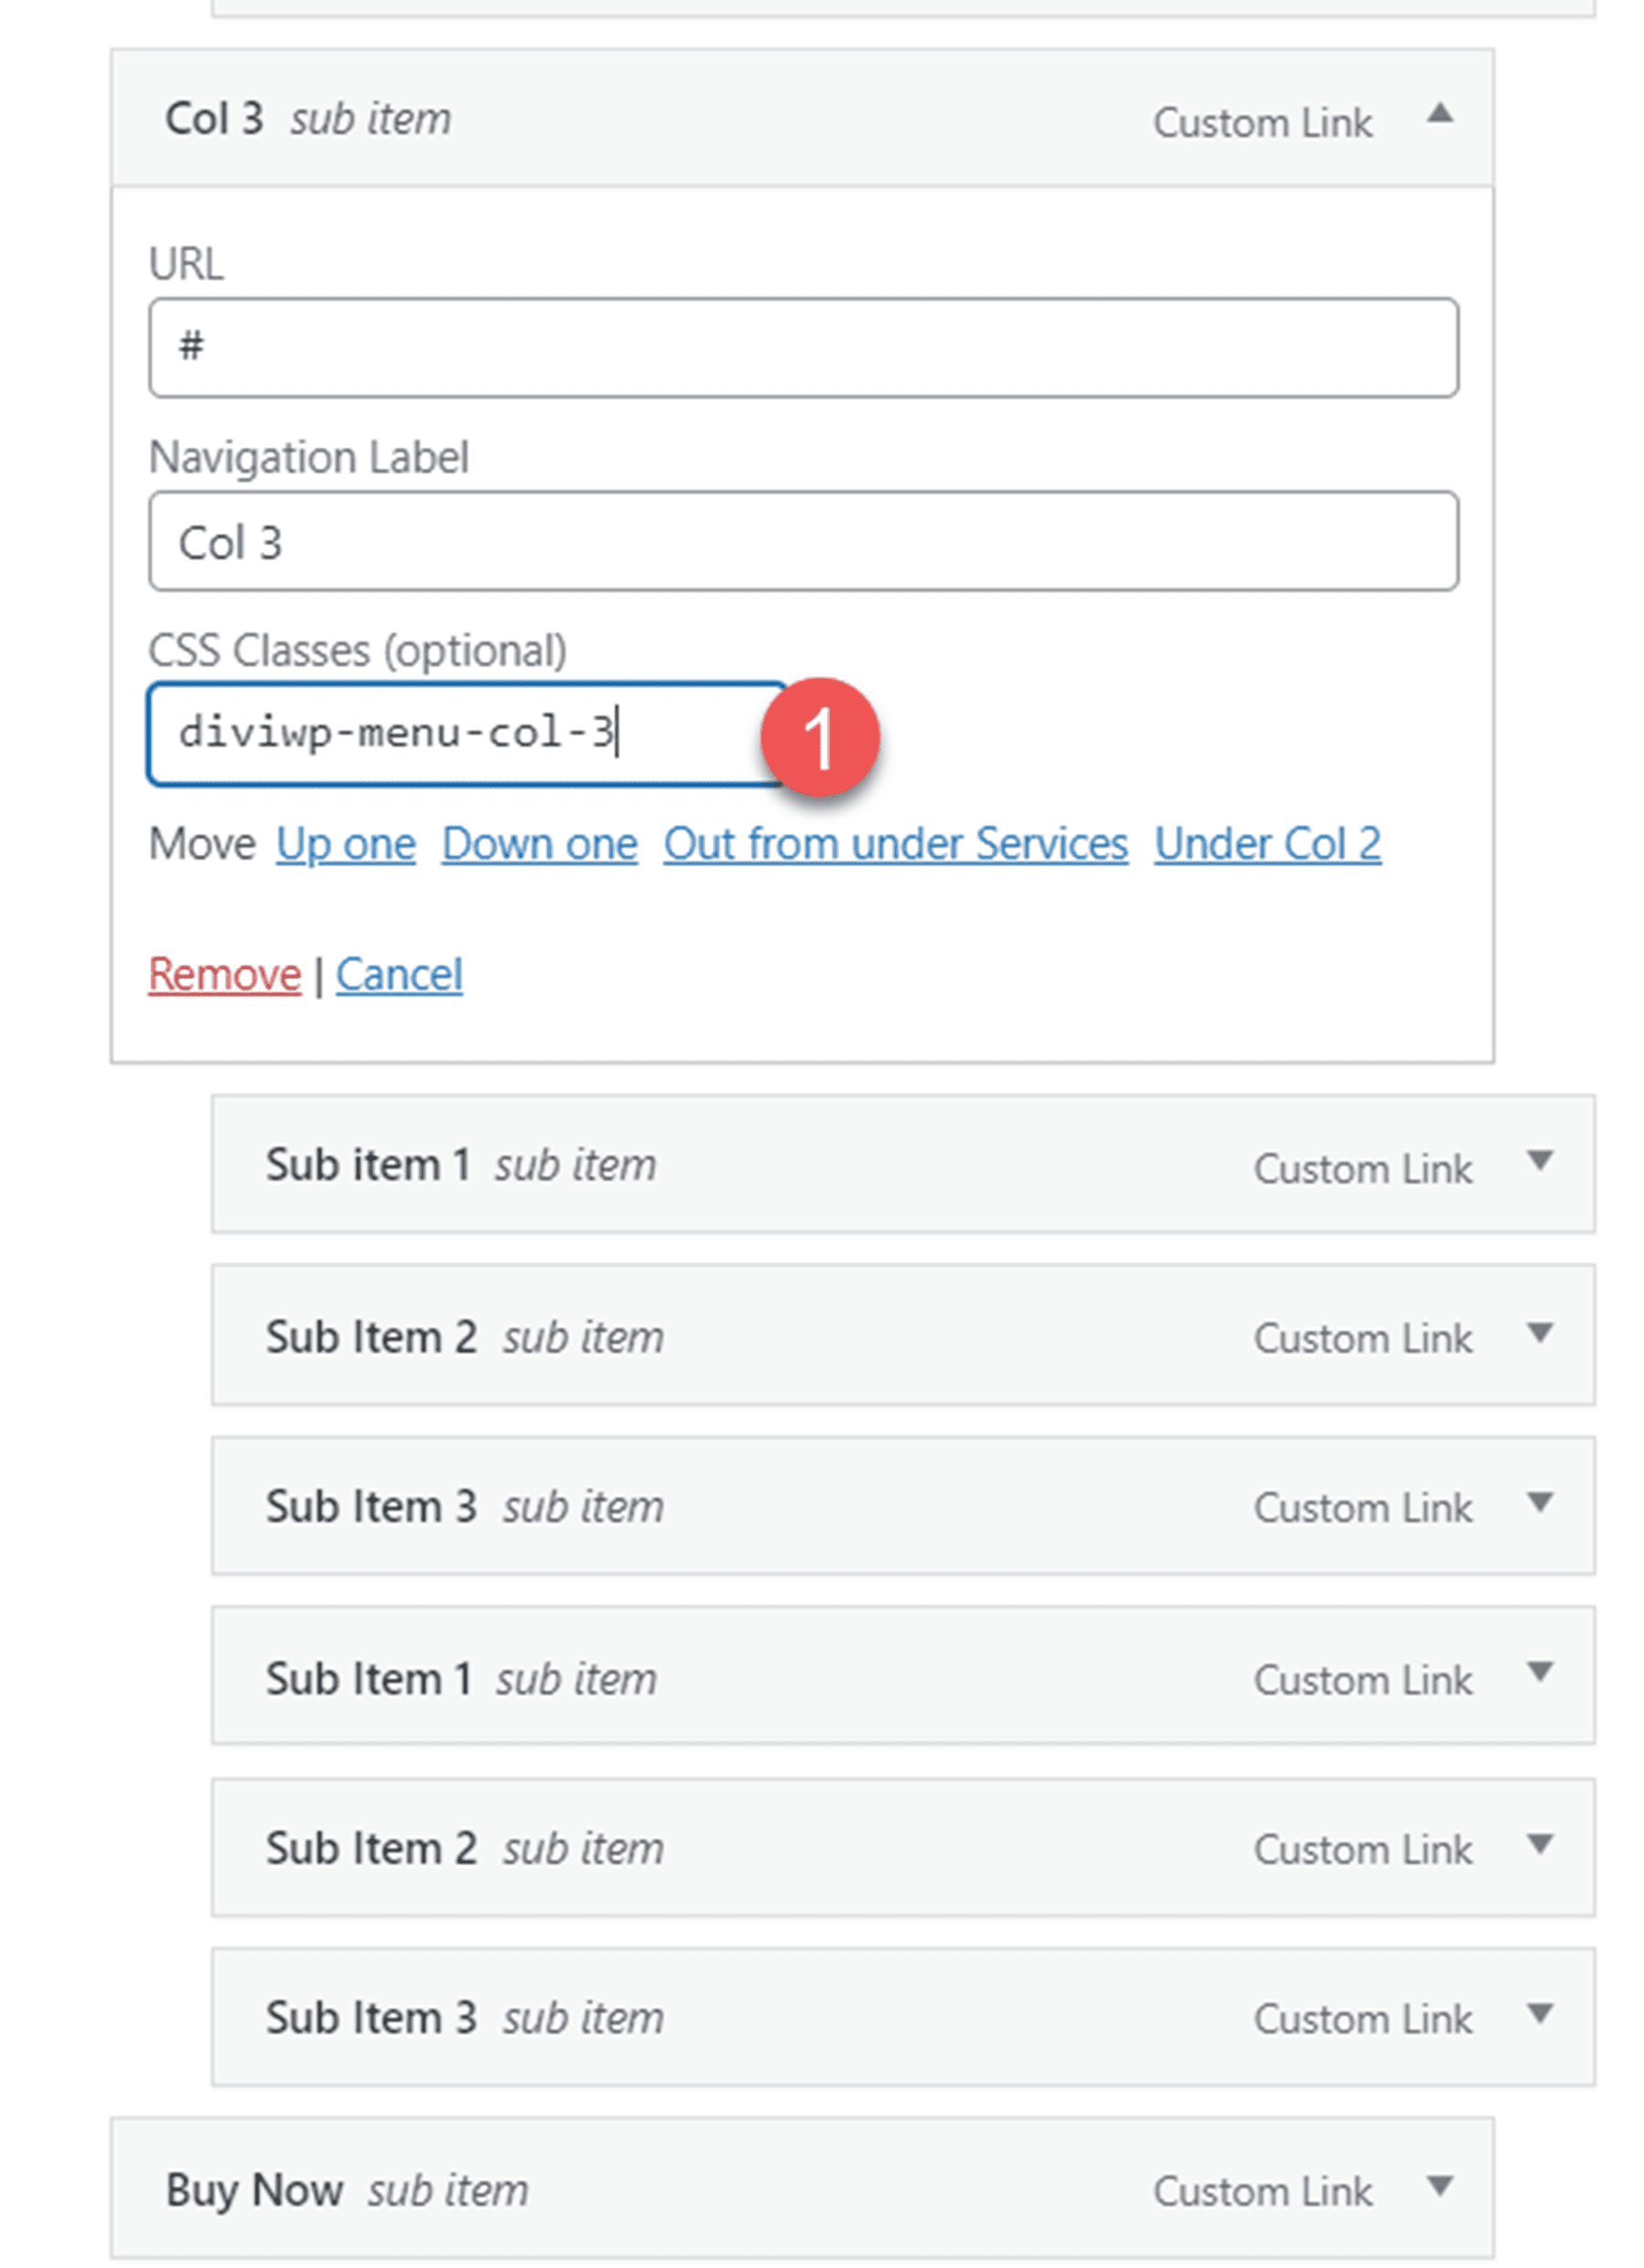
Header Layout 14 is a 3-column mega menu variation of Layout 13. For this layout, follow the steps for Header Layout 13 and add another column.

To the third column item, add the following CSS Class: diviwp-menu-col-3
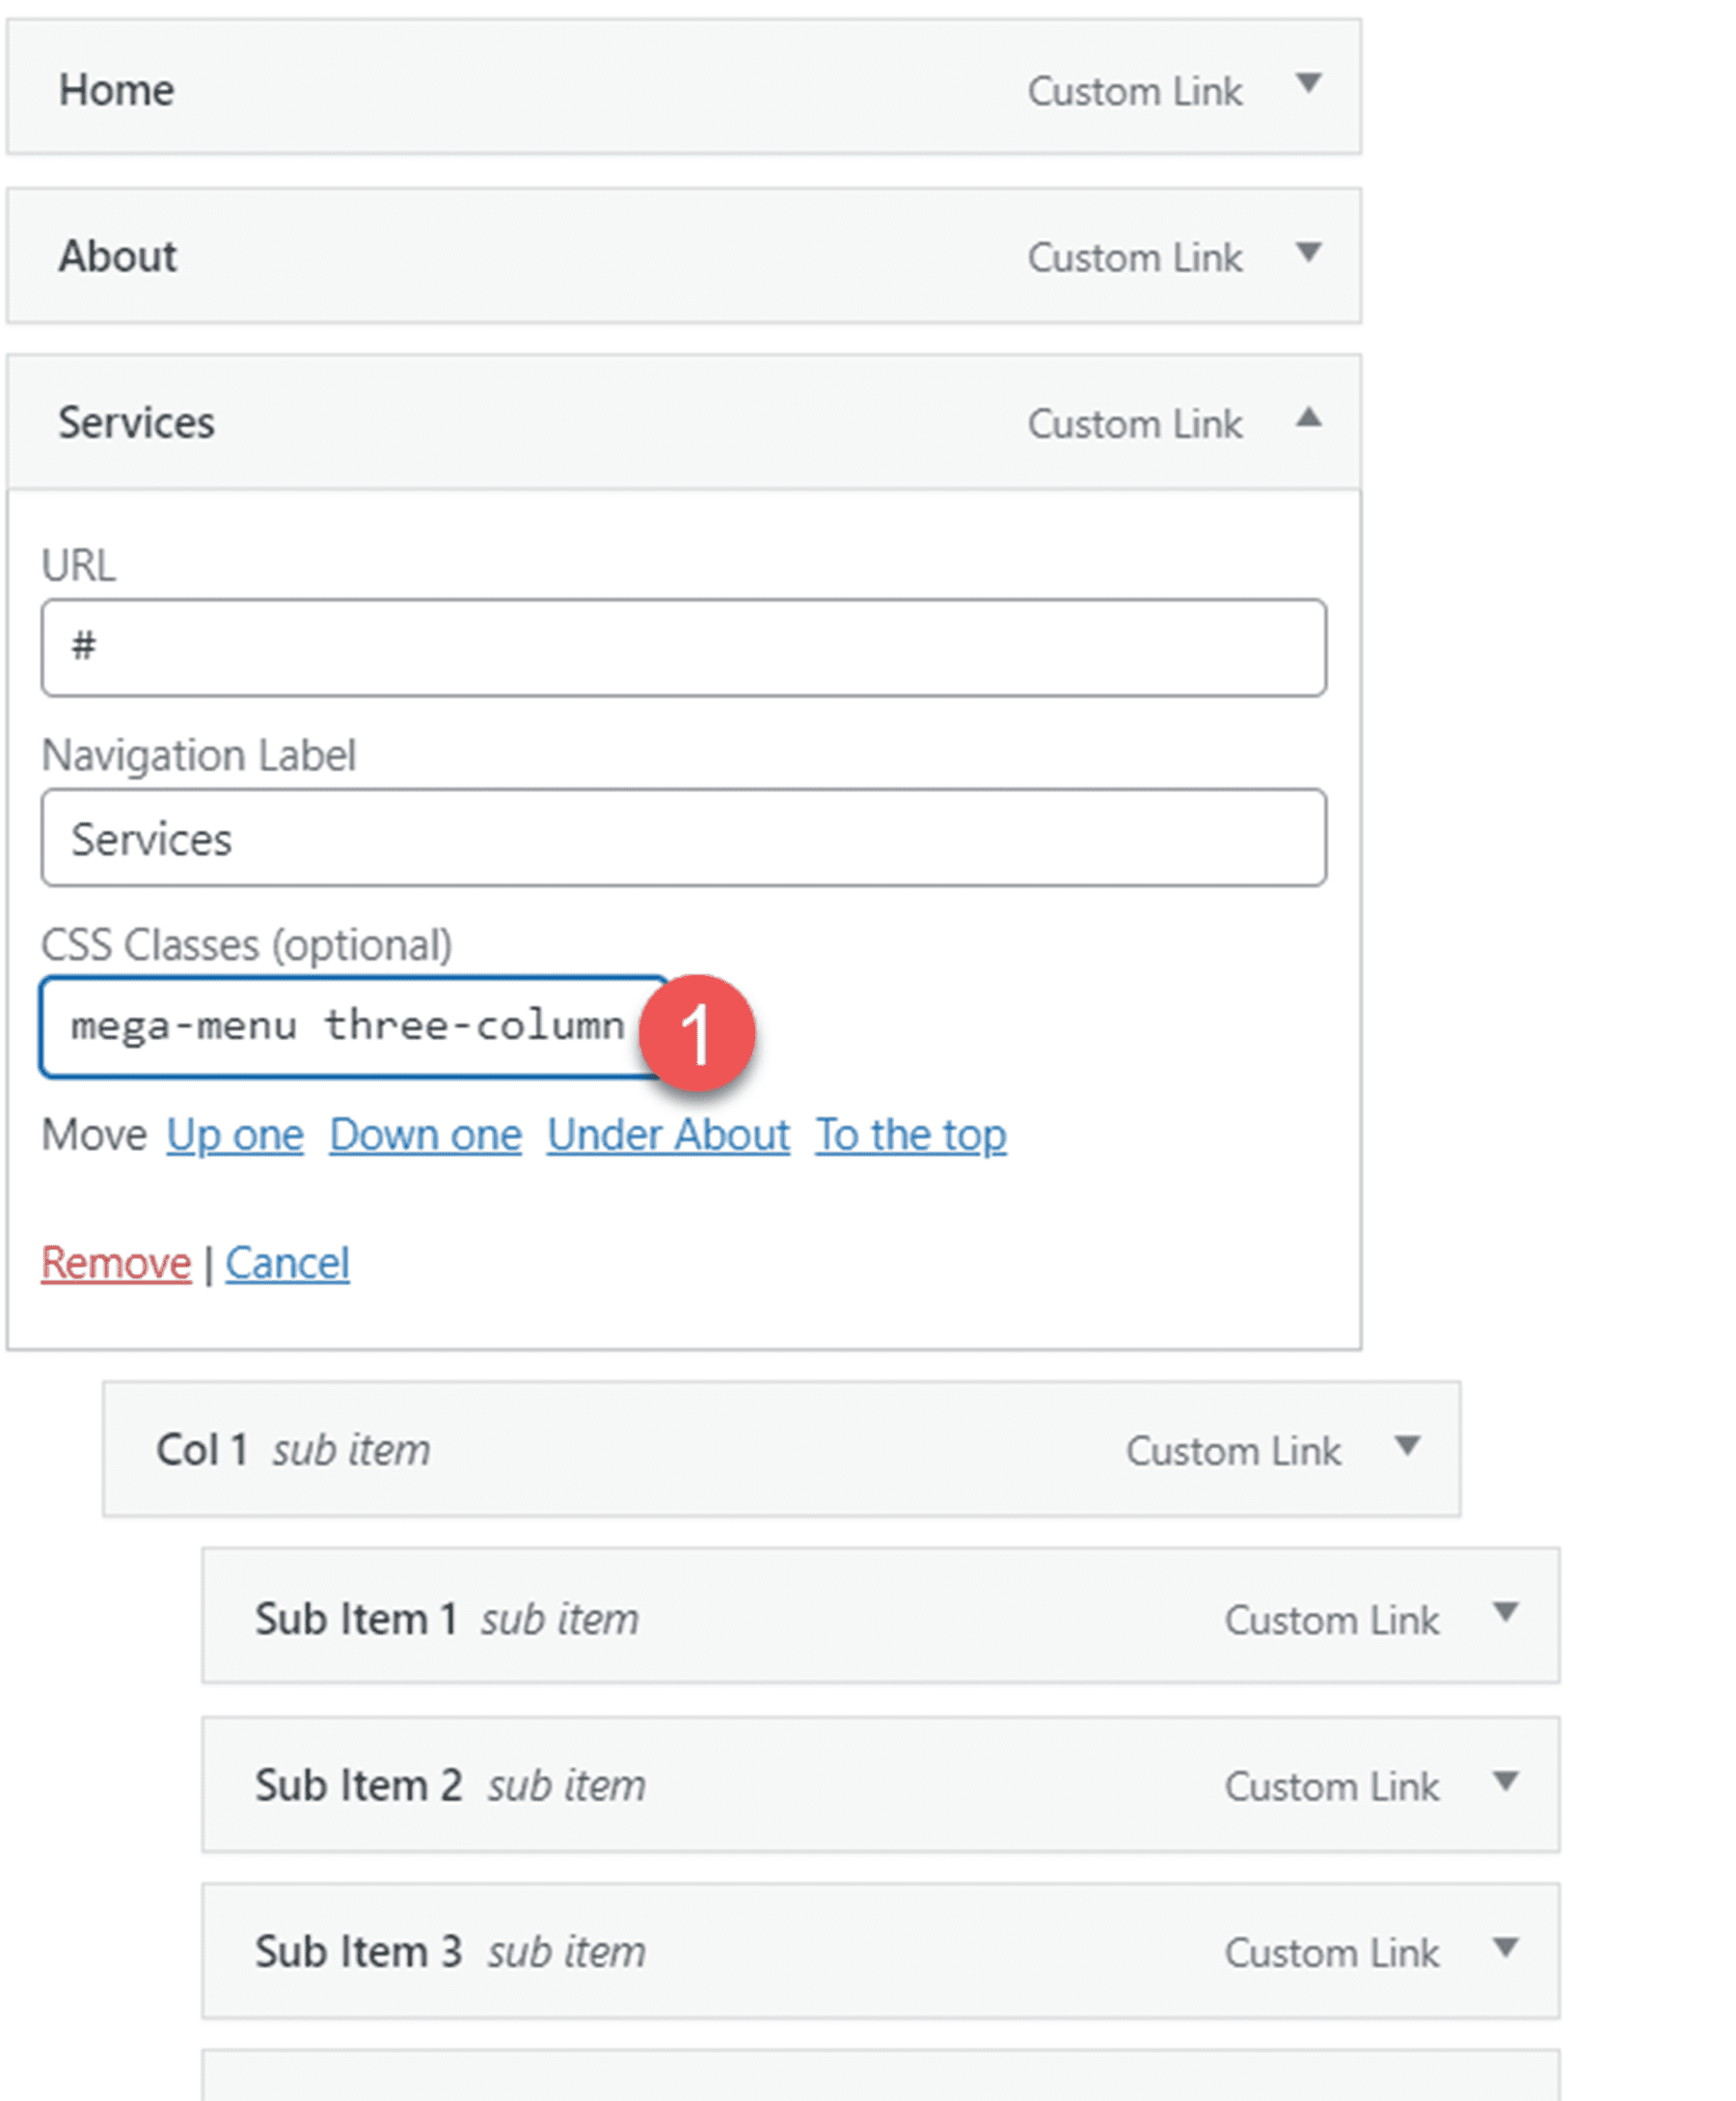
Finally, add the CSS class mega-menu three-column to the parent item.
Header Layout 15
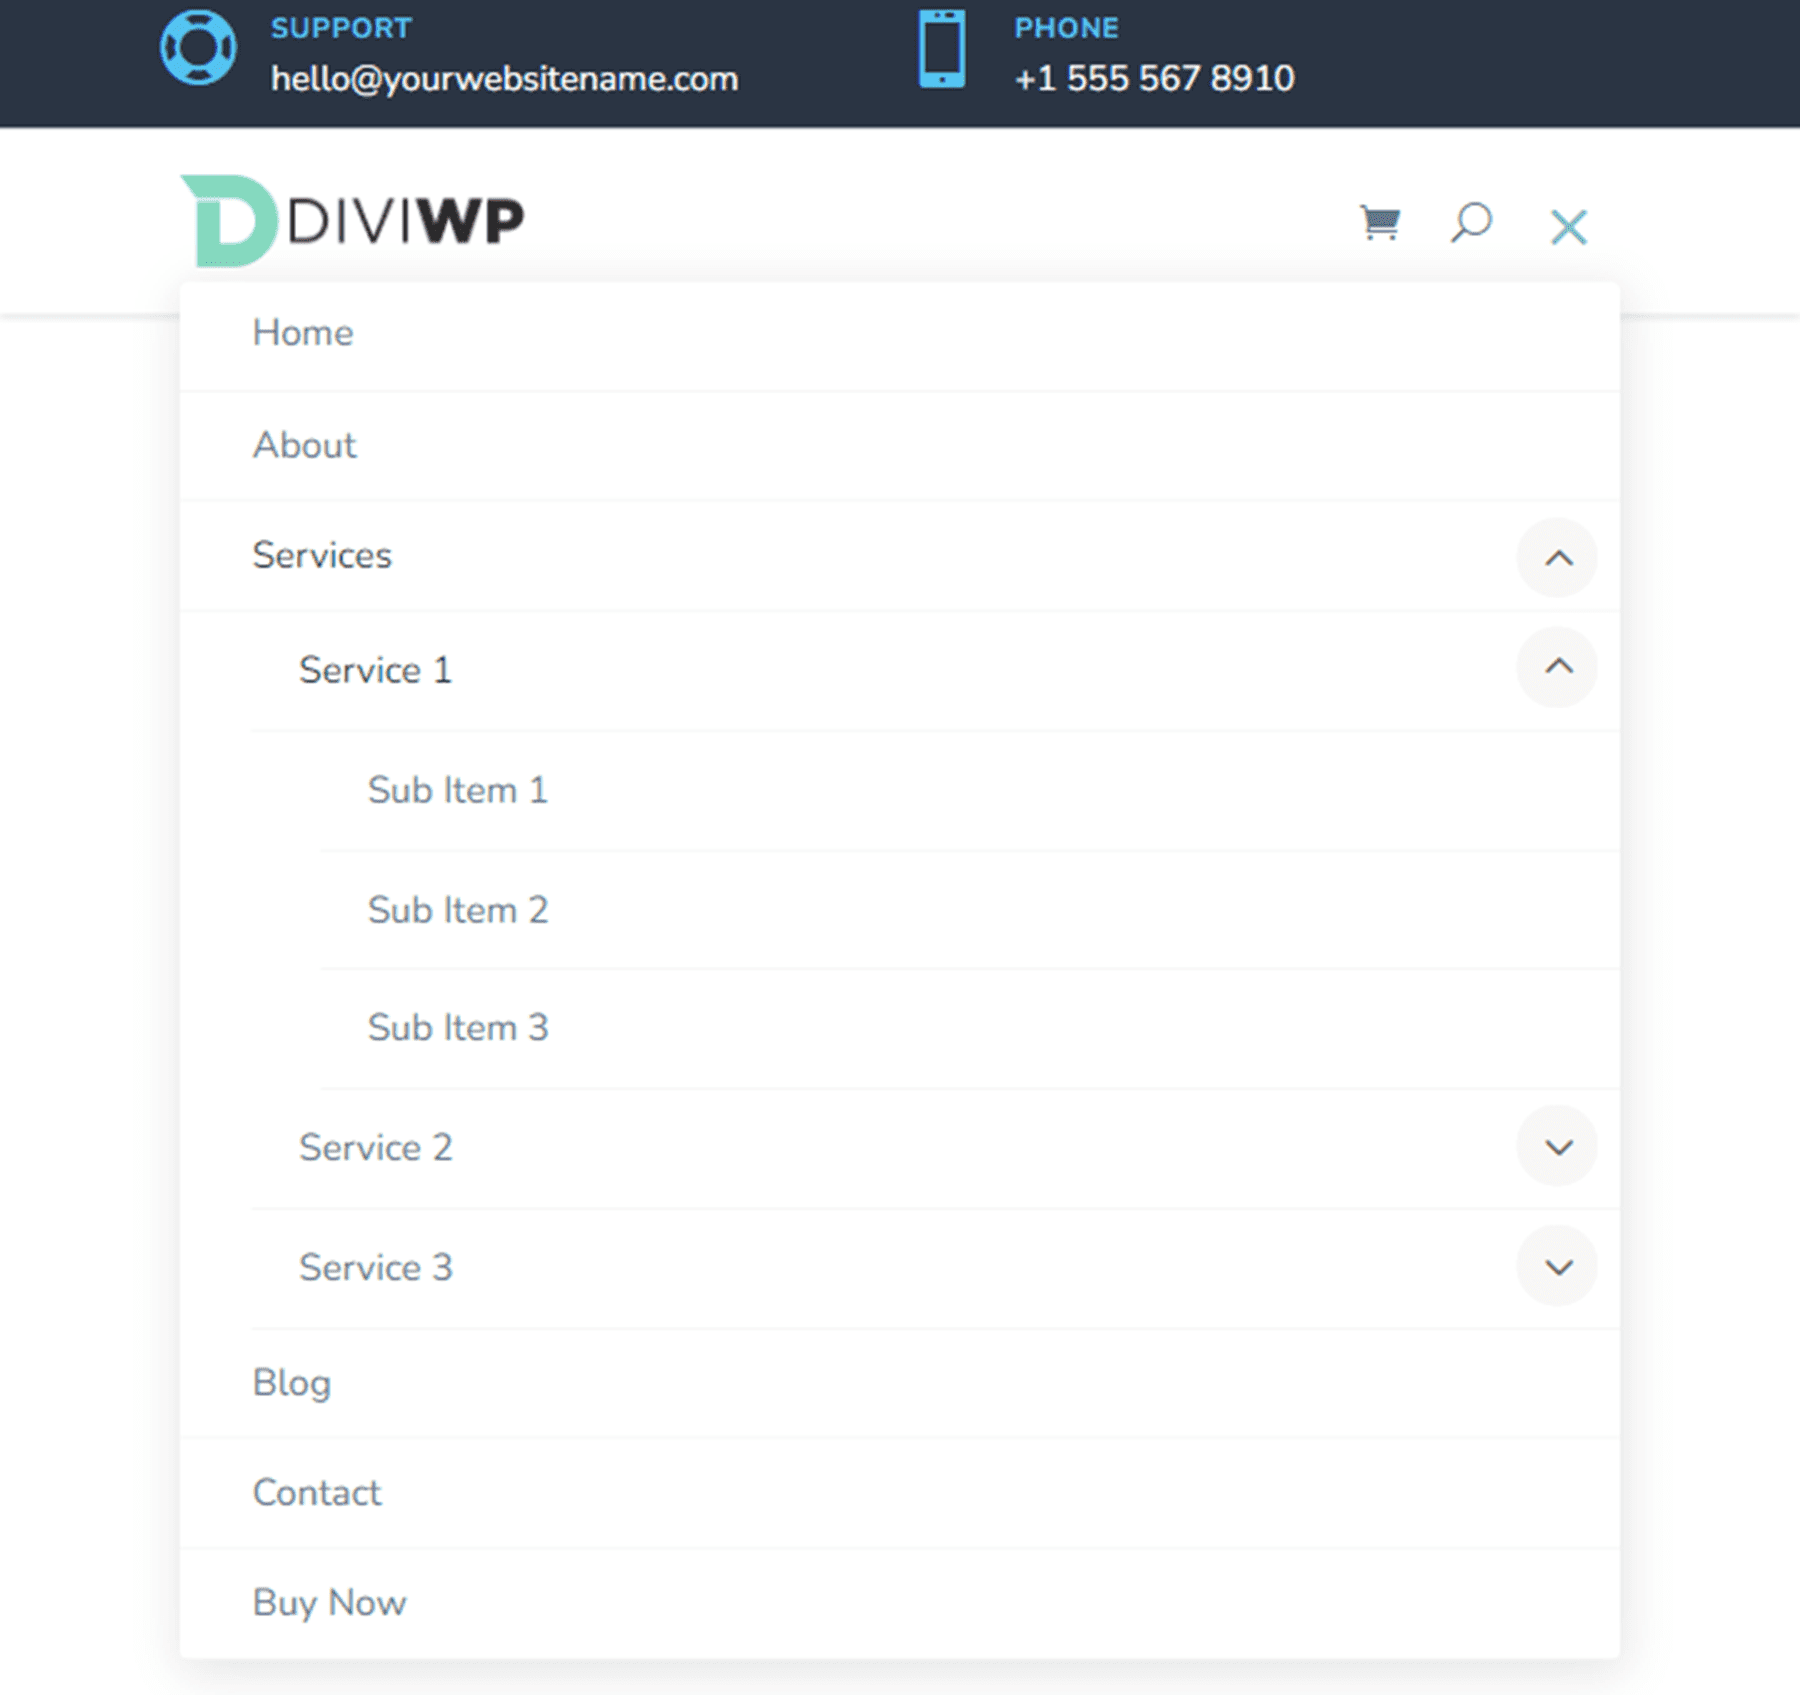
Layout 15 features two blurb icons on the top menu bar. The primary menu has a light background and is the same as Layout 1.

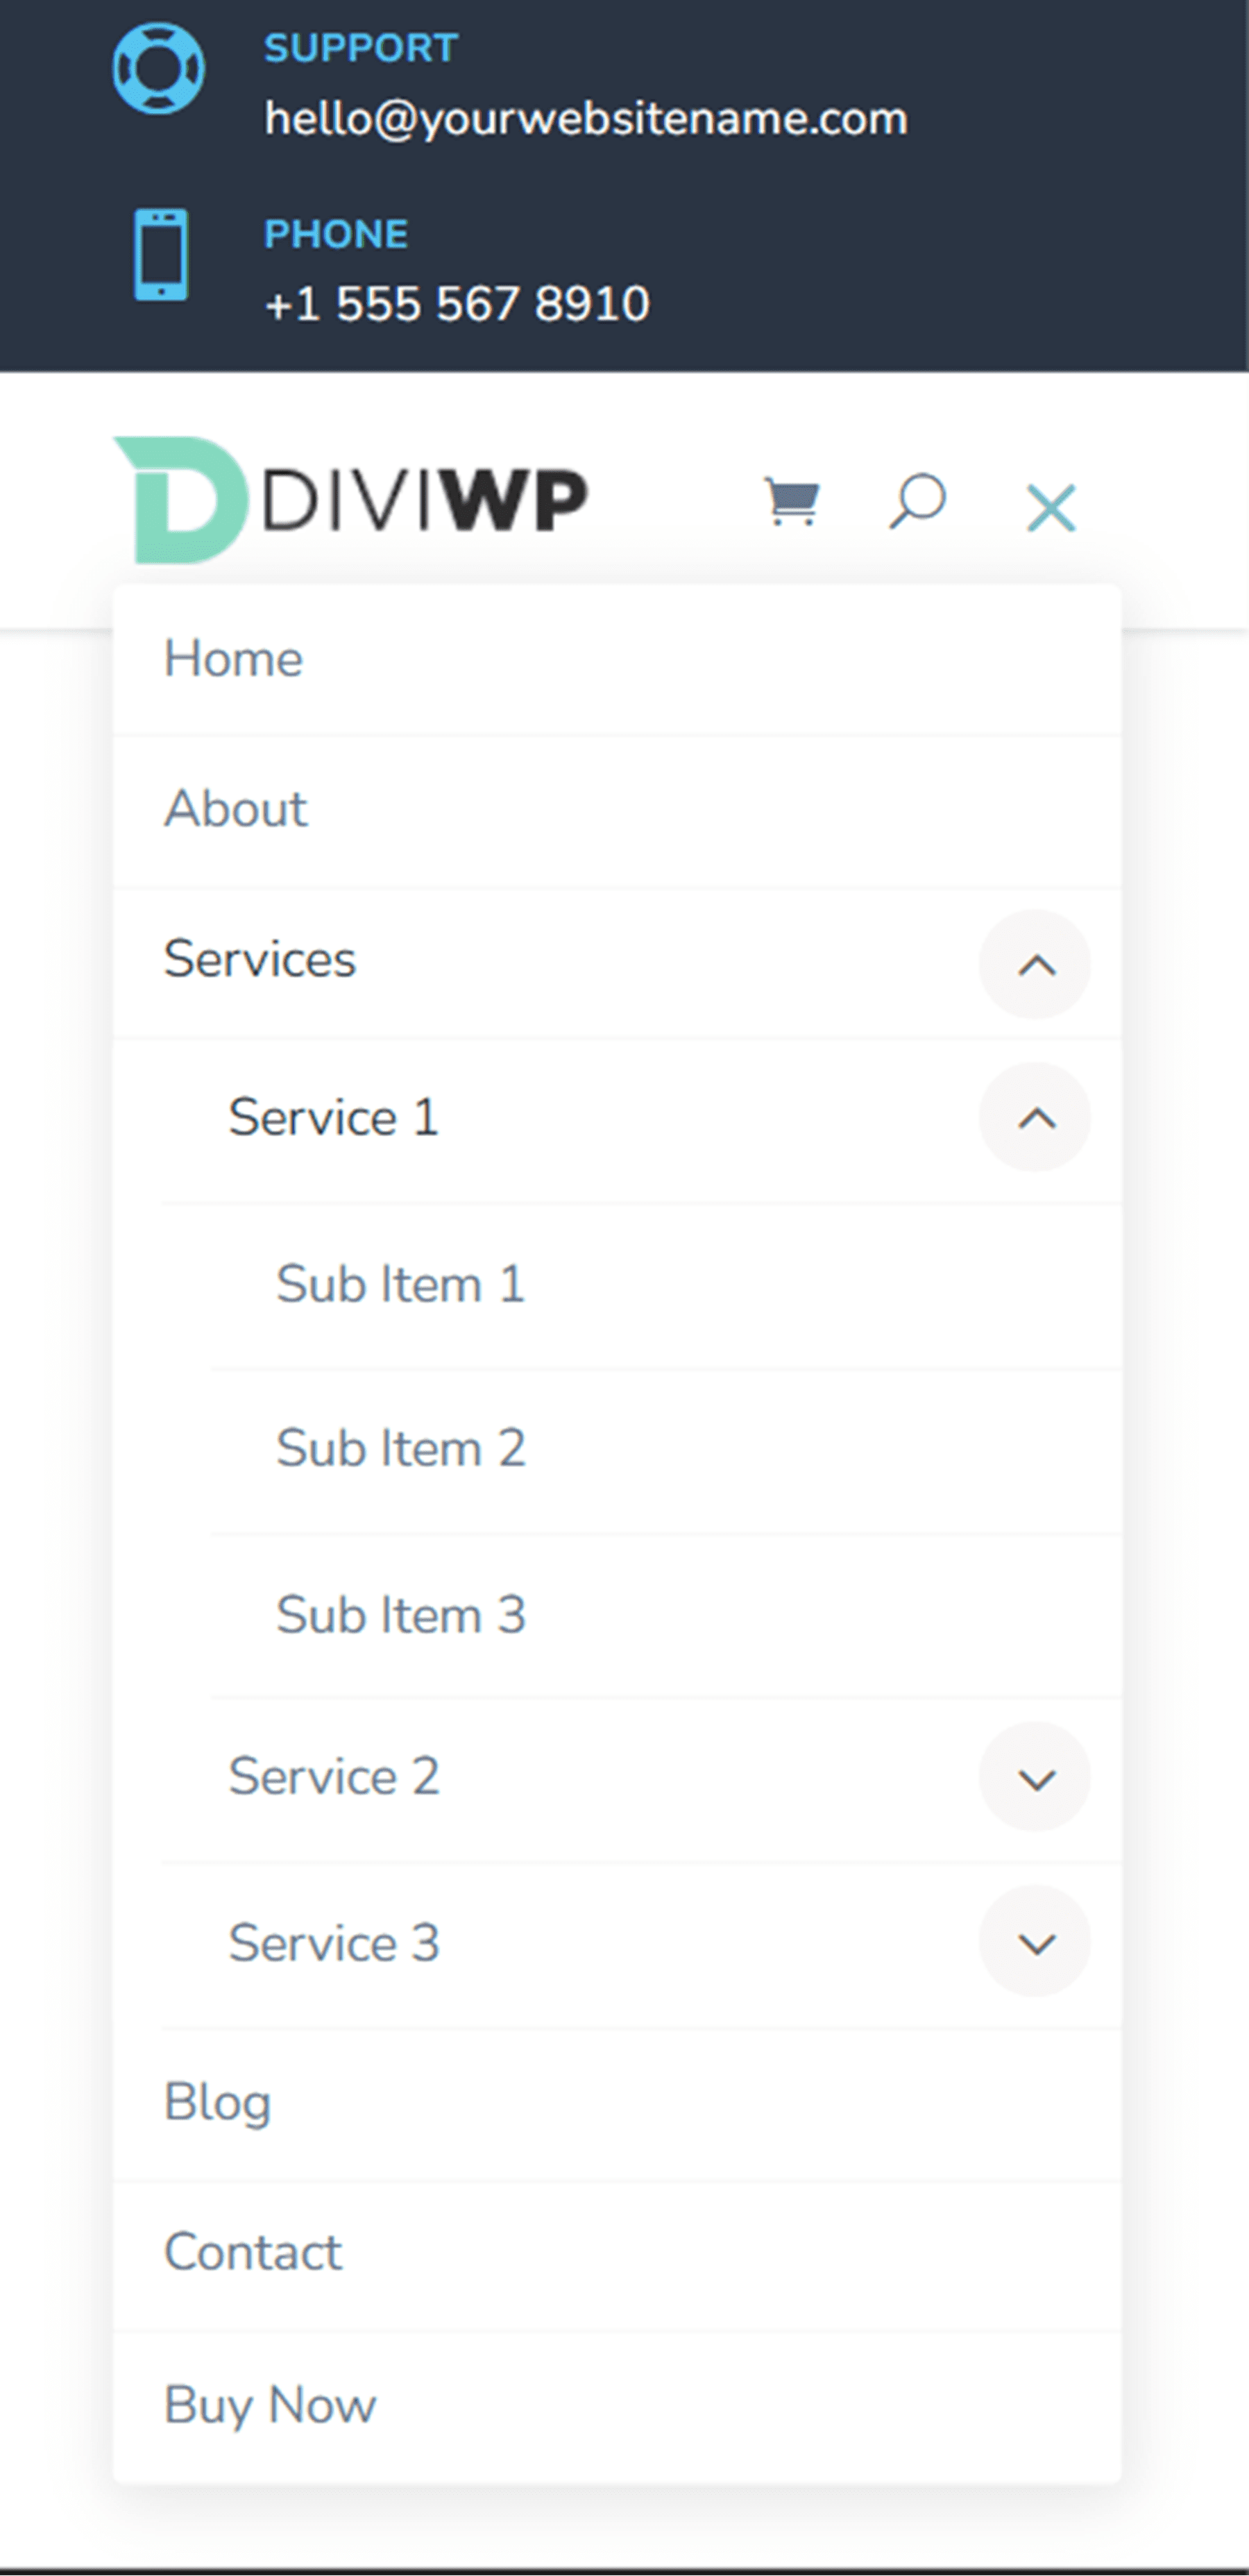
Header Layout 16
Header Layout 16 is mostly the same as Header Layout 15, except the blurb icons are on the left side of the top menu bar.

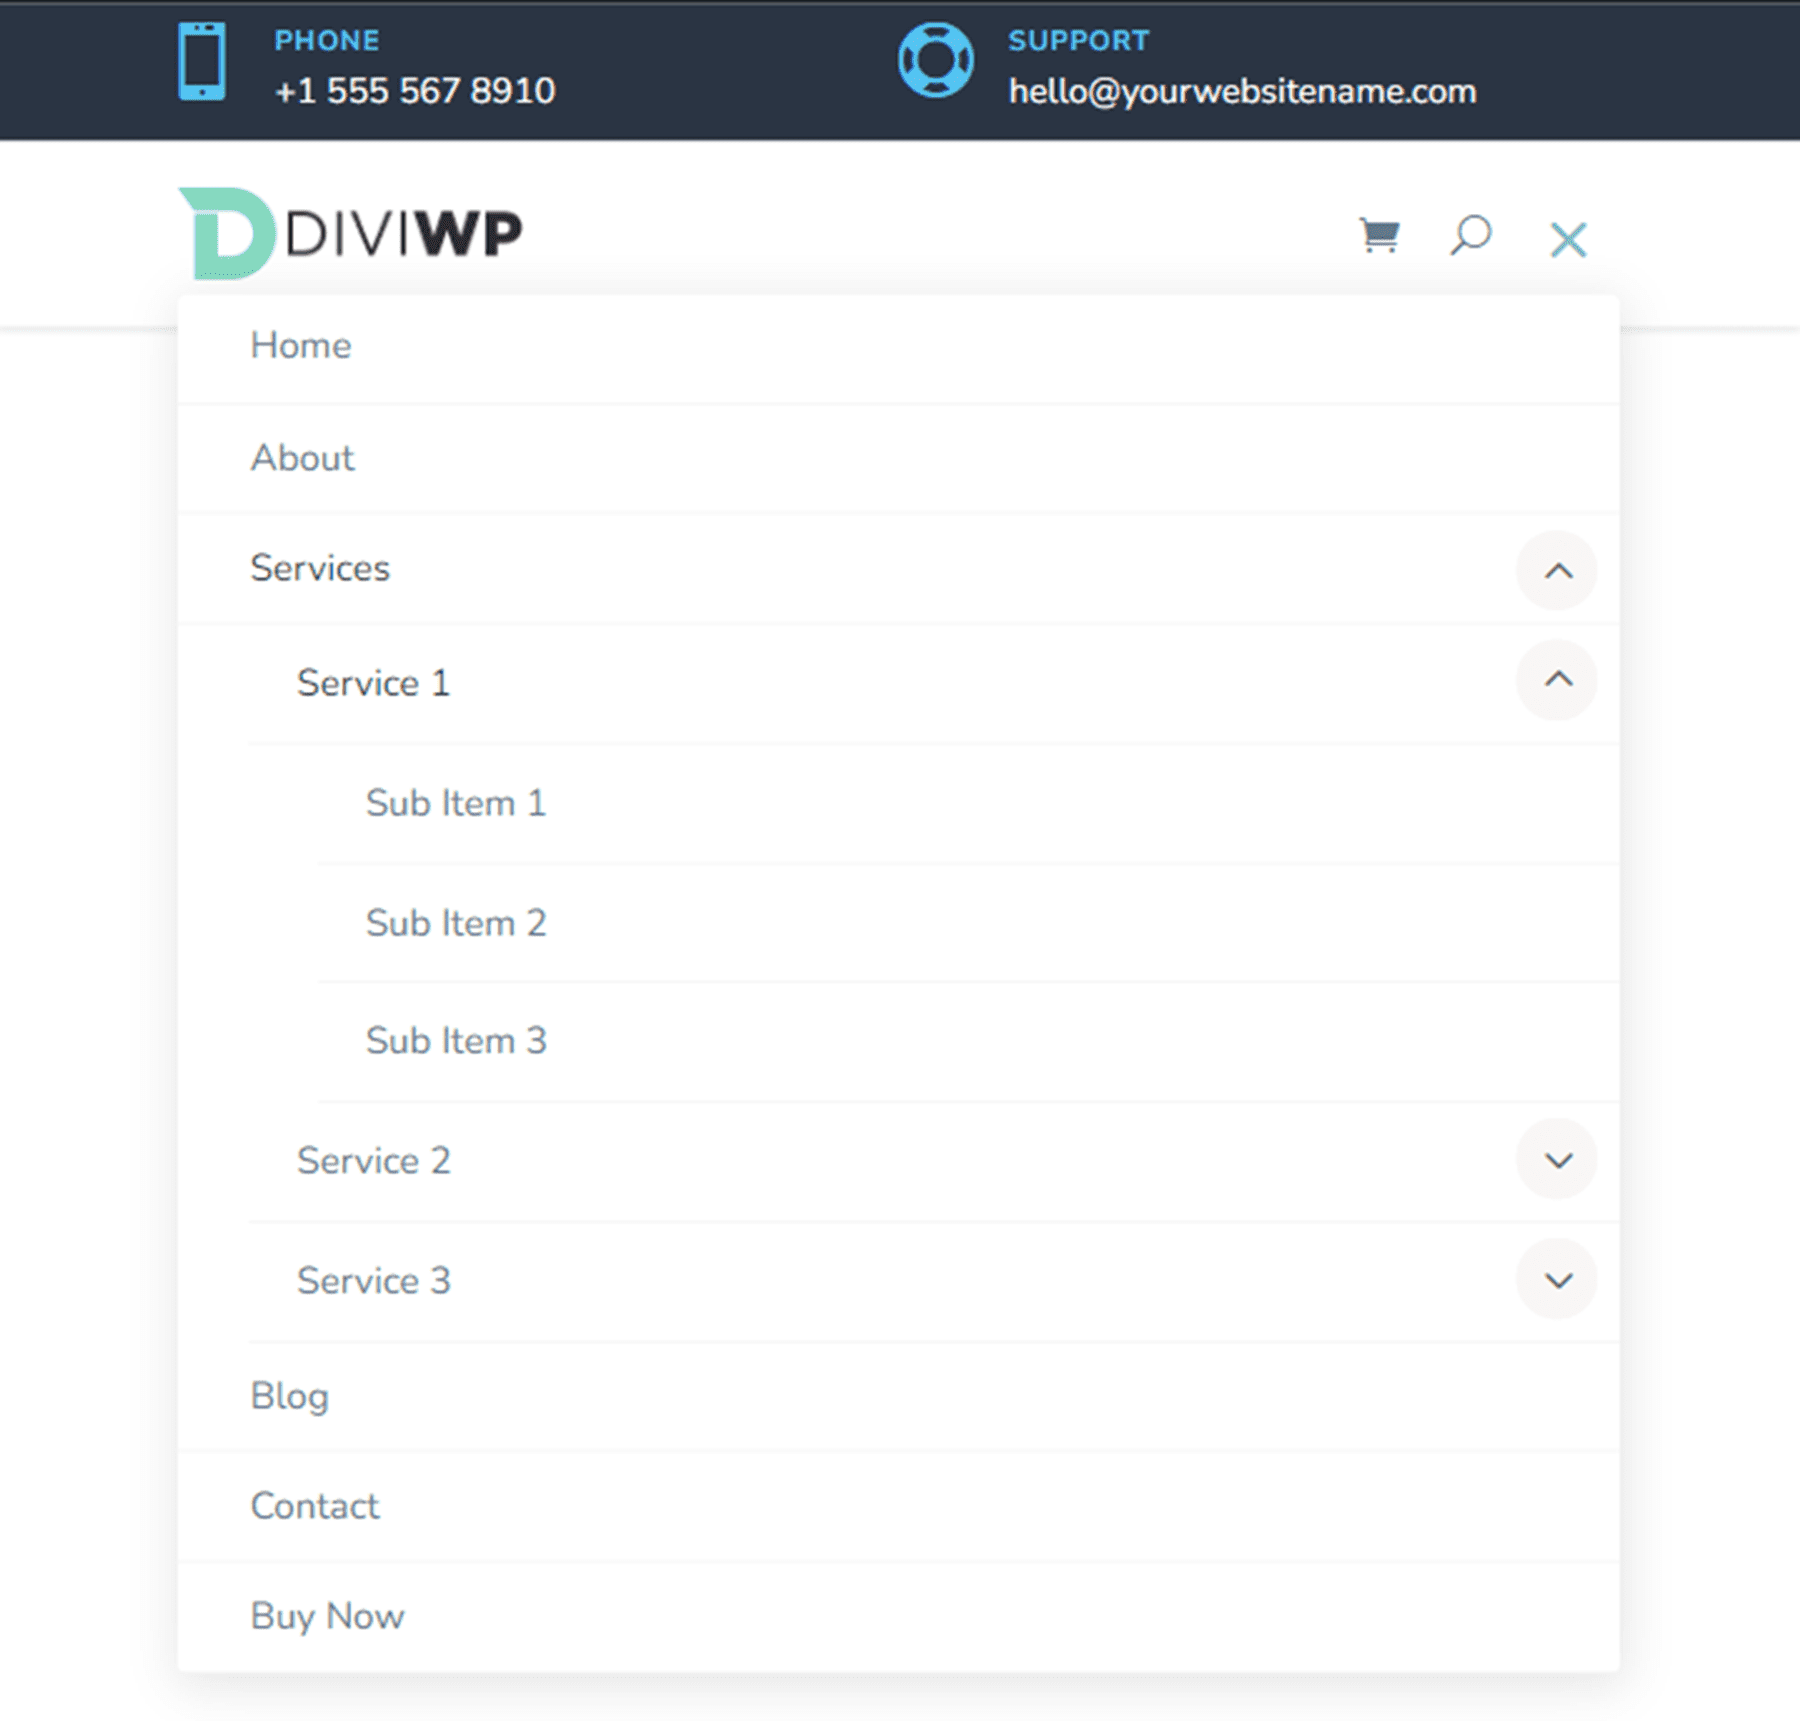
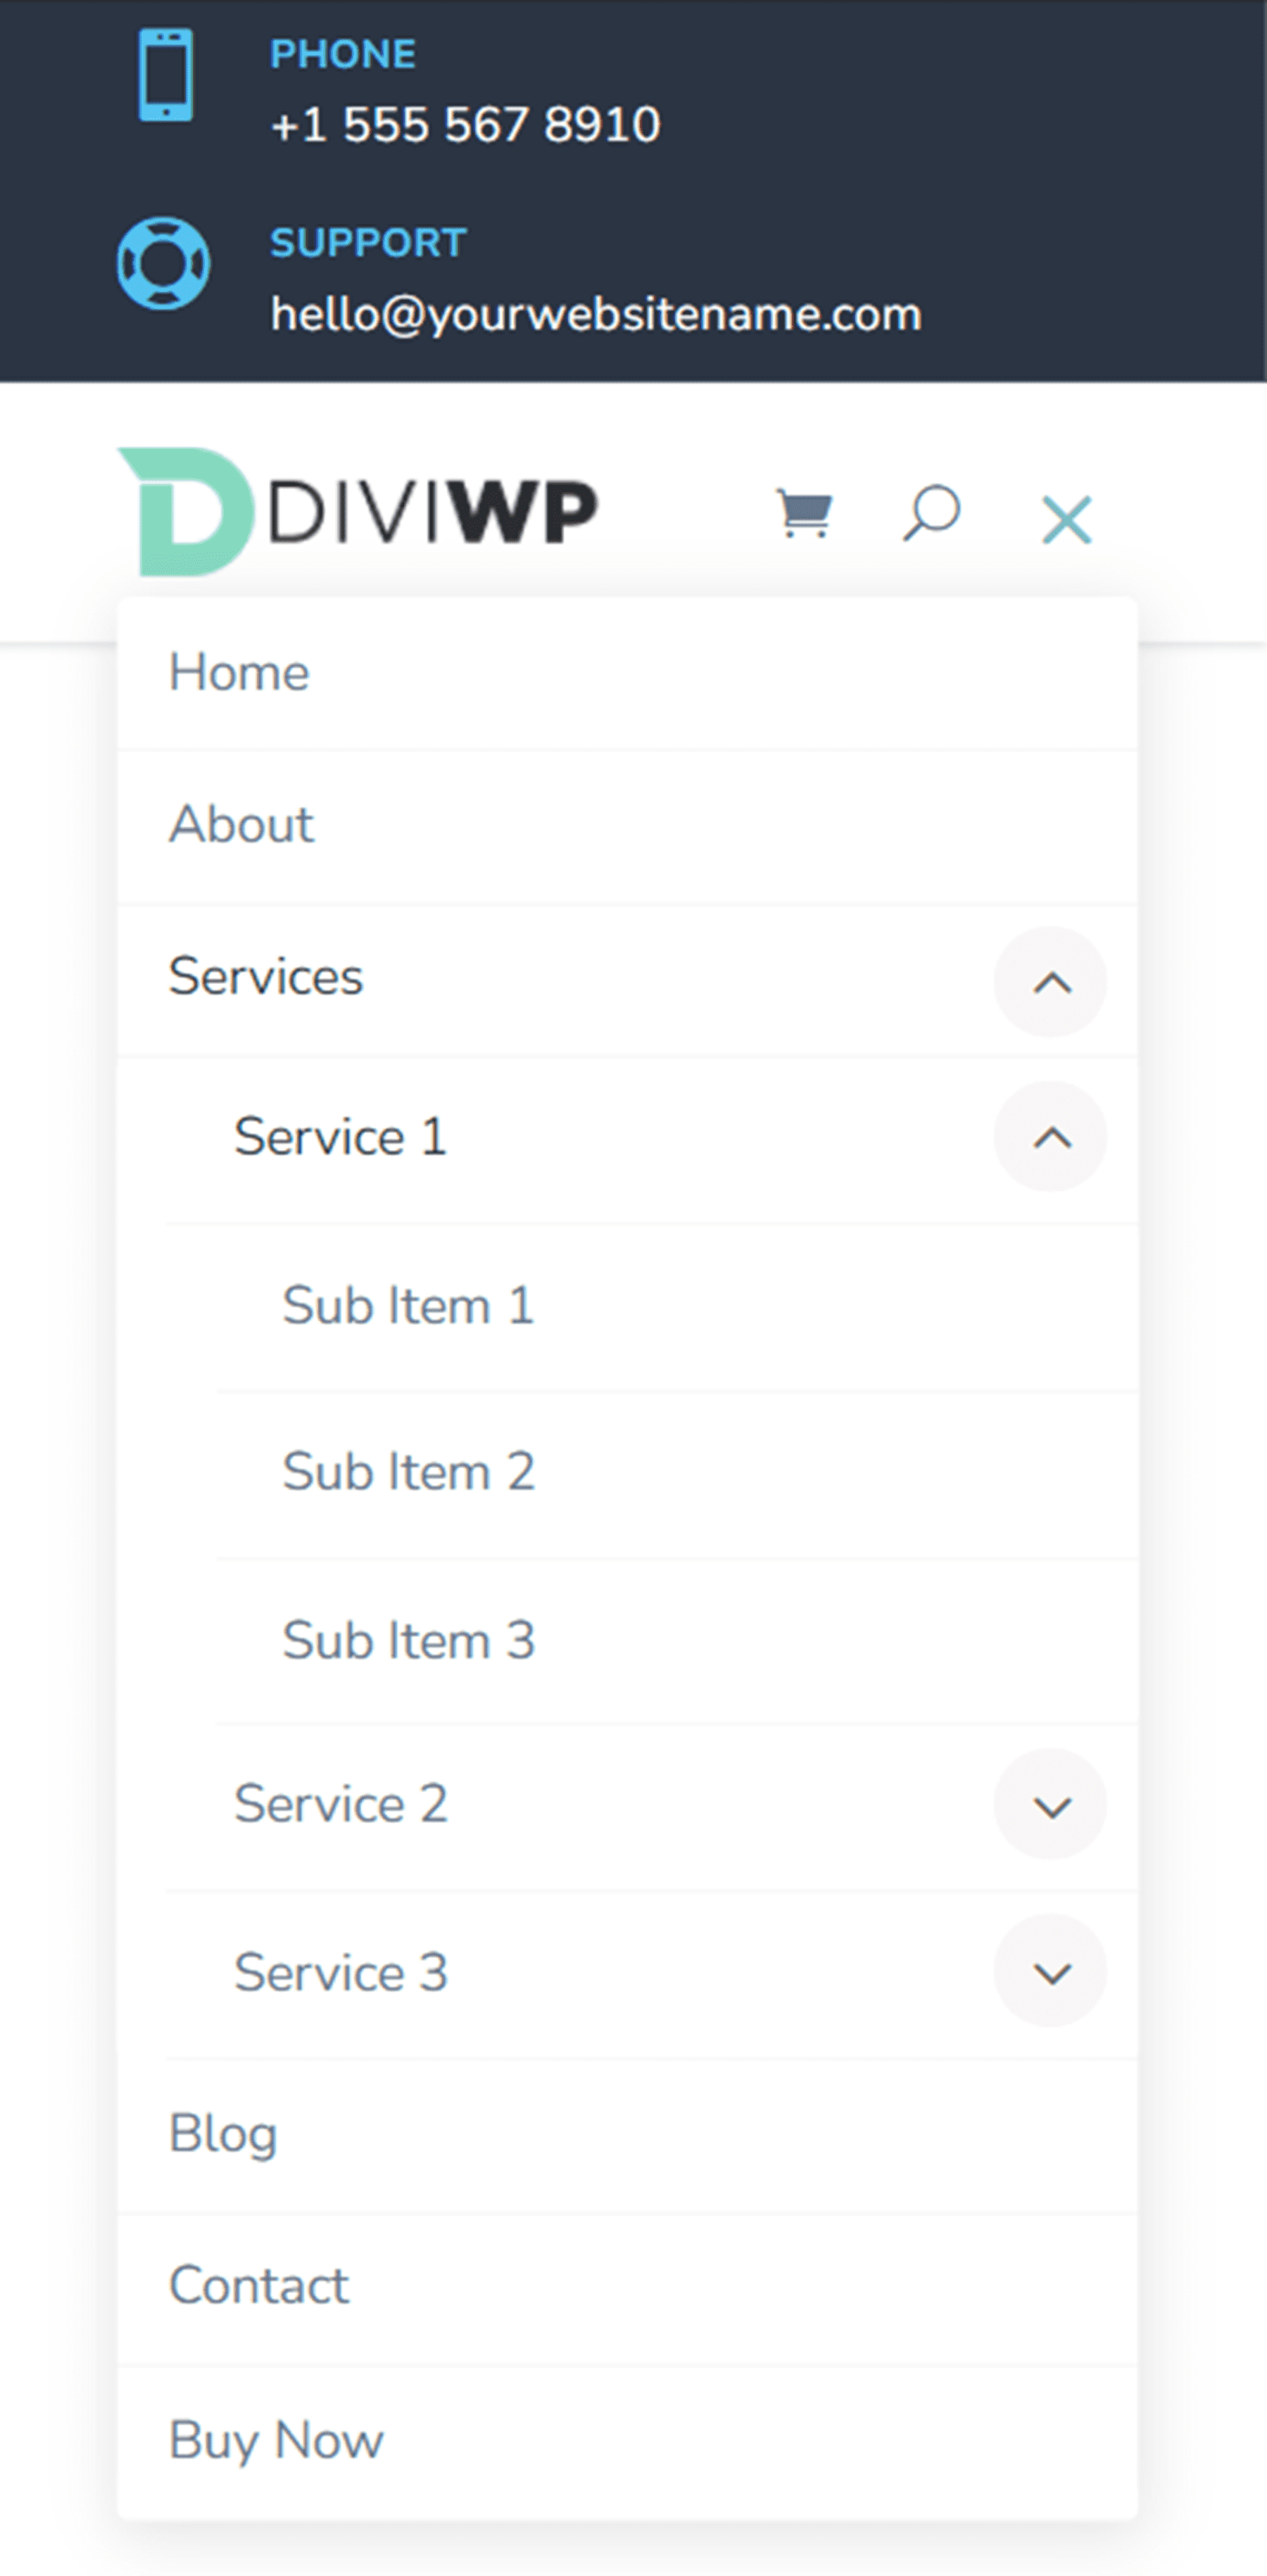
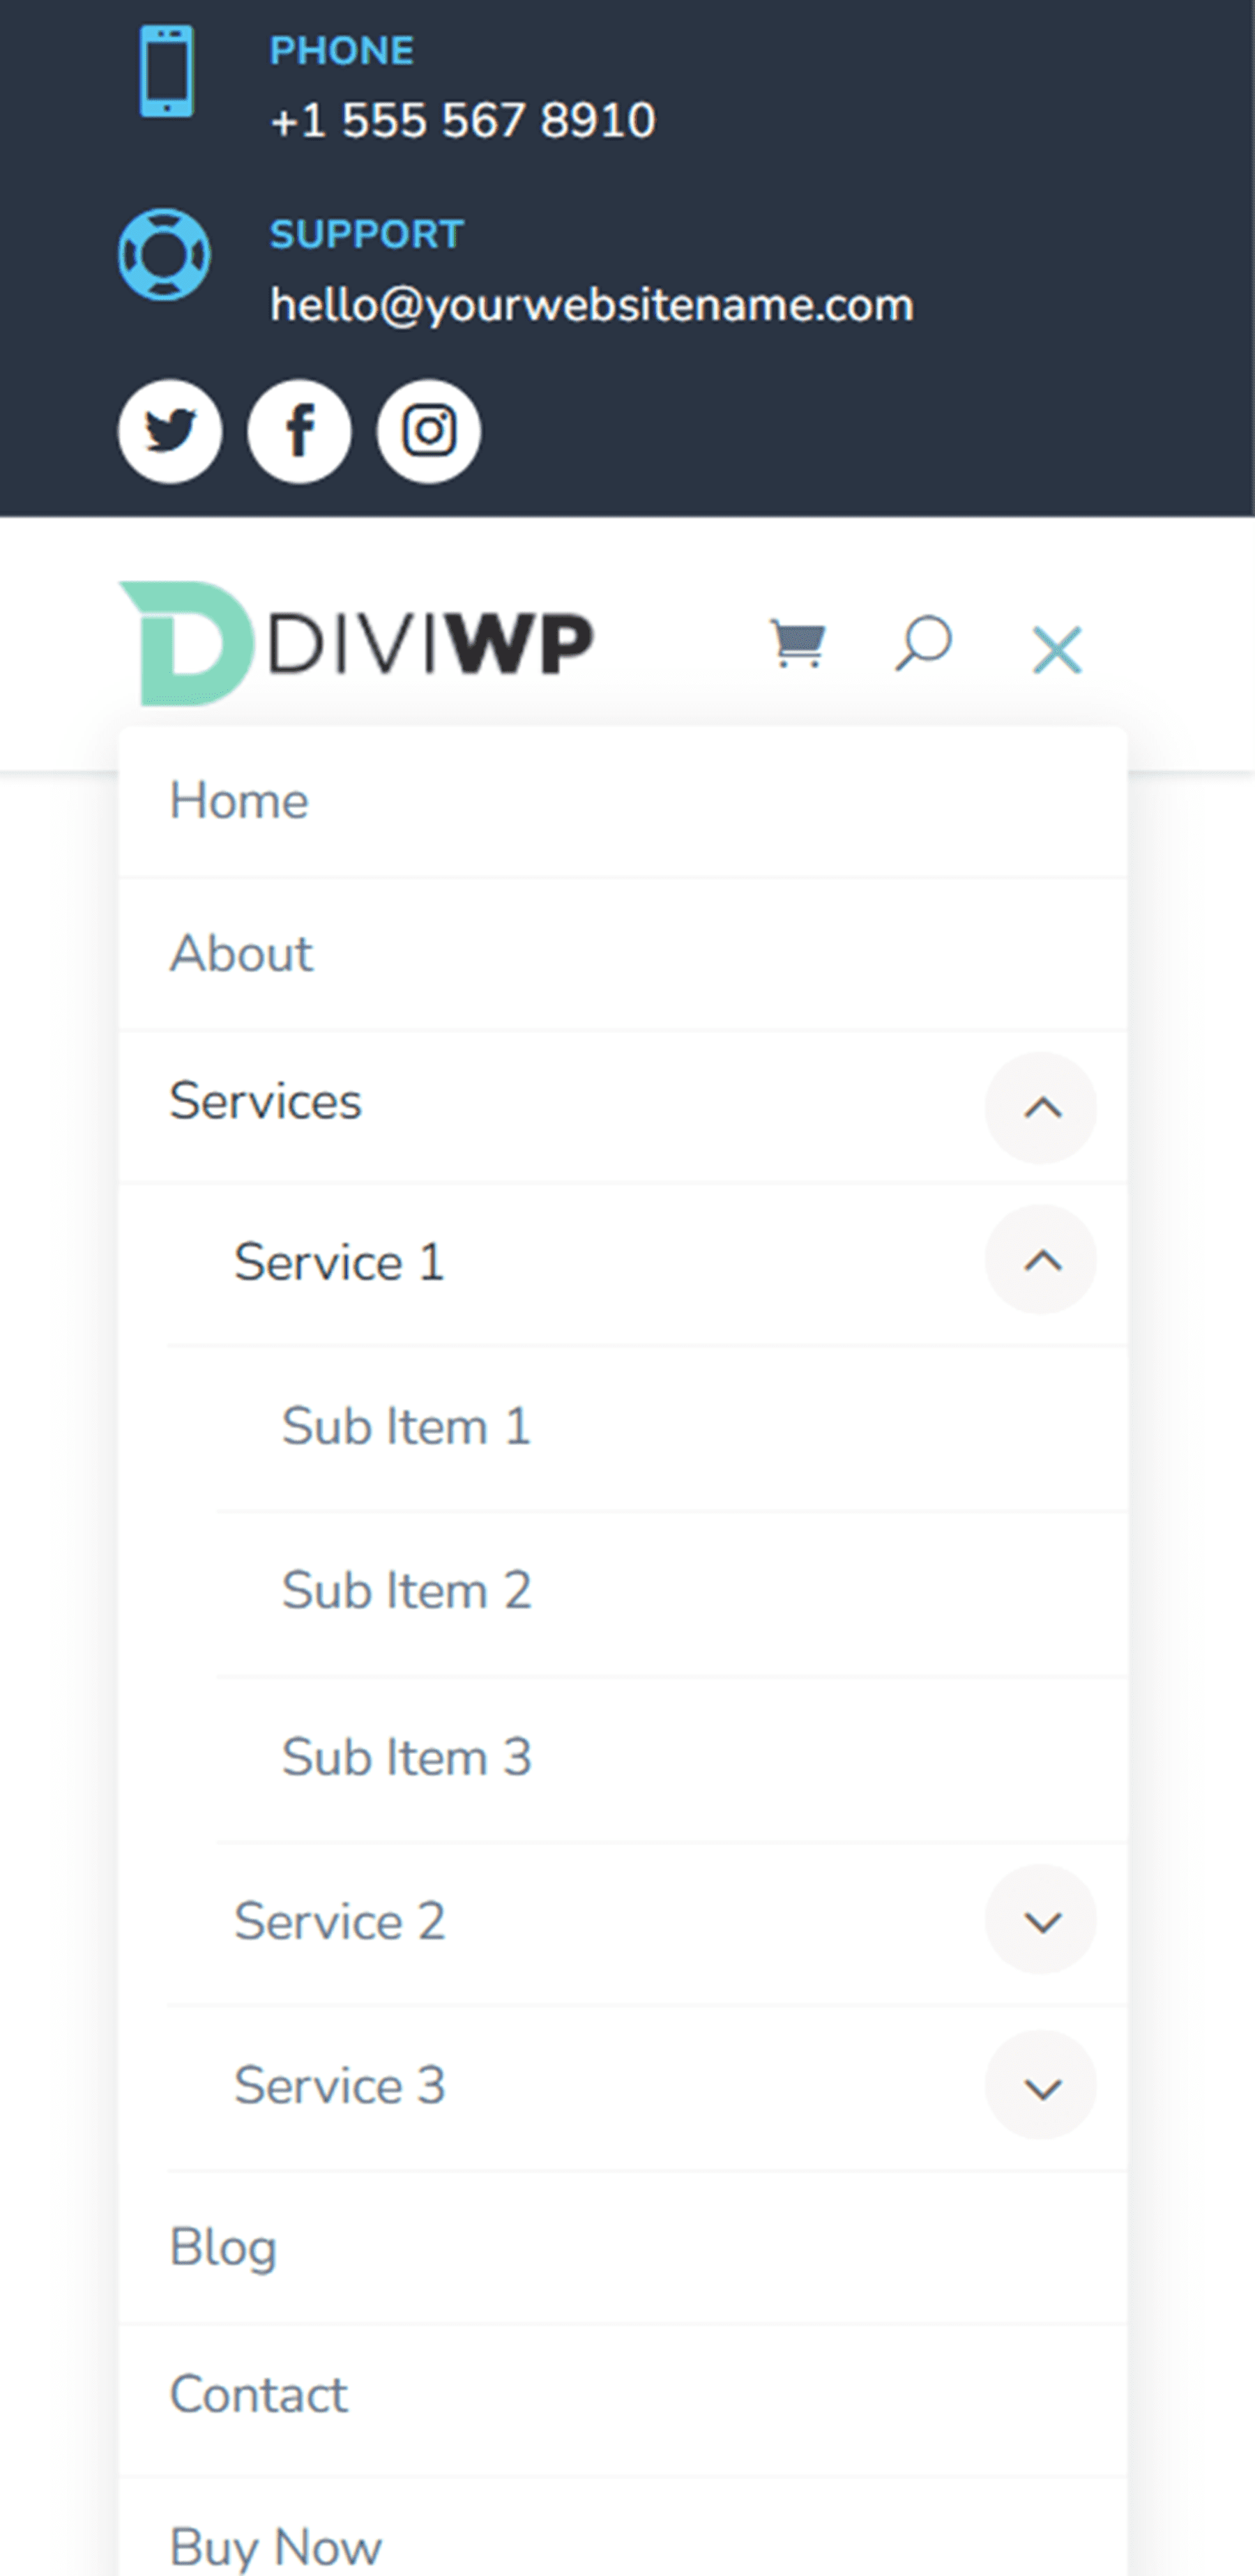
Header Layout 17
Layout 17 features two blurbs on the left side of the top menu bar and social media icons with a round white background on the right side of the top menu bar.

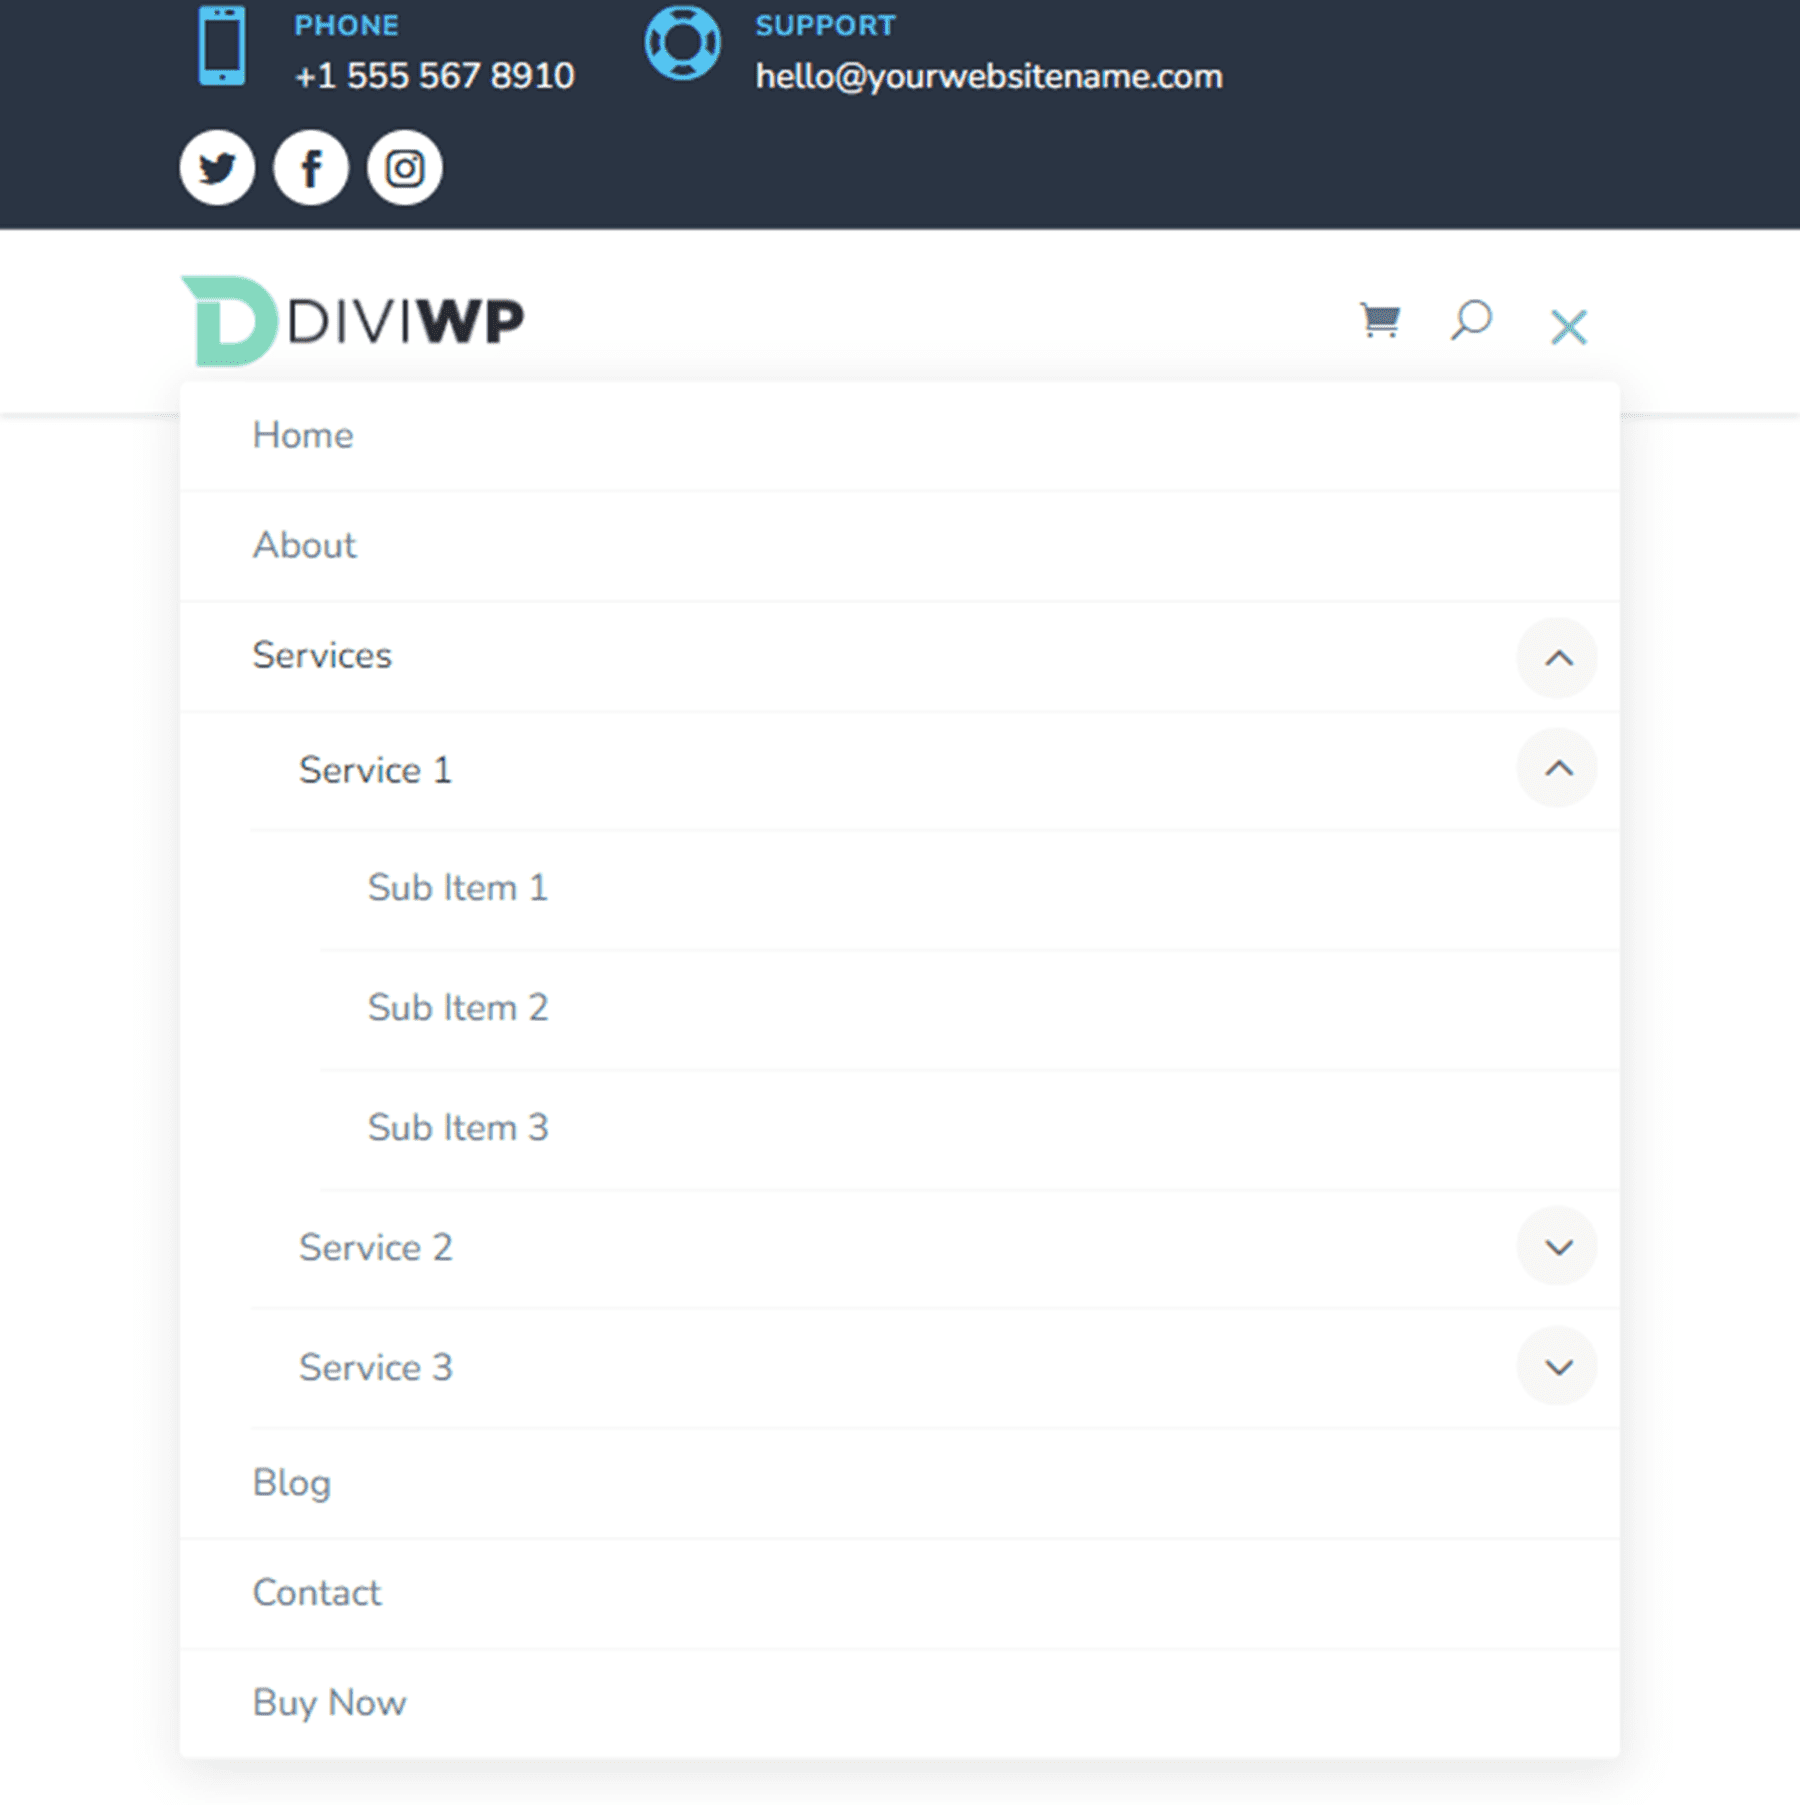
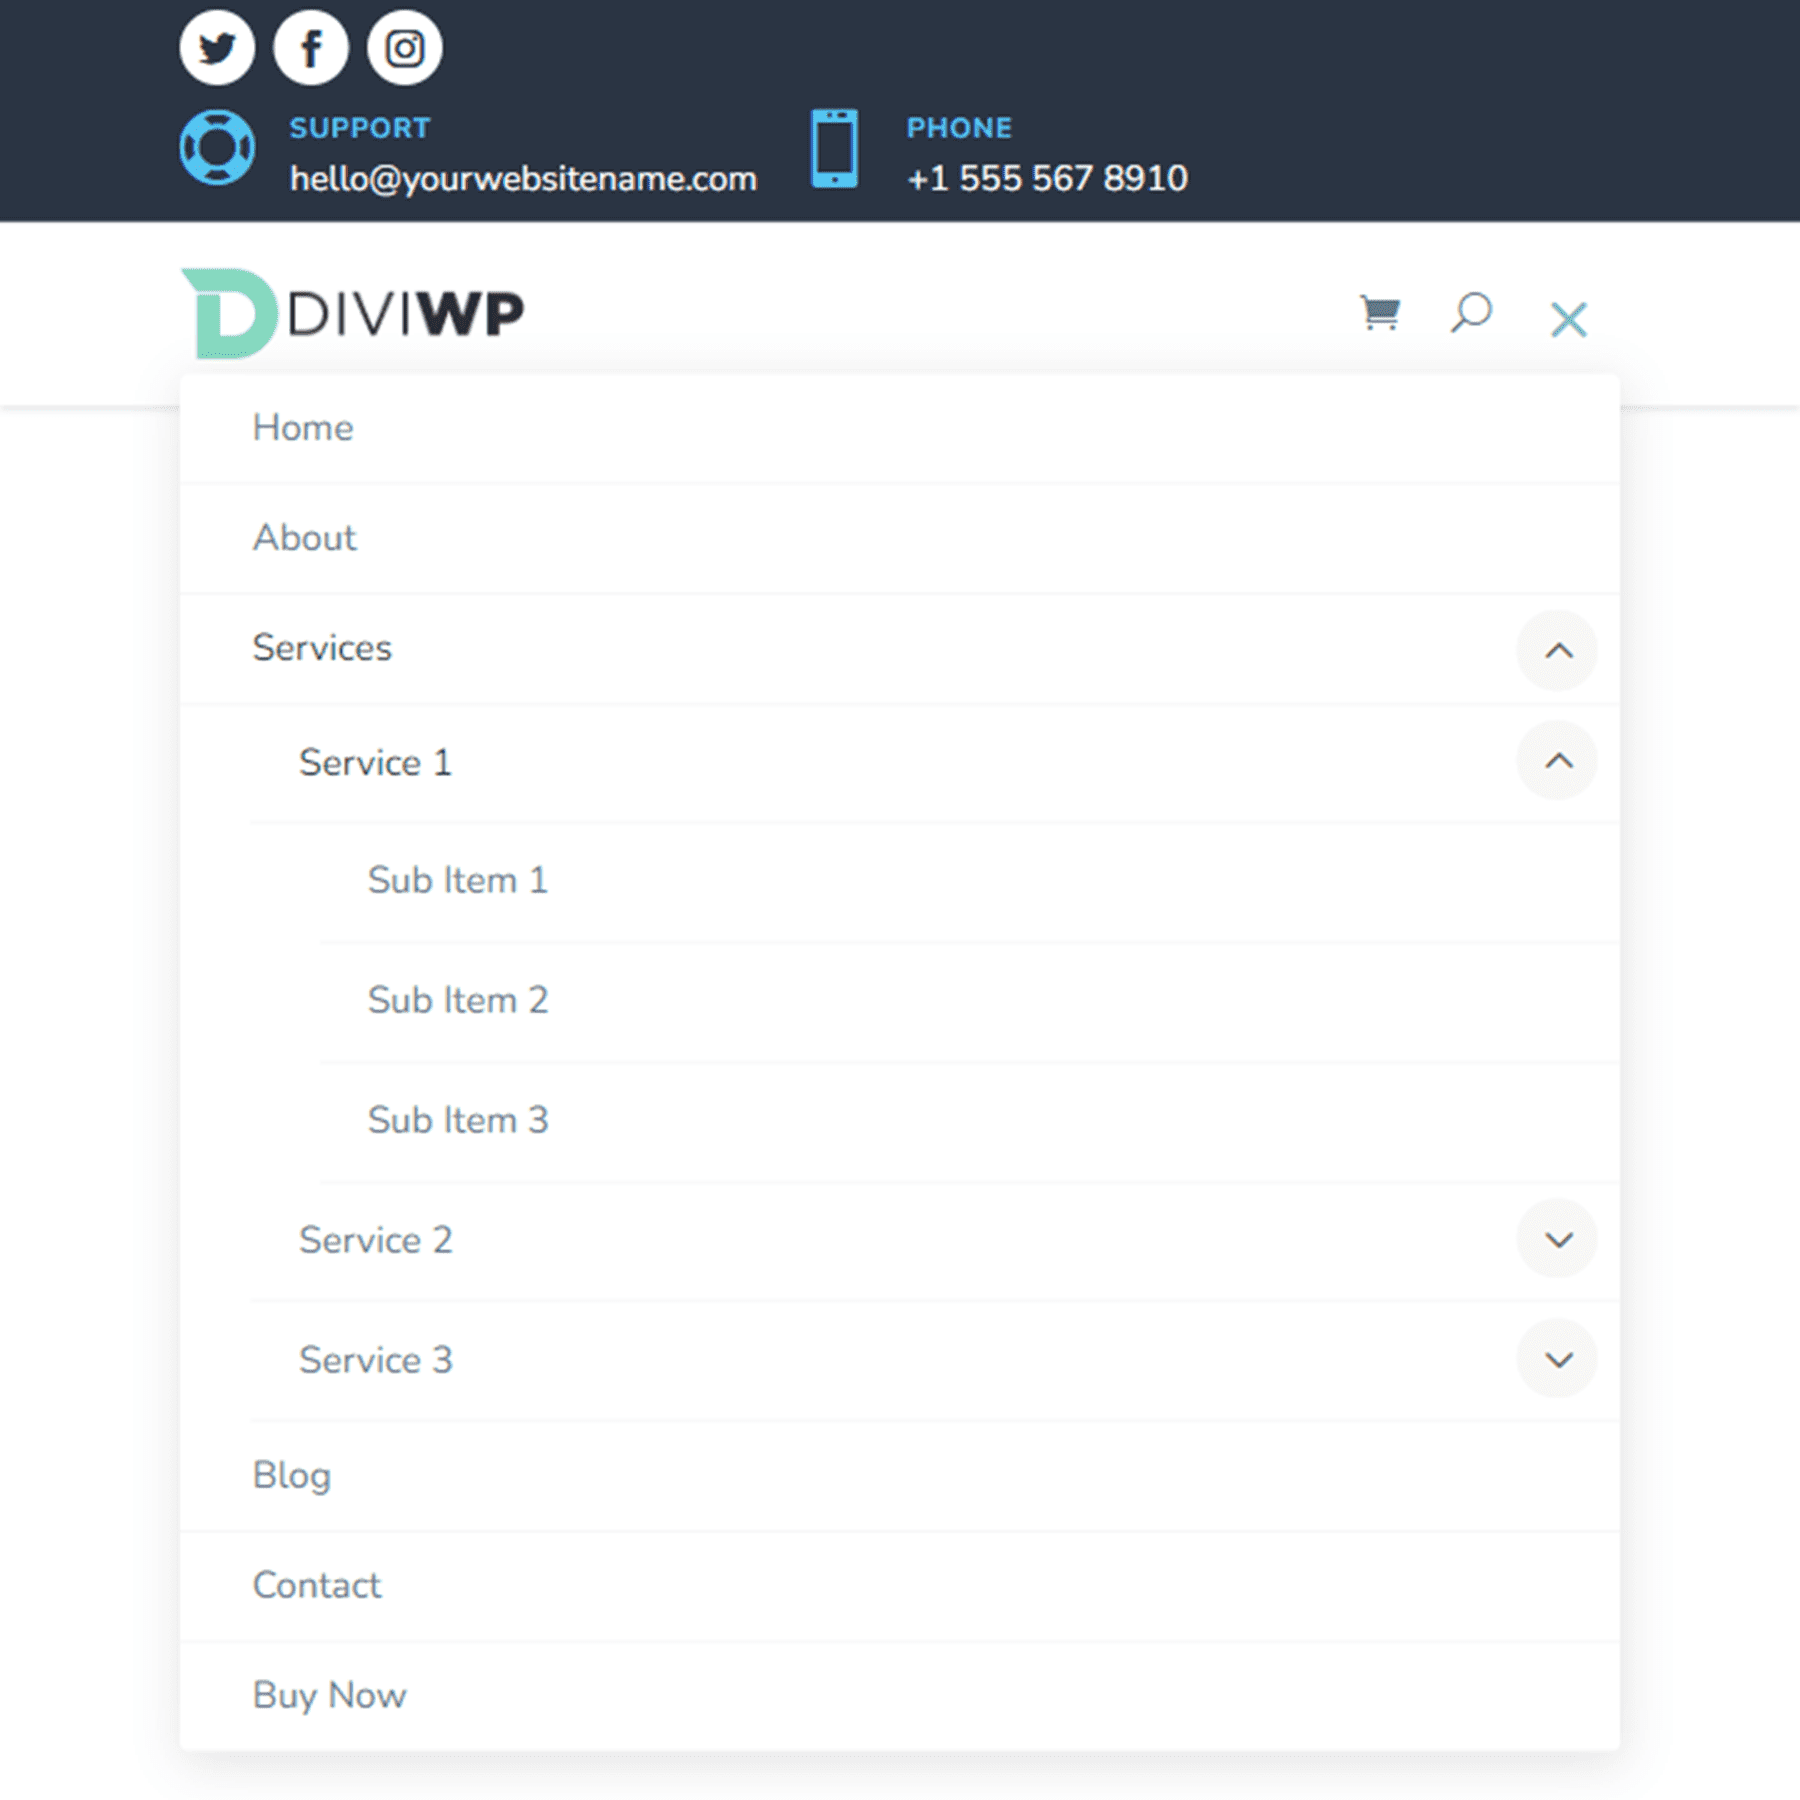
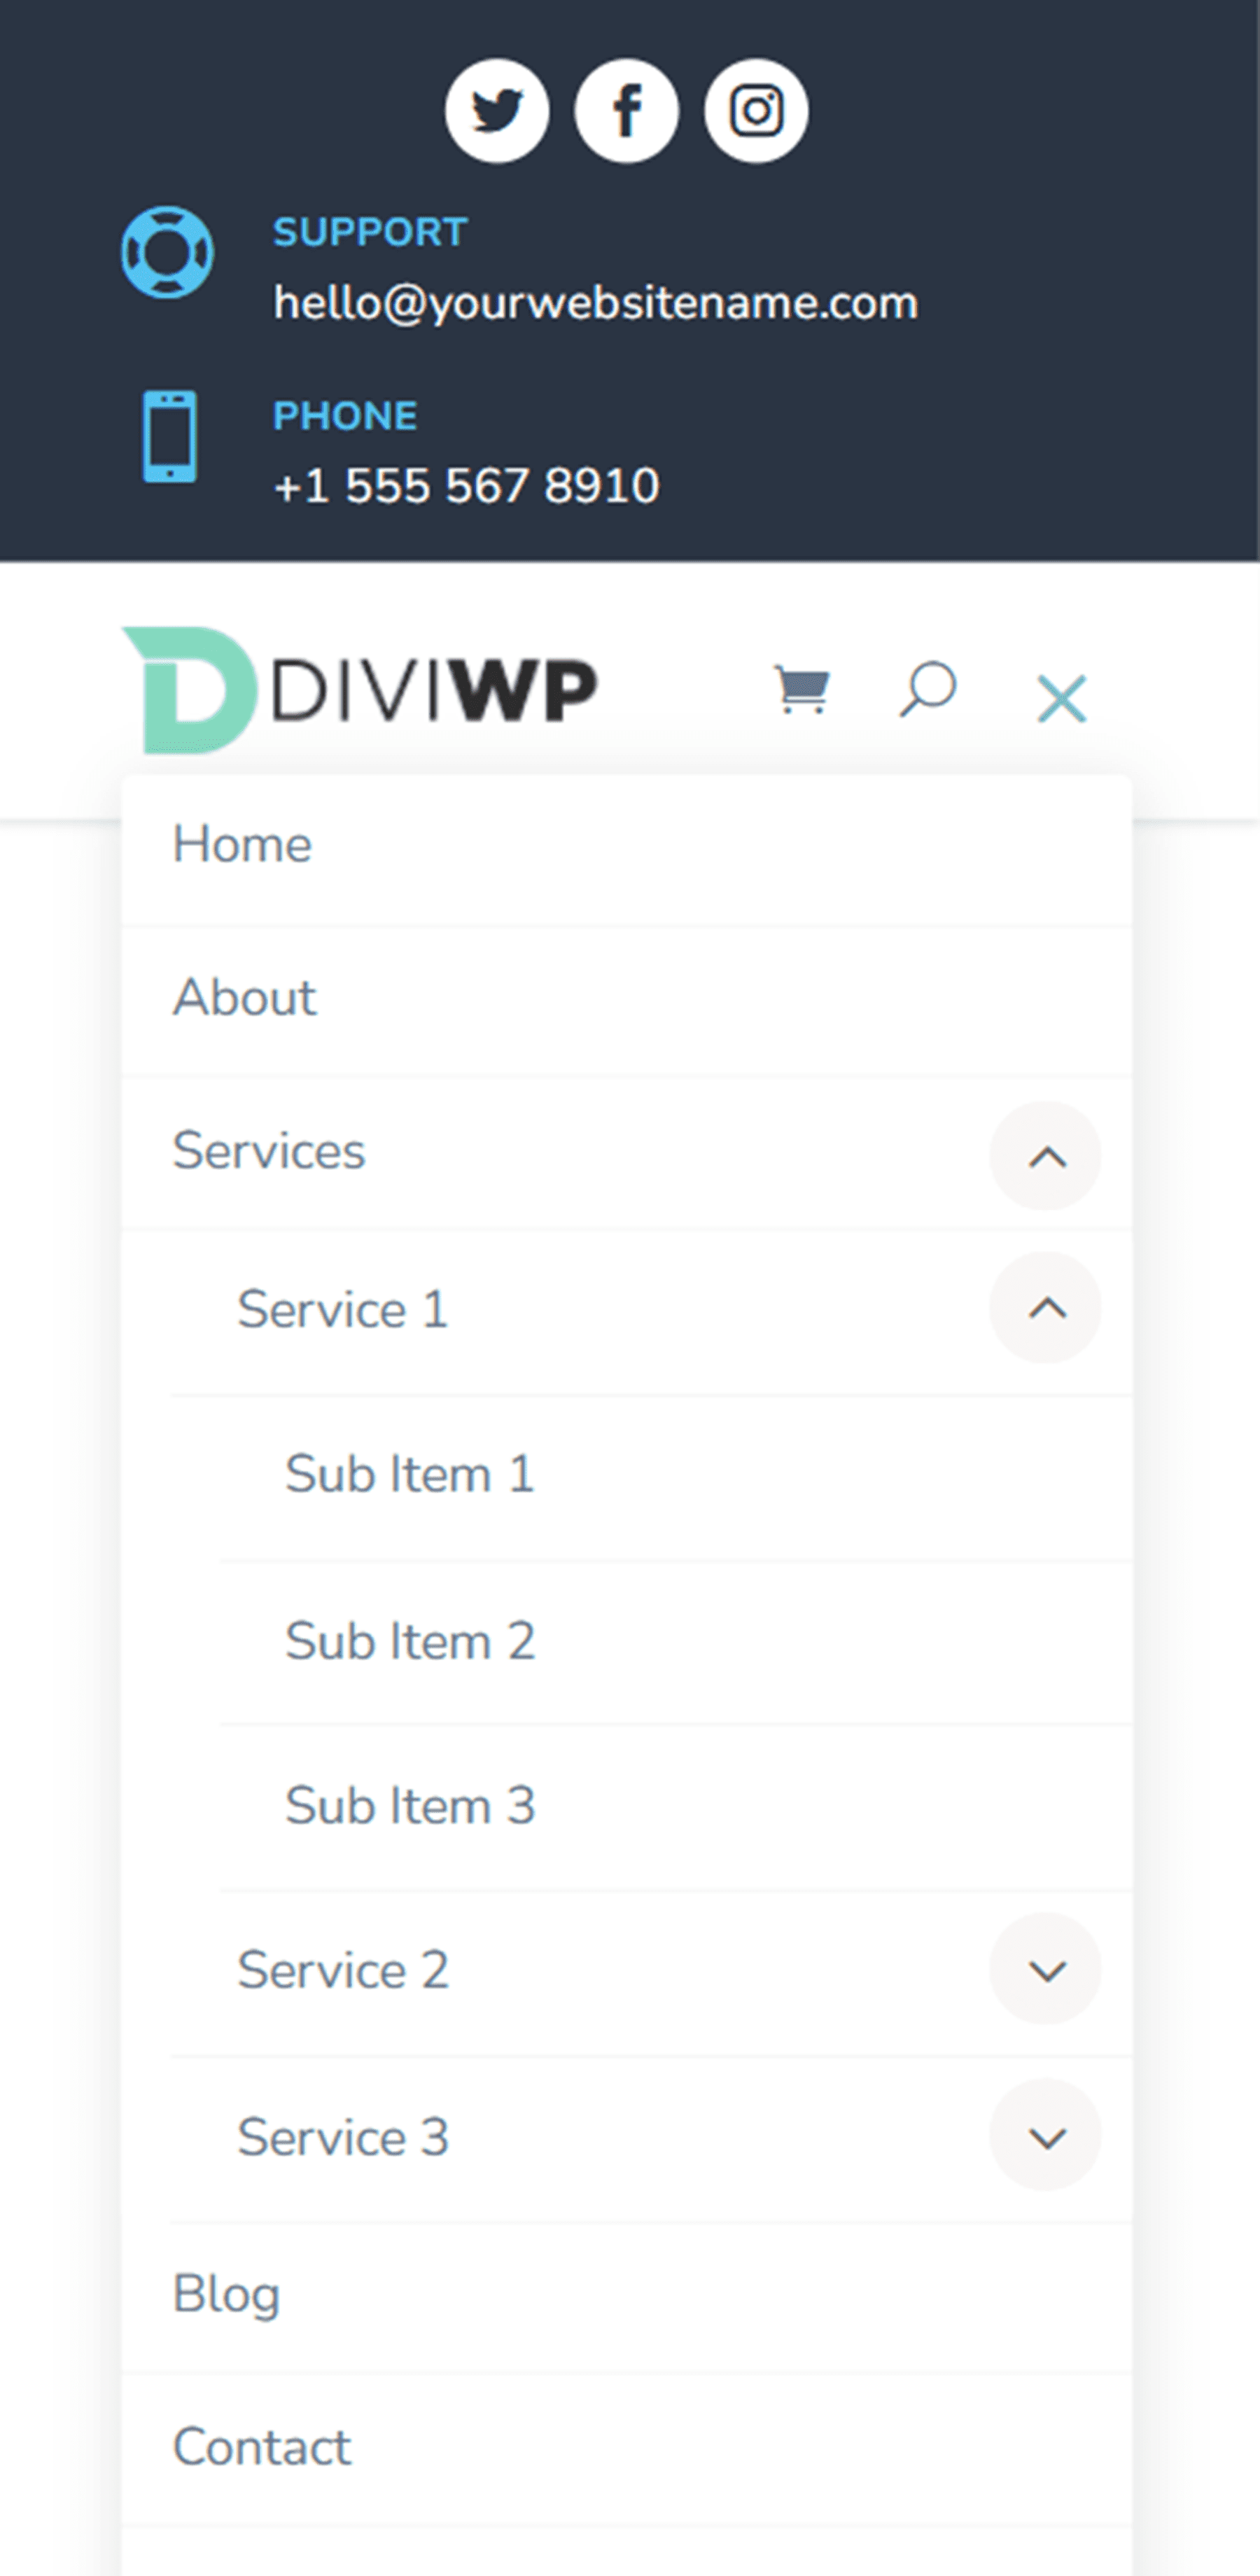
Header Layout 18
Layout 18 is a slight variation of Layout 17. In this design, the social media icons are on the left and the blurbs are on the right side of the top menu bar.

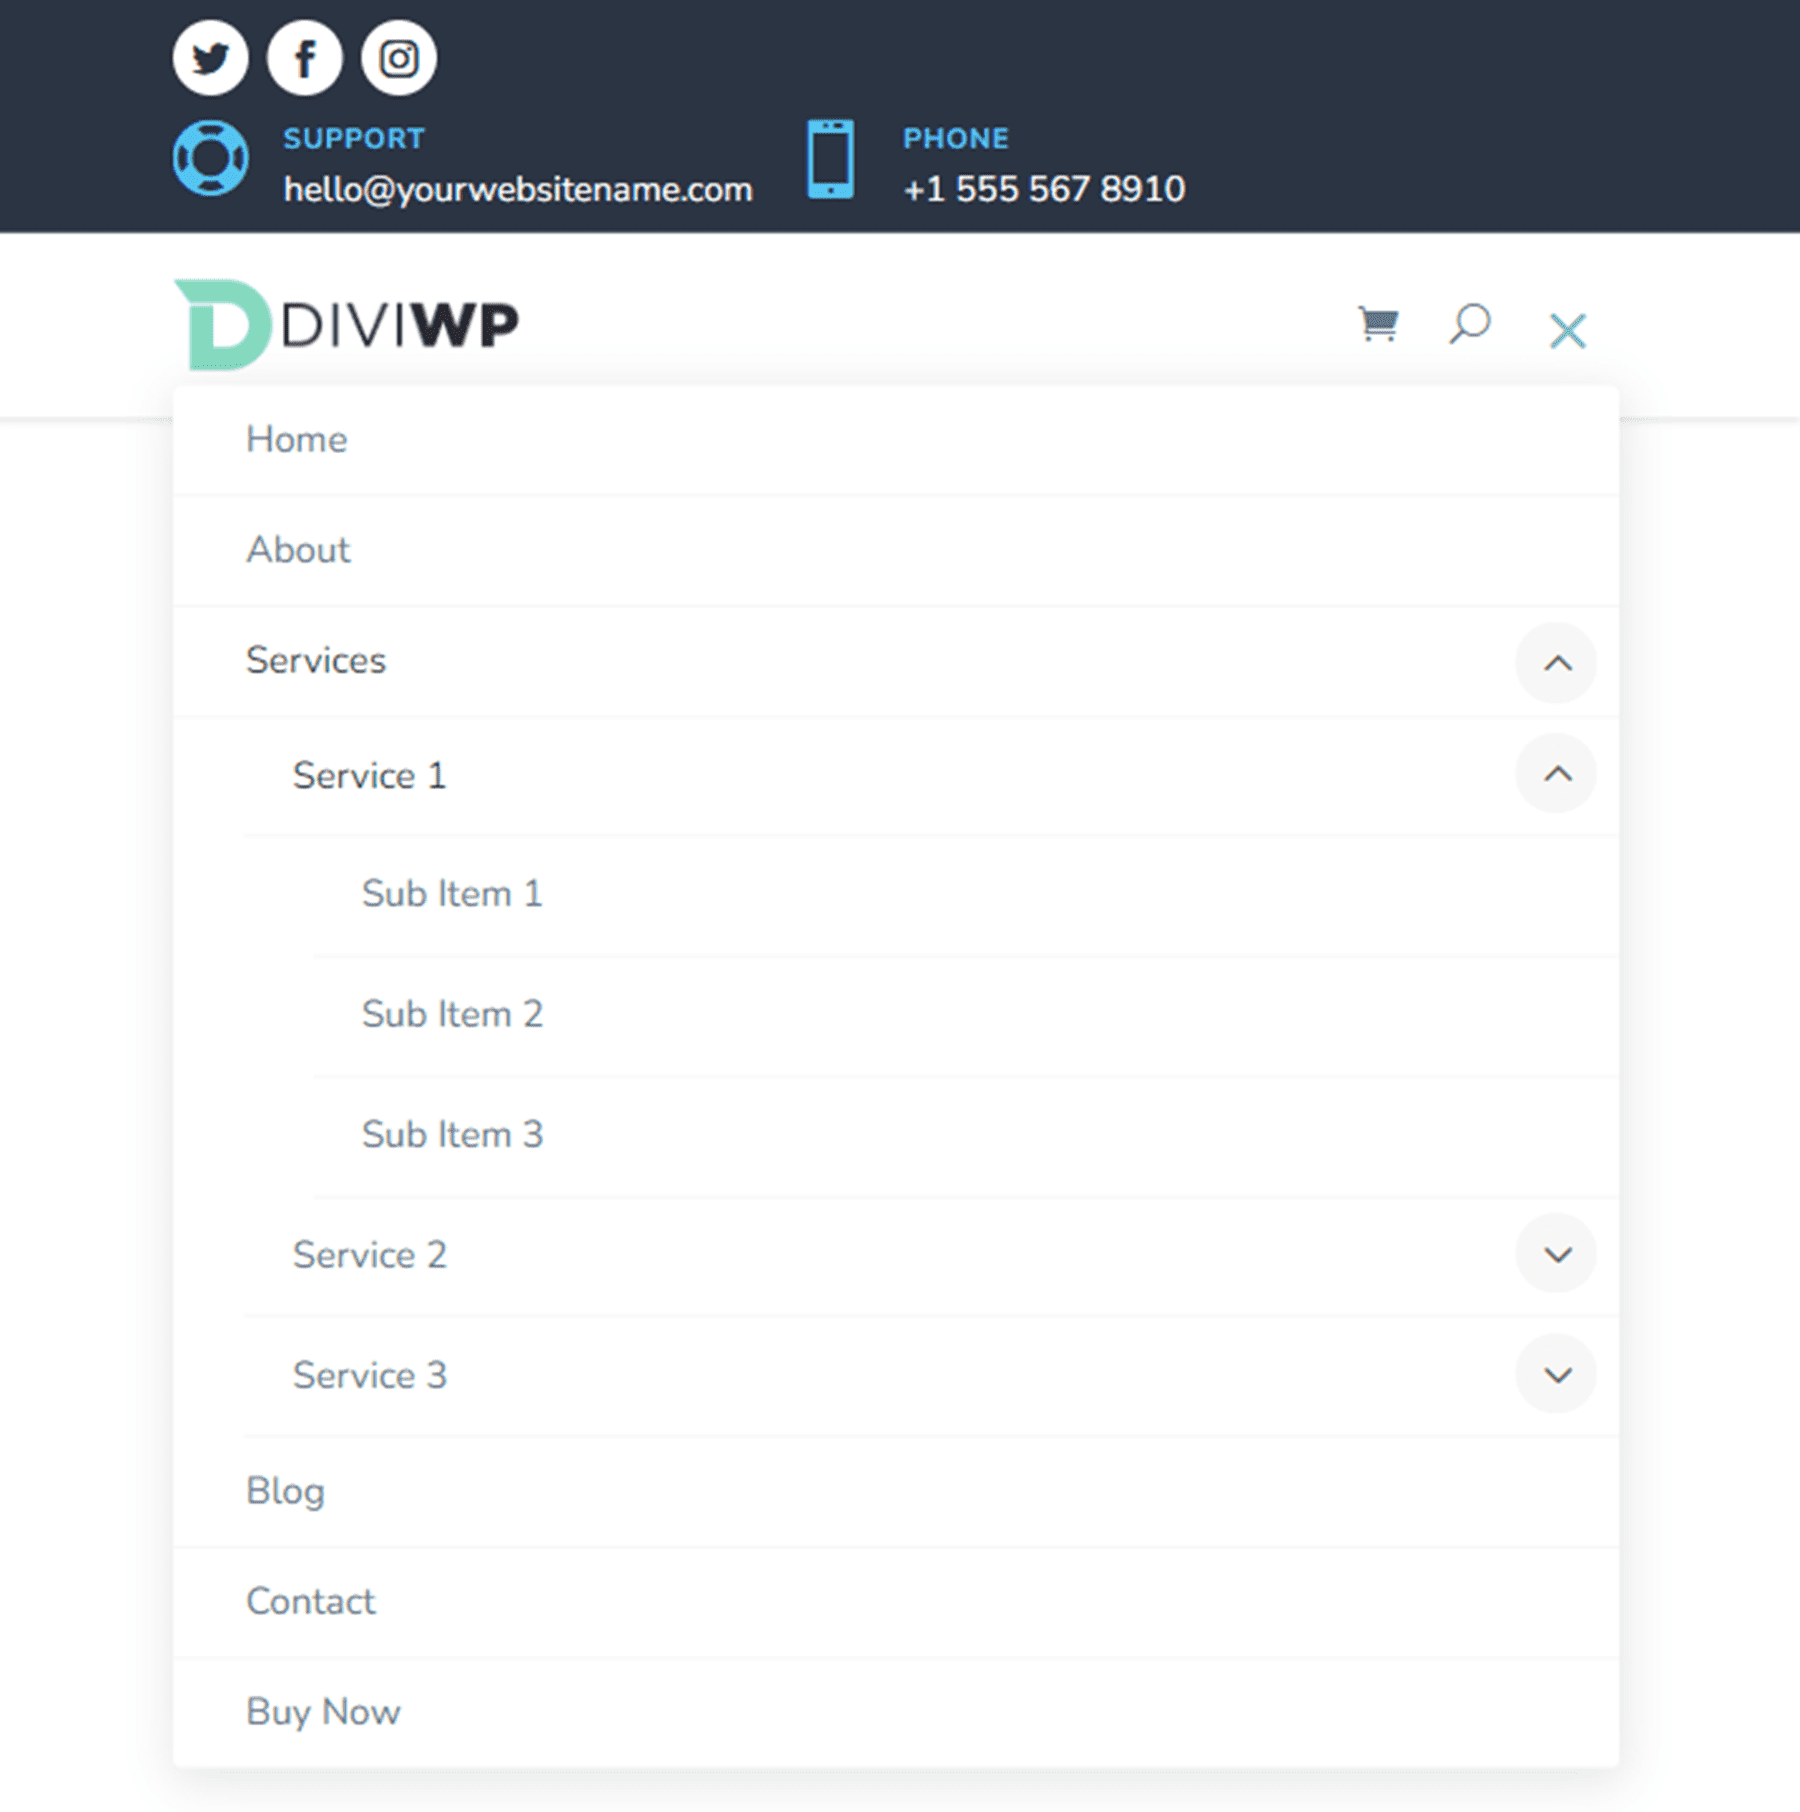
Header Layout 19
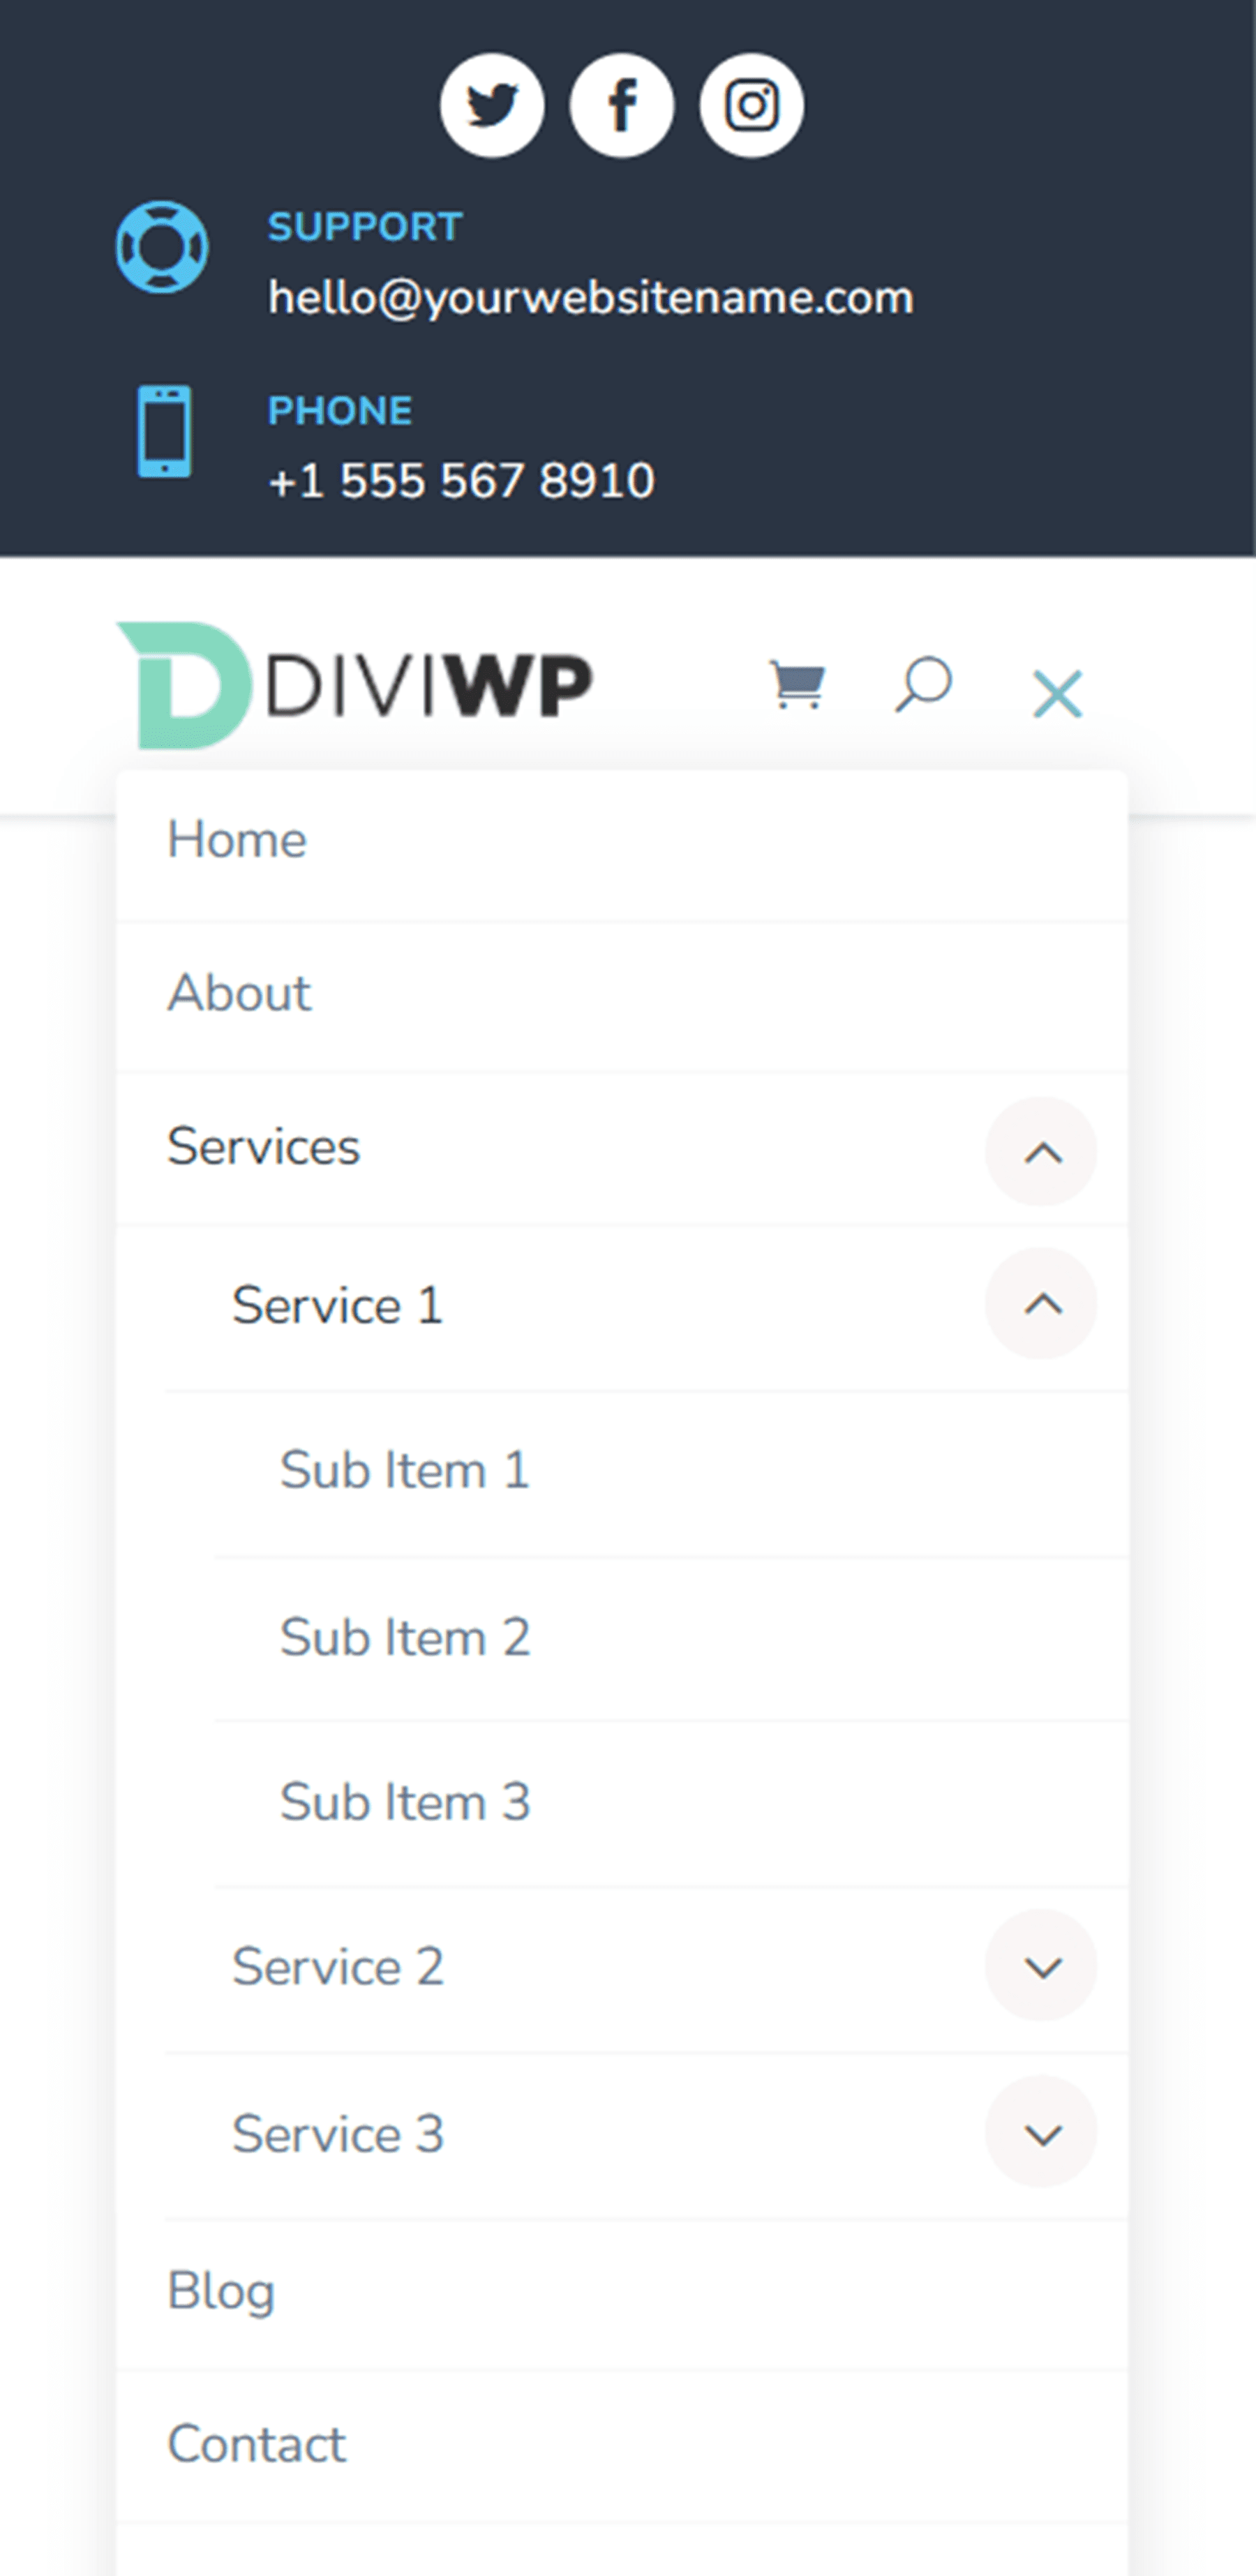
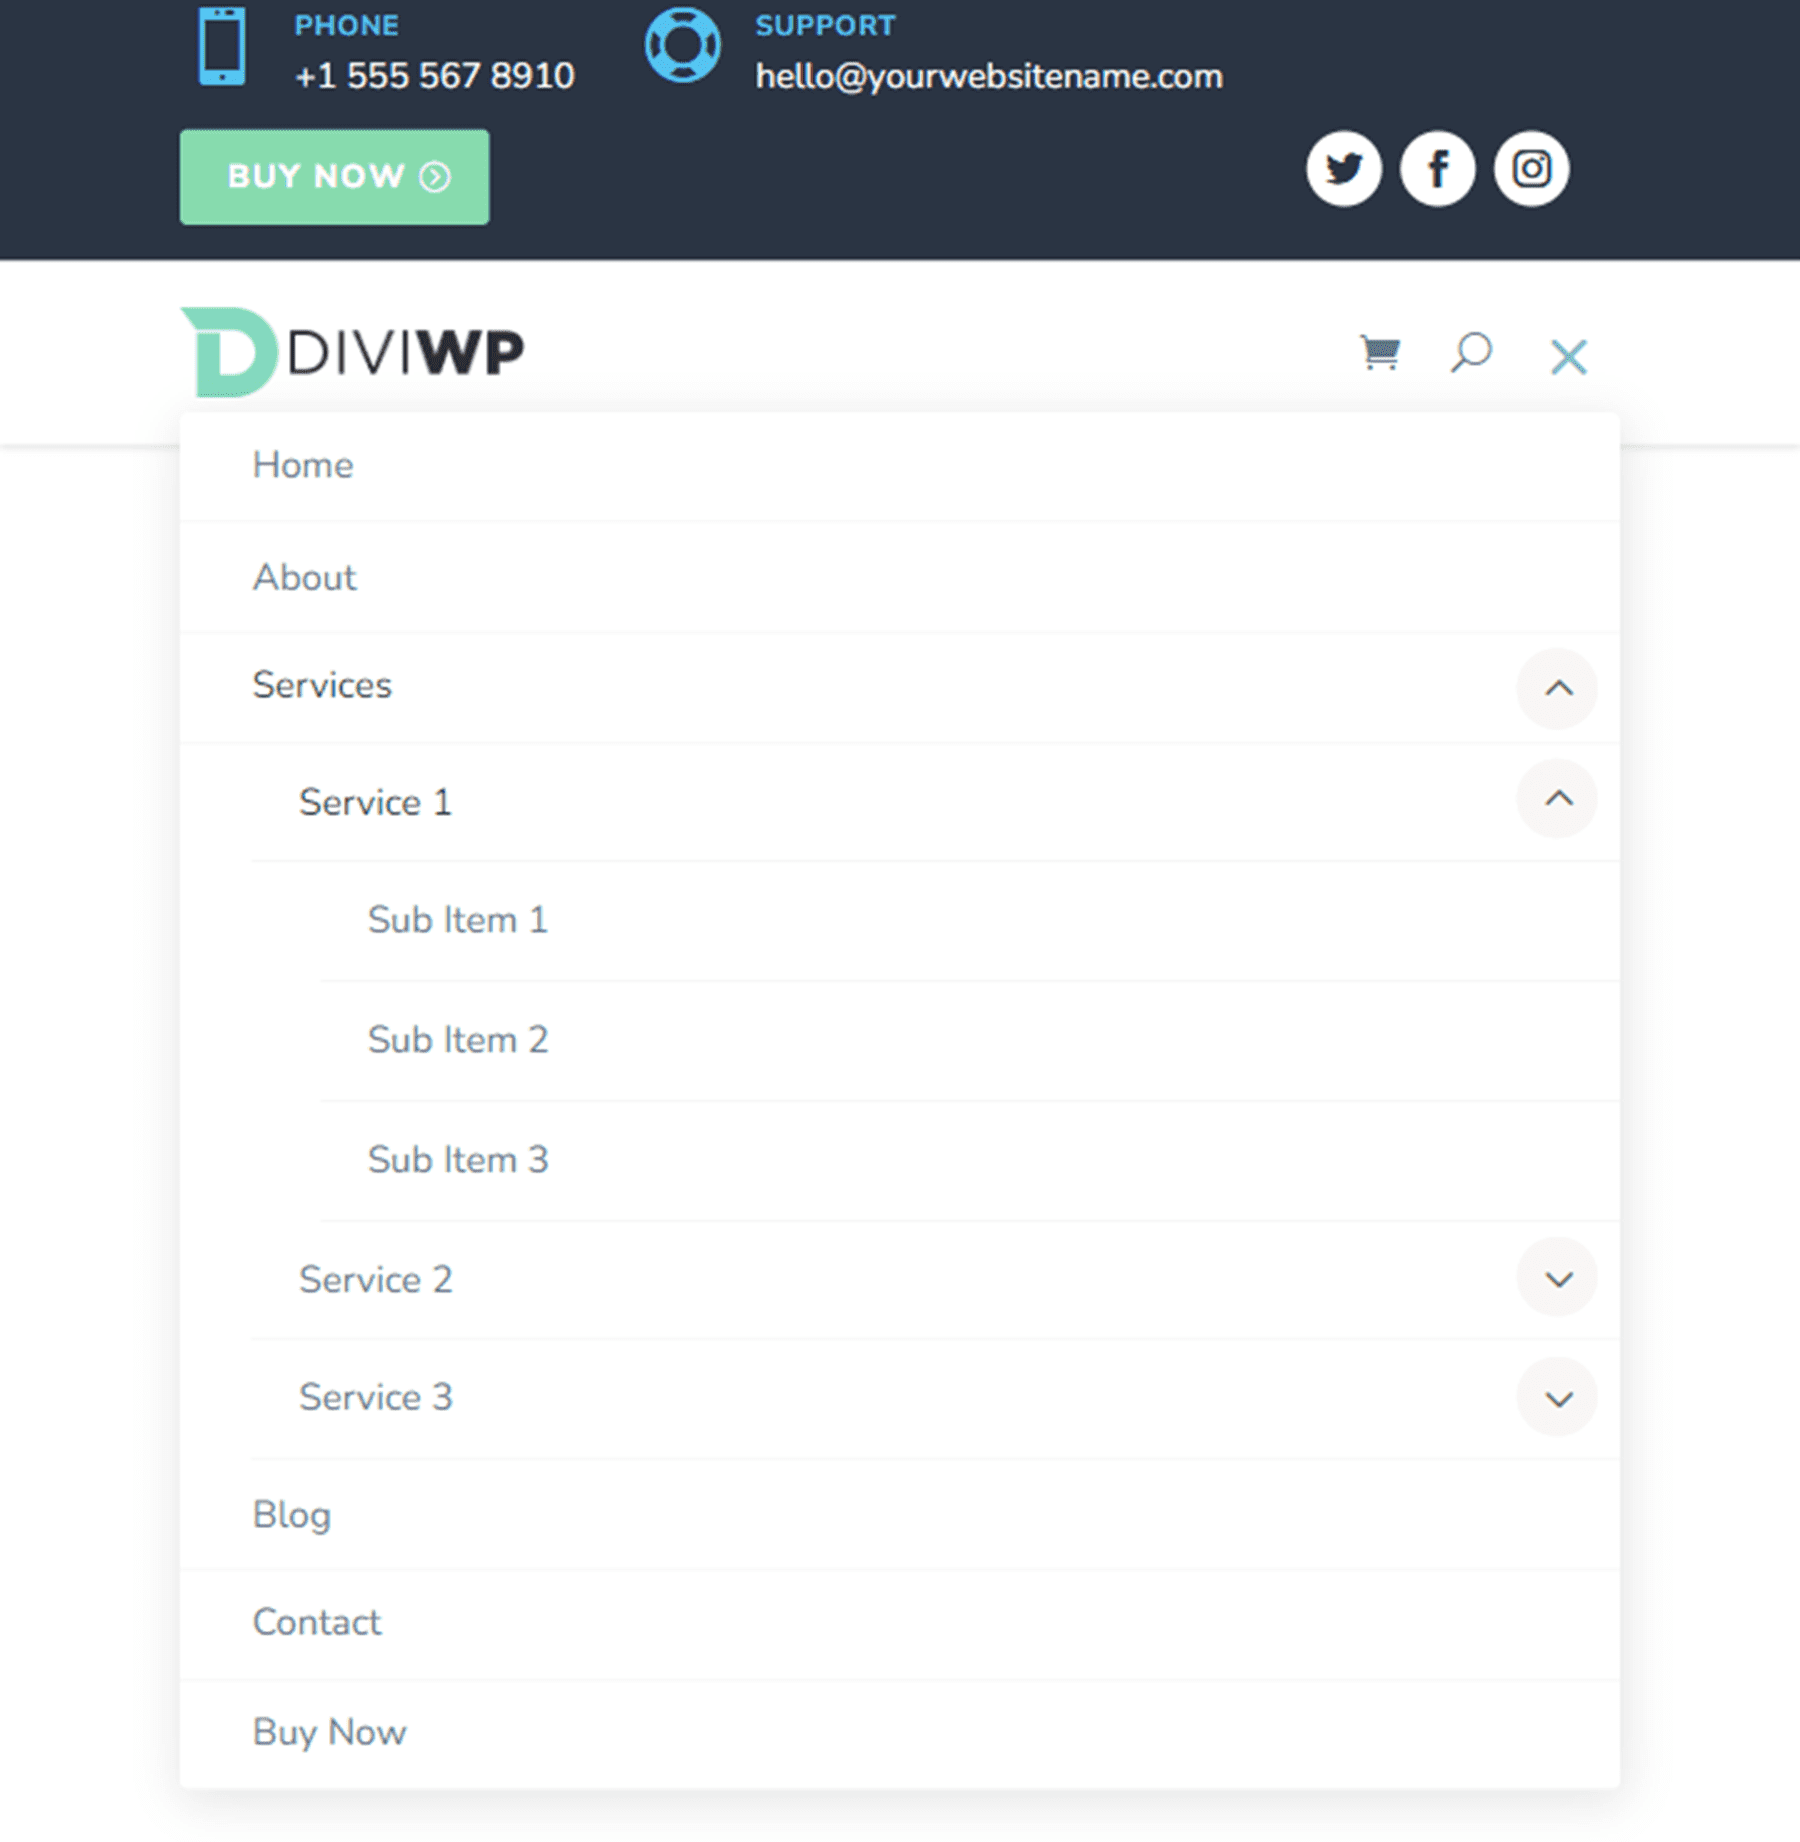
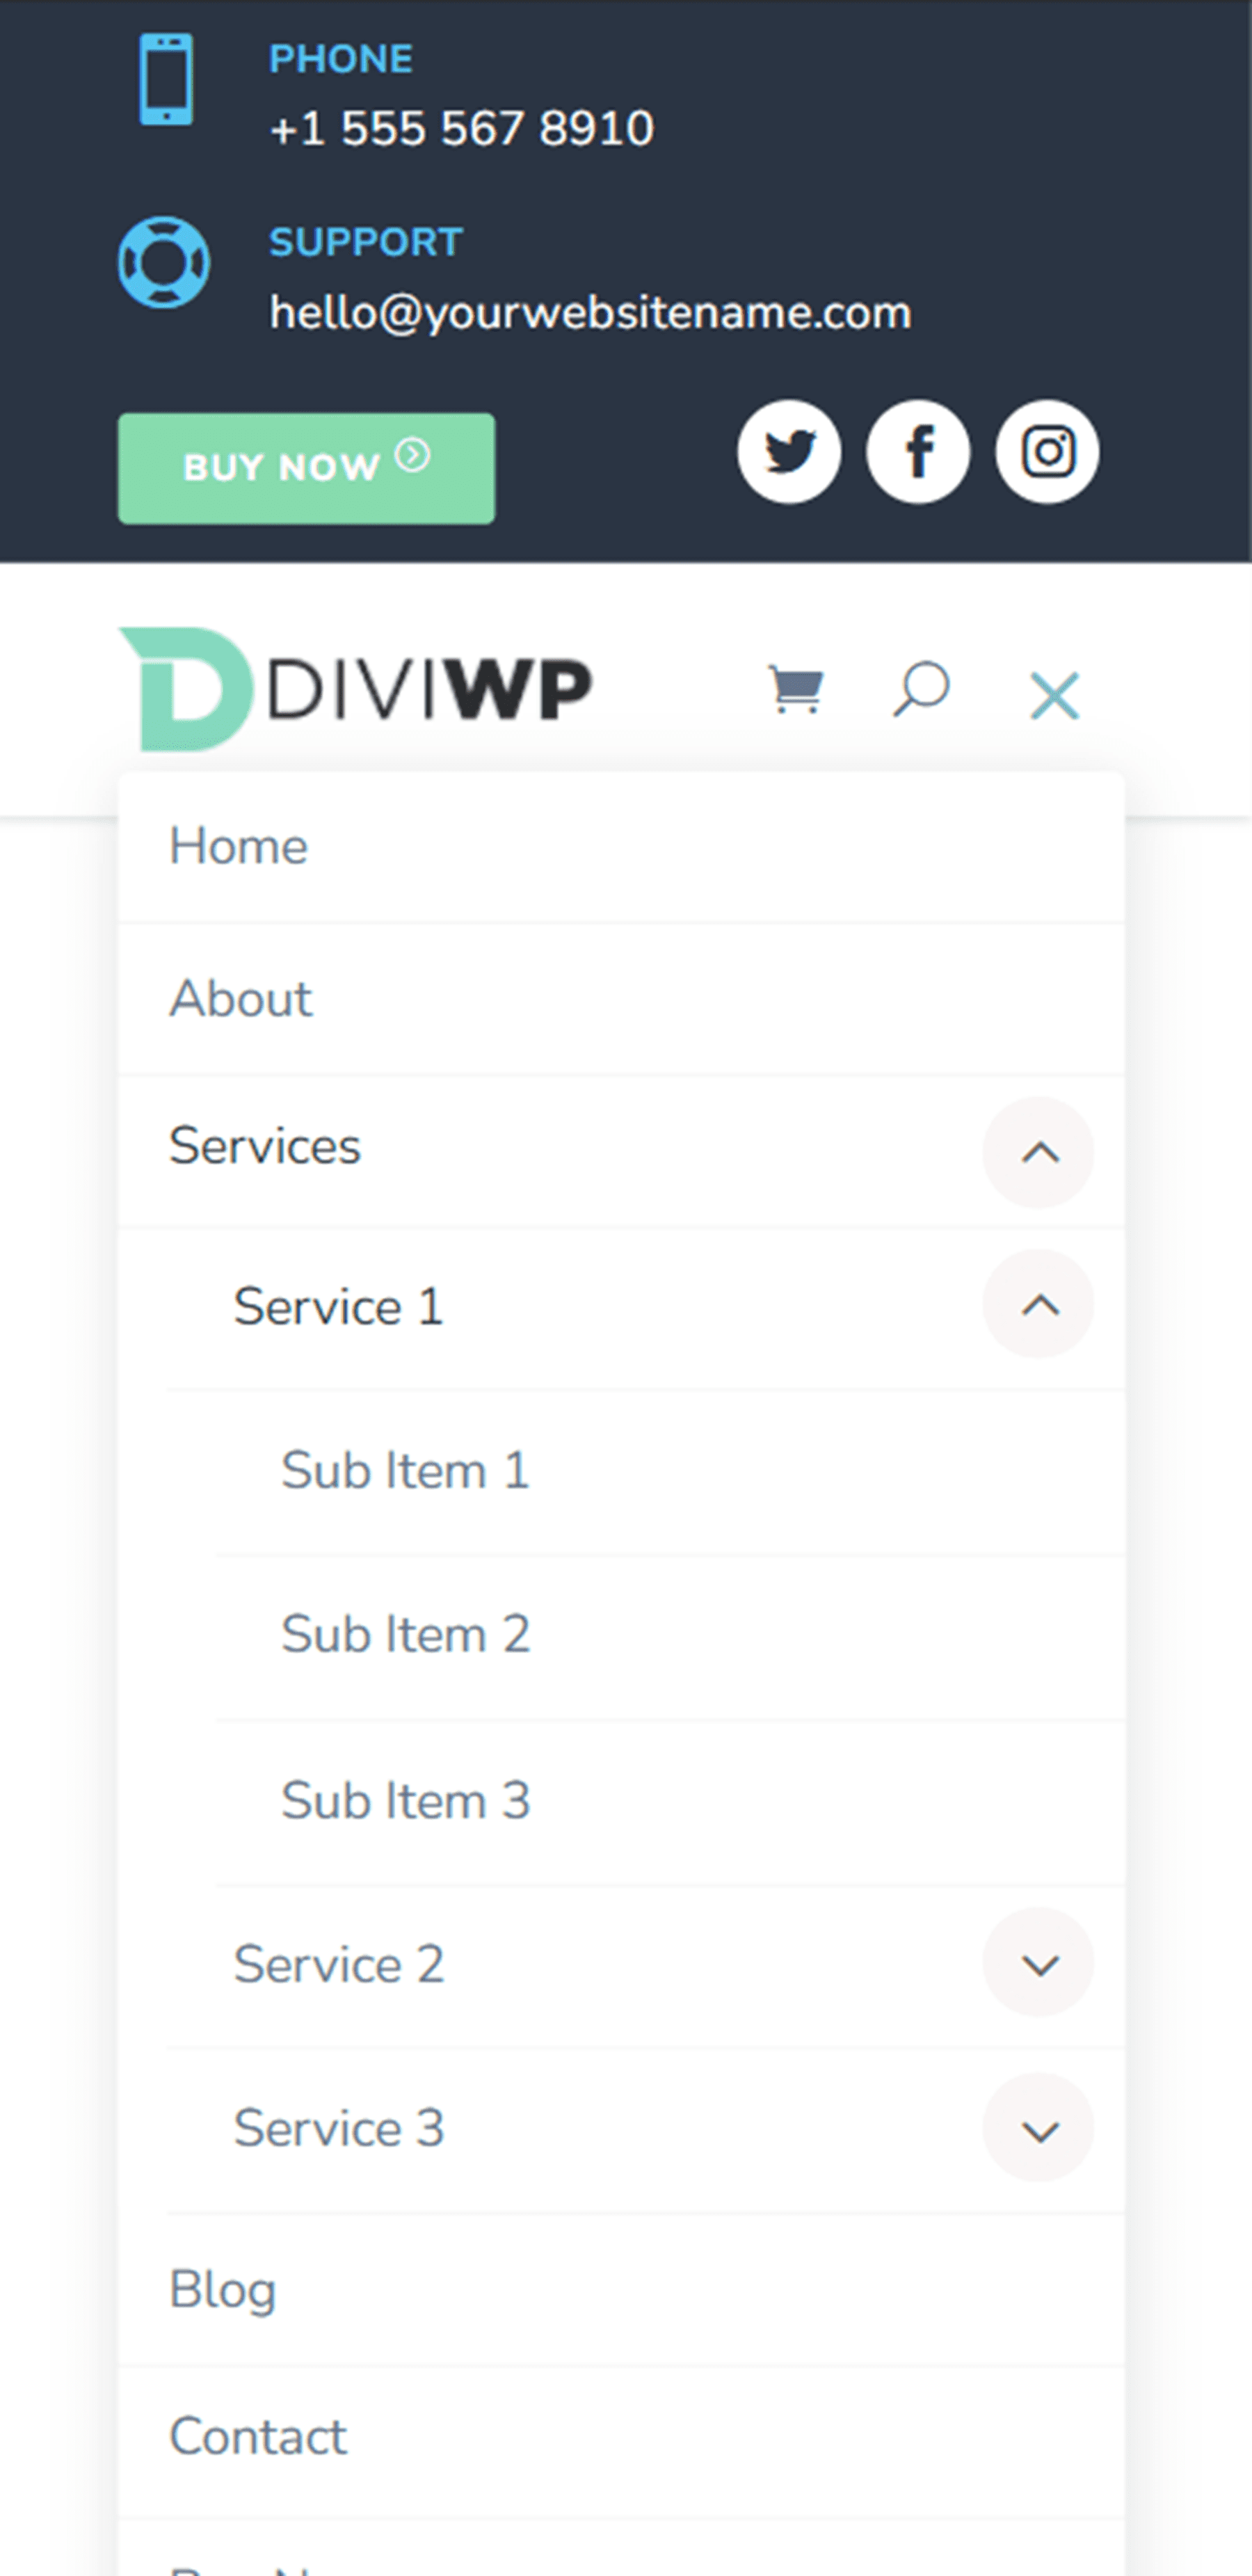
Layout 19 features the blurb icons on the left and the social media icons on the right, as well as a button on the very right.

Header Layout 20
The final layout, Layout 20, is a variation of Layout 19. In this design, the blurb icons are on the left and the button icon is on the right. The social media icons are on the very right.

Customizing the DiviWP Header Sections Pack
The DiviWP Header Sections Pack is completely customizable since it is built with the Divi Builder. You can easily change any of the colors, fonts, text, and icons just like you would customize any other Divi module. There is also extensive support and documentation for the DiviWP Header Sections Pack so that you can further customize the look of your header.
Purchase the DiviWP Header Sections Pack
The DiviWP Header Sections Pack is available in the Divi Marketplace. It costs $19 for unlimited website usage and lifetime support and updates. The price also includes a 30-day money-back guarantee.
Final Thoughts
The DiviWP Header Sections Pack comes with 20 premade header sections that can be completely customized to fit the design of your website. If you want to view a live demo of the different headers, you can do so here. This pack could be very useful if you don’t want to spend the time to create a custom header for your website but want to have a unique design for your header beyond the default Divi layouts.
We would love to hear from you! Have you tried DiviWP Header Sections Pack? Let us know what you think about it in the comments!



Hey everyone, Tristan here from DiviWP. Annika, thank you for covering our Header Sections! I really appreciate the time and care you’ve taken putting this all together – I’m sure it’s going to help a lot of folks!
If anyone has any questions about DiviWP’s products, I’ll happily answer here!
Onwards to Divi 5!