Hey Divi Nation! Thanks for joining us for the next installment of our weekly Divi Design Initiative where each week, we give away brand new freebies for Divi. We recently shared a brand new Virtual Assistant Layout Pack. To help you get your website up and running as soon as possible, we’re sharing a global header & footer template that matches this layout pack perfectly as well! Hope you enjoy it.


Download The Global Header & Footer Template For The Virtual Assistant Layout Pack
To lay your hands on the free global header & footer template, you will first need to download it using the button below. To gain access to the download you will need to subscribe to our newsletter by using the form below. As a new subscriber, you will receive even more Divi goodness and a free Divi Layout pack every Monday! If you’re already on the list, simply enter your email address below and click download. You will not be “resubscribed” or receive extra emails.
https://youtu.be/vRE3mpDYrIk
Subscribe To Our Youtube Channel
How to Upload The Template
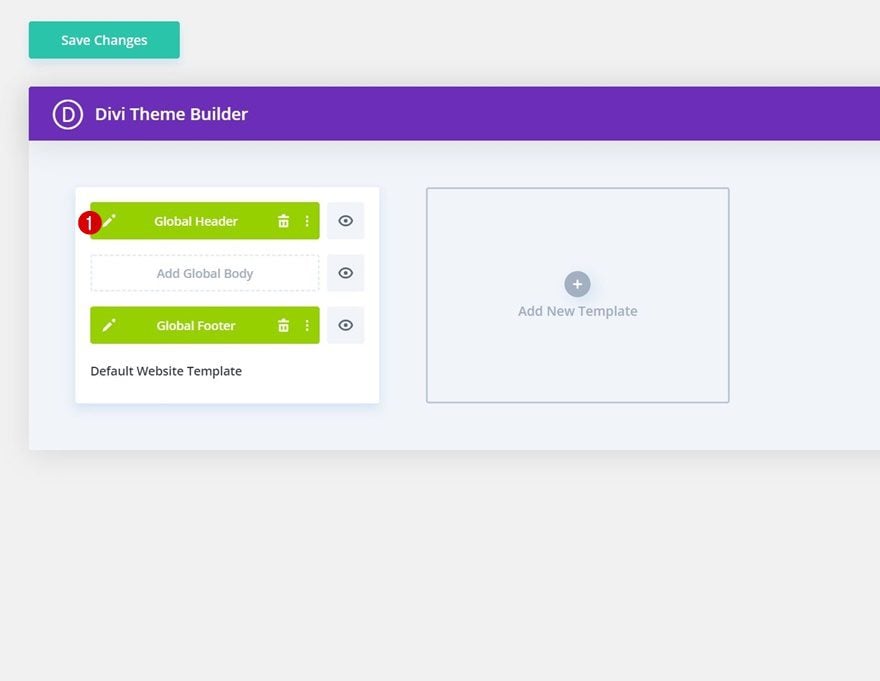
Go to Divi Theme Builder
To upload the template, navigate to the Divi Theme Builder in the backend of your WordPress website.
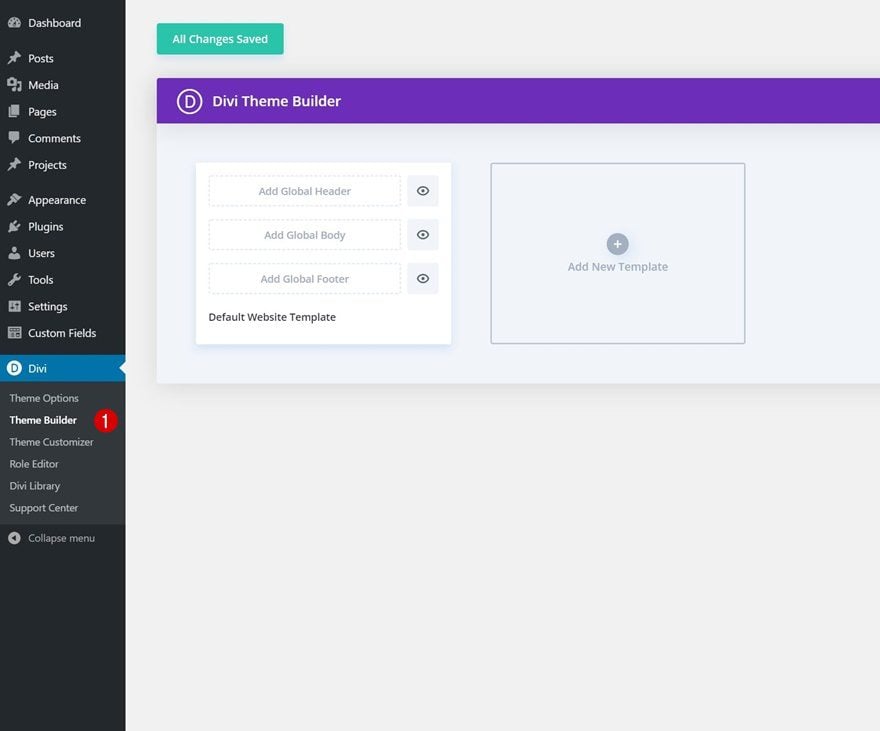
Upload Global Default Website Template
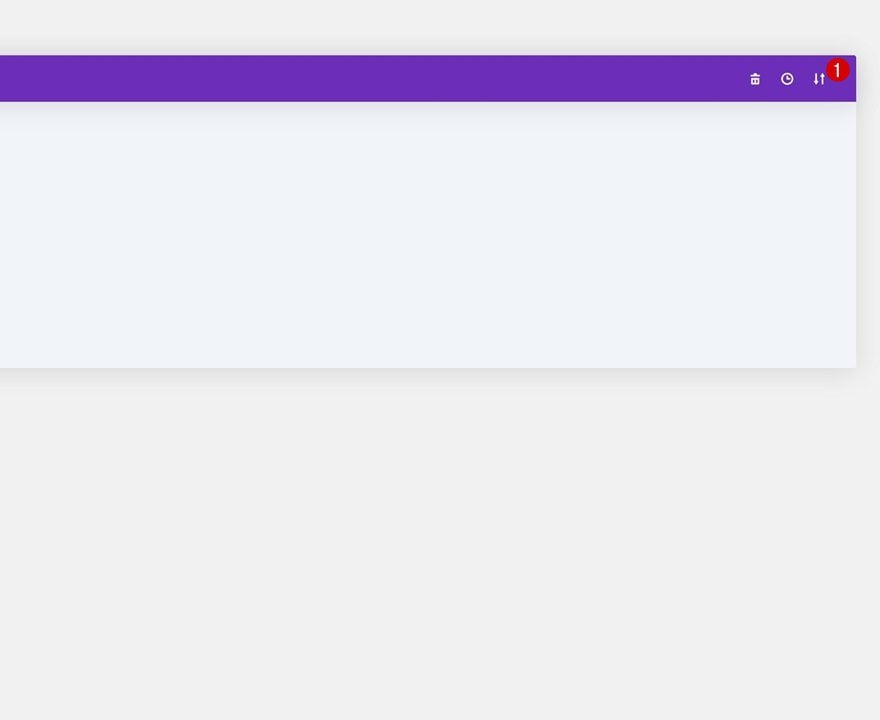
Then, in the top right corner, you’ll see an icon with two arrows. Click on the icon.
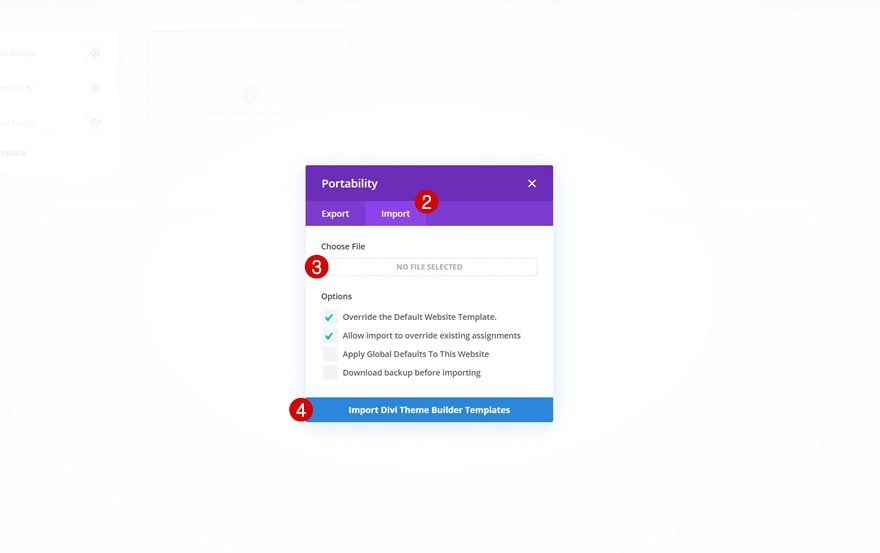
Navigate to the import tab, upload the JSON file which you were able to download in this post and click on ‘Import Divi Theme Builder Templates‘.
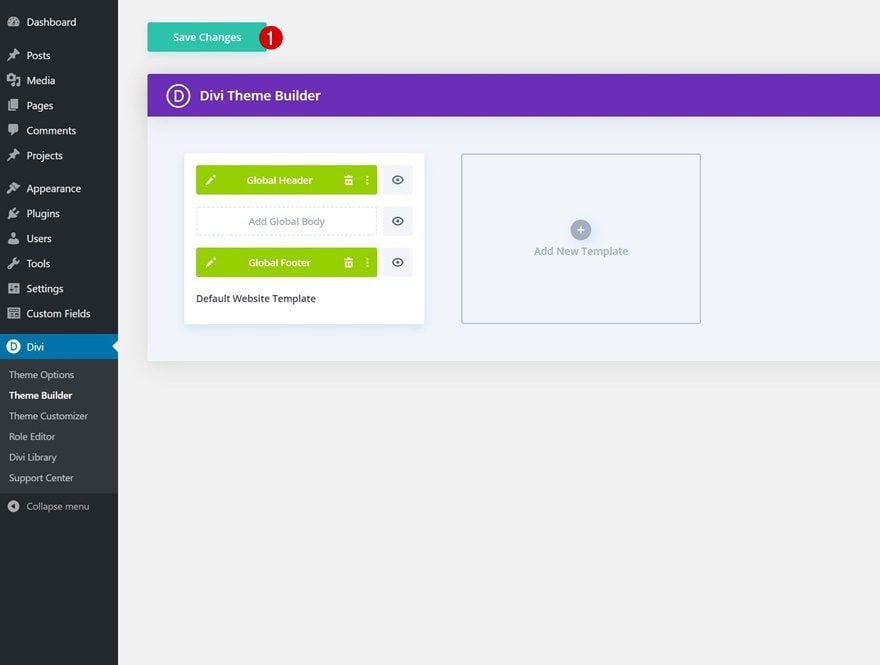
Save Divi Theme Builder Changes
Once you’ve uploaded the file, you’ll notice a new global header and footer in your default website template. Save the Divi Theme Builder changes as soon as you want the template to be activated.
How to Modify The Template
Open Header Template
To modify the global header template’s elements, start by opening the template.
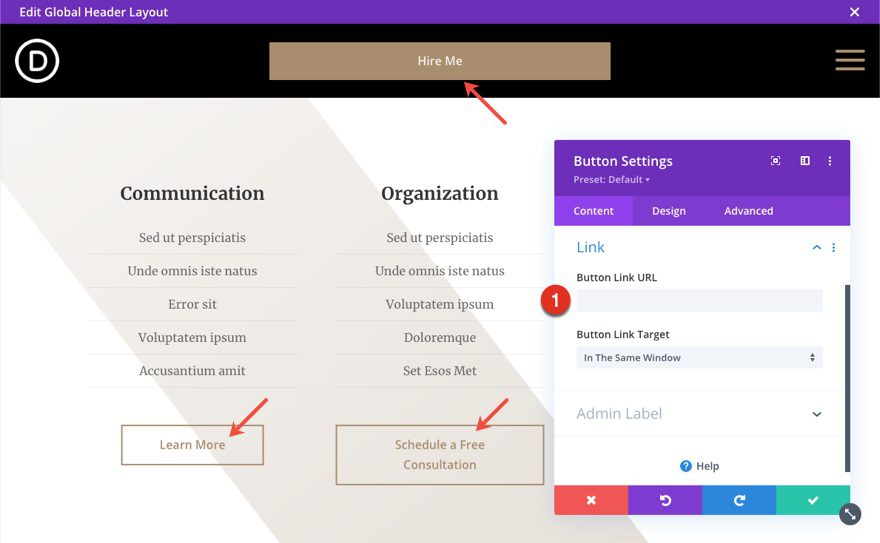
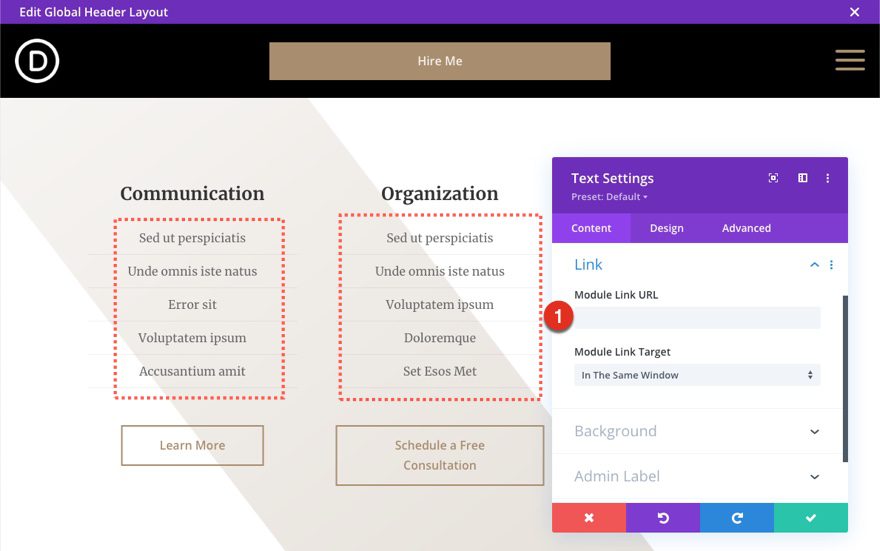
Add Button and Text Link URLs
This header has buttons and text links throughout. Open the settings of each to update the link URL to the destination of your choice.
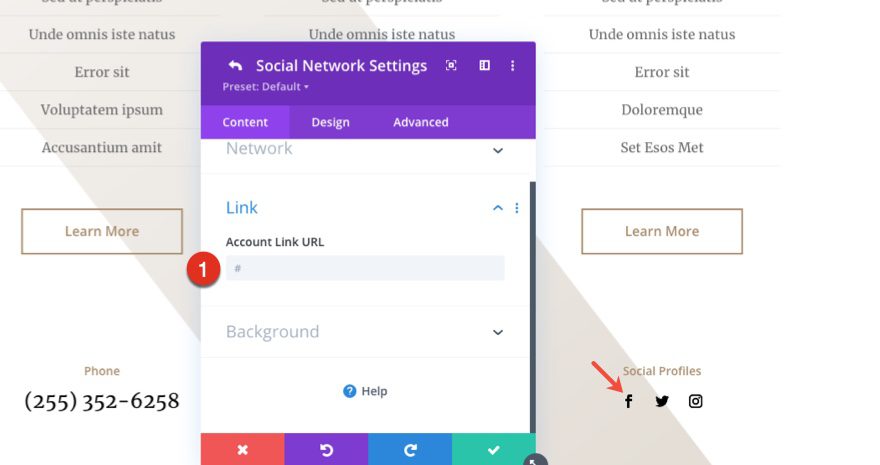
Update Social Media Follow Links
You will also need to update the social media follow module with your own networks and account URLs.
Enable CSS Class Once Header Design is Completed
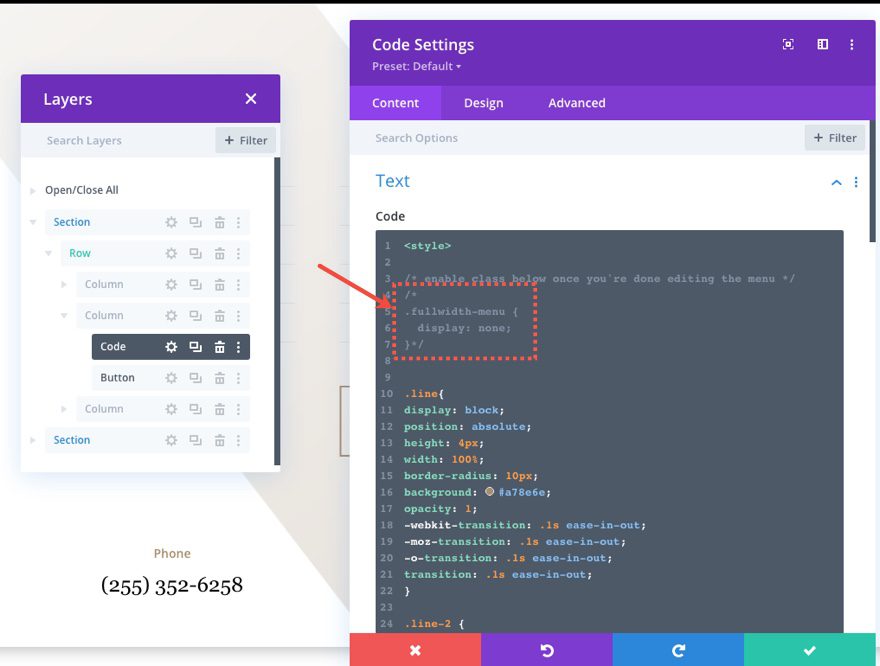
Last but not least, we’ll enable a CSS class in the Code Module which you can find in the first section. Open the Code Module and remove the “/* */” at the beginning and end of the class. Enabling this class (in combination with some JQuery code that’s already enabled) will make sure the section containing the menu items doesn’t load right away when someone visits one of your pages. Once you enable this class, the second section on your page will disappear from the Visual Builder, but you can still access it in the Wireframe Mode or turn off the CSS class if you want to make additional changes.
Open Footer Template
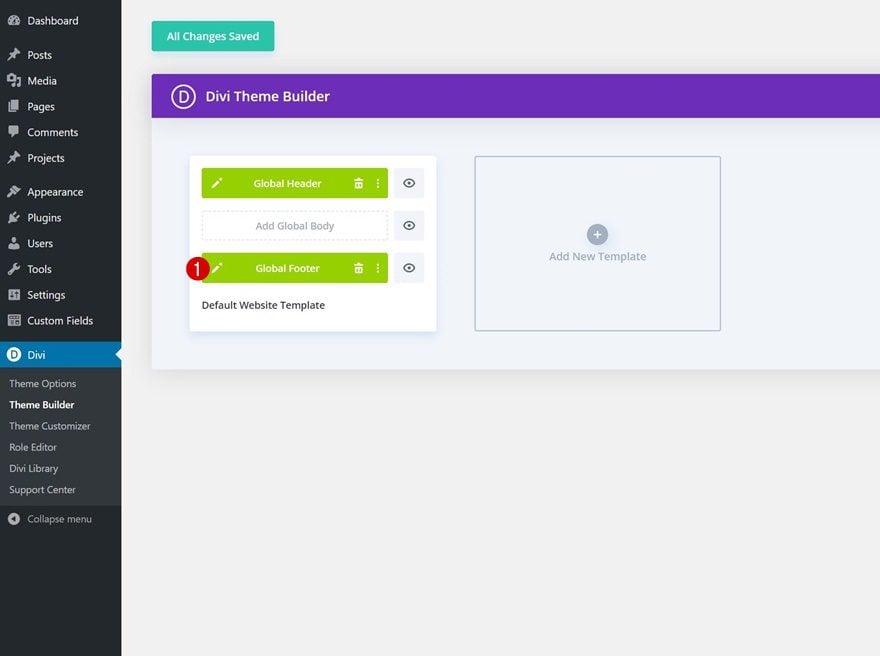
Continue by opening the global footer inside the default website template.
Update Email Optin with Email Account/List
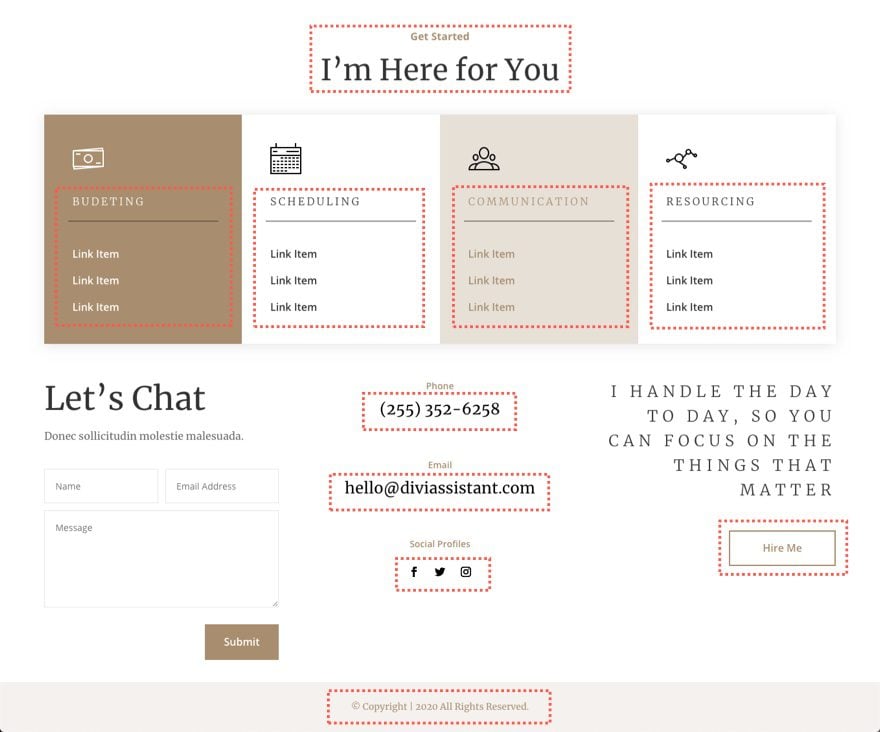
Then, update the Contact Form with the necessary email address and other options.
Update Footer Content
You will also need to go through and update the content of the footer, including adding your own text and link URLs where needed and social media networks. Don’t forget about the copyright text at the bottom of the footer as well.
New Freebies Every Week!
We hope you’ve enjoyed the Virtual Assistant Layout Pack and the Header & Footer freebie that goes along with it. We look forward to hearing your opinions in the comment section below. Make sure you check back next week for more freebies!


Hello,
A big thank you for this tutorial!
I had fun making 14 versions of this mega-menu, adding different Divi modules and it works perfectly!
it is even possible to add Woo modules, with a little imagination it is possible to use your file on very many sites.
Thanks again
just one question, i failed to make a scrolling menu.
do you have any advice for me please?
Hello Jason. The download link does not work.
These really need adding to the premade layouts! There is a total neglect of menus with the layouts, many of which seem to be built without any thought of how a menu would interact with it.
It does not work
Sorry Eduardo. Does it not load at all or is the functionality off?
This did not work for me
Sorry, Jace. Is the template not loading at all or is the functionality off?