Organization can make a huge difference in the time and effort you put into a task. Having your trusted tools on hand makes the task that you’re working on move faster. This counts when building your website too. With Divi, we make sure you can have all your design elements within reach. This is done through the Divi libraries. You can access Divi’s various libraries in a variety of ways. In today’s post, we’re going to be looking at the difference between Divi’s libraries, where to find them, and how to use them. We’ll put a special emphasis on the new Divi Theme Builder library that allows you to organize your various templates as well!
Let’s get to it.
What is the Difference Between Divi’s Libraries?
Fundamentally, most of Divi’s libraries operate in the same way. When you hover over a module, row or section, you can access a library filled with your past saved elements. When you click on the plus icon within an element you have two options: Add New Element or Add From Library.
![]()
By clicking on Add From Library, you’ll be accessing the library of saved elements. In the screenshot below, we see what that looks like when trying to access the Module Library.
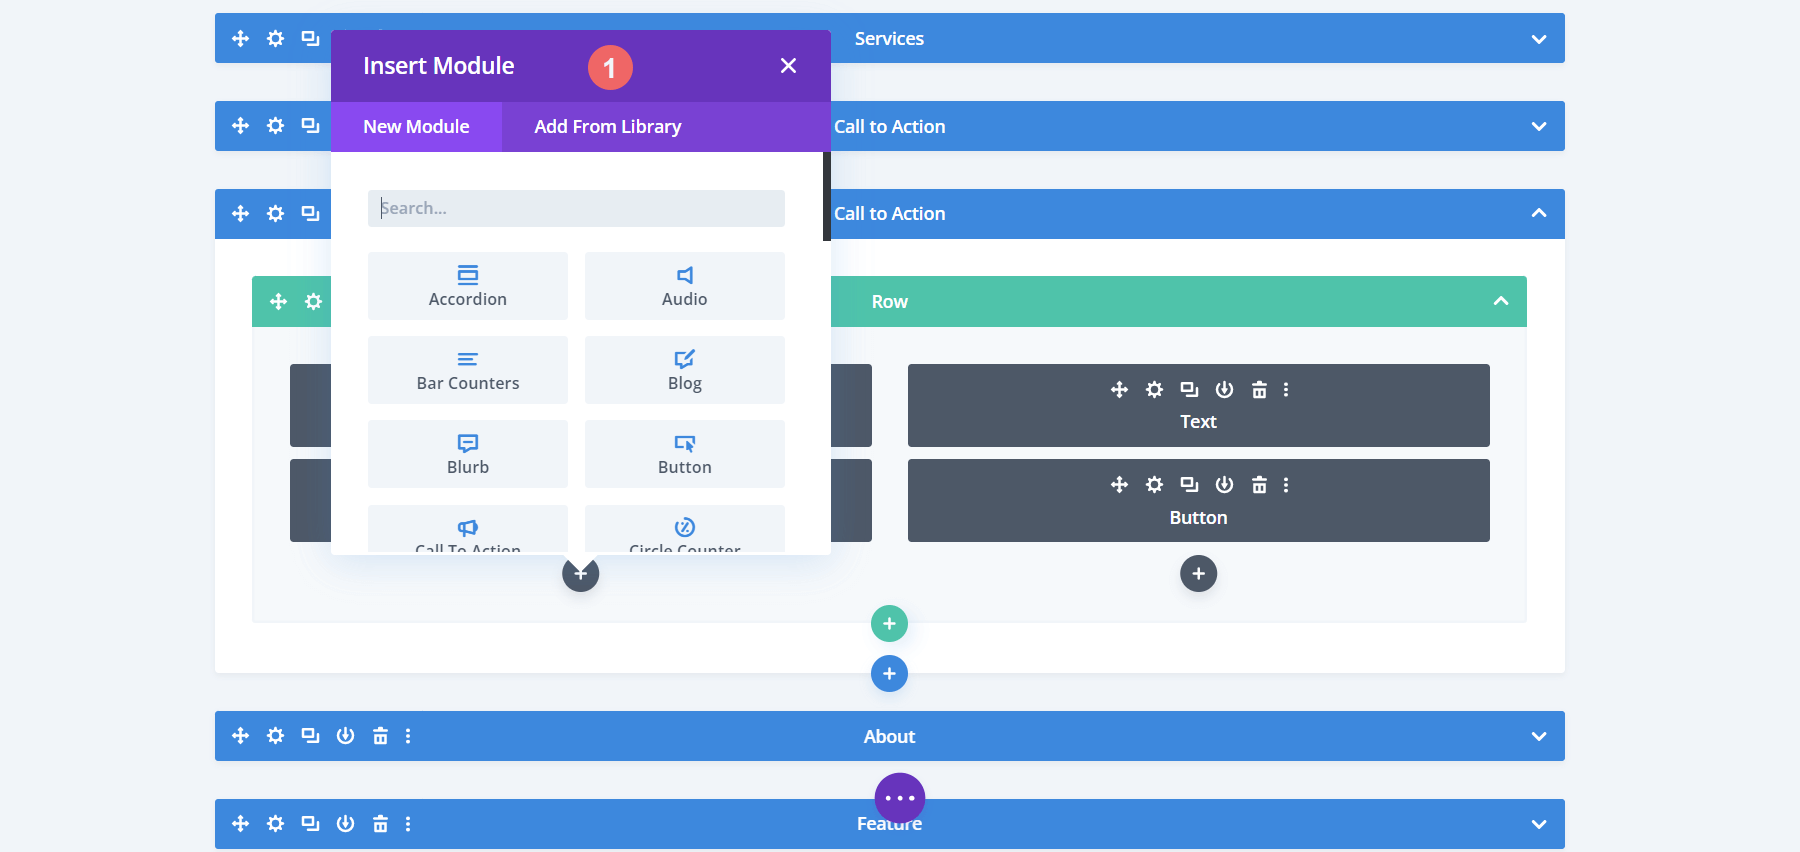
However, how do we get elements into its’s library? Let’s quickly take a look at that before we ponder the difference between Divi’s library.
How to Add an Element to Its Respective Library
Let’s say you’ve made an amazing layout. The page looks great, your modules are where they’re supposed to be and you want to save the layout so that you can use it exactly on another page. To do that, we’ll click on the purple icon in the middle of the screen with the three dots. This will open up the menu for the page.

From there, we’ll click on the Save to Library icon. Remember this icon, as it is used within to add Divi’s different elements to their respective library.
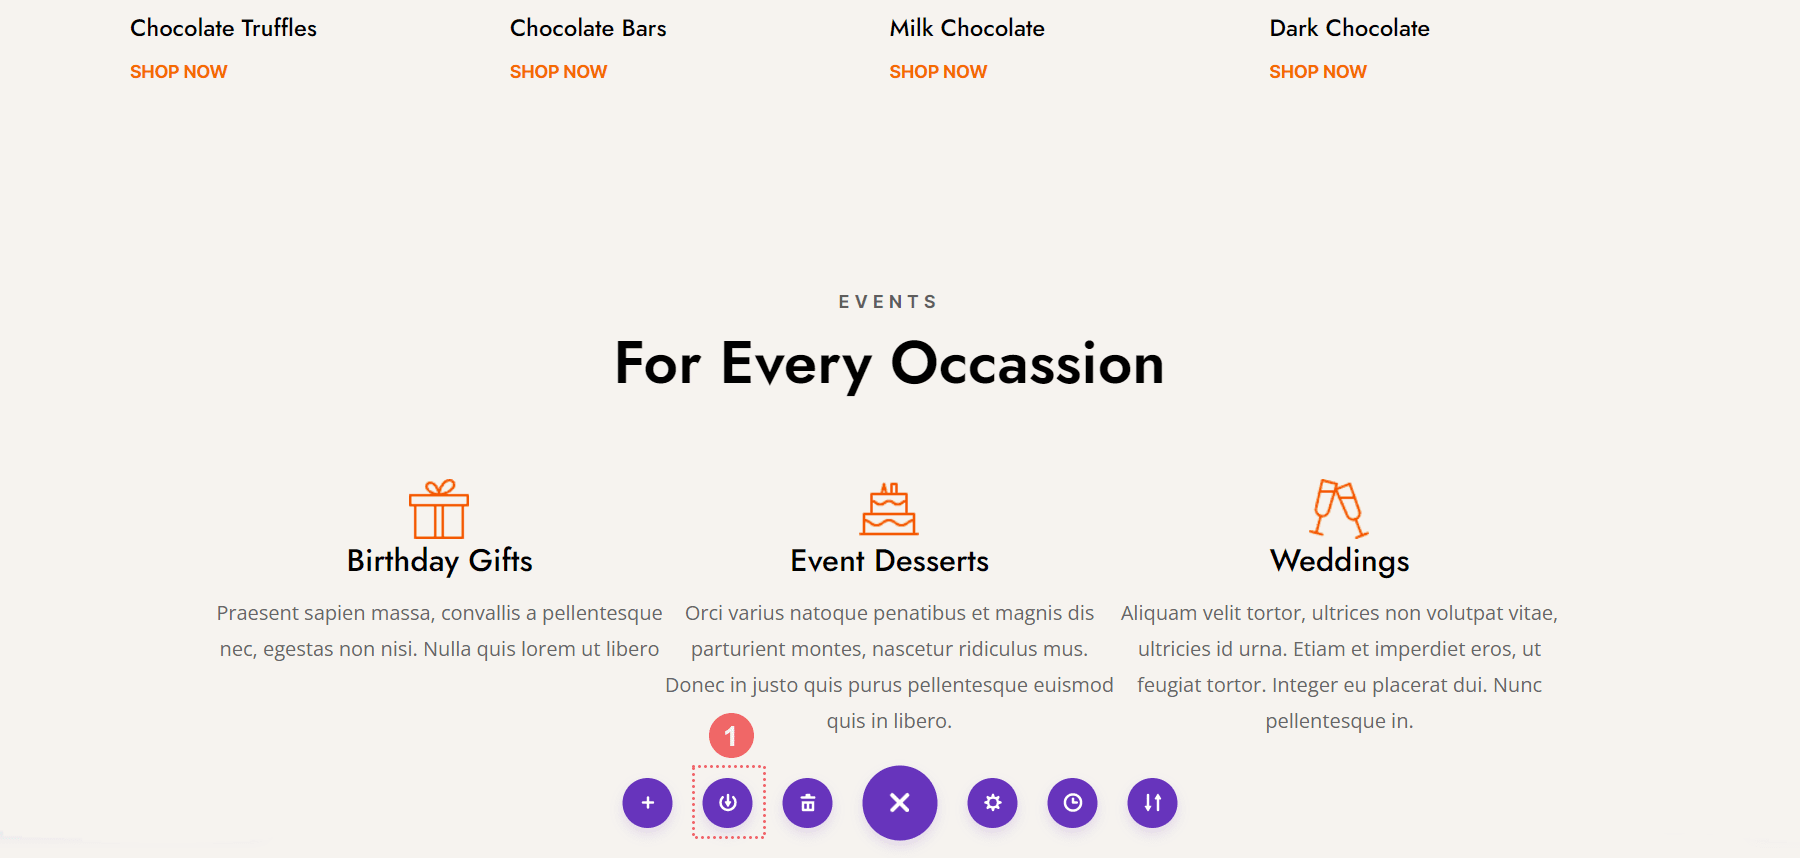
Once this step is complete, we see the Save to Library Modal Box. At the bare minimum, we assign a name to our layout and click the blue Save to Library button. You can further organize your library by adding it to a category, or taking your organization and – and workflow skills – up a notch by saving your layout to the Divi Cloud, so that you can use it across different websites.
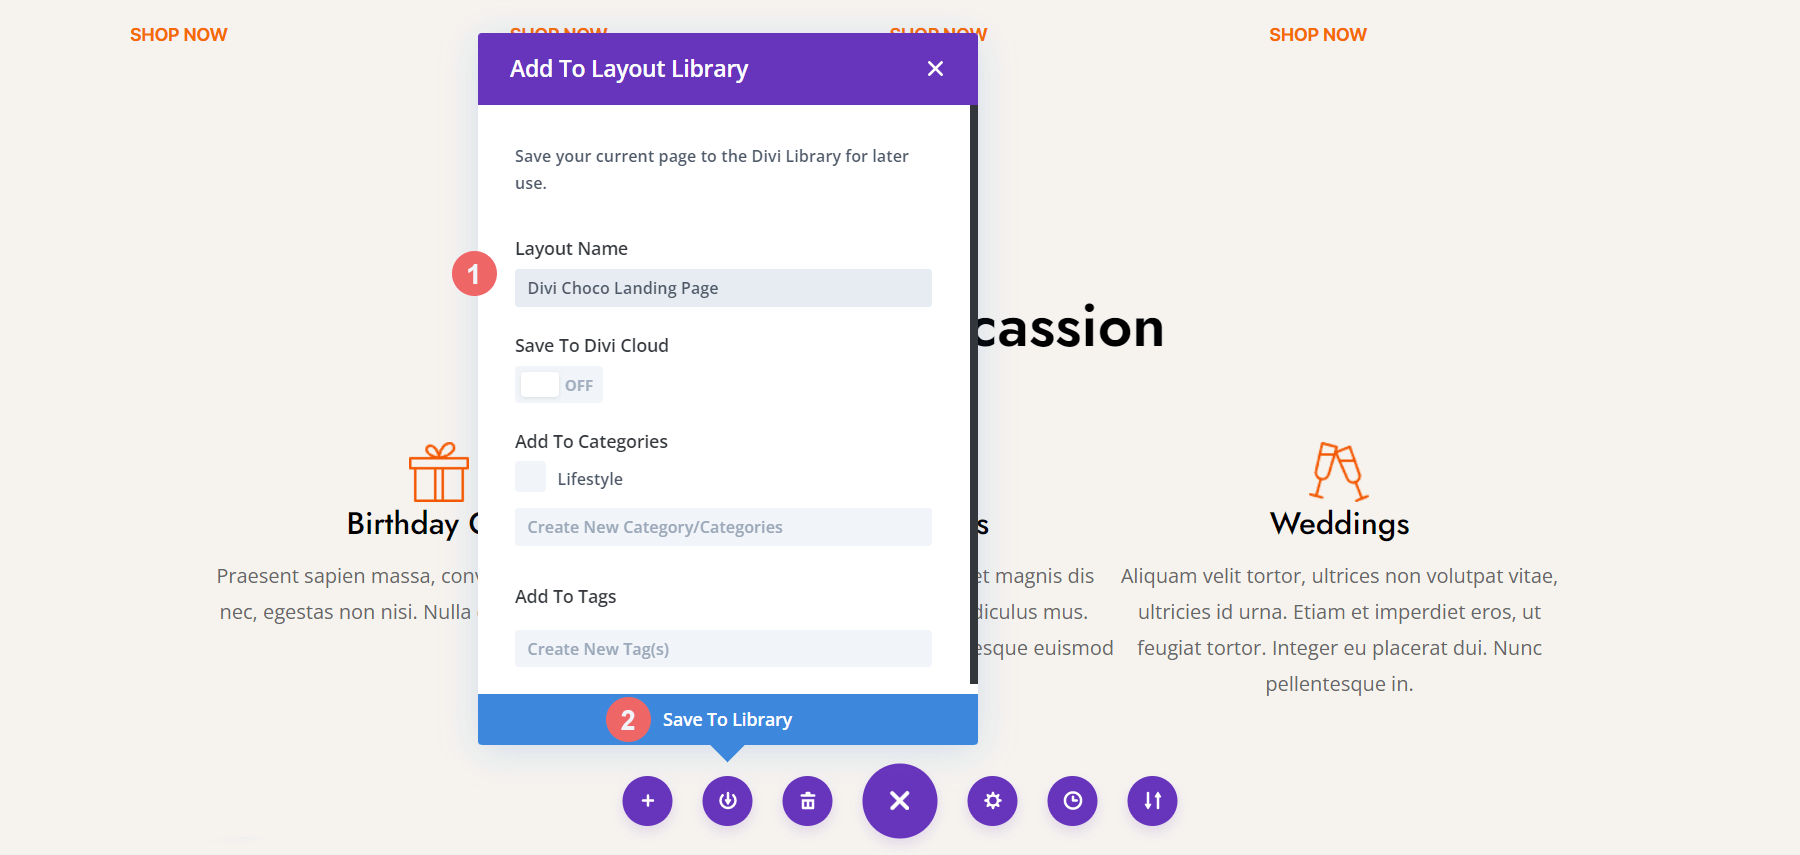
With our layout saved, we can now further explore the difference between Divi’s libraries
Working with Divi’s Layout Library
In Divi, an element is a module, row, section, and layout. Anytime we save one of these – outside of Divi Cloud – it is stored in the Divi Layout Library. Divi’s Layout Library allows us to access saved elements. It also allows us to organize our elements. We can create categories, manage tags and we can also import or export elements within the Divi Layout Library. Notice that if an element is global, it has a green globe next to it.
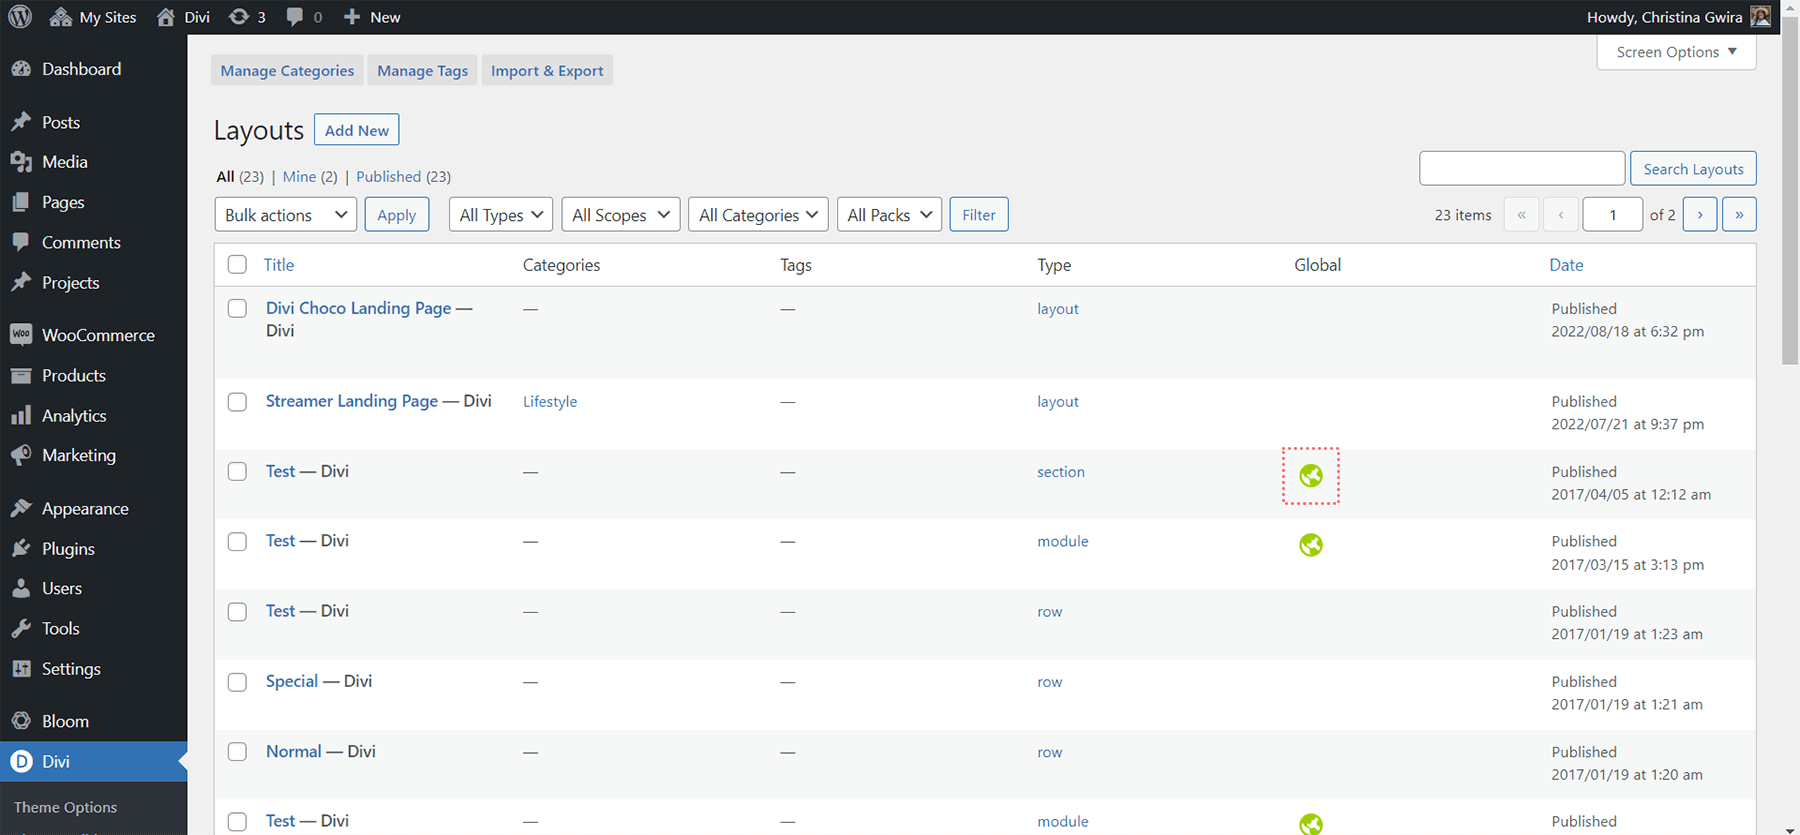
Also notice how there is a column within the Divi Layout Library screen, called Type, that shows the family an element belongs to. Our new element, the Divi Choco Landing page, is denoted as a layout. Layouts may consist of multiple sections, rows, and modules. Sections can hold multiple rows and modules, but they can only be comprised of one section. Rows are encompassed of a number of columns and modules. Again, we can only have one row saved as an element within the Divi Layout Library. We can save modules can be saved separately from rows, columns, and sections within the Divi Layout Library.
The Section Library
To access the Section Library, we first click on the blue plus icon underneath any section within the Divi Builder.
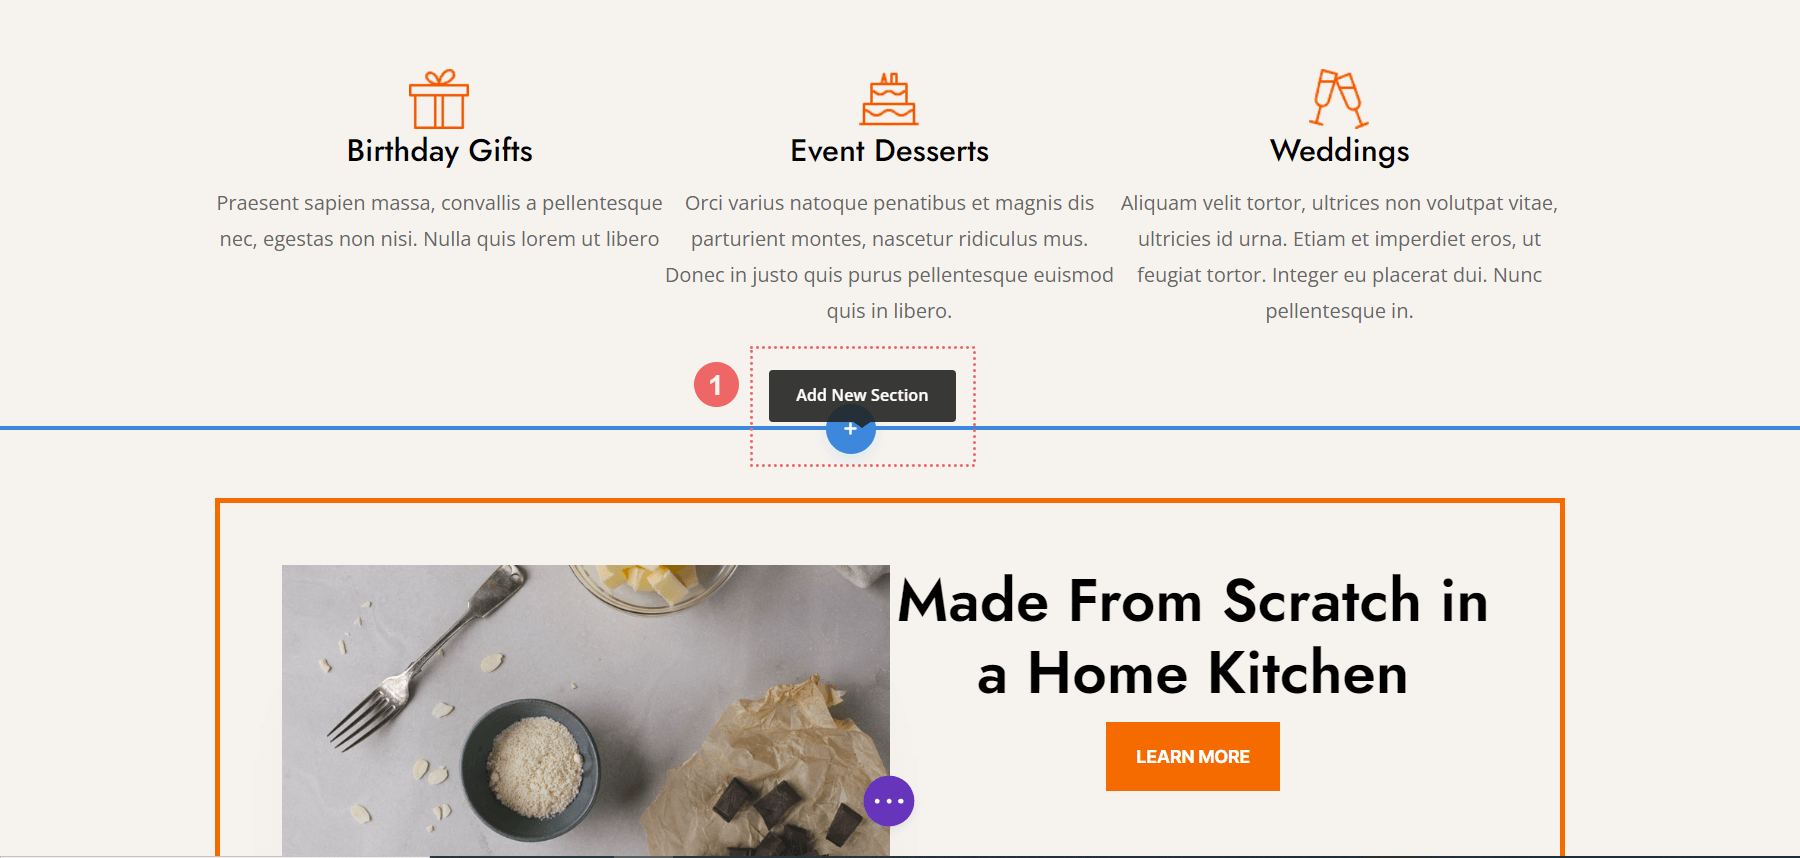
After, we immediately see the option to add a new, empty section to our page. However, we also have the option to access the sections that we have saved within the Divi Layout Library – or Divi Cloud – at our disposal.
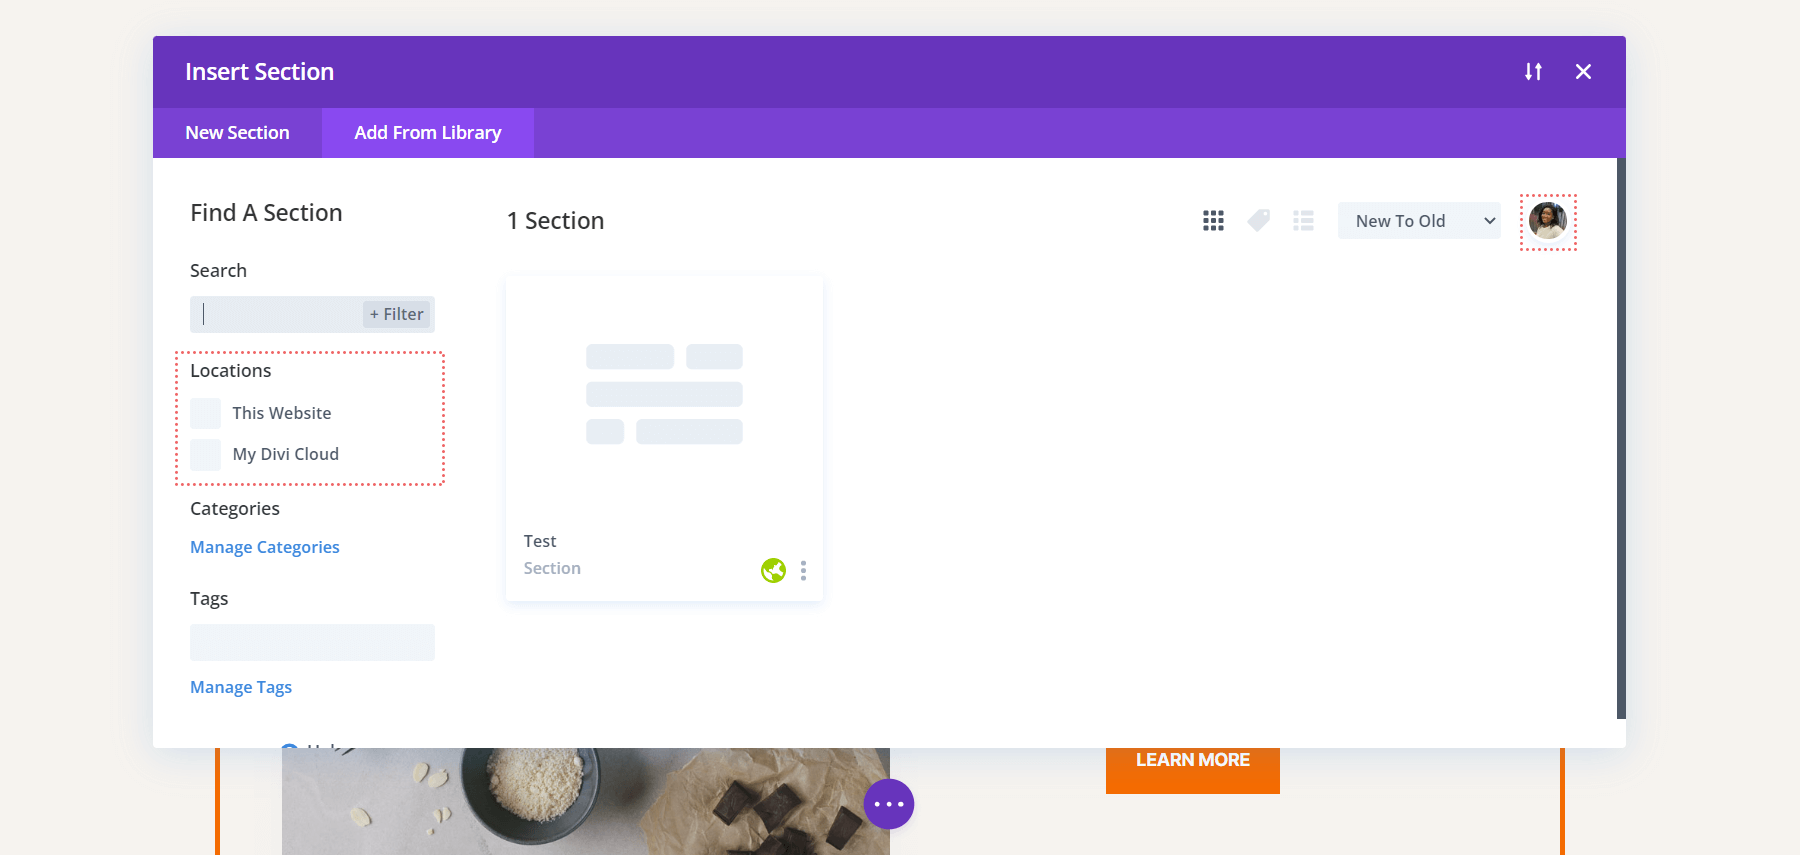
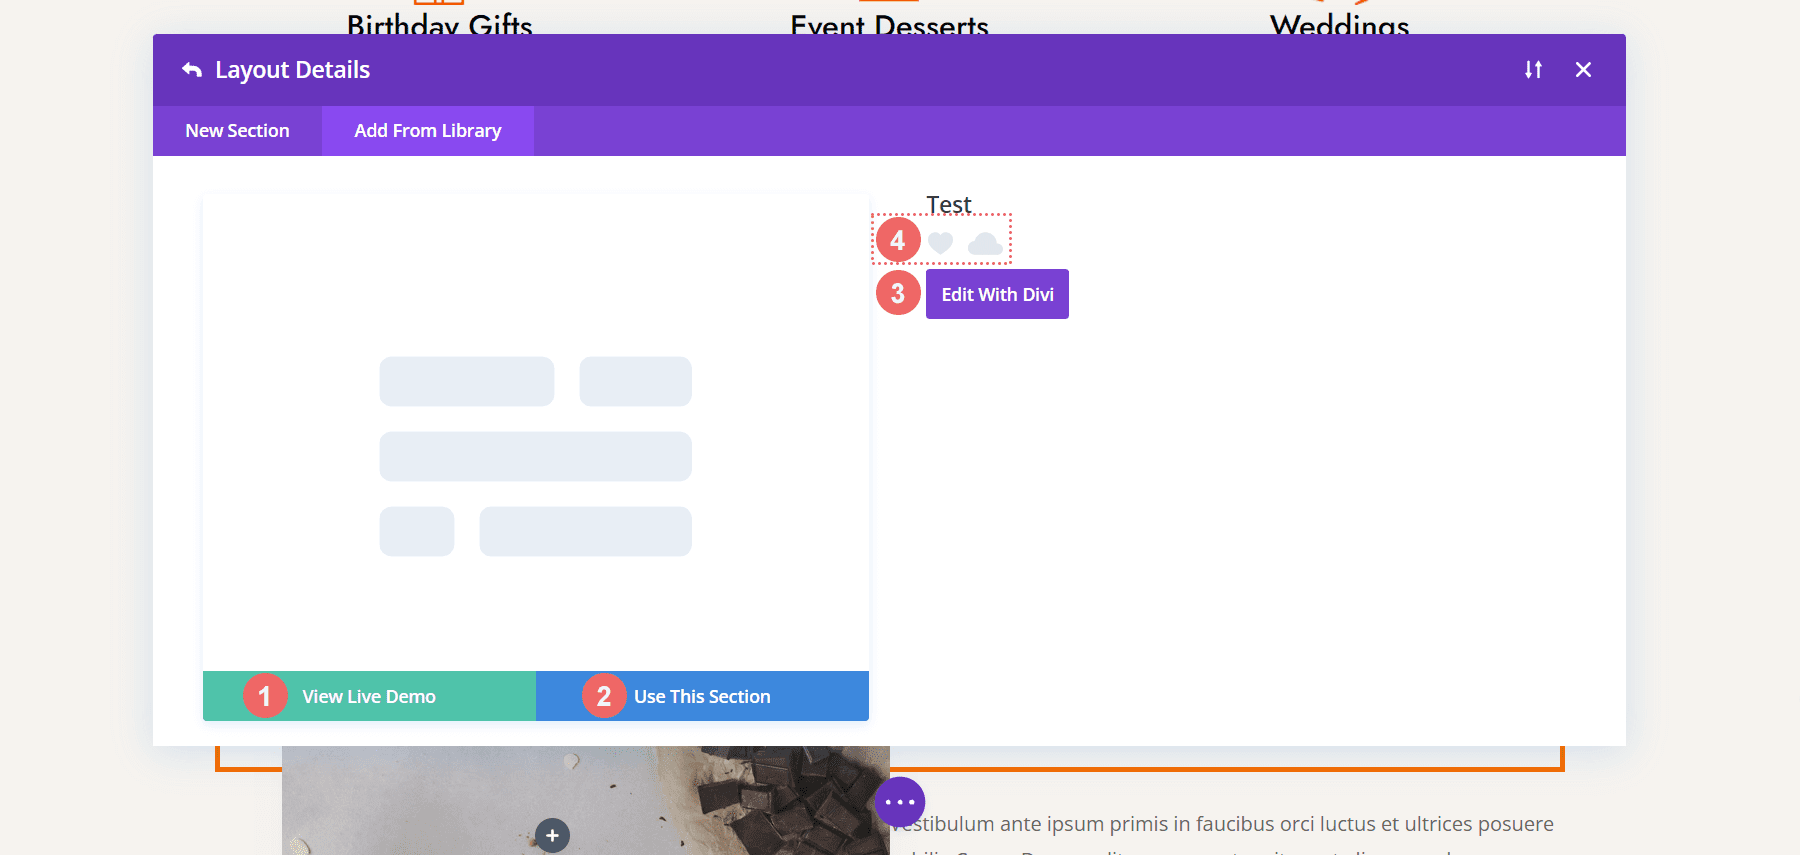
If you are logged into your Elegant Themes and Divi Cloud account, you’ll see your avatar at the top right, as well as the location My Divi Cloud added to your Locations menu. By clicking on the thumbnail of our section element, we have three options. We can see a live demo of the section, use it as is, or edit it with the Divi Builder. In addition to this, we can also favorite it and move it to Divi Cloud.
Managing Divi’s Row Library
We take similar steps to access the Row Library. Except, we now will click on the green Add a New Row button.
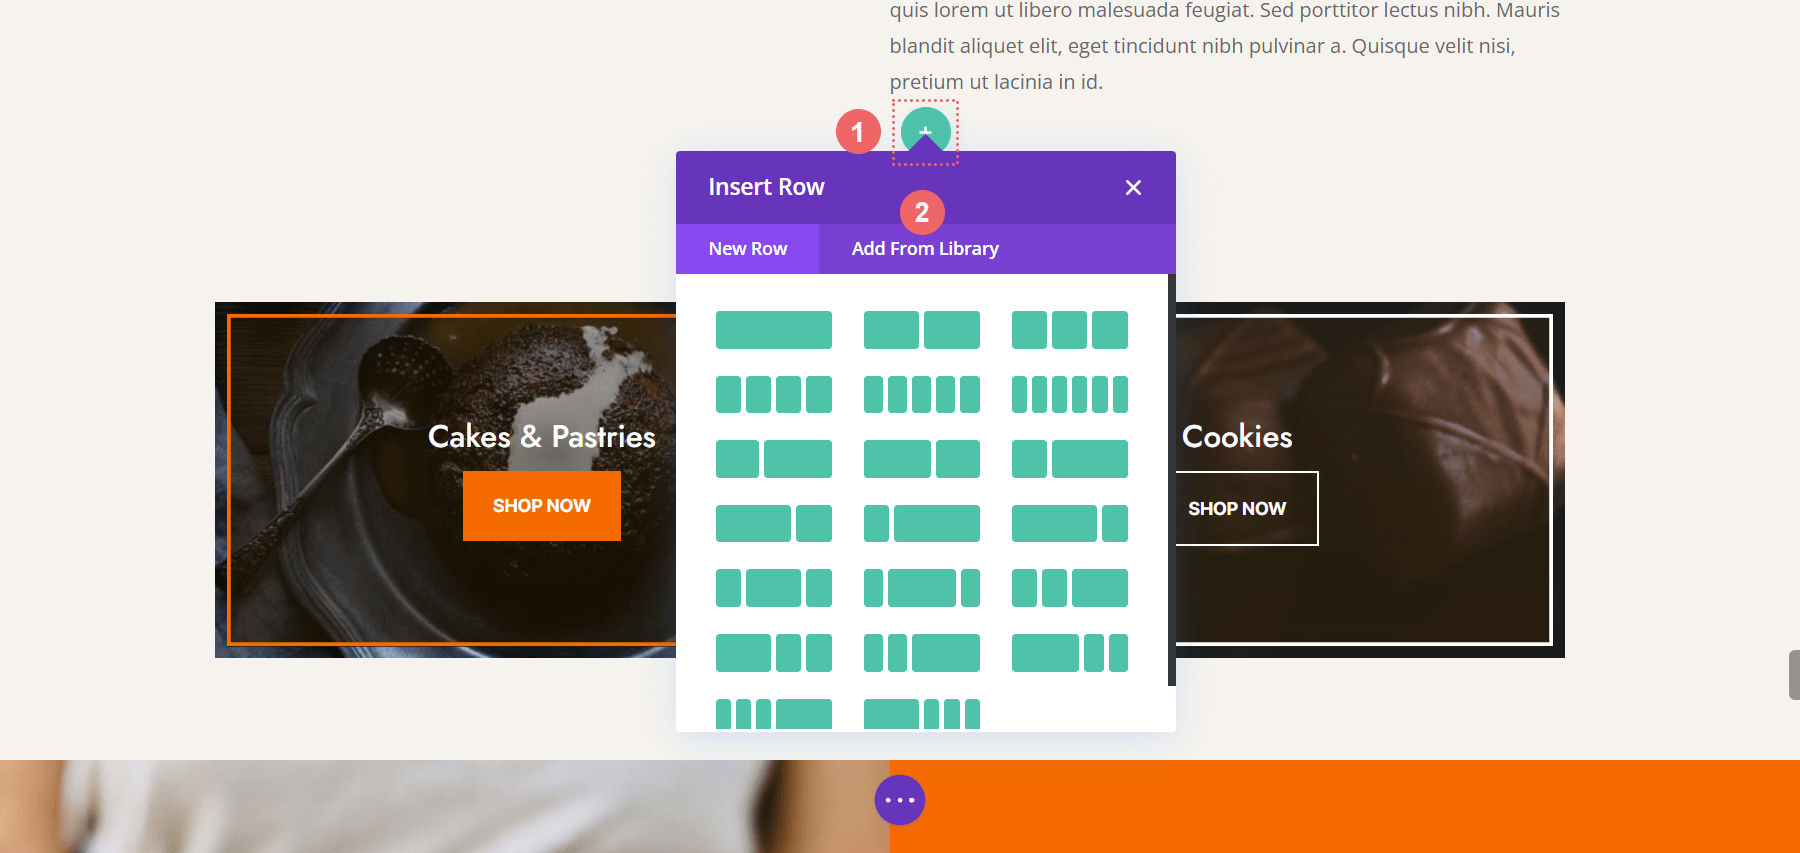
Then, we’ll select Add from Library to see the rows that we have saved within our Divi Layout Library.
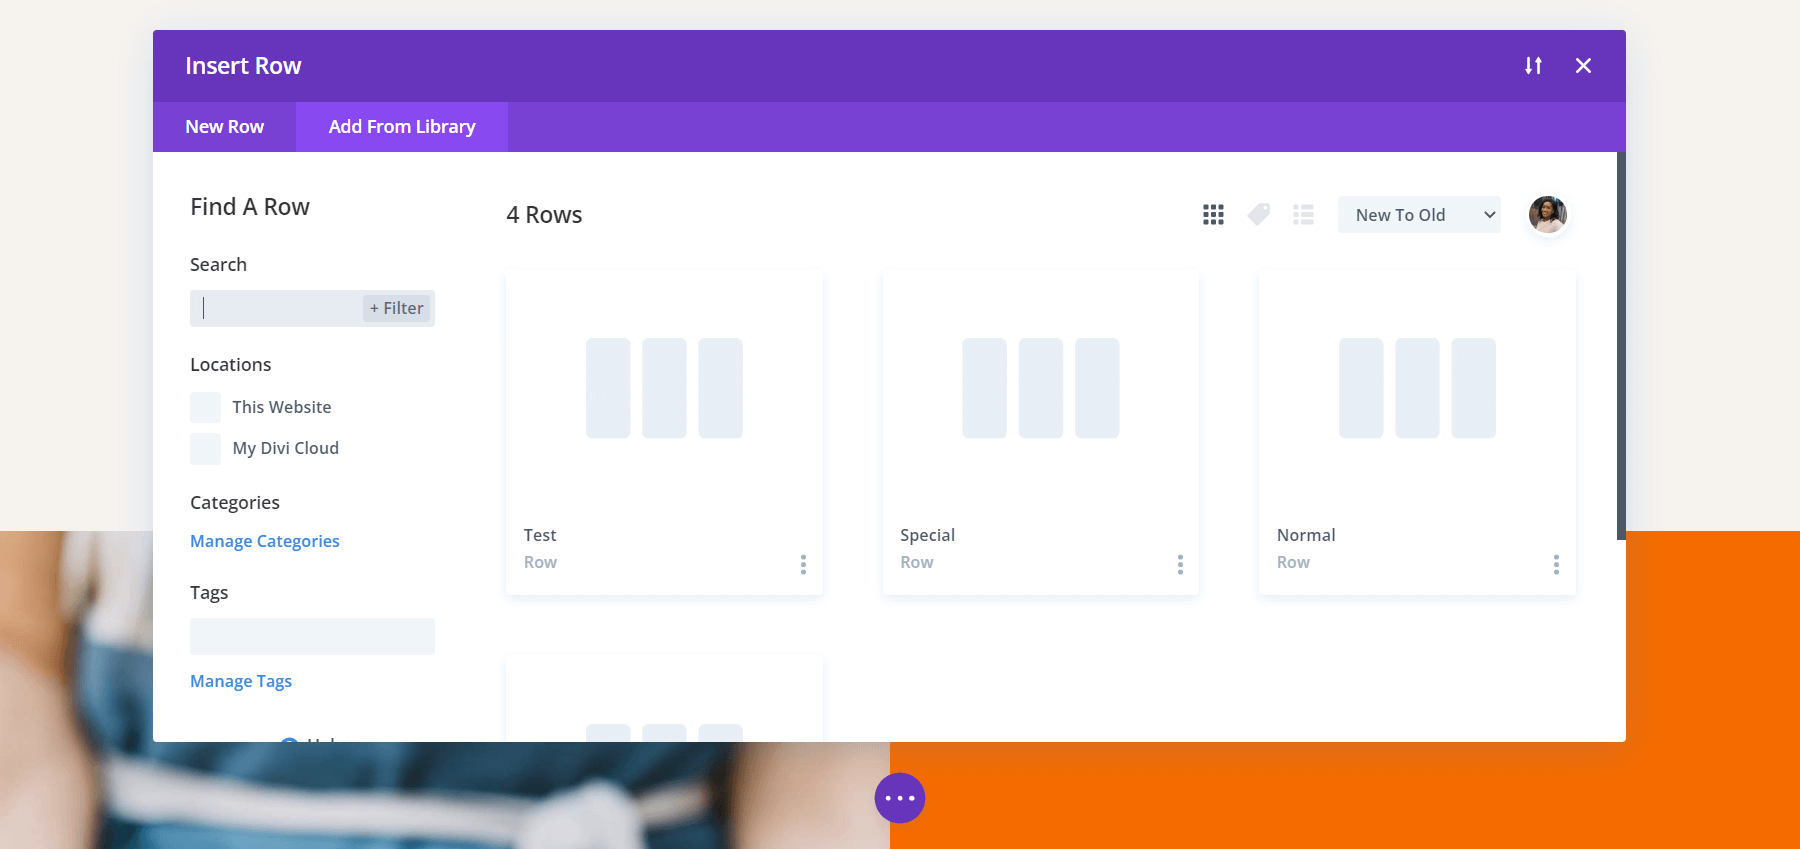
Remember that you cannot save multiple rows into one element. If you want to save multiple rows, you would have to save said rows within a section. Next, you would need to add that section to the Section Library.
Benefits of The Module Library
The Module Library allows you to save individual modules. Personally, this is my most used library. The Module Library also allows you to save third-party modules, like those found on the Divi Marketplace, within the Module Library. Whenever you have the option to add a new module, you can also add modules from within the Module Library through the Divi Builder.
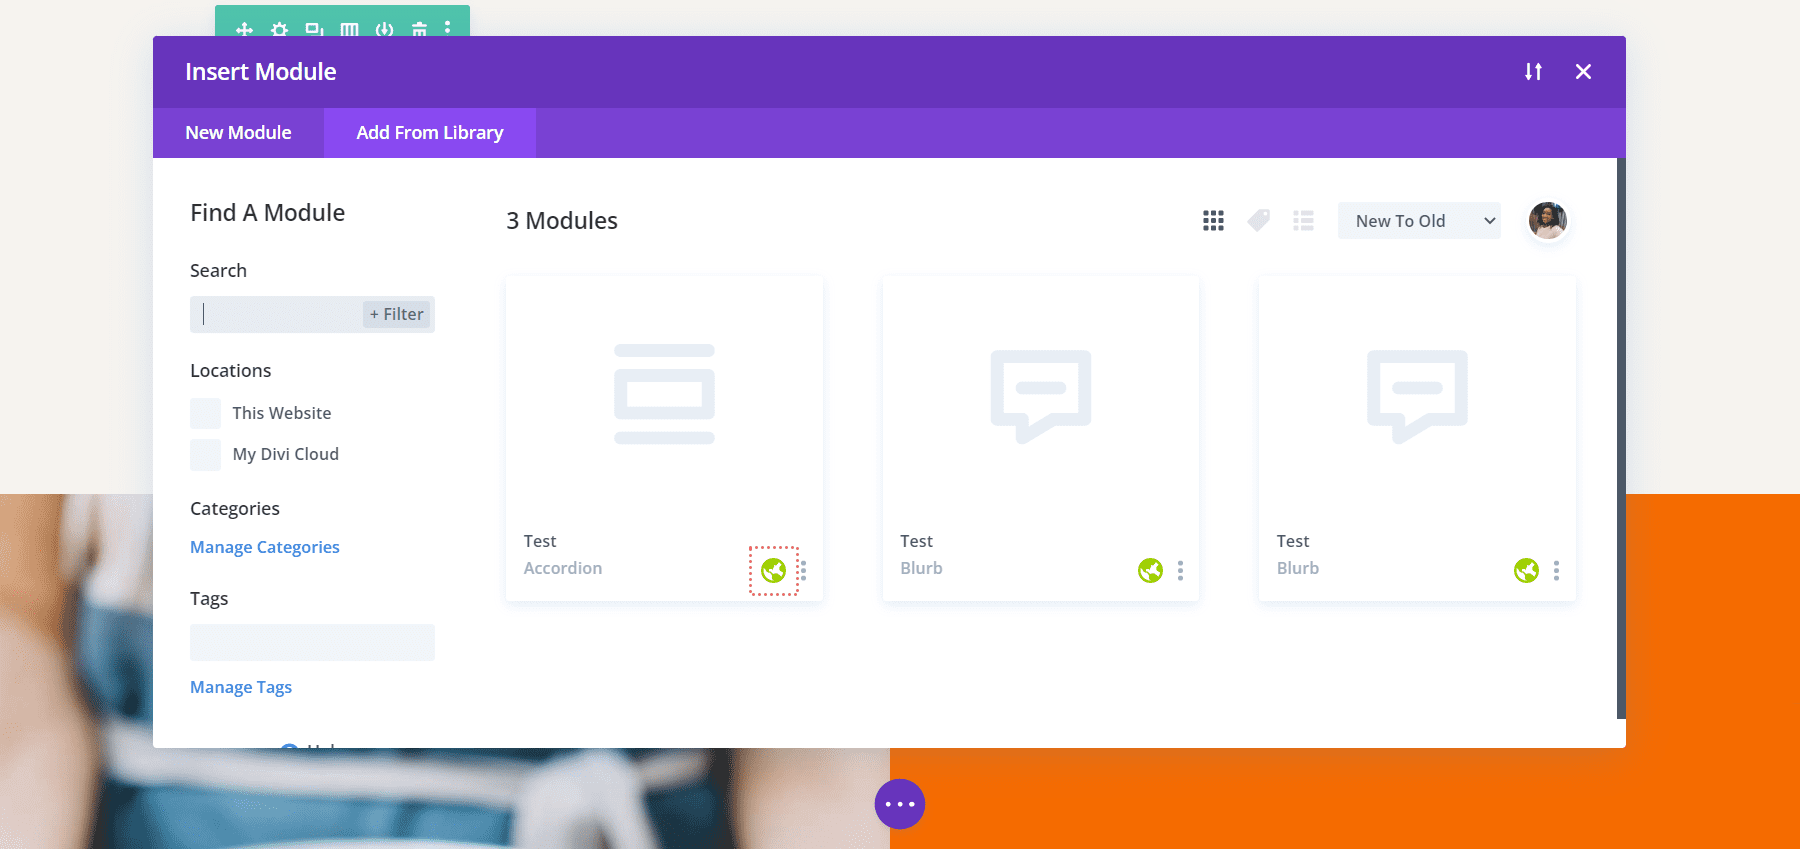
Notice in the screenshot above that we have a few Blurb Modules and an Accordion Module. They are all Global Modules, which we can tell by the green globe icon that is in the bottom right.
Introducing Divi Cloud Library
With the introduction of the Divi Cloud Library, a major difference between Divi’s libraries emerges. So far, all of our elements — modules, rows, columns, and layouts — have been local, on our web host of choice. With Divi Cloud, we can save these same elements in the cloud, and access them across multiple websites. No longer will there be a need to export and import elements between websites. By simply having a Divi Cloud account, the header you made on website A can be accessed and used on website B through Z.
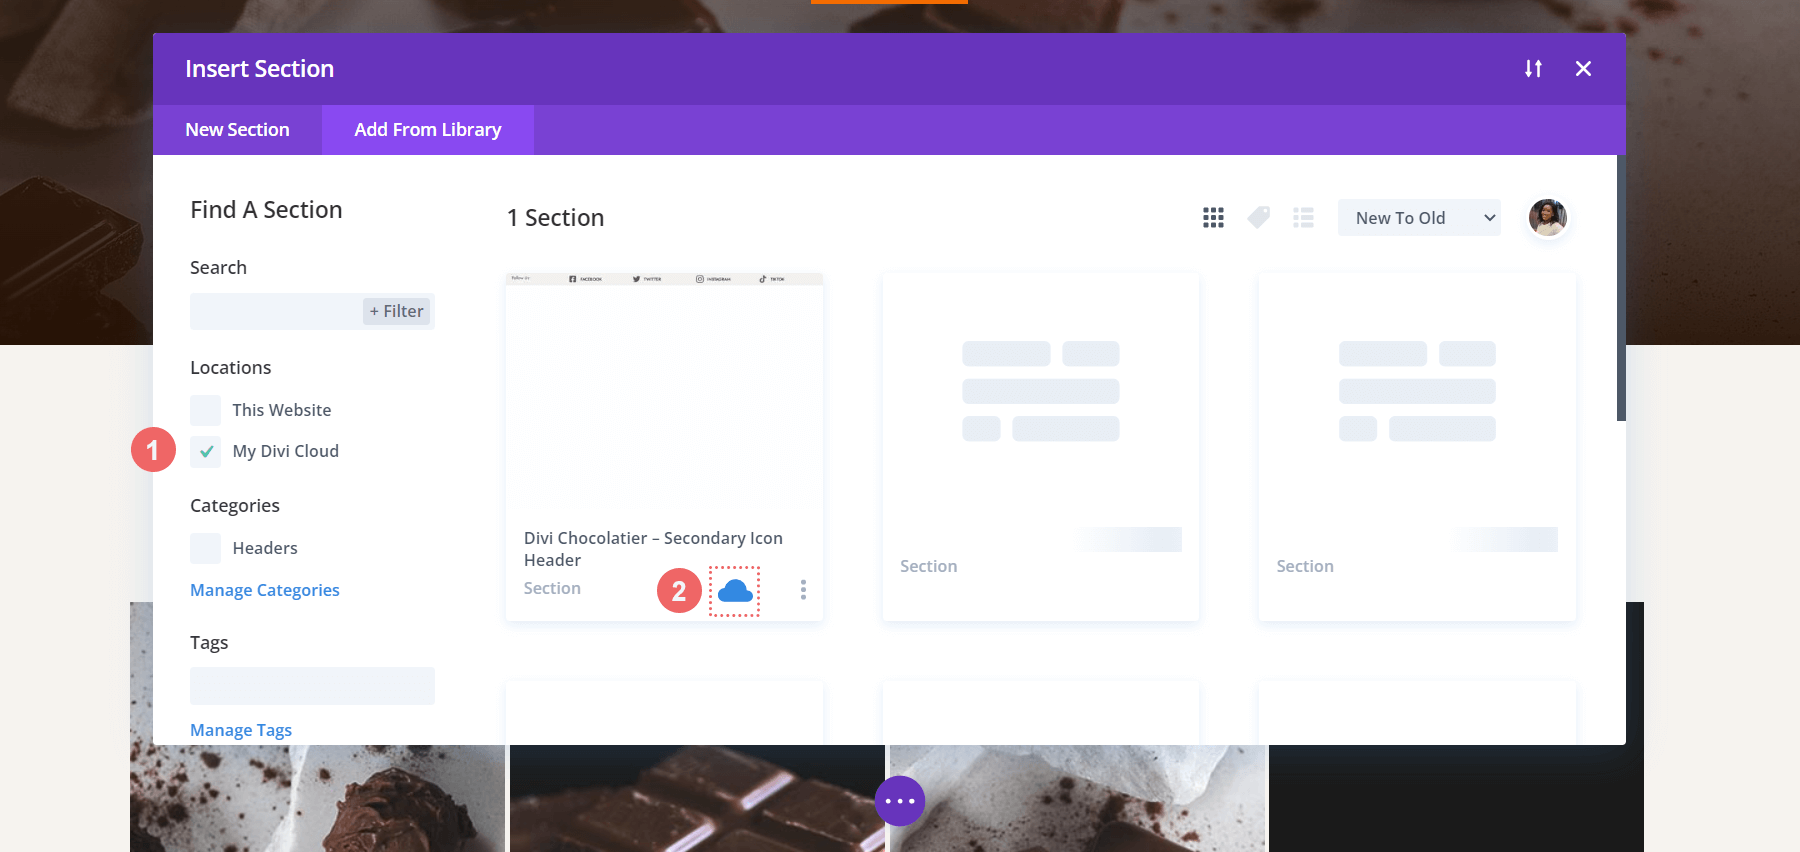
To access elements saved onto Divi Cloud, select My Divi Cloud from the Locations menu to the left of the modal window that opens when you got to add a new element. You will also notice that a blue cloud shows up in the bottom right-hand corner of the element to show that it is an element from within your Divi Cloud Library.
The Divi Theme Builder Library
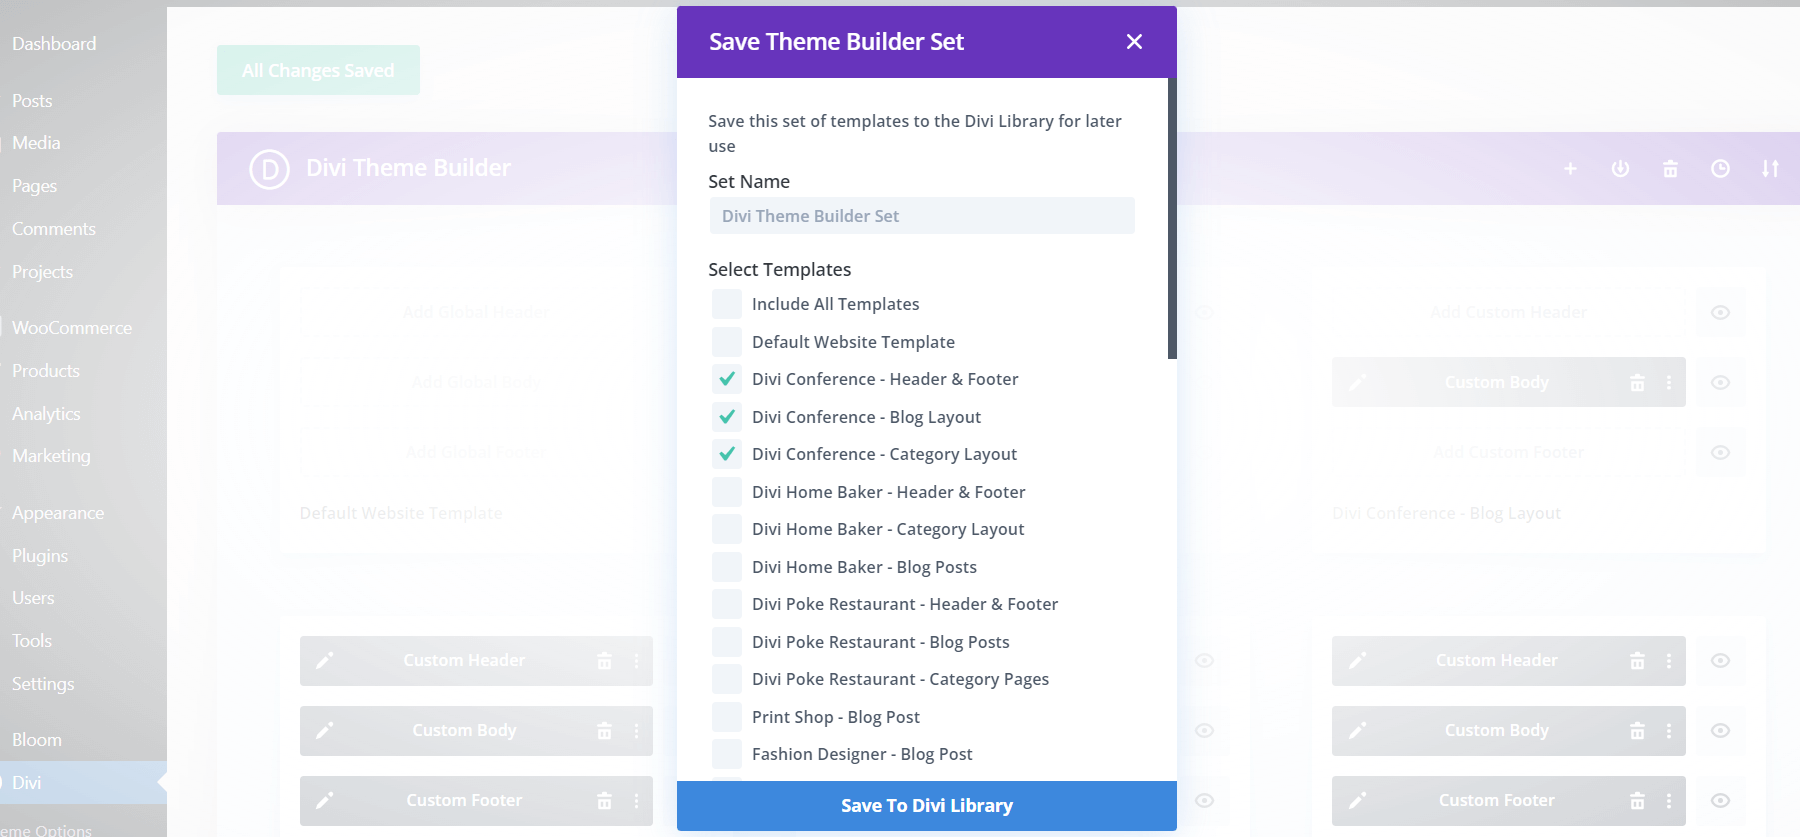
The new kid on the block, Divi’s Theme Builder Library adds a ton of spice to our libraries. With Divi’s new Theme Builder Library, not only can we save header, footer, and body templates, but we can also save their respective assignments as well.
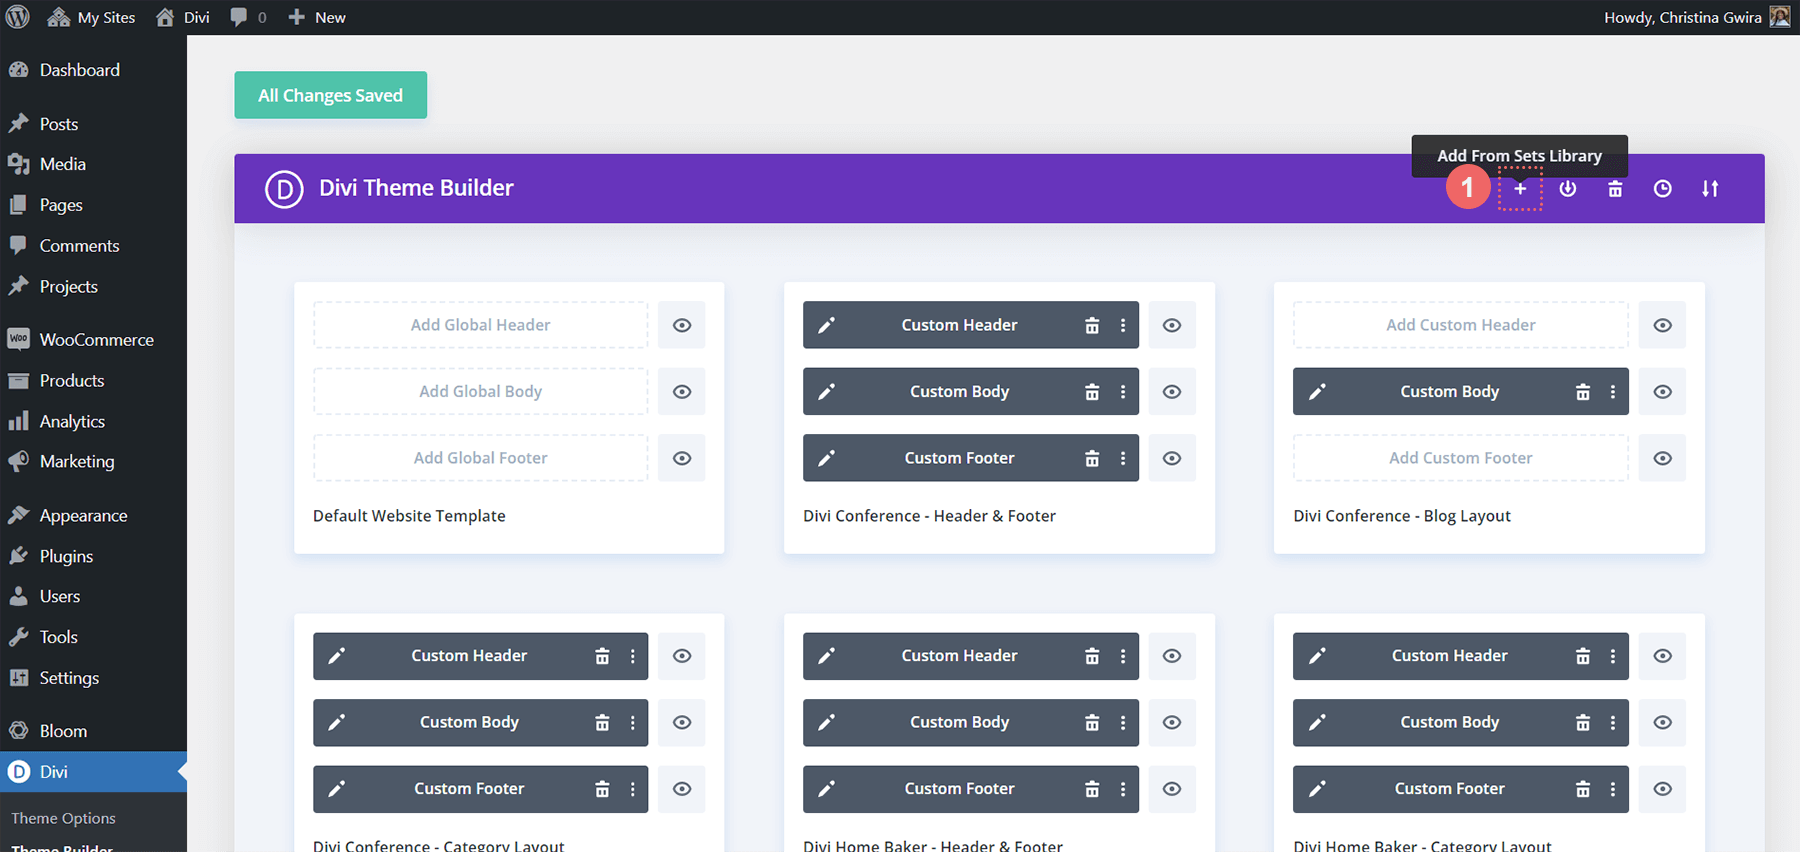
What does this mean? If we have created a Blog Post Template that will apply to All Blog Posts across our blog, we can save this into the template that we will then save into the Divi Theme Builder Library. When we couple this now with Divi Cloud, we can take this exact same template, with it’s assignment to All Blog Posts, and add it to a completely new Divi install. This helps us save time when building websites, optimizing our workflow and saving us time and energy.
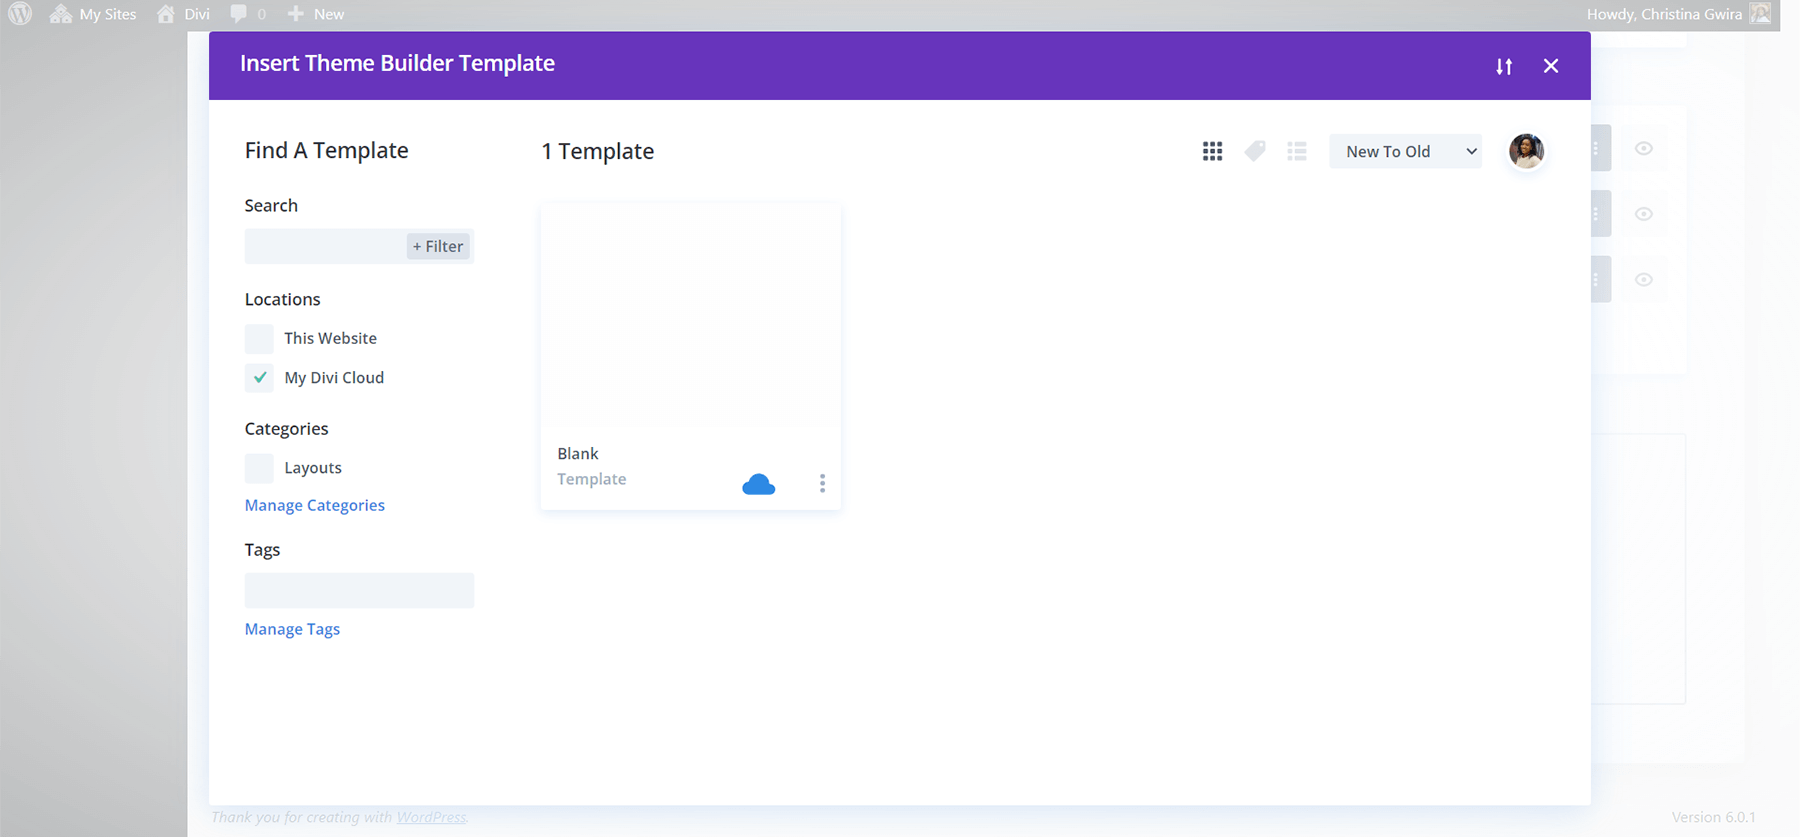
This can be taken a step further when we bring in Template Sets into the equation. This highlights a key difference between Divi’s libraries. Whereas on an element level, we could only save a single element or a group of elements into a single layout. With the Divi Theme Builder, we can create our own layout packs and also keep the pages, posts, products etc. to which they were assigned at the click of a button.
In Conclusion
The various libraries that come with Divi allow us to organize the various elements that we use. On a day-to-day basis, we can have access to our favorite designs, layouts, and more by saving elements to their respective libraries. When we add Divi Cloud into the mix, we can take our beautiful assets to different domains and web hosts. Time is saved across our web building processes as we now have a more elegant solution to managing the assets that we have created in Divi.





Thanks for this article Christina, libraries are always a “life saver” when we want to change something on many pages at once, and that common element is in the library.
You’re more than welcome! I think coupling global elements with libraries is a surefire way to speed up the process when working on large sites.
Thank you for this detailed description of Libraries in Divi. Your explanations and example screens very helpful.
Thank you, glad you found it helpful 🙂