You need money. Maybe it’s for a non-profit you volunteer with, a new puppy’s adoption fee. Or maybe the most comfortable pair of running shoes you’ve ever tried on. The reason (mostly) doesn’t matter. What matters is that you’ve got a website with a captive audience who loves you. And they want you to get that puppy.
Enter the Paypal donate button, what might just be one of the easiest, low-maintenance solutions for fundraising available to you. And since you built your website with WordPress, implementing the button is pretty straightforward.
Getting Started
Subscribe To Our Youtube Channel
The first thing you should do is head over to Paypal’s Fundraising Page and pick which category of donate button would work best for your needs:
- Nonprofit
- School
- Political
- Personal
Pretty much everything you could need a donate button for should fall into one of those categories. For this tutorial, we’re going to say that you’re fundraising for personal reasons (that wonderful puppy I mentioned earlier). The process is similar for all of the choices.
After Picking Personal
On the next page, scroll down until you see the text “Learn about creating a donation button” and click it.
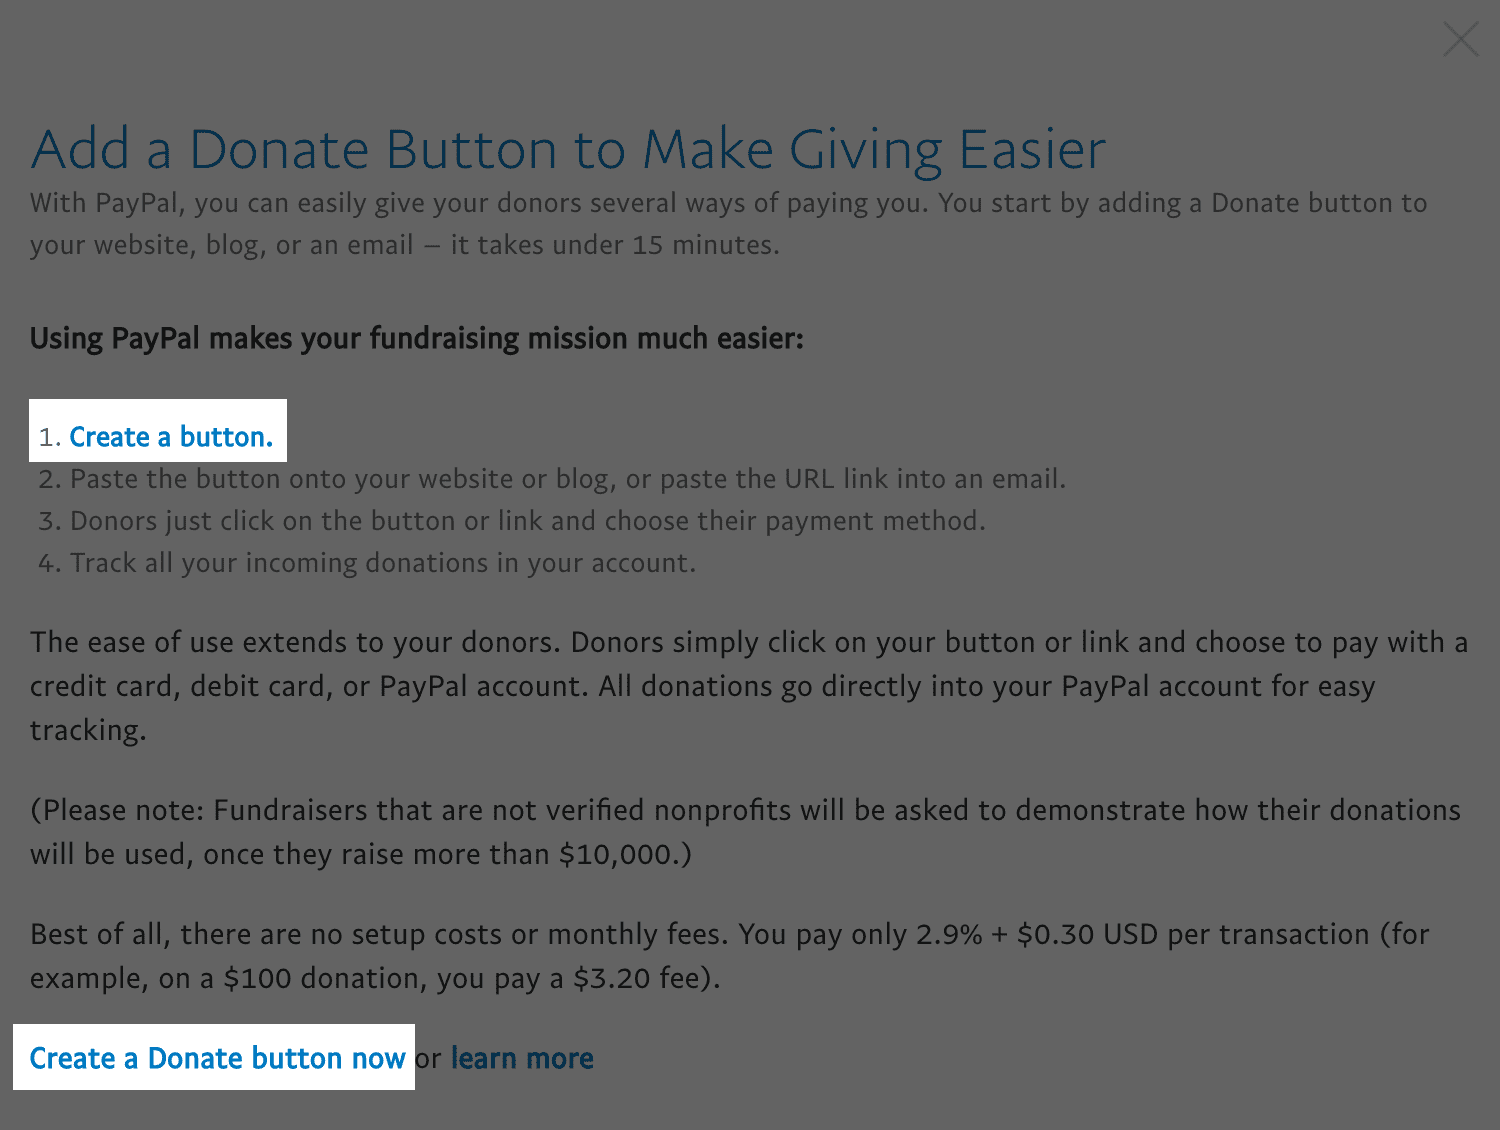
That will bring up a modal where you’ll click one of these two links. They take you to the same page, so it’s really just a matter of preference.
When you click the link to create a donate button, it will take you to the page where the magic happens. You should note, however, that Paypal will not prompt you to log in. Repeat: Paypal will not be prompt you to log in. You will be able to toward the end of the process, but don’t stress about it at this point–nothing has gone wrong.
Step 1
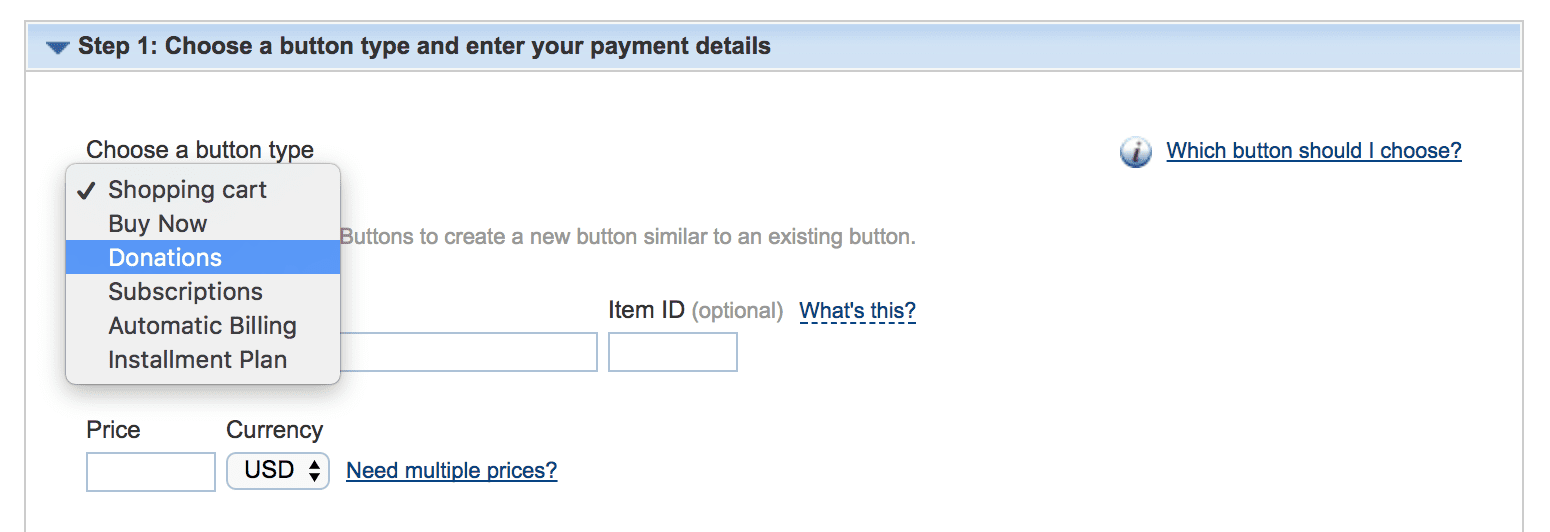
The first thing you’ll do to create the Paypal donate button is actually make it a “donate” button. The default setting is “Shopping Cart,” but if you click the dropdown in the upper left of Step 1, you can change it to “Donations.” Like I said, pretty straightforward, huh?
With that set, you will enter your website or organizational information for the donate button. Since your fictional fundraiser is through your website to adopt an adorable puppy, you’ll fill it out with the name of your website and the optional ID you’ll use to track each donation.
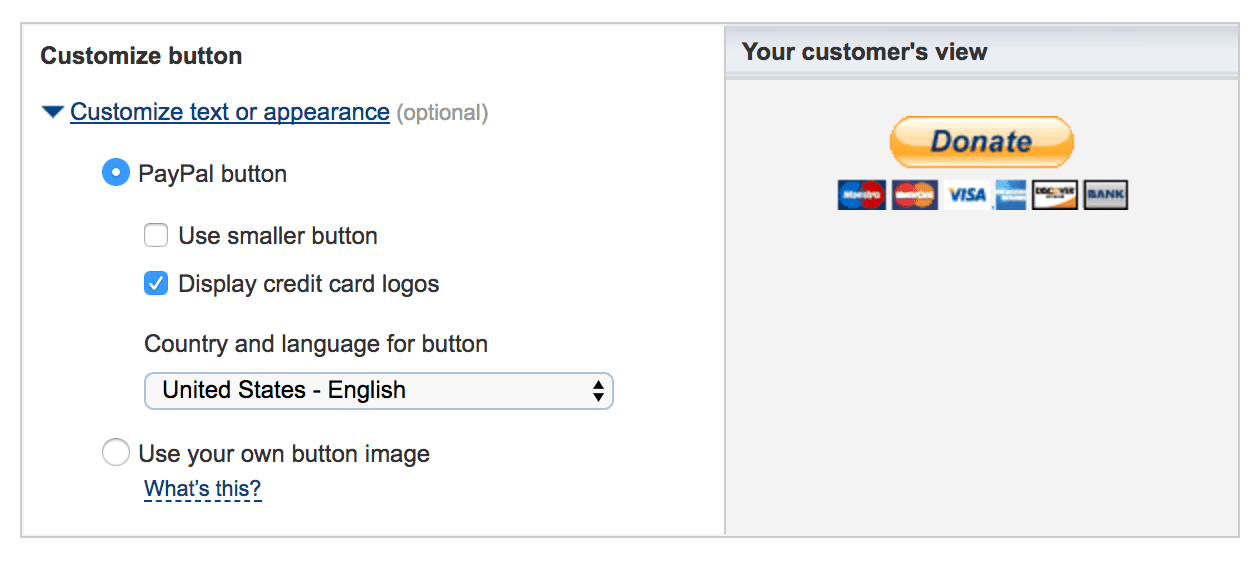
After you put in your info, you get to start customizing your button. For the most part, there’s not a lot you will want to change. It’s all pretty basic stuff such as selecting which country and language the button will use, the size, and whether or not you will display credit card logos. All of these choices are based on how you intend on integrating the button on your site.
You can also use an image hosted on your own website as a button if, let’s say, you have a graphic designer make an awesome animated gif of an adorable puppy for people to click on. Today, however, we do not.
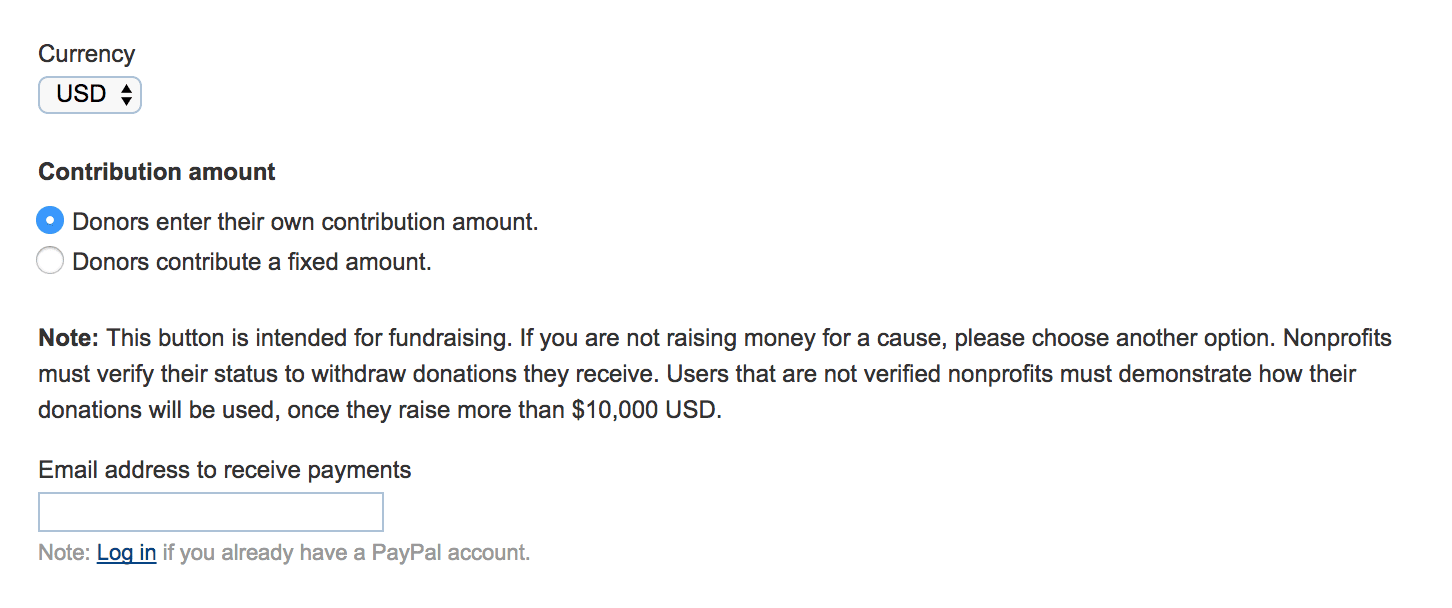
You just have to pick your currency type, whether or not you want to specify a specific donation amount, and which email you want the donations sent to.
This is where you should log in if you have a Paypal account. If not, create one so that you are covered by PayPal’s various protections. (If you choose not to use a Paypal account, just enter your email, and you will still be able to receive donations via Paypal without any of the added security.)
Once you login, you should see this:
Which option you use is up to you, but using the merchant code offers a bit more protection since your email address will not be included in the button code itself. The fewer places spammers and phishers can get your email, the better, right?
You are almost ready to put your Paypal donate button into WordPress!
Optional Steps 2 and 3
If you have a Paypal Business account, you can do quite a bit more in terms of tracking, inventory management, and checkout customization, but since we’re dealing with donations, most of the options aren’t relevant to us.
On the next page, you’re finally be given the donate button code that will live on your WordPress site, as well as an example of what the button will look like to your users.
Click on Select Code to highlight your code and hit CTRL-C if you’re on Windows, CMD-C on Mac, or right-click the highlighted text and select Copy from the context menu. Pick your poison.
Once you have copied the code, navigate to your WordPress dashboard. This is where things can vary a bit because everyone will want their Paypal donate button in a different spot, but the general idea is the same.
For Divi users, we have a lot of options for you.
Above or Below Posts
To put your Paypal donate button at the beginning or end of your blog posts,, navigate to your Divi Theme Options and head into the Integrations tab.
When you scroll down a bit, you will see text areas labeled “Add code to the top of your posts” and “add code to the bottom of your posts, before the comments.”
What they do is pretty self-explanatory.
Before Post:
After Post:
Keep in mind that these are entirely unstyled buttons, so if you want to make it do more than just sit there, I would suggest wrapping the code that Paypal provides in something like this:
<div class=”paypal-donate”> PAYPAL DONATE BUTTON CODE GOES HERE </div>
With that done, you can use CSS to manipulate and position the button however you want.
Post-by-Post or Page-by-Page
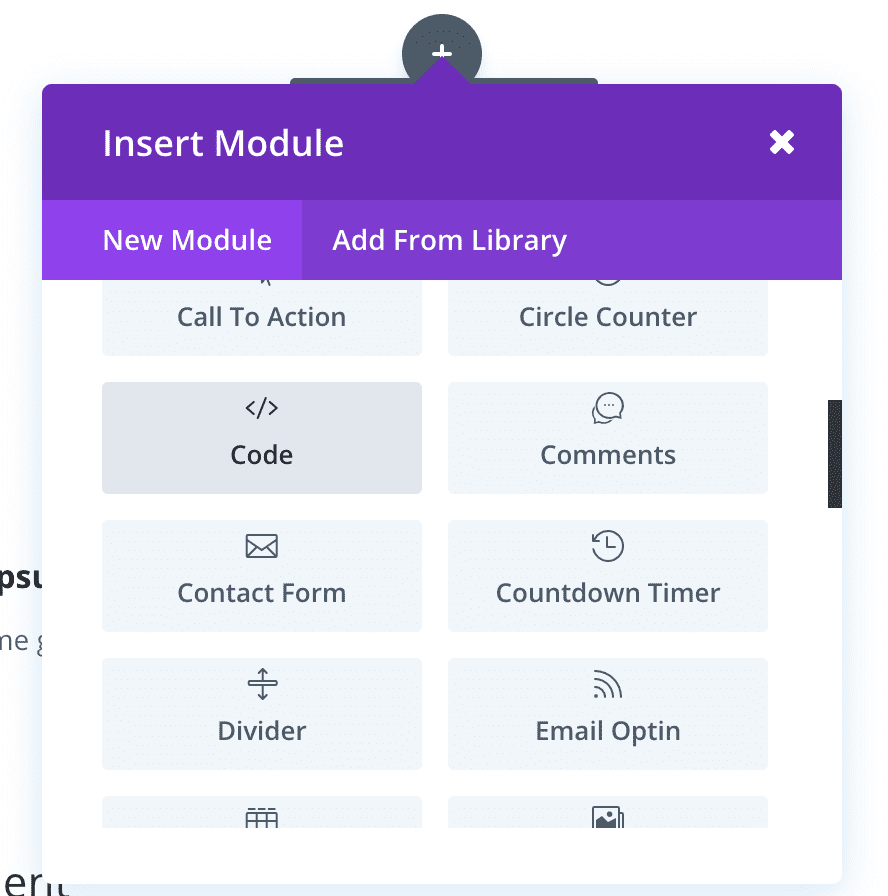
If you don’t want the button appearing before or after each and every post on your site, you can be a lot more selective by using the Divi Code Module. Additionally, you can use the Code module to add your button to Pages, which won’t be affected by the previous method.
Open the “Insert Module” window and select the Code Module to get started.
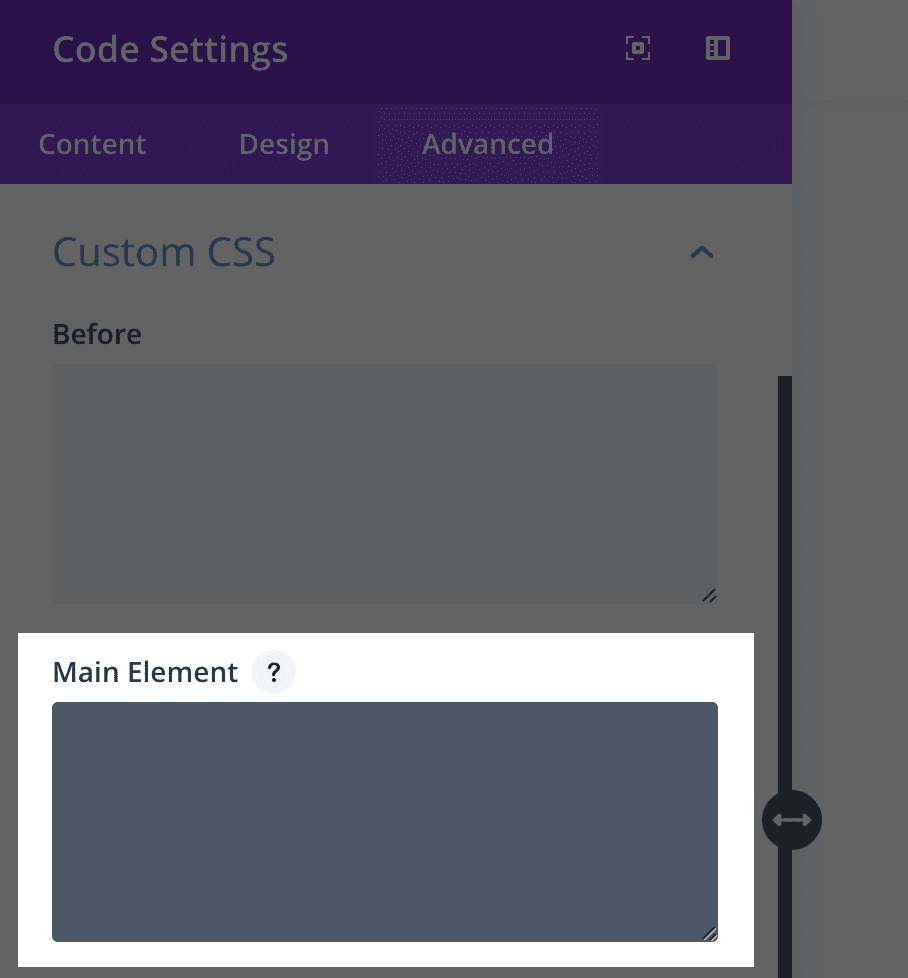
Like before, just paste the code Paypal generated into the module’s settings. There’s no need to wrap it in a div here, though. You can just use the Main Element section under Custom CSS in the Advanced tab to manipulate how you want the button to appear in the post or page.
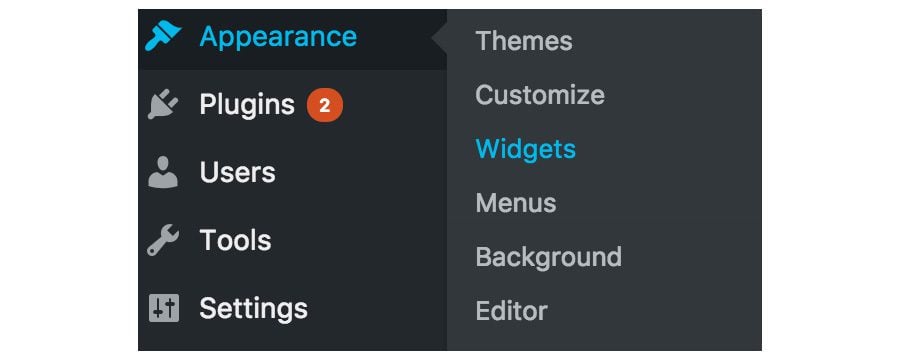
The most common place for Paypal donate buttons is probably the sidebar. It displays on every page and post you want, but it doesn’t interrupt the flow of your content. Plus, it’s crazy easy to customize! Just head back to your dashboard and click on Appearance > Widgets.
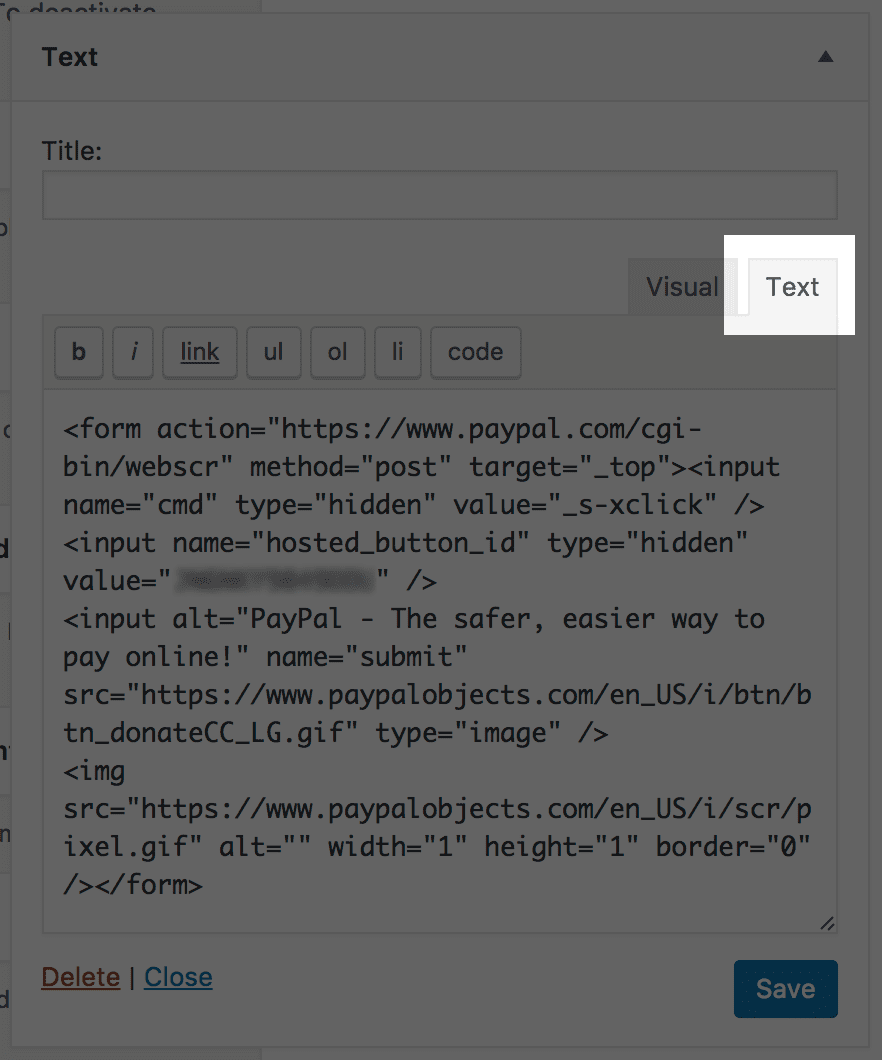
Next, click on the Text widget and add it to your sidebar in whatever position you want it. Keep in mind that WordPress 4.8 changed the Text widget from what it has been for years. We have a rich-text editor now, which we do not want to use.
Make sure that you means we need to click on the “text” tab before pasting your donate button code in here. (There is no need to use the code button, either.)
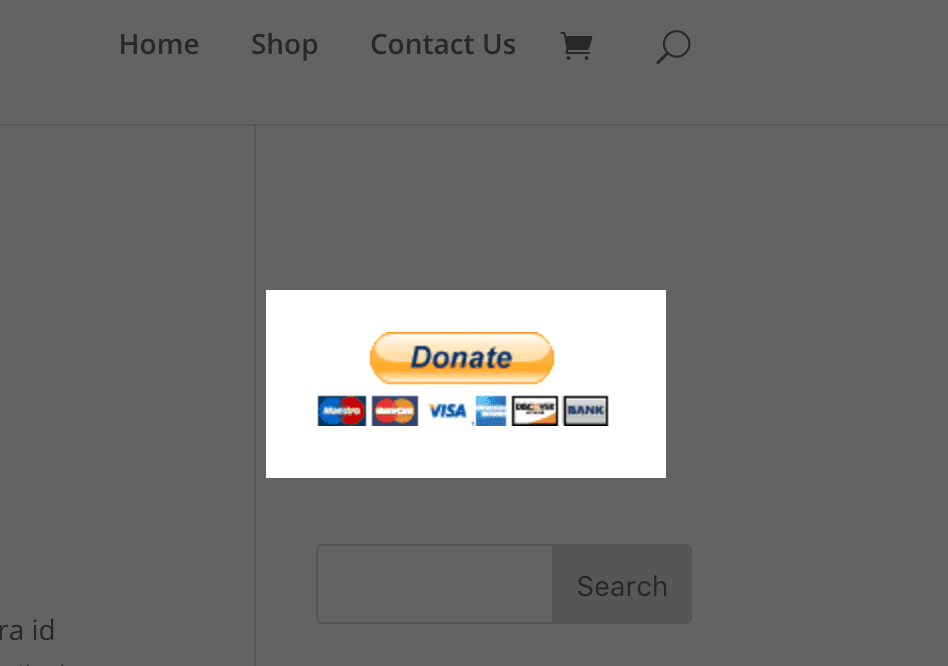
The text tab works pretty much the same as the old, pre-4.8 text widget did (except for the inclusion of code buttons. Just throw in your HTML and hit save. Voila, you have a money button at the top of your sidebar!
You don’t have to include this widget in only the sidebar. You can follow the same steps to add the button to themes that support header or footer widgets.
You’re Ready to Get that Money!
Now you’re totally ready to add a Paypal donate button to your WordPress site! The approach shared in this post doesn’t require any plugins, therefore, keeping your site fairly lean. However, if you are looking to add more features to your donor journey you can check out our list of the best donation plugins or the best WordPress PayPal plugins. No matter what theme your site is running or what you’re taking donations for, you’re good to go. (But let’s be honest with each other–it’s still for a puppy, right?).
Article image thumbnail by mohamed1982eg / pixabay.com









Hello 🙂
I am creating a website that sells my travel photos via donation to help fund my travel. So the donation button is perfect! However, it isnt clear to me if I can place/attach a donate button to each individual photo that I put on my website so that that it is seamless for both the donor and for me?
I love it! Totally agree, I am for a plugin-free site! If you can work it code it then do it.
Paypal for DIVI plugin does exist and is free.
It absolutely does, and it’s not a bad option. I tend to be of the mindset that if you can do it without a plugin, that’s the way to go because you’re not at the mercy of updates breaking it, etc. The plugin would be a good option for some folks, though, for sure.