If you are a creative or run a service-based business, you may want to create a portfolio website to showcase your experience and display your projects. Having an online portfolio can help you be discovered by potential clients and can establish your credibility. You can use project pages to demonstrate your process and the ideas behind your work, helping visitors imagine what it might be like to work with you.
In this tutorial, we will show you how to create a matching portfolio and project page with Divi. We will use dynamic content for the design of the portfolio page so that you can quickly and easily add new projects to your portfolio without having to design a project page each time. We’ll highlight using the powerful Divi Filterable Portfolio Module as well!
Let’s get started!
Subscribe To Our Youtube Channel
Sneak Peek
Here is a preview of what we will design
Portfolio Page


Project Page


What You Need to Get Started
Before we begin, install and activate the Divi Theme and make sure you have the latest version of Divi on your website.
Now, you are ready to start!
How to Create Matching Portfolio & Projects with Divi
Set Up Advanced Custom Fields Plugin
For this design, we are going to be using dynamic content to create a template for our project pages. By using dynamic content in a template, you can create and update fully-designed project pages by filling out the custom fields associated with the project. You can use the built-in custom fields function in WordPress to do this, but it has some limitations. For this design we want multiple photos to dynamically populate, so we are going to use the Advanced Custom Fields Plugin to accomplish this. This plugin is free on the WordPress plugin directory and allows us to add powerful custom fields to the project pages.
From the WordPress dashboard, navigate to the Plugins settings and click Add New. Then search for the Advanced Custom Fields Plugin, install, and activate.
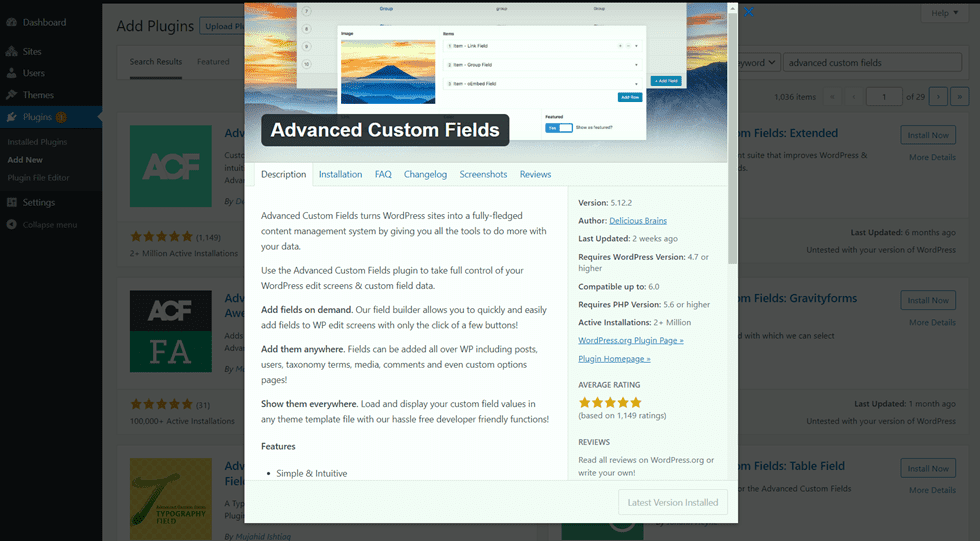
Add Custom Fields
Once the plugin has been installed and activated, open the Advanced Custom Fields settings and add a new Field Group. Add a title, then set the location rules and set the field group as active.
- Title: Project
- Location Rules: Show this field group if Post Type is equal to Project
- Active: Yes
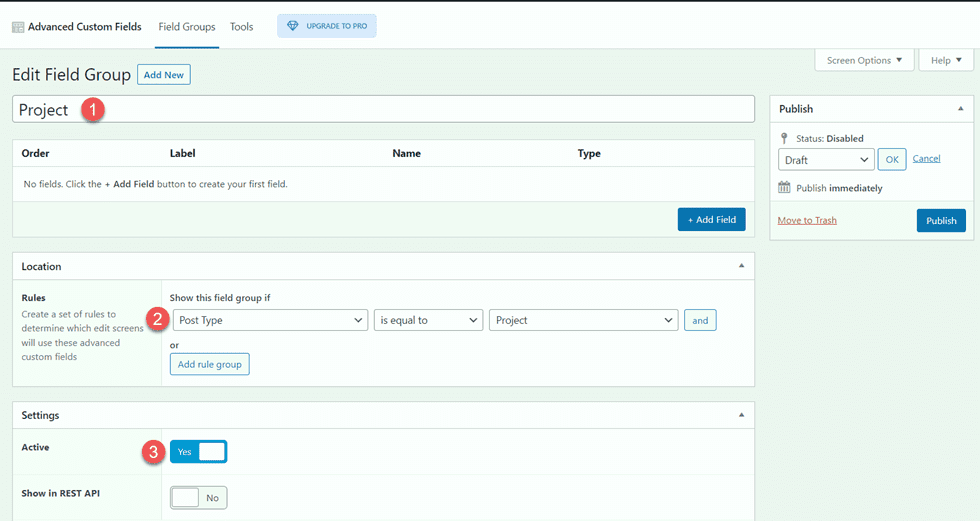
Next, add the custom fields by clicking the blue Add Field button. For this tutorial, we will only modify the field label and type for each field. The first field will be the client name.
- Field Label: Client Name
- Field Type: Text
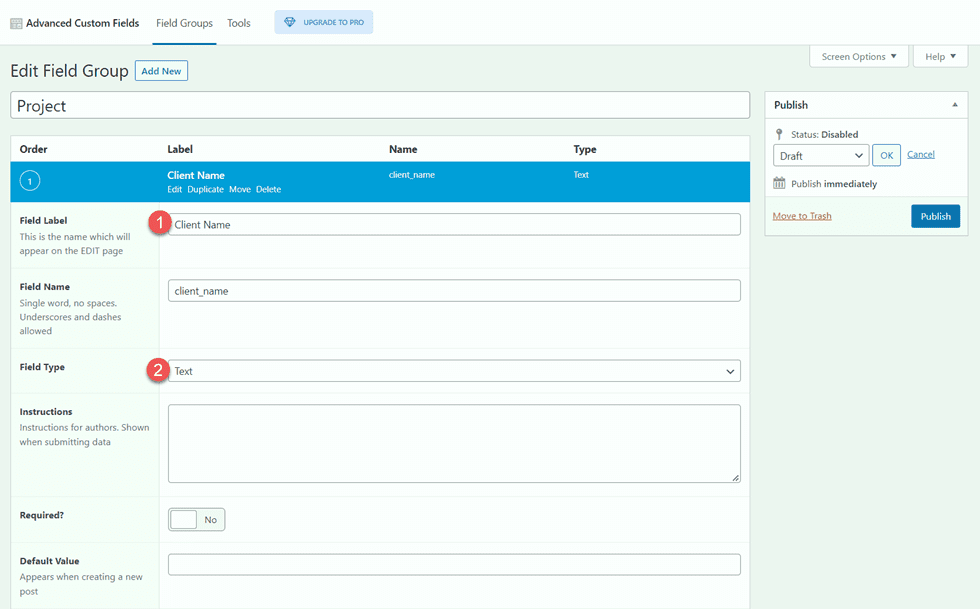
Next, add the following fields.
- Field Label: Project Year
- Field Type: Number
- Field Label: Deliverables
- Field Type: Text
- Field Label: Project Description
- Field Type: Text Area
- Field Label: Image 1
- Field Type: Image
- Field Label: Image 2
- Field Type: Image
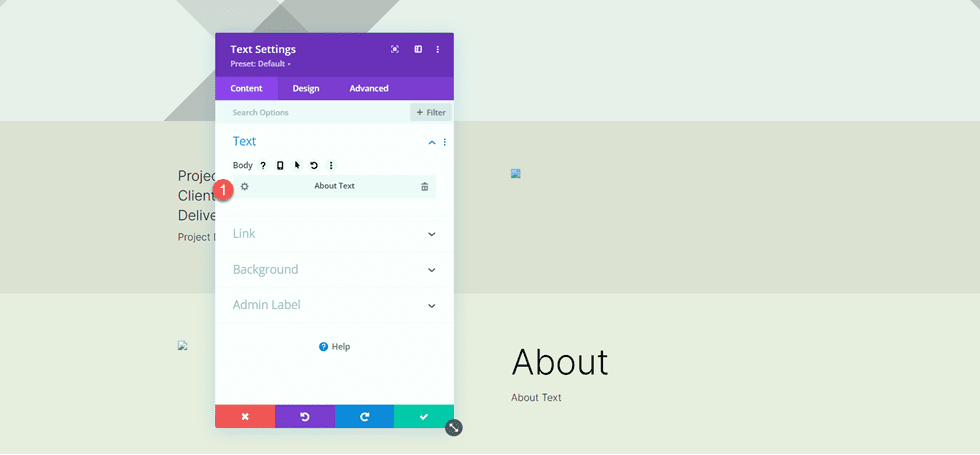
- Field Label: About Text
- Field Type: Text Area
- Field Label: Image 3
- Field Type: Image
- Field Label: Image 4
- Field Type: Image
- Field Label: Testimonial Text
- Field Type: Text Area
- Field Label: Testimonial Name
- Field Type: Text
- Field Label: Testimonial Job
- Field Type: Text
- Field Label: Image 5
- Field Type: Image
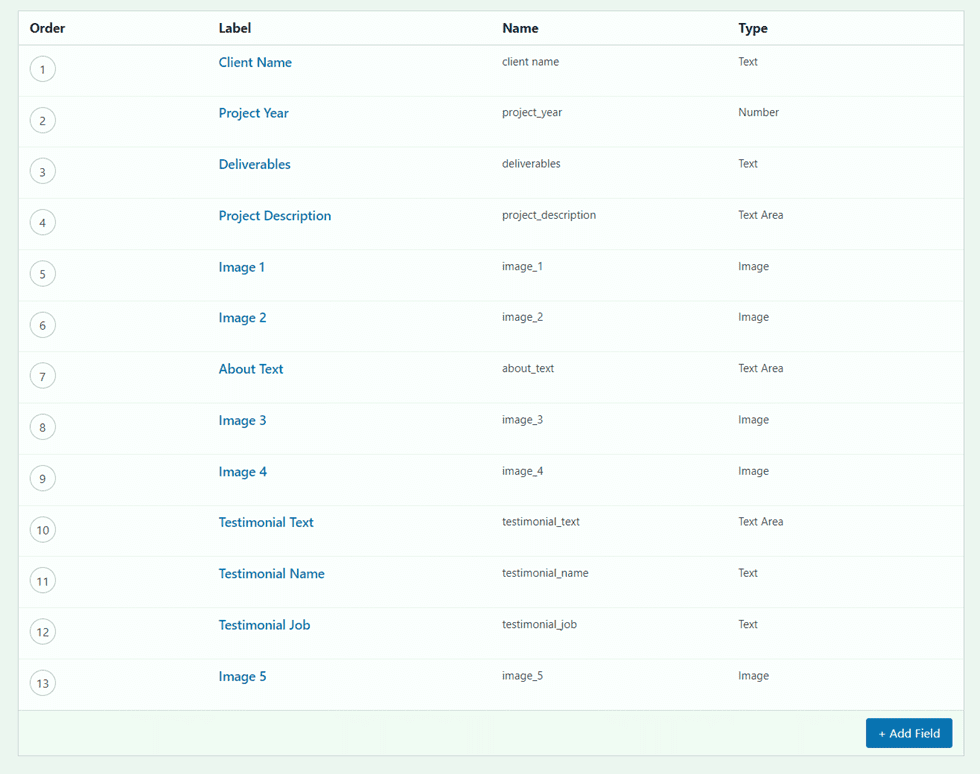
Once you publish and save the custom fields, add a new project or edit an existing one. You should see the custom fields toward the bottom of the editing page. For this portfolio and project layout, fill out each of the custom fields and upload a featured image to the project. If you want to add a filterable portfolio, make sure the posts are categorized as well.
Design Portfolio Page
Now let’s get started with designing our portfolio page. We’ll start with a premade landing page and add a filterable portfolio module to it.
Start With a Premade Layout
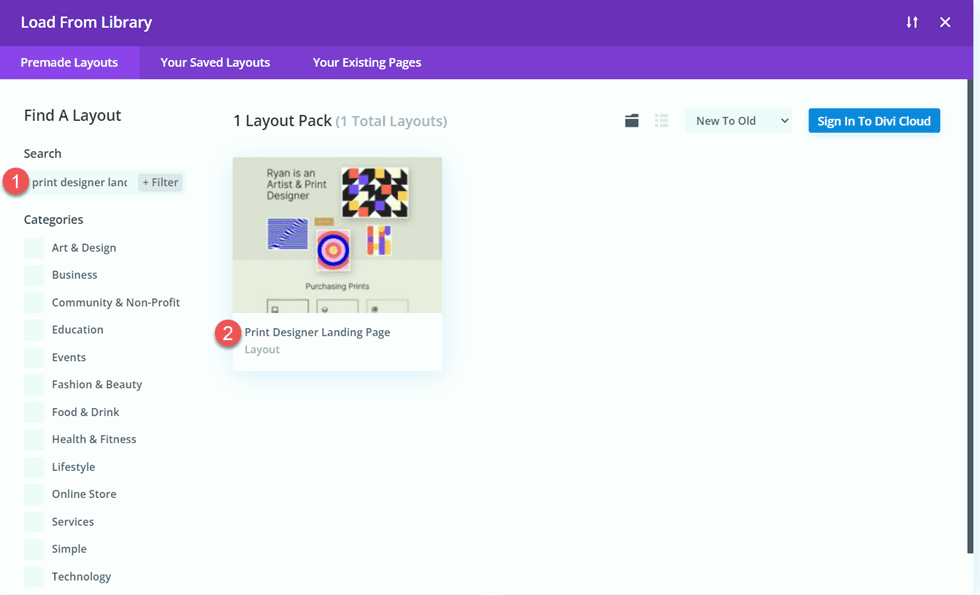
Let’s start by using a premade layout from the Divi library. For this design, we will use the Print Designer Landing Page from the Print Designer Layout Pack.
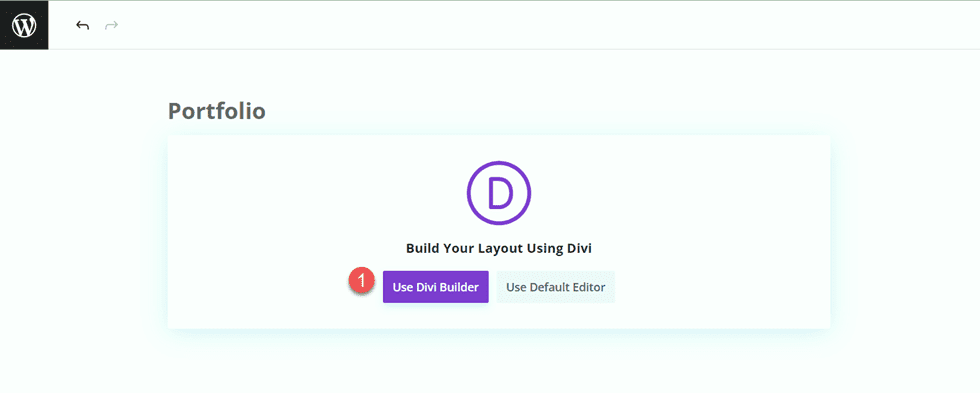
Add a new page to your website and give it a title, then select the option to Use Divi Builder.
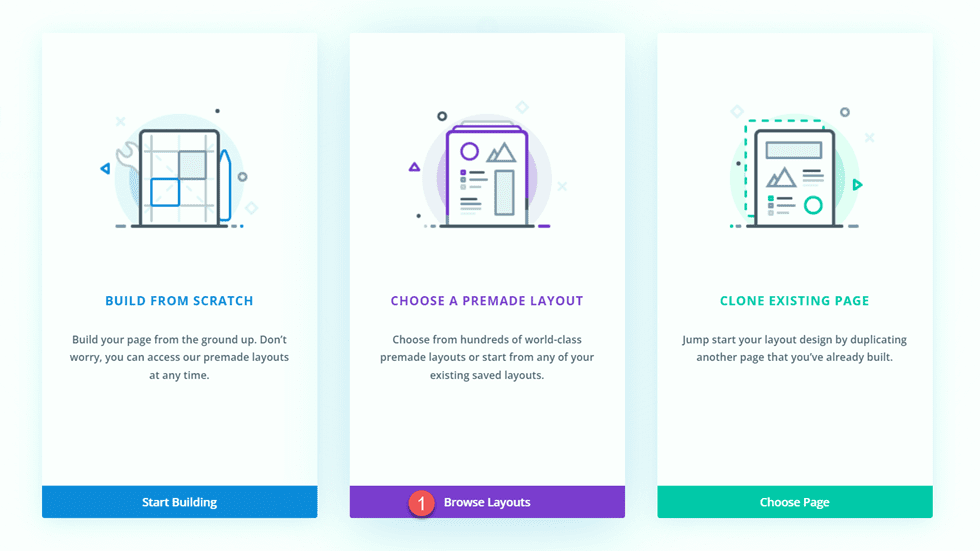
We will use a premade layout from the Divi library for this example, so select Browse Layouts.
Search for and select the Print Designer Landing Page.
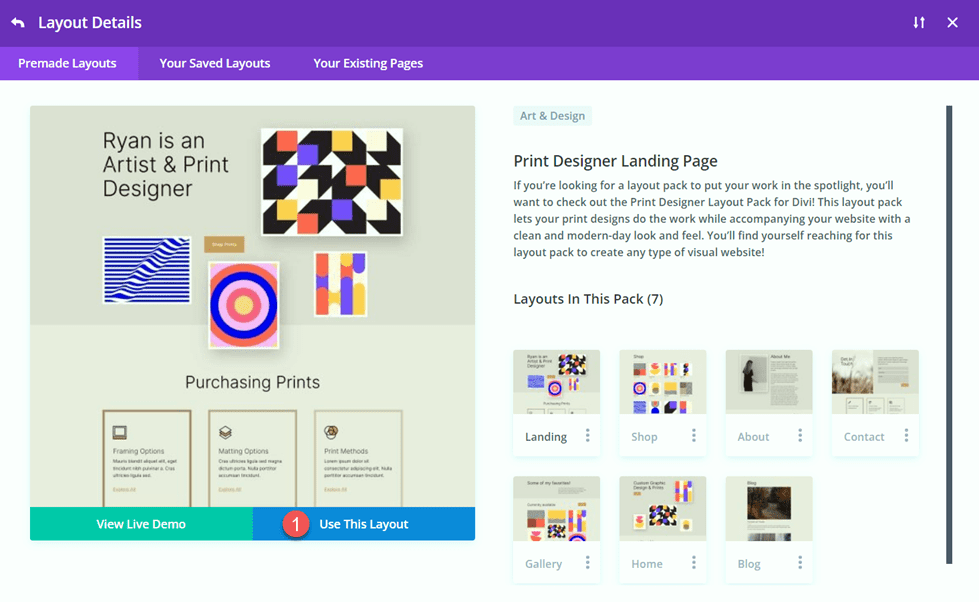
Select Use This Layout to add the layout to your page.
Now we are ready to build our design.
Add the Filterable Portfolio Module
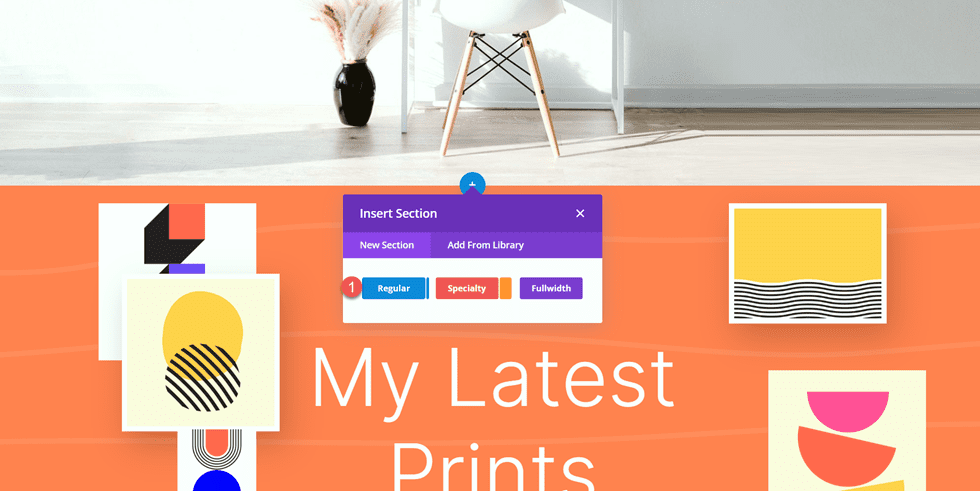
Add a new regular section below the image of the desk, above the orange “My Latest Prints” section.
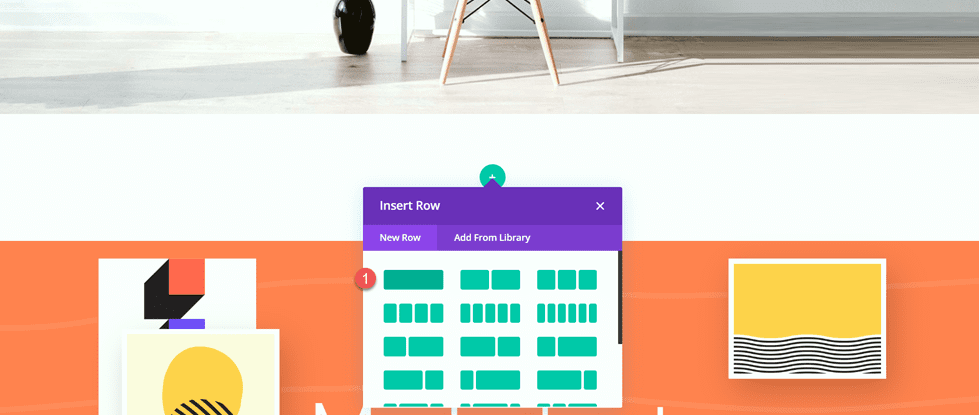
Add a single row.
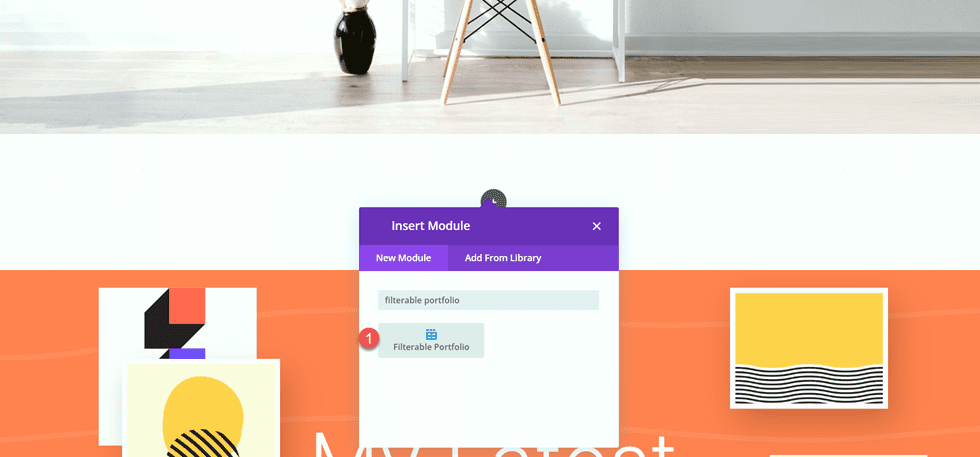
Then, add the filterable portfolio module to the row.
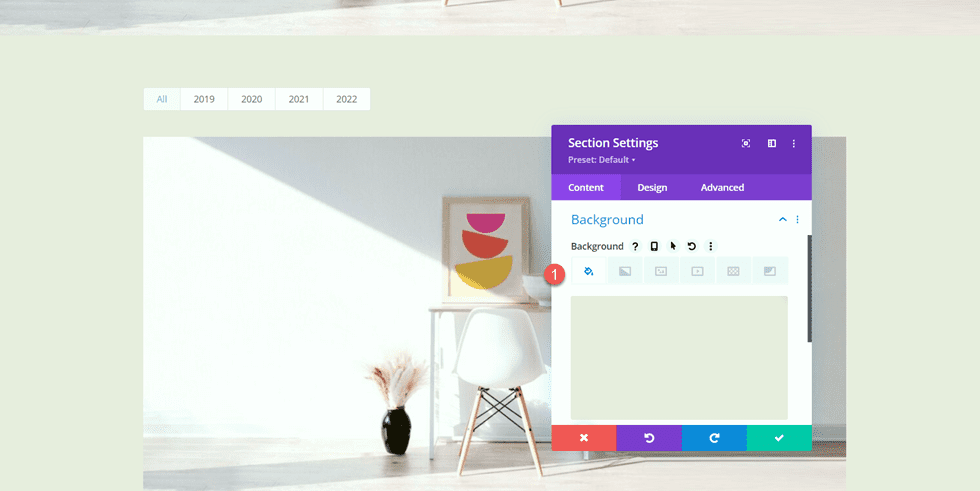
Open the section settings and add a background color.
- Background: #eae8de
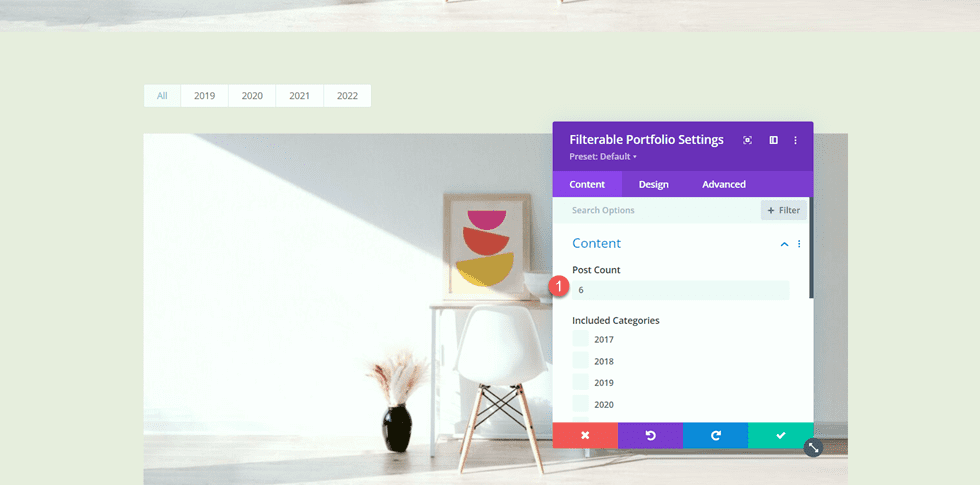
Next, open the filterable portfolio module settings. Under Content, set the post count to 6.
- Post Count: 6
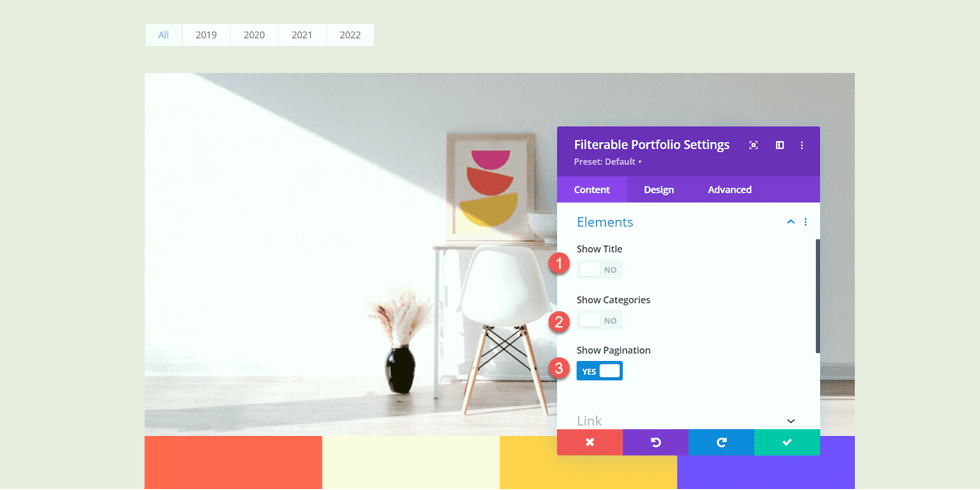
Under Elements, disable the title and categories.
- Show Title: No
- Show Categories: No
- Show Pagination: Yes
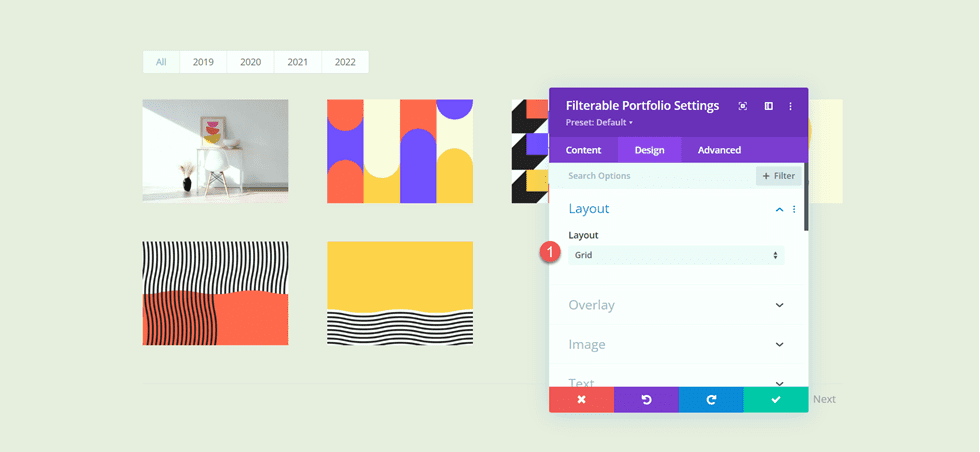
Then, move to the design tab and open the Layout settings. Select the Grid layout.
- Layout: Grid
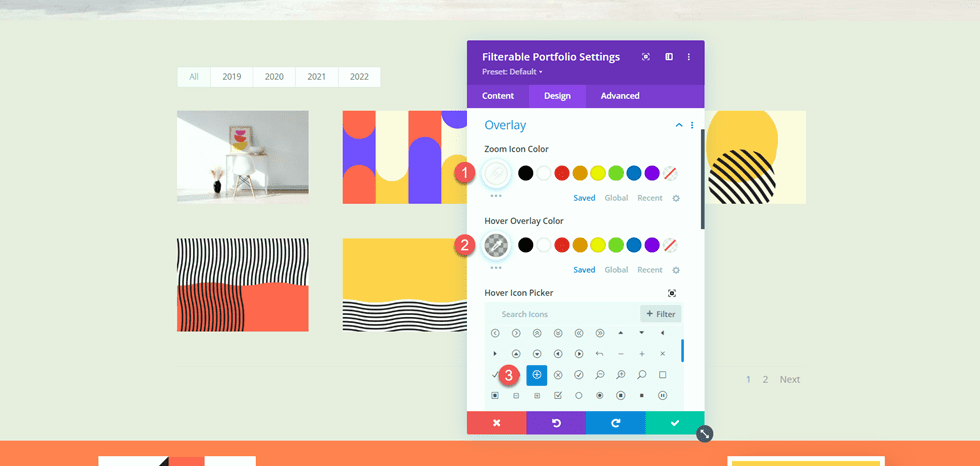
Under Overlay, customize the options as follows:
- Zoom Icon Color: #FFFFFF
- Hover Overlay Color: rgba(10,10,10,0.25)
- Hover Icon: Plus Icon in Circle
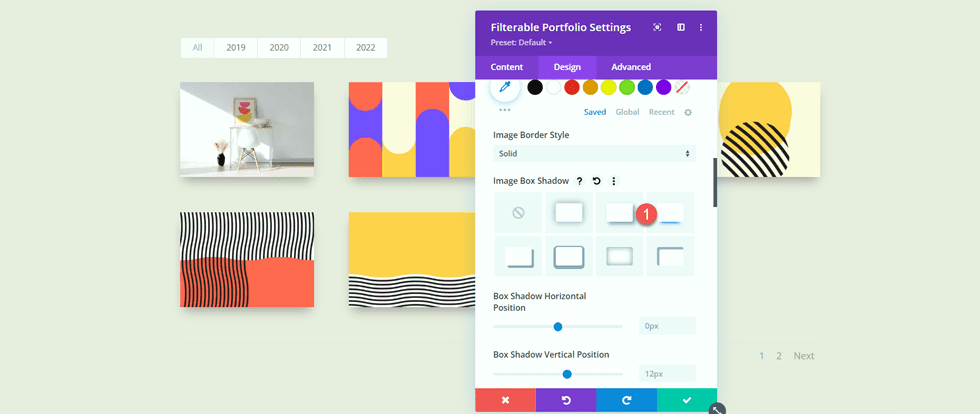
Next, add an image box shadow.
- Image Box Shadow: Below
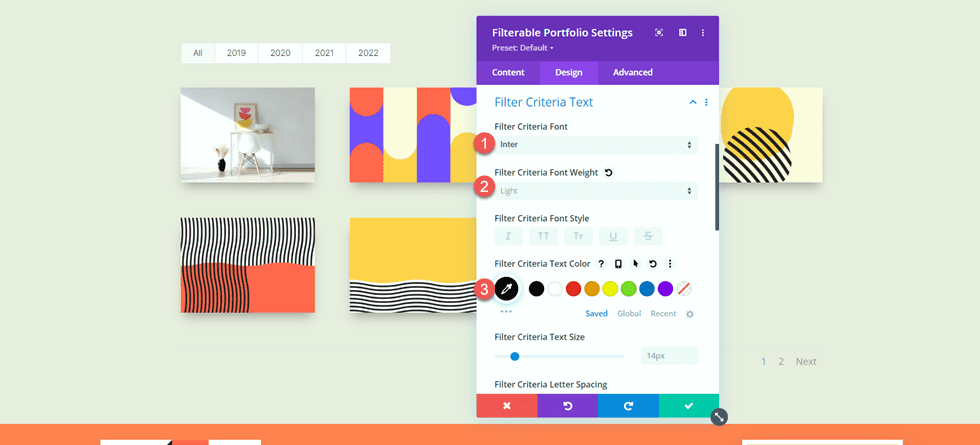
Now modify the filter criteria font settings.
- Filter Criteria Font: Inter
- Filter Criteria Font Weight: Light
- Filter Criteria Text Color: #000000
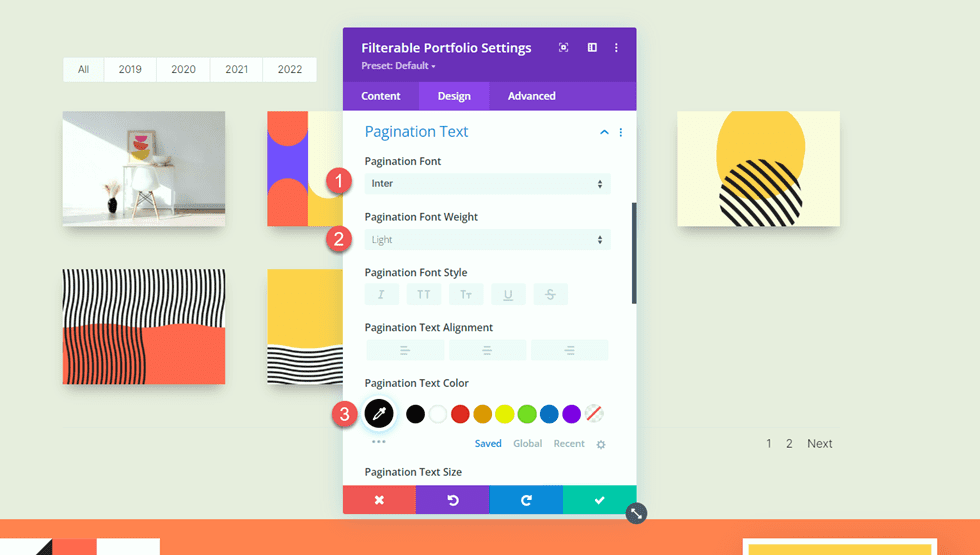
Finally, modify the pagination font settings.
- Pagination Font: Inter
- Pagination Font Weight: Light
- Pagination Text Color: #000000
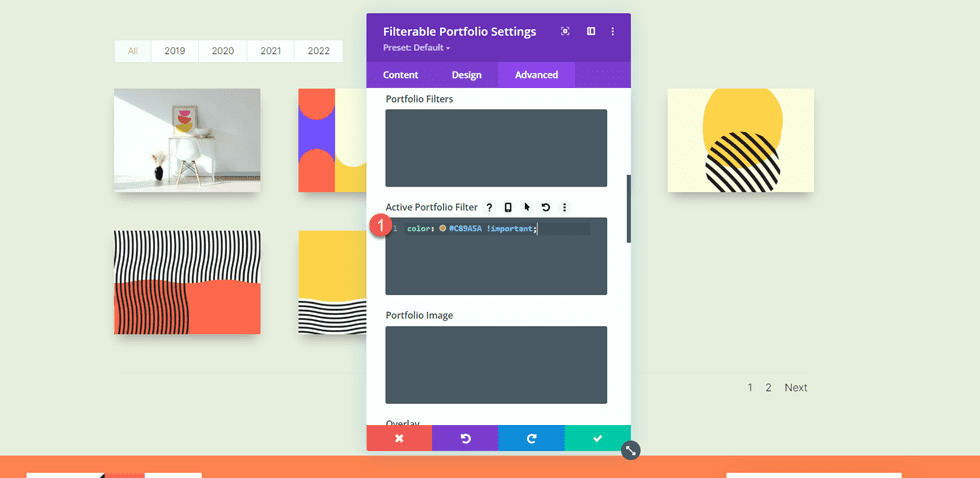
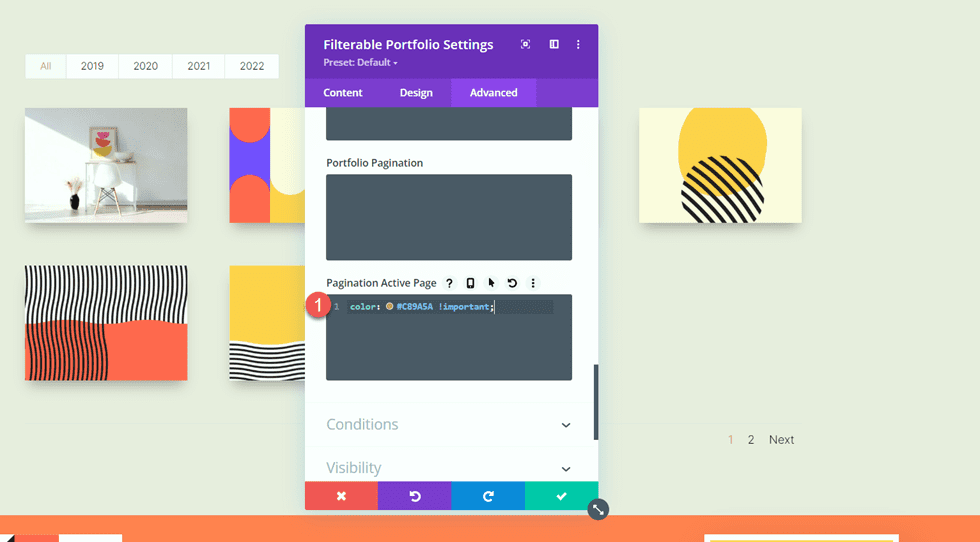
We want the active portfolio filter and the active page color to be a different color than the rest of the text. Move over to the advanced tab and add the following CSS.
Under the Active Portfolio Filter CSS section add the following:
color: #C89A5A !important;
Finally, add the following to the Pagination Active Page CSS:
color: #C89A5A !important;
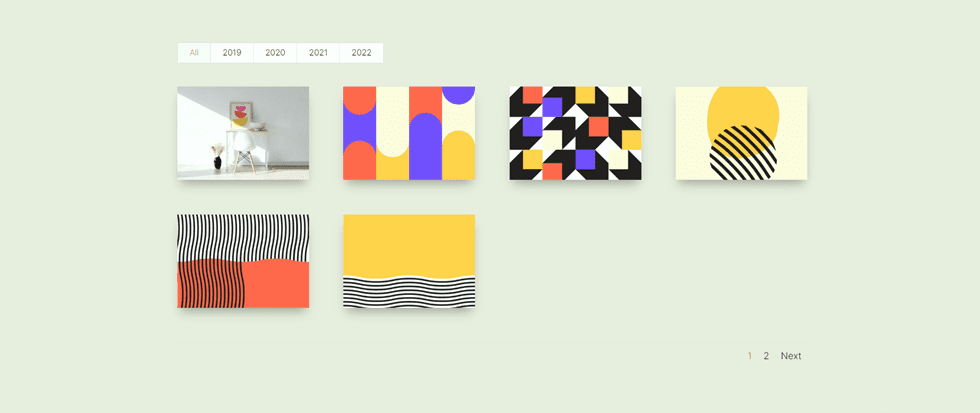
Portfolio Page Final Design
Now here is the final design for the portfolio section.

Design Project Template
Use the Theme Builder
Now let’s create the template for our project pages. To do this, we will use Divi’s theme builder. Open the WordPress dashboard and navigate to the Theme Builder. Then select Add a New Template.
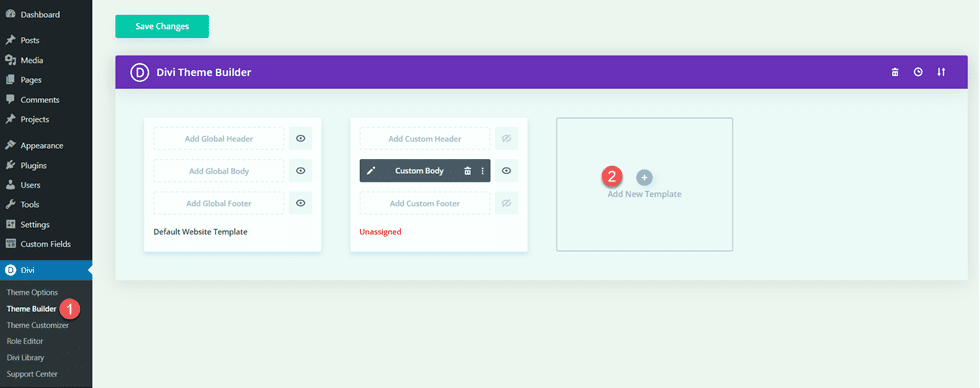
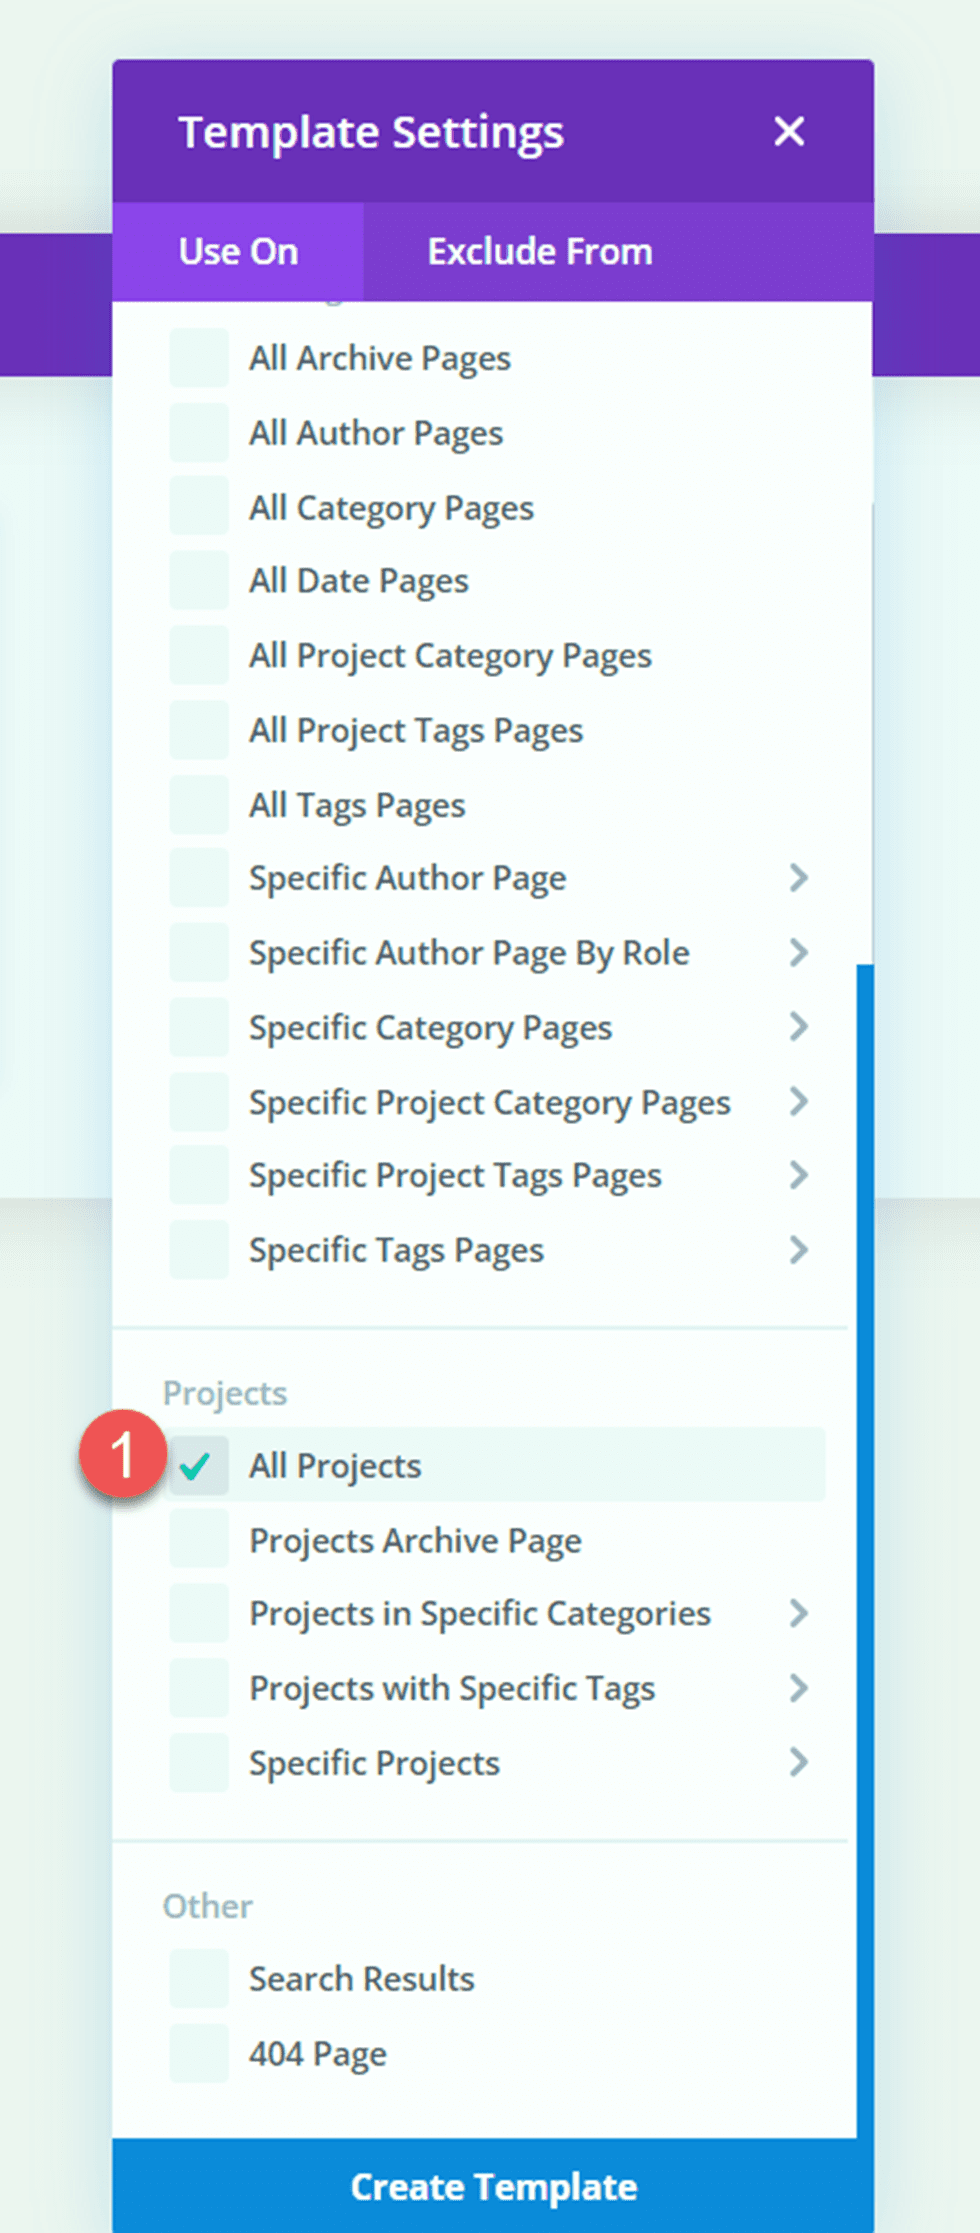
Next, set the template to apply to all project pages.
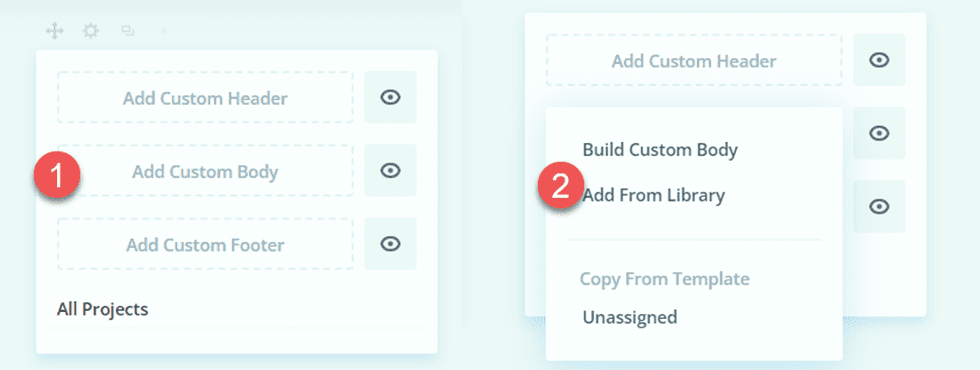
Click “Add Custom Body”, then select “Build Custom Body”.
Header Design
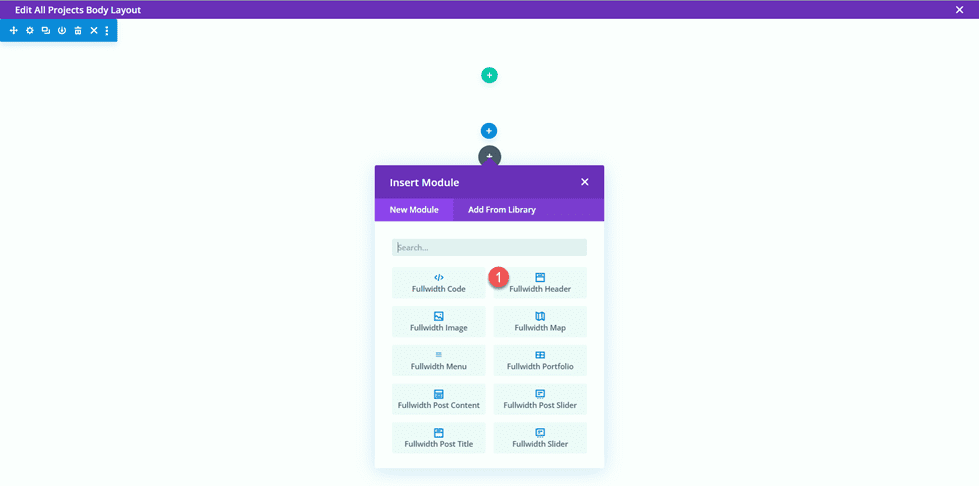
First, add a fullwidth section to the page.

Then, add a fullwidth header module.
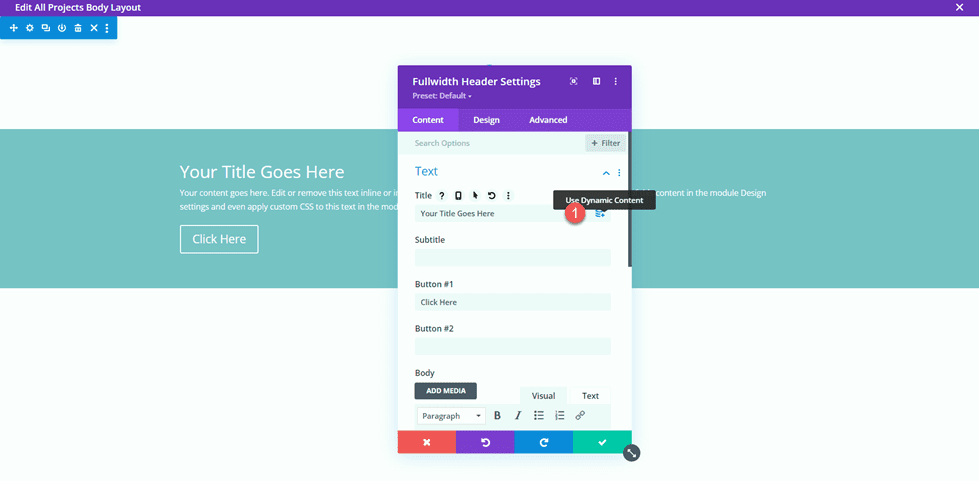
Open the header settings. We want the title of this page to dynamically populate based on the title of the project. Next to Title, click the dynamic content icon.
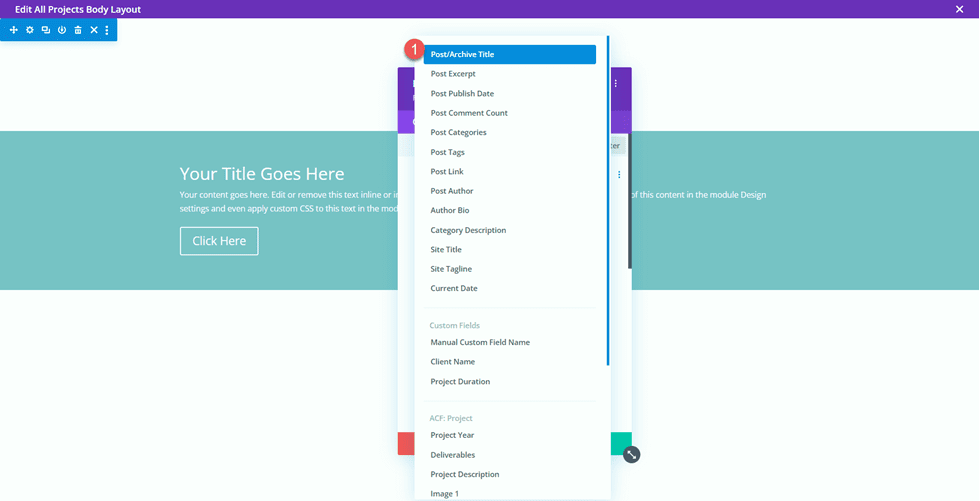
Then, set the Title to “Posts/Archive Title.” Now the title will dynamically populate.
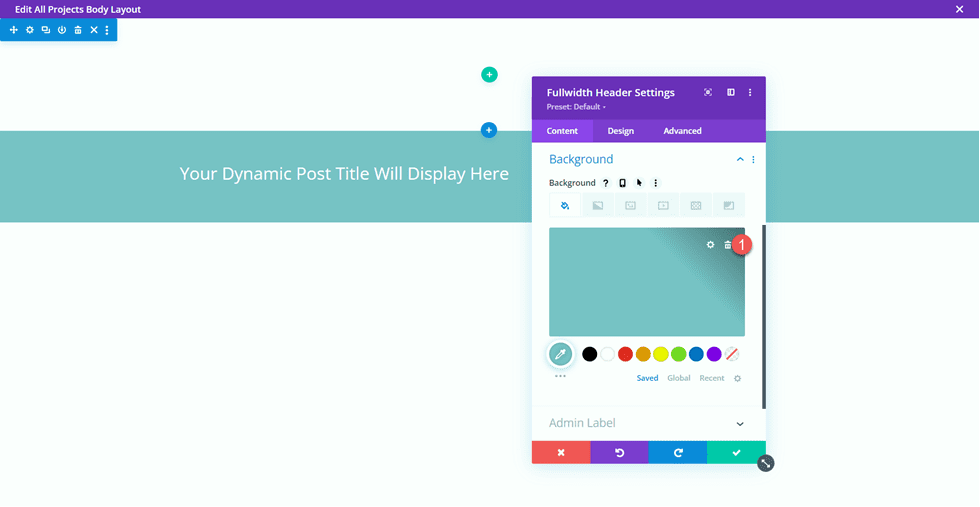
Remove the text from the Button #1 and Body sections and remove the background color.
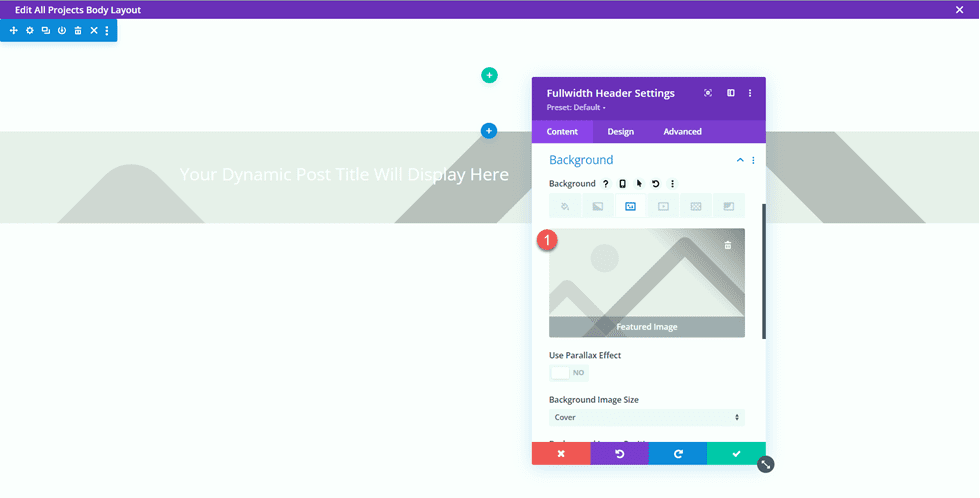
Next, we want to add a dynamic background image. Move to the background image tab and click the dynamic content icon. Set the background image to “Featured Image”. This way, the featured image for the project post will appear at the top of our project page.
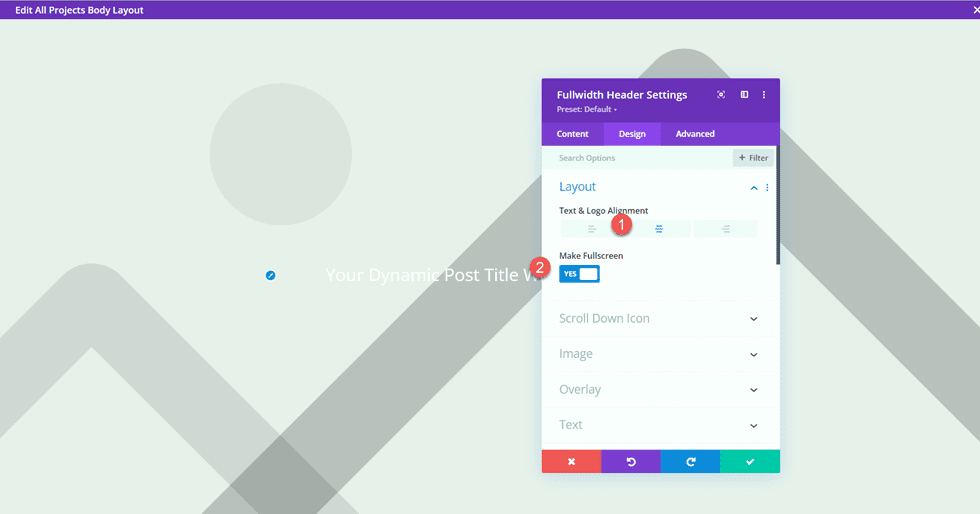
Move over to the design tab and open the layout settings. Set the alignment to centered and make the header fullscreen.
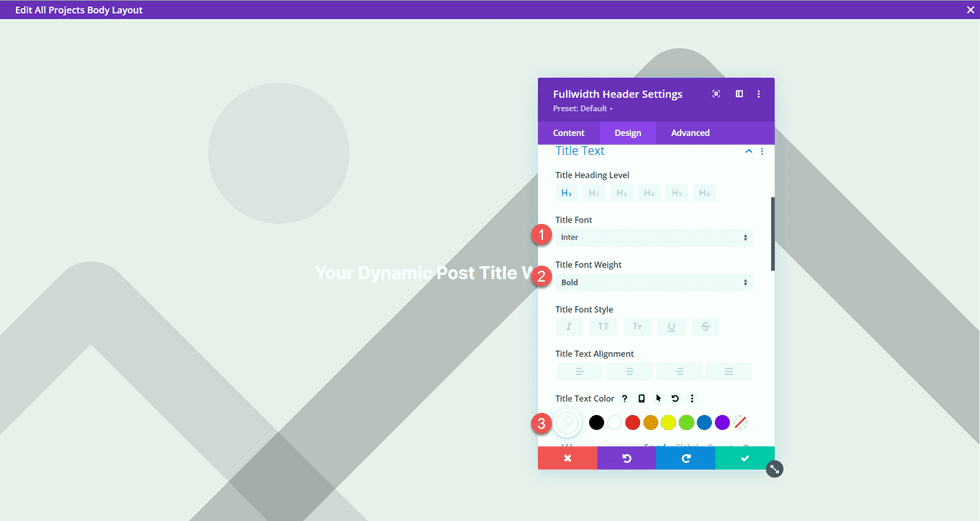
Then, modify the title font settings.
- Title Font: Inter
- Title Font Weight: Bold
- Title Text Color: #FFFFFF
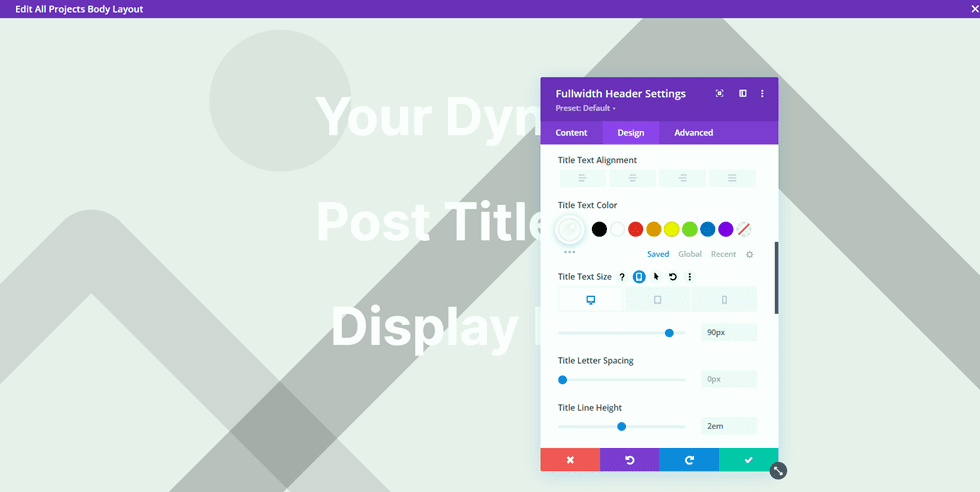
Use the responsive settings to set different text sizes for different screen sizes. Additionally, set the line height.
- Title Text Size on Desktop: 90px
- Title Text Size on Tablet: 60px
- Title Text Size on Mobile: 40px
- Title Line Height: 1.1em
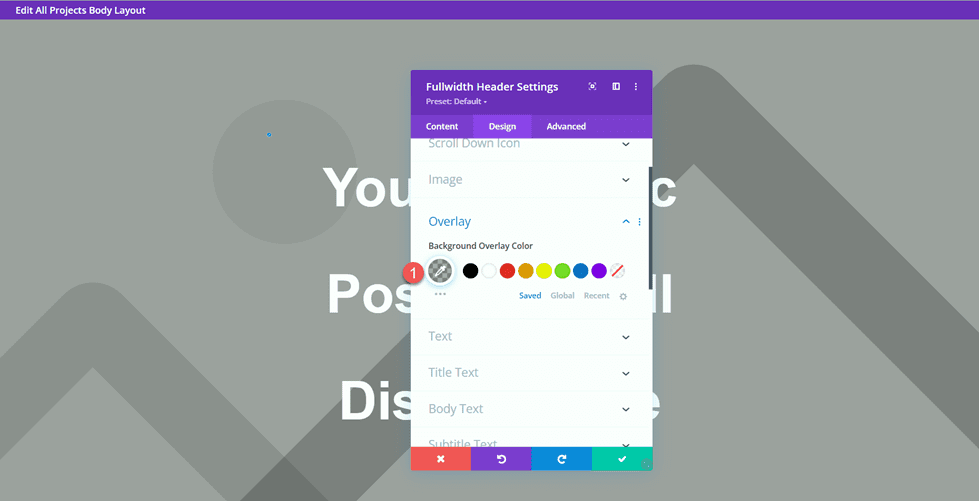
Under the Overlay settings, add an overlay.
- Background Overlay Color: rgba(0,0,0,0.33)
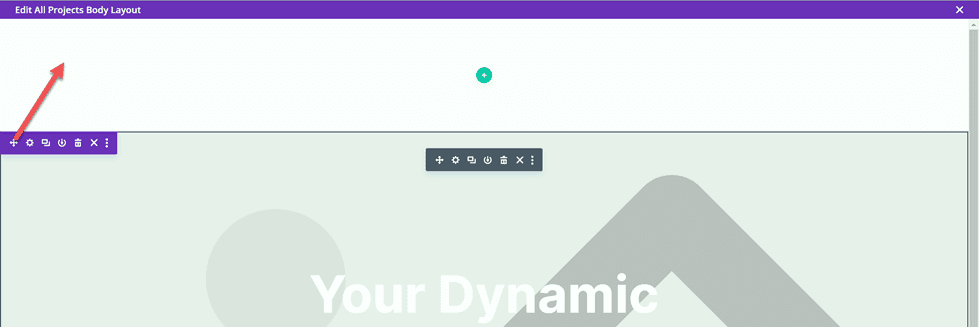
Now move the fullwidth section to the top of the page.
Project Description Design
Open the section settings for the empty regular section on the page and set a background color.
- Background: #dfdcd2
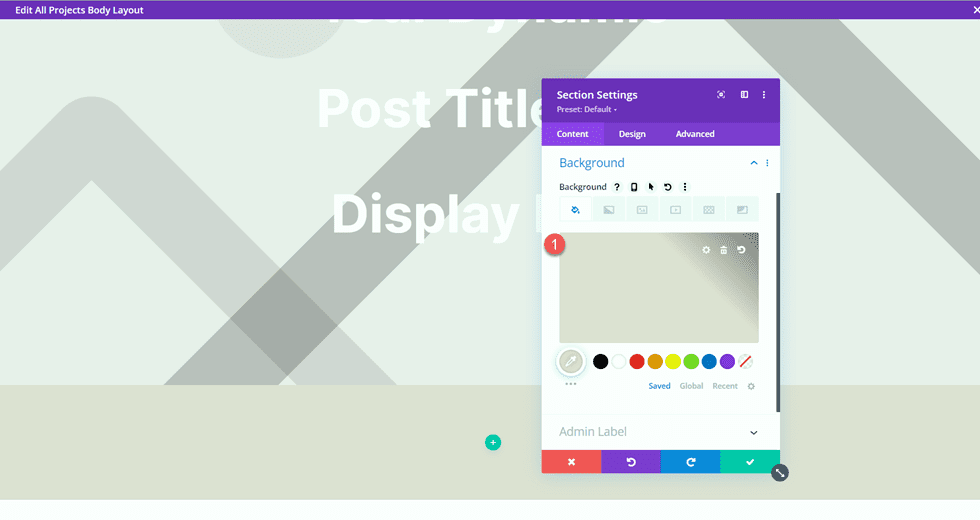
Then add a row with two columns.
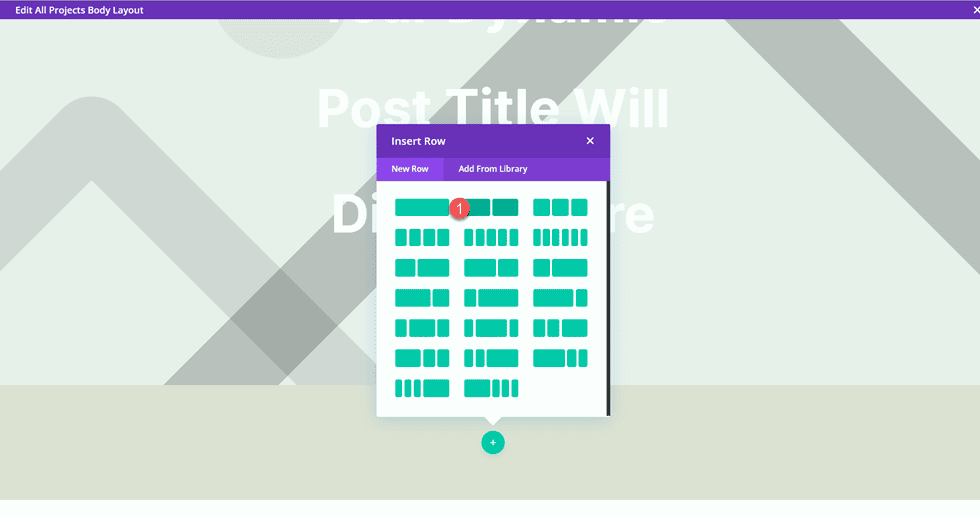
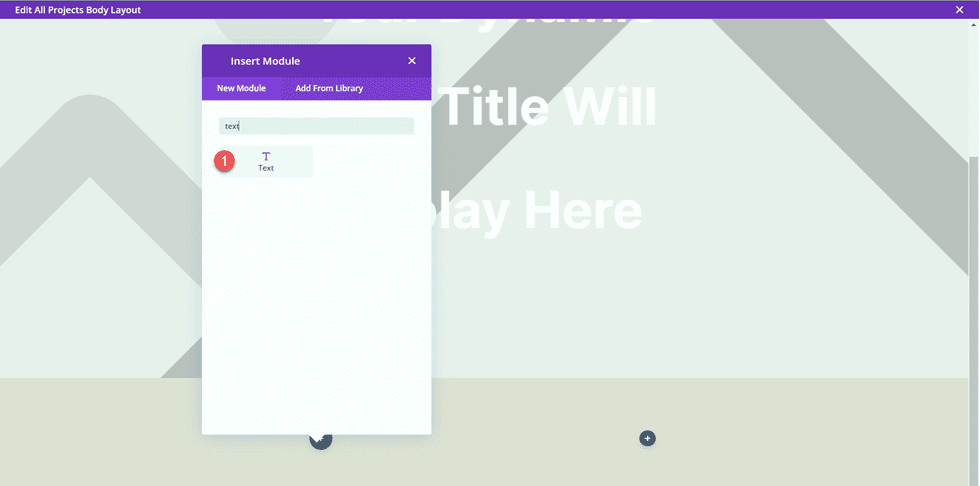
Add a text module to the column on the left.
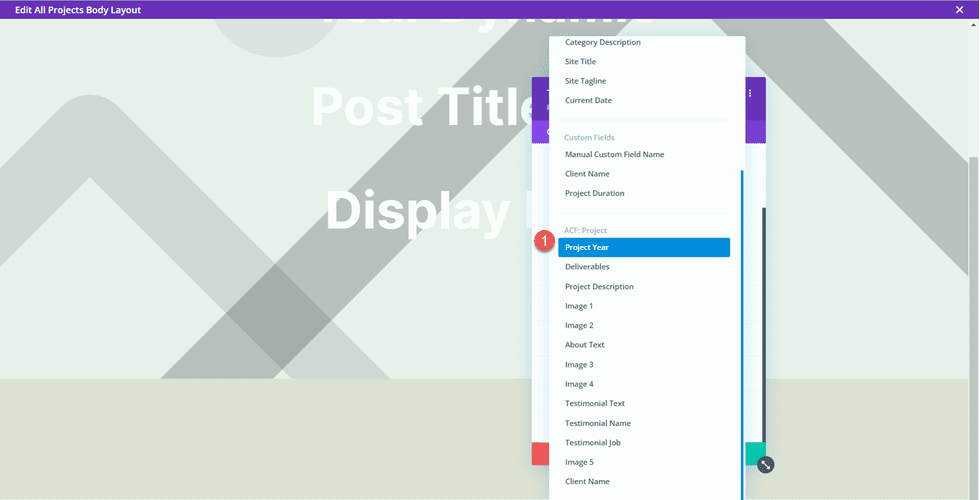
Replace the body content with dynamic content. For this module, we will add the Project Year.
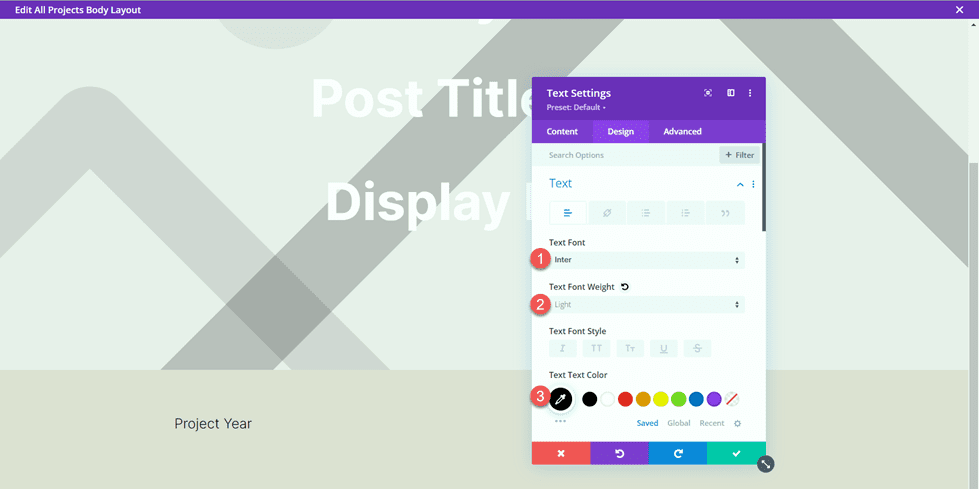
Move to the design tab and open the Text font settings. Customize the font as follows.
- Text Font: Inter
- Text Font Weight: Light
- Text Text Color: #000000
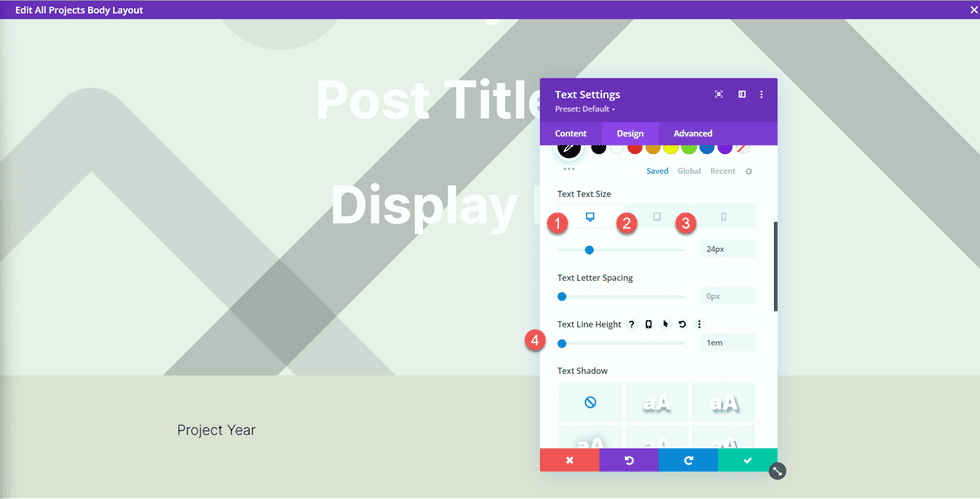
Next, set the text size and line height. Use the responsive options to set a smaller text size on tablet and mobile.
- Text Text Size Desktop: 24px
- Text Text Size Tablet: 20px
- Text Text Size Mobile: 18px
- Text Line Height: 1em
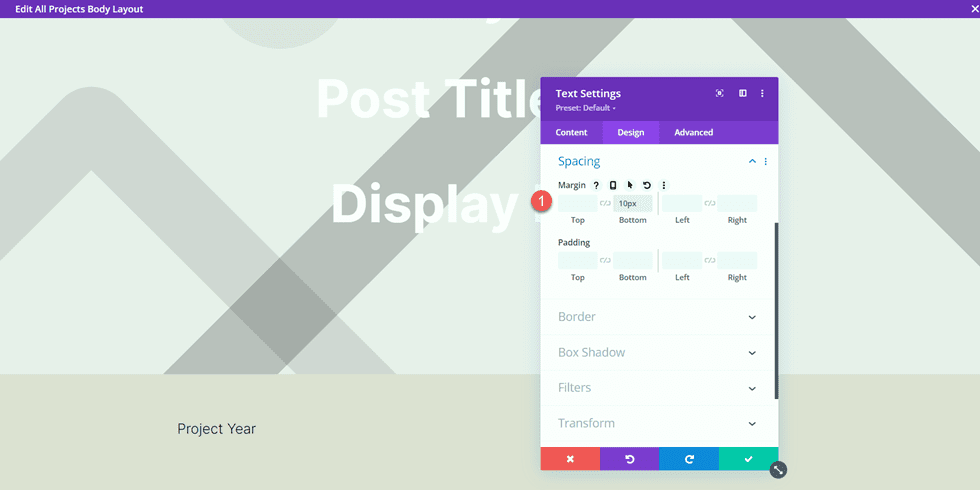
Finally, move to the Spacing section and add a bottom margin.
- Margin Bottom: 10px
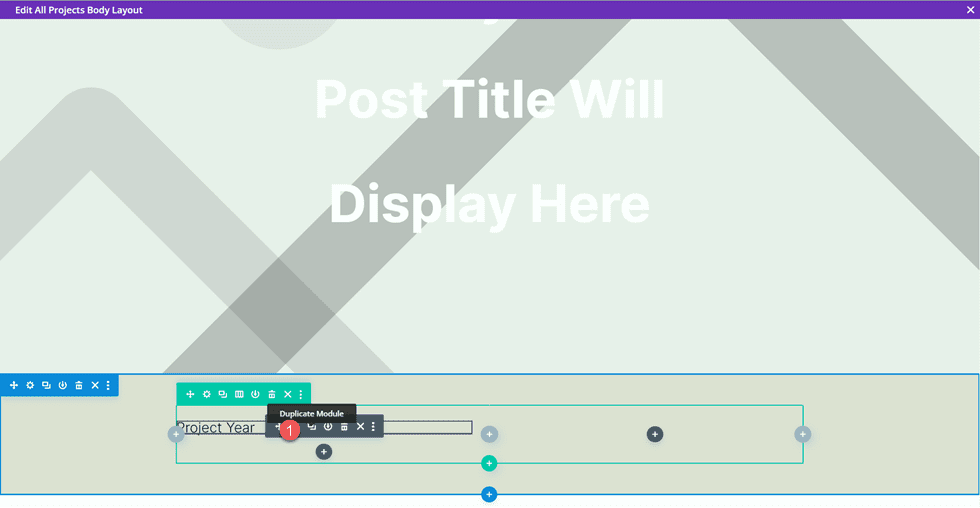
Now duplicate the Project Year text module.
Open the duplicated module settings and replace the Project Year dynamic content with the Client Name dynamic content.
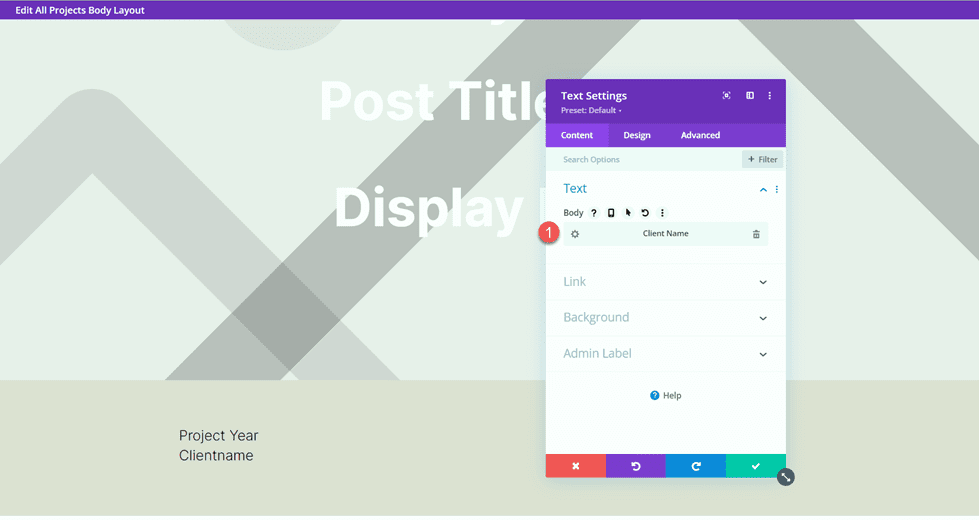
Repeat the same steps and duplicate the Client Name text module. Then, replace the Client Name dynamic content with the Deliverables dynamic content.
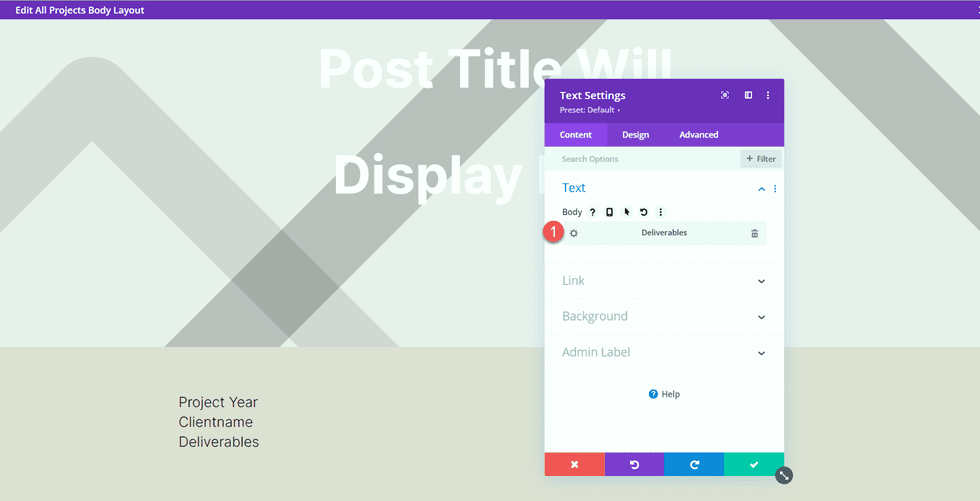
Next, add a new text module below the Deliverables module.
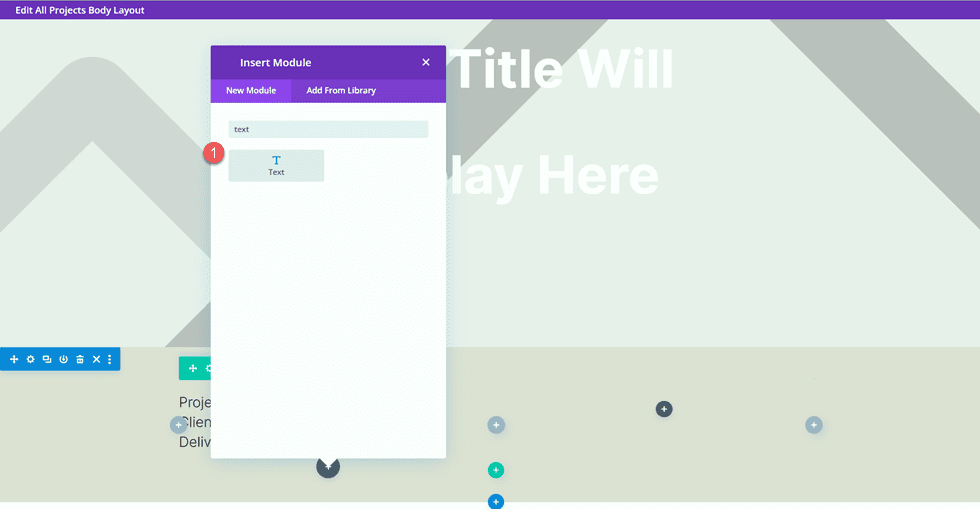
Replace the content with the Project Description dynamic content.
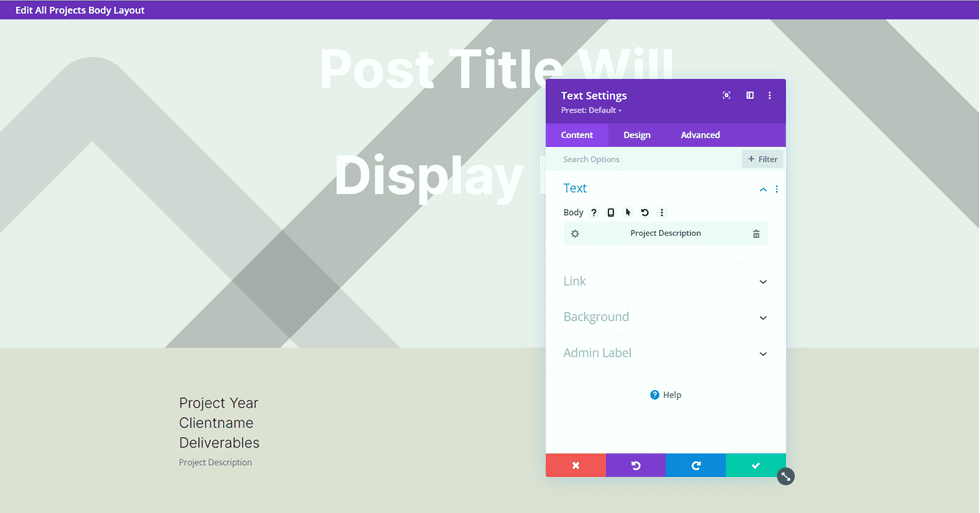
Open the Text options under the Design tab and customize the font:
- Text Font: Inter
- Text Font Weight: Light
- Text Color: #000000
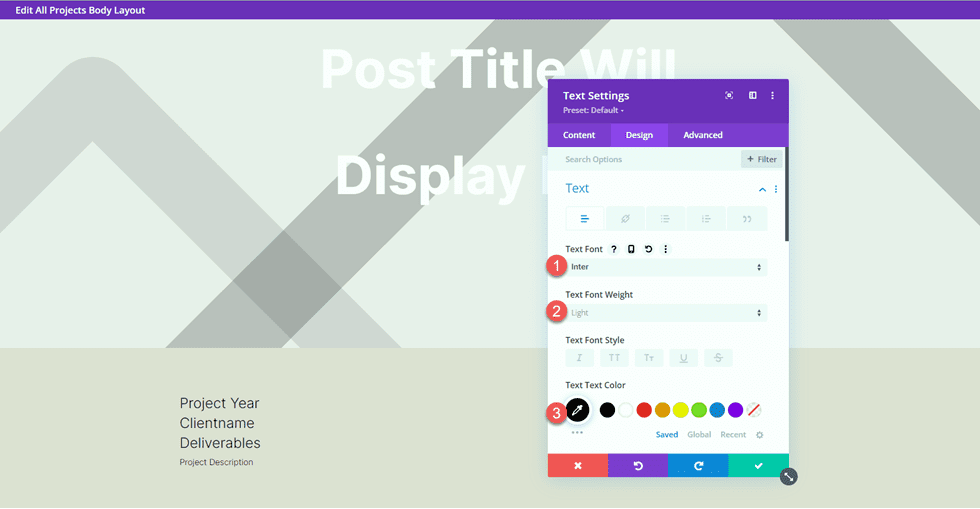
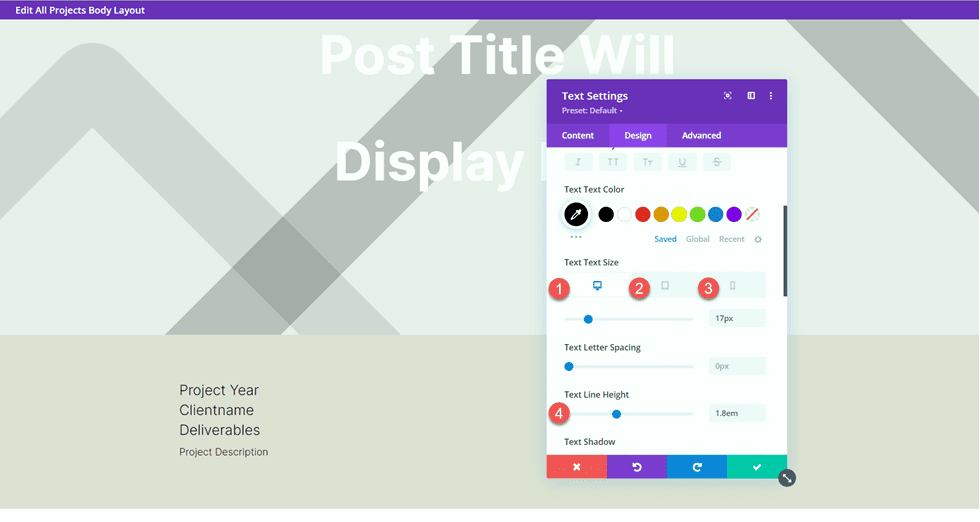
Then set the text size and line height. Once again, use the responsive options to set different text sizes for different screens.
- Text Size Desktop: 17px
- Text Size Tablet: 16px
- Text Size Mobile: 14px
- Text Line Height: 1.8em
Finally, add an image module to the right column.
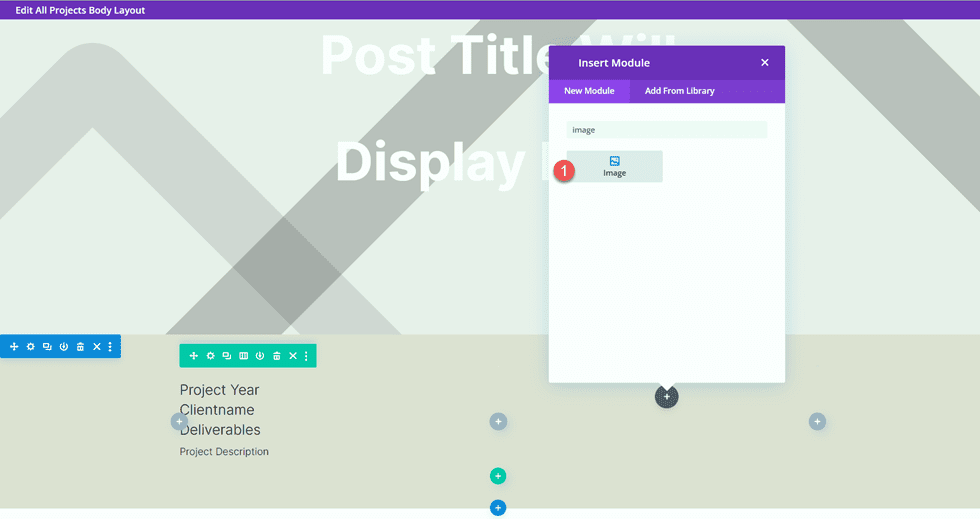
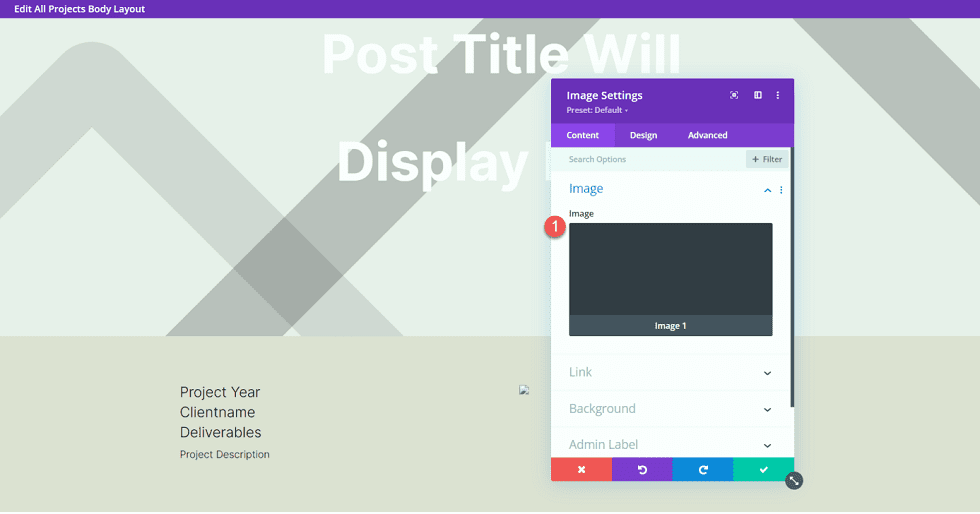
The image will also be dynamically populated. Select the dynamic content icon and select Image 1 from our custom fields.
About Section Design
Now let’s move on to the About section. Add a new regular section to the page.

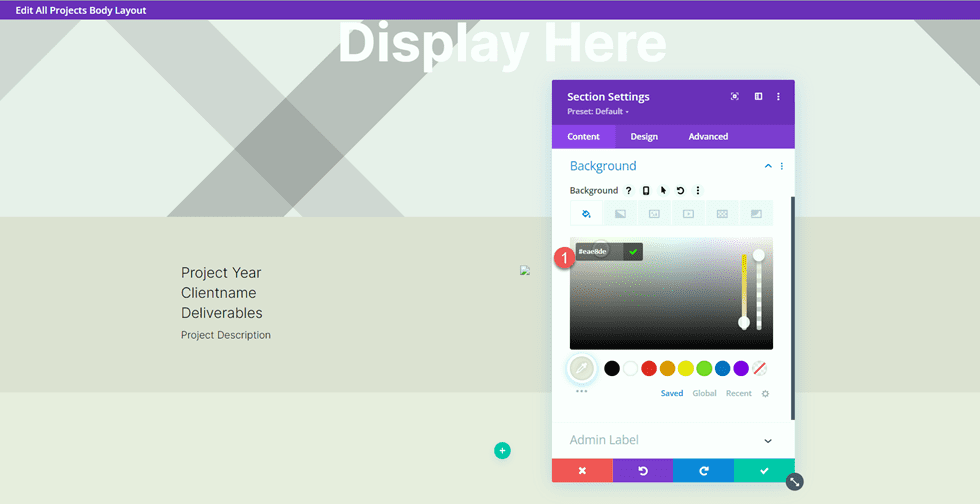
Open the section settings and add a background color.
- Background: #eae8de
Add a row with two columns.
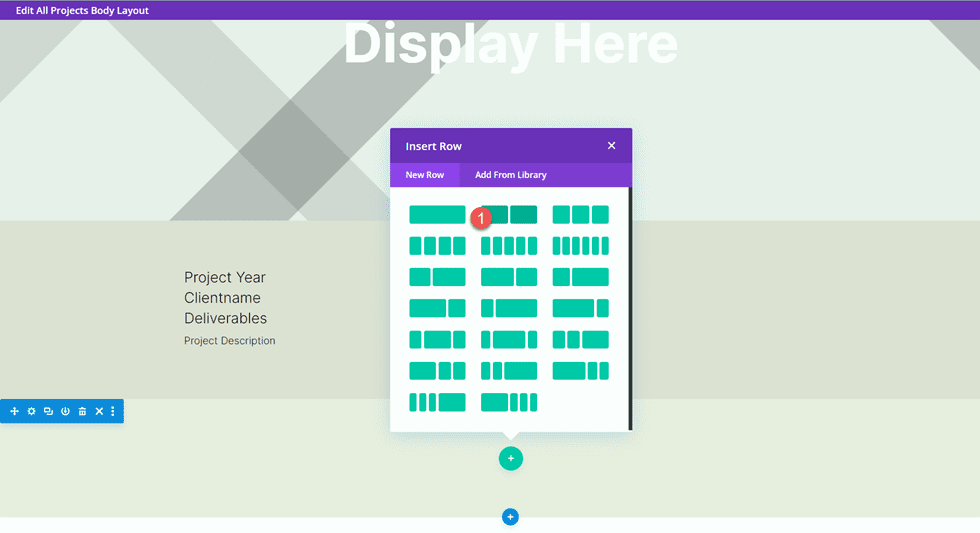
Next, add an image to the left column.
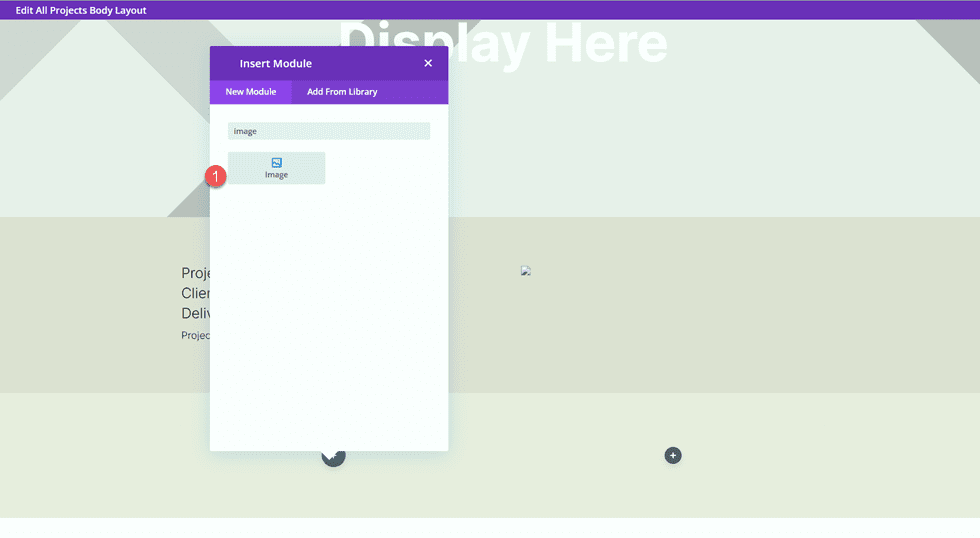
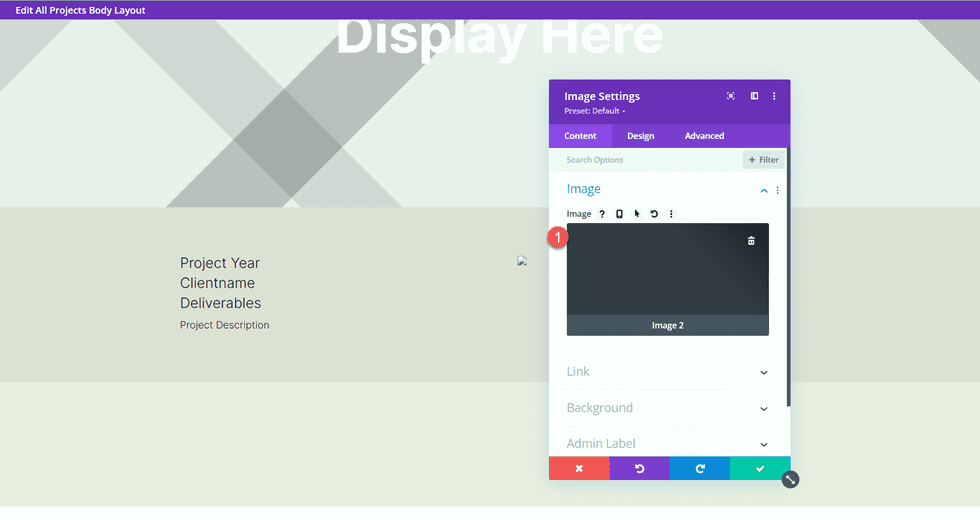
Select the dynamic content icon and select Image 2.
Next, add a text module to the right column.
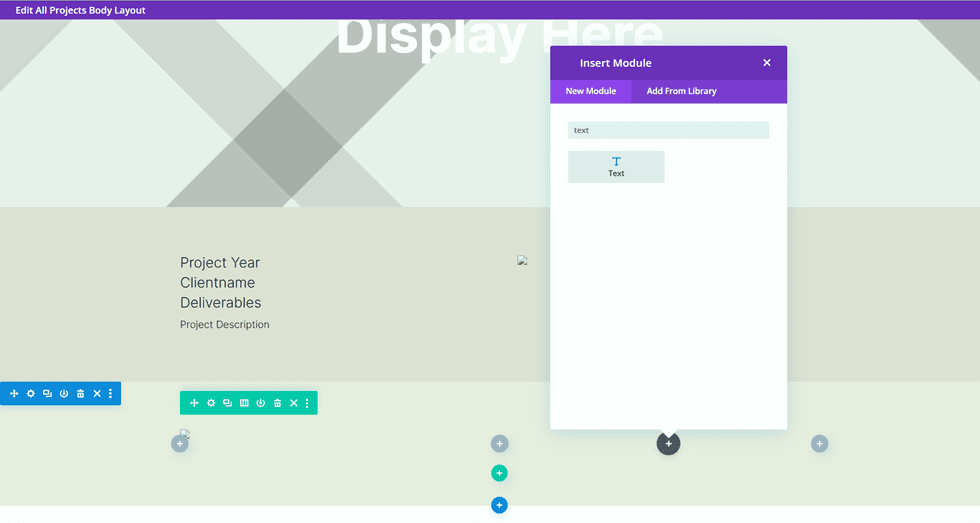
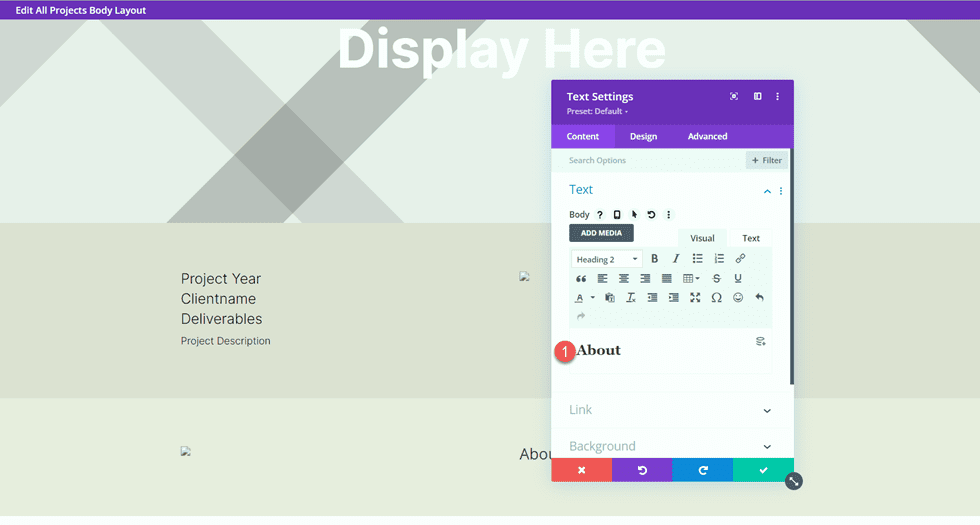
Add the body text.
- Heading 2: “About”
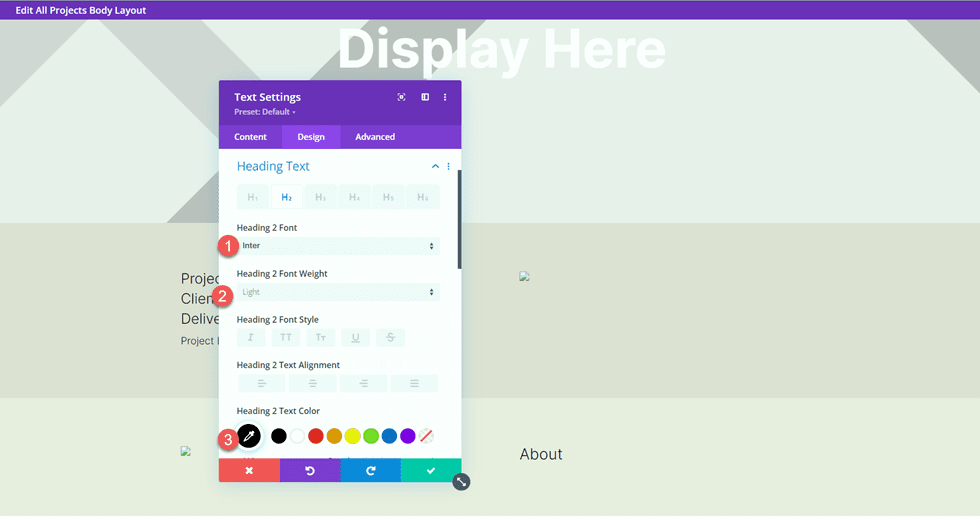
Under the design tab, modify the heading text styles.
- Heading 2 Font: Inter
- Heading 2 Font Weight: Light
- Heading 2 Text Color: #000000
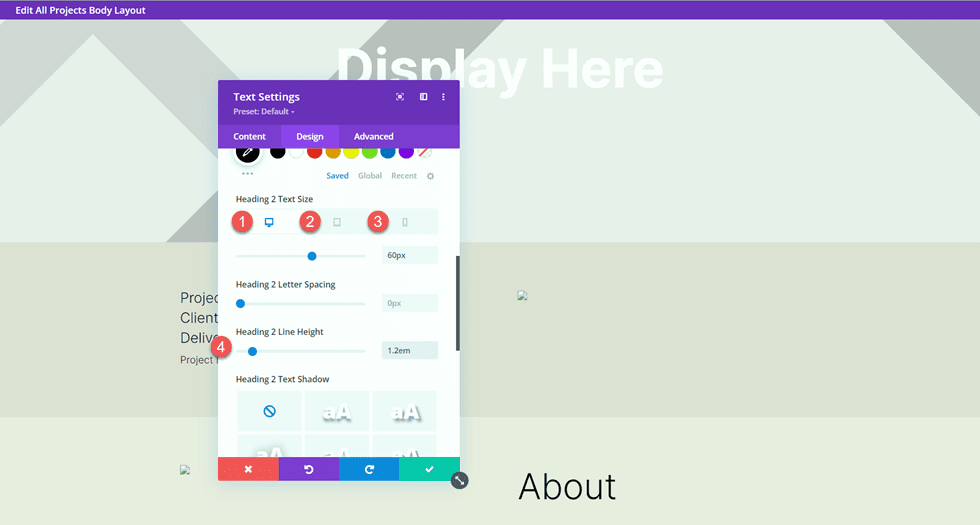
Next, modify the text size using the responsive options, and add the line height.
- Heading 2 Text Size Desktop: 60px
- Heading 2 Text Size Tablet: 36px
- Heading 2 Text Size Mobile: 30px
- Heading 2 Line Height: 1.2em
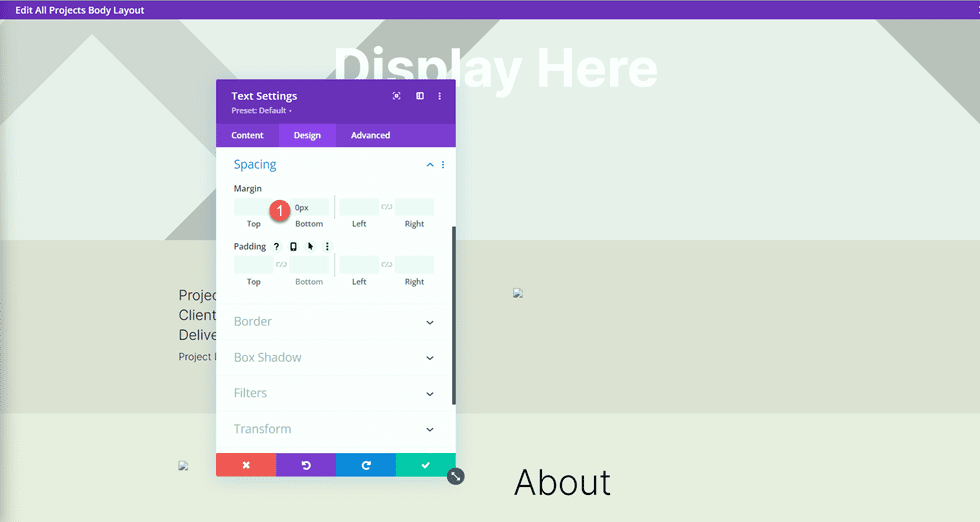
Finally, open the Sizing settings and remove the bottom margin.
- Margin-Bottom: 0px
Duplicate the Project Description text module from the section above, then drag it to below the About text module.
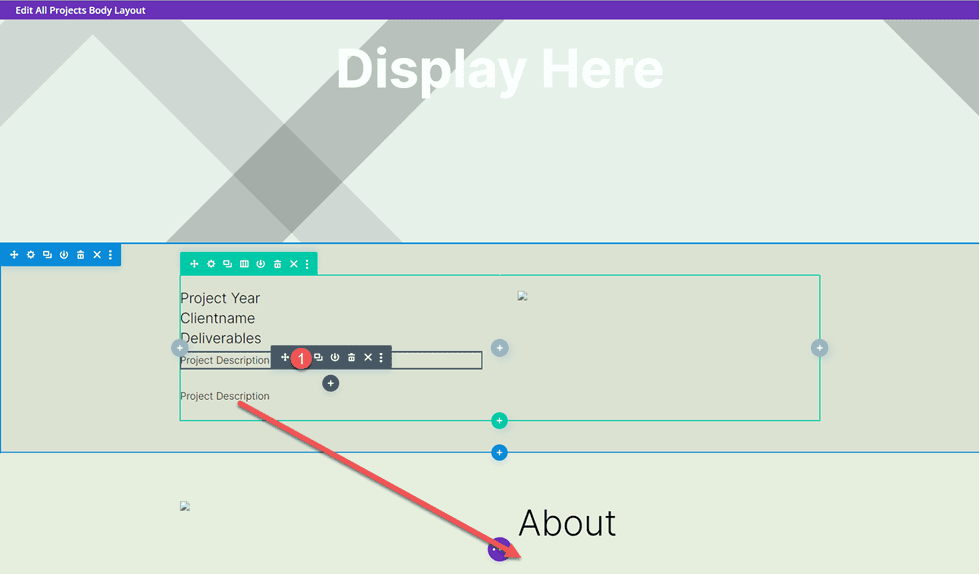
Open the duplicated module settings and replace the dynamic content with the About Text.
Images 3 and 4
Add a new row with two columns to the page.
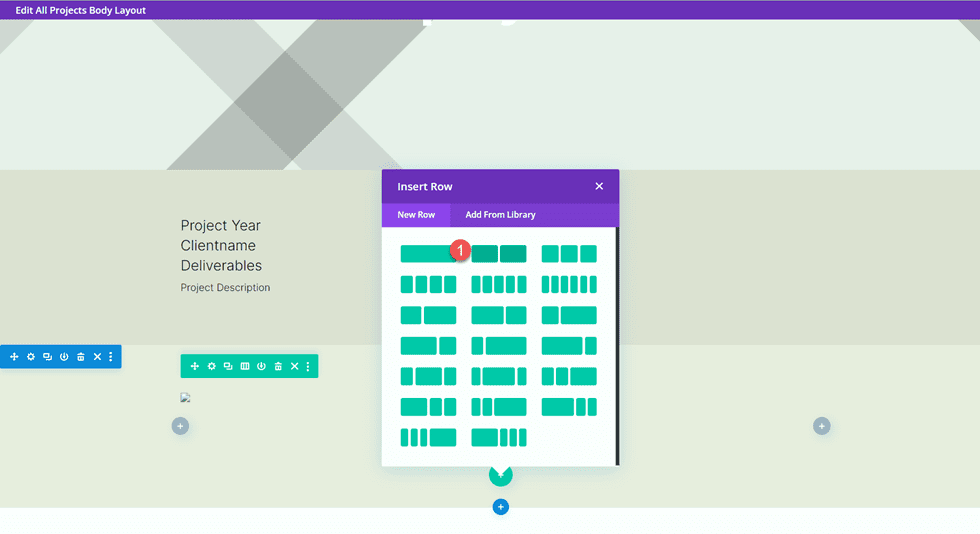
Then, add an image module to the left column.
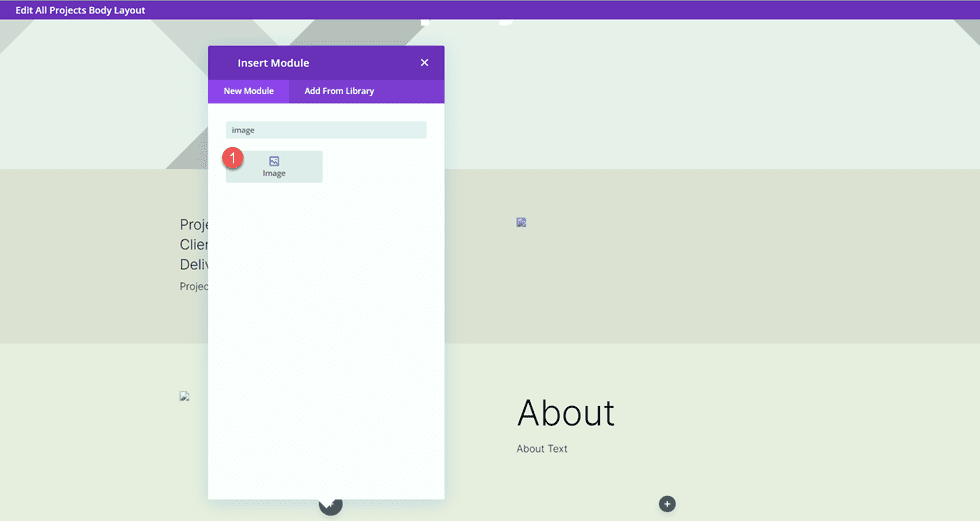
Using the dynamic content settings, set this image module to the Image 3 custom field.
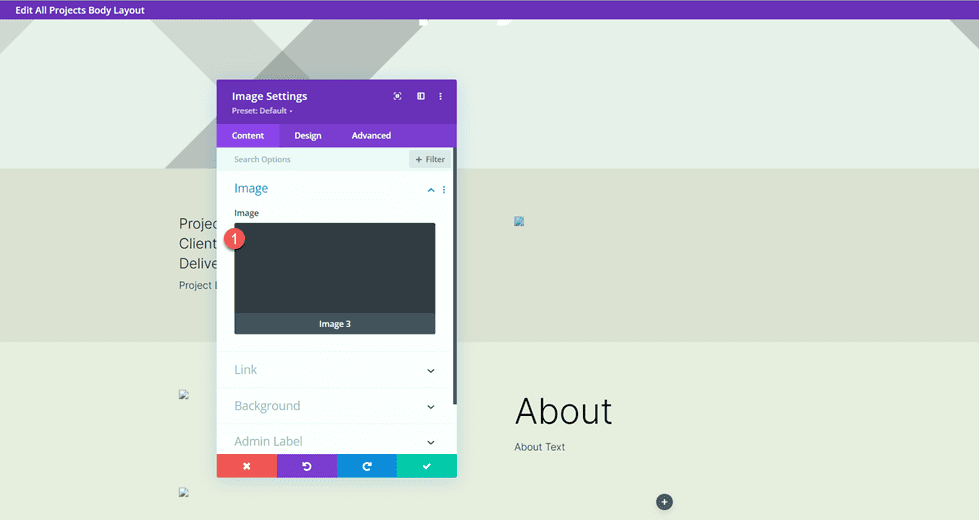
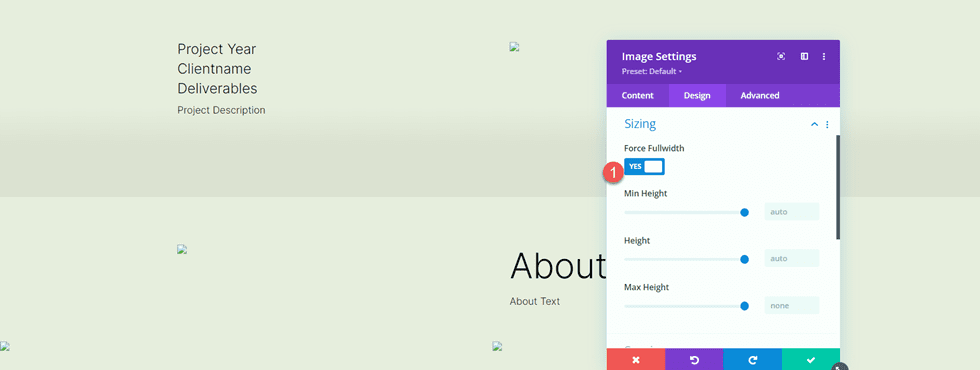
Under the Sizing settings in the Design tab, enable Force Fullwidth.
- Force Fullwidth: Yes
Repeat these steps in the right column and add an image module. Use the dynamic content settings to set this image to Image 4.
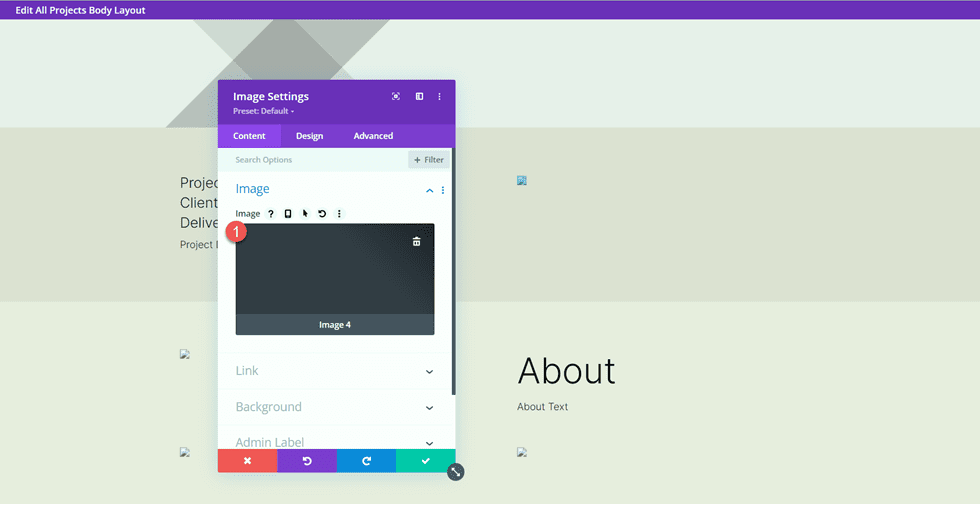
Once again, enable Force Fullwidth in the Sizing settings.
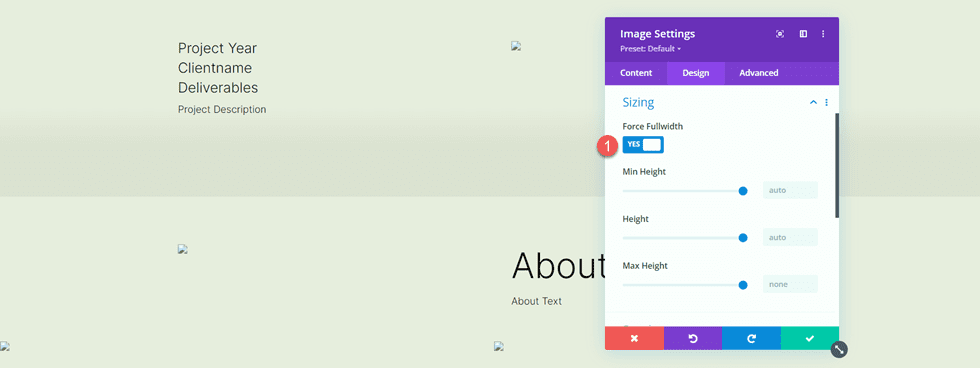
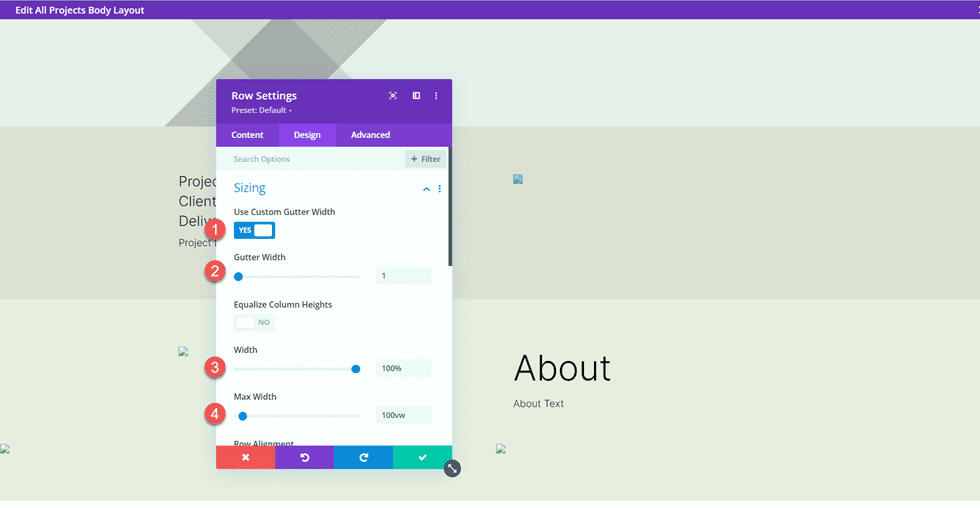
Next, open the row settings and open the Sizing settings under the Design tab. Customize the sizing settings as follows:
- Use Custom Gutter Width: Yes
- Gutter Width: 1
- Width: 100%
- Max Width: 100vw
Testimonial Layout
Add a new row with a single column to the page.
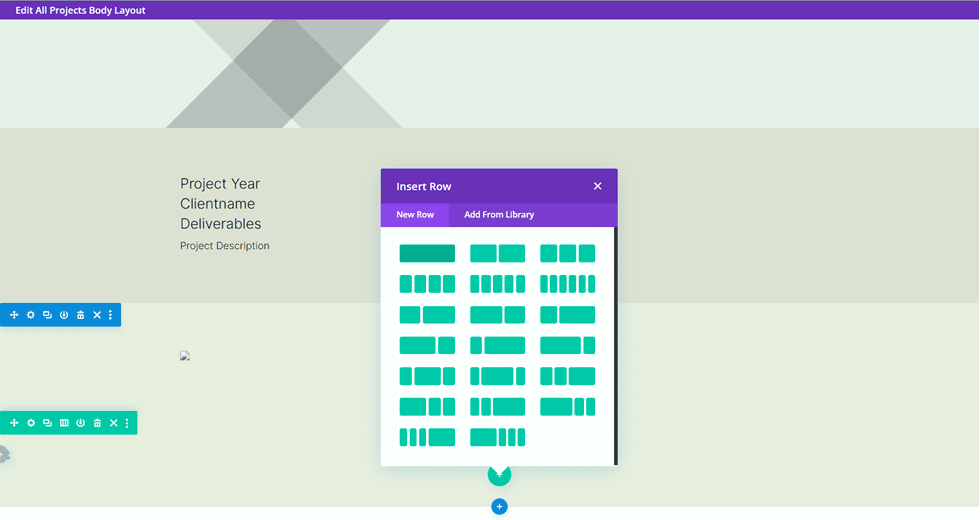
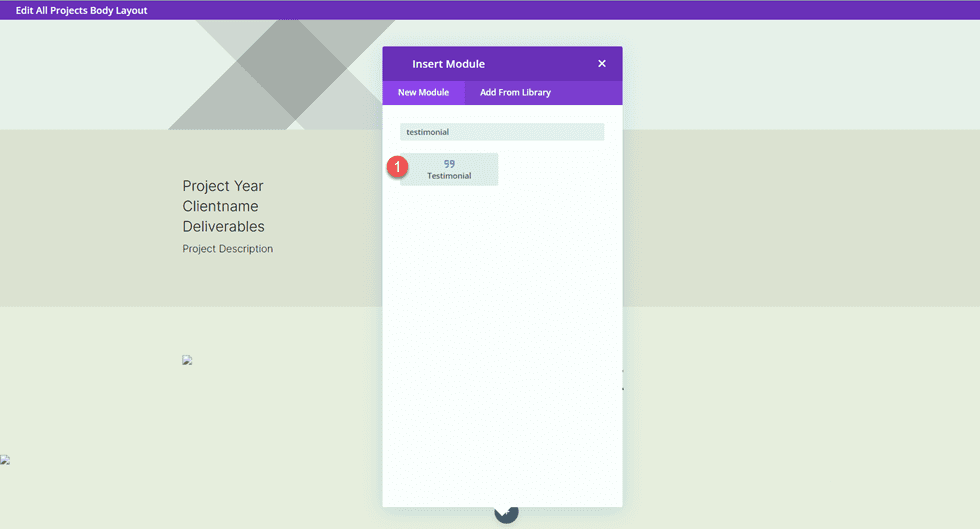
Then, add the testimonial module.
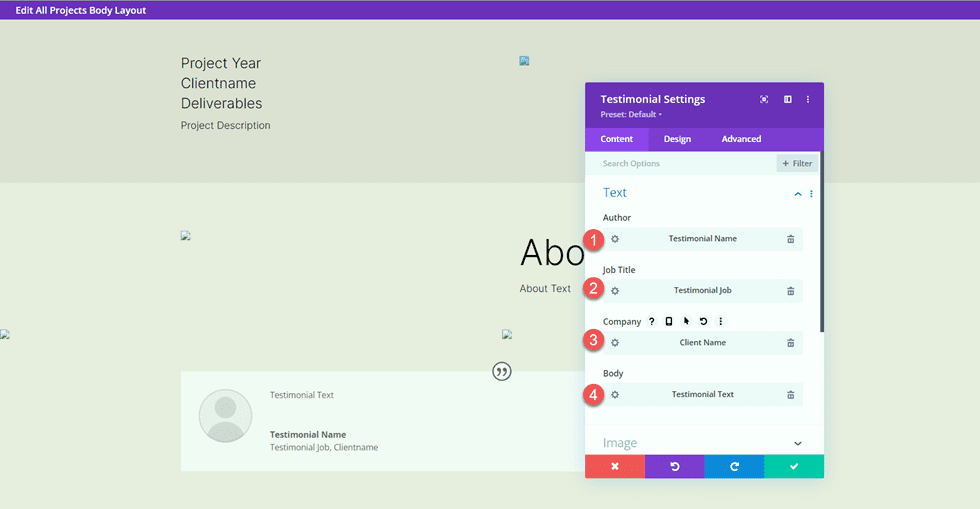
We will use dynamic content in this module as well. Open the testimonial module setting and add the following dynamic content to the fields.
- Author: Testimonial Name Dynamic Content
- Job Title: Testimonial Job Dynamic Content
- Company: Client Name Dynamic Content
- Body: Testimonial Text Dynamic Content
Delete the testimonial image.
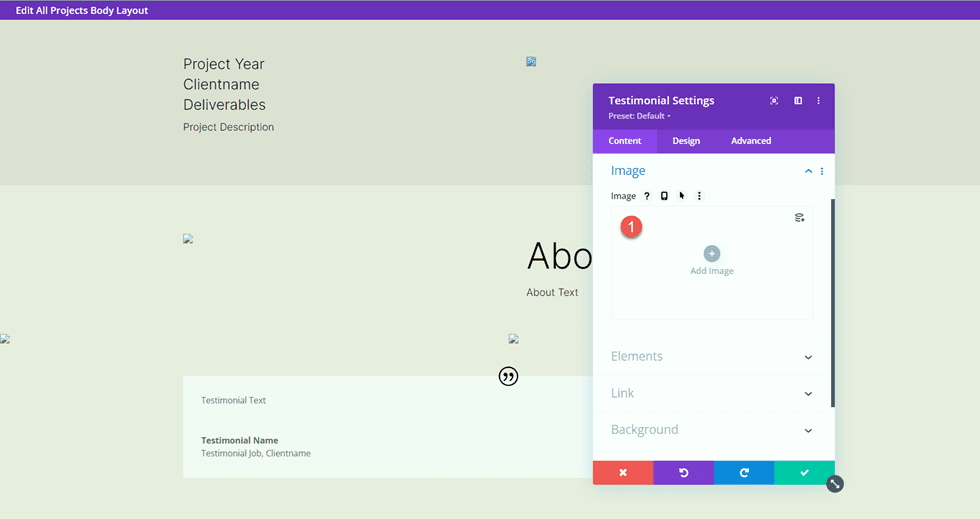
Move to the design tab and customize the quote icon.
- Quote Icon Color: #000000
- Quote Icon Background Color: rgba(255,255,255,0)
![]()
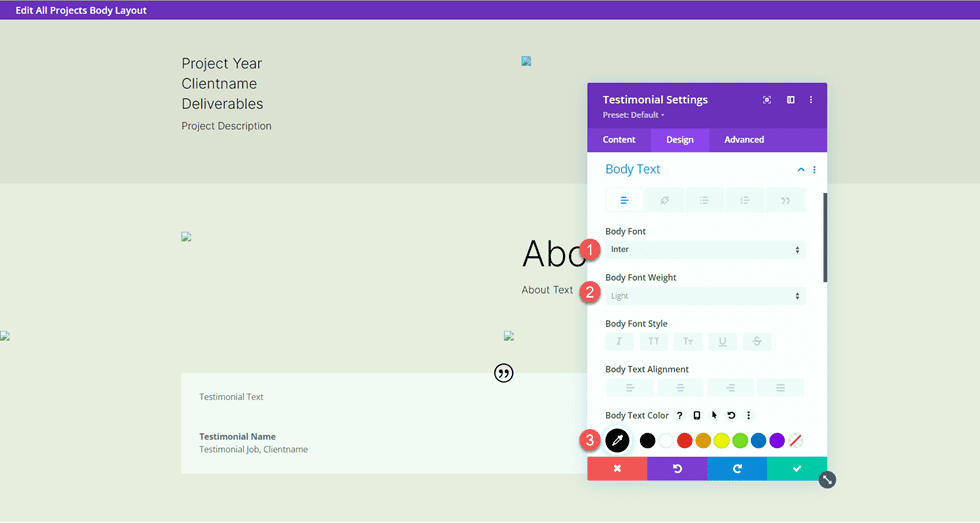
Next, modify the body font.
- Body Font: Inter
- Body Font Weight: Light
- Body Text Color: #000000
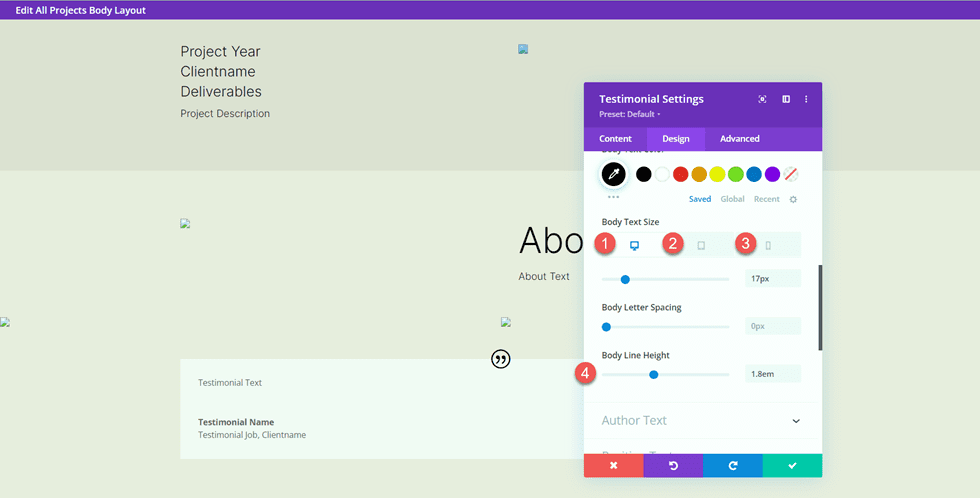
Customize the body text size using responsive options and adjust the body line height.
- Body Text Size Desktop: 17px
- Body Text Size Tablet: 16px
- Body Text Size Mobile: 14px
- Body Line Height: 1.8em
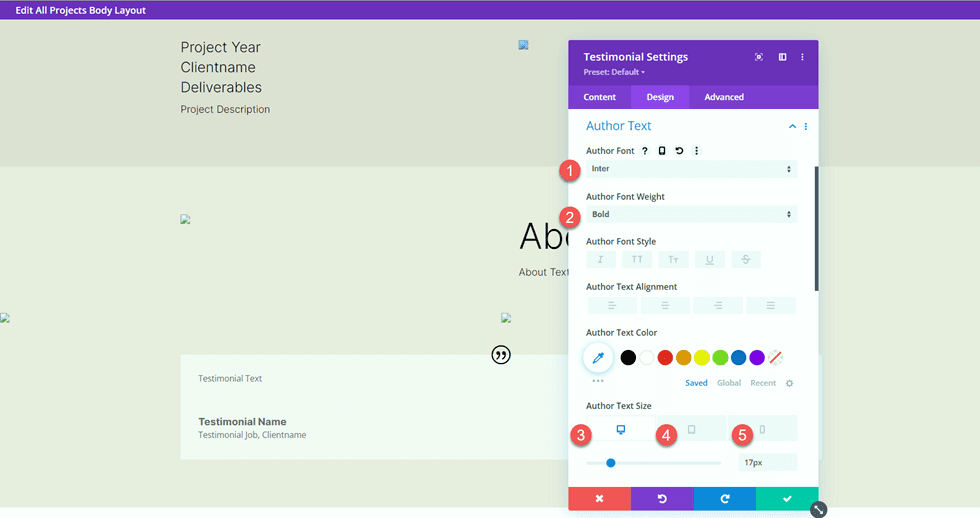
Next, customize the author text settings.
- Author Font: Inter
- Author Font Weight: Bold
- Author Text Size Desktop: 17px
- Author Text Size Tablet: 16px
- Author Text Size Mobile: 14px
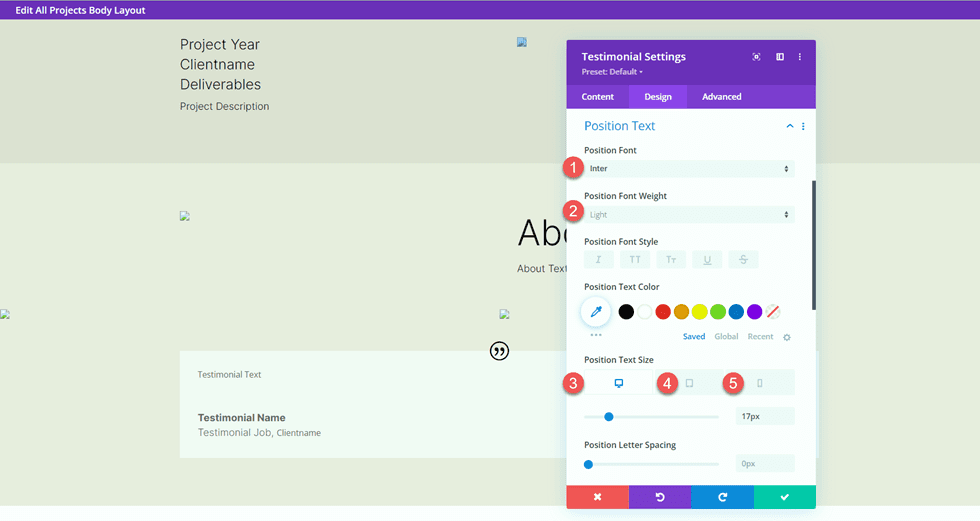
Then modify the font settings for the position text.
- Position Font: Inter
- Position Font Weight: Light
- Position Text Size Desktop: 17px
- Position Text Size Tablet: 16px
- Position Text Size Mobile: 14px
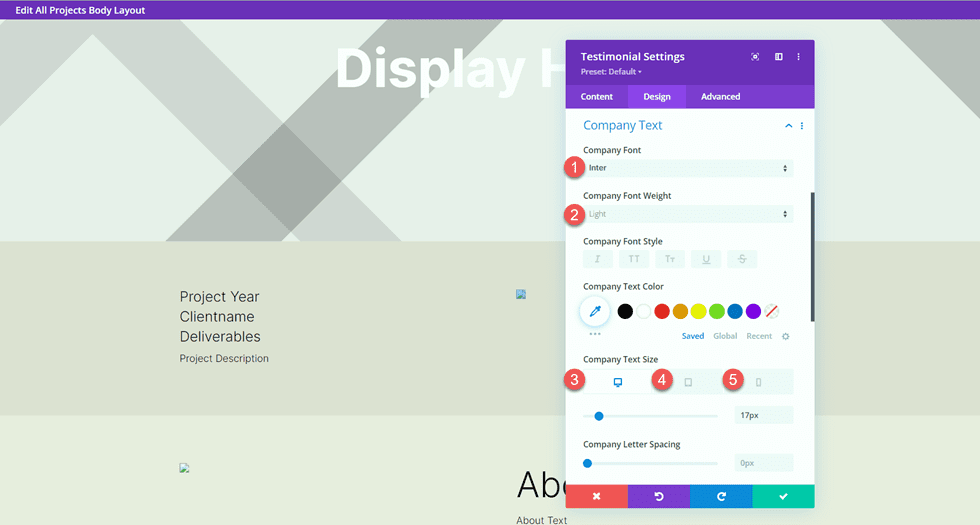
Customize the company font settings as well.
- Company Font: Inter
- Company Font Weight: Light
- Company Text Size Desktop: 17px
- Company Text Size Tablet: 16px
- Company Text Size Mobile: 14px
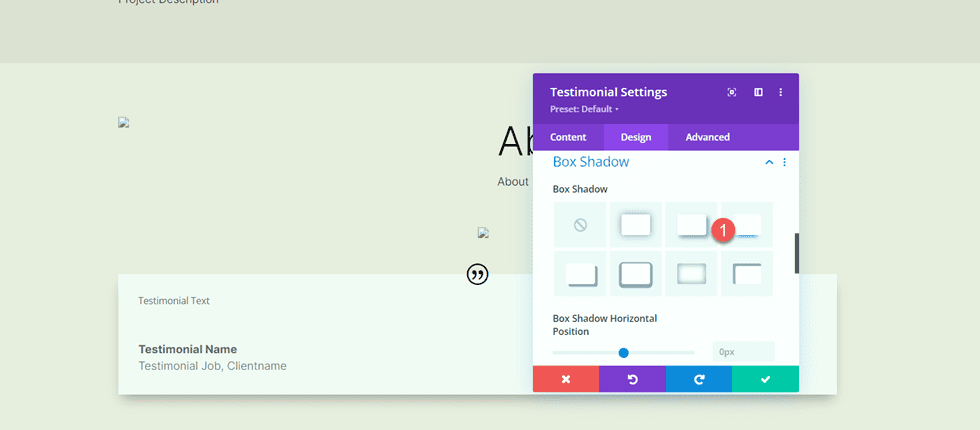
Finally, add a box shadow to the testimonial module.
- Box Shadow: Below
Fullwidth Image
Add a fullwidth section to the page.

Then, add a fullwidth image module.
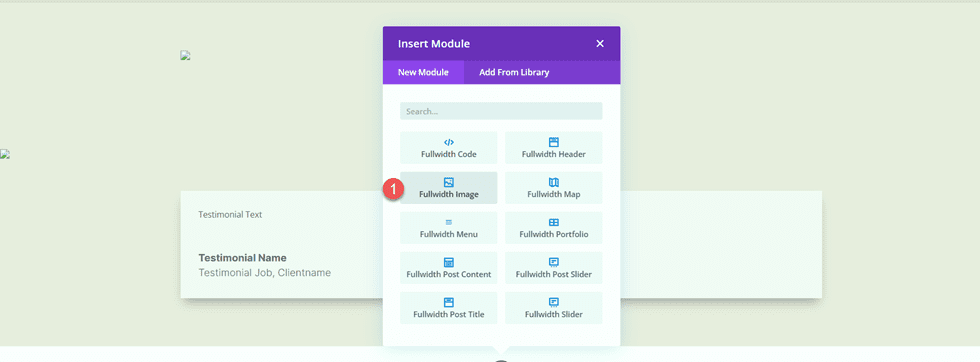
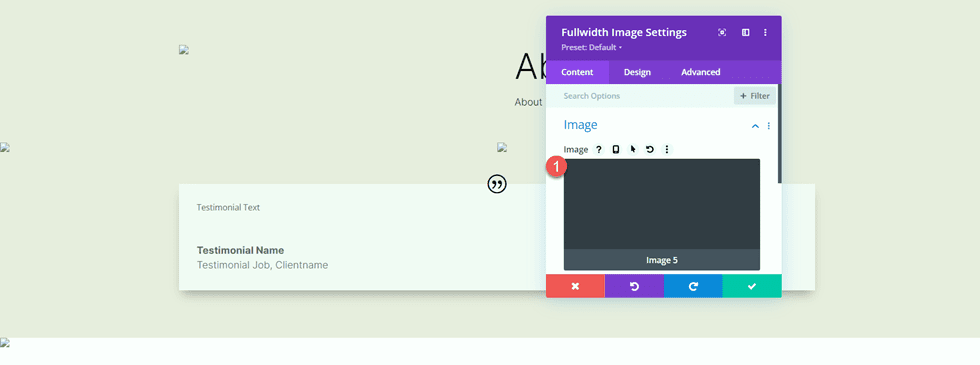
Using the dynamic content settings, set this image module to Image 5.
Call to Action Sections
Now our dynamic content has been laid out. There are a couple of call-to-action sections that we will copy and modify from the portfolio page. In a different tab, open the portfolio page in the visual builder, then scroll to the bottom of the page.
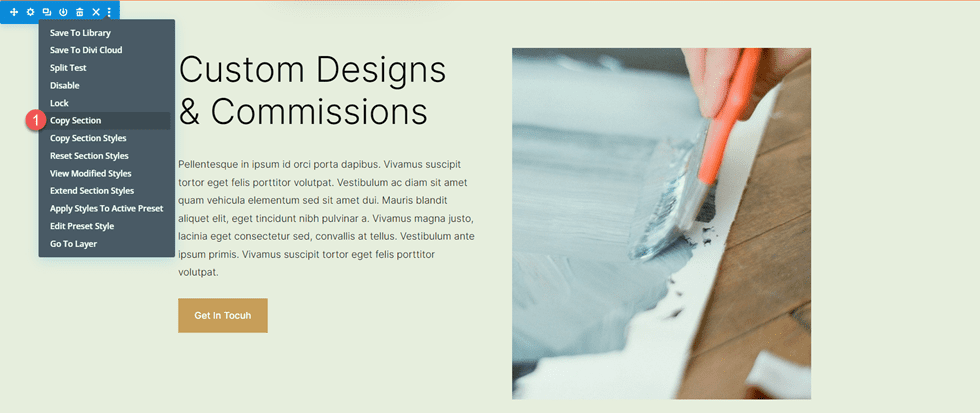
Copy the “Custom Designs & Commissions” section.
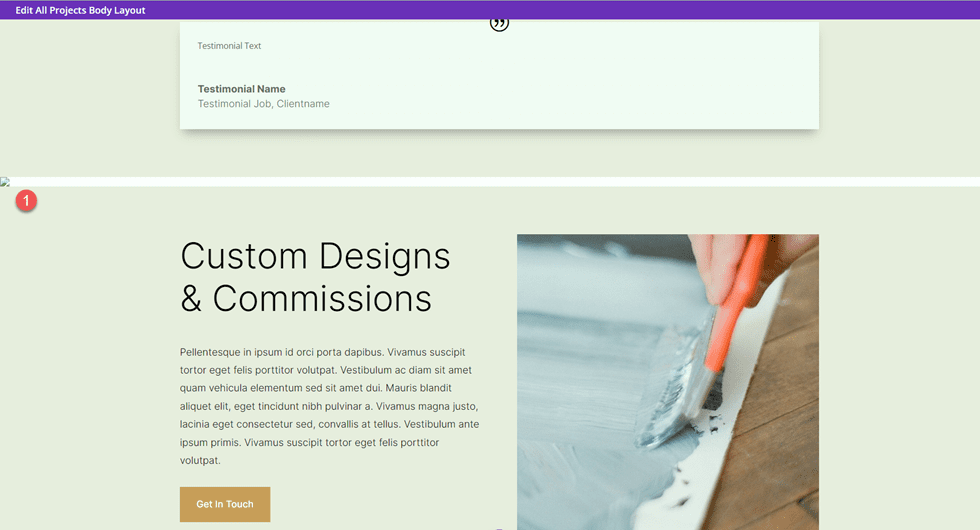
Move back to the project page template and paste the “Custom Designs & Commissions” section below the existing content.
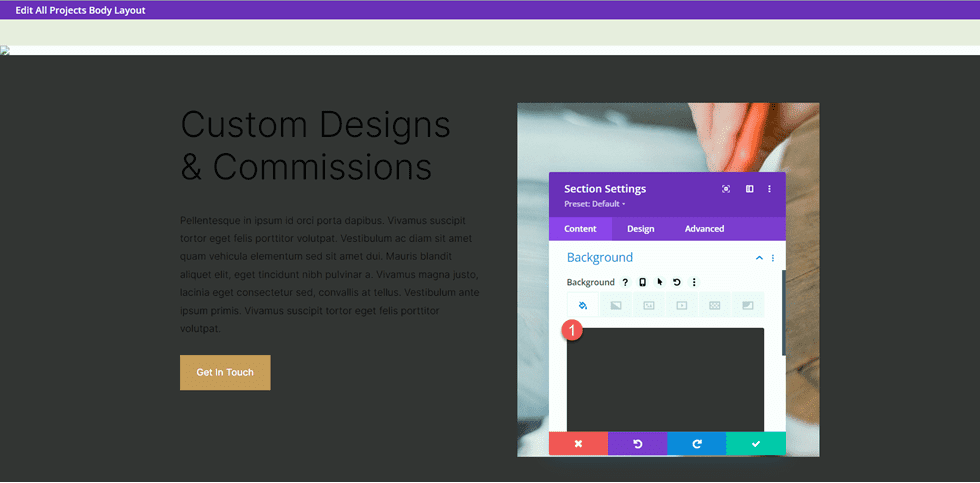
Open the section settings and change the background color.
- Background: #333333
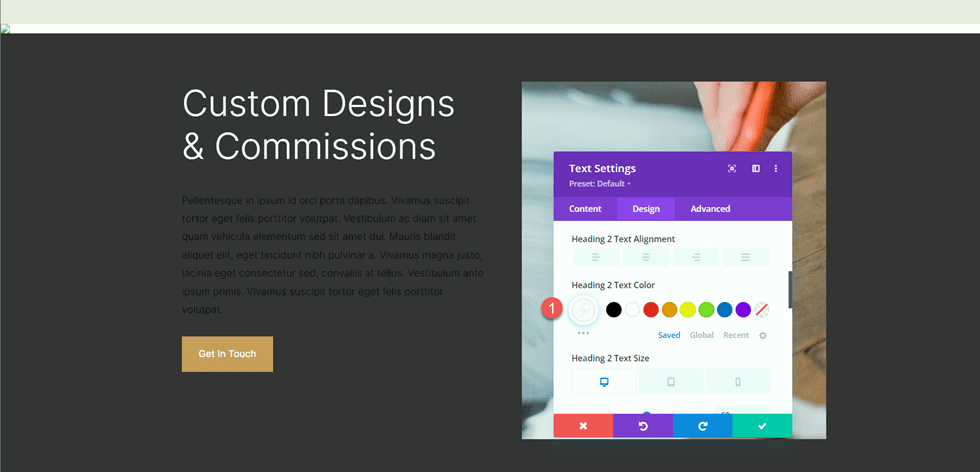
Open the settings for the “Custom Designs & Commissions” text module and change the Heading 2 text color.
- Heading 2 Text Color: #FFFFFF
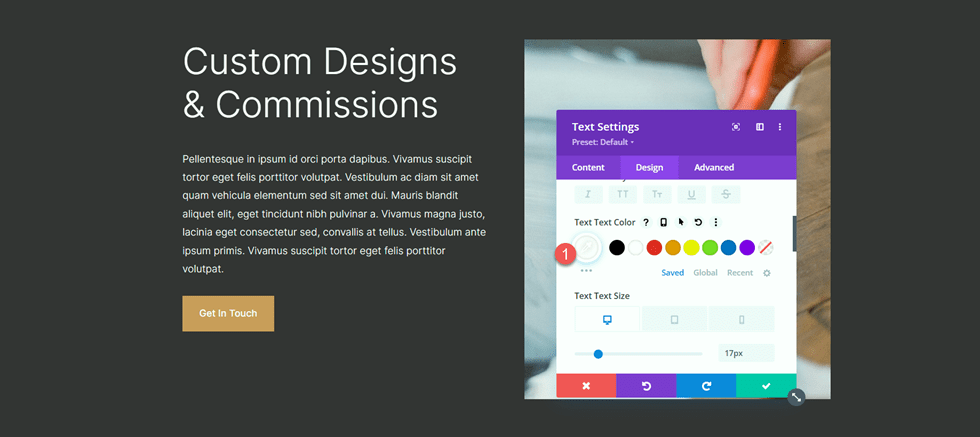
Then, open the module settings for the body text and change the text color.
- Text Text Color: #FFFFFF
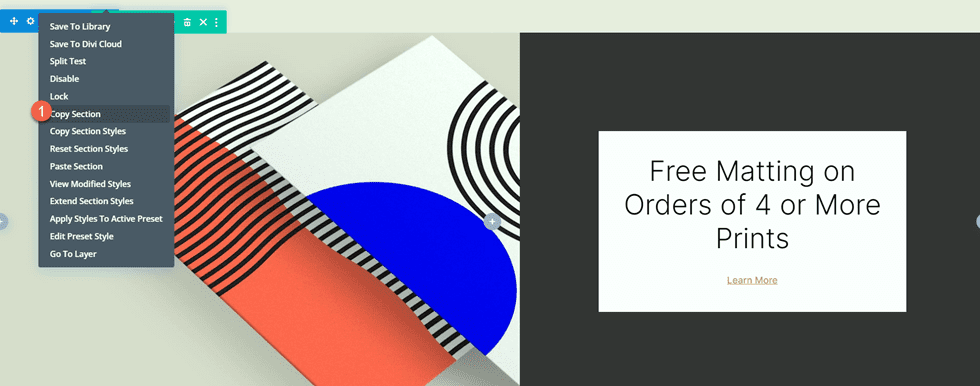
Next, move back to the portfolio page. Copy the “Free Matting on Orders of 4 or More Prints” section.
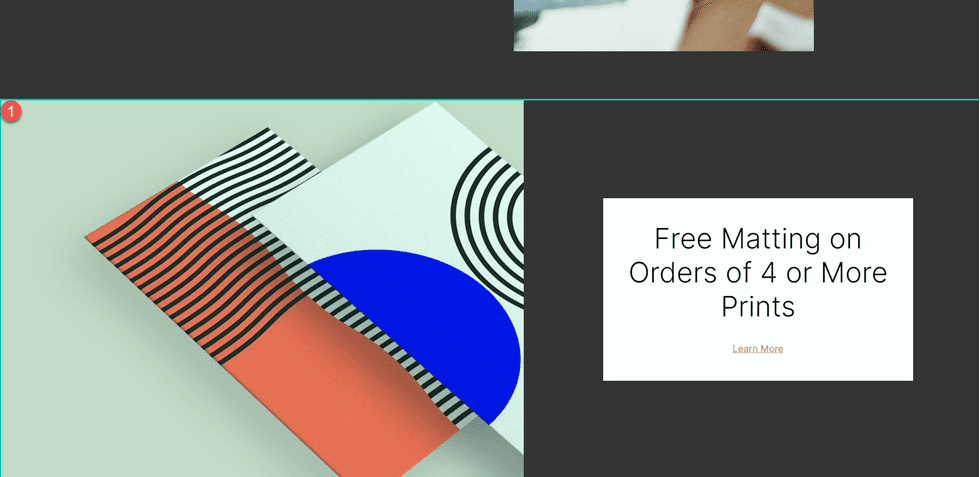
Then, paste the “Free Matting” section to the bottom of the Project template page.
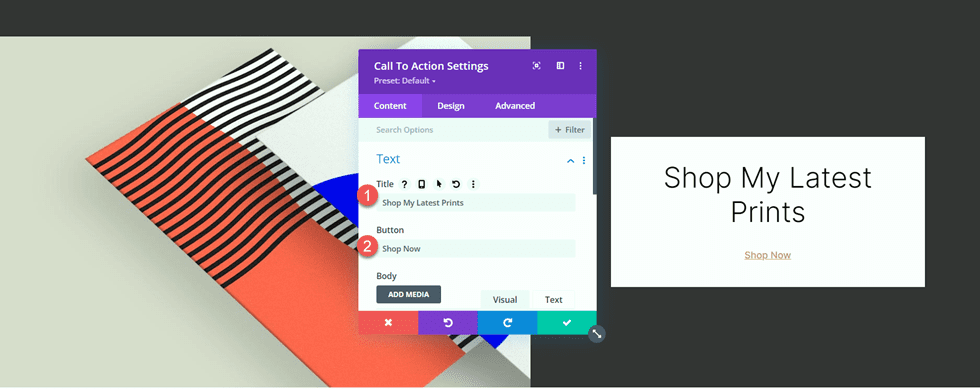
Open the Call To Action module settings and change the text.
- Title: Shop My Latest Prints
- Button: Shop Now
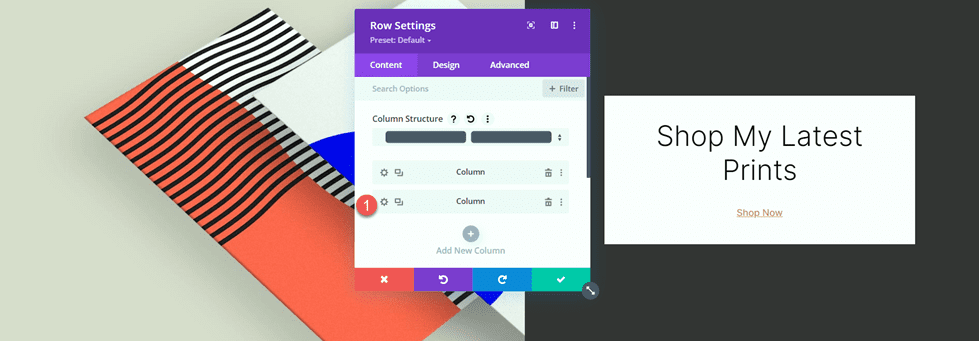
Open the row settings, then open the Column 2 settings.
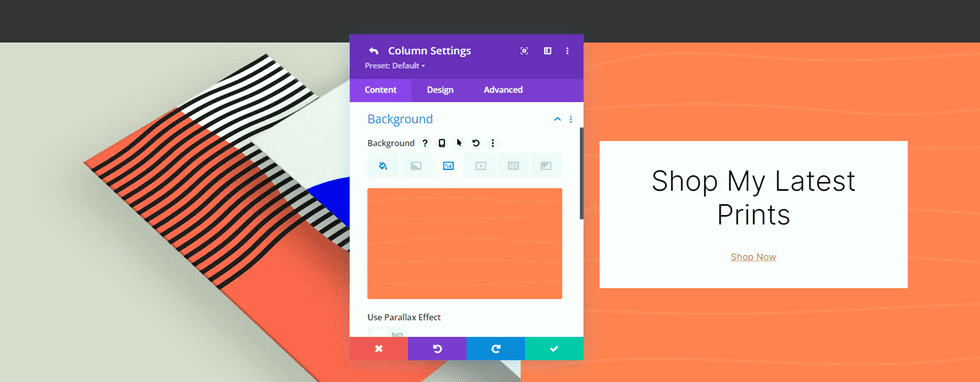
Change the background color.
- Background: #ff804f

Then, add a background image. This image of abstract lines should be in your media library as long as you used the print designer landing page layout pack to design the portfolio page.
- Background Image: Print-designer-10.png
Footer Section
We will also copy the footer section from the portfolio page to use on the project template. Move to the tab with the portfolio page and copy the “Subscribe for Drop Updates” footer section.
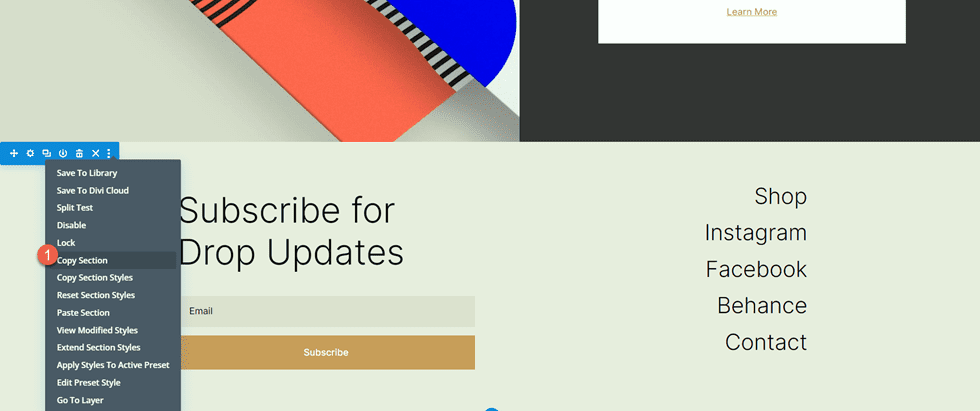
Then finally, paste the footer section to the bottom of the project template page.
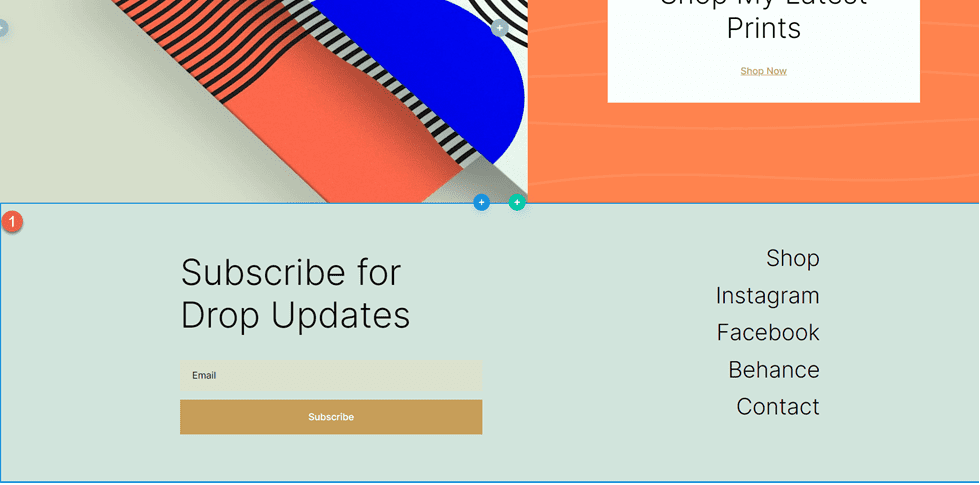
Project Page Final Design
Here is the completed design for the project page. The template is applied to one of the projects and is populated with dynamic content.


Final Result
Now let’s take a look at our matching portfolio and project pages.
Portfolio Page


Project Page


Final Thoughts
By using dynamic content in your designs, you can easily create templates that allow you to quickly add new pages and content to your website without having to design the page layout each time. This works great for portfolio and project content, but you can use the same principles to create any kind of page template you would like! For another portfolio tutorial, check out this article to learn how to create a scrollable portfolio navigation list. Do you use dynamic content or templates on your website? We would love to hear from you in the comments!



Leave A Reply