Clicking the correct download button for software and/or mobile apps can be confusing for users if they don’t know the right download for their operating system. One solution to this problem is to detect the user’s operating system automatically when they load a page on your website so that you can display the correct download button(s) for that operating system. This eliminates the risk of losing potential customers who may not easily find the right download for your product.
In this tutorial, we are going to show you how to design and display download buttons for respective operating systems using Divi and its built-in condition options. This will give you full control over what buttons will be displayed with each operating system.
Let’s get started!
- 1 Sneak Peek
- 2 Download the Layout for FREE
- 3 Download For Free
- 4 What You Need to Get Started
-
5
How to Display Download Buttons for Respective Operating Systems in Divi
- 5.1 Part 1: Displaying Download Button for Mac OS
- 5.2 Part 2: Displaying Download Button for Windows OS
- 5.3 Part 3: Displaying Download Button for iOS (iPhone, iPad, iPod)
- 5.4 Part 4: Displaying Download Button for Android
- 5.5 Part 5: Using Images or Badges for Buttons
- 5.6 Testing Results with Chrome DevTools
- 6 Final Results
- 7 Final Thoughts
Sneak Peek
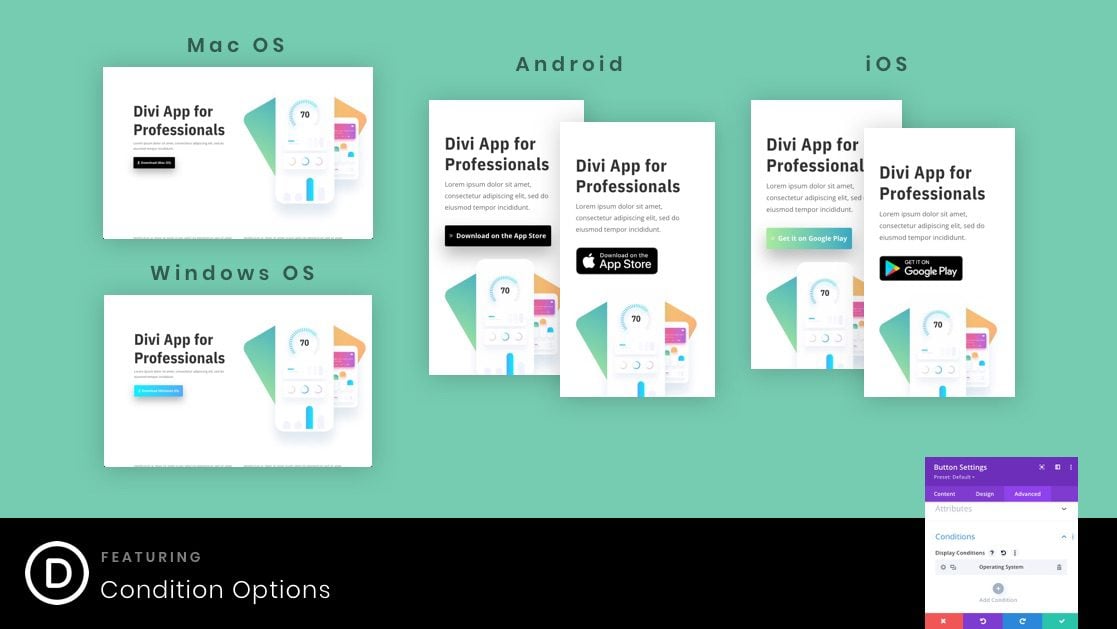
Here is a quick look at the OS conditional download buttons we’ll build in this tutorial. Each button will be assigned a specific operating system display condition.
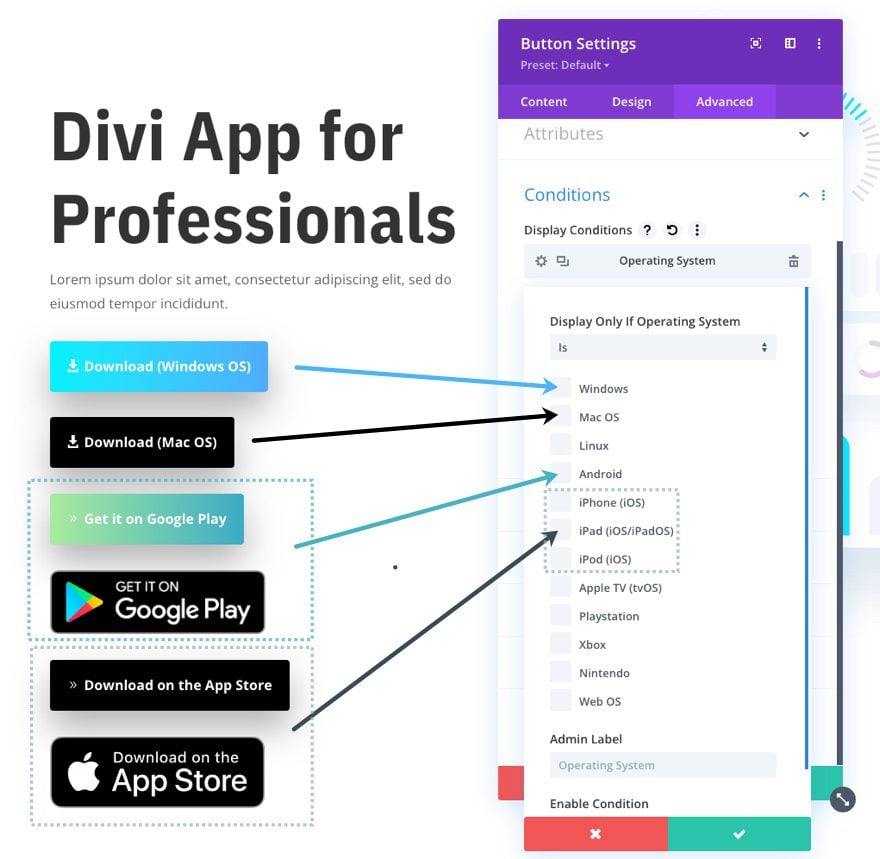
This will show each button on the respective operating system when loading the page.
Download the Layout for FREE
To lay your hands on the designs from this tutorial, you will first need to download it using the button below. To gain access to the download you will need to subscribe to our newsletter by using the form below. As a new subscriber, you will receive even more Divi goodness and a free Divi Layout pack every Monday! If you’re already on the list, simply enter your email address below and click download. You will not be “resubscribed” or receive extra emails.
To import the section layout to your Divi Library, navigate to the Divi Library.
Click the Import button.
In the portability popup, select the import tab and choose the download file from your computer.
Then click the import button.

Once done, the section layout will be available in the Divi Builder.
Let’s get to the tutorial, shall we?
What You Need to Get Started

To get started, you will need to do the following:
- If you haven’t yet, install and activate the Divi Theme.
- Create a new page in WordPress and use the Divi Builder to edit the page on the front end (visual builder).
- Choose the option “Build From Scratch”.
After that, you will have a blank canvas to start designing in Divi.
To speed up the design process, we are going to use the Mobile App Homepage Layout from Divi’s premade Mobile App Layout Pack.
To load the premade layout to the page, open the settings menu at the bottom of the Divi Builder. Then select the load from library icon. In the Load from Library popup, find the Mobile App Layout pack and click to use the Mobile App Homepage Layout.
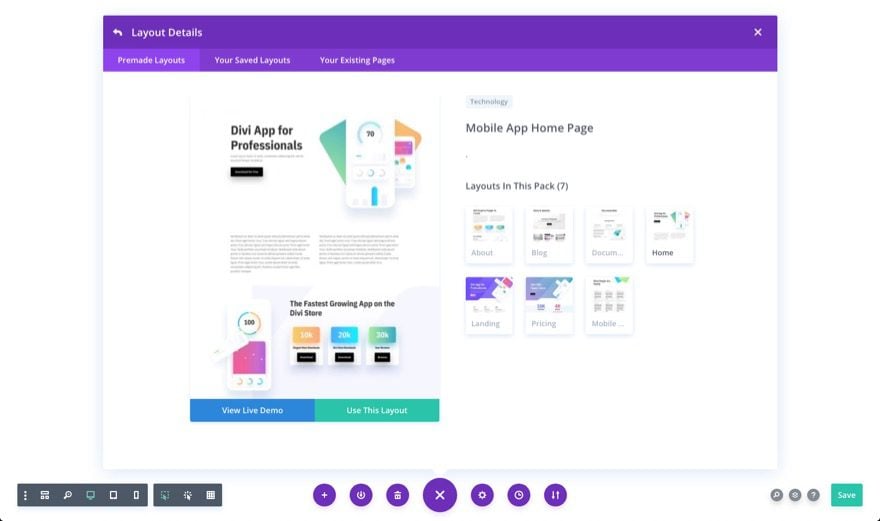
This will load the layout to the page. Now you are ready to go!
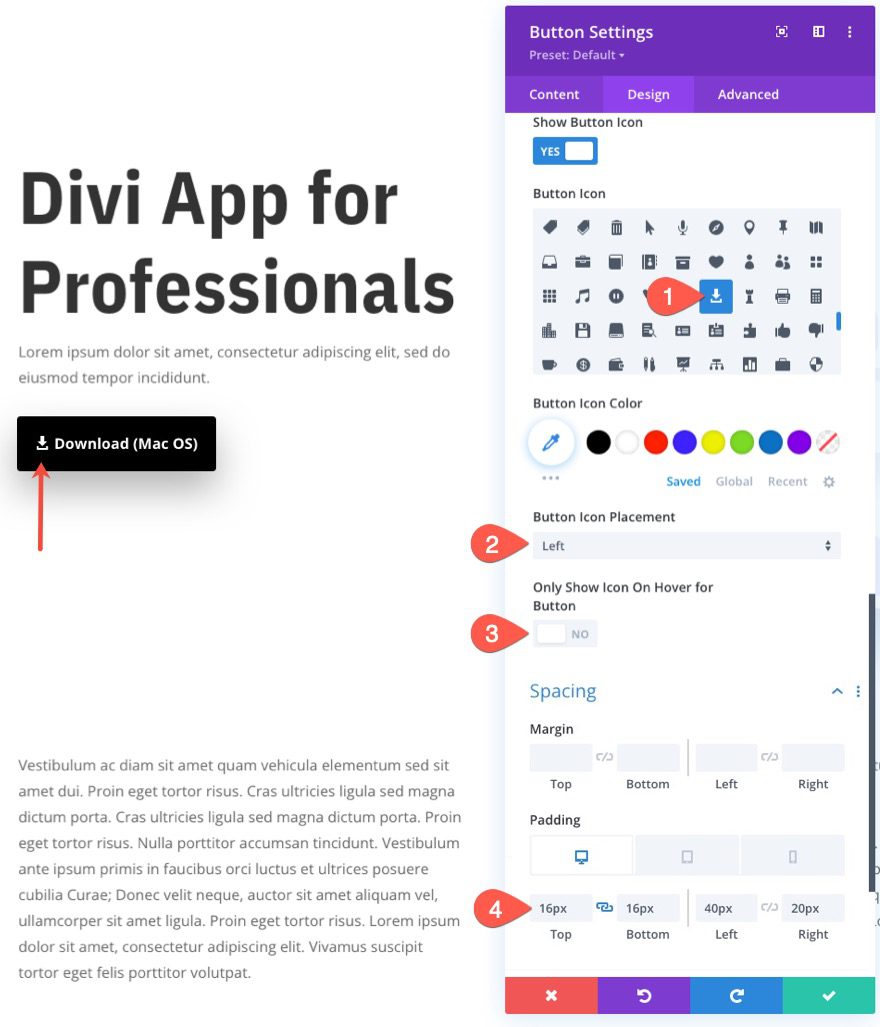
For the first button, we are going to use Divi’s condition options to display the download button only on Mac OS. To do this, open the settings for the existing button in the header of the layout and update the following button text and link URL:
- Button Text: Download (Mac OS)
- Button Link URL: [add URL to zip file]
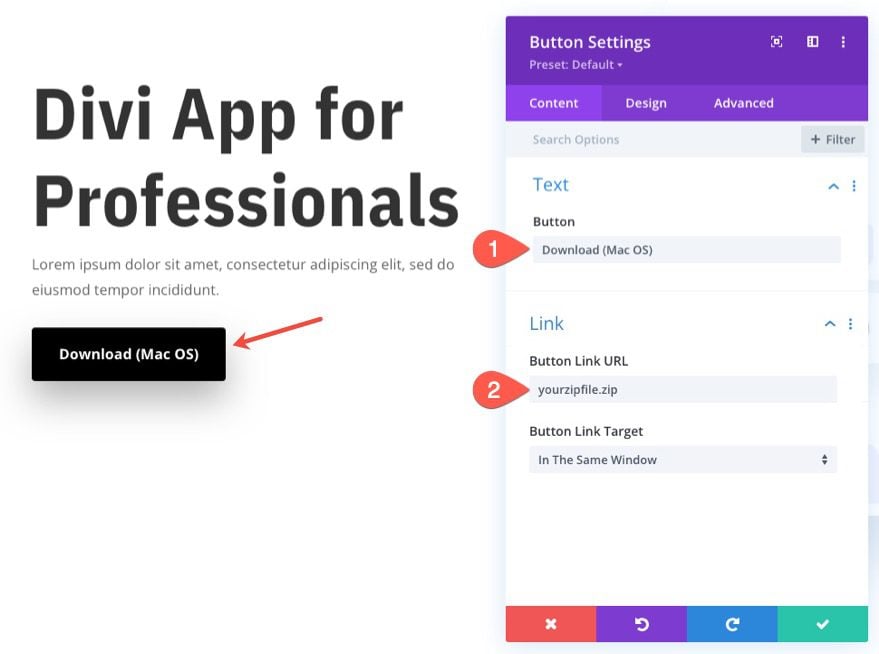
Under the design tab, update the button icon and spacing as follows:
- Button Icon: see screenshot
- Button Icon Placement: Left
- Only show Icon On Hover for Button: NO
- Padding (desktop): 16px top, 16px bottom, 40px left, 20px right
- Padding (phone): 28px left, 12px right
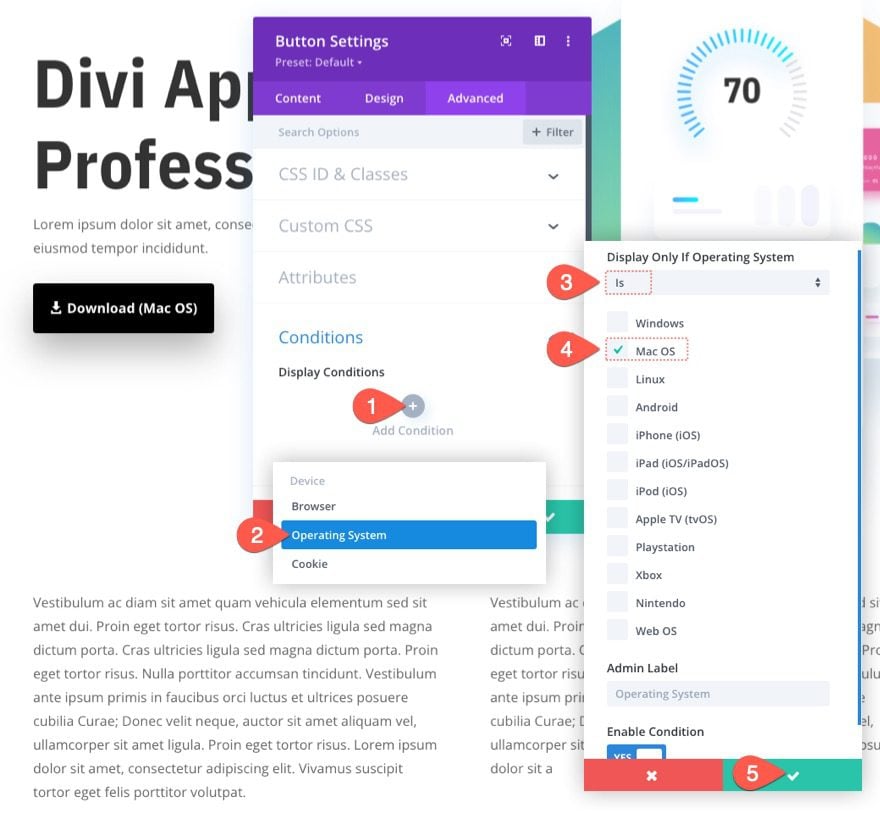
To add the operating system condition to the button, do the following:
- Under the advanced tab, click to add a new display condition.
- From the dropdown, select the Operating System condition.
- In the operating system settings popup, make sure the option Display Only If Operating System is set to Is.
- Choose the Mac OS operating system from the list.
- Save settings.
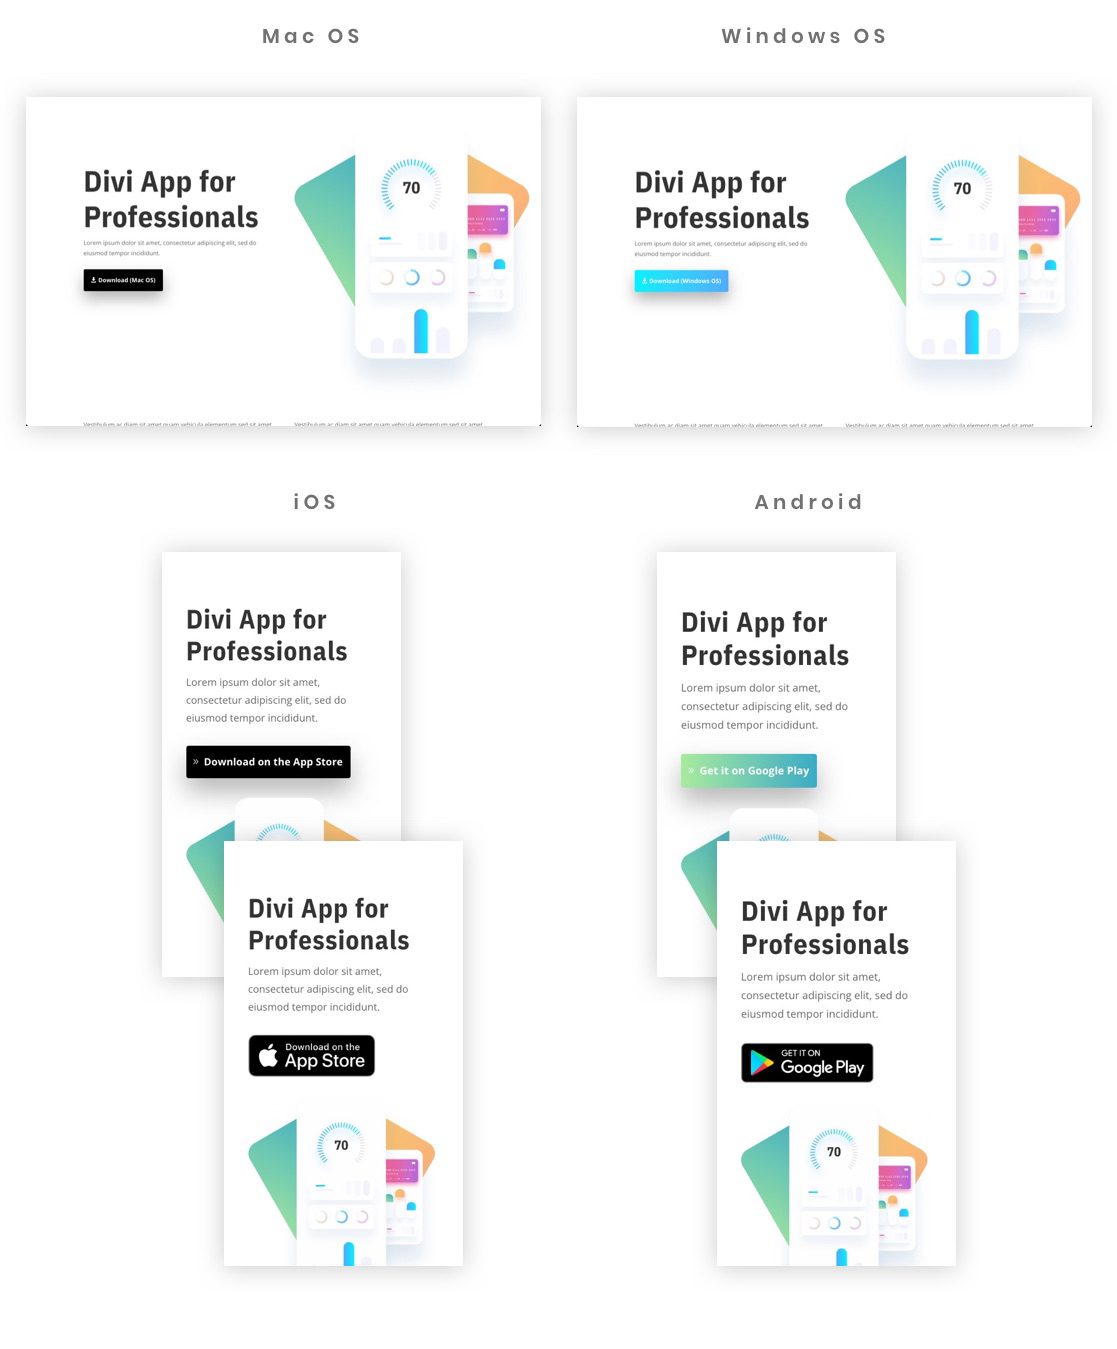
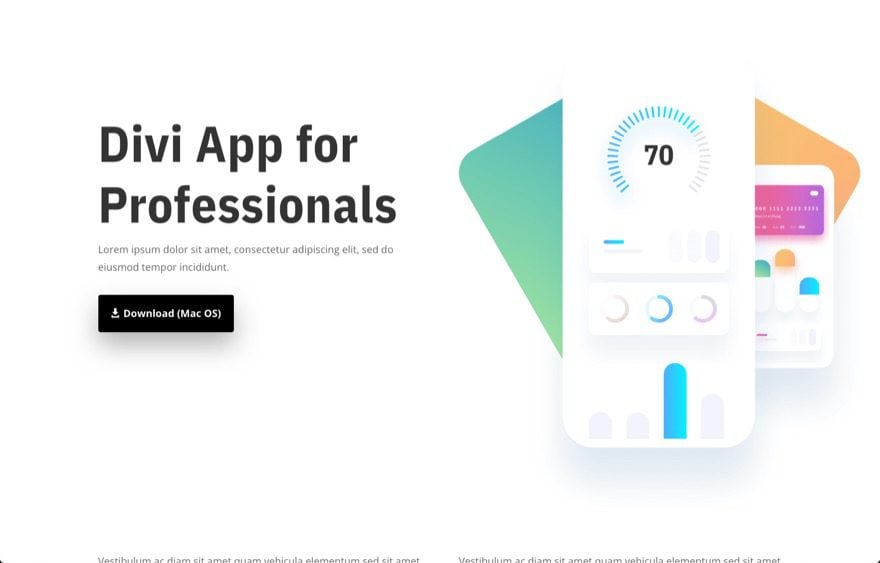
Here is what will be displayed on Mac OS…
For the second button, we are going to display a download button for Windows OS.
First, duplicate the button just created to create a new button.
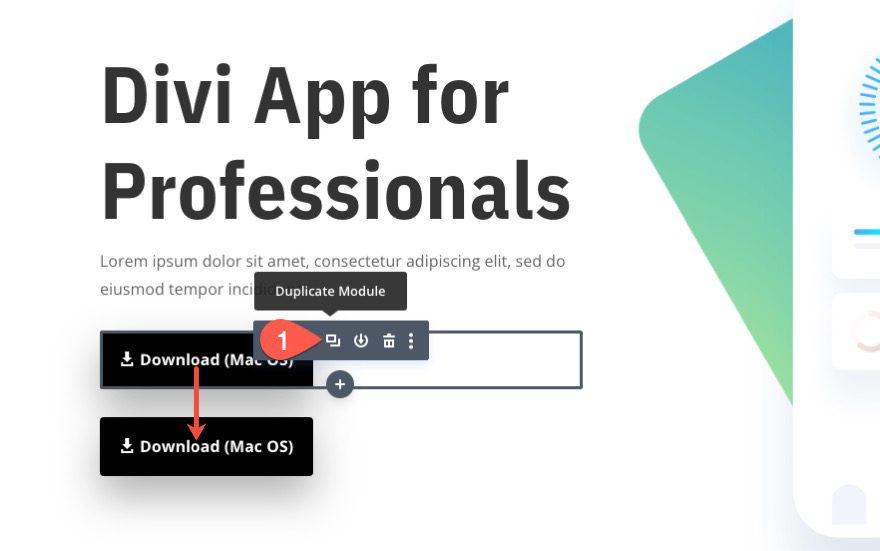
Open the settings for the new button and update the following button text and link URL:
- Button Text: Download (Windows OS)
- Button Link URL: [add URL to zip file]
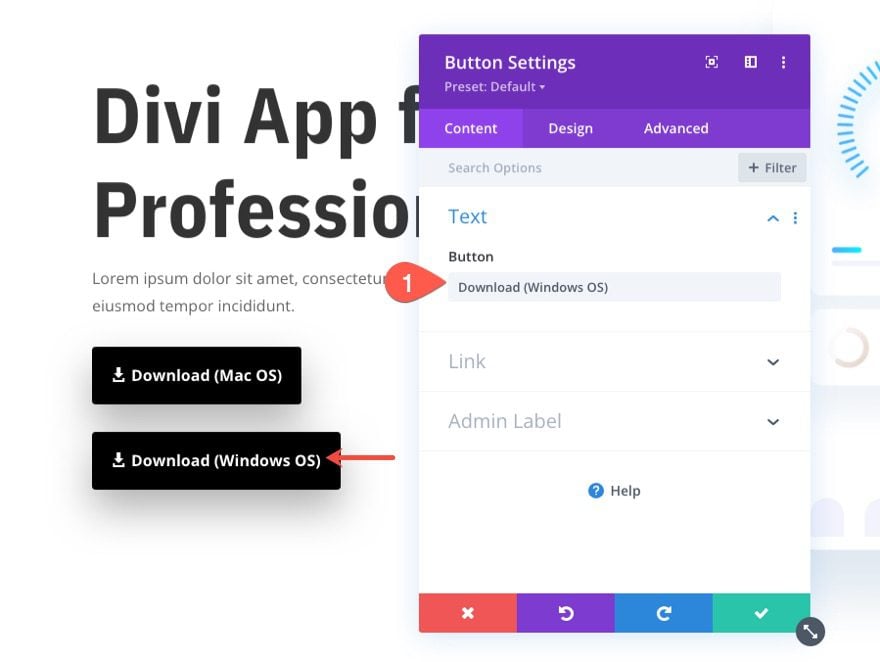
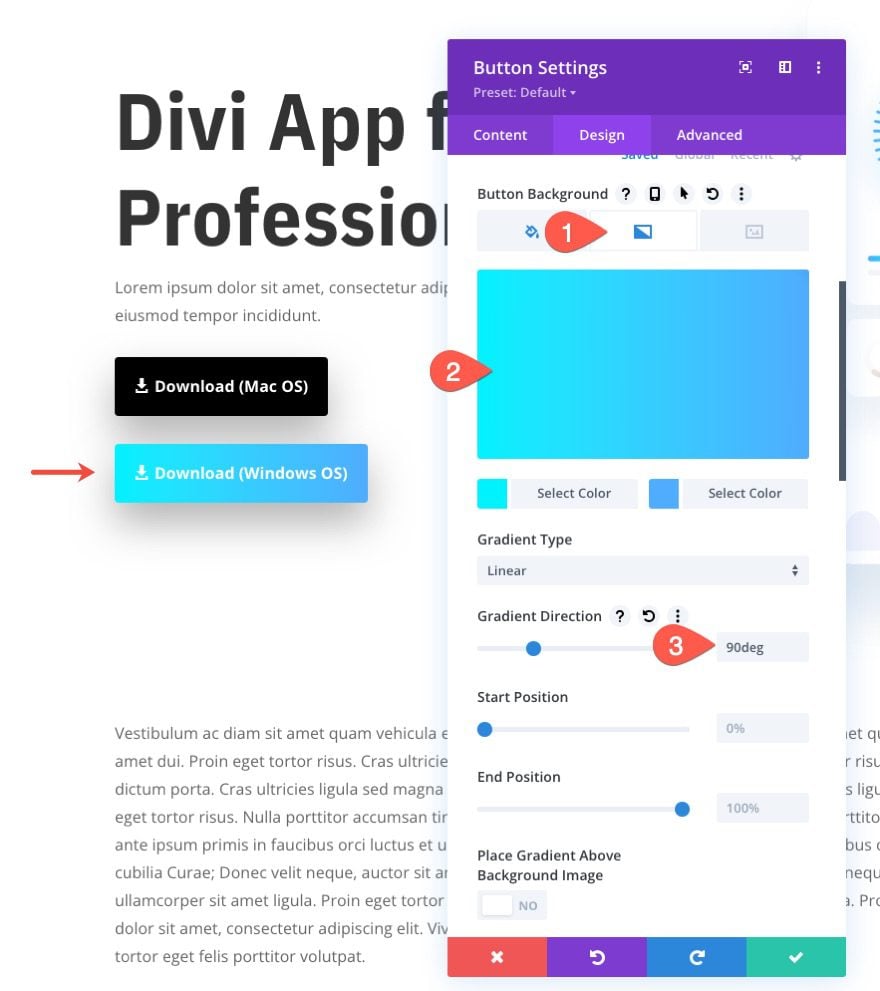
Under the design tab, give the button a gradient background as follows:
- Gradient Background Left Color: #00f2fe
- Gradient Background Right Color: #4facfe
- Gradient Direction: 90deg
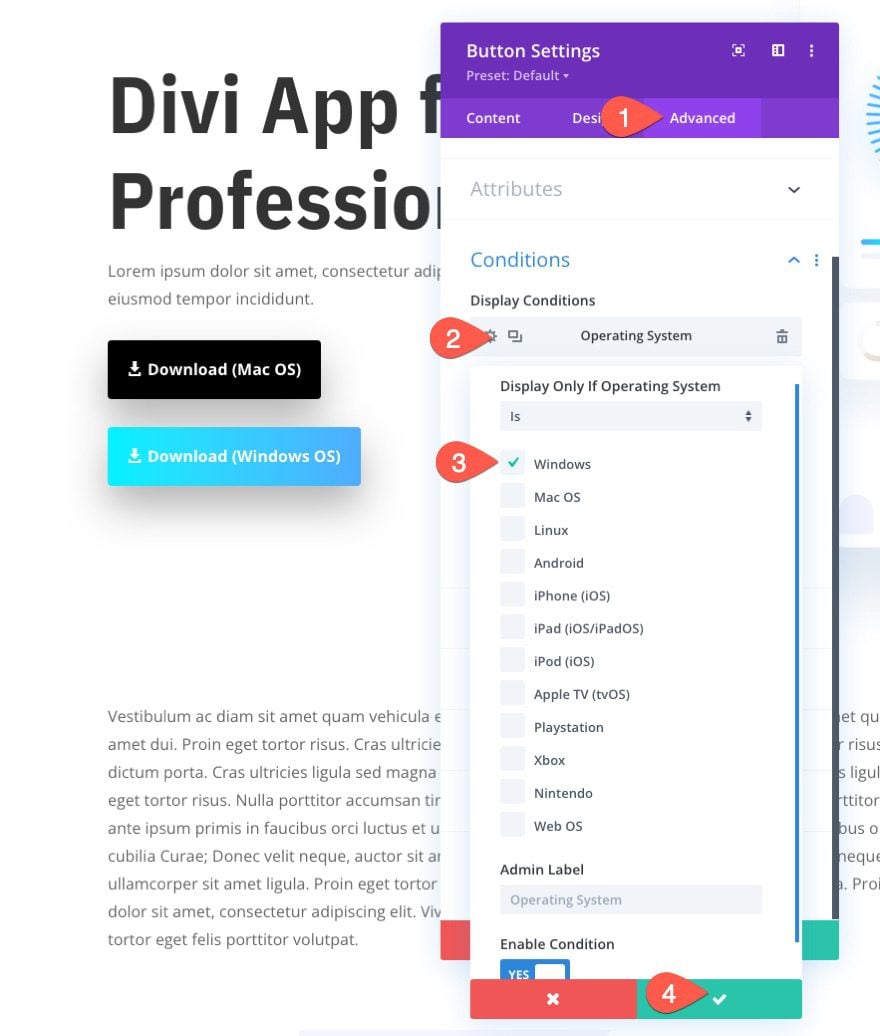
To add the operating system condition to the button, do the following:
- Under the advanced tab, click to add a new display condition.
- From the dropdown, select the Operating System condition.
- In the operating system settings popup, make sure the option Display Only If Operating System is set to Is.
- Choose the Windows operating system from the list.
- Save settings.
Here is what will be displayed on Windows…
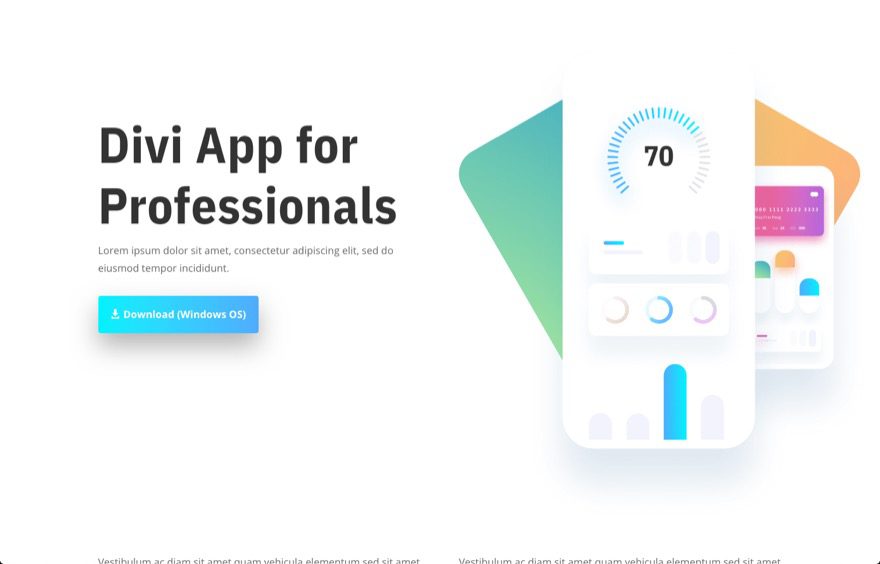
For the third button, we are going to display a download button for iOS devices.
To create the button, duplicate the first button we created.
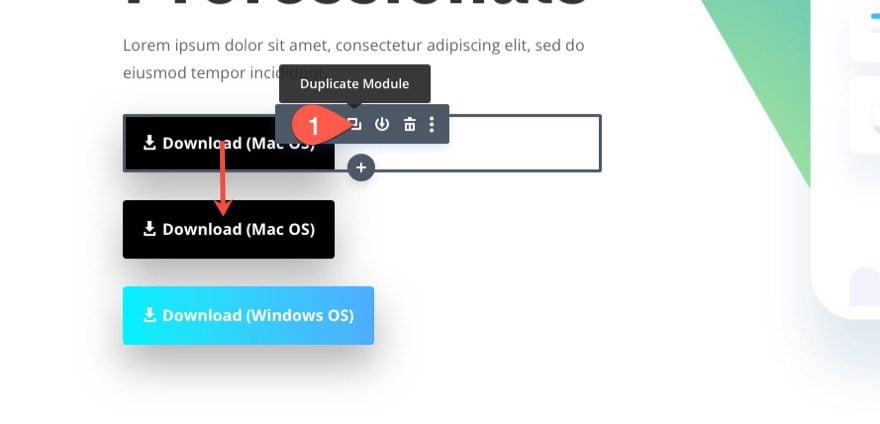
Open the settings for the new button and update the following button text and link URL:
- Button Text: Download on the App Store
- Button Link URL: [add URL to zip file]
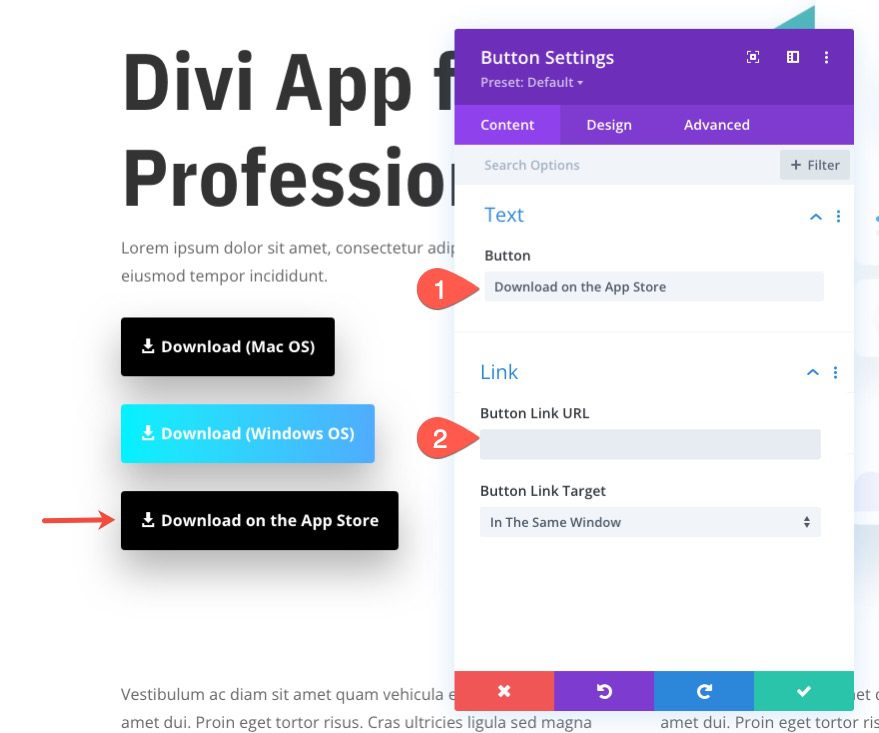
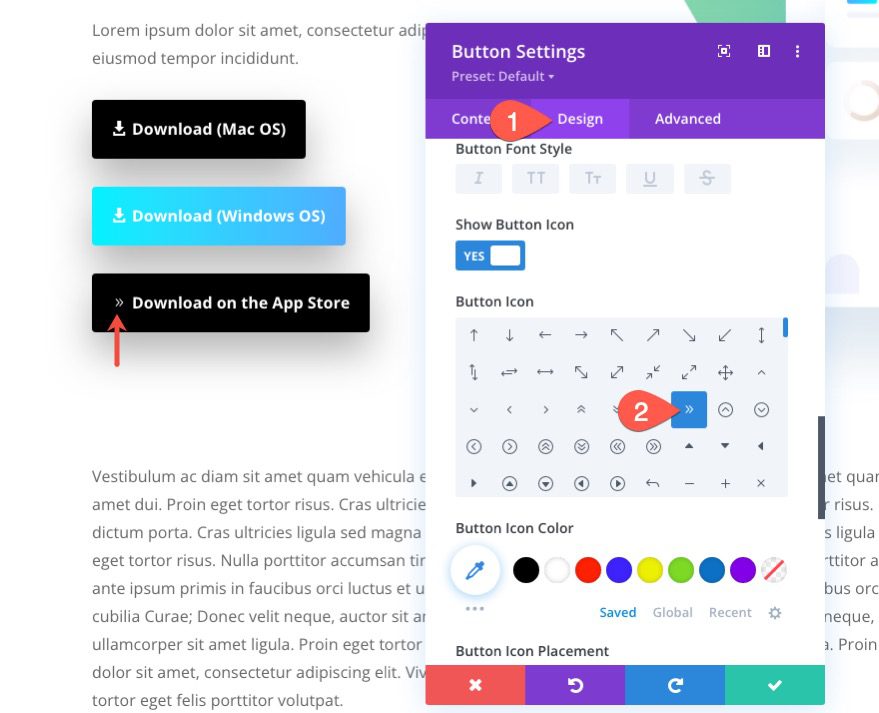
Under the design tab, update the button icon to a right arrow (see screenshot).
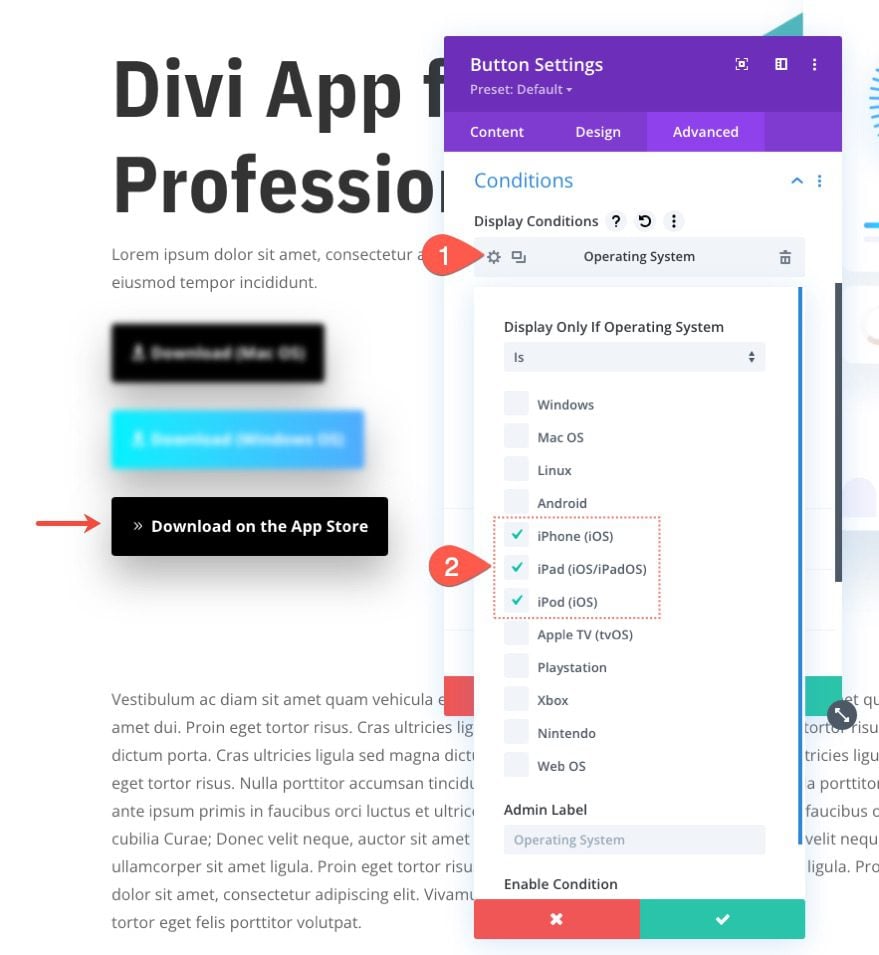
To add the operating system condition to the button, do the following:
- Under the advanced tab, click to add a new display condition.
- From the dropdown, select the Operating System condition.
- In the operating system settings popup, make sure the option Display Only If Operating System is set to Is.
- Choose the iOS operating system devices from the list (iPhone, iPad, iPod).
- Save settings.
Here is what it will display on iOS devices…
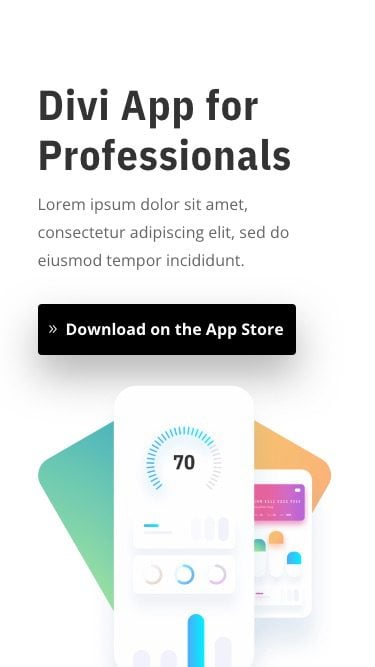
For the fourth button, we are going to display a download button for Android devices.
To create the button, duplicate the previous button we created.
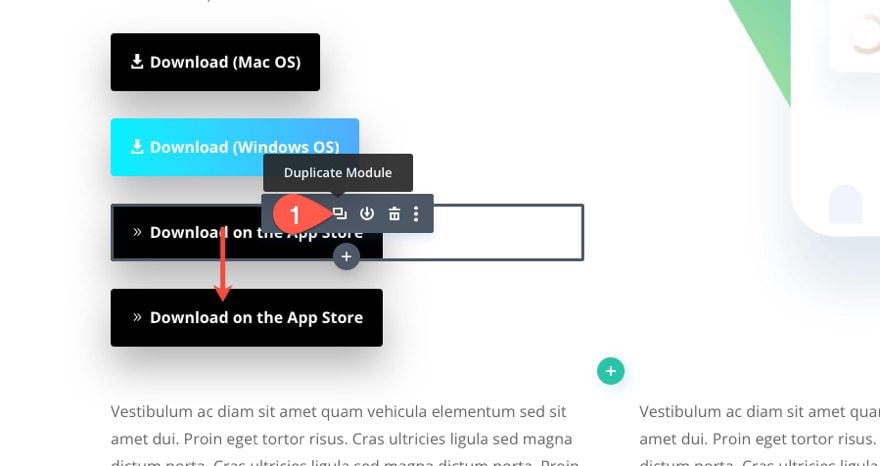
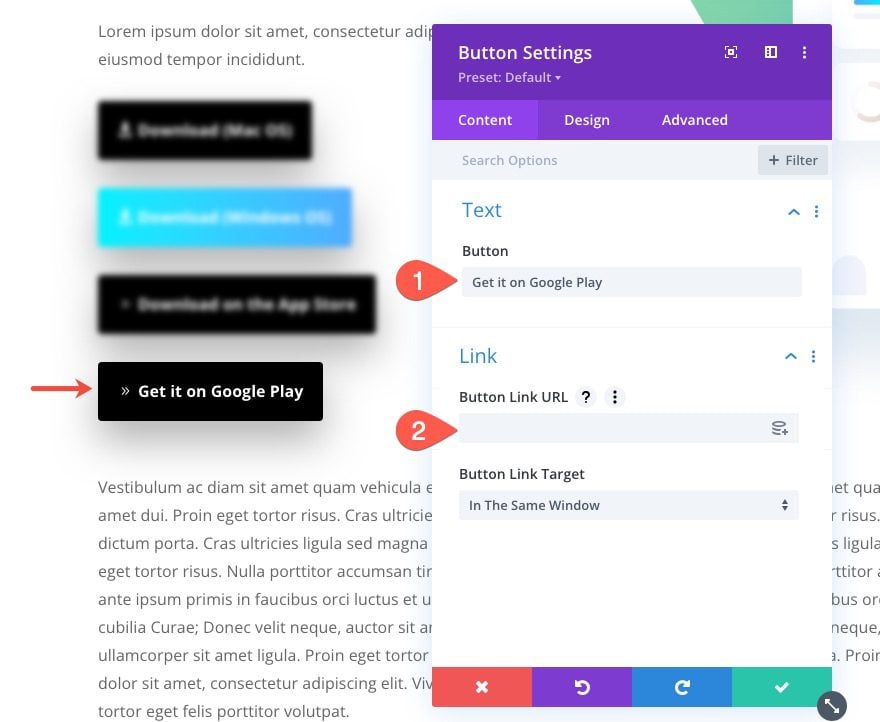
Open the settings for the new button and update the following button text and link URL:
- Button Text: Get it on Google Play
- Button Link URL: [add URL to zip file]
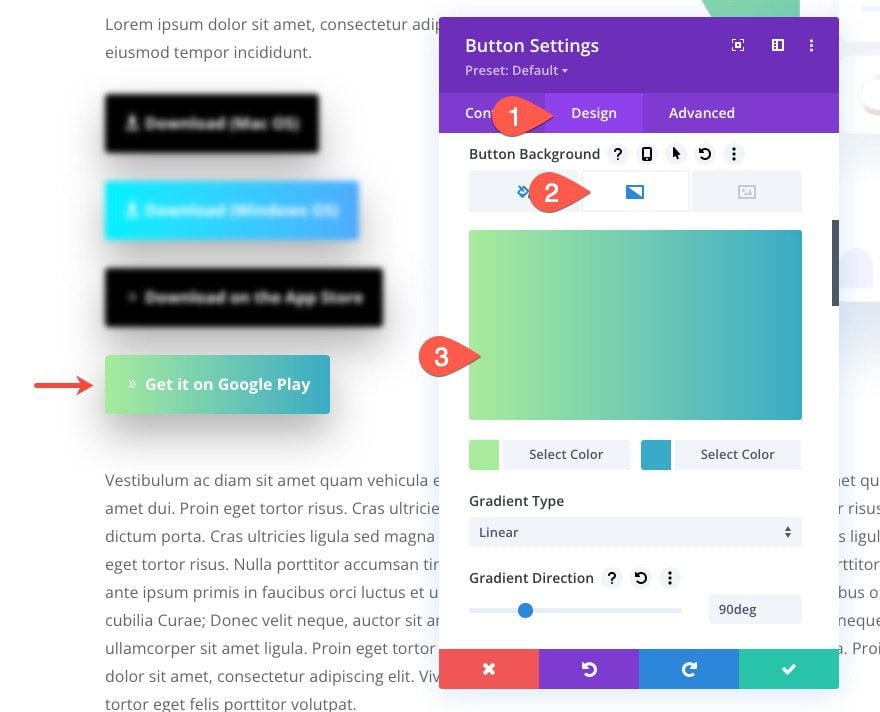
Under the design tab, give the button a gradient background as follows:
- Gradient Background Left Color: #a8eb9d
- Gradient Background Right Color: #39abc5
- Gradient Direction: 90deg
To add the operating system condition to the button, do the following:
- Under the advanced tab, click to add a new display condition.
- From the dropdown, select the Operating System condition.
- In the operating system settings popup, make sure the option Display Only If Operating System is set to Is.
- Choose the Android operating system from the list.
- Save settings.
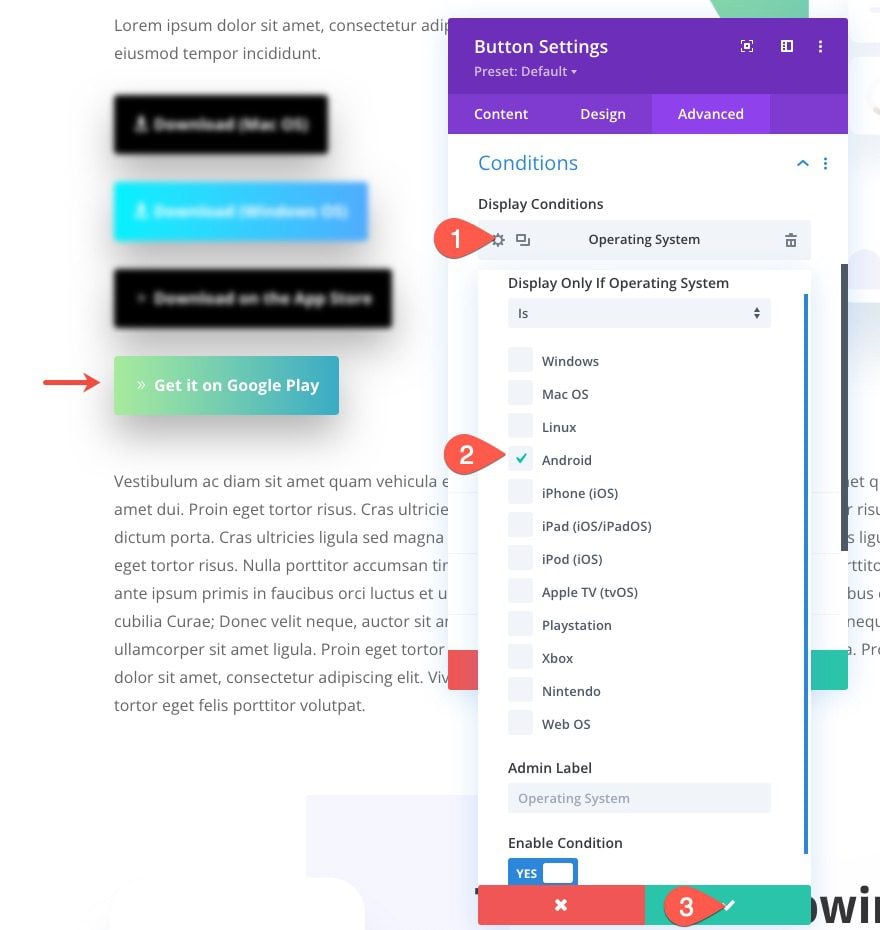
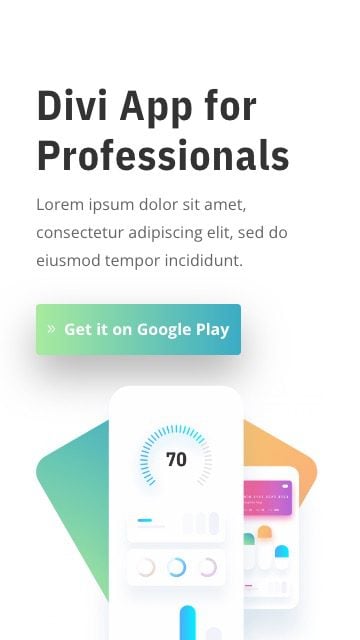
Here is what it will show on Android Devices…
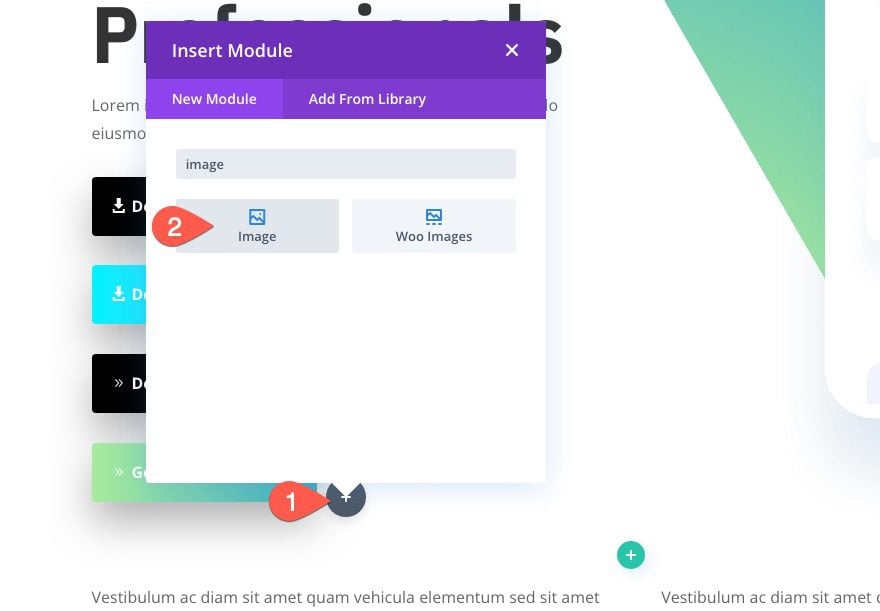
You can also choose to use images or badges for your buttons to make things look more official. For example, you could use one of Apple’s badges to display a download button for iOS devices. If you are wanting to use an image as a button, simply add a new image to the page.
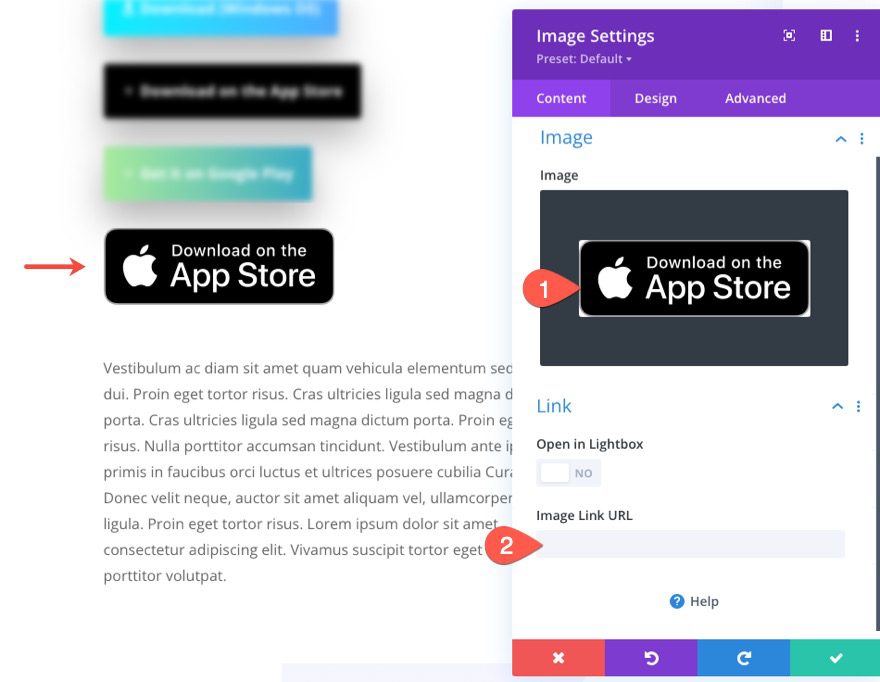
Upload the image to the module and provide the Image Link URL to redirect users to the app store or download page.
Then update the display condition to display the image button on the respective operating system.
You could show a “Download on the App Store” button image on iOS devices.
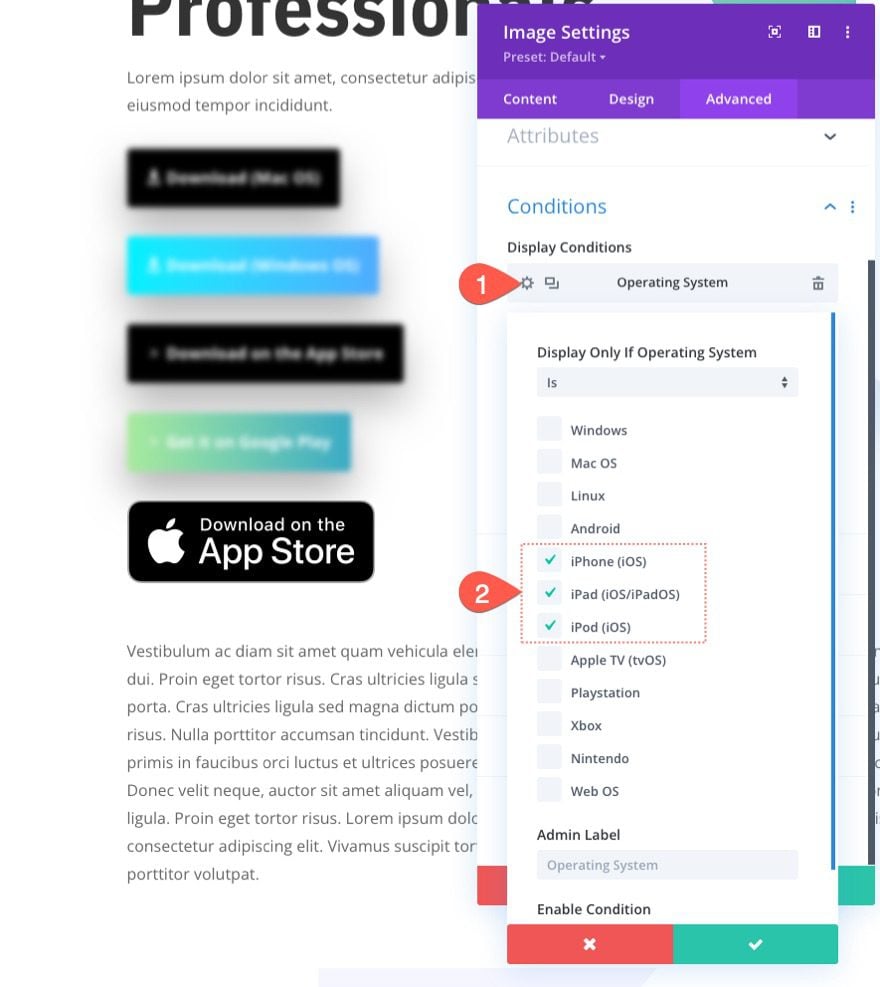
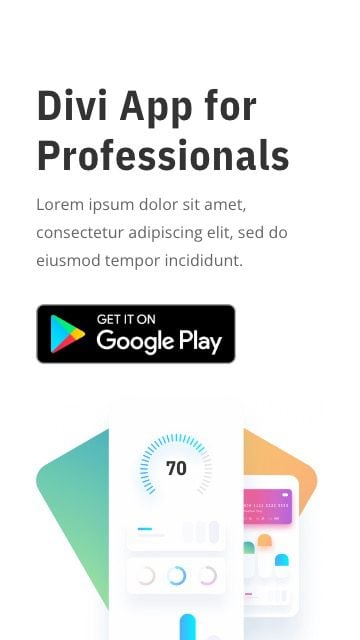
And you could show a “Get it on Google Play” button image on Android devices.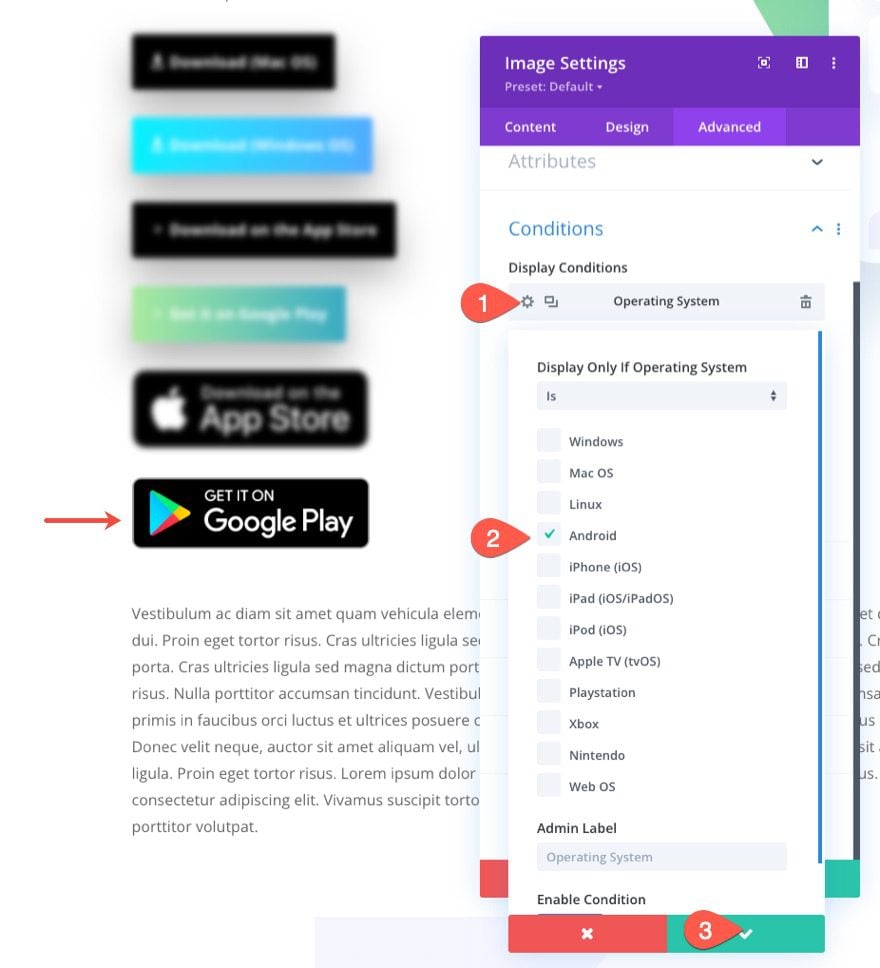
Testing Results with Chrome DevTools
If you are using the Chrome browser, you can use the built-in DevTools to test the display of your page/buttons on different operating systems. It doesn’t matter what OS your computer is running. Chrome DevTools can spoof the OS for testing purposes.
To test your page on different operating systems using Chrome DevTools, follow these steps:
- Open the developer tools and click the three-dot icon at the top right of the window
- Select Show Console Drawer from the dropdown ( or you can simply press esc to bring up the console drawer)
- In the console drawer, click the three-dot menu at the top left of the drawer.
- Add the Network Conditions tab from the dropdown list.
- Under Network Conditions, deselect the option “Use Default Browser” for User agent.
- Then select a Custom Browser/OS from the list.

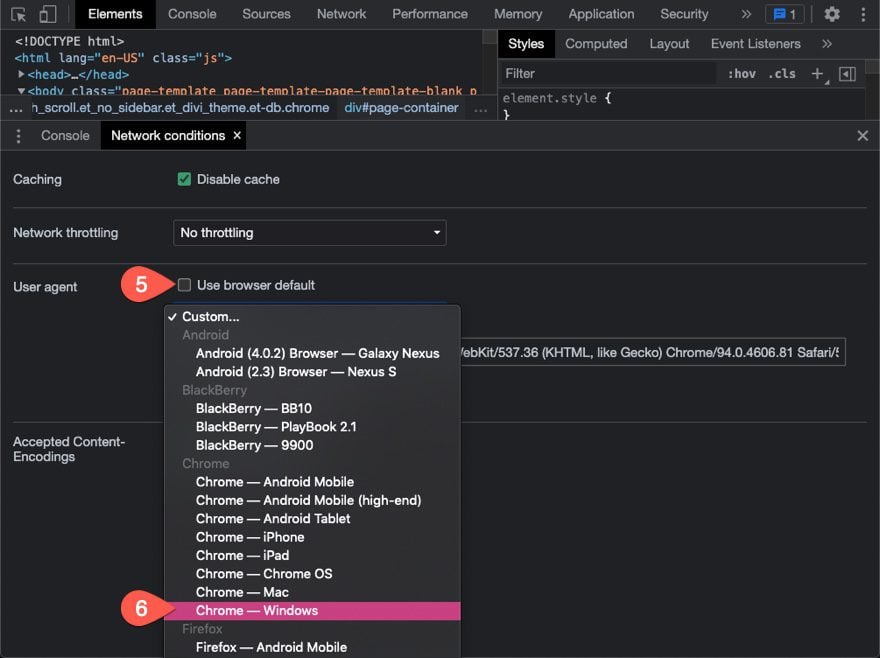
Once done, you can refresh the page to load that page under those network conditions.
Final Results
Here are the final results displayed on their respective operating systems.


Using a Divi Button

Using an Image or Badge
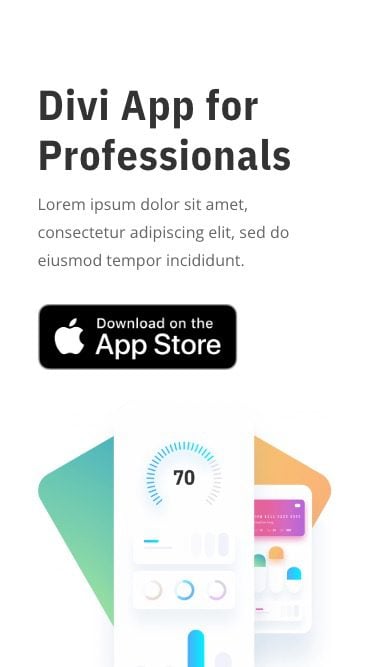
Using a Divi Button

Using an Image or Badge
Final Thoughts
Creating download buttons in Divi is extremely easy. You can use the button module or even an image module with either a link URL to download a zip file or redirect users to a download page or app store. After that, you can drastically improve the UX of your page by using Divi’s operating system condition option to display each button according to the user’s respective operating system. This will help ensure users get what they need quickly and efficiently. And don’t forget to test those buttons on different network conditions using Chrome DevTools to make sure users are seeing the right buttons.
I look forward to hearing from you in the comments.
Cheers!



Hello there!
I want to express my appreciation for the way this post was written.
You appear to be a very skilled and knowledgeable Divi user, and I thoroughly liked reading your post.
With a lot of sales, it’s one of the greatest and most popular WordPress products. It’s a superb product for both expert and novice users. I will highly recommended.
Very Informative Post. Thank you
Love the post Jason . Thank you for so much precise information
Awesome! You’re welcome.
hi @Jason
Nice post just a small typo in the featured image, Android and iOS has been interchanged to be matched with respective download screens.
Hi, Jason Champagne
I’m really impressed with your blog. It was informative. Moreover, how precisely you have described the topic. I will eagerly wait for more and more creatives from you.
Thanks, Denny!
I’m really digging this. Divi just keeps getting better all the time. Always excited every time I see a new feature update is available. Keep up the great work guys.
Great to hear, Britt. Thanks for the support.
Hello,
I tried for Linux and it actually works fine. 🙂
Nice!
Dont’ get me wrong, this can be also done using a code and there is no need of an extra plugin. I always believe in reduced number of WordPress plugins or addons.
A website can also be done using code so I guess that you don’t use WordPress either? Btw, the Conditions feature is a native part of Divi so you don’t need “an extra plugin” to achieve this.