

When the Divi sticky options feature was released, the release post on our blog was accompanied by live demos that show you the versatility of this new feature. To help you understand sticky options better, and start using them in your design, we’ll show you how to recreate one of the live demo designs in this tutorial. The design we’re recreating focuses on emphasizing your sticky button. It’s is a text-based CTA section that allows you to highlight your call to action in a beautiful way. You’ll be able to download the JSON file for free as well!
Let’s get to it.
- 1 Preview
- 2 Download The CTA Section Layout for FREE
- 3 Download For Free
- 4 You have successfully subscribed. Please check your email address to confirm your subscription and get access to free weekly Divi layout packs!
- 5 1. Build Element Structure
- 6 2. Apply Scroll & Sticky Effects
- 7 Preview
- 8 Final Thoughts
Preview
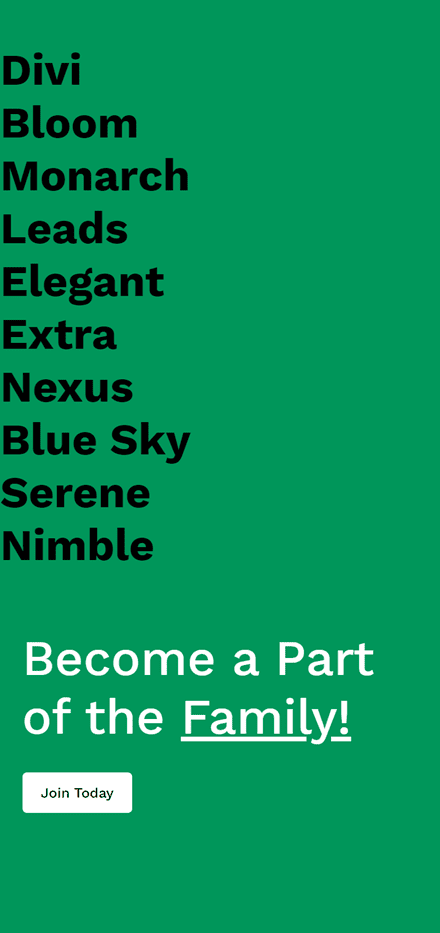
Before we dive into the tutorial, let’s take a quick look at the outcome across different screen sizes.
Desktop
Mobile
Download The CTA Section Layout for FREE
To lay your hands on the free CTA section layout, you will first need to download it using the button below. To gain access to the download you will need to subscribe to our newsletter by using the form below. As a new subscriber, you will receive even more Divi goodness and a free Divi Layout pack every Monday! If you’re already on the list, simply enter your email address below and click download. You will not be “resubscribed” or receive extra emails.

1. Build Element Structure
Add New Section
Background Color
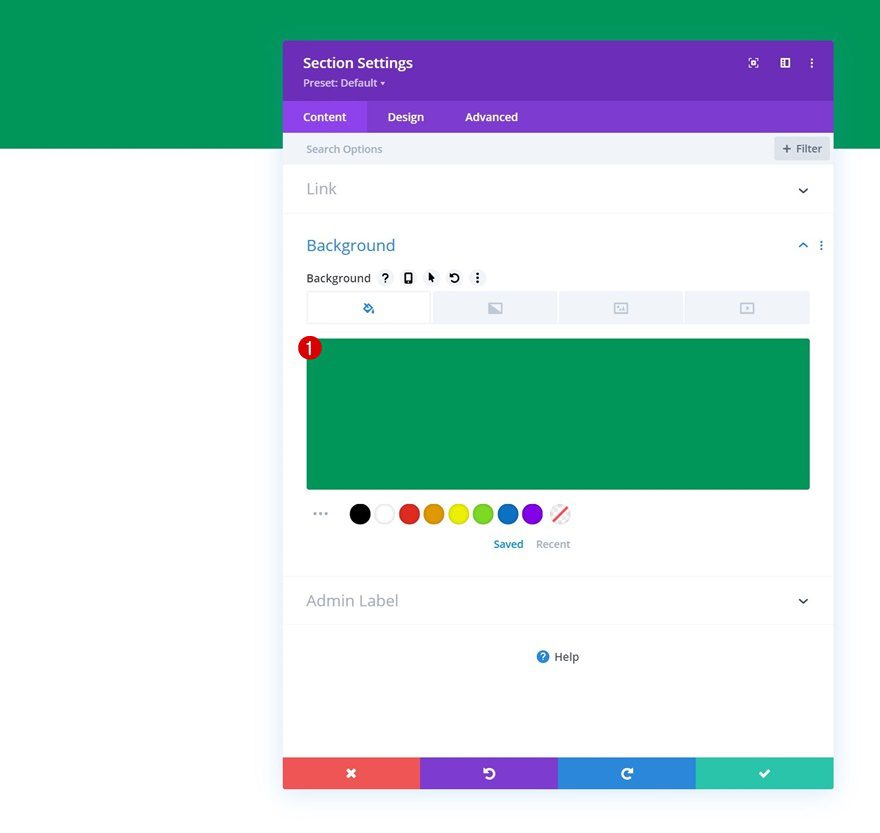
Start by adding a new section to the page you’re working on. This can be a new page or an existing one but we recommend adding it to a page that has some content in it already, so there’s enough scrolling space for you to actually see the effects come to life. Open the section settings and apply a background color of your choice.
- Background Color: #00965a
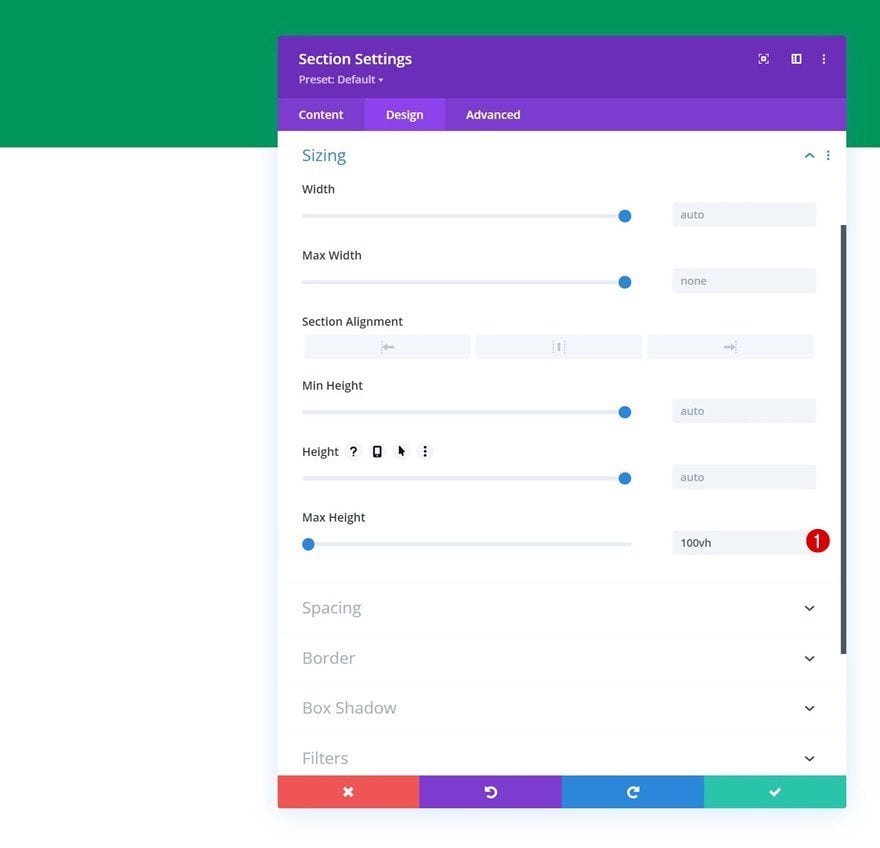
Sizing
Move on to the section’s design tab and apply a max height. This max height will help us ensure that the section’s height is limited.
- Max Height: 100vh
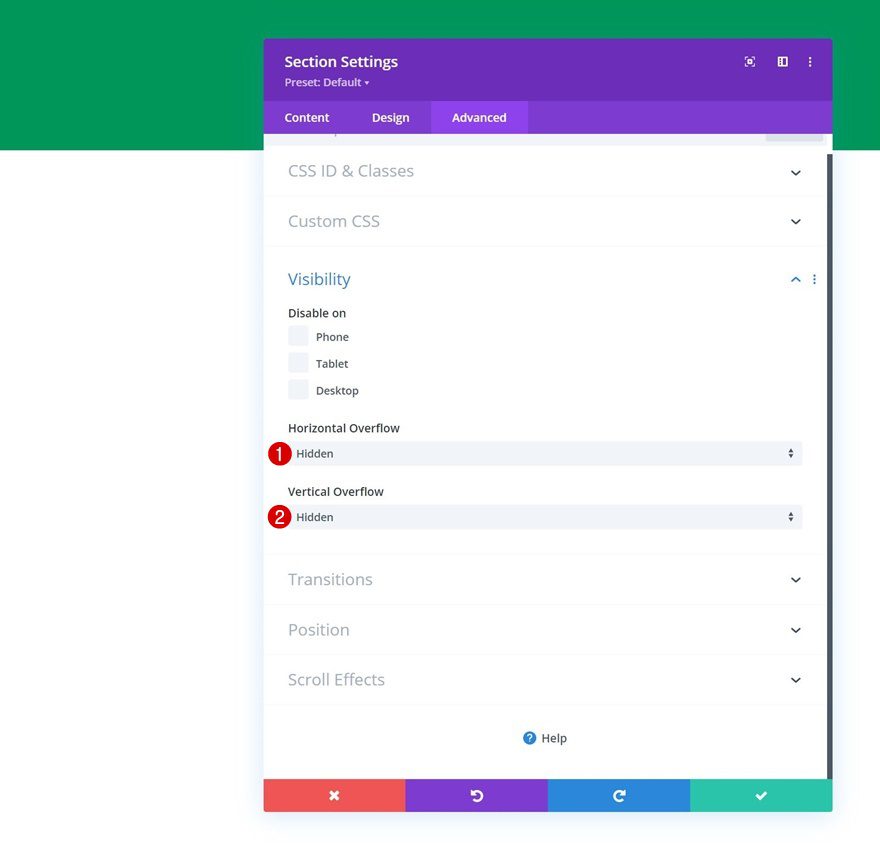
Overflows
Since we’ll be applying some scroll effects later on to the tutorial, we’ll also need to hide the section’s overflows to make sure nothing surpasses the section container.
- Horizontal Overflow: Hidden
- Vertical Overflow: Hidden
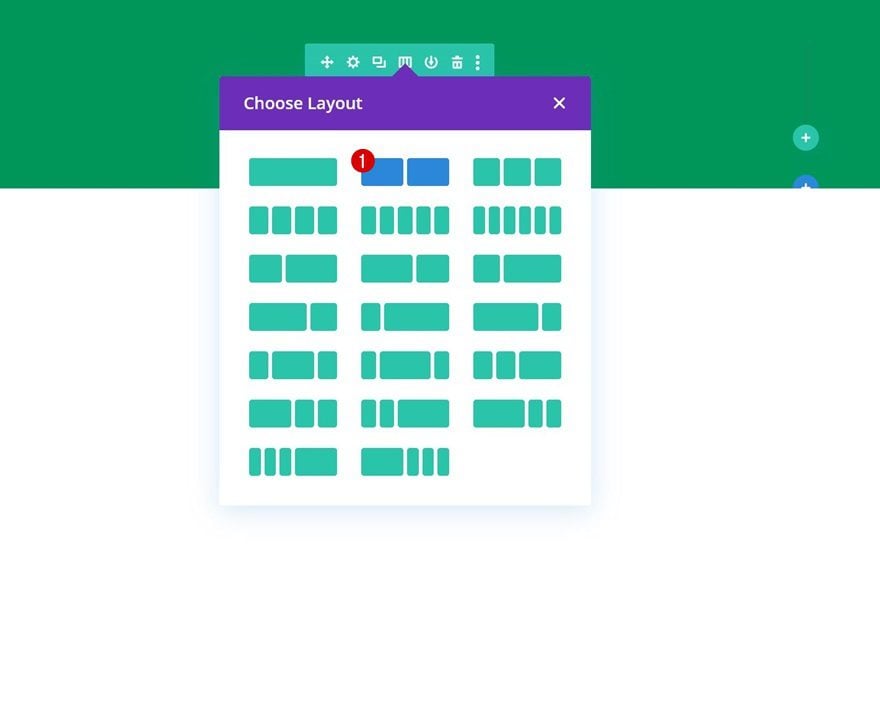
Add New Row
Column Structure
Once the section settings are in place, add a new row using the following column structure:
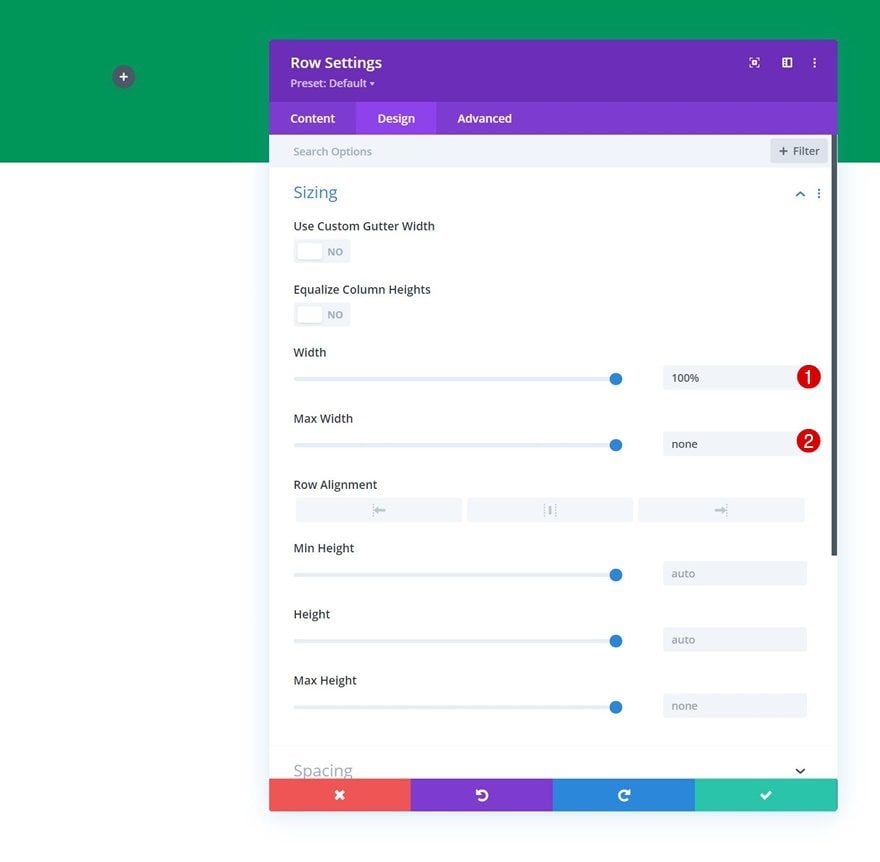
Sizing
Without adding any modules yet, open the row settings and apply some custom sizing settings. These sizing settings will allow the row container to take up the entire row’s width which gives our design a fullscreen effect.
- Width: 100%
- Max Width: none
Column 2 Settings
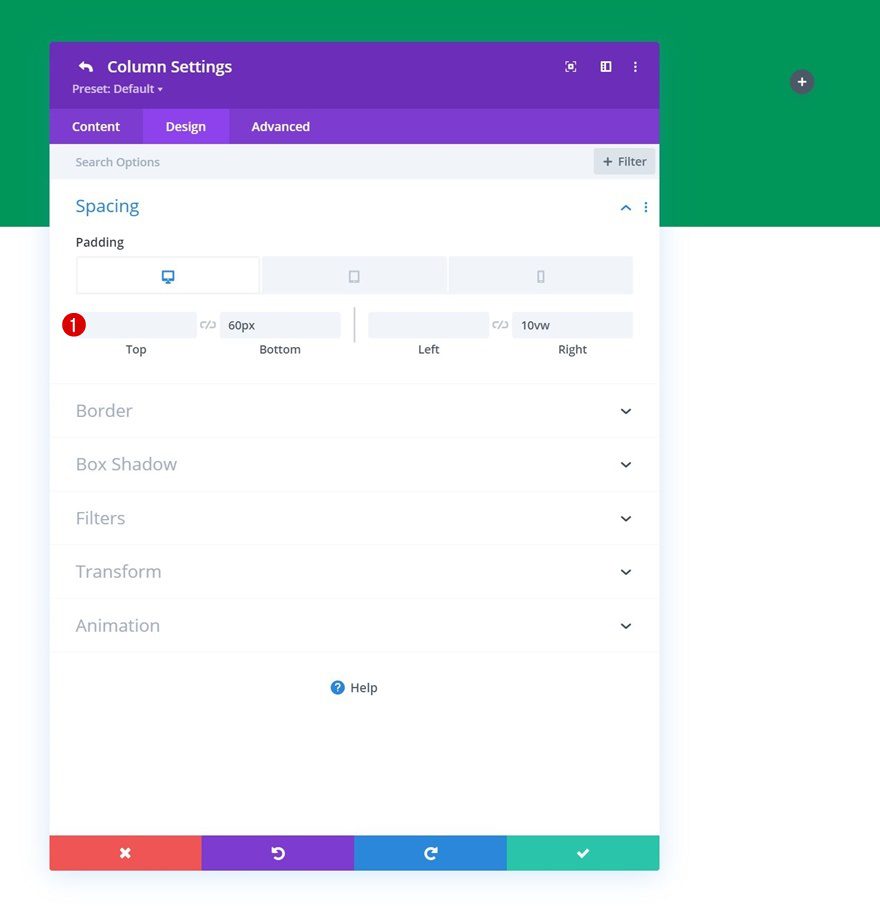
Spacing
Open the column 2 settings next and apply some custom padding values across different screen sizes.
- Bottom Padding: 60px
- Left Padding:
- Tablet & Phone: 5%
- Right Padding:
- Desktop: 10vw
- Tablet & Phone: 5%
Add Text Module to Column 1
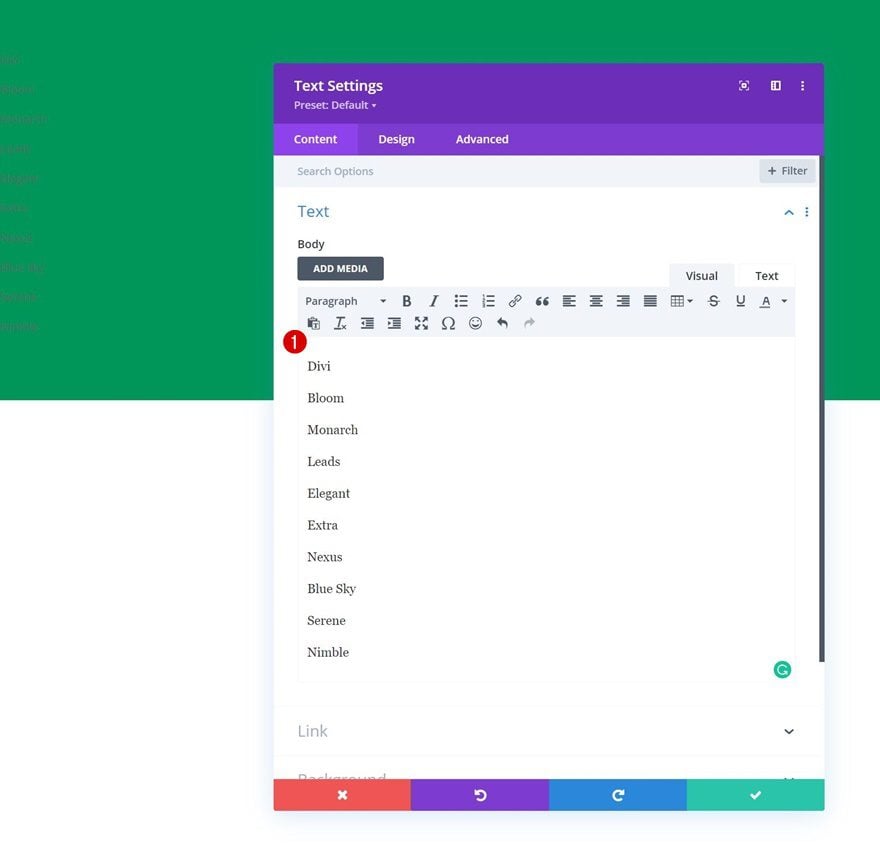
Add Content
Time to add modules, starting with a Text Module in column 1. Add some content of your choice. To create the exact same design as in the preview of this post, insert some relevant words that help empower the CTA that we’ll place in column 2 later on the tutorial. Make sure you place each word inside its own line as well.
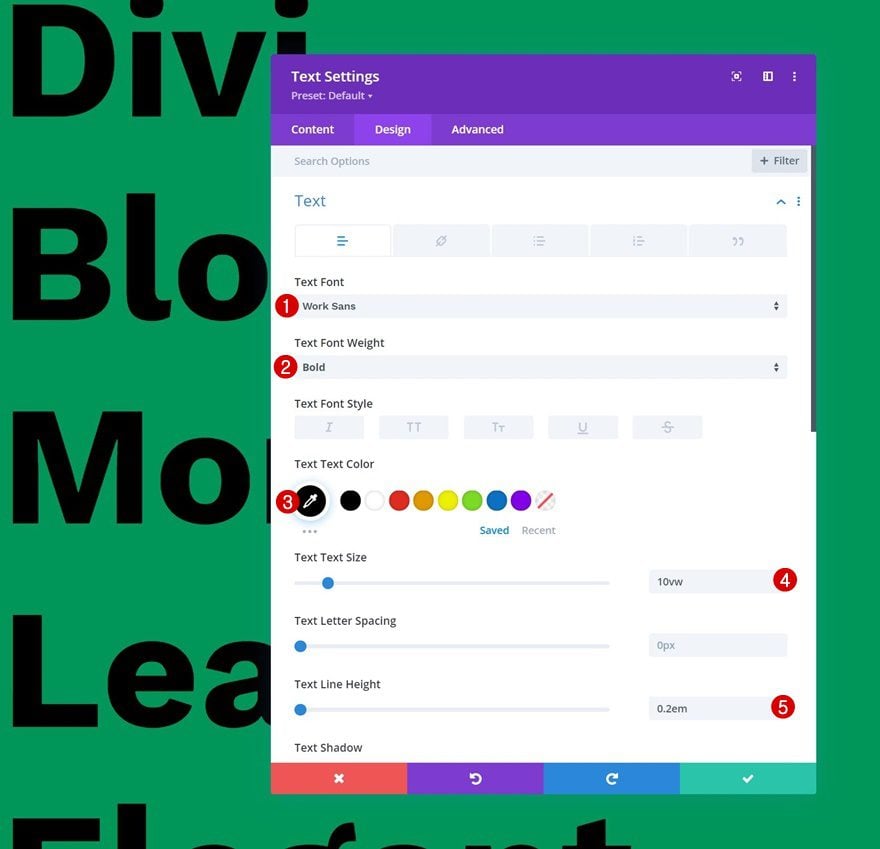
Text Settings
Move on to the module’s design tab and change the text settings. You’ll notice that we’re using viewport width as our text size unit. Using the viewport width unit will help us keep the text responsive across all screen sizes.
- Text Font: Work Sans
- Text Font Weight: Bold
- Text Color: #000000
- Text Size: 10vw
- Text Line Height: 0.2em
Add Text Module to Column 2
Add Content
On to the second column. There, add a Text Module with some call to action copy of your choice.

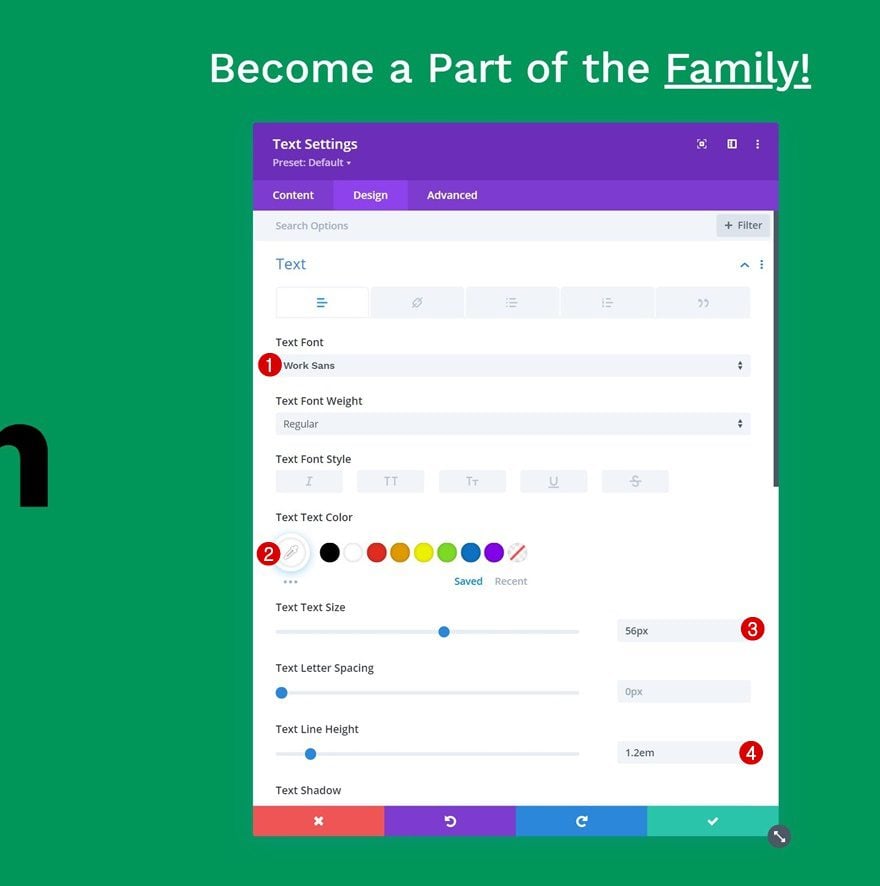
Text Settings
Move on to the module’s design tab and change the text settings accordingly:
- Text Font: Work Sans
- Text Color: #ffffff
- Text Size: 56px
- Text Line Height: 1.2em
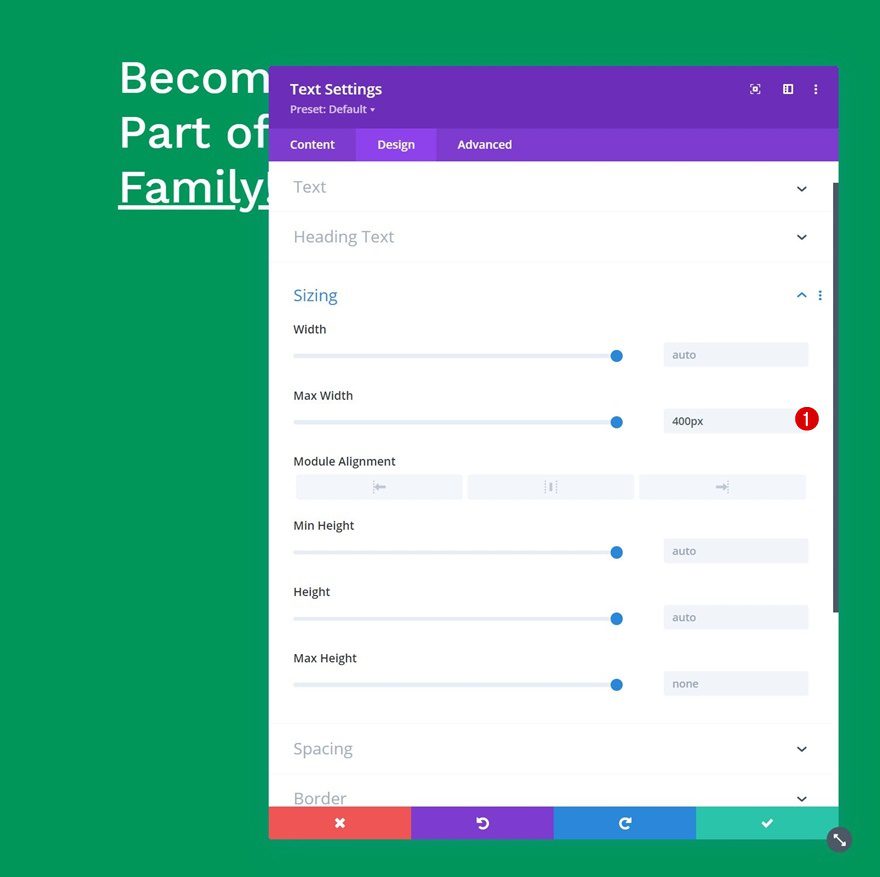
Sizing
Assign a max width to the Text Module as well.
- Max Width: 400px
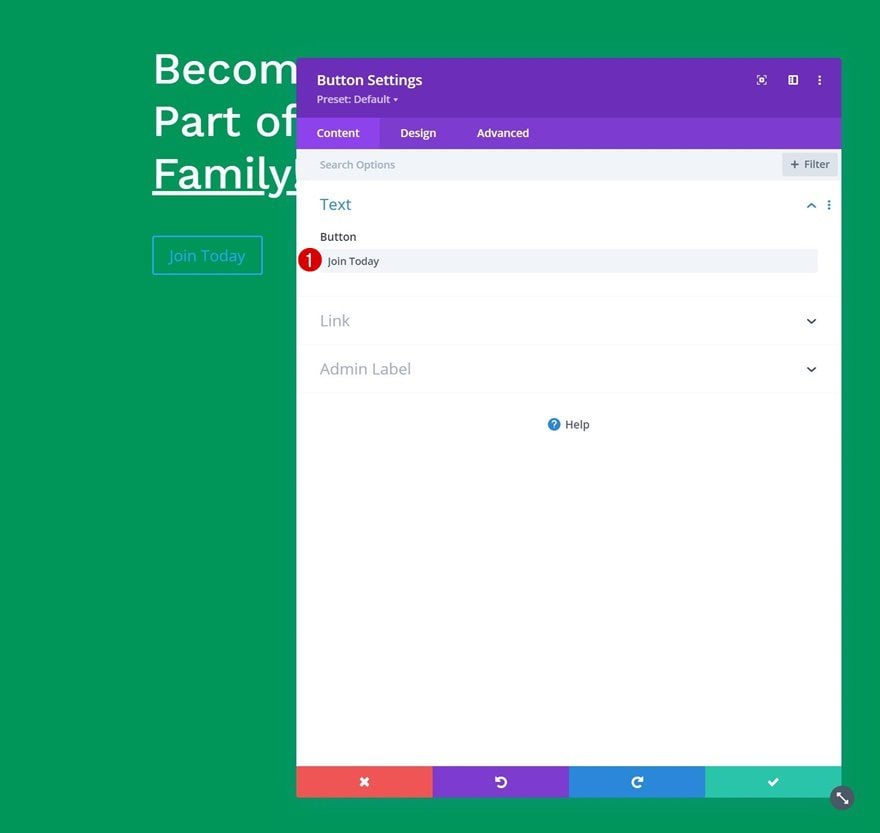
Add Copy
The next and last module we need in our design is a Button Module in column 2. Add some copy of your choice.
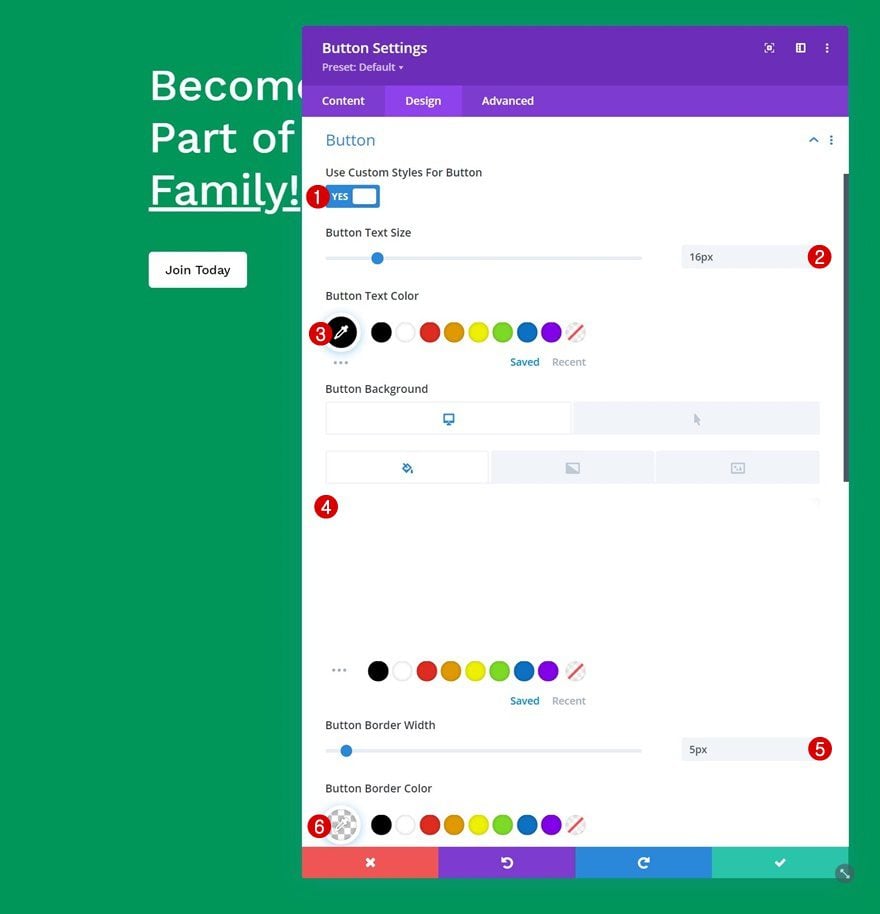
Button Settings
Move on to the module’s design tab and style the button accordingly:
- Use Custom Styles For Button: Yes
- Button Text Size: 16px
- Button Text Color: #000000
- Button Background Color:
- Default: #ffffff
- Hover: rgba(255,255,255,0.7)
- Button Border Width: 5px
- Button Border Color: rgba(0,0,0,0)
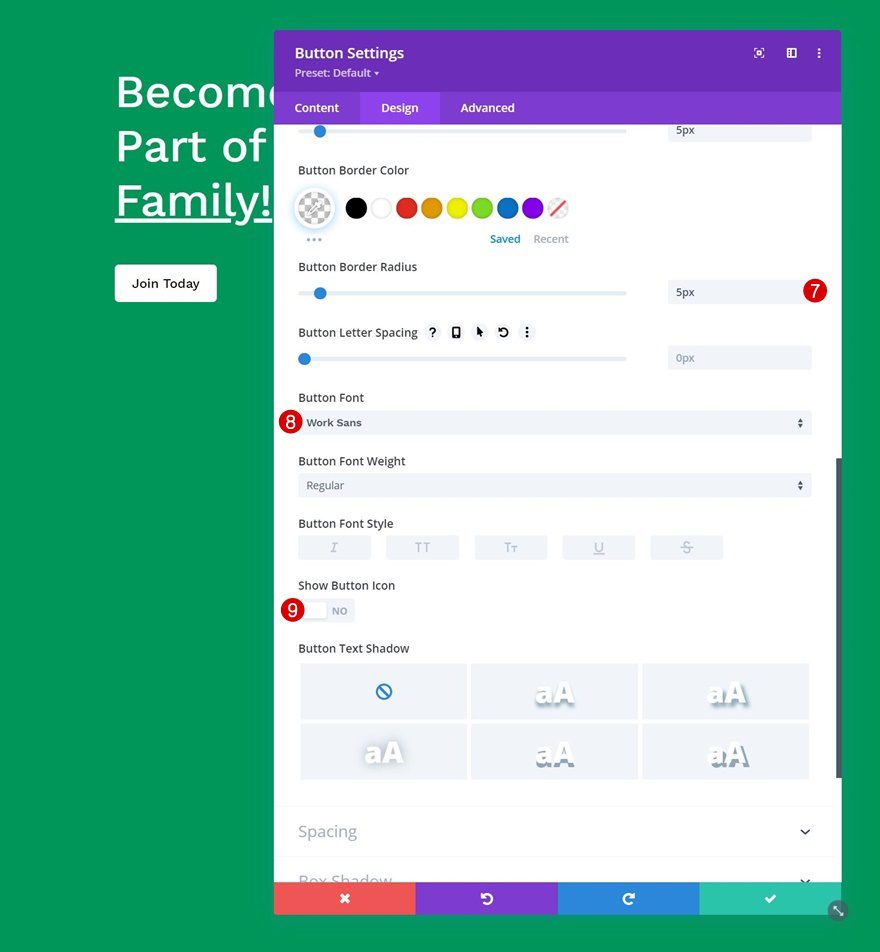
- Button Border Radius: 5px
- Button Font: Work Sans
- Show Button Icon: No
2. Apply Scroll & Sticky Effects
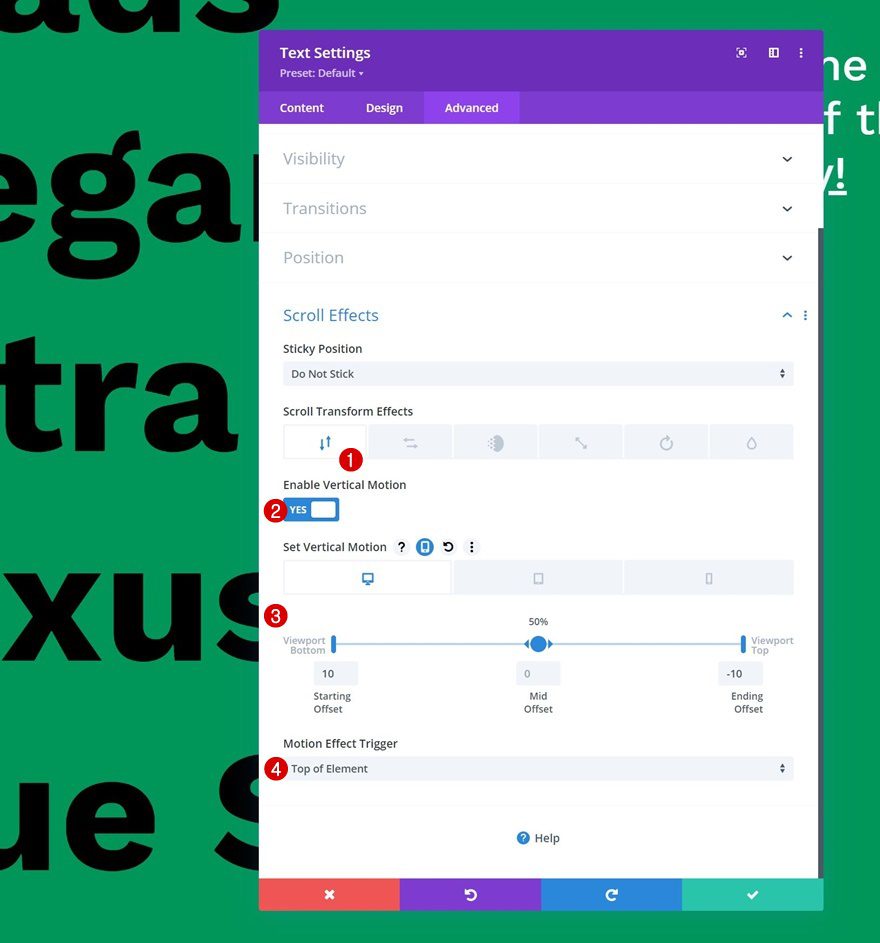
Add Vertical Motion to Text Module in Column 1
Now that the foundation of our design has been set, it’s time to apply the scroll and sticky effects! Open the Text Module in column 1 and apply some responsive vertical motion.
- Enable Vertical Motion: Yes
- Starting Offset:
- Desktop: 10
- Tablet & Phone: 0
- Mid Offset: 0
- Ending Offset:
- Desktop: -10
- Tablet & Phone: 0
- Motion Effect Trigger: Top of Element
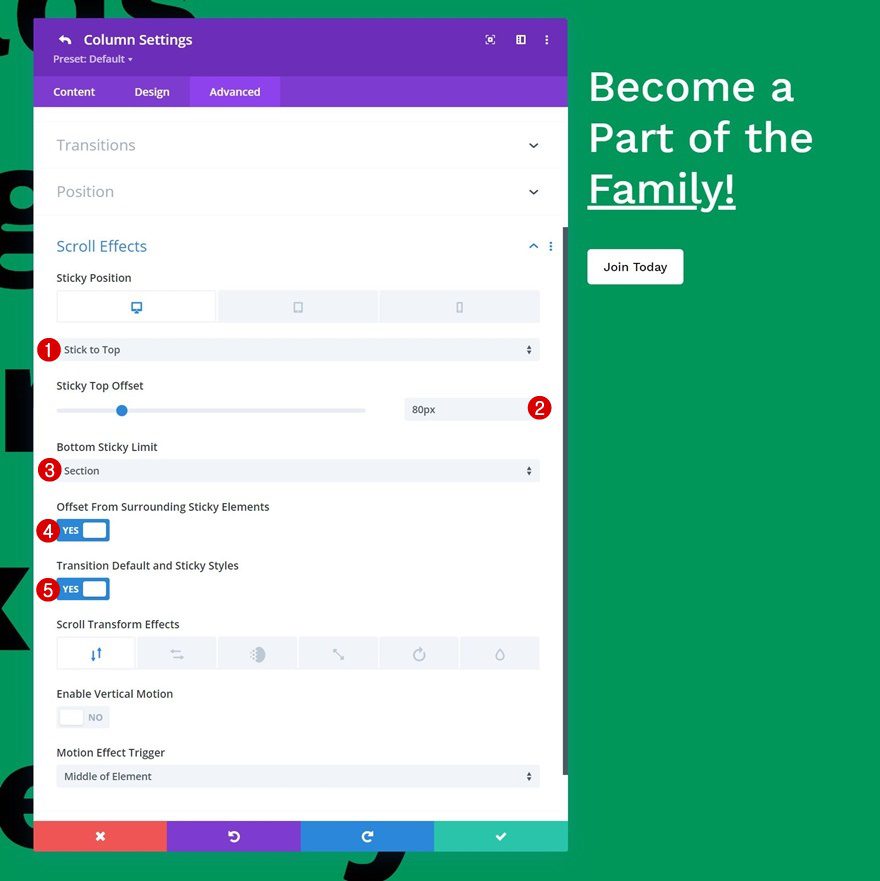
Add Sticky Effect to Column 2
Next, we’ll open the column 2 settings and apply a sticky effect on desktop. Since the columns and modules on smaller screen sizes are placed below each other, instead of next to each other, we’ll bring back the sticky settings to “Do Not Stick” on smaller screen sizes.
- Sticky Position:
- Desktop: Stick to Top
- Tablet & Phone: Do Not Stick
- Sticky Top Offset: 80px
- Bottom Sticky Limit: Section
- Offset From Surrounding Sticky Elements: Yes
- Transition Default and Sticky Styles: Yes
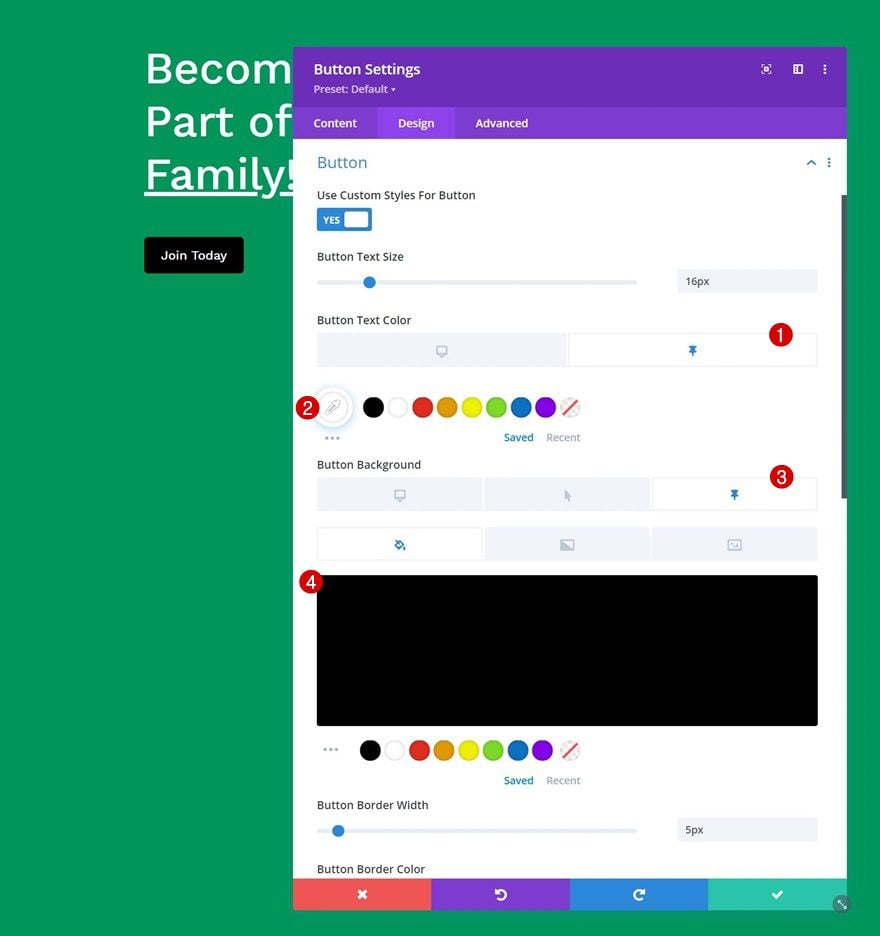
Now that the column 2 has been turned sticky, we’ll be able to apply sticky styling to the column itself and the modules inside the column. The only sticky changes we’ll make, however, are focused on the button. Open the module, go to the button settings and inverse the text and button colors. That’s it! Once you save the layout and exit the visual builder, you can watch the beautiful design live on your website.
- Button Text Color: #ffffff
- Button Background Color: #000000
Preview
Now that we’ve gone through all the steps, let’s take a final look at the outcome across different screen sizes.
Desktop
Mobile
Final Thoughts
In this post, we’ve shown you how to recreate one of the designs that were used as a demo inside the sticky options feature update post. This design focuses on highlighting your sticky button by changing the style once the sticky state is enabled. You were able to download the JSON file for free as well! If you have any questions or suggestions, feel free to leave a comment in the comment section below.
If you’re eager to learn more about Divi and get more Divi freebies, make sure you subscribe to our email newsletter and YouTube channel so you’ll always be one of the first people to know and get benefits from this free content.


For some reason, I get an error importing the json file into the DIVI library?
I assume that this gets uploaded there?
Hi Donjete,
Thank you for this clean basic tutorial!
You’re welcome, Joost! Thanks for leaving a comment 🙂