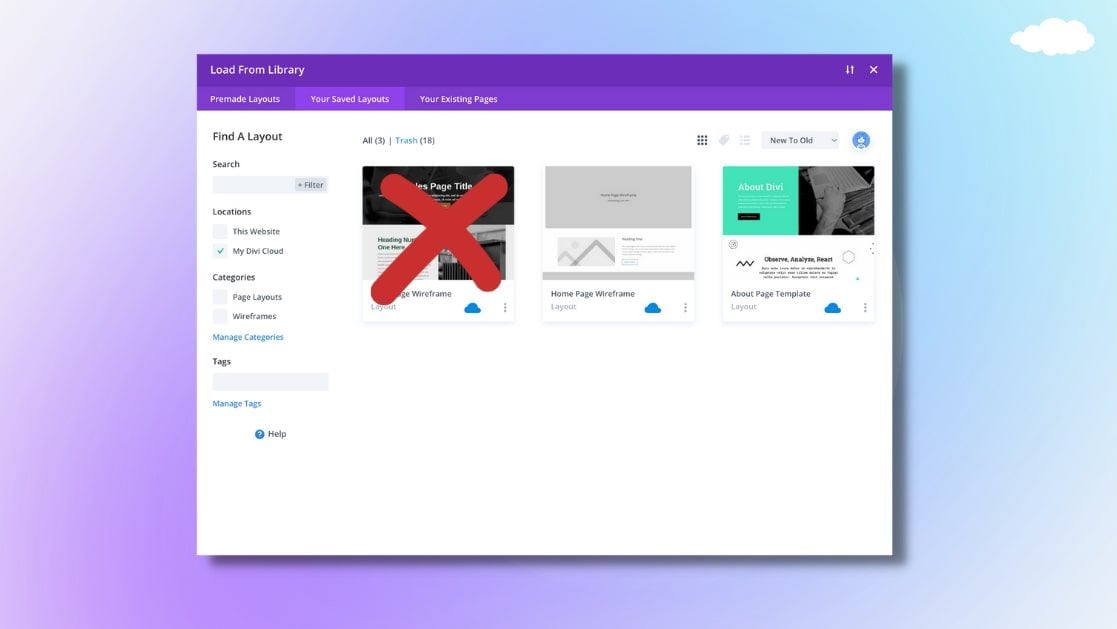
Divi Cloud is like your own personal Dropbox for your Divi websites. You can add, remove, and edit your favorite Divi Builder Elements on any Divi site that you’re working on with just a few clicks. No more manually exporting and importing Divi Library items, all of your saved sections, rows, and modules are now accessible on any Divi website that is authenticated with your API key.
In this post, we’ll show how to remove items from your Divi Cloud. Keeping your Divi Cloud organized can help you speed up processes, so staying up to day with how Divi Cloud works/how to perform certain actions is a must.
Let’s get to it!
How To Remove An Item From Your Divi Cloud
Removing an item from your Divi Cloud makes it a local Divi Library Item. Simply removing an item from the Cloud doesn’t totally delete the actual item, for that, you’ll need to go to your Divi > Divi Library and then select the item you want to remove and click “Delete”.
How to Remove a Page Layout
Let’s take a look at how to remove a page layout from your Divi Cloud.
- Navigate to any page and enable the Visual Builder.
- Click the purple “+” icon on the Divi toolbar a the bottom of the page to bring up the Divi Library.
- Click into the “Your Saved Layouts” and navigate to the item you want to remove by using the sidebar.
- To search only cloud items, check the box next to “My Divi Cloud” in the sidebar under Locations.
- Right-click or click the three ellipses on the time you want to remove and then click “Remove From Cloud.” This will remove the item from your cloud and it will become a local item.
How to Remove a Section
Similar to a page layout, this is how you remove a section from your Divi Cloud:
- Navigate to any page and enable the Visual Builder.
- Click the blue “+” icon on a section and then click “Add From Library” to bring up the section library.
- Navigate to the section you want to remove from the Cloud and click the blue cloud icon on that item to remove the item from the Cloud. You could also right-click (or click the three ellipses) and select “Remove From Cloud”. This will remove the item from your cloud and it will become a local item.
How to Remove a Row
Here you can remove a row from your Divi Cloud:
- Navigate to any page and enable the Visual Builder.
- Click the blue “+” icon on a row and then click “Add From Library” to bring up the row library.
- Navigate to the row you want to remove from the Cloud and click the blue cloud icon on that item to remove the item from the Cloud. You could also right-click (or click the three ellipses) and select “Remove From Cloud”. This will remove the item from your cloud and it will become a local item.
How to Remove a Module
Last but not least, this is how we remove a module from the Divi Cloud:
- Navigate to any page and enable the Visual Builder.
- Click the blue “+” icon on a module and then click “Add From Library” to bring up the module library.
- Navigate to the module you want to remove from the Cloud and click the blue cloud icon on that item to remove the item from the Cloud. You could also right-click (or click the three ellipses) and select “Remove From Cloud”. This will remove the item from your cloud and it will become a local item.
Final Thoughts
Keeping your Divi Cloud organized is a sure way to stave off future headaches and wasted time. Removing older library items from your Cloud ensures your Cloud is always up to date with your favorite design assets and keeps it from getting cluttered.
Do you want access to Divi Cloud? Get a membership today!


Leave A Reply