Divi’s contact form is a very versatile module that allows you to collect information and correspondence from your website visitors. By using the conditional logic settings built into Divi’s contact form module, you can easily create complex and dynamic forms for your website. This feature allows you to reveal additional fields depending on the answers given for the previous fields in your contact form so that you can collect additional information or present follow-up questions that may only be relevant depending on a prior answer. For example, you might have a checkbox to indicate interest in the services you provide. If the checkbox is selected, you can reveal a dropdown for users to select the type of service they want, or to give you additional information. By using conditional logic, you are also hiding fields that may not be relevant to every user, making the form simpler and more approachable, and increasing the likelihood of someone completing the form.
There are so many use cases for adding conditional logic to the form, no matter what type of website you have, and it can help improve the overall user experience on your site. In this tutorial, we will show you how to reveal an options dropdown after checking a box in your Divi contact form. Let’s get started!
Sneak Peek
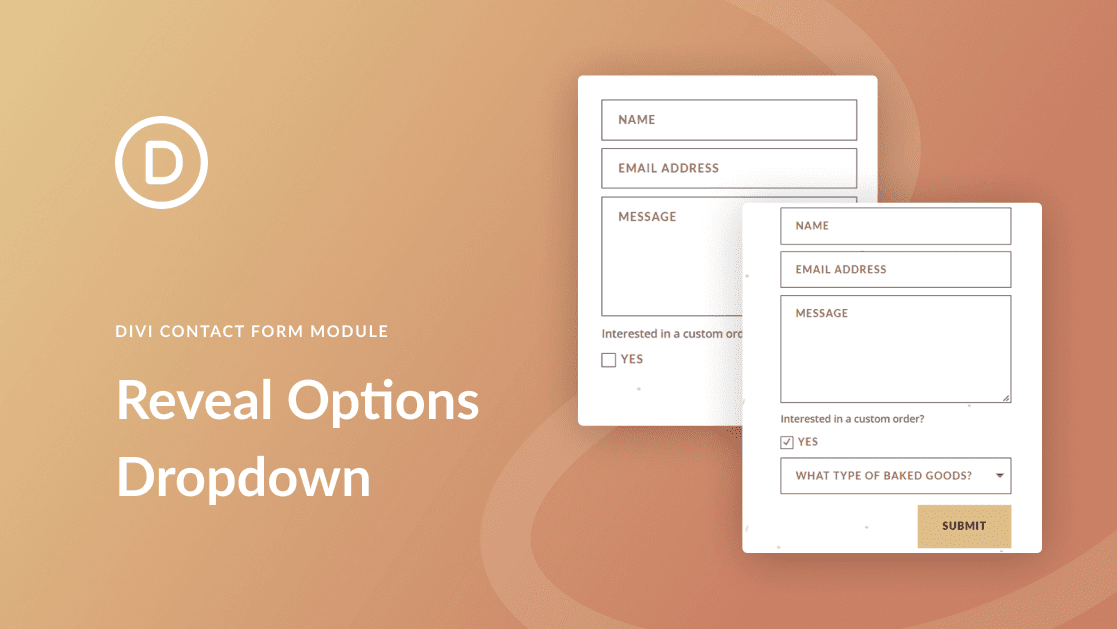
Here is a preview of what we will design

What You Need to Get Started
Before we begin, install and activate the Divi Theme and make sure you have the latest version of Divi on your website.
Now, you are ready to start!
How to Reveal an Options Dropdown After Checking a Box in Your Divi Contact Form
Create a New Page with a Premade Layout
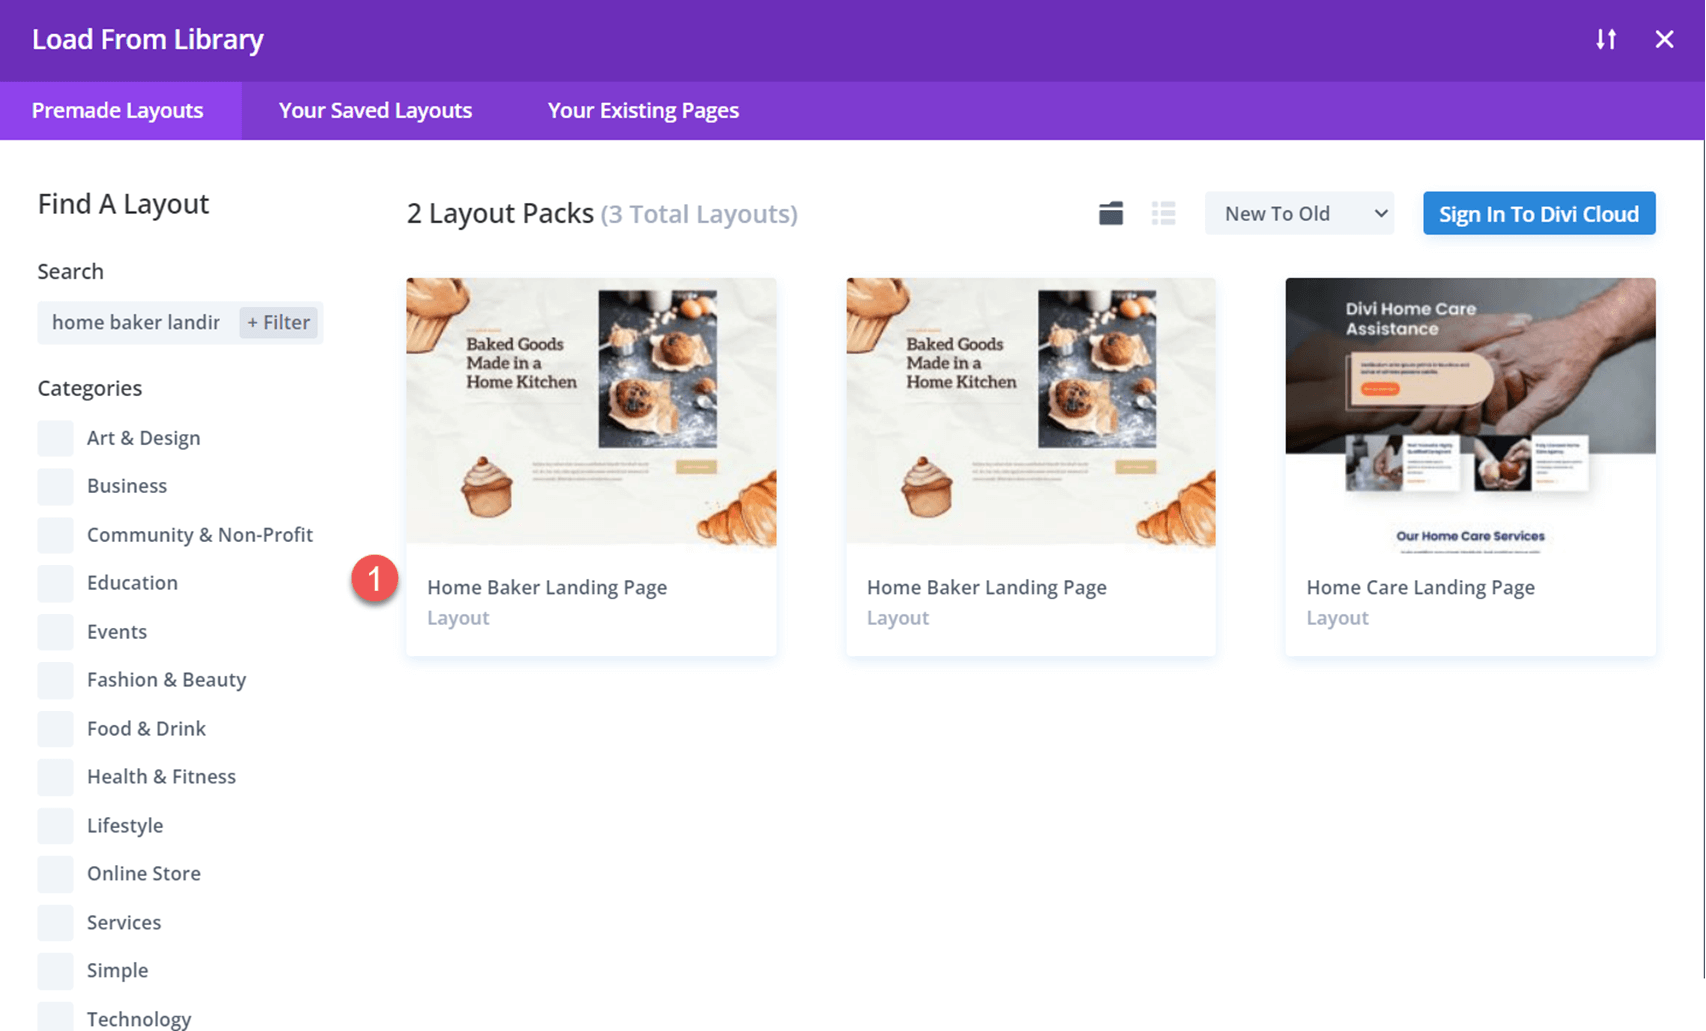
Let’s start by using a premade layout from the Divi library. For this design, we will use the Home Baker Landing Page from the Home Baker Layout Pack.
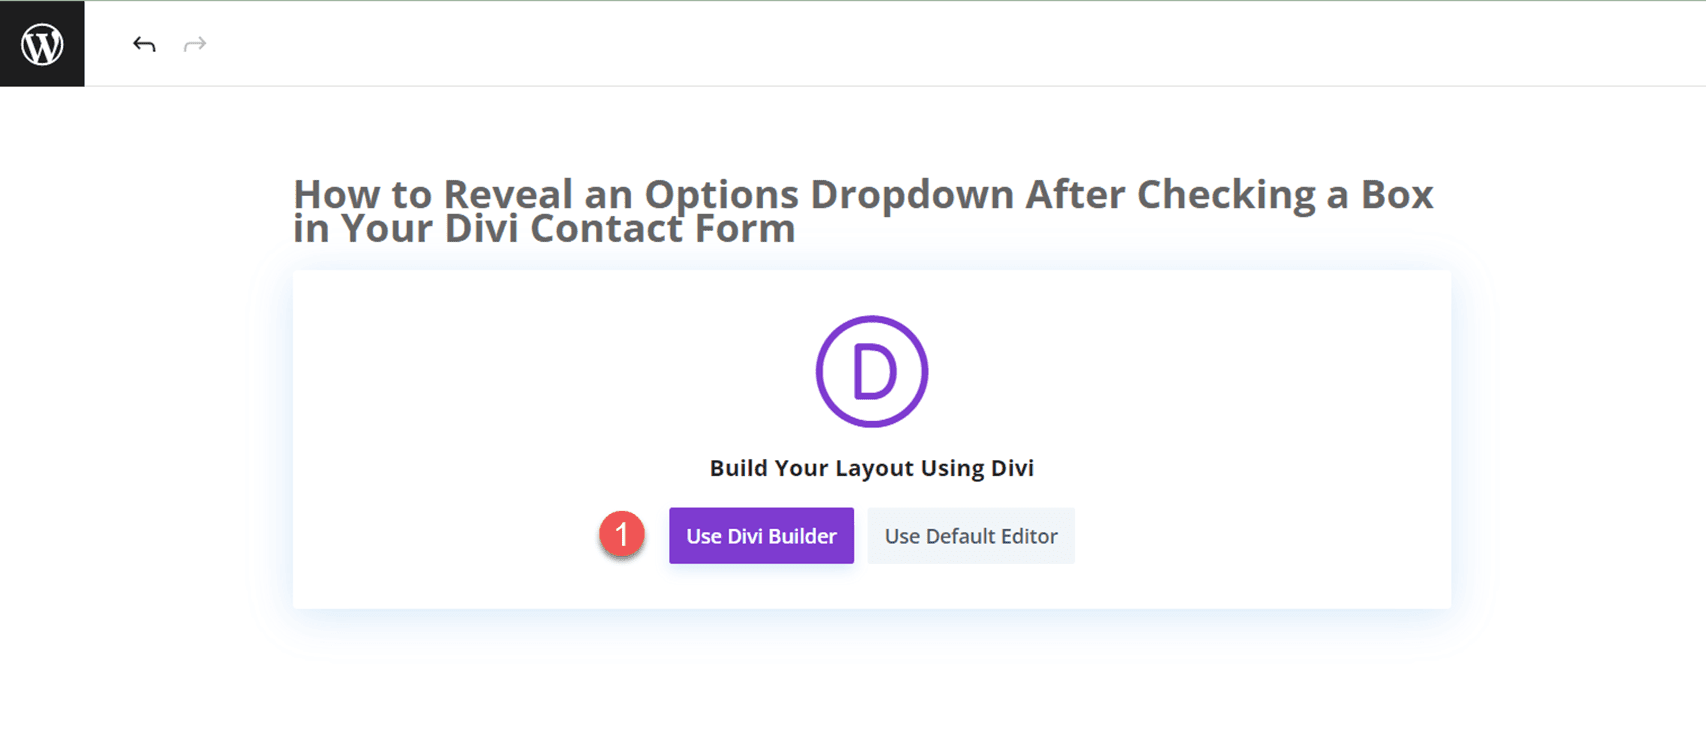
Add a new page to your website and give it a title, then select the option to Use Divi Builder.
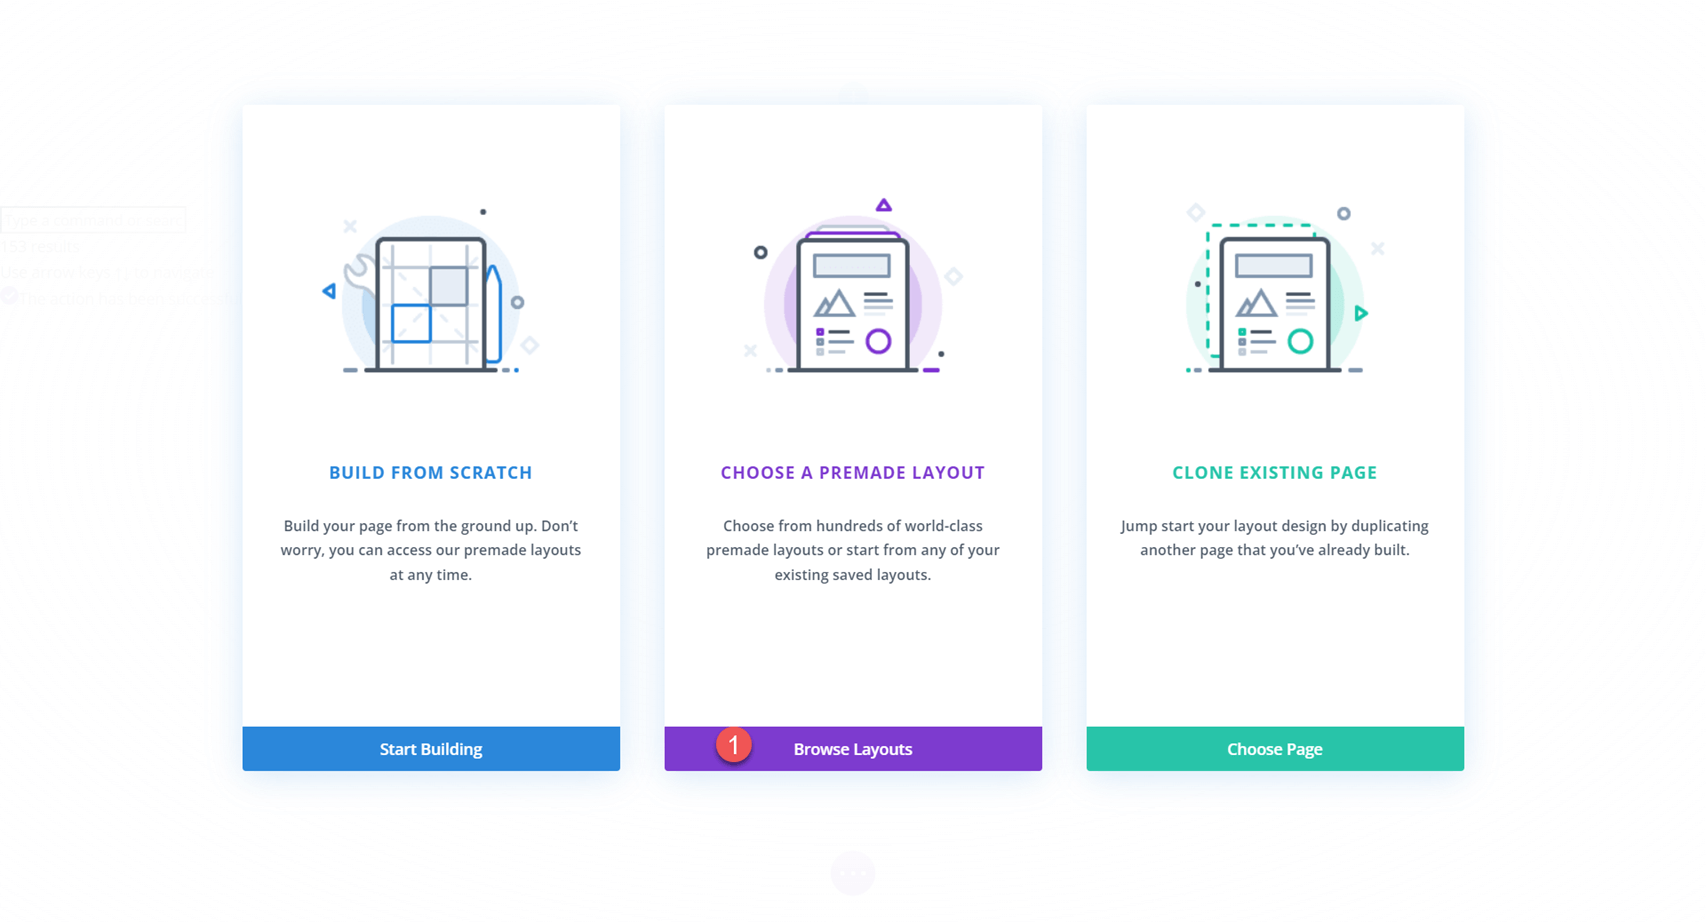
We will use a premade layout from the Divi library for this example, so select Browse Layouts.
Next, search for and select the Home Baker Landing Page layout.
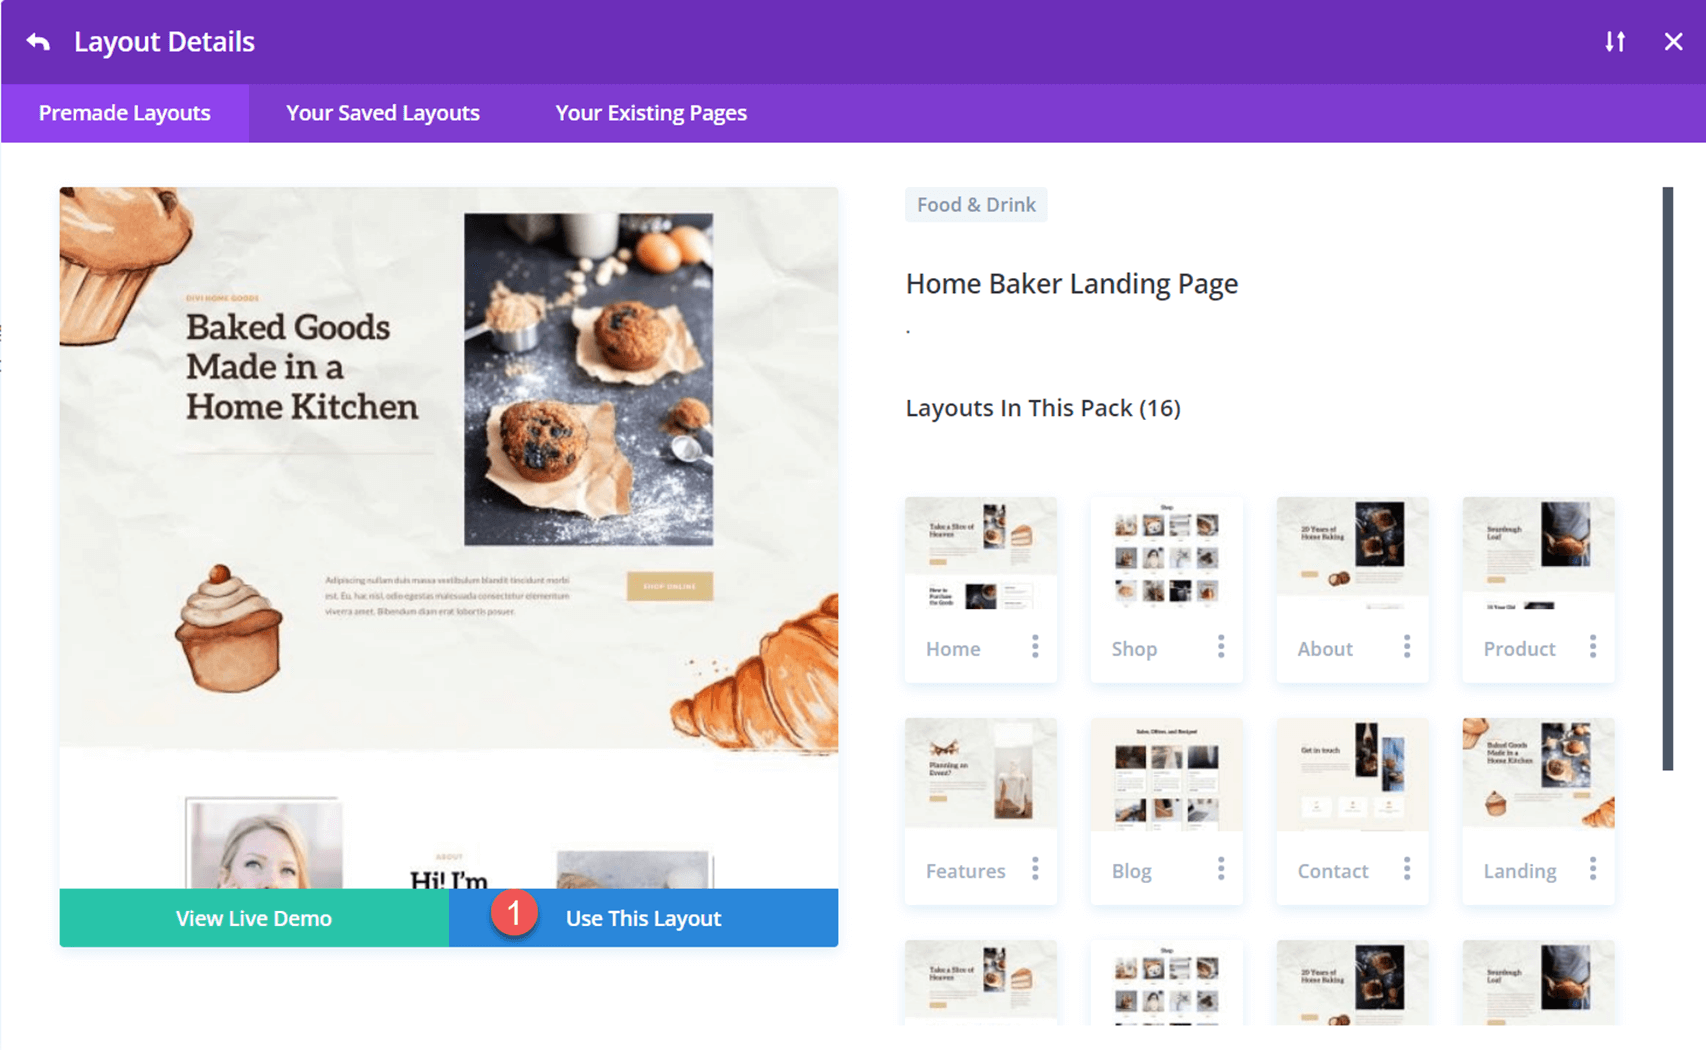
Select Use This Layout to add the layout to your page.
Now we are ready to build our design.
Add the Contact Form
Scroll to the “I Take Custom Orders!” section of the home baker layout. We will be adding a contact form to this section. First, delete the “Contact Me” button located below the heading text.
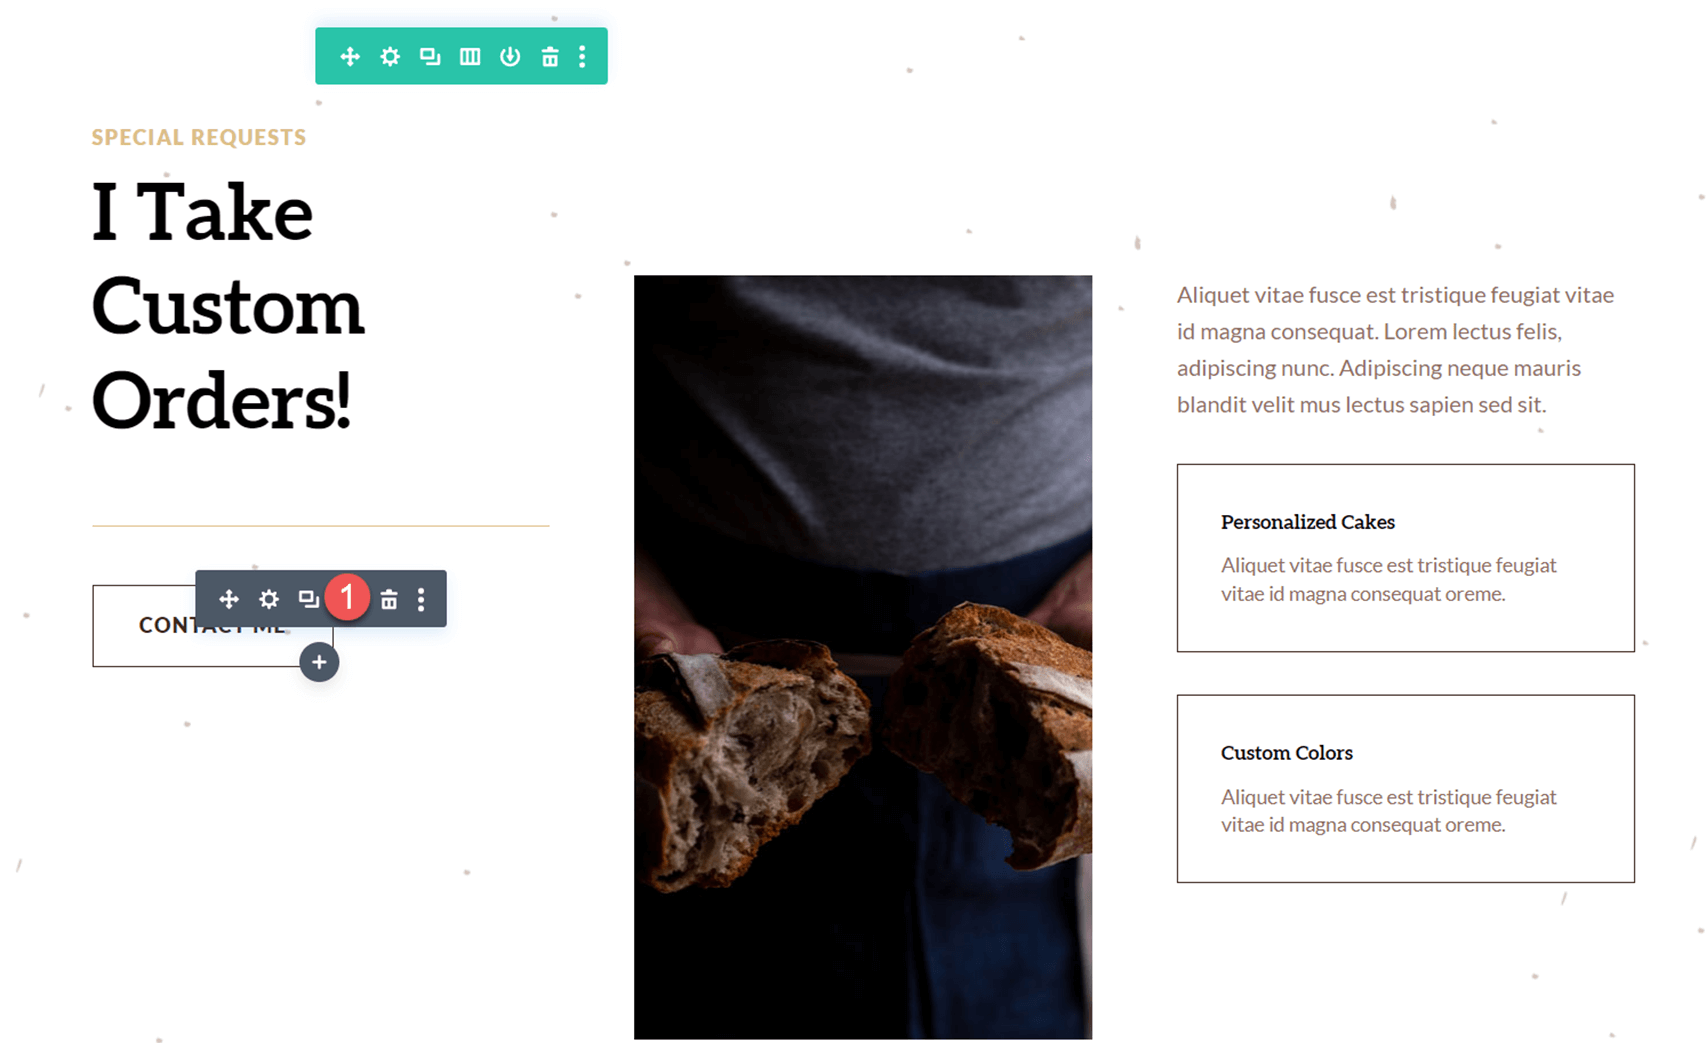
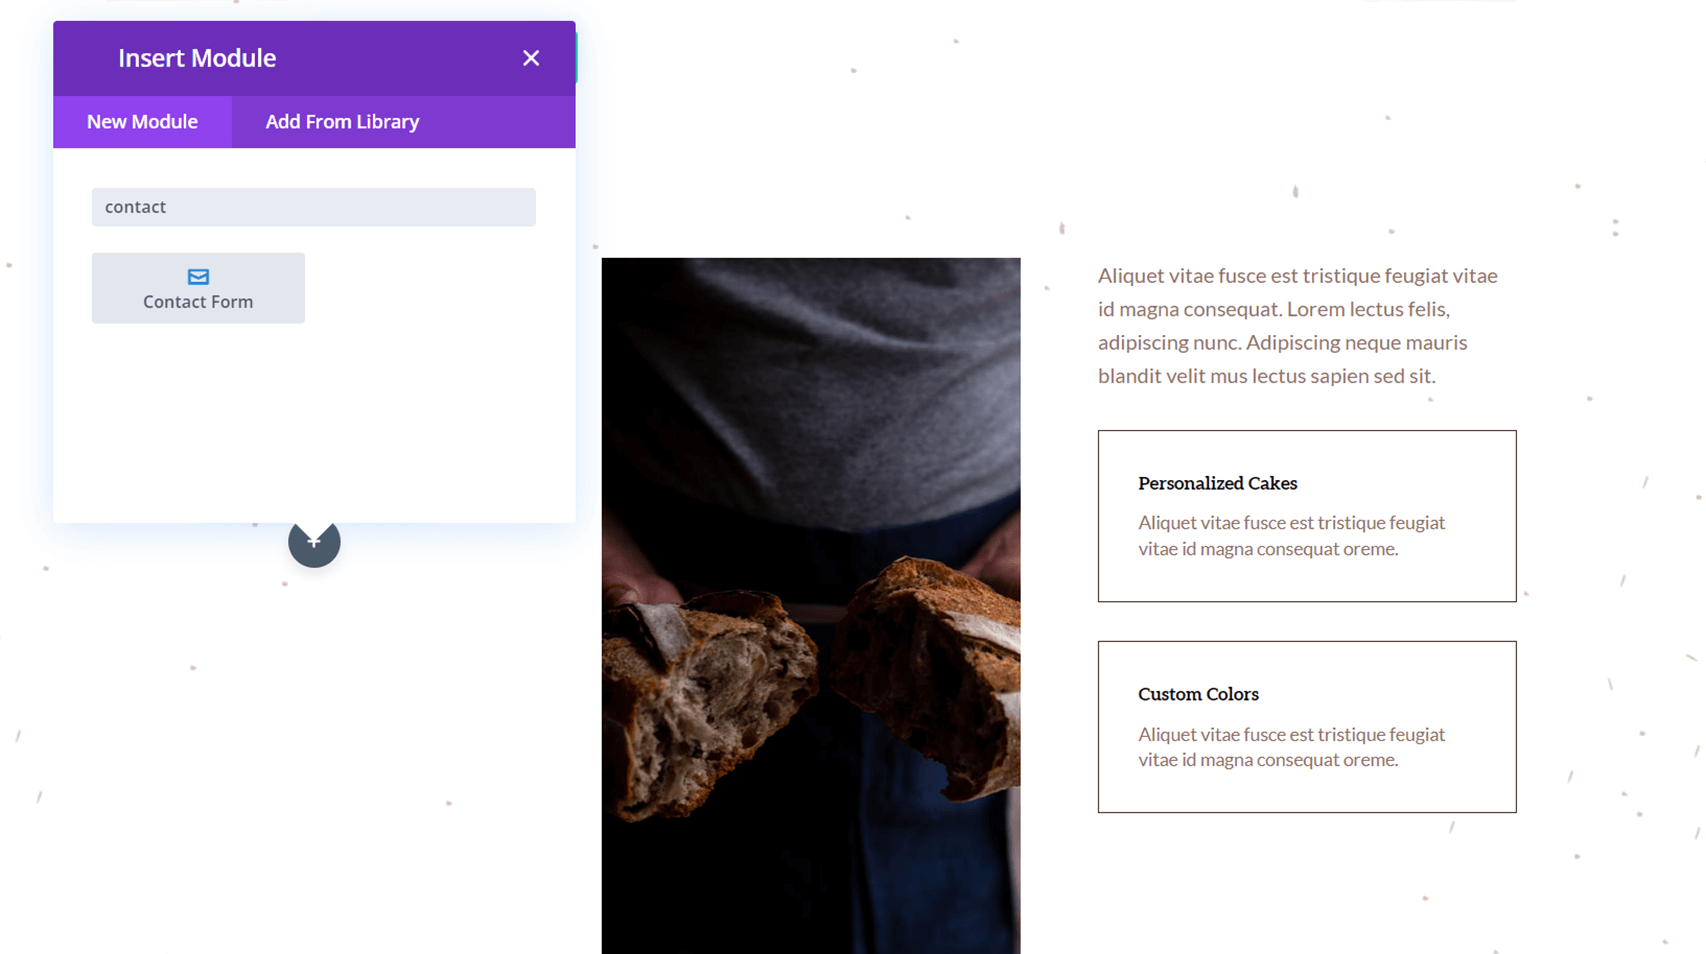
Next, insert a contact form module below the heading text.
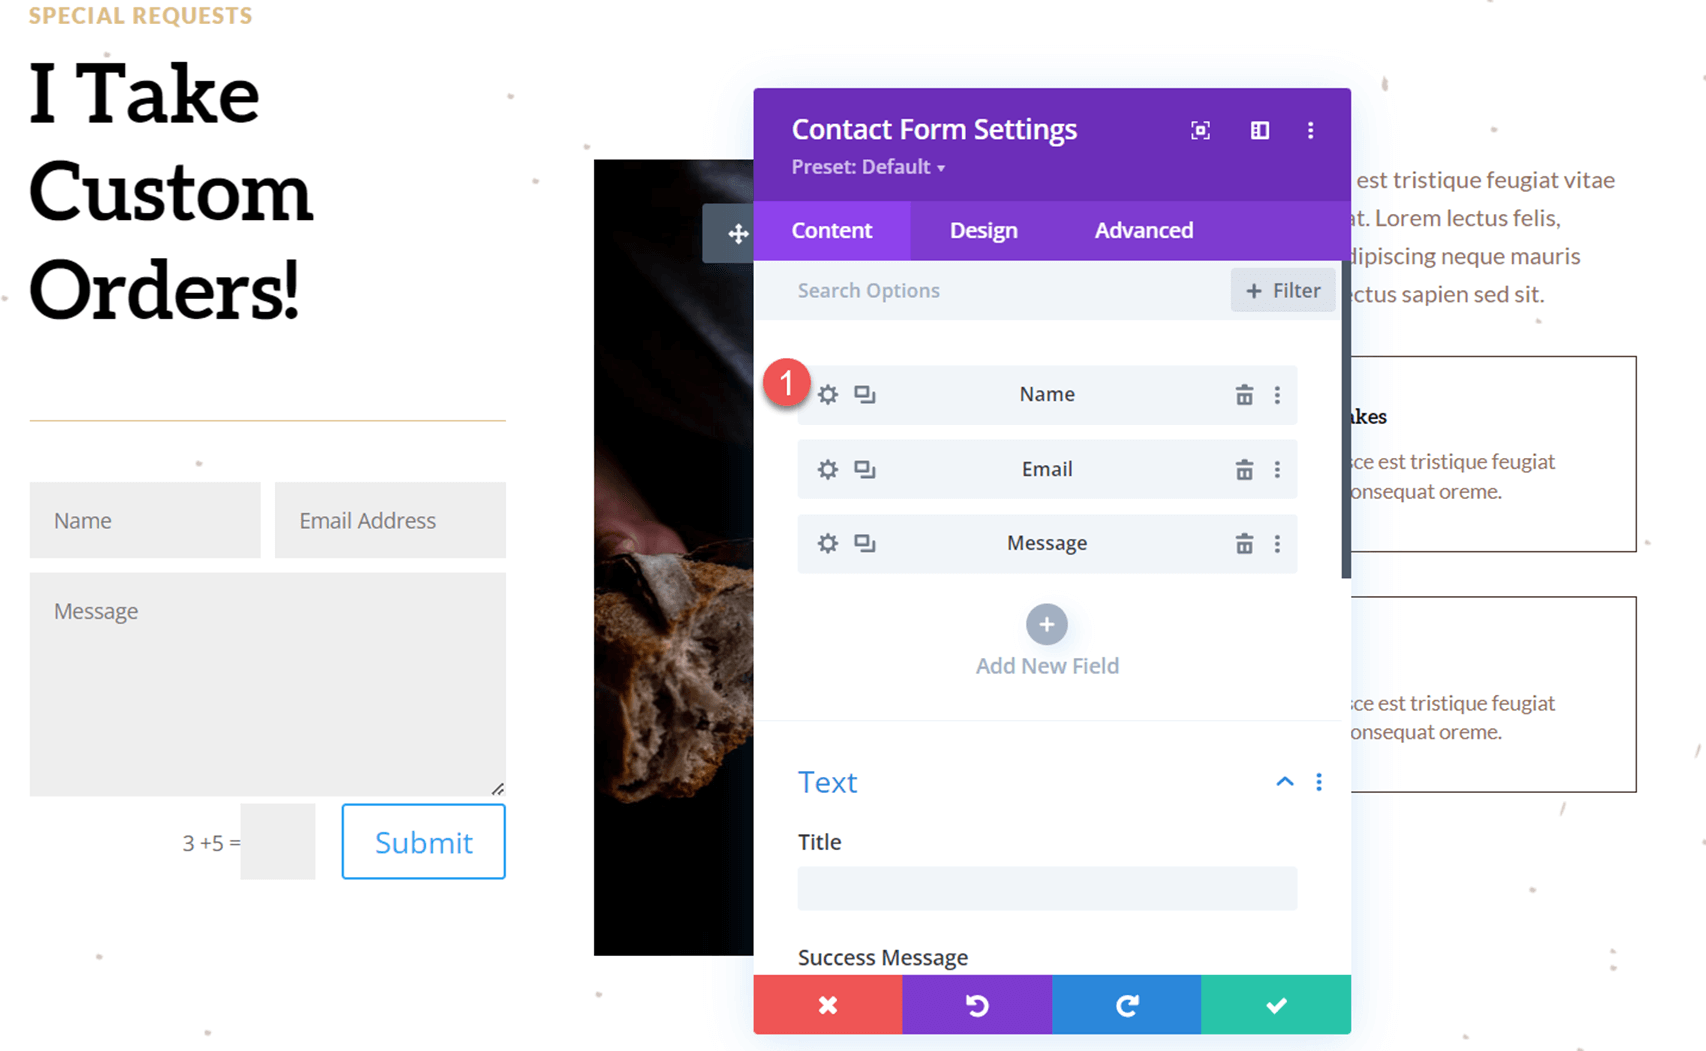
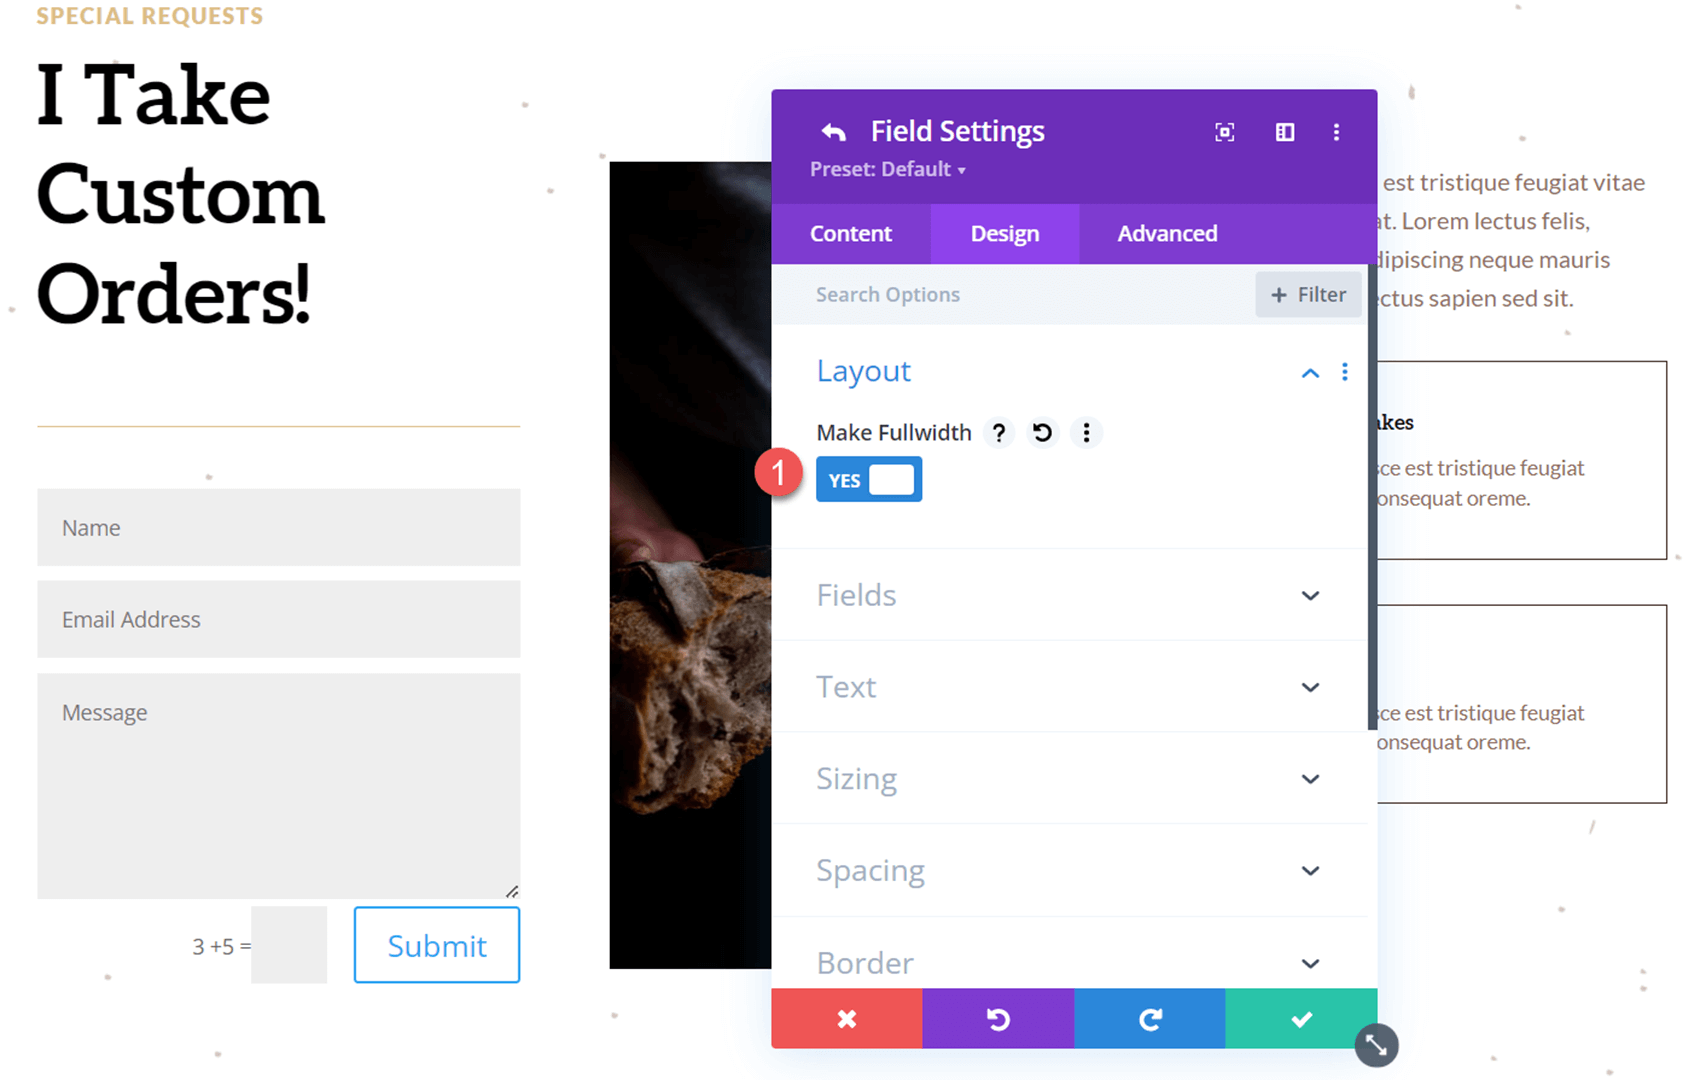
We need to adjust our layout so that all the fields take up the full width of the form. Open the contact form module settings, then open the settings for the Name field.
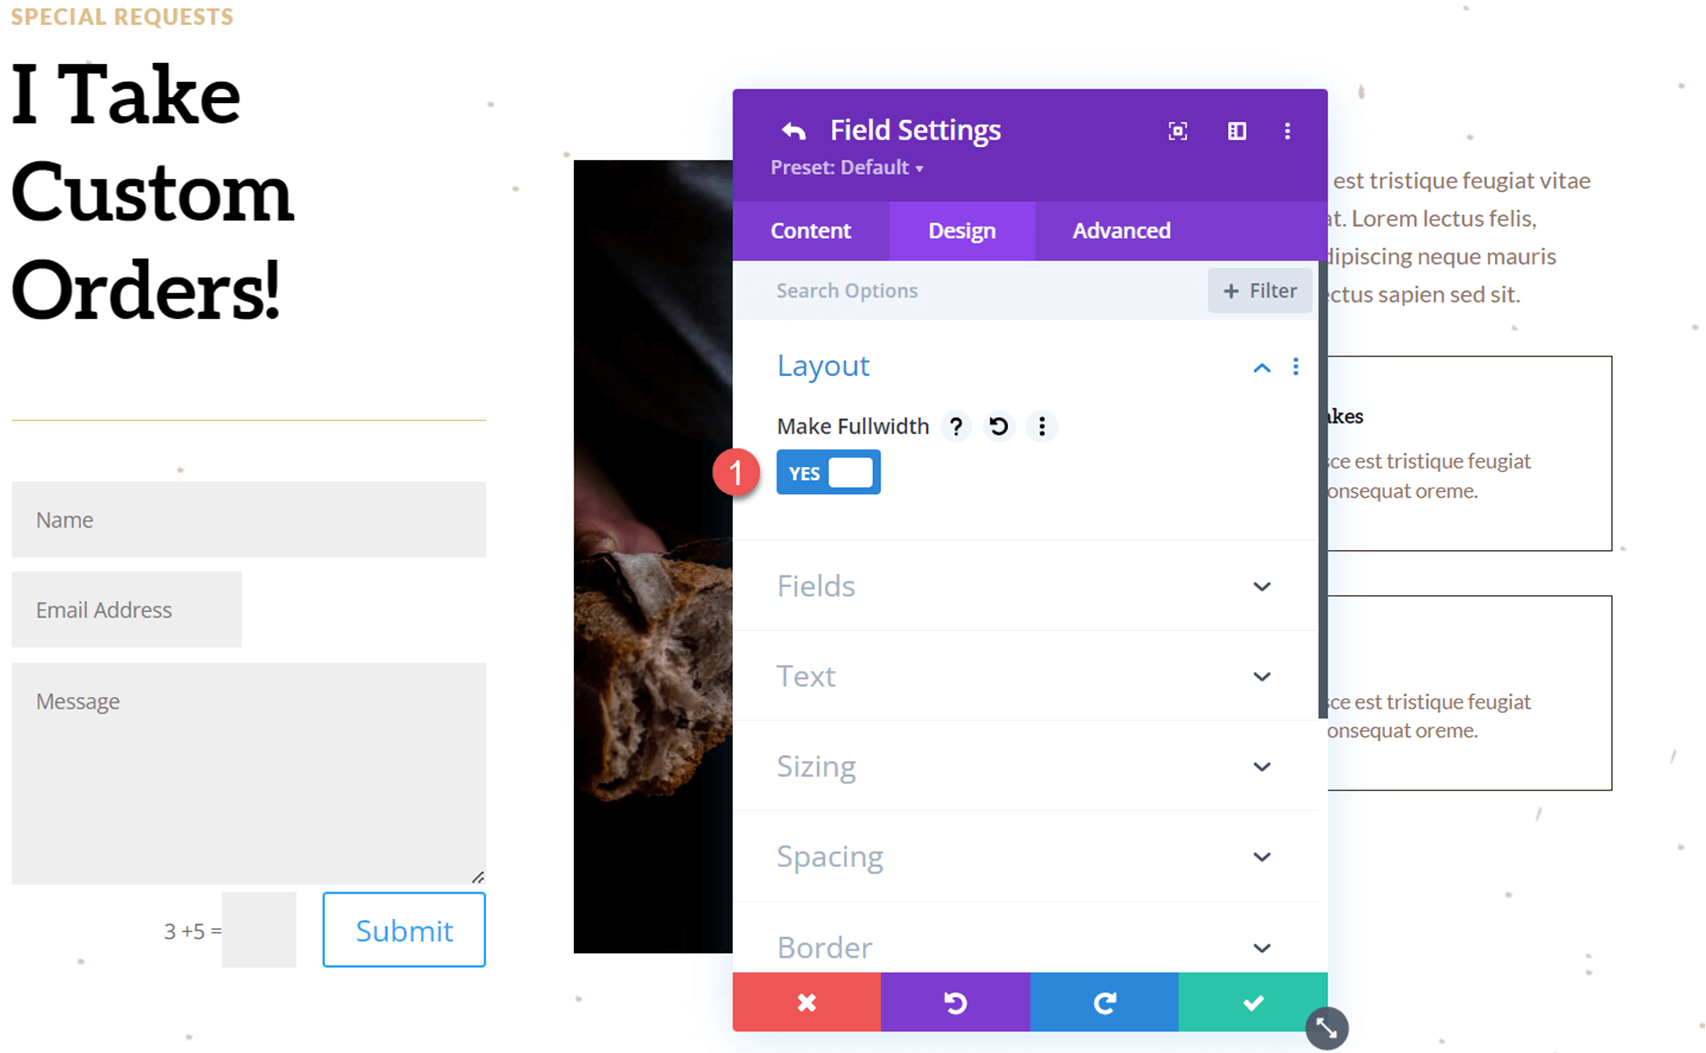
Navigate to the Design tab and open the Layout settings. Make the Name field fullwidth.
- Make Fullwidth: Yes
We’ll repeat the same steps for the Email Address field. Open the Email field settings, then open the Layout settings under the Design tab and set the field to fullwidth.
- Make Fullwidth: Yes
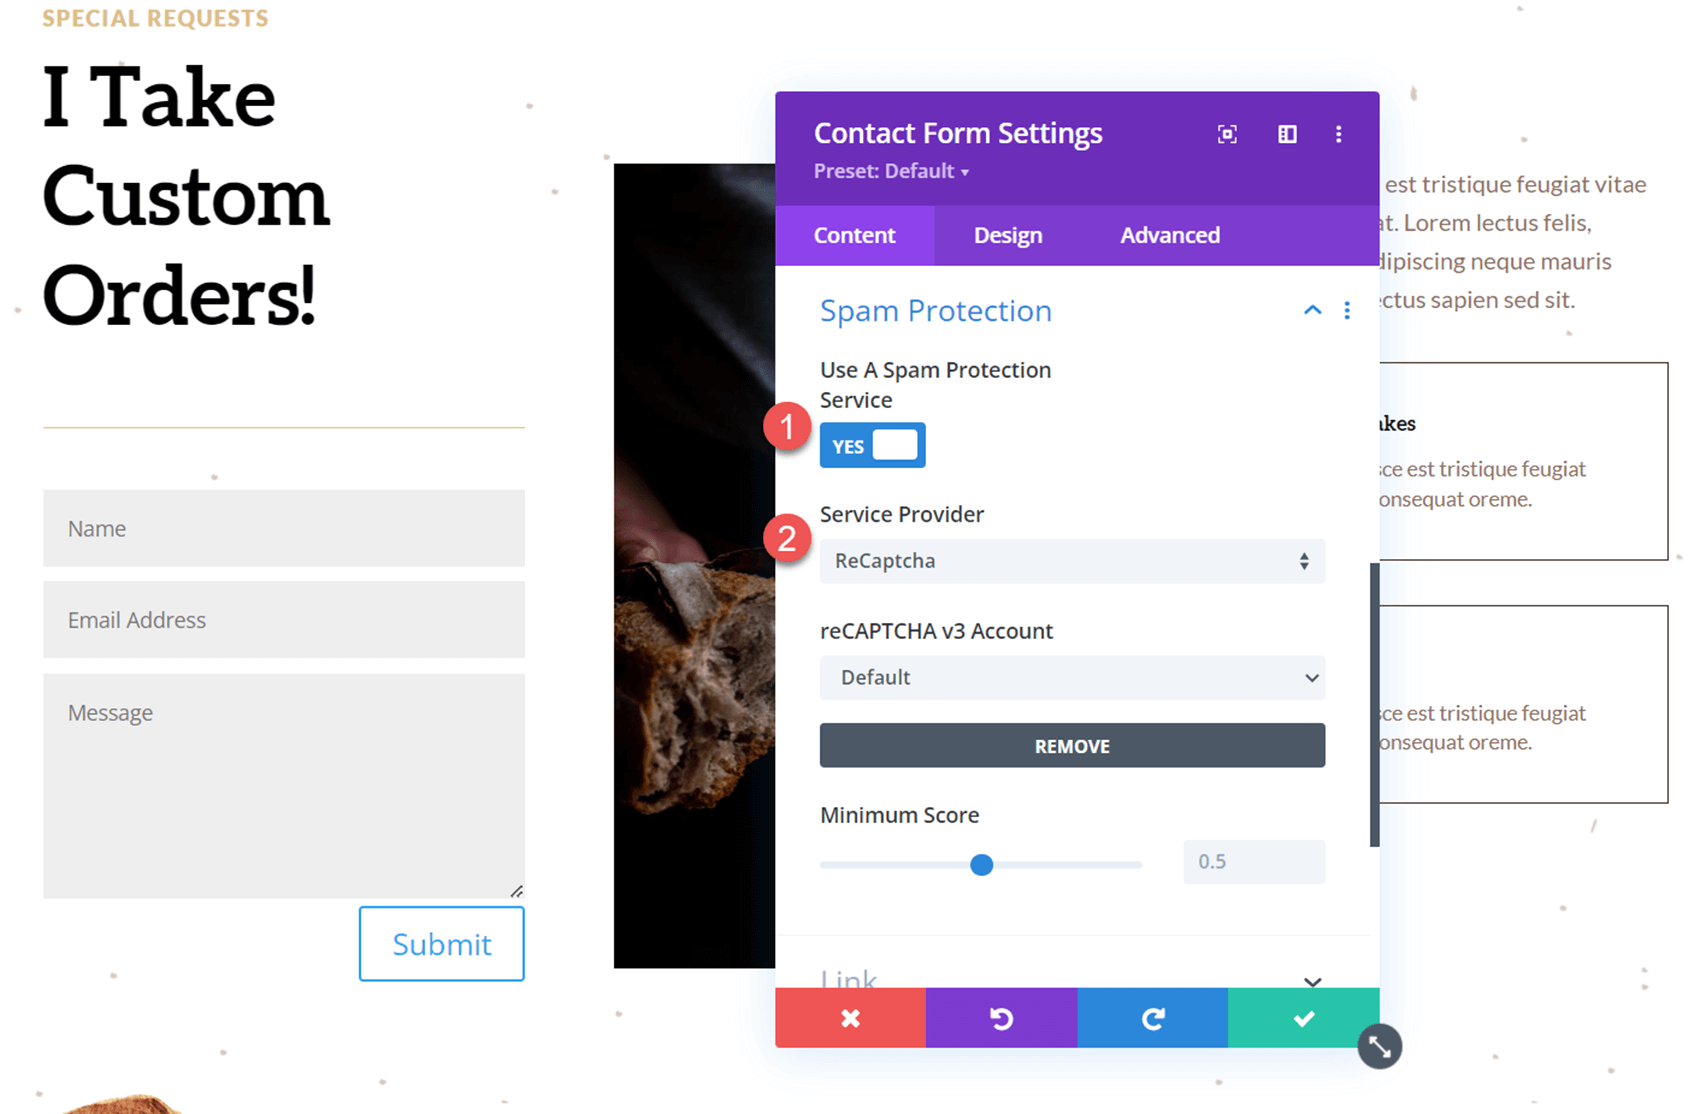
Next, let’s adjust our Spam Protection settings under the Content tab of the contact form settings. For this form, I am going to use the ReCaptcha protection service.
- Use A Spam Protection Service: Yes
- Service Provider: ReCaptcha
Add a Revealing Option Dropdown to the Form
Now we can add our revealing option dropdown. For this example, we will add a checkbox to the form that will ask if users are interested in a custom order for baked goods. If they check the box, a dropdown field will appear where the user will select the type of baked good they are interested in ordering. Let’s get started.
First, add a new field to the form.
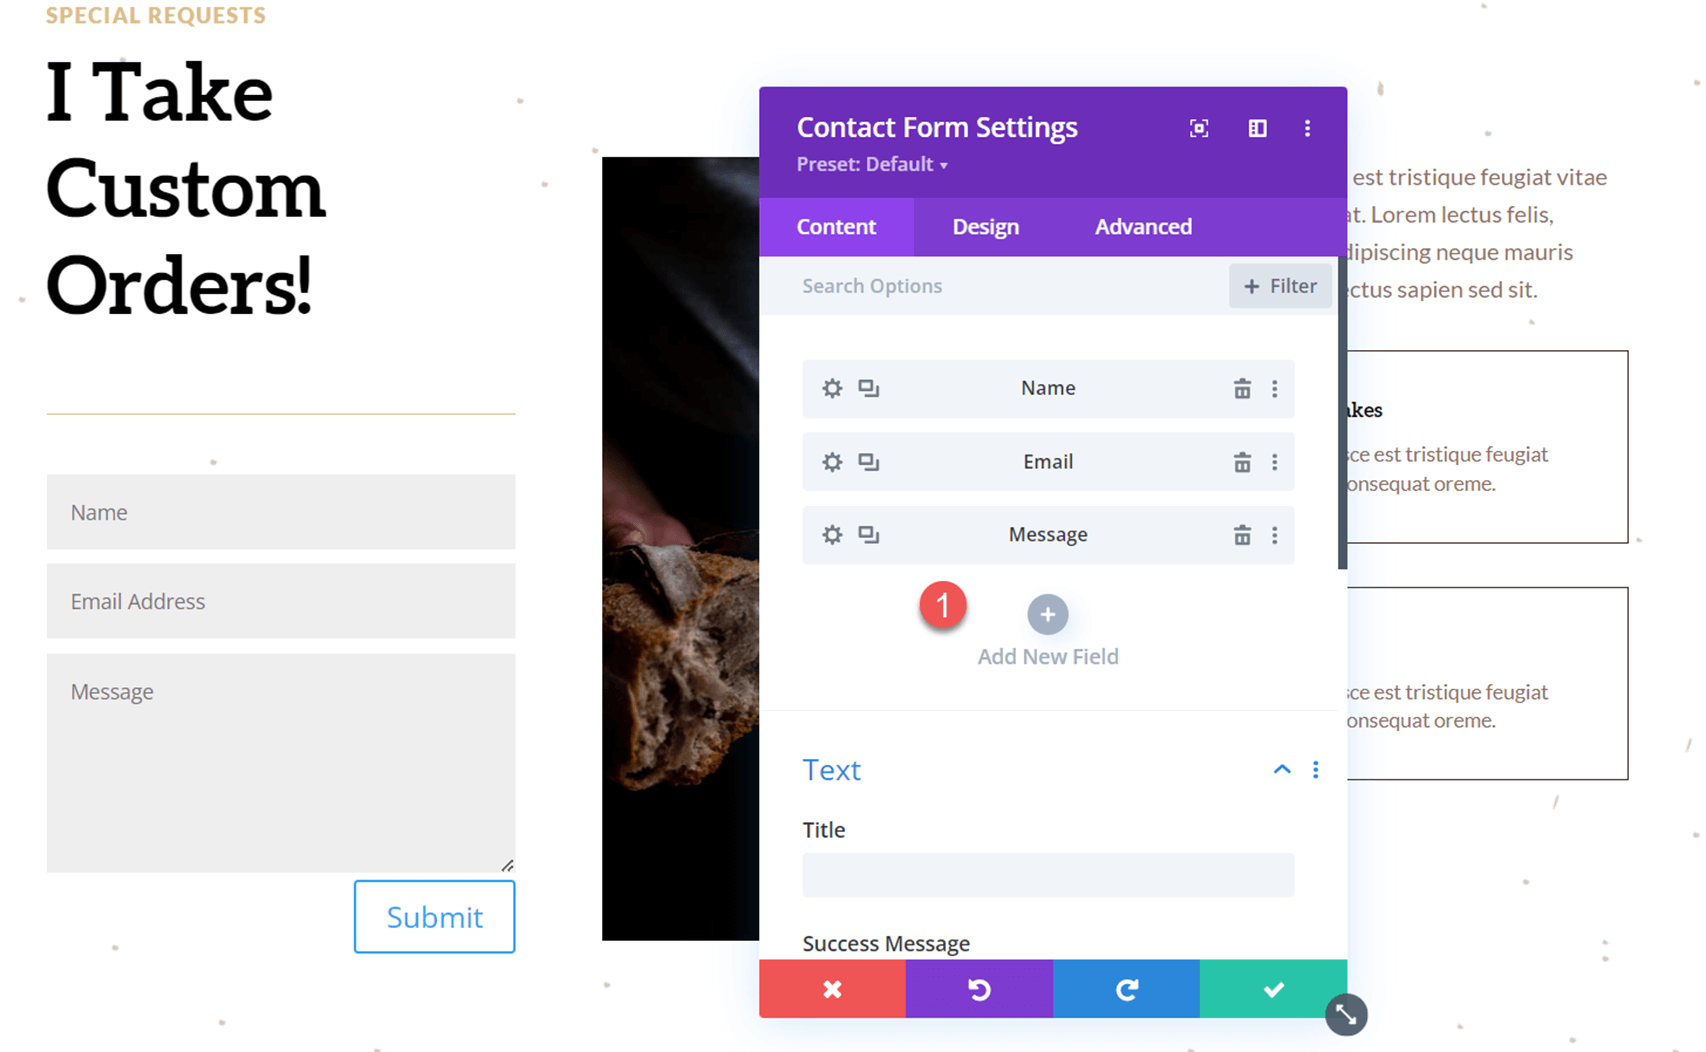
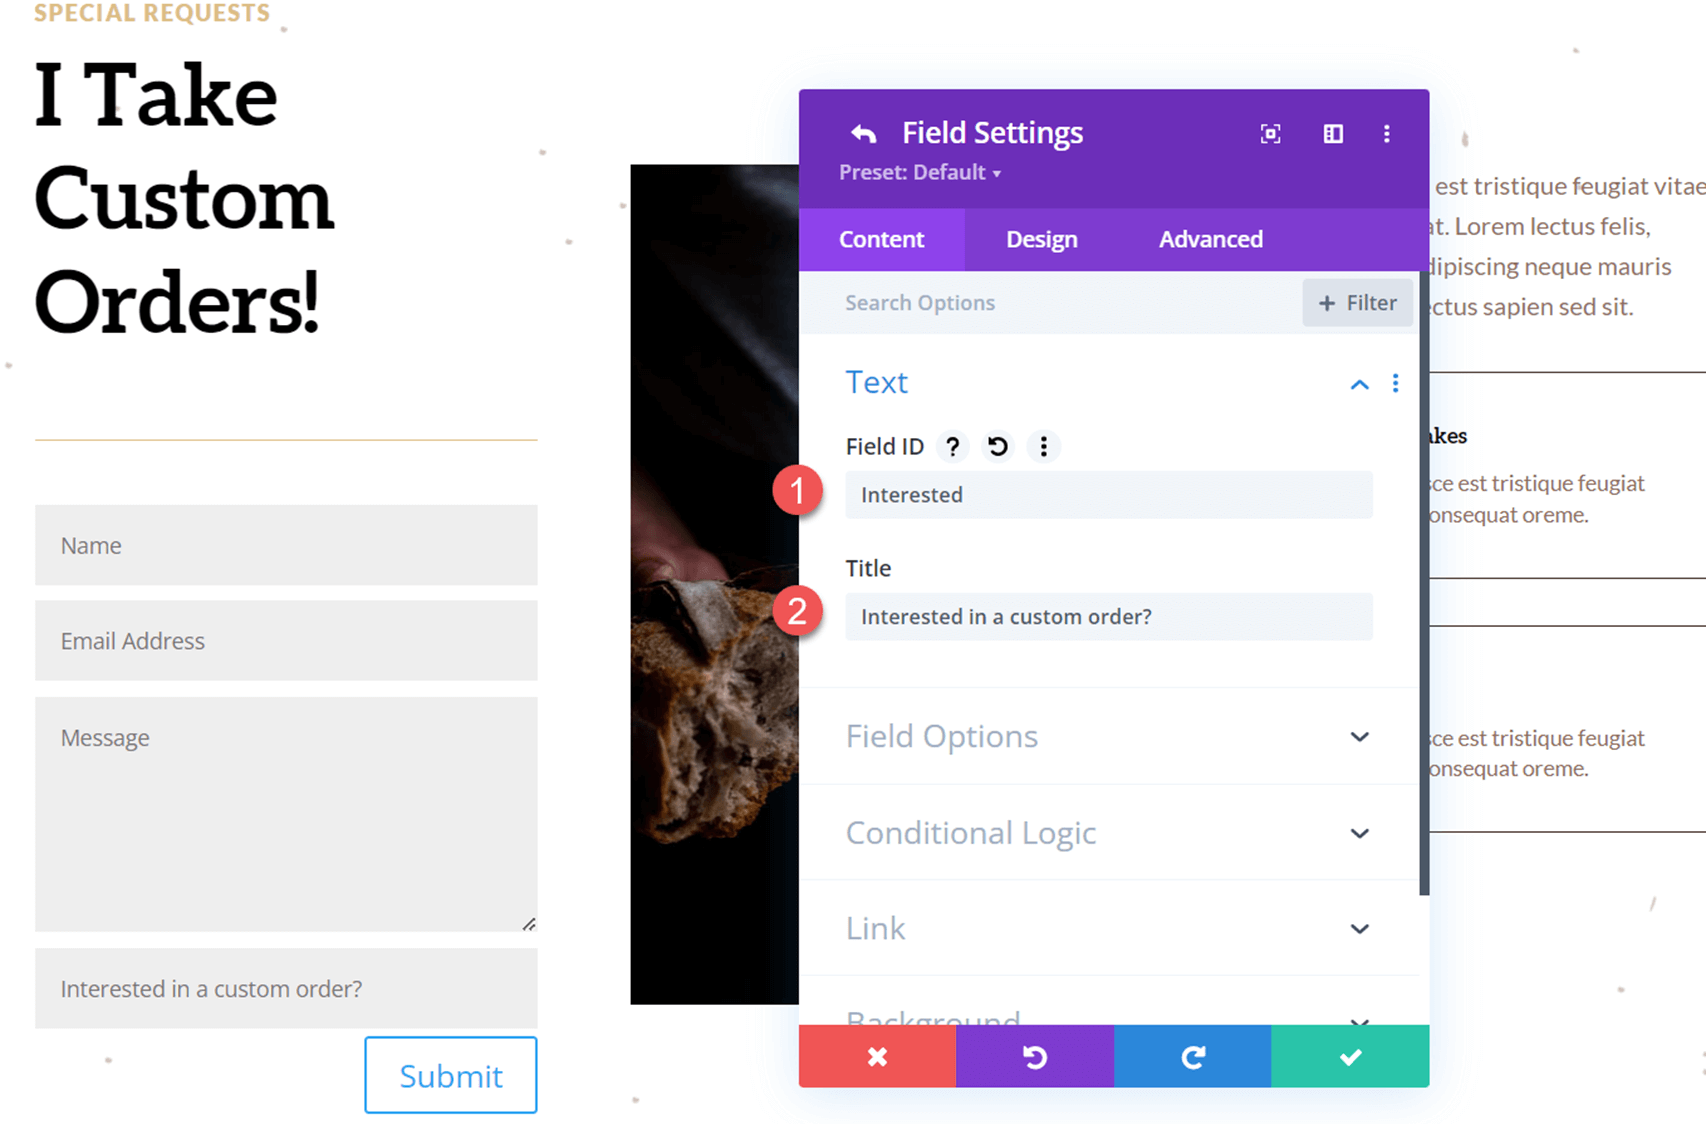
Open the new field settings and add the following content under the Text settings.
- Field ID: Interested
- Title: Interested in a custom order?
Next, under field options, set the following:
- Type: Checkboxes
- Options: Yes
- Required Field: No
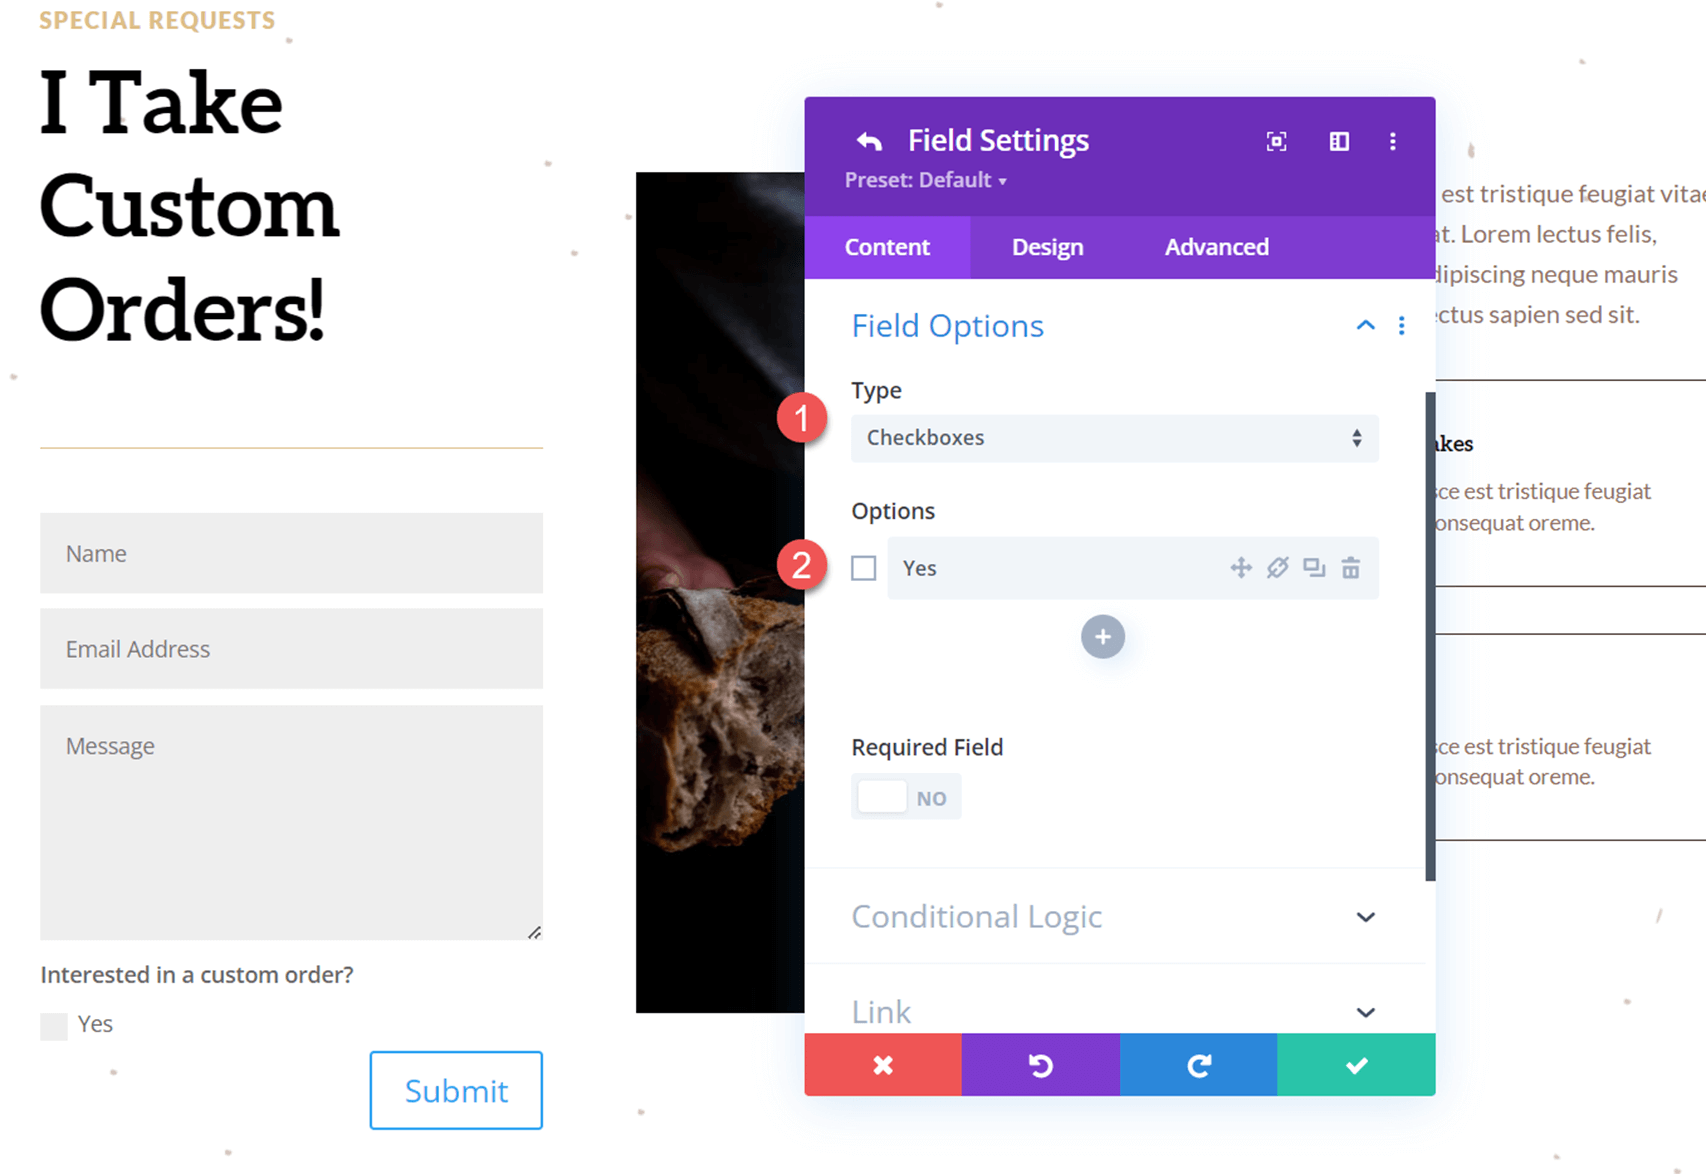
Go back to the contact form settings and add another new field. This will be our revealed options dropdown where customers select the type of baked good they want to order.
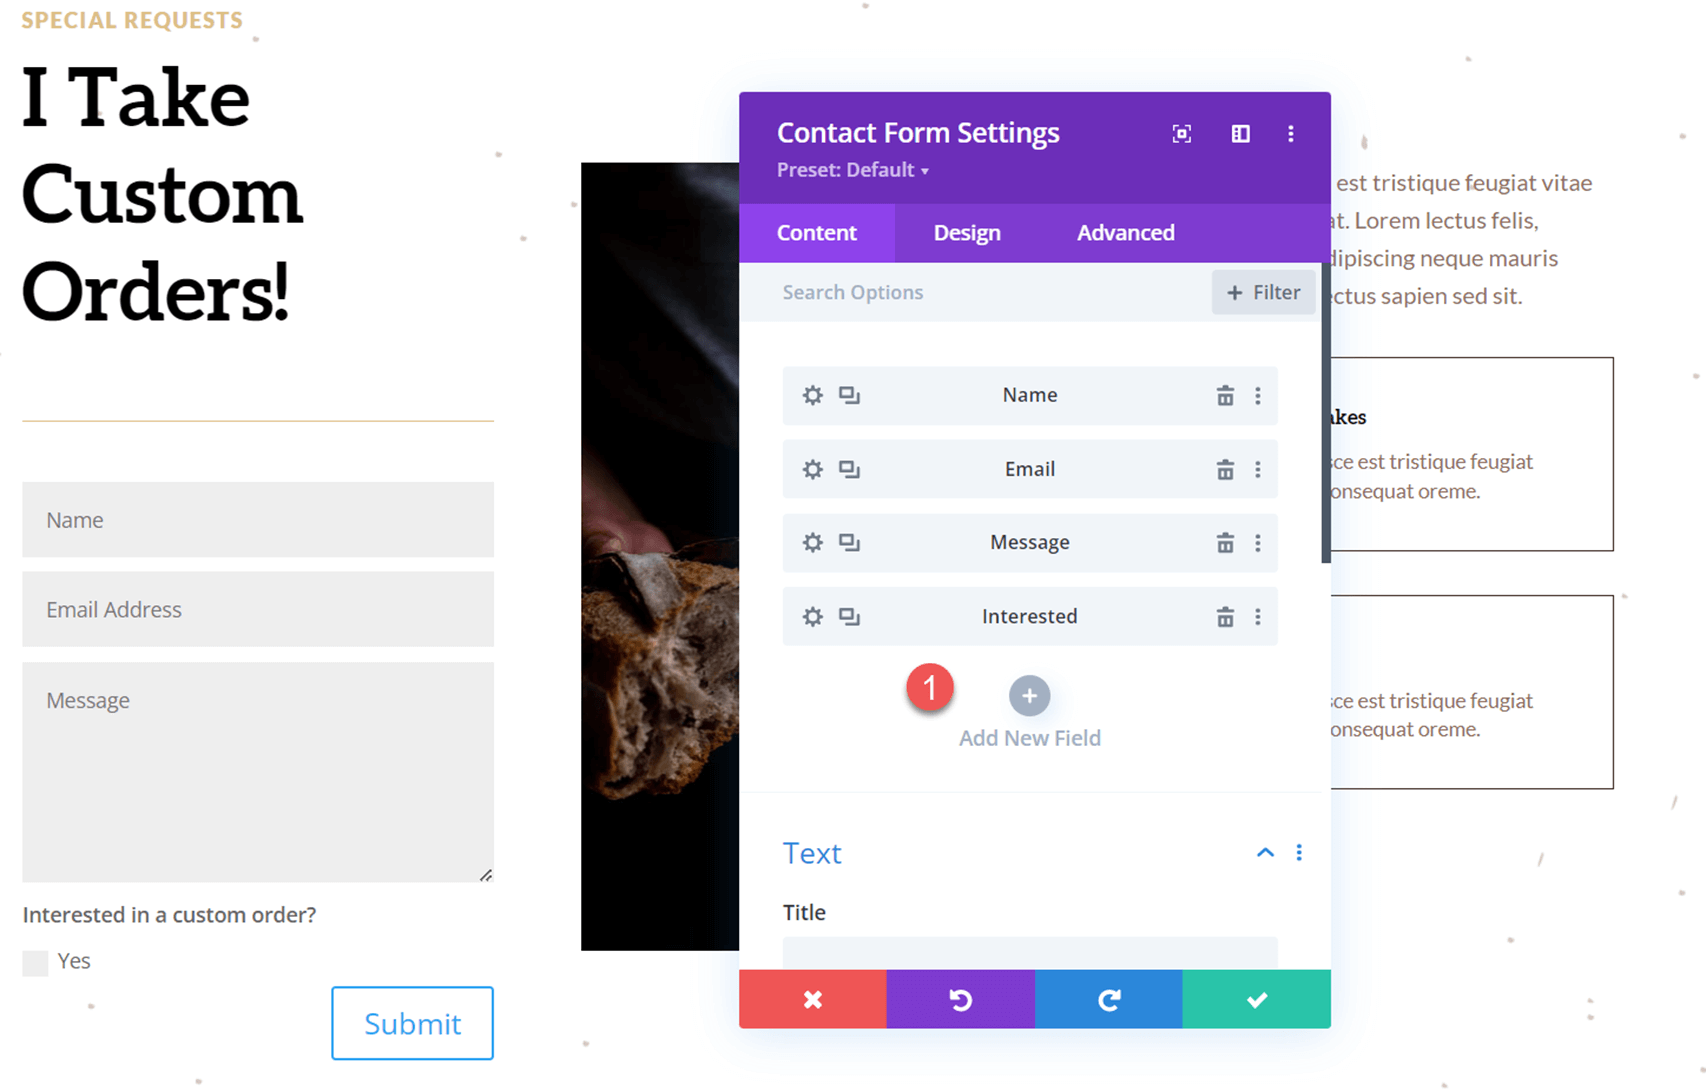
Open the new field options and add the following field ID and title:
- Field ID: What Type
- Title: What Type of Baked Goods?
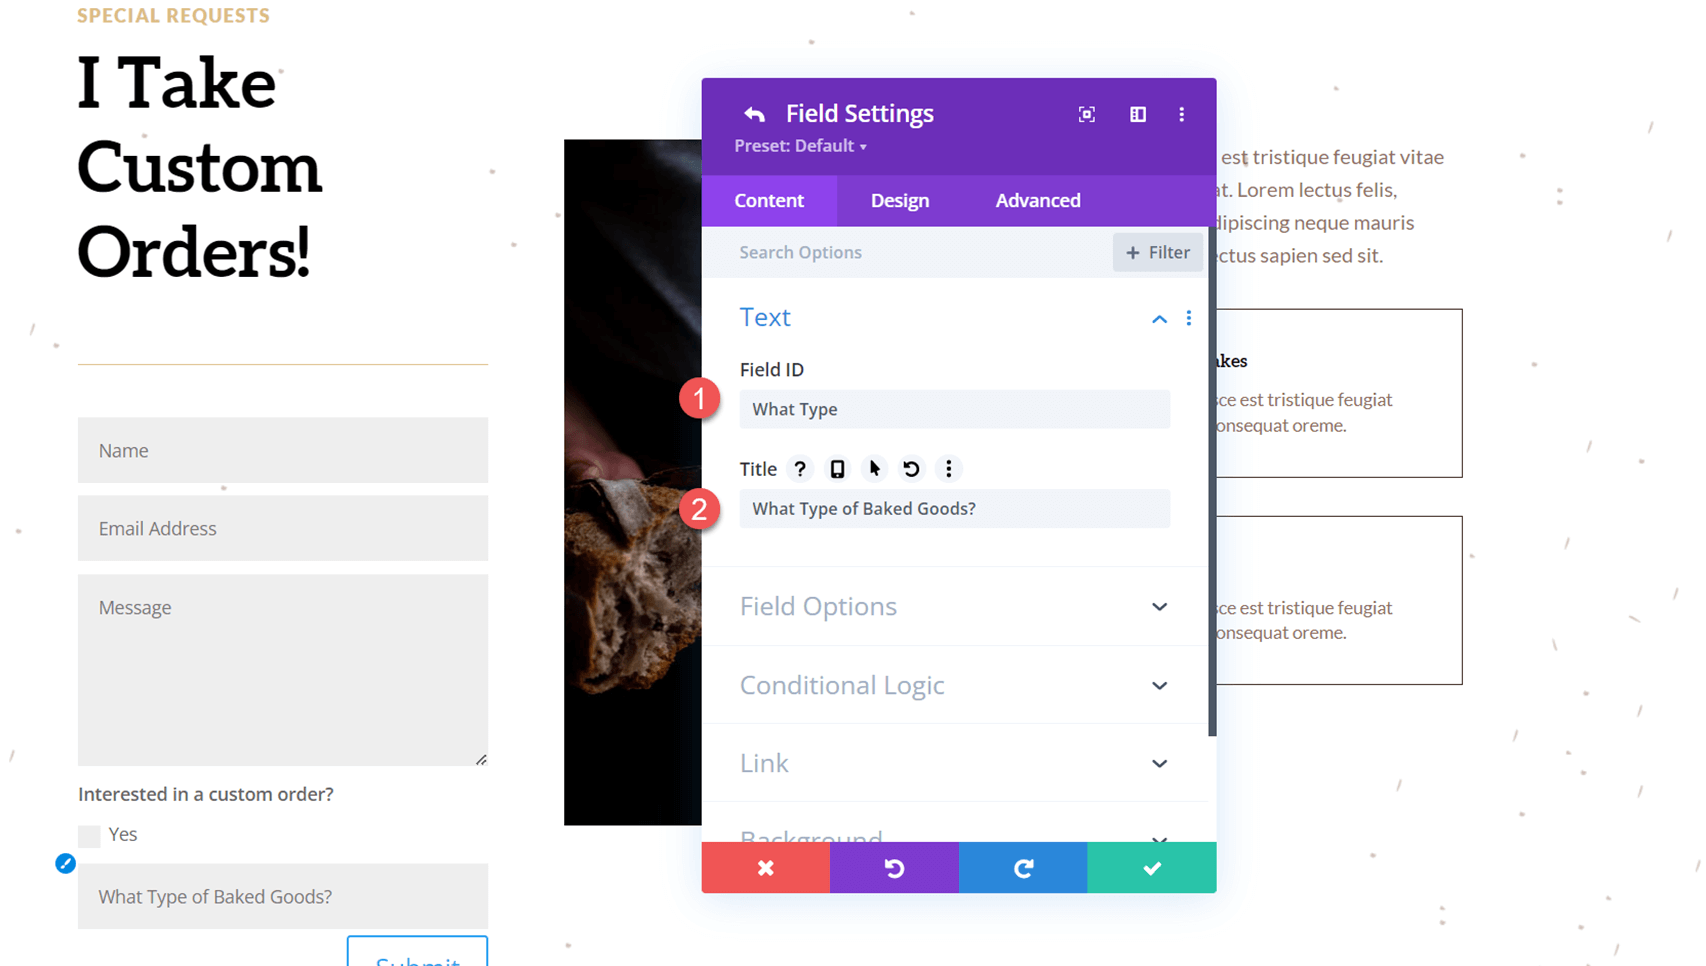
Next, open the Field Options and set the field type to Select Dropdown. Then, add the options.
- Type: Select Dropdown
- Options:
- Breads
- Cakes
- Muffins
- Pastries
- Other
- Required Field: No
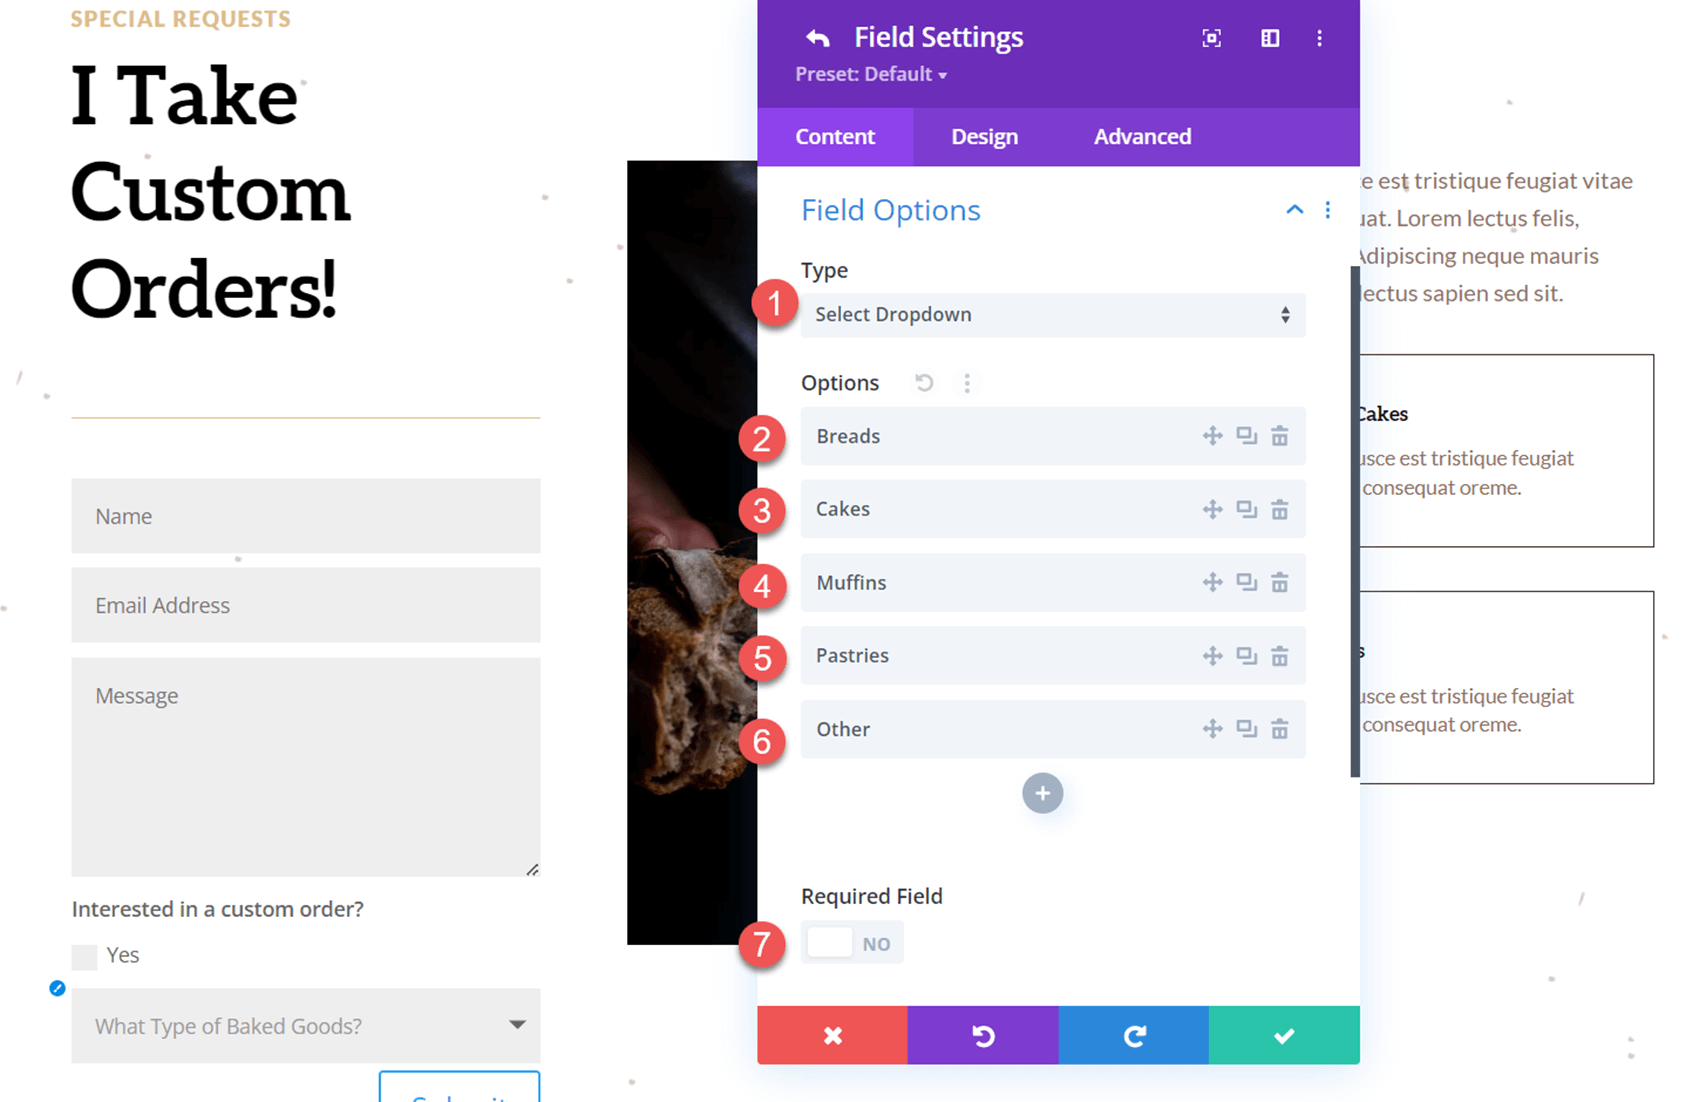
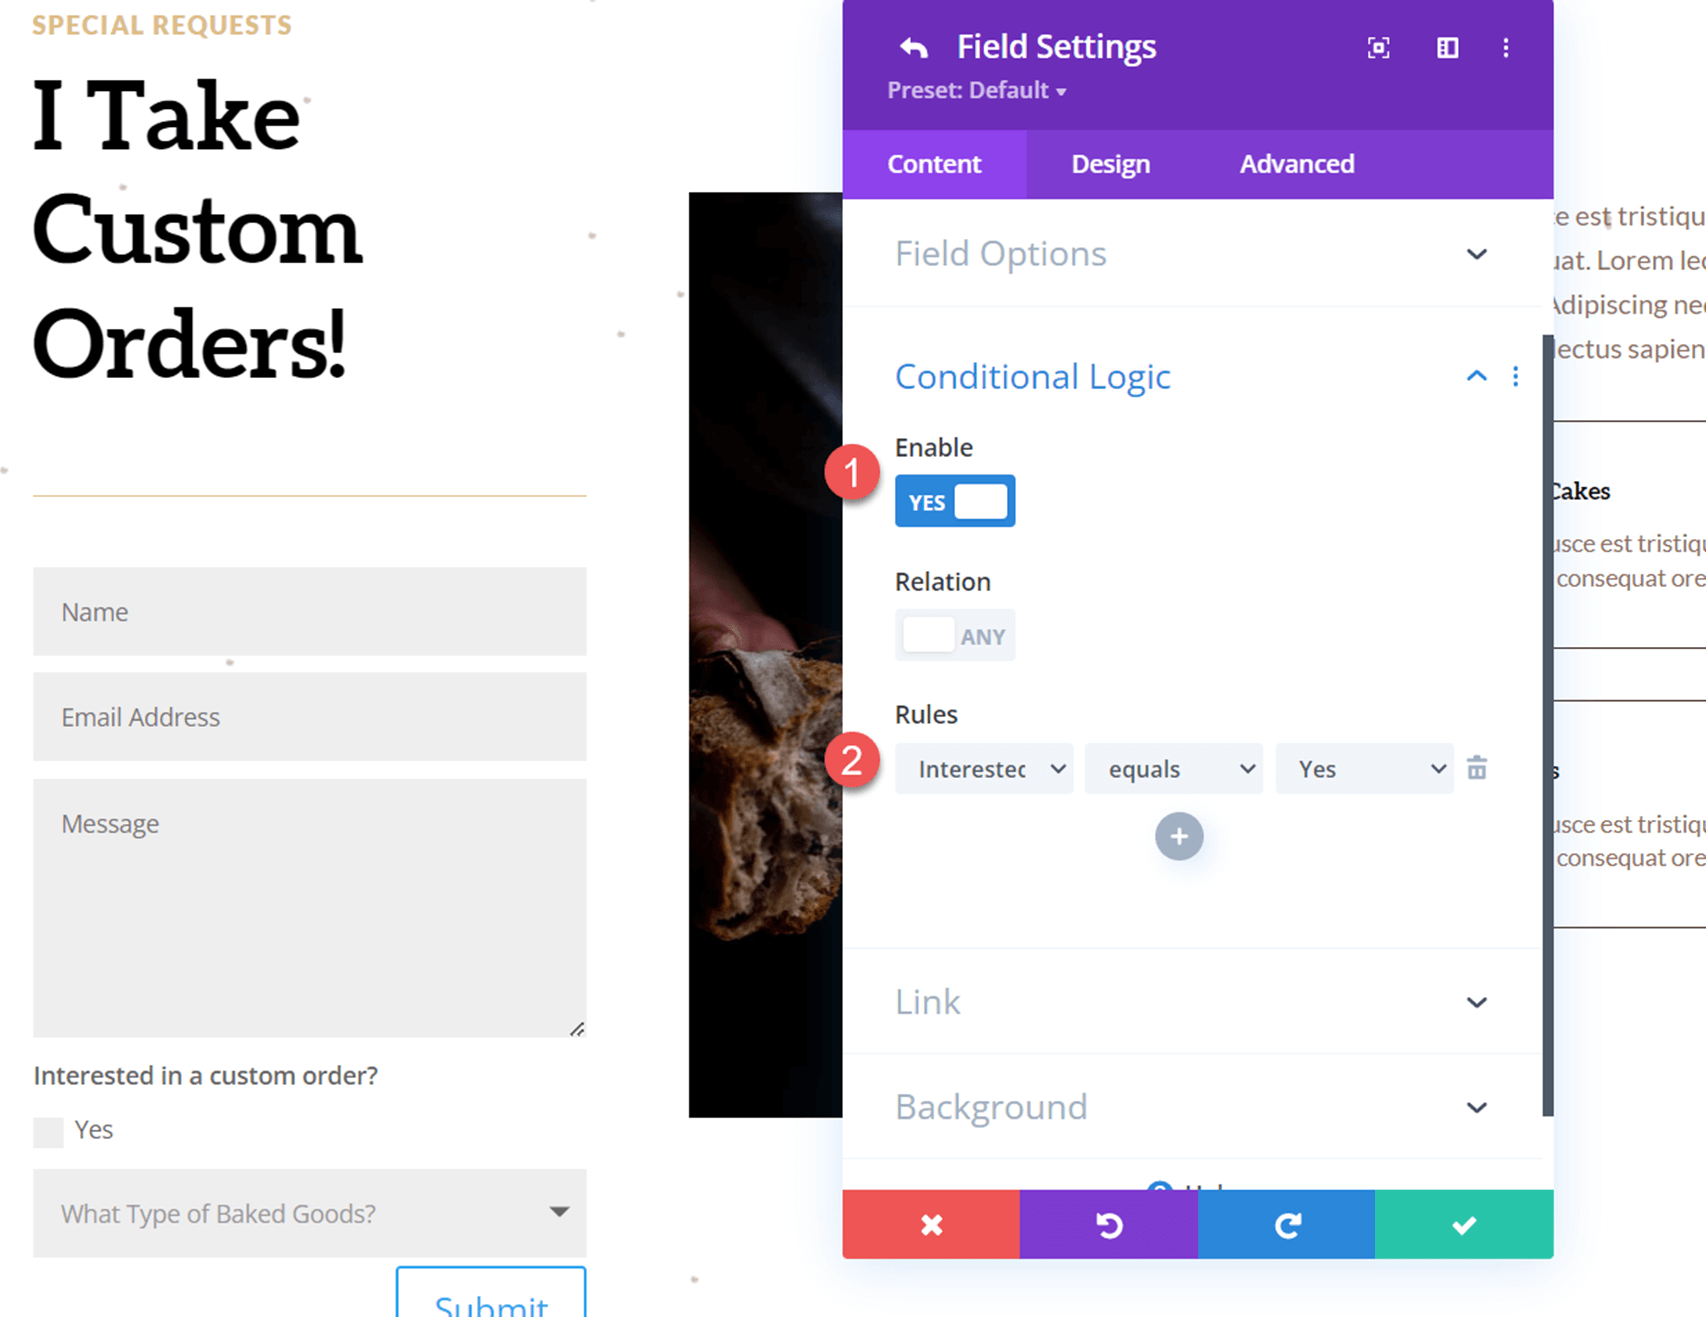
Now move to the Conditional Logic section and enable the conditional logic settings. Then, set up the rule to display the field depending on the checkbox above.
- Enable: Yes
- Rules: Interested Equals Yes
This rule sets up the form so that if the “Yes” checkbox above is selected, then the “What Type of Baked Goods” field will appear. If the checkbox is not selected, the type field will stay hidden.
Customize the Contact Form Design
Now that our contact form and the conditional logic is all set up, we can customize the design of the form to better fit the layout of the page.
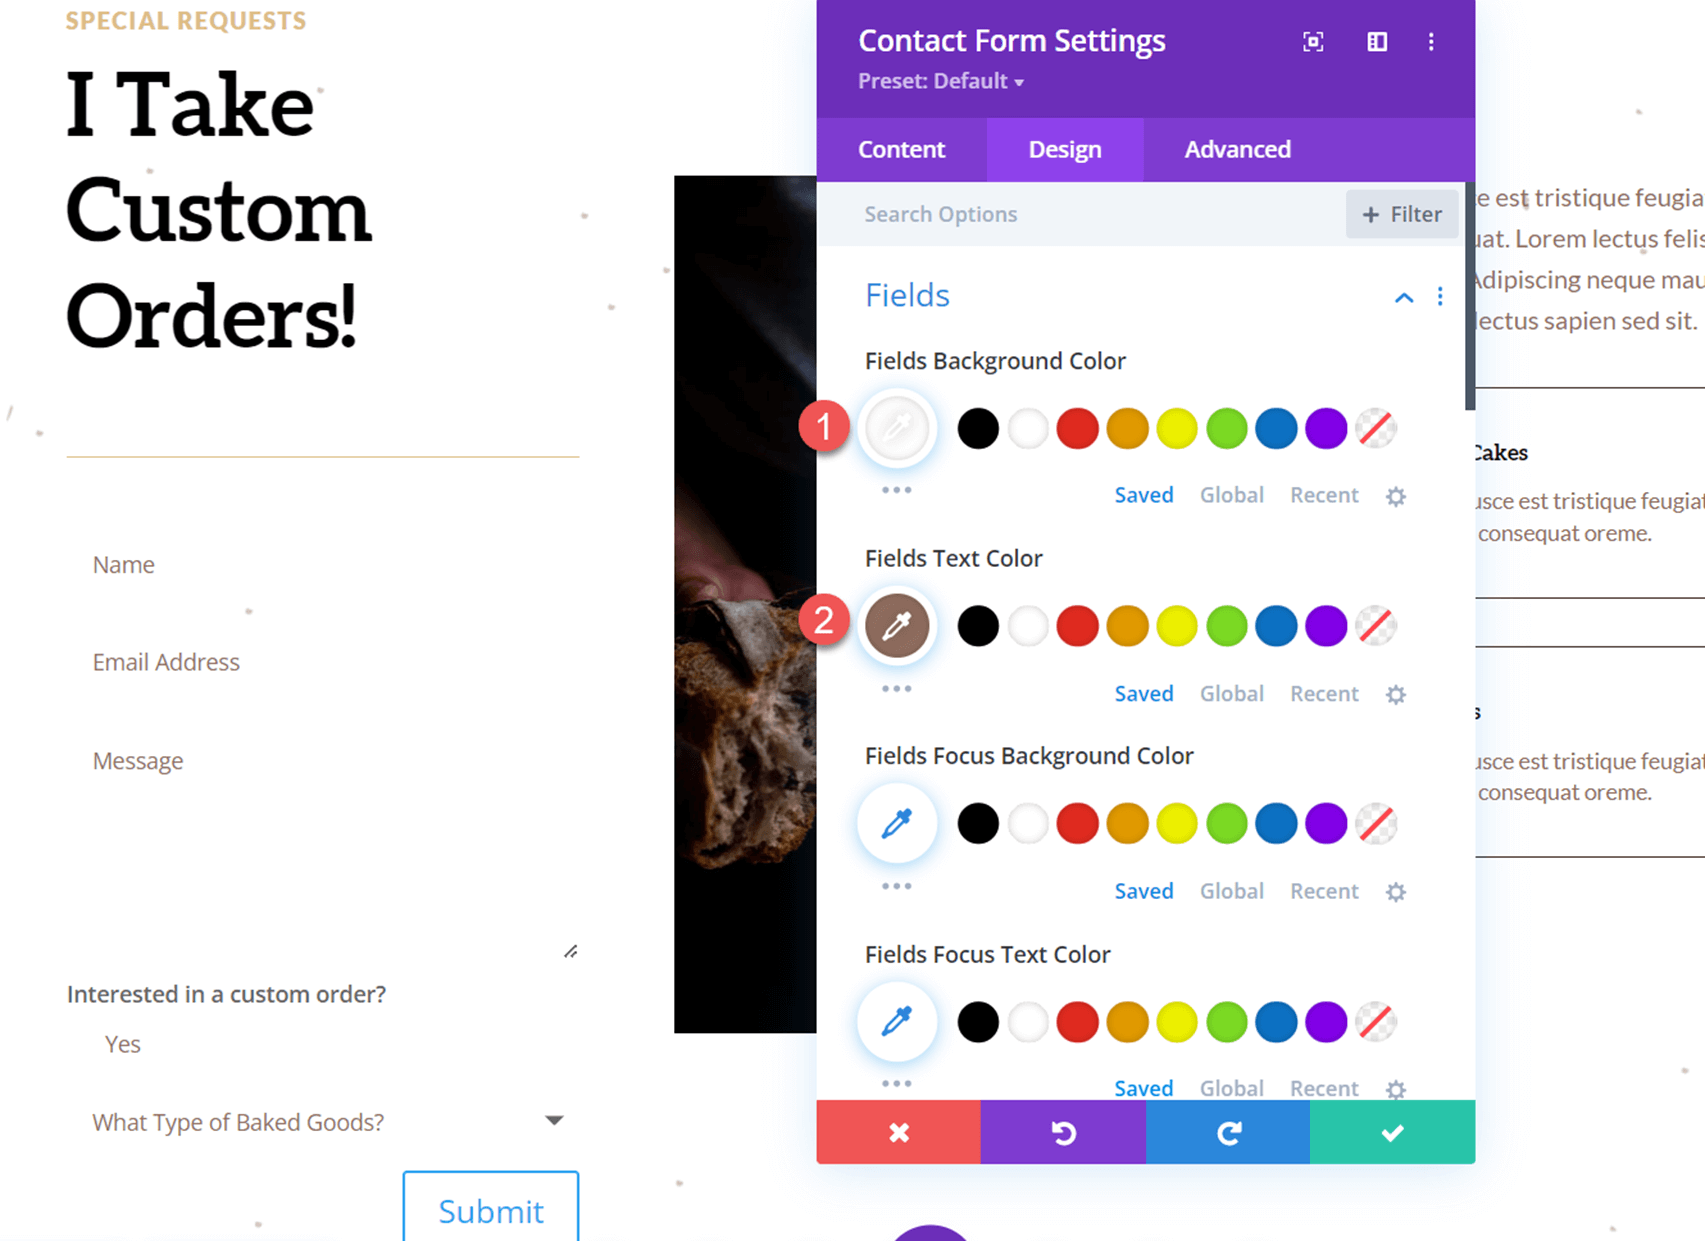
Open the contact form settings and navigate to the design tab. Under the field options, customize the settings as follows.
- Fields Background Color: #FFFFFF
- Fields Text Color: #906d5e
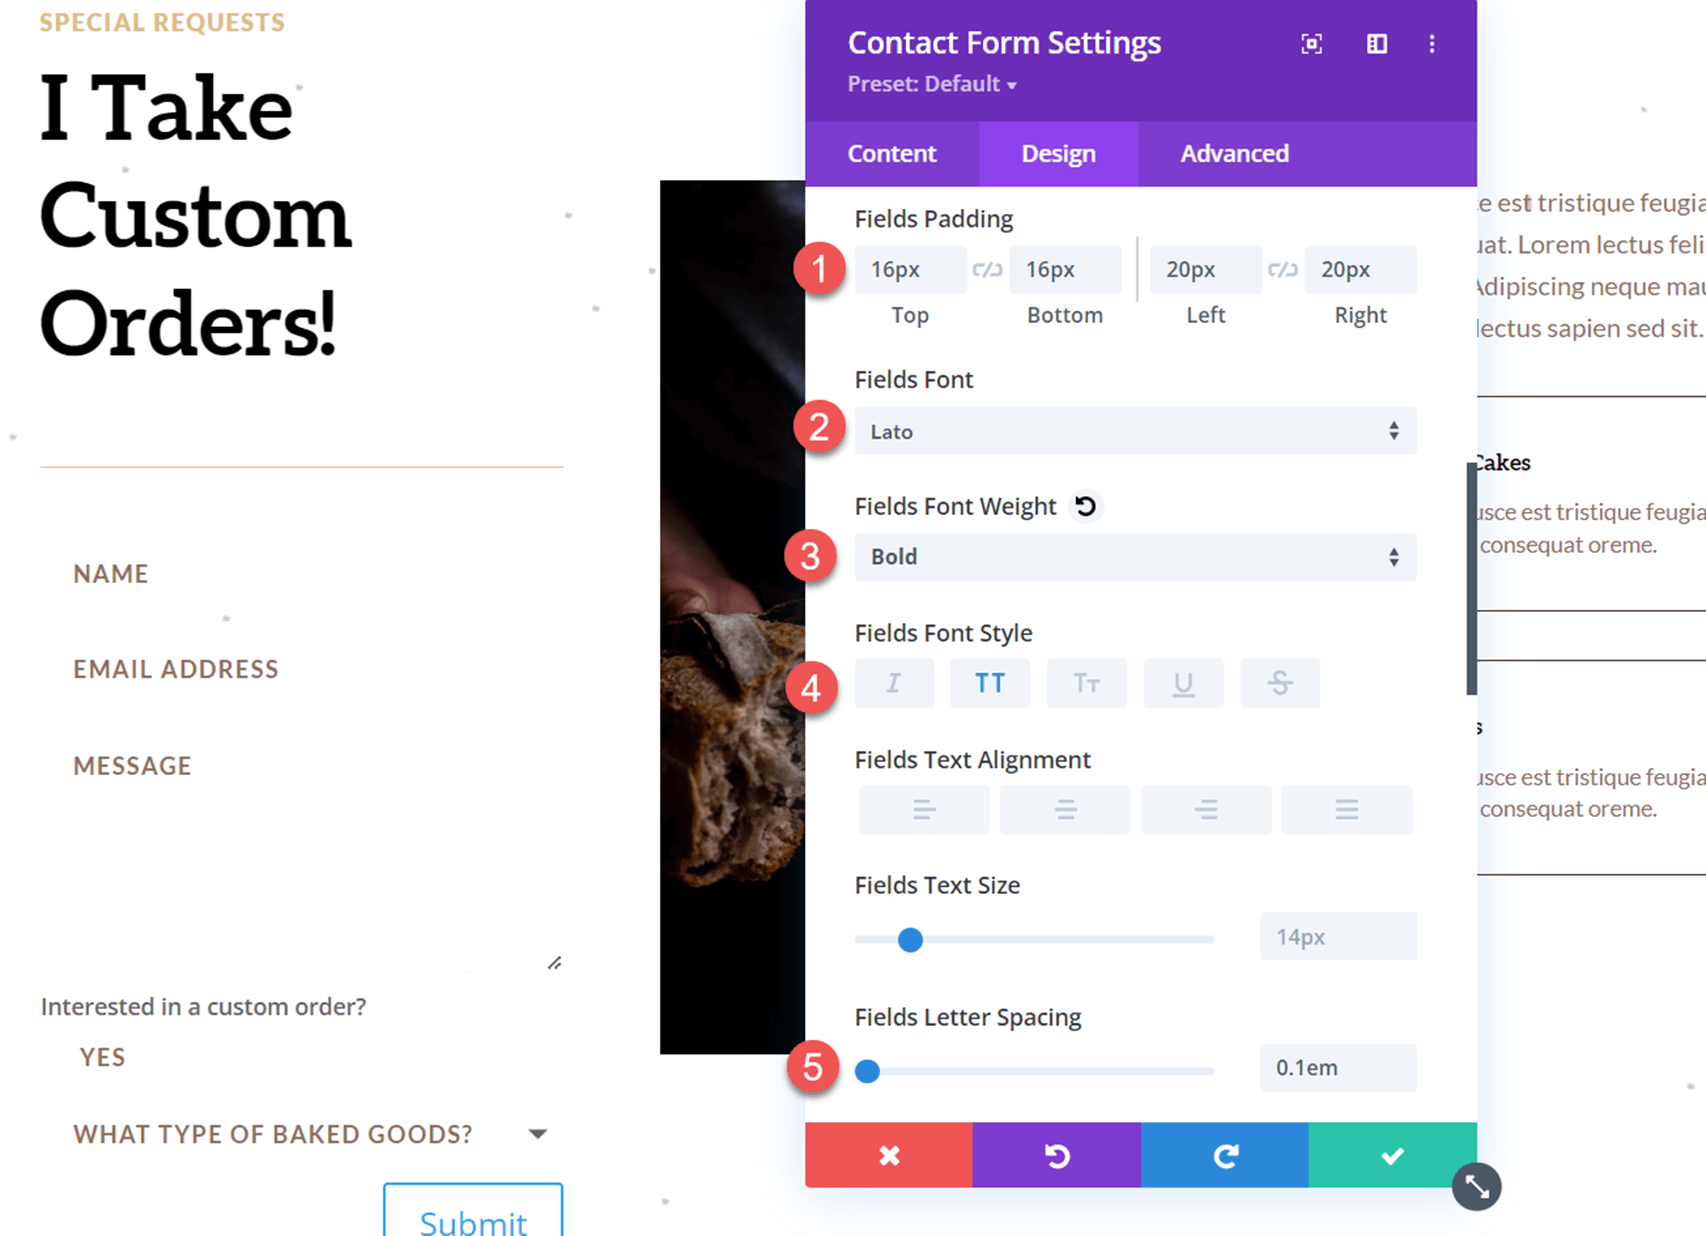
Next, set the field padding and customize the font settings.
- Fields Padding Top: 16px
- Fields Padding Bottom: 16px
- Fields Padding Left: 20px
- Fields Padding Right: 20px
- Fields Font: Lato
- Fields Font Weight: Bold
- Fields Font Style: Capitalized (TT)
- Fields Letter Spacing: 0.1em
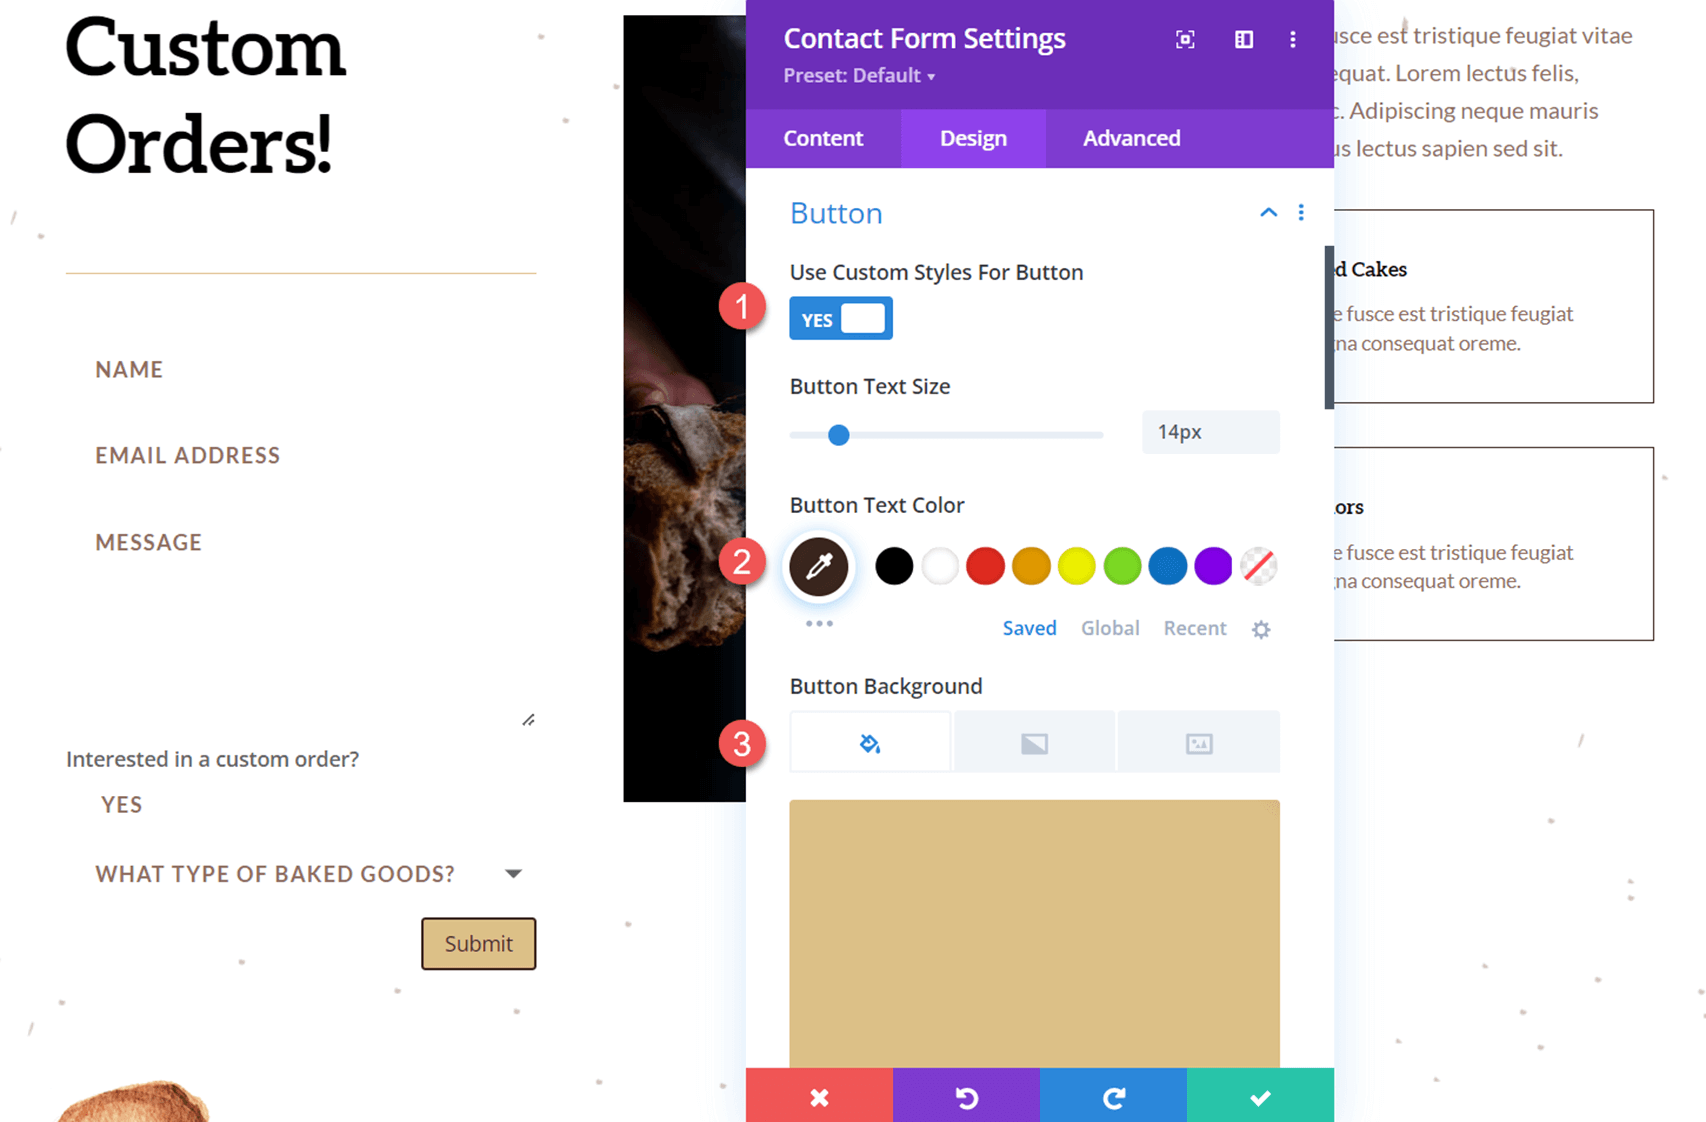
Now move to the button settings and customize the button styles as follows:
- Use Custom Styles for Button: Yes
- Button Text Color: #3b261e
- Button Background: #dcc087
Next, customize the button border and font settings.
- Button Border Color: #dcc087
- Button Border Radius: 0px
- Button Letter Spacing: 0.1em
- Button Font: Lato
- Button Font Weight: Heavy
- Button Font Style: Capitalized (TT)
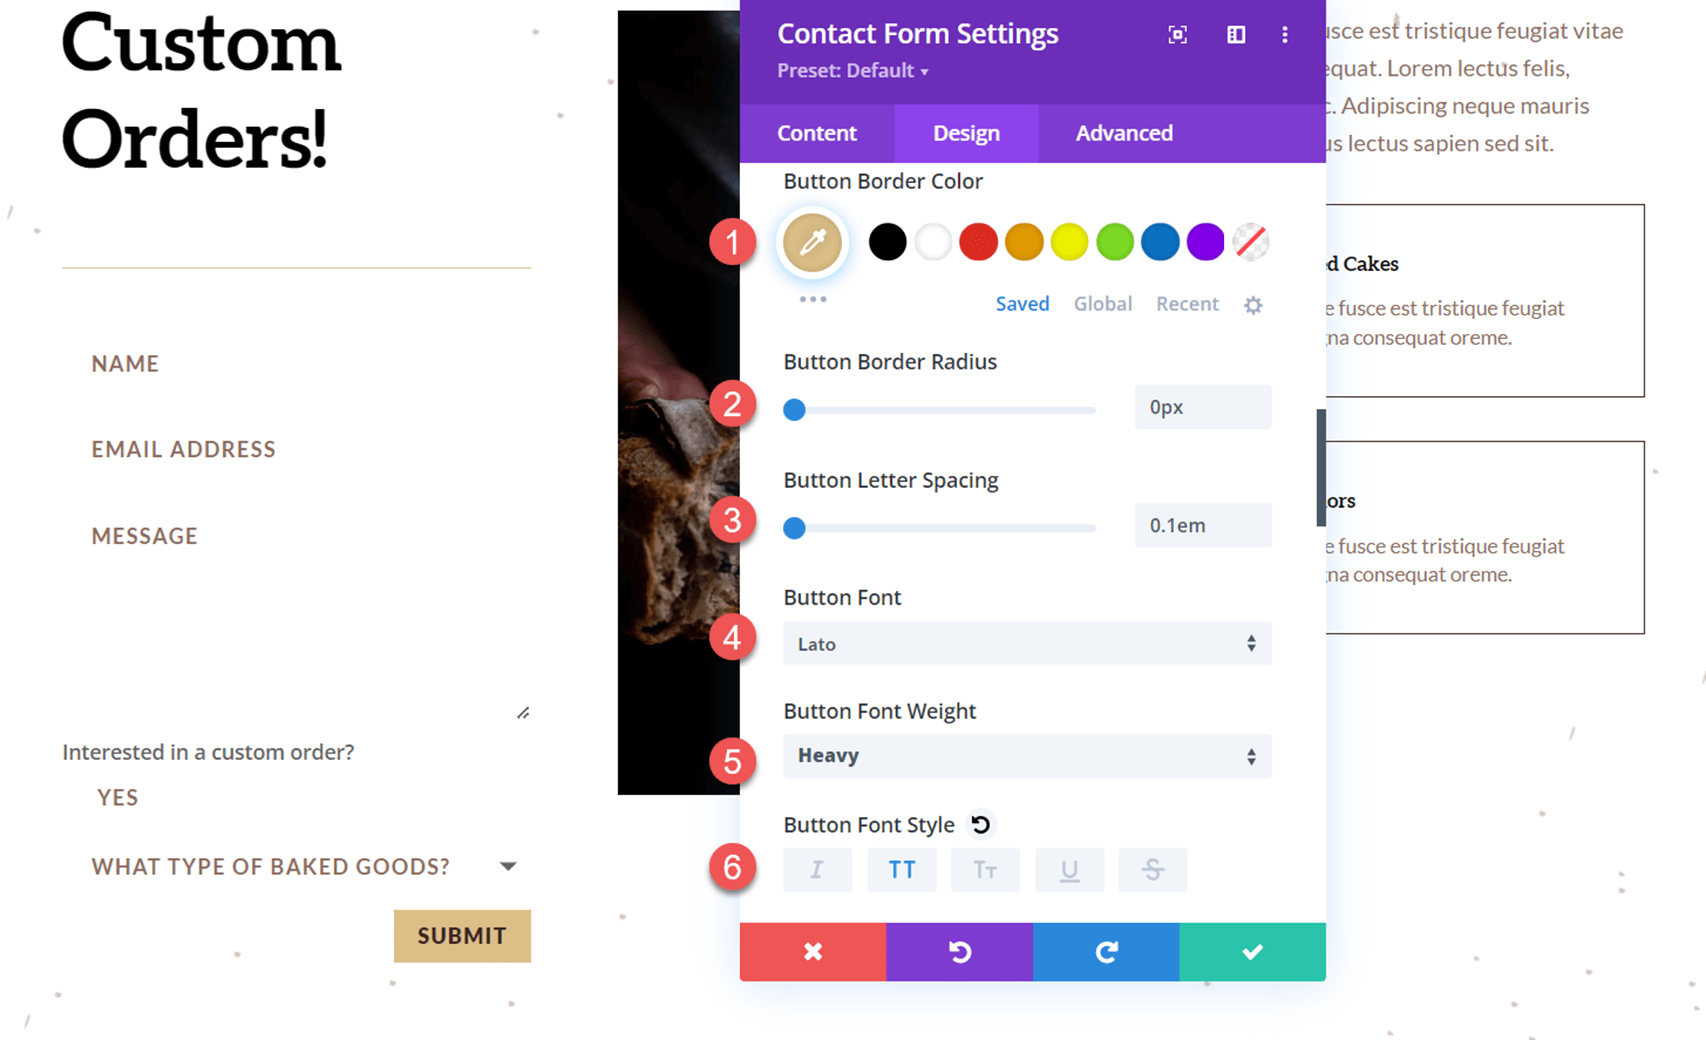
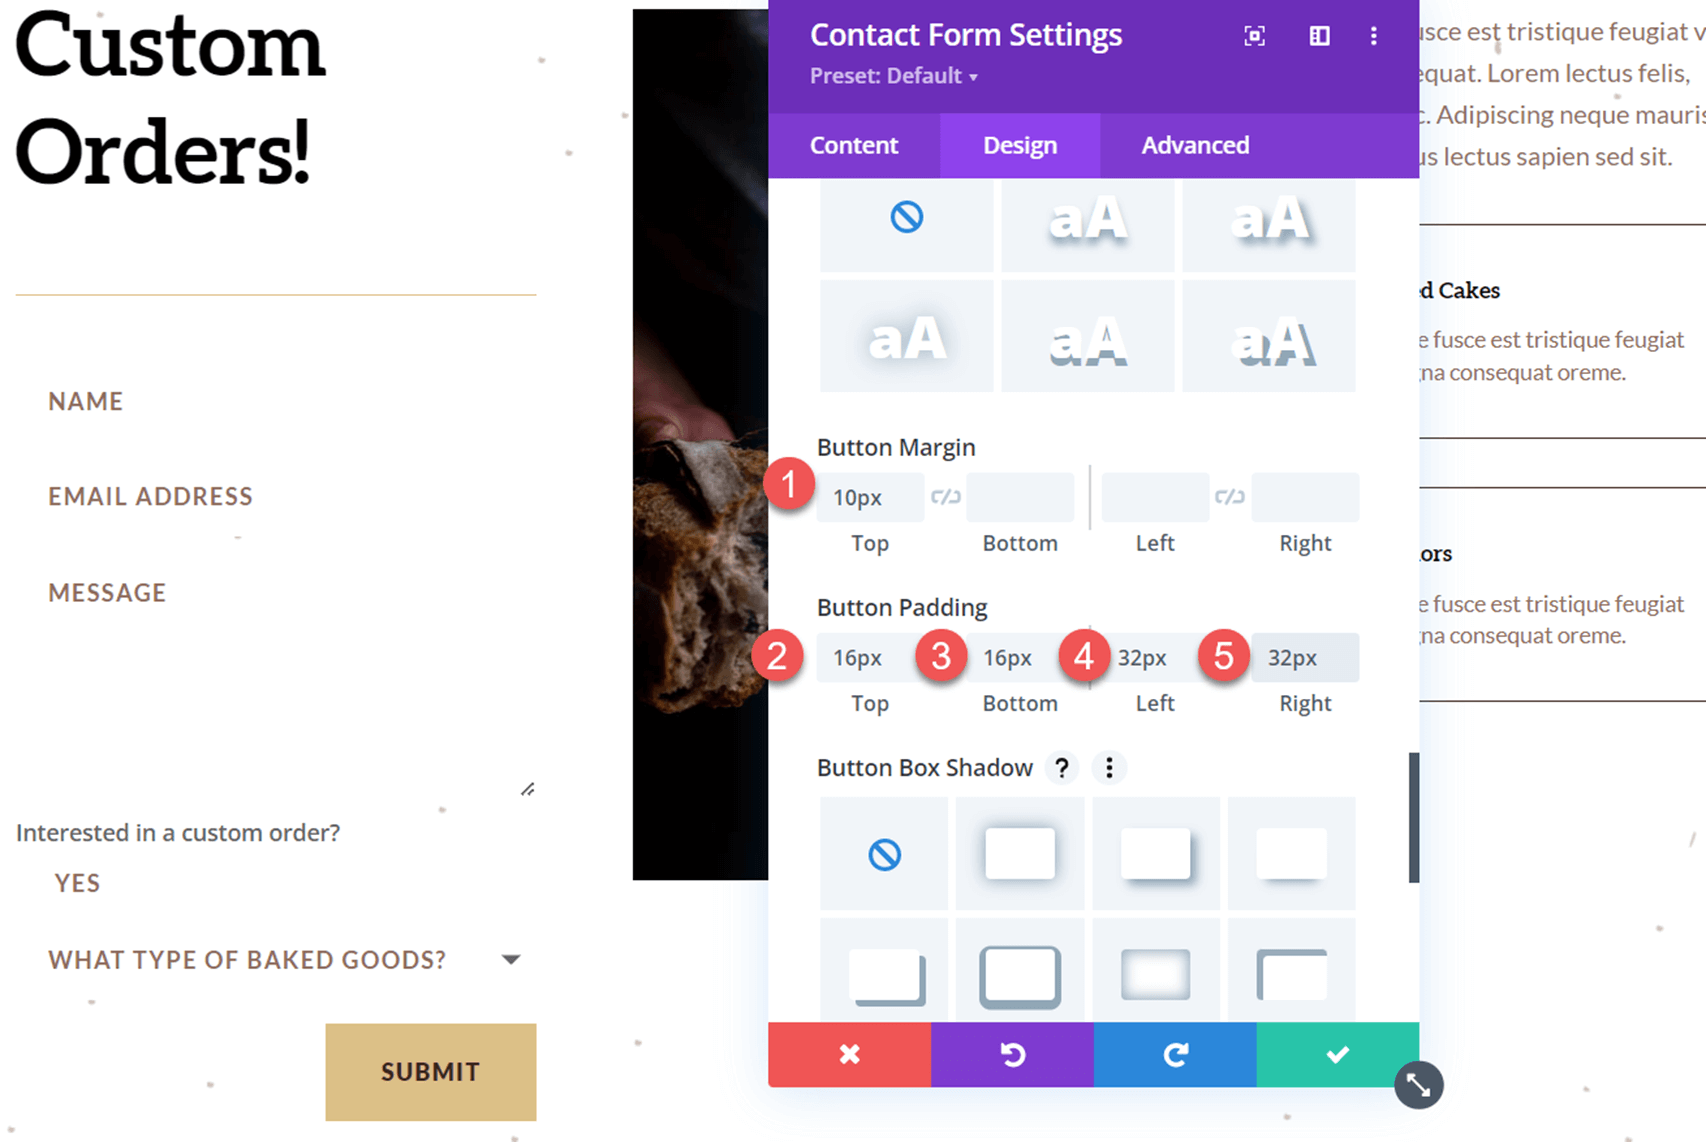
Then, modify the button margin and padding as follows:
- Button Margin Top: 10px
- Button Padding Top: 16px
- Button Padding Bottom: 16px
- Button Padding Left: 32px
- Button Padding Right: 32px
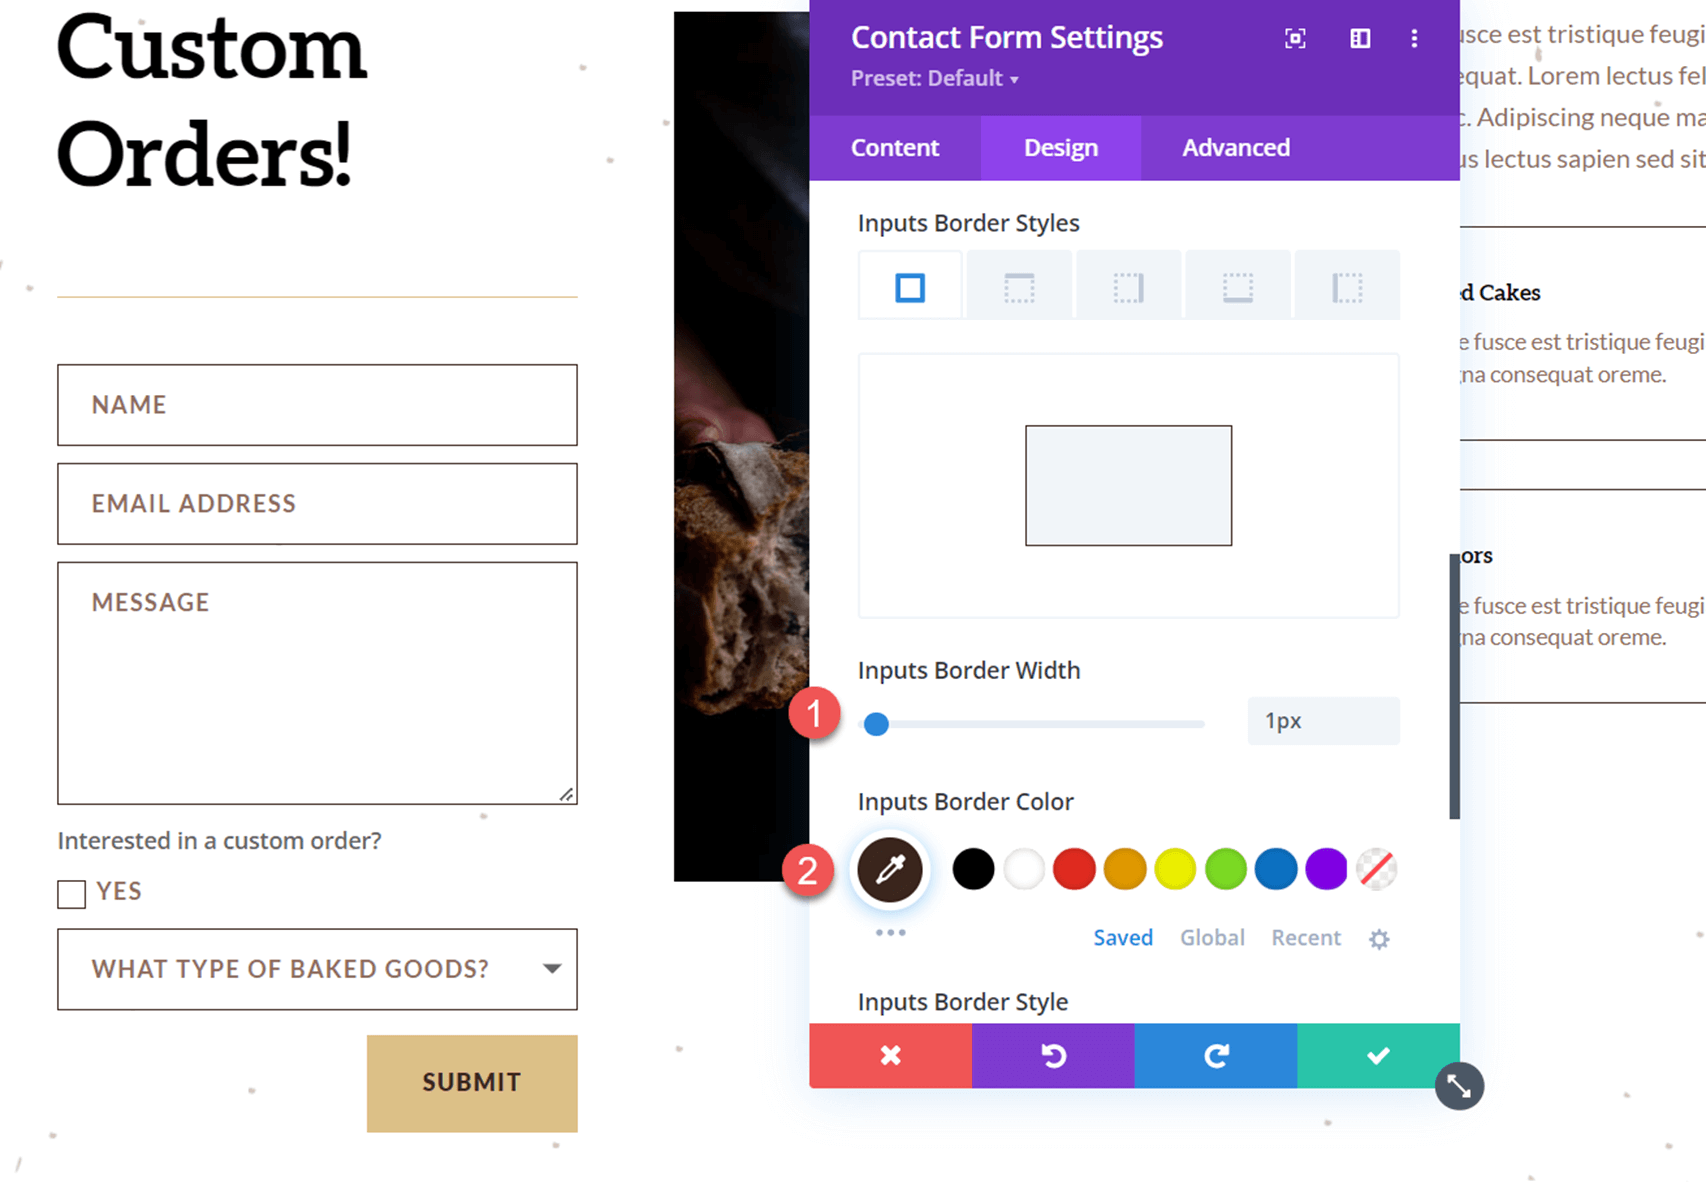
Finally, we’ll modify the border settings to add borders around the form inputs.
- Imputs Border Width: 1px
- Inputs Border Color: #3b261e
Final Result
That completes the full design of the contact form. Let’s take a look at the form in action with the revealing options dropdown.

Final Thoughts
Conditional logic is easy to implement in Divi’s contact form module and allows you to create dynamic forms that present relevant fields to the user based on their previous answers. While the example in this tutorial is relatively simple, you can use conditional logic to create complex forms with multiple instances of conditional logic. To learn more about what you can do with Divi’s contact form and conditional logic, check out this article on How to Create a Versatile Divi Contact Form with Conditional Logic. Have you used the conditional logic options on your website’s contact form? We’d love to hear from you in the comments!



I am going to use the Conditional Logic on my page. I noticed that you have “other” as an option, is there a text entry dropdown so that if they choose other, they can type in what they need?