Having an area on your website to showcase your work is important. If you’re a stylist, you could create multiple projects within your WordPress website to show your concepts. If you’re a brand designer, you can use a portfolio to showcase your past work. Furthermore, we can even go a step further and add in various categories for our projects. This is where Divi’s Filterable Portfolio Module comes into play.
With this module, we are able to display our hard work in a way that is easy and organized. In today’s tutorial, we’ll be styling the Filterable Portfolio Module’s individual grid items. We’ll be using layouts from the Divi Conference and Divi Online Yoga Instructor free layout packs that come with every purchase of Divi. As with all things Divi, we have the ability to style this module to make it match our needs and wants. However, before we get into styling, let’s learn a bit more about the module.
- 1 What is Divi’s Filterable Portfolio Module?
- 2 How We’ll Be Styling Divi’s Filterable Portfolio Module
-
3
Styling Divi’s Filterable Portfolio Module: Divi Conference Edition
- 3.1 Enter the Divi Layout Library
- 3.2 Locate Layout Within the Divi Layout Library
- 3.3 Install the Layout
- 3.4 Remove and Replace Image Module
- 3.5 Insert the Divi Filterable Portfolio Module
- 3.6 Setting the Post Count and Portfolio Layout
- 3.7 Begin Styling Divi’s Filterable Portfolio: Title and Meta Text
- 3.8 Modify Border and Rounded Corners of Project Thumbnail
- 3.9 Customizing the Hover Overlay
- 3.10 Styling the Pagination
- 3.11 Using Custom CSS & Divi Settings to Style the Filter Text
- 3.12 Styling the Active Portfolio Filter Tab
- 3.13 Final Look Styling Divi’s Filterable Portfolio with Divi Conference
-
4
Styling Divi’s Filterable Portfolio Module: Divi Online Yoga Instructor Edition
- 4.1 Inserting Filterable Portfolio Module
- 4.2 Style Filter Criteria Text, Project Title and Pagination Text
- 4.3 Creating a Translucent Hover Overlay
- 4.4 Adding a Border to the Portfolio Grid Items with Custom CSS
- 4.5 Adding CSS to Style Pagination Border
- 4.6 Styling the Filter Criteria Text
- 4.7 Removing Animation From Module
- 4.8 Change Portfolio Grid from Four Columns to Three
- 4.9 Styling Divi’s Filterable Portfolio: In Conclusion
What is Divi’s Filterable Portfolio Module?
Projects are part of a custom post type that works similarly to posts. You can find these inside your WordPress dashboard.
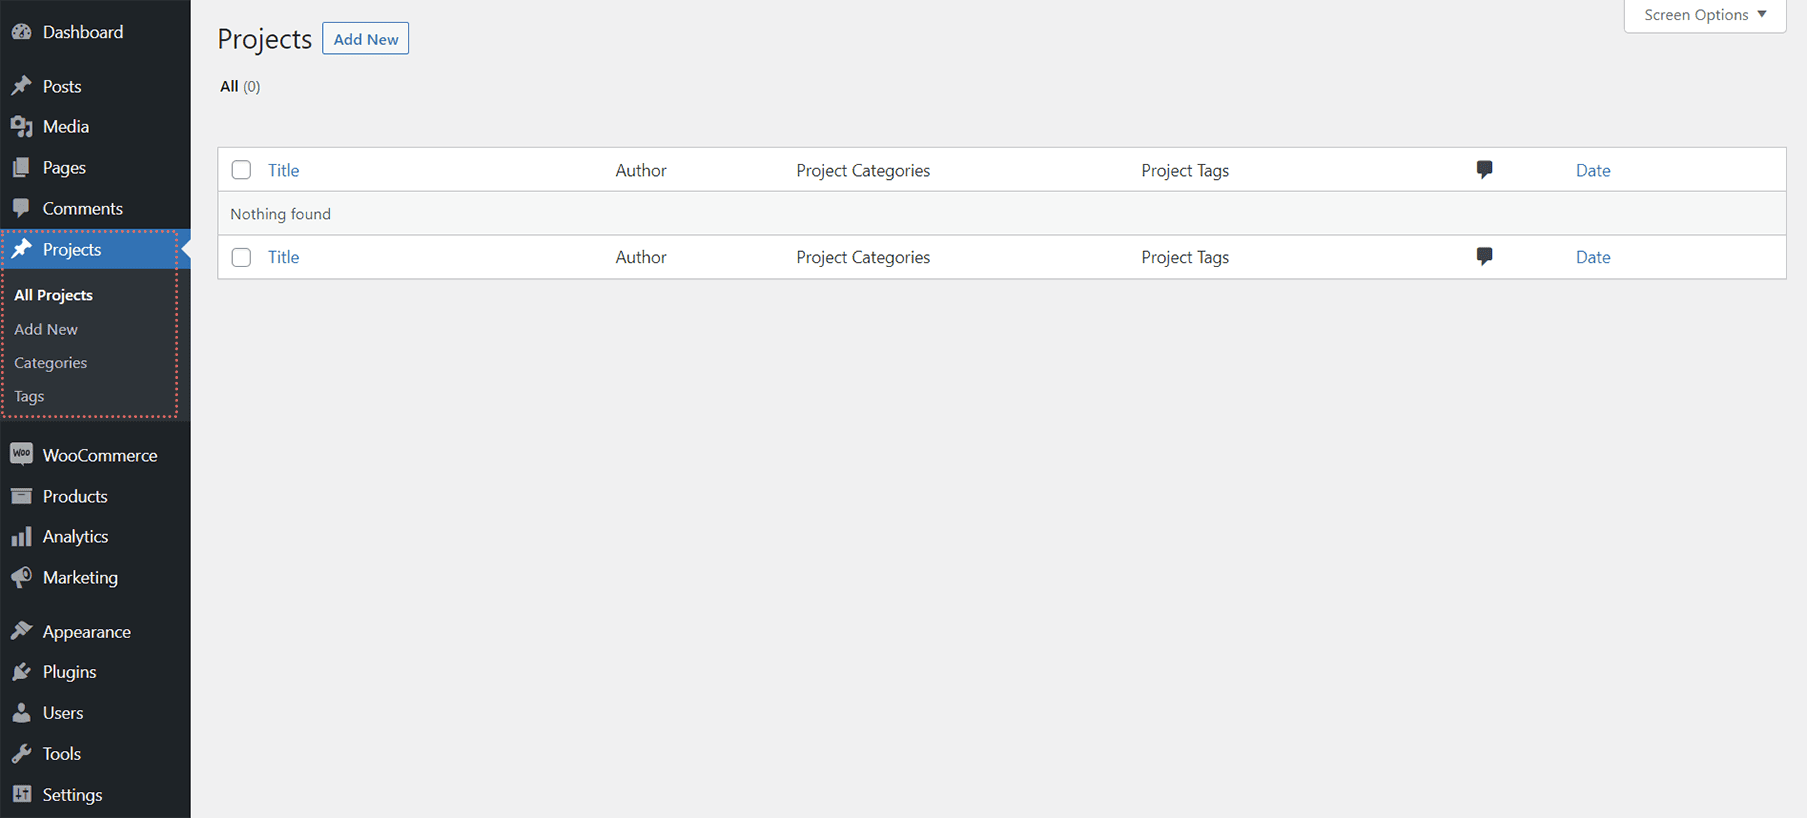
This is where you’ll create your individual projects that will populate your Filterable Portfolio Module. The module gives us two ways of showing our projects: in a grid format, or in a fullwidth format. For us, we’ll be using and styling the grid format. With the Filterable Portfolio Module, we will be able to showcase our most recent projects. Users of our site will be shown a filter bar on top of our portfolio grid. From there, they can cycle through the various portfolio categories that we allow to be displayed within the module.
Here’s an example of a vanilla setup of the module with some sample projects:
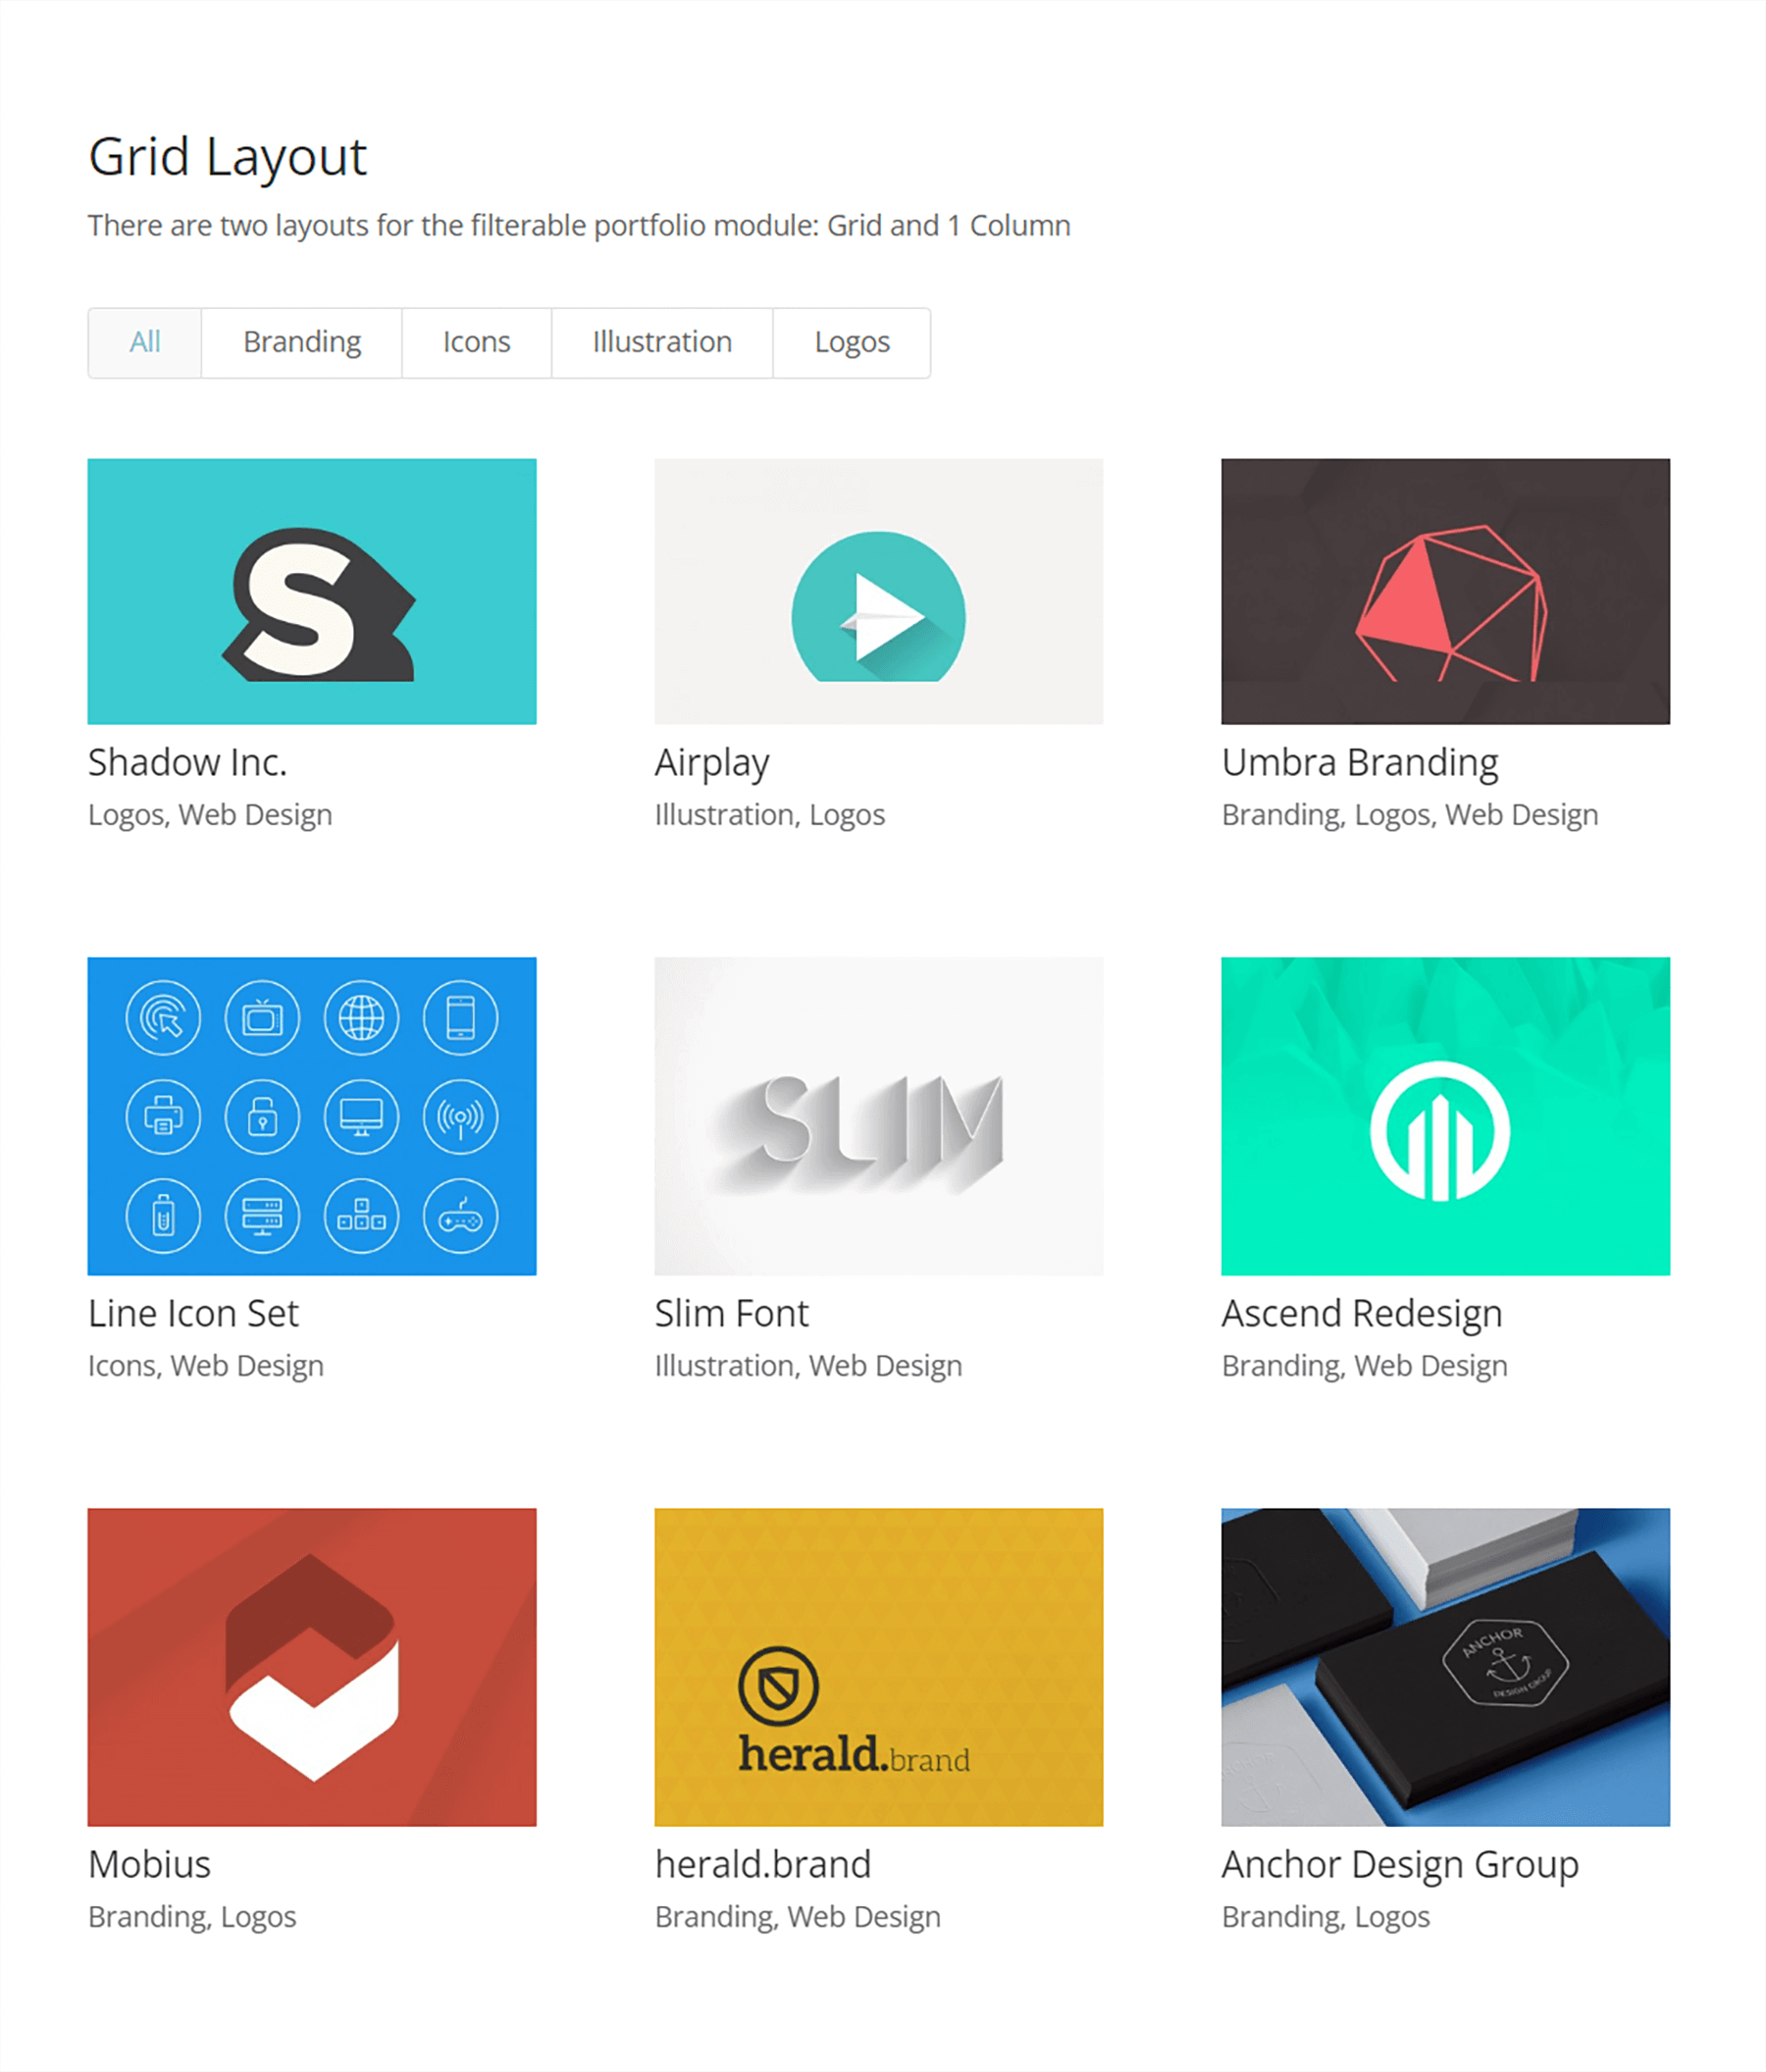
Areas to Consider When Styling Divi’s Filterable Portfolio
Like all Divi modules, the Filterable Portfolio Module comes with a number of features that we can style to our needs and wants. As such, most of the features that accompany the module we are able to edit within the Design tab of the modules settings modal box. We can edit the follow areas and more:
- Project Title
- Project Category
- Thumbnail
- Filter Text
- Thumbnail Hover
- Pagination
This isn’t a full list, and we haven’t even begun to talk about how CSS has add deeper customizations to this module!
How We’ll Be Styling Divi’s Filterable Portfolio Module
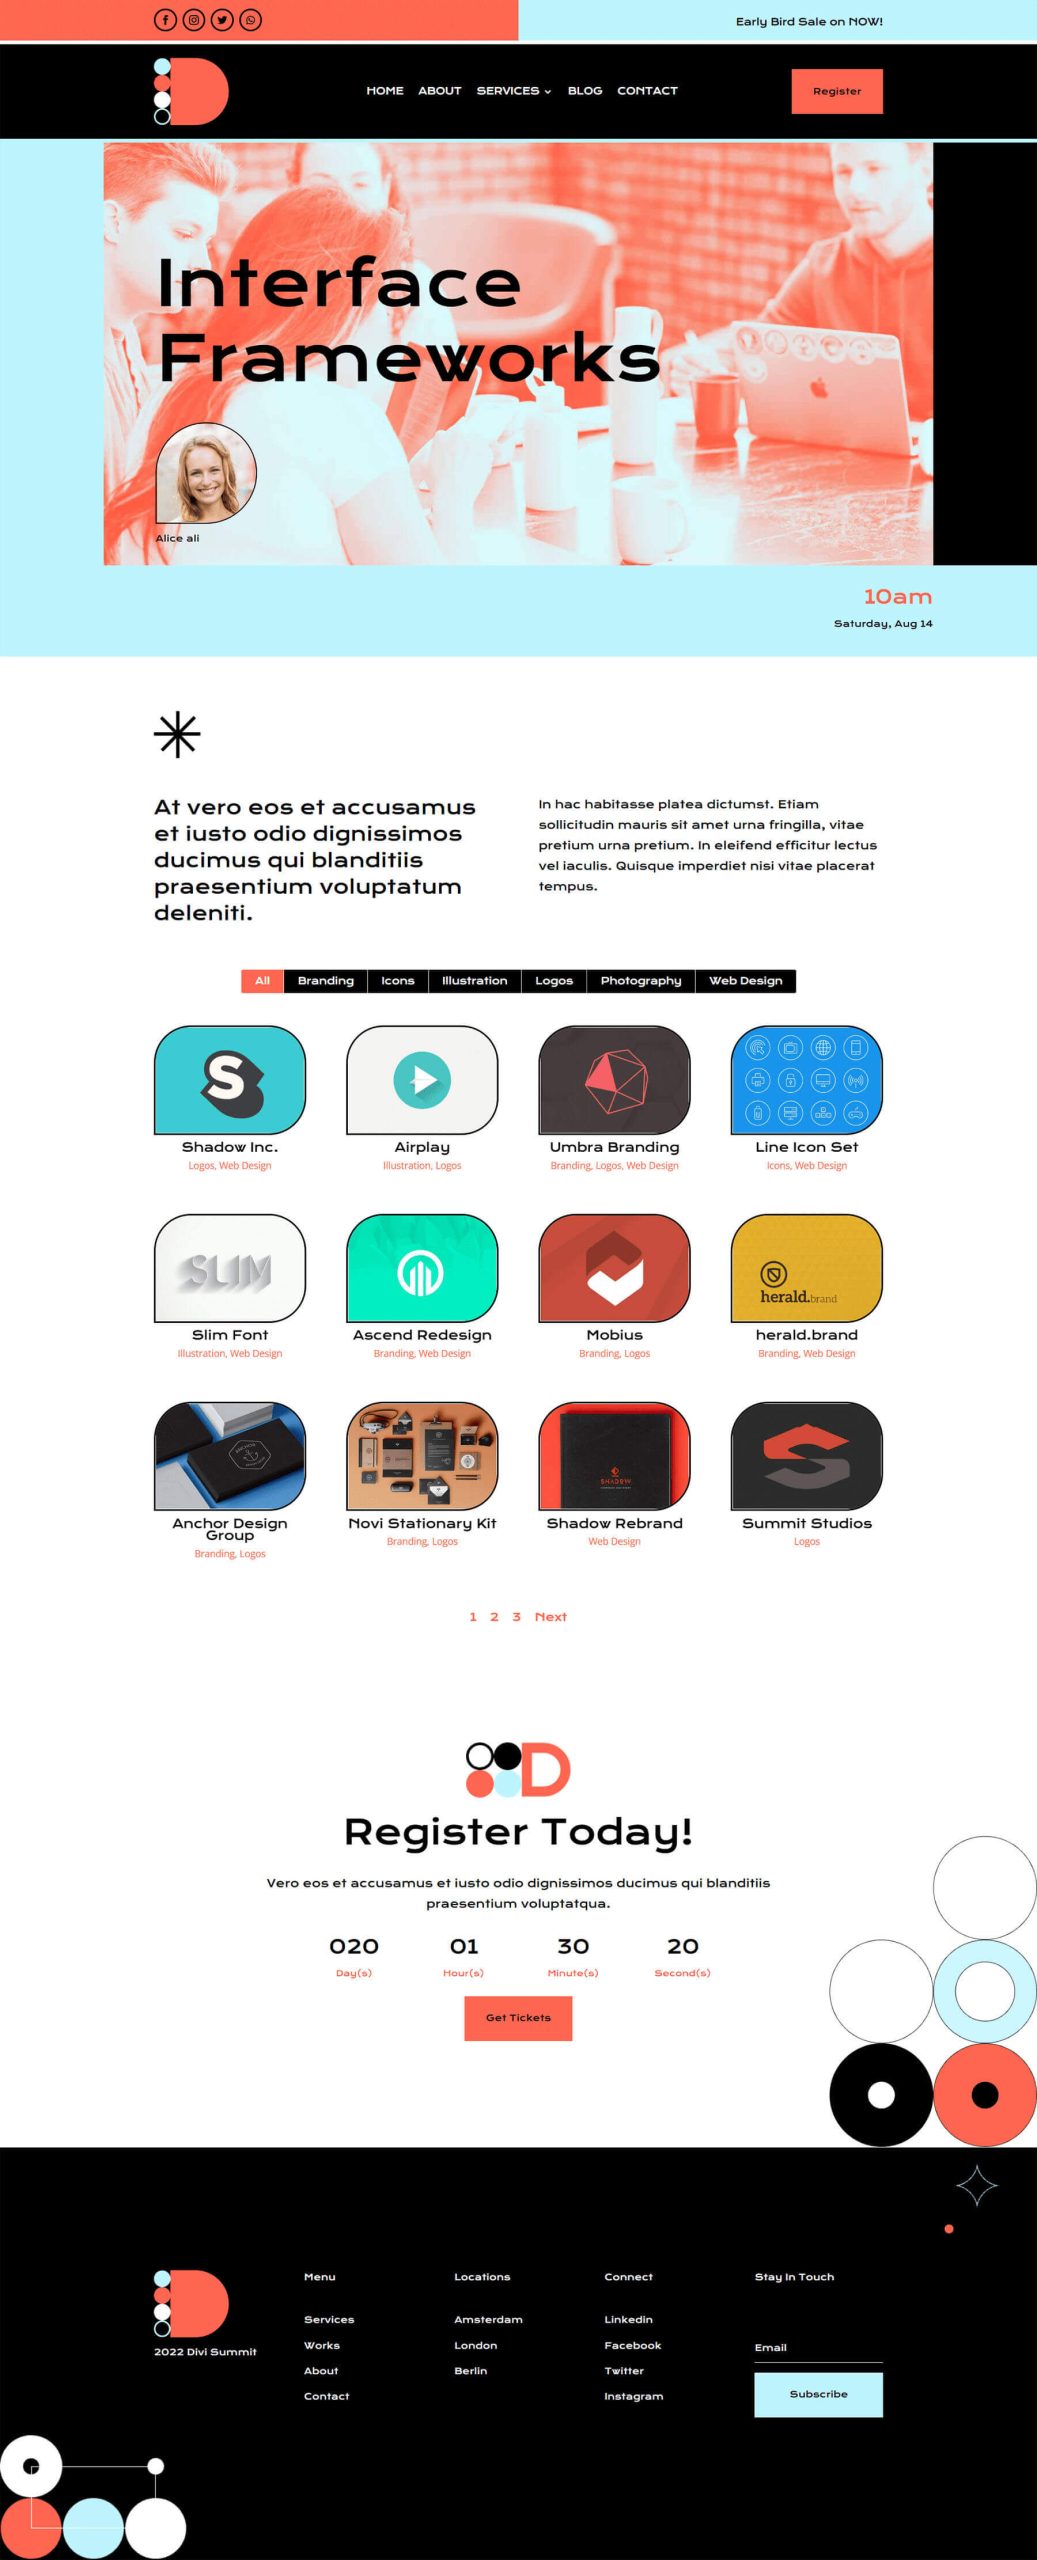
As mentioned earlier, for this tutorial we’ll be using two layouts from the Divi Conference and Divi Online Yoga Instructor. Below, you can catch a glimpse of the work that we’ll be doing during this tutorial.
Divi Conference Event Layout
Divi Online Yoga Instructor Landing Page Layout

You can easily download both layouts from within the Divi Builder. Now, let’s get started!
Styling Divi’s Filterable Portfolio Module: Divi Conference Edition
First things first, we’ll need to install the event page template from the Divi Conference Layout Pack. After you have created your new page in WordPress and activated the Divi Builder, we’re going to enter into the Divi Library.
Enter the Divi Layout Library
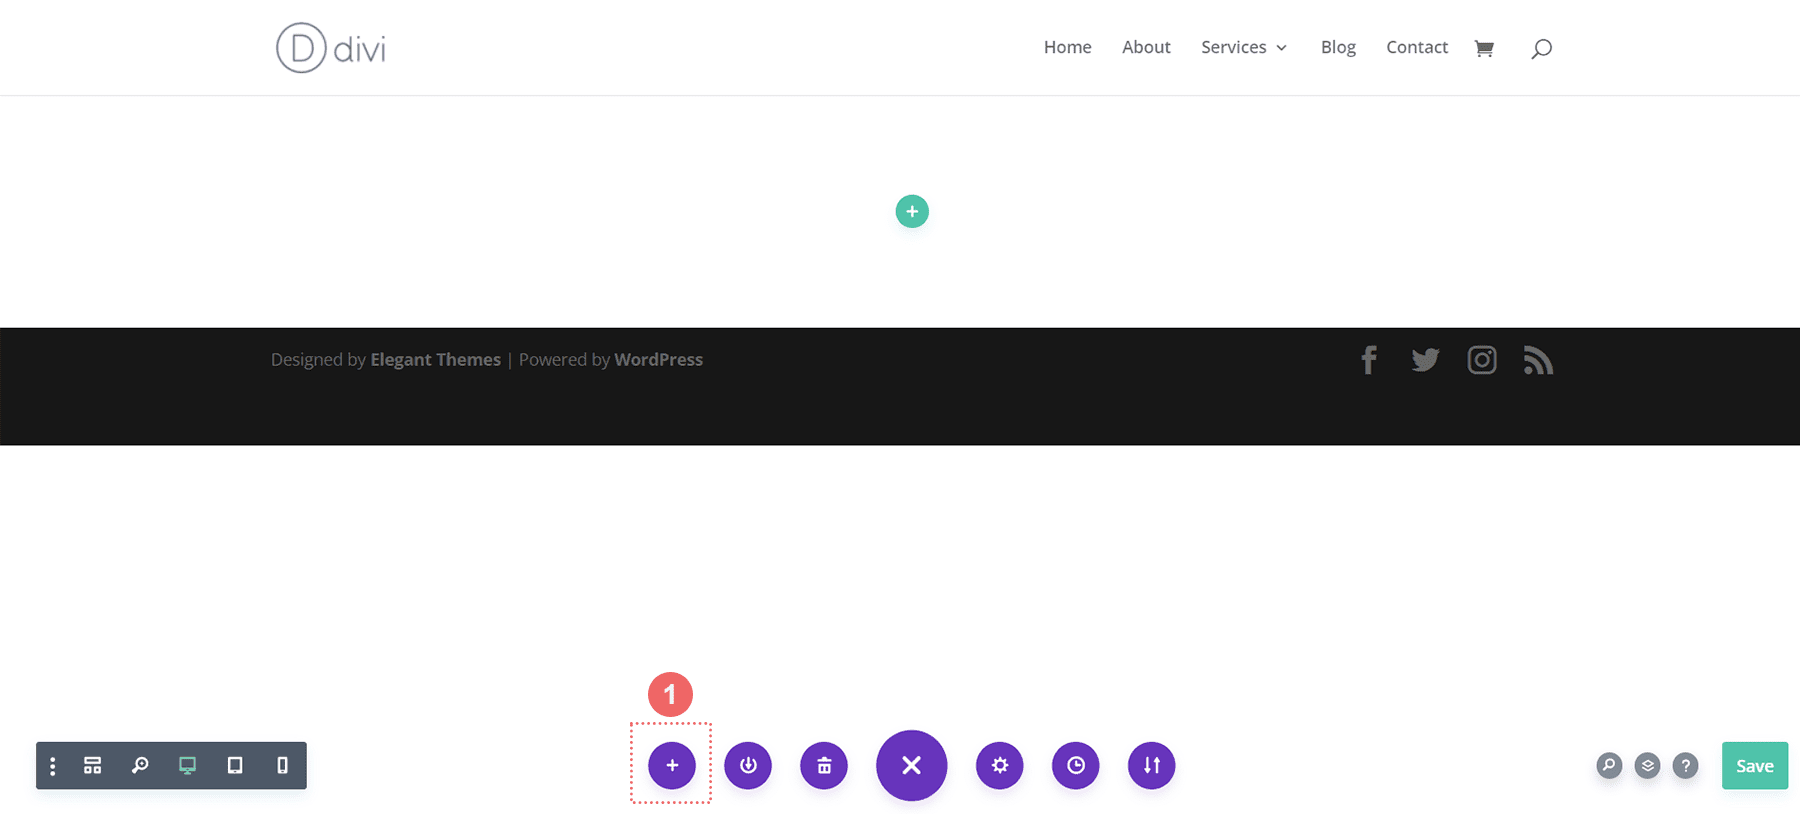
Click on the Load from Library icon to enter into the Divi Layout Library
Locate Layout Within the Divi Layout Library
Using the search feature within Divi’s Layout Library, search for the Divi Conference Event Page layout.
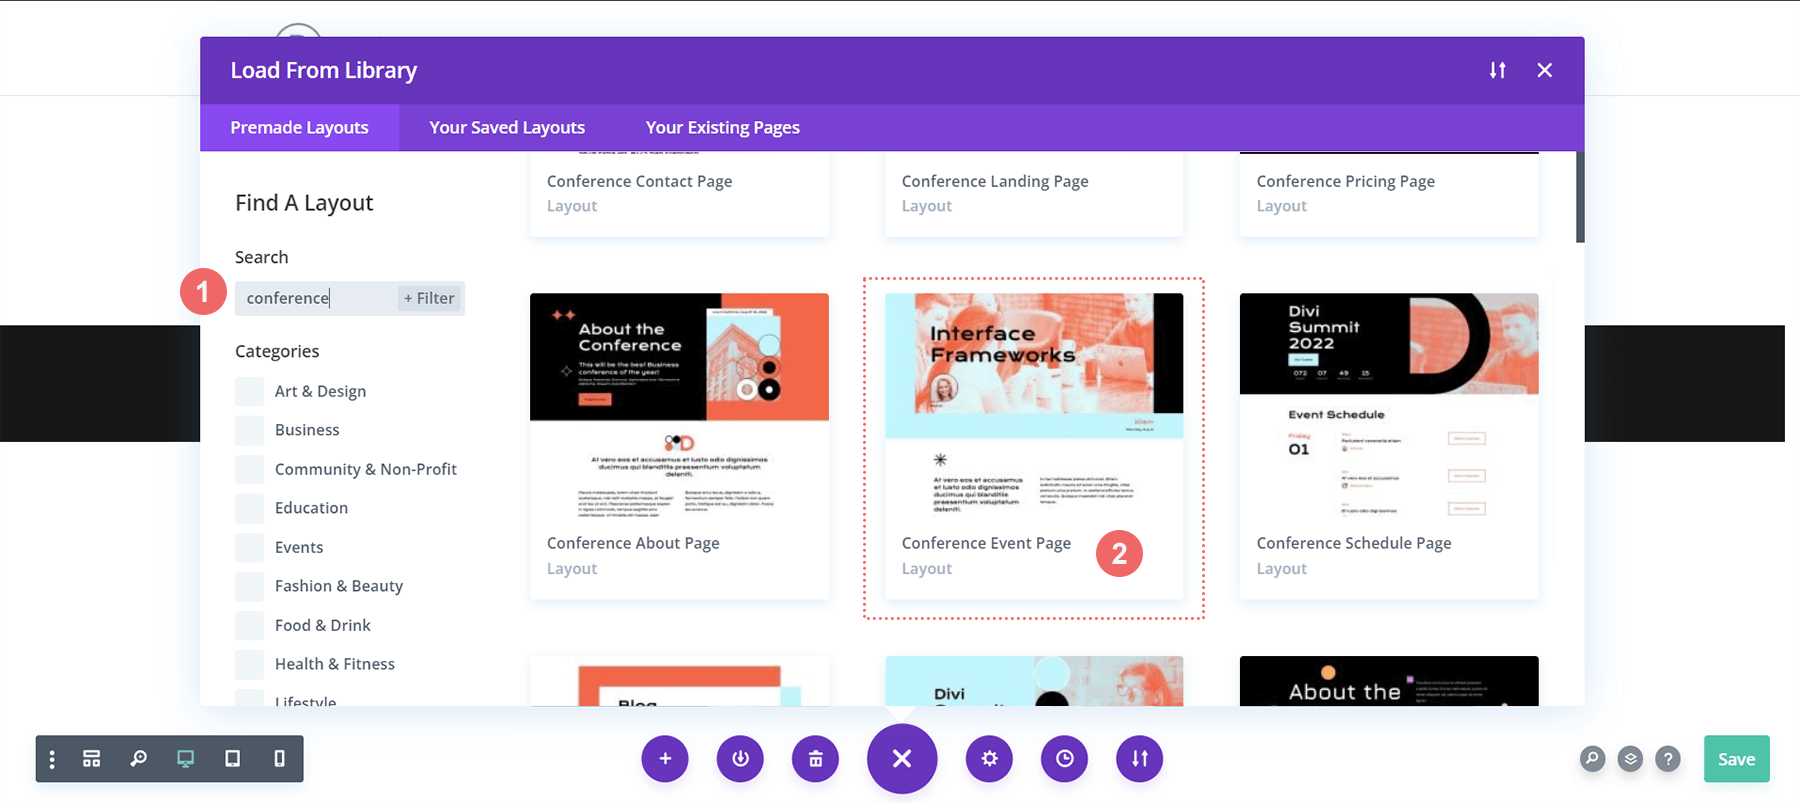
Install the Layout
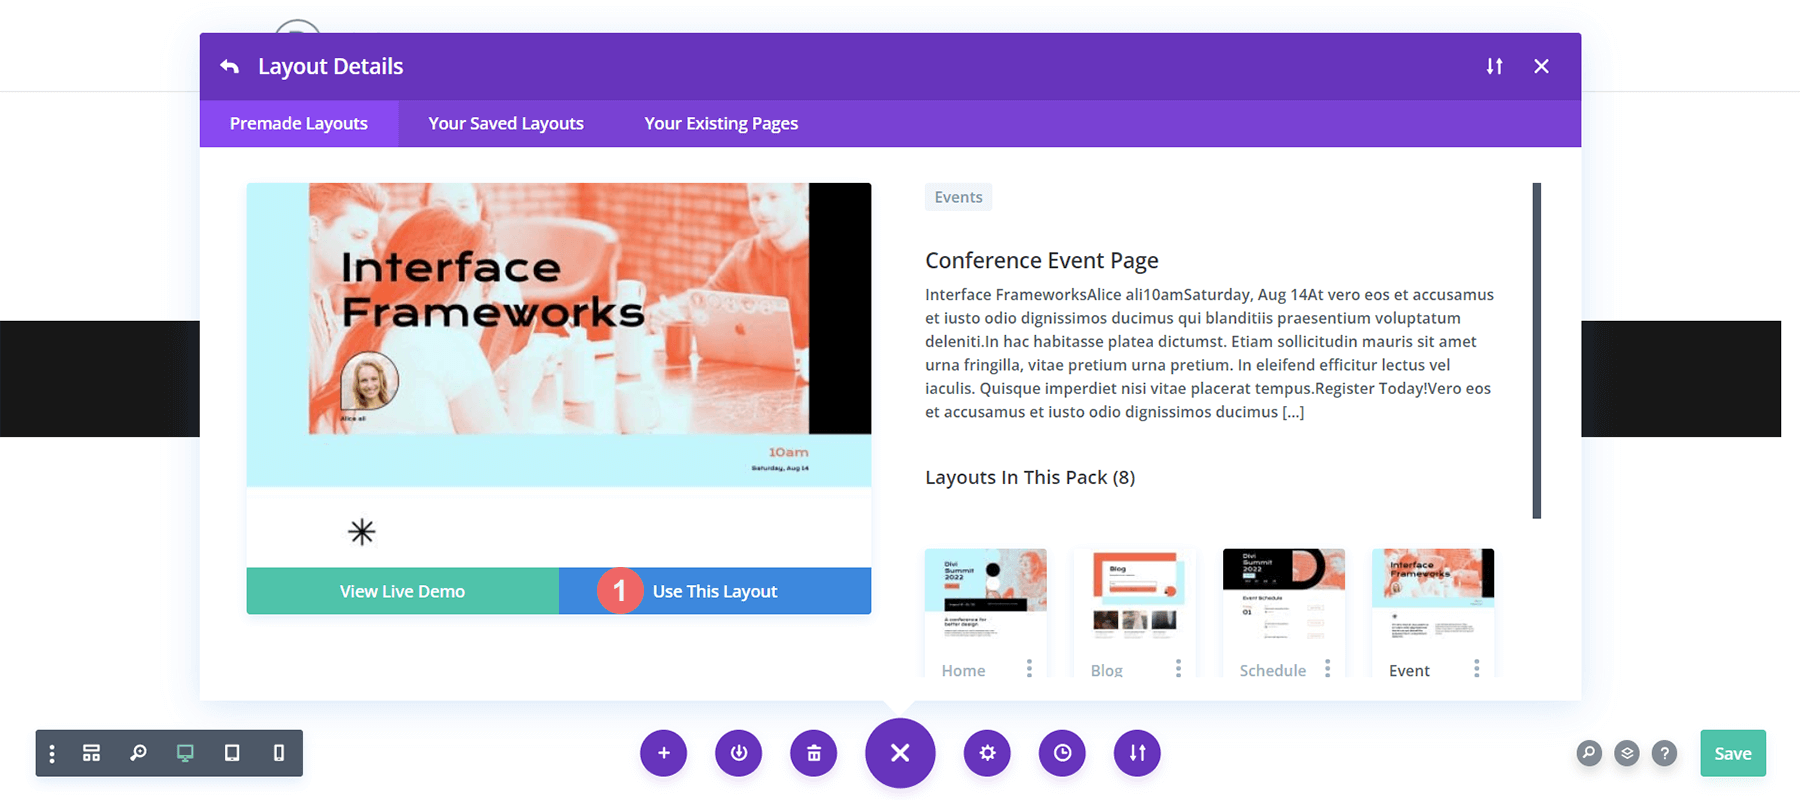
Once you have selected the layout, click the Use This Layout button to install the layout into your page.
Remove and Replace Image Module
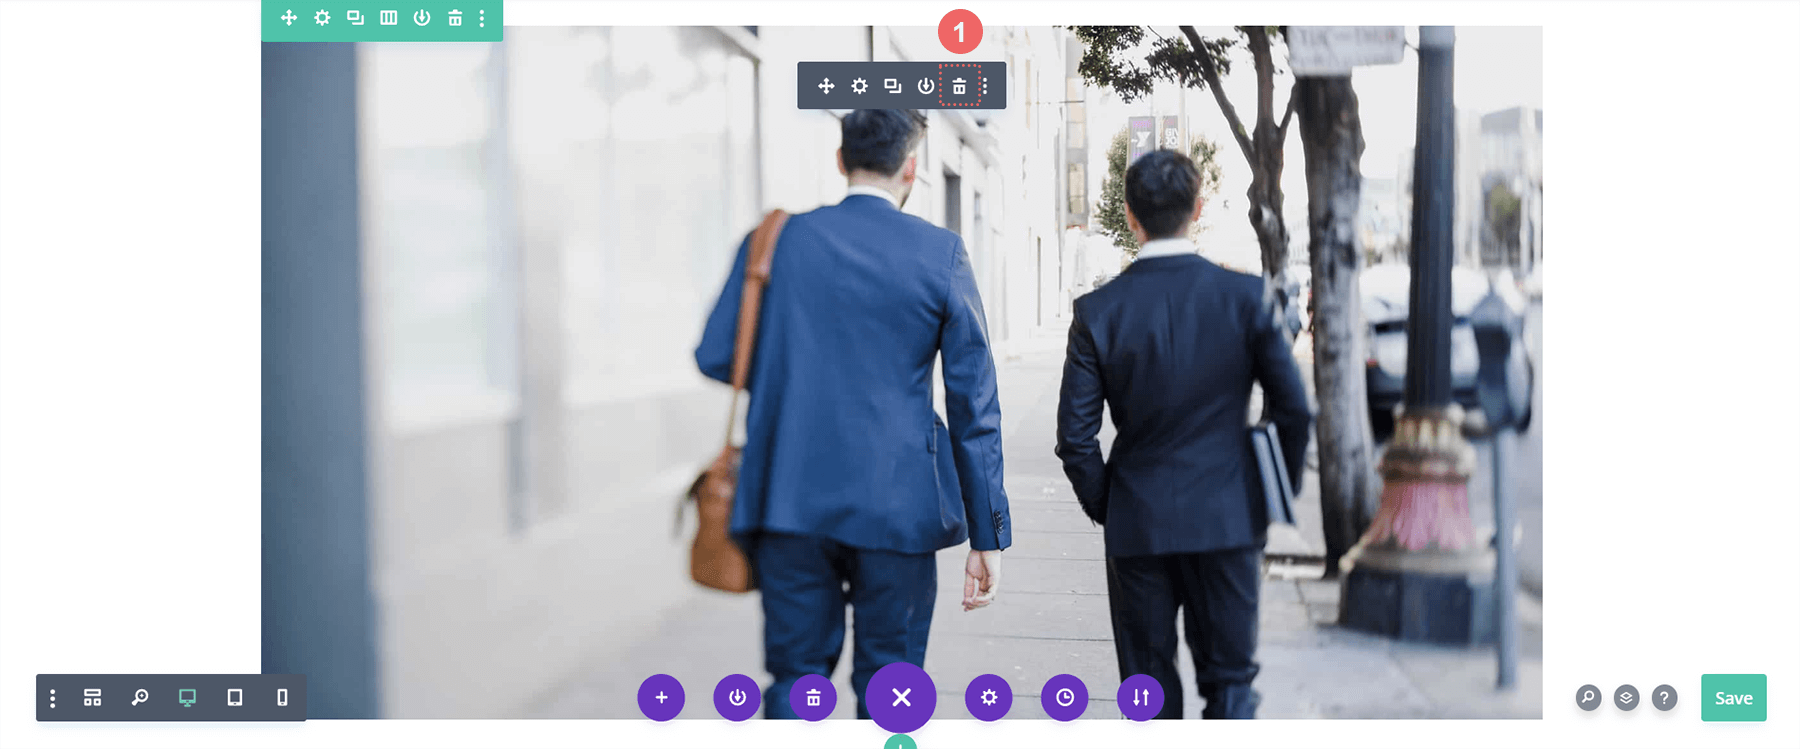
We’re going to remove the Image Module pictured below to make room for the Filterable Portfolio Module that we’ll be styling. Click on the Delete icon after hovering over the image to remove the photo.
Insert the Divi Filterable Portfolio Module
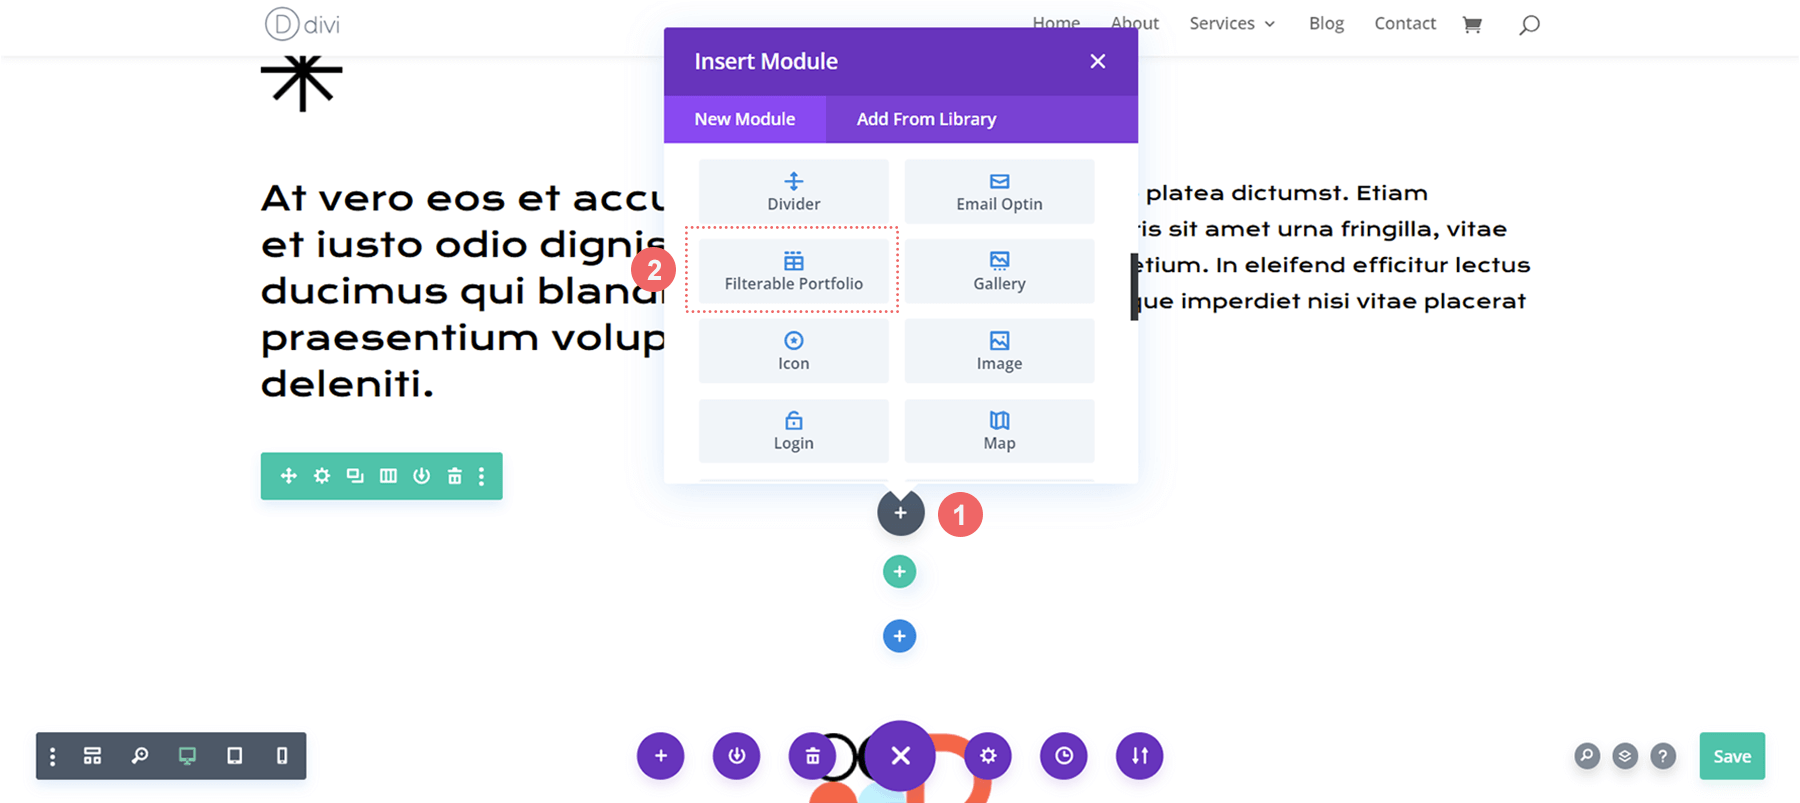
With the Image Module removed, we can now make space for our Filterable Portfolio Module. We will click on the Add Module Icon (the grey plus sign) and then select the module from the module modal box that pops up.
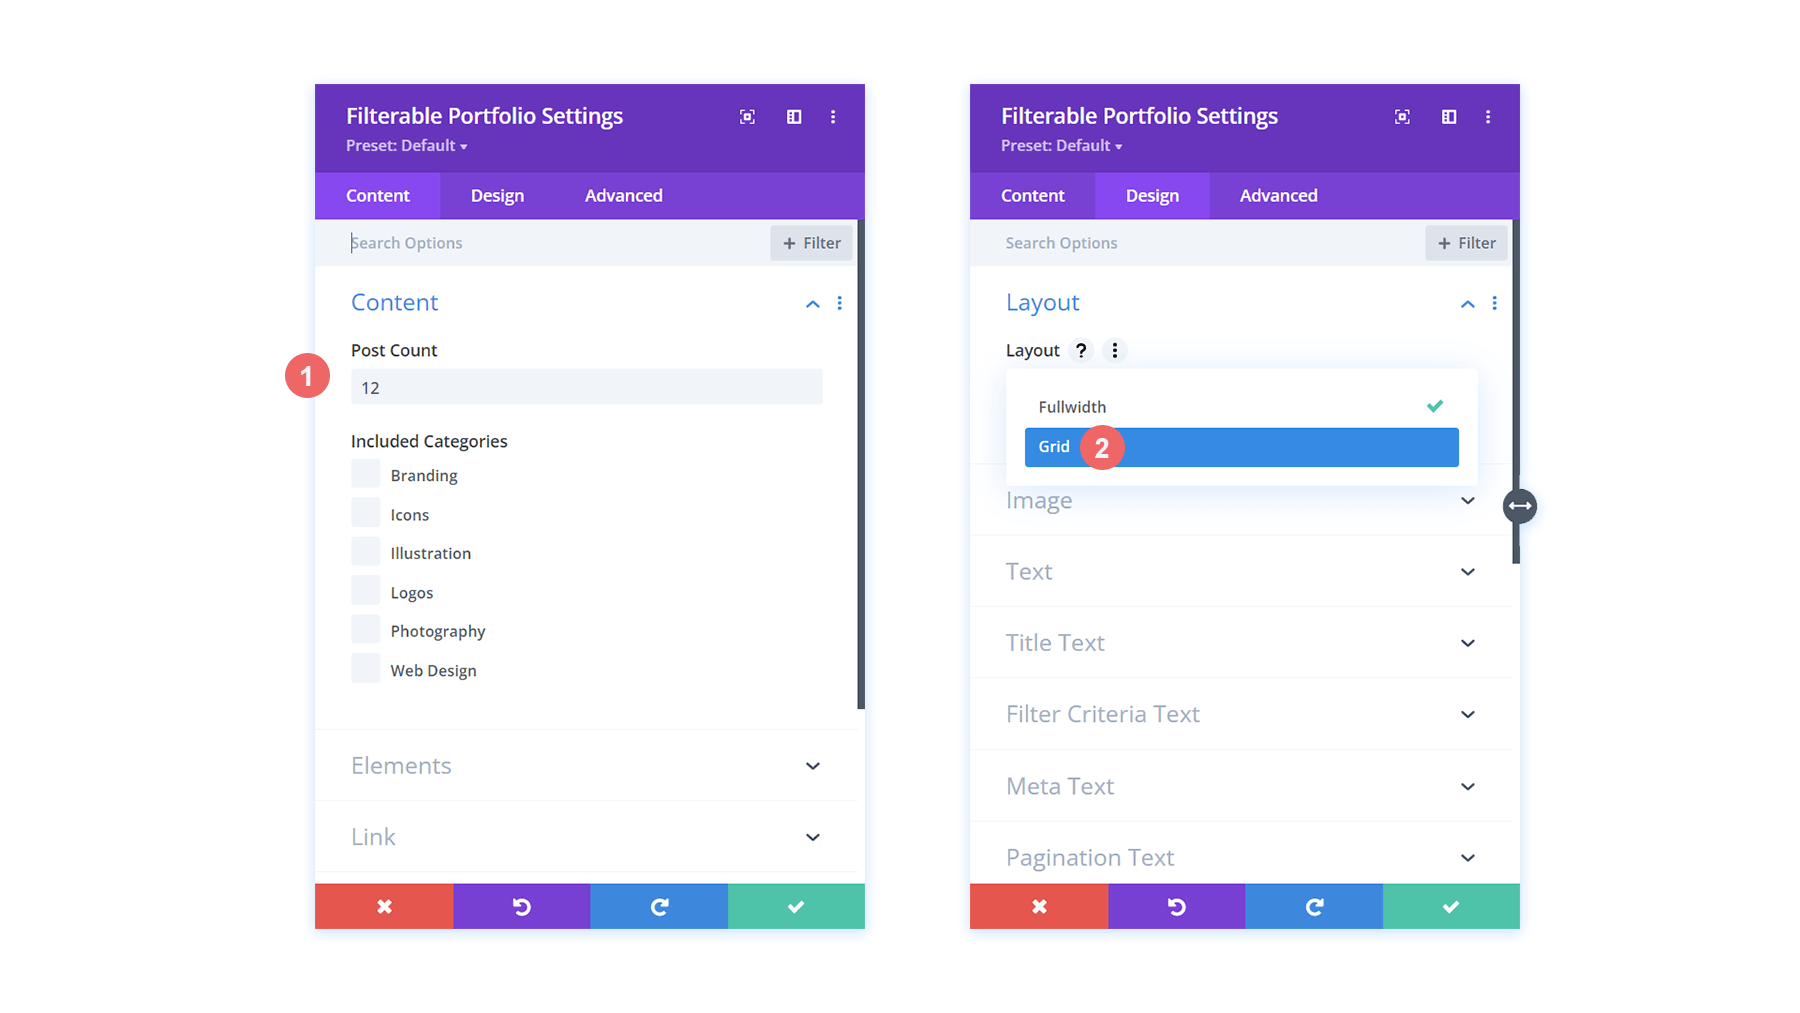
Setting the Post Count and Portfolio Layout
By default, this module will showcase your work in a one column. However, we’ll be using the Grid layout which comes by default with 4 columns. As such, we recommend choosing a number that is a multiple of 4 (4, 8, 12, 16 etc.) as the Post Count for your portfolio. For this tutorial, we’ll be using 12 projects in our grid.
Begin Styling Divi’s Filterable Portfolio: Title and Meta Text
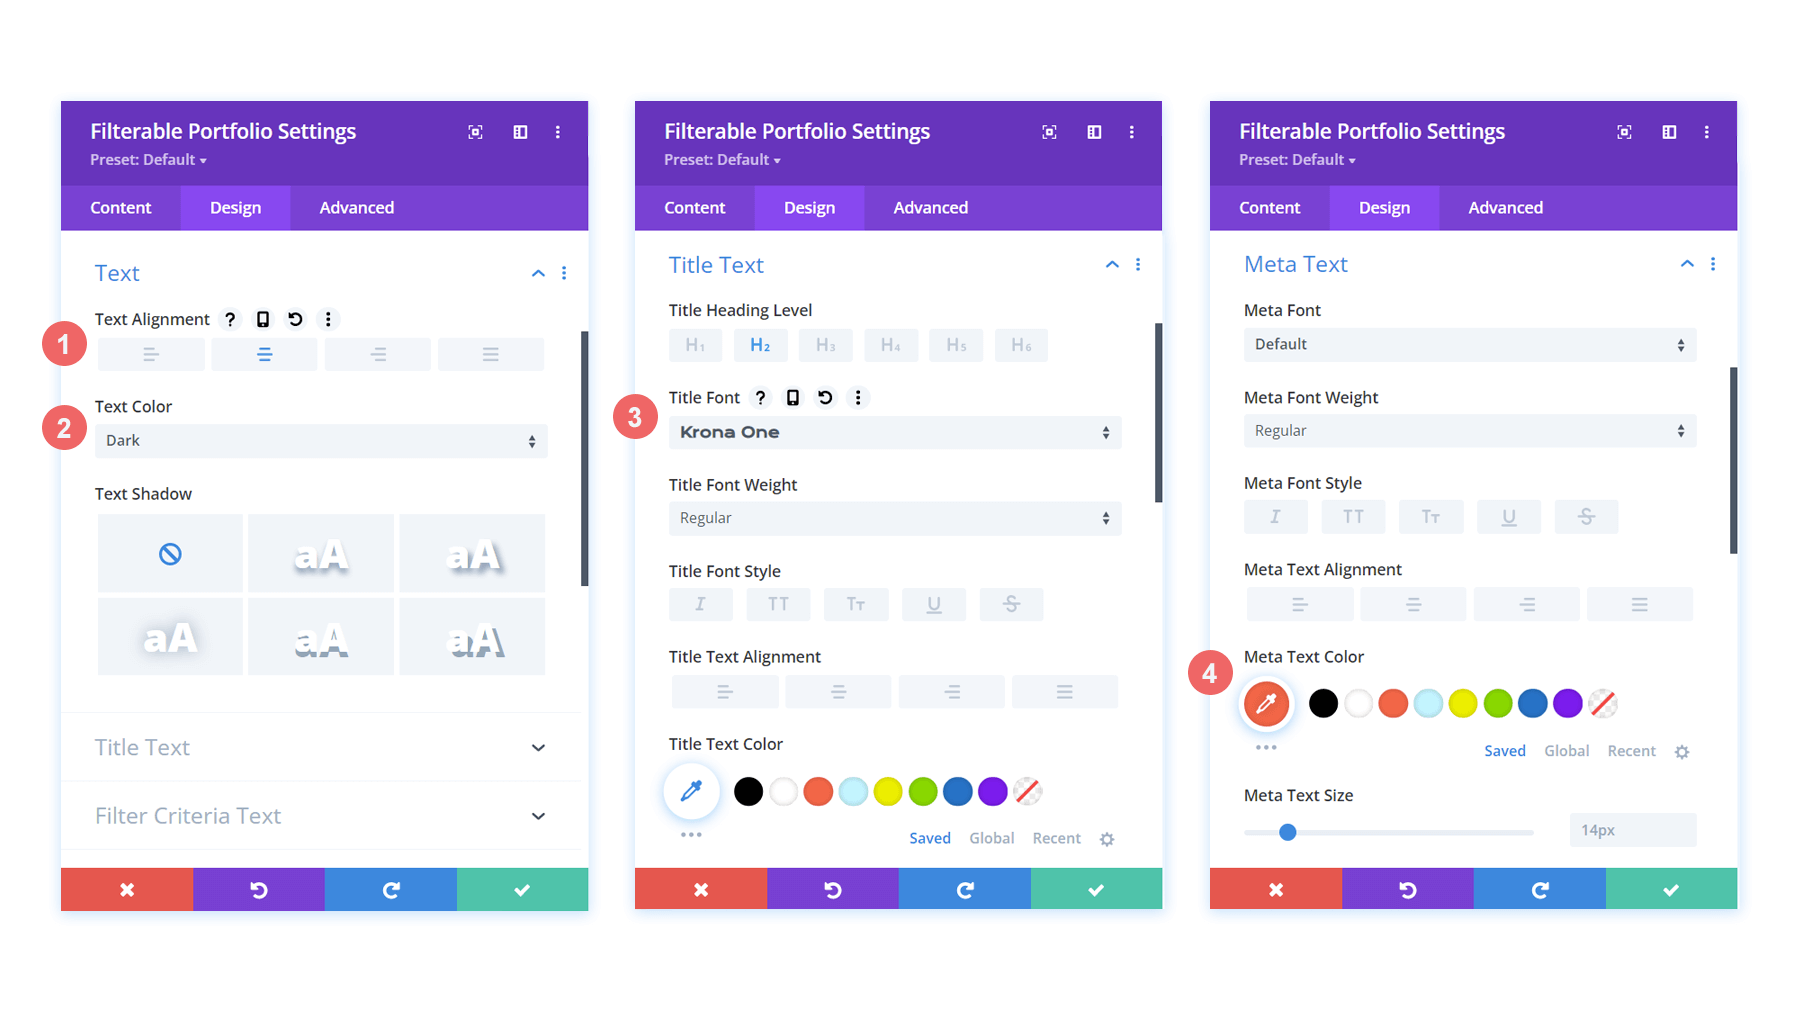
Now that we have our projects showing up as a grid, let’s tie in some of the design elements from our selected template. In this case, we’ll be using the styling that comes with the Divi Conference Layout Pack within our new module.
Text Styling
- Text Alignment: Center
- Text Color: Dark
Title Text Styling
- Title Heading Level:H2
- Title Font: Krona One
- Title Text Color: #000000
Meta Text Styling
- Meta Font: Default (Open Sans)
- Meta Text Color: #ff6651
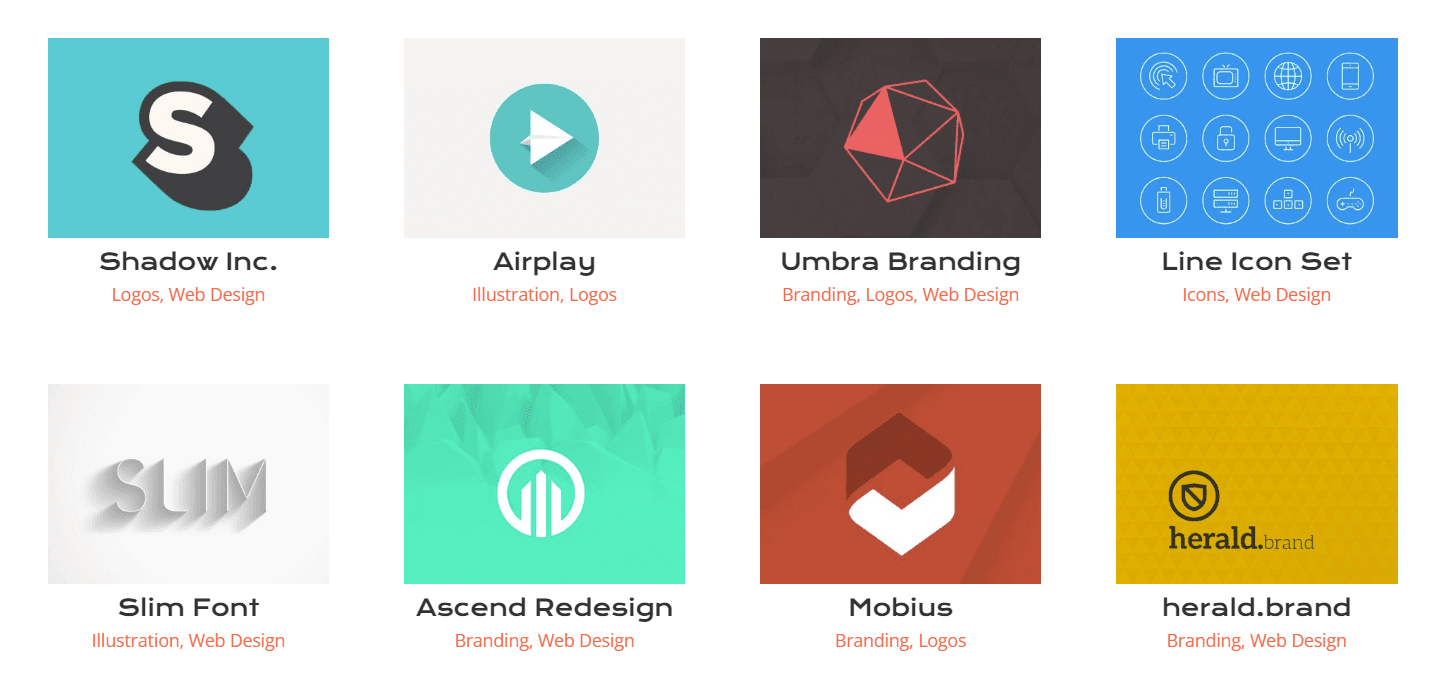
Now that we have our styling in place for the titles within the portfolio grid, let’s make some edits to the actual shape of the project thumbnails themselves.
Modify Border and Rounded Corners of Project Thumbnail
Within our Divi Conference Layout Pack, we are using a unique combination of rounded corners to give a unique shape to some of the key images within the pack. Let’s apply this styling to the thumbnails of our module.
Image
- Image Rounded Corners: 50px 50px 50px 0px
- Image Border Styles: All
- Image Border Width: 3px
- Image Border Color: #000000
- Image Border Style: Solid
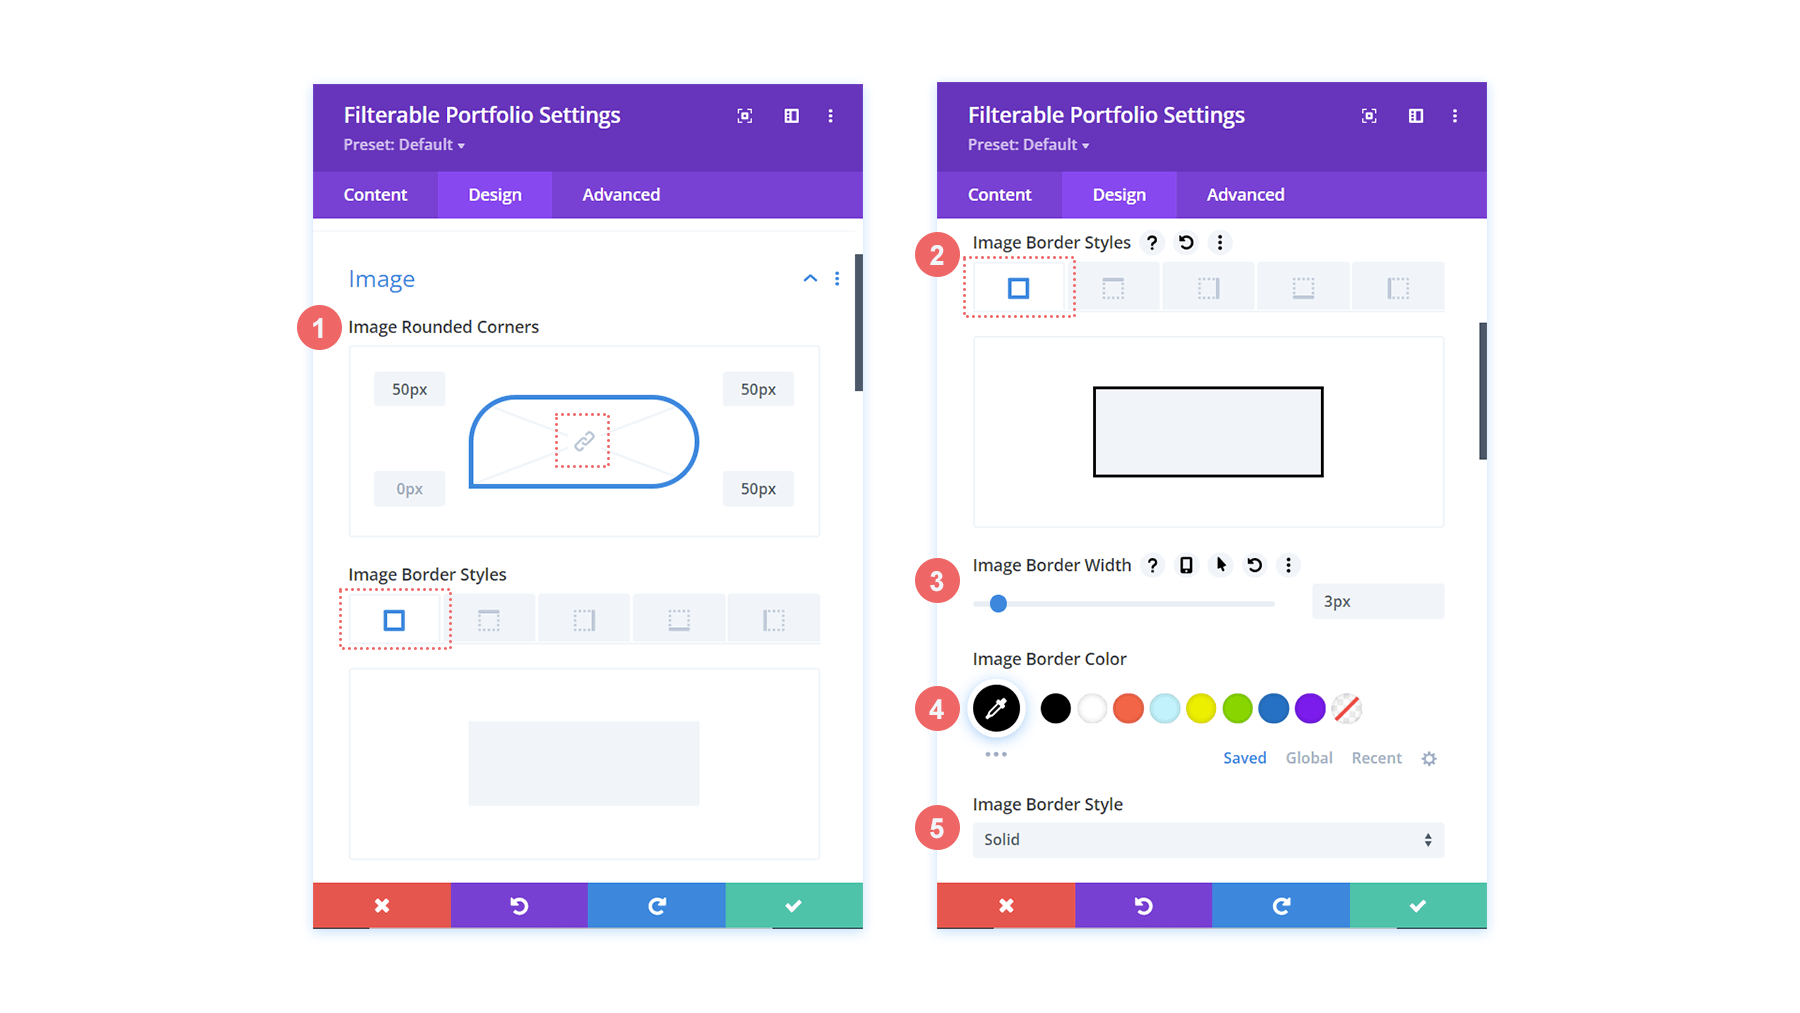
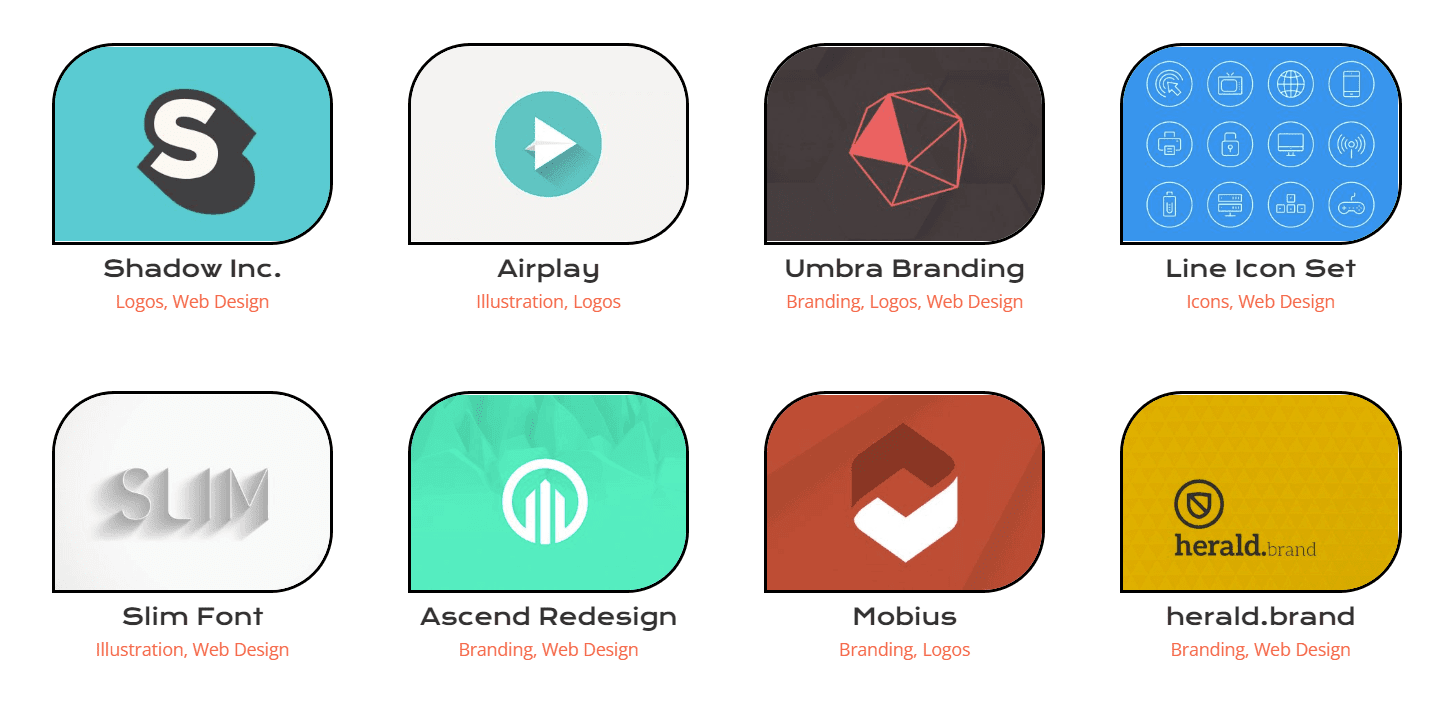
This will cause our thumbnails to have a shape that matches the rest of the other images throughout the layout pack.
Customizing the Hover Overlay
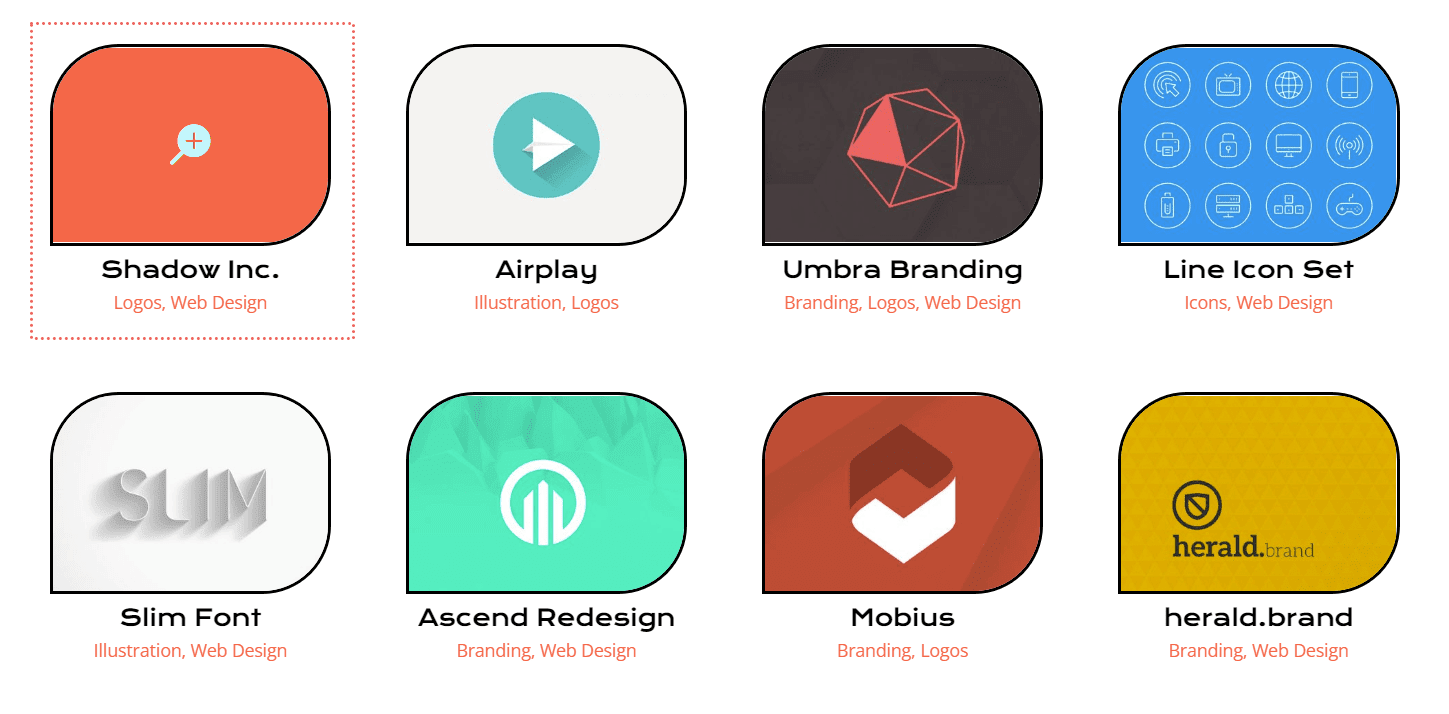
Let’s go a step further with our styling and make a slight edit to the overlay that comes by default with this module. We’re going to change the color as well as the icon that’s used right out of the box.
Overlay
- Zoom Icon Color: #bcf5fd
- Hover Overlay Color: #ff6651
- Hover Icon Picker: Zoom
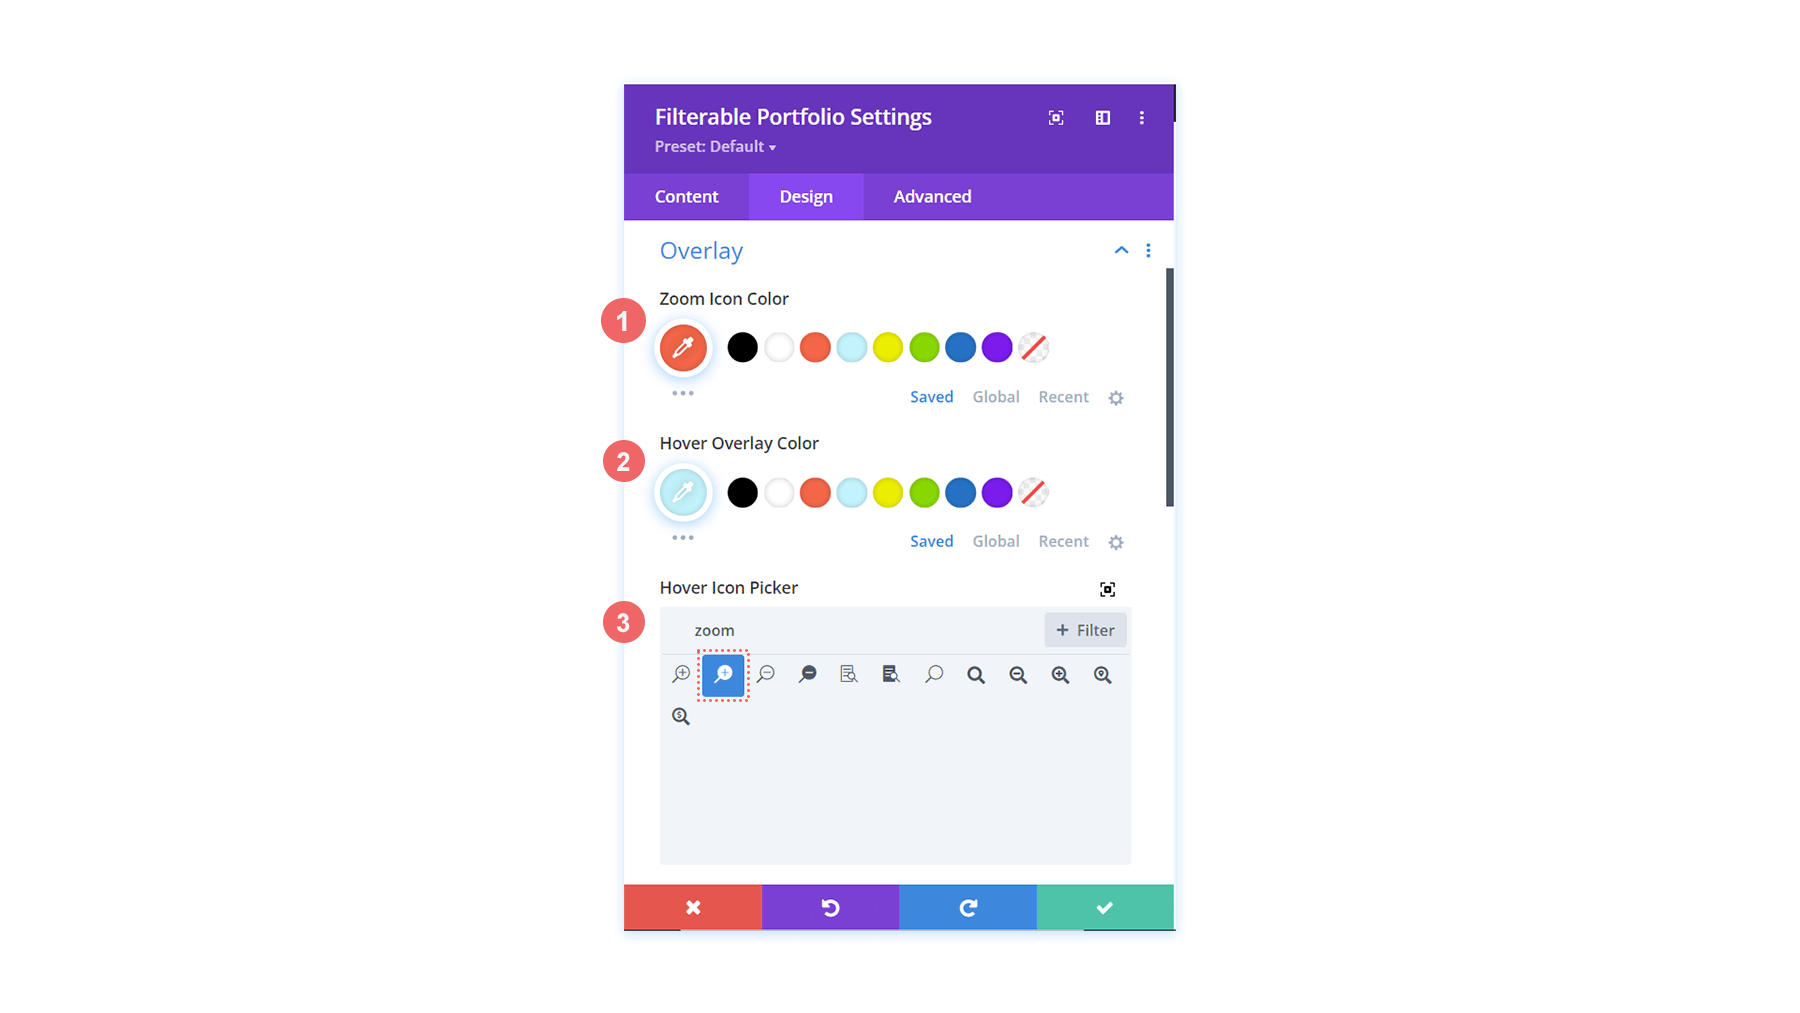
As you can now see, we’ve added the brand colors of this layout into the overlay, as well as changed the icon that Divi provides by default for this module’s hover overlay feature.
Styling the Pagination
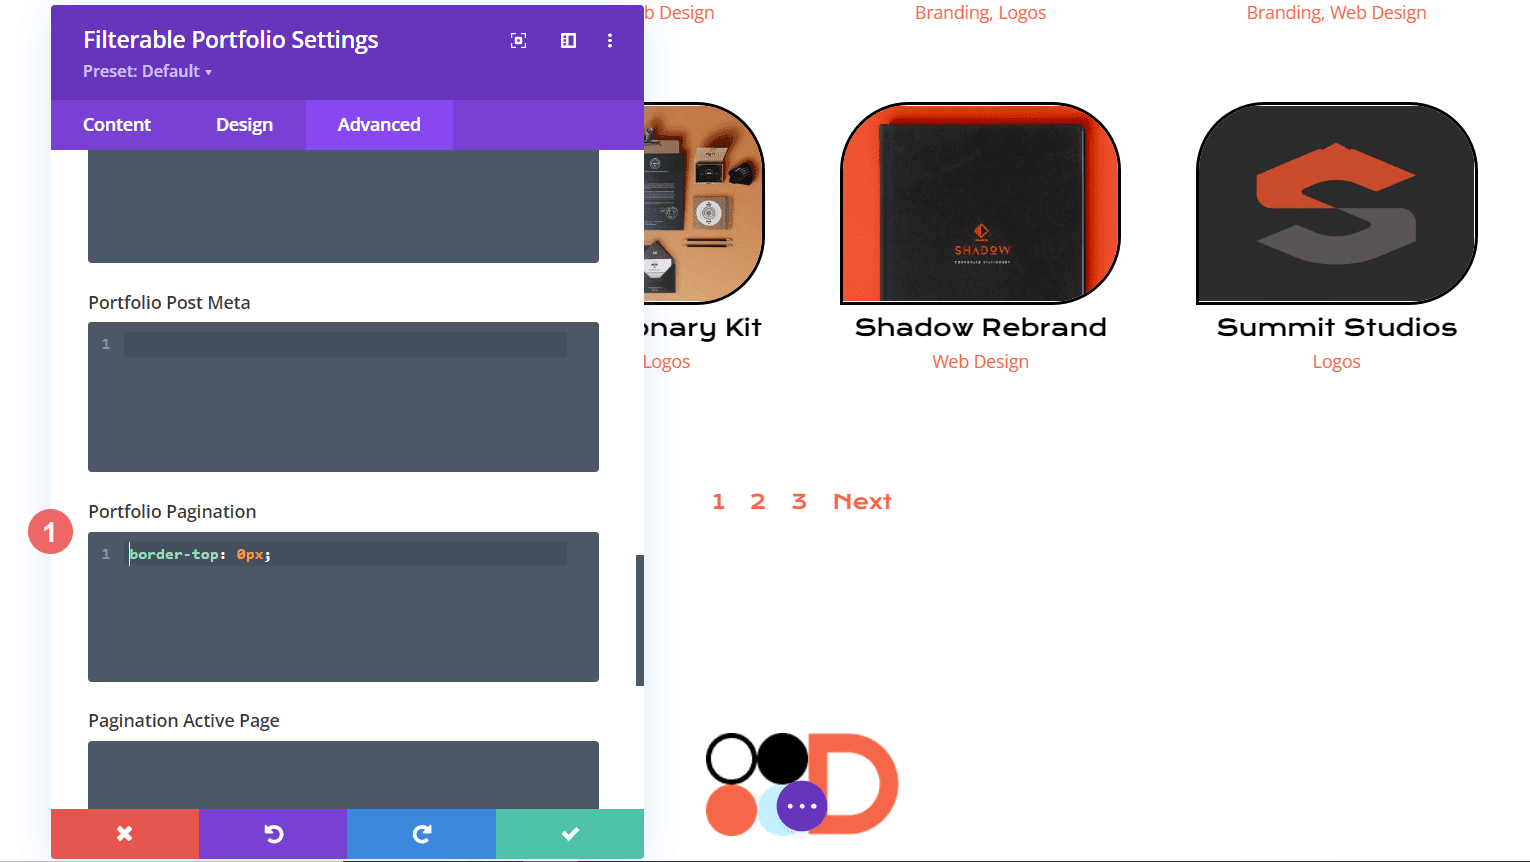
We’re now going to start using small snippets of CSS to add some further customization to our Filterable Portfolio Module. Firstly, we’re going to style the pagination of this module. Next, we’re going to remove the border that appears above with a single line of CSS
Pagination Text
- Pagination Font: Krona One
- Pagination Text Alignment: Center
- Pagination Text Color: #ff6651
- Pagination Text Color (Hover): #000000
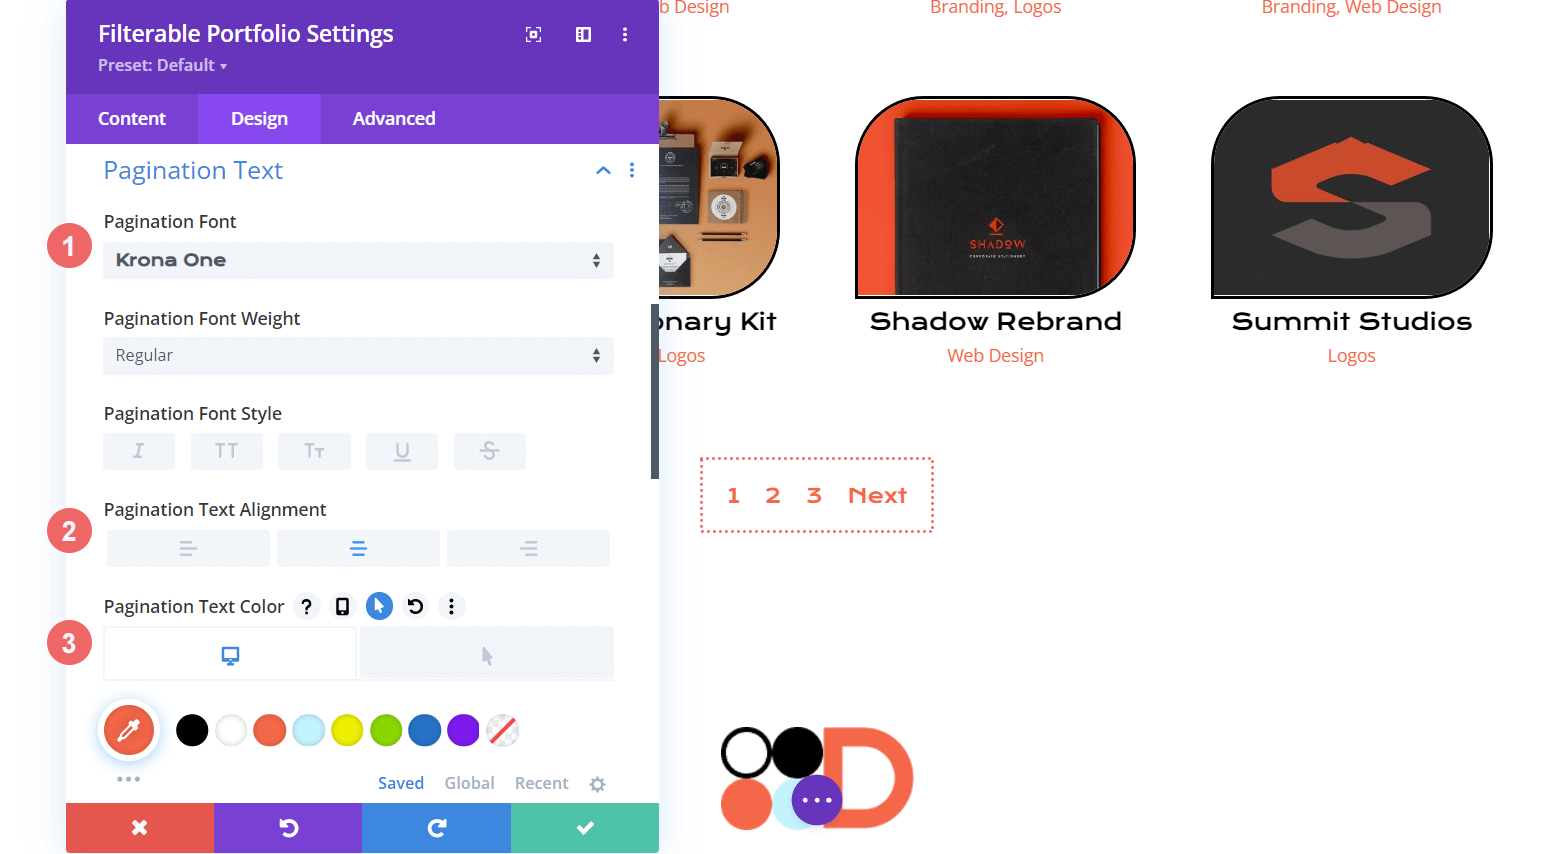
For our CSS, we will be moving to the Advanced tab of our module. Secondly, we will click on the Custom CSS tab. Next, we will enter in the following code snippet to remove he border on top of our pagination, giving it a cleaner look.
Portfolio Pagination
border-top: 0px;
Using Custom CSS & Divi Settings to Style the Filter Text
For the Filter Text, we’ll be taking things up a notch. We are going to use CSS to change the background as well as the hover effects. We want to have a close seamlessness between the newly added module and the styling of the layout pack. First, let’s enter in our Divi settings for the font.
Filter Criteria Text
- Filter Criteria Font: Krona One
- Filter Criteria Text Color: #ffffff
- Filter Criteria Text Color (Hover): #000000
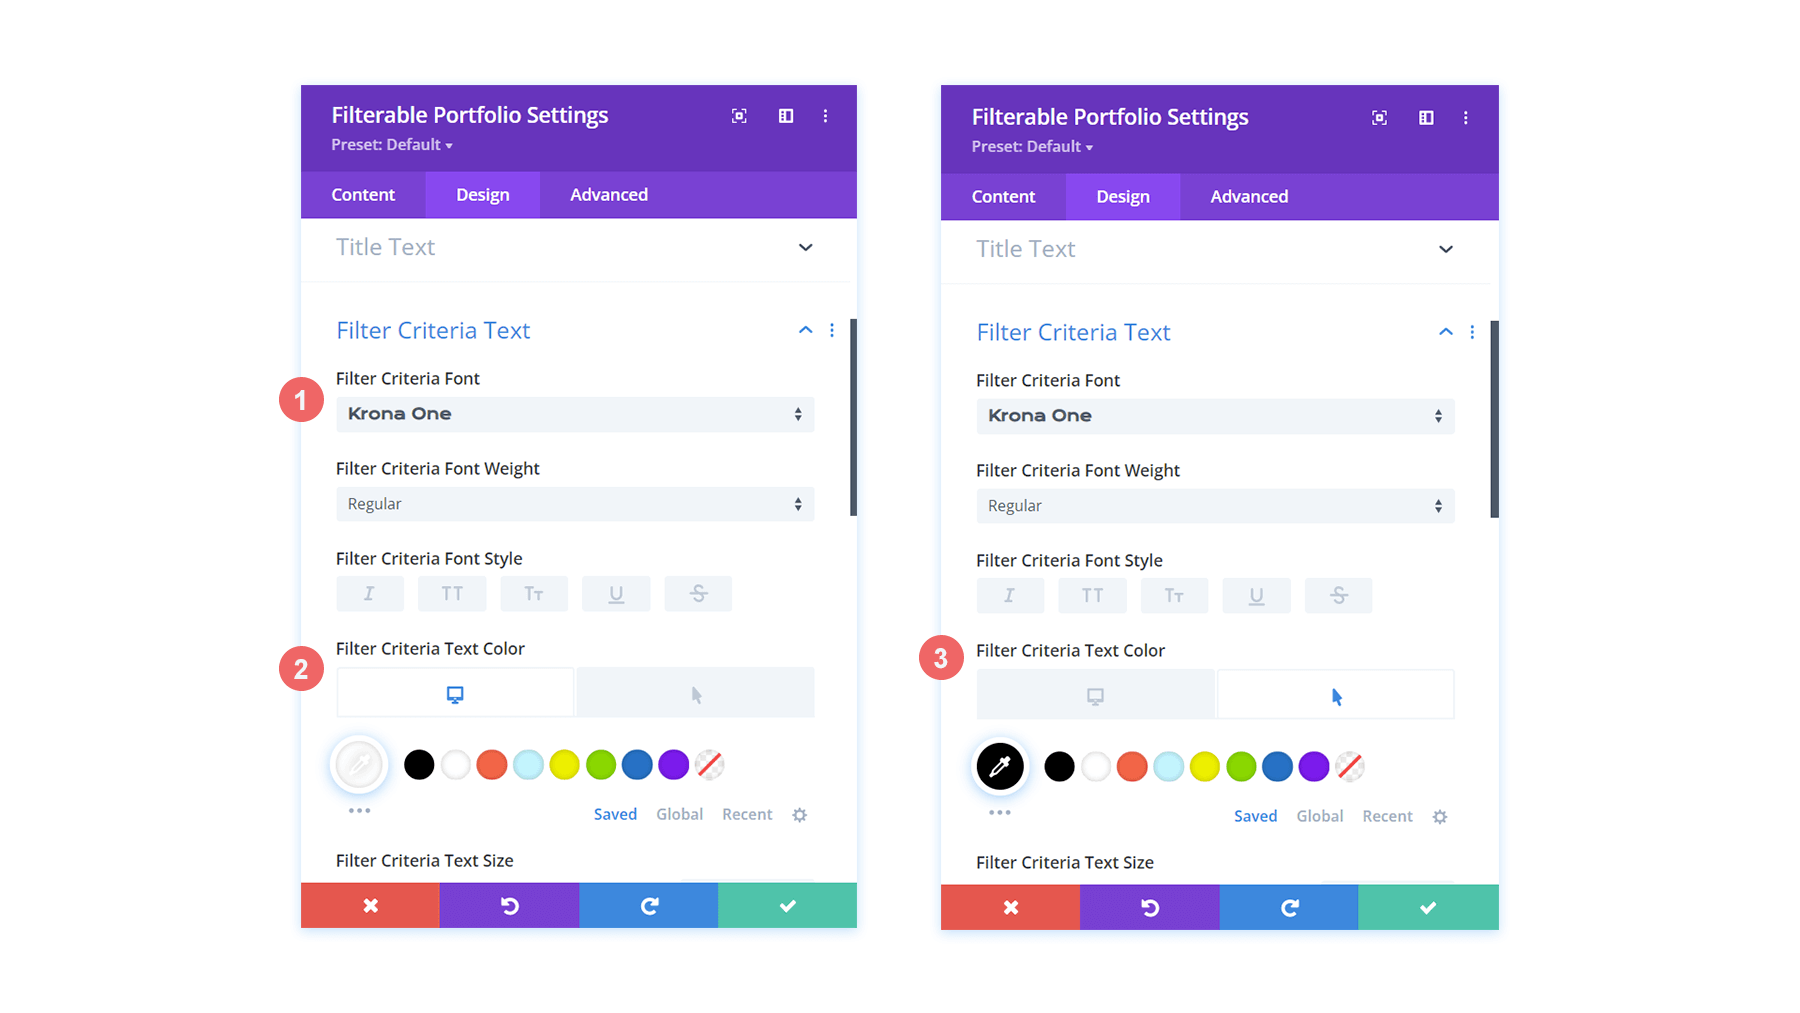
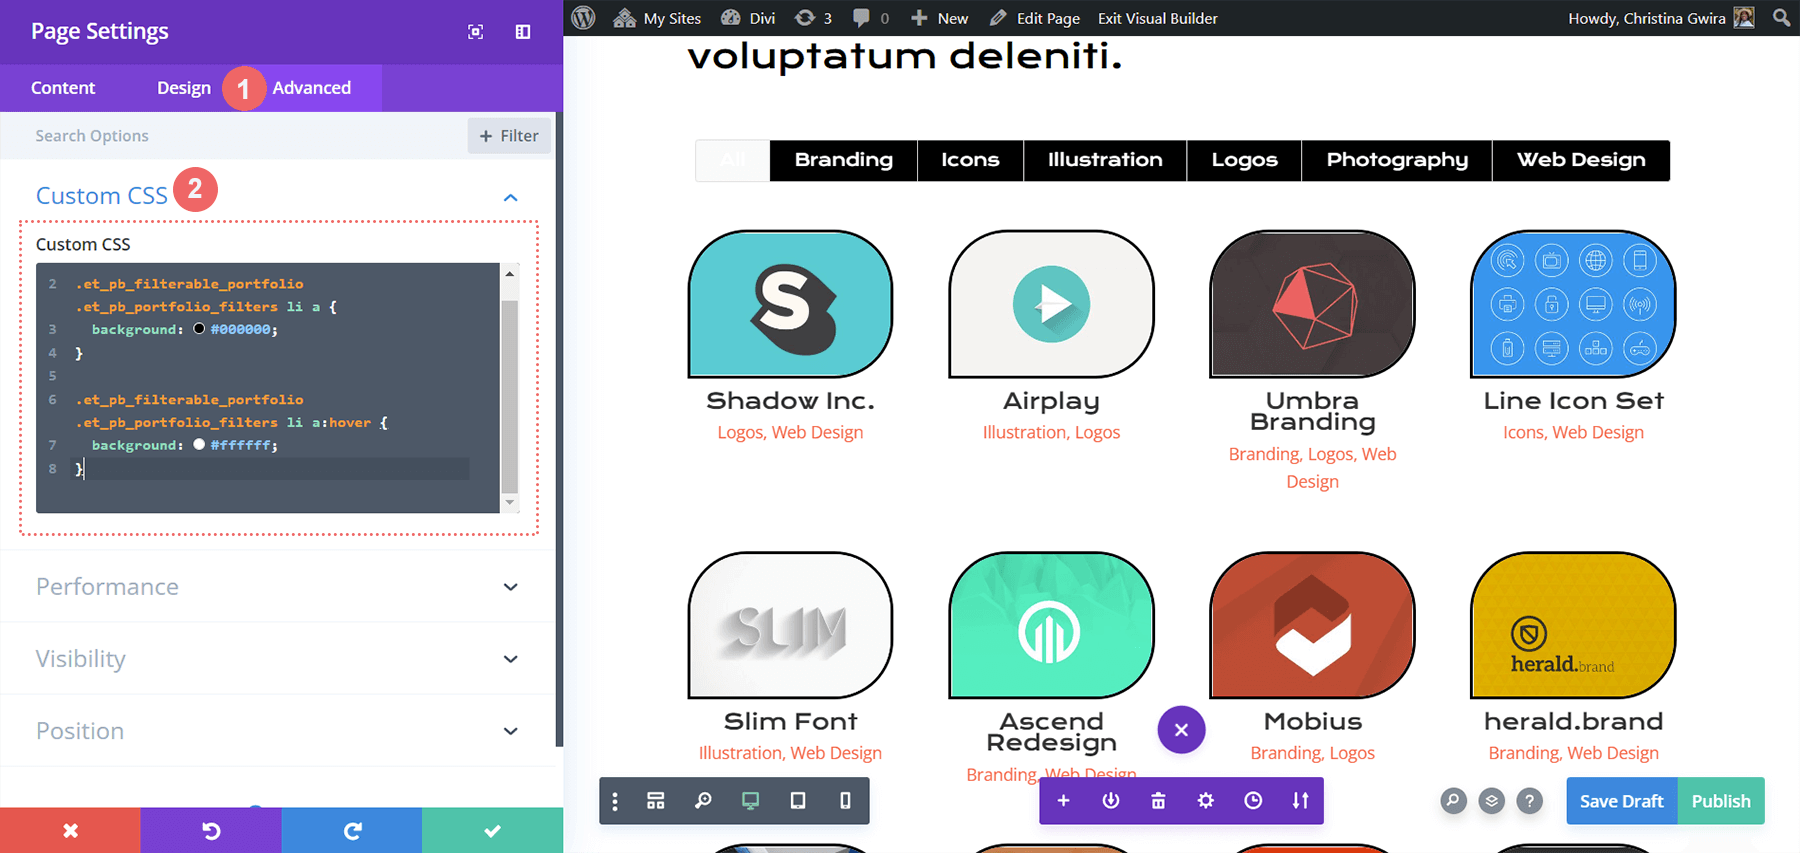
As it currently stands, our filter appears to have disappeared. This is because in its default state, it is white text on a white background. However, we’re going to change that with some custom CSS in two places. Firstly, we’re going to add a snippet of CSS within the Page Settings that’ll add a background to the filter text. Secondly, we’ll style the Active Portfolio Filter using the Advanced tab of the module.
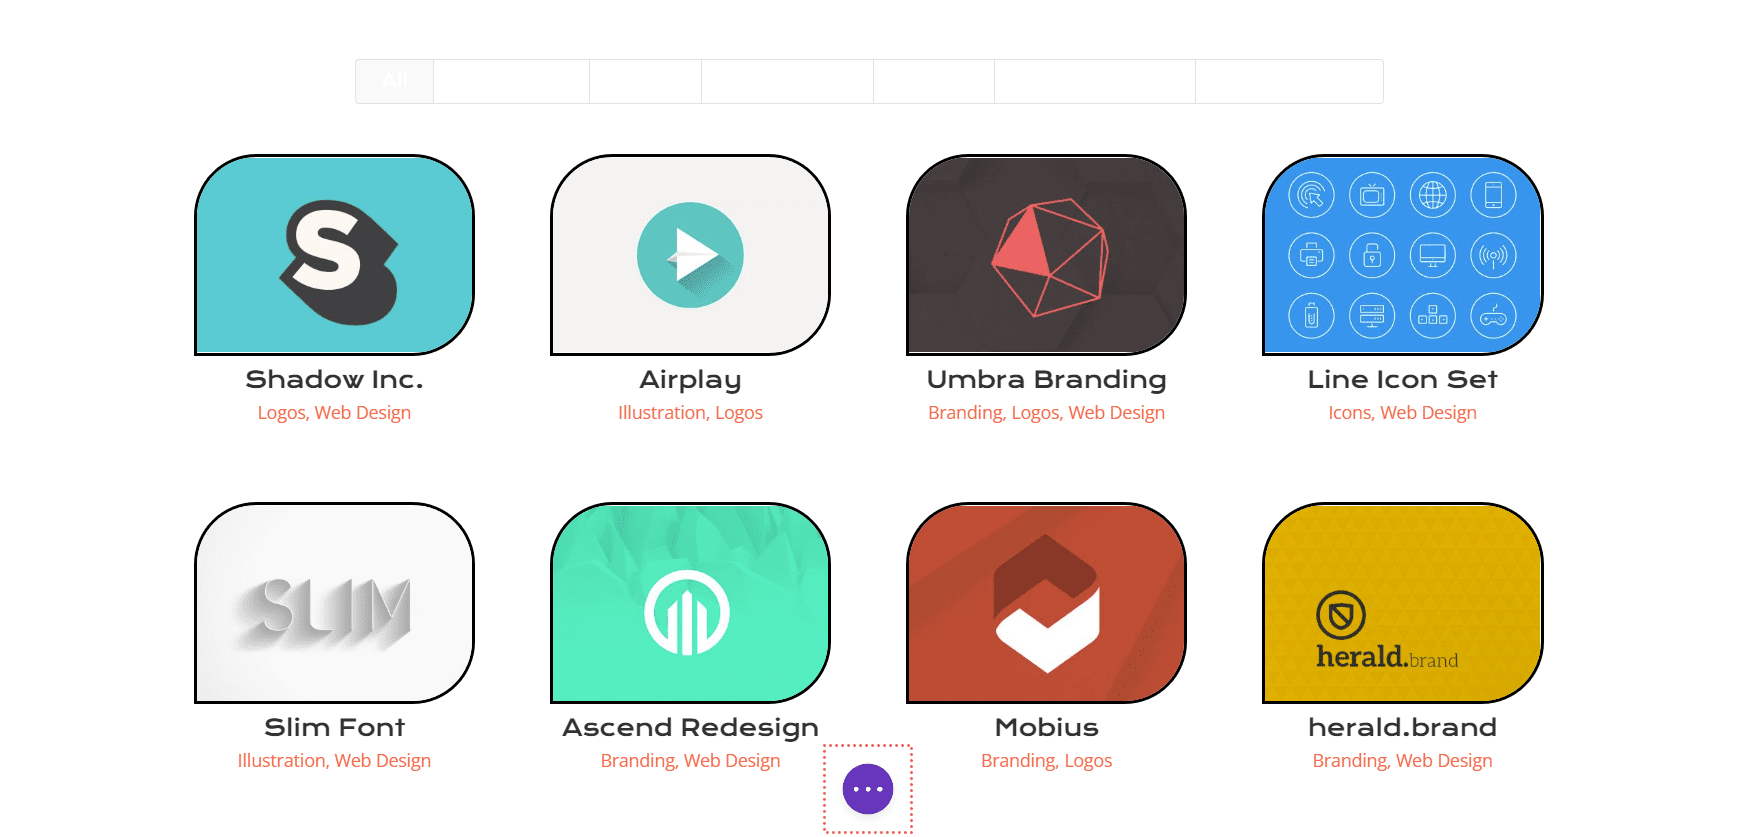
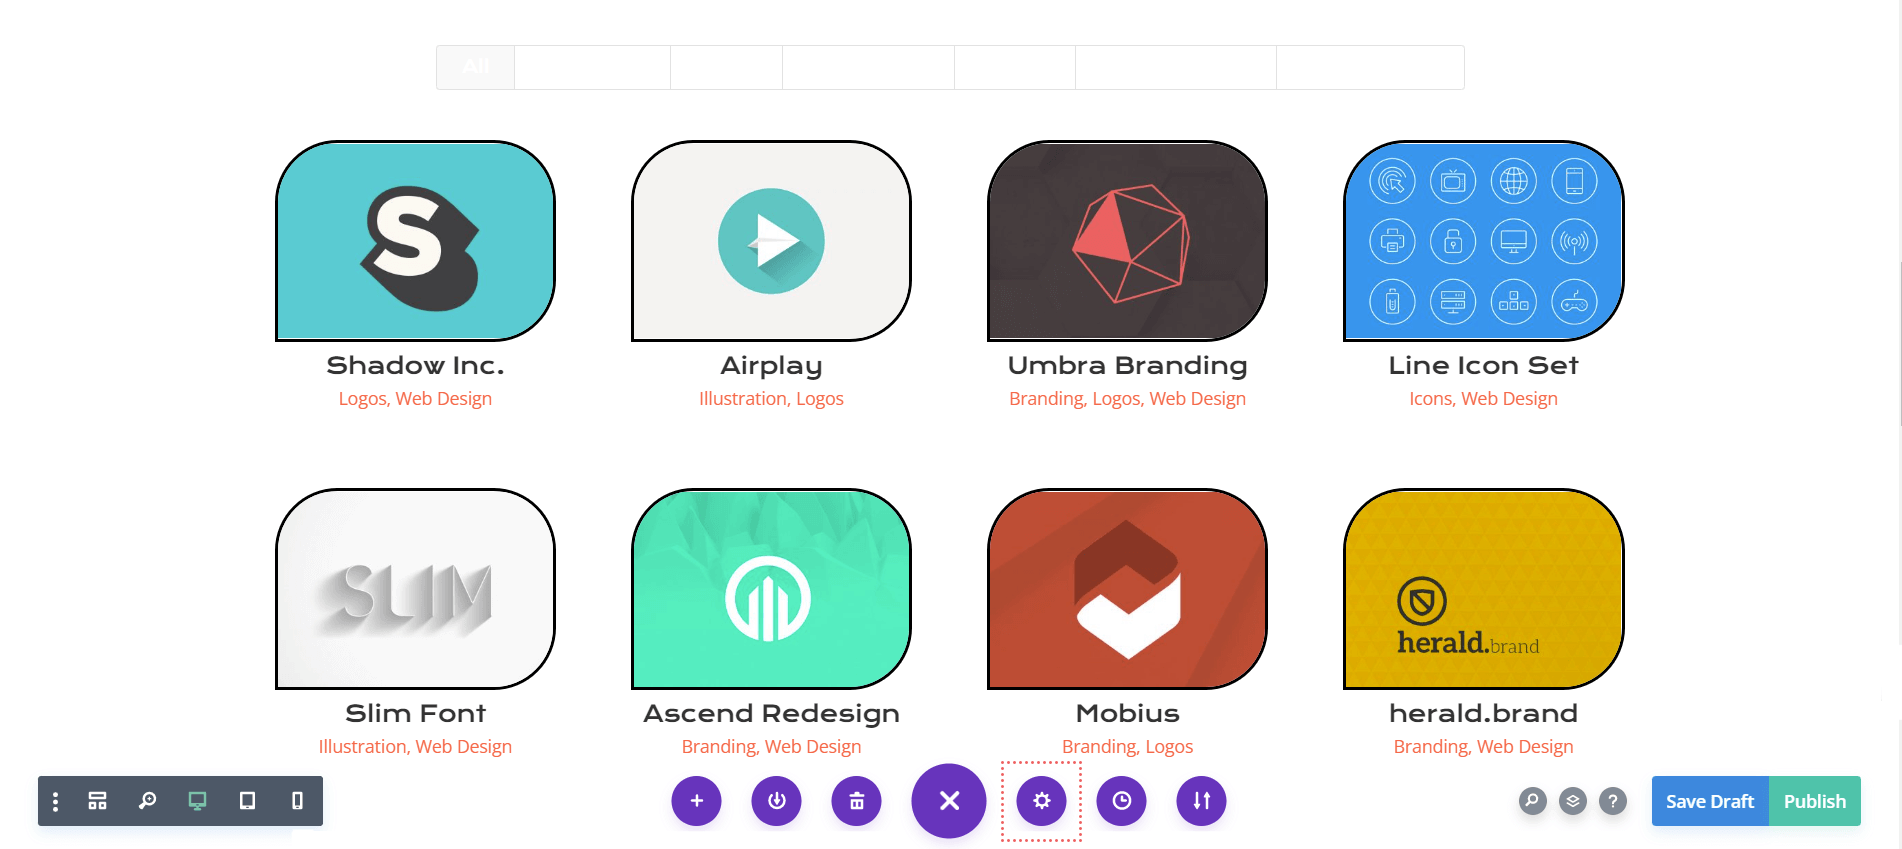
To access the Page Settings, click on the three dots on the middle of the screen. Then, select the gear icon which will open up the Page Settings. Next, you will navigate to the Custom CSS tab, and enter in the following to add a background to the Filter Text.
Custom CSS
In this CSS snippet, we are targeting the background color of the filter. We are also targeting and styling its hover state. Next on the agenda, let’s add a bit more CSS to the module and showcase our Active Filter tab more prominently.
/* Change background color of filters */
.et_pb_filterable_portfolio .et_pb_portfolio_filters li a {
background: #000000;
}
.et_pb_filterable_portfolio .et_pb_portfolio_filters li a:hover {
background: #ffffff;
}
Styling the Active Portfolio Filter Tab
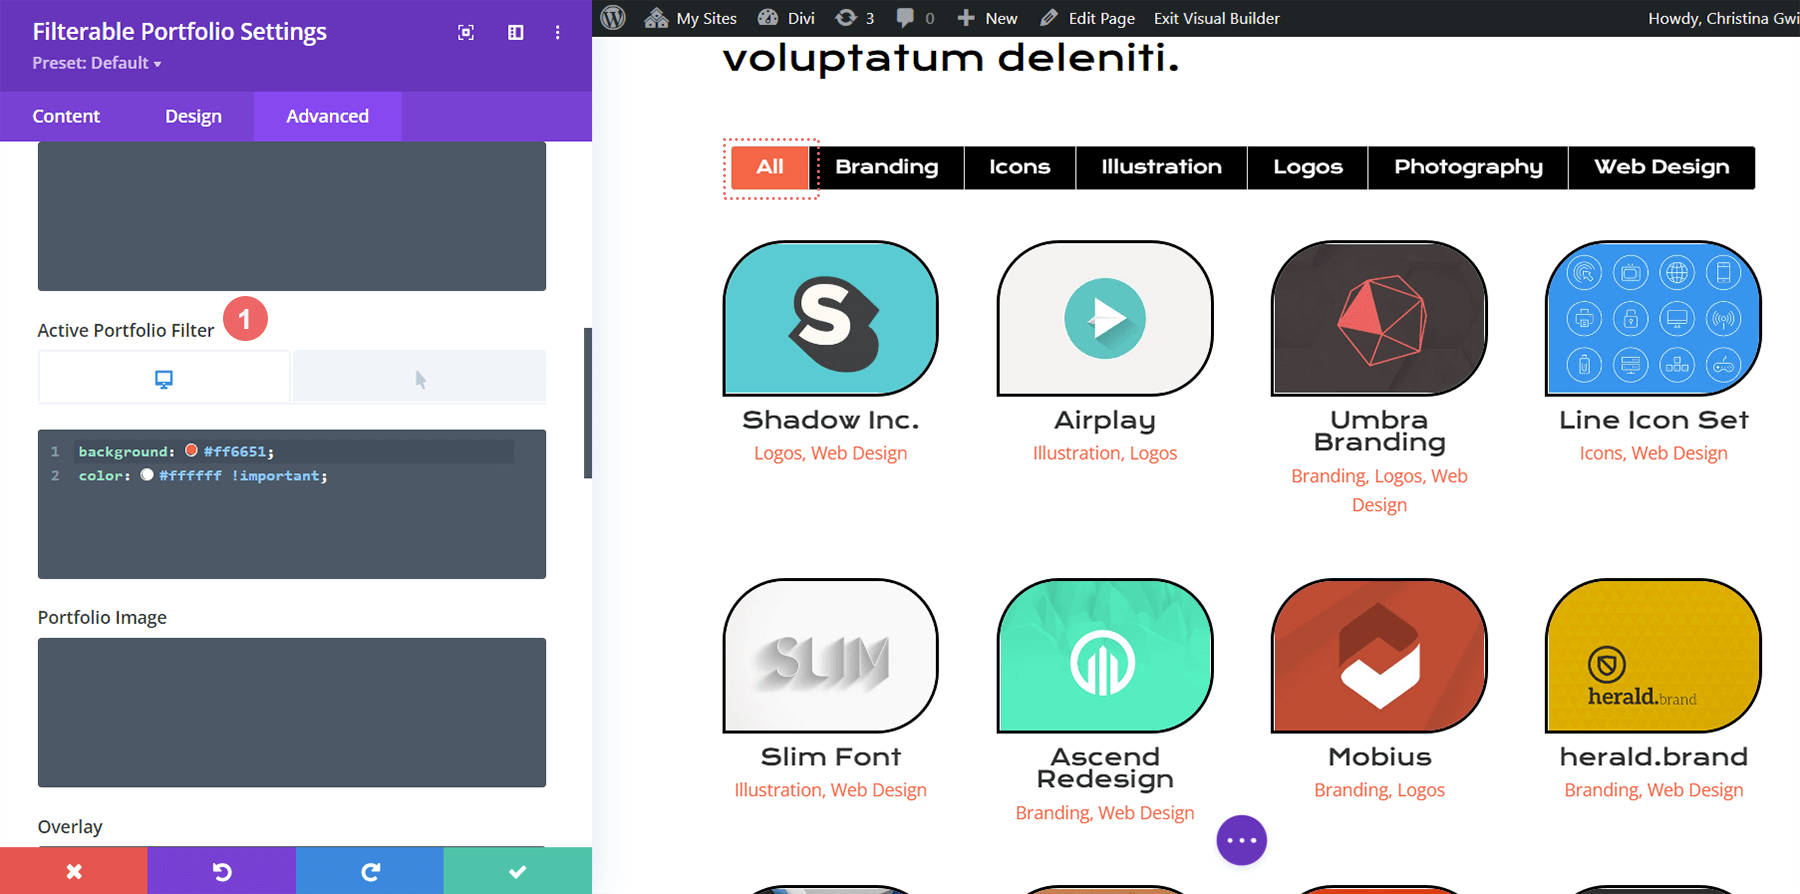
The Active Portfolio Filter Tab draws our user’s attention to the current portfolio category that they’re visiting. Right now, this filter has white text and a light background. We’re going to go into the Advanced tab of the Filterable Portfolio Module and add some text to the default and hover states of this feature. These are the CSS properties we’ll add in a default state:
background: #ff6651;
color: #ffffff !important;
Hover State
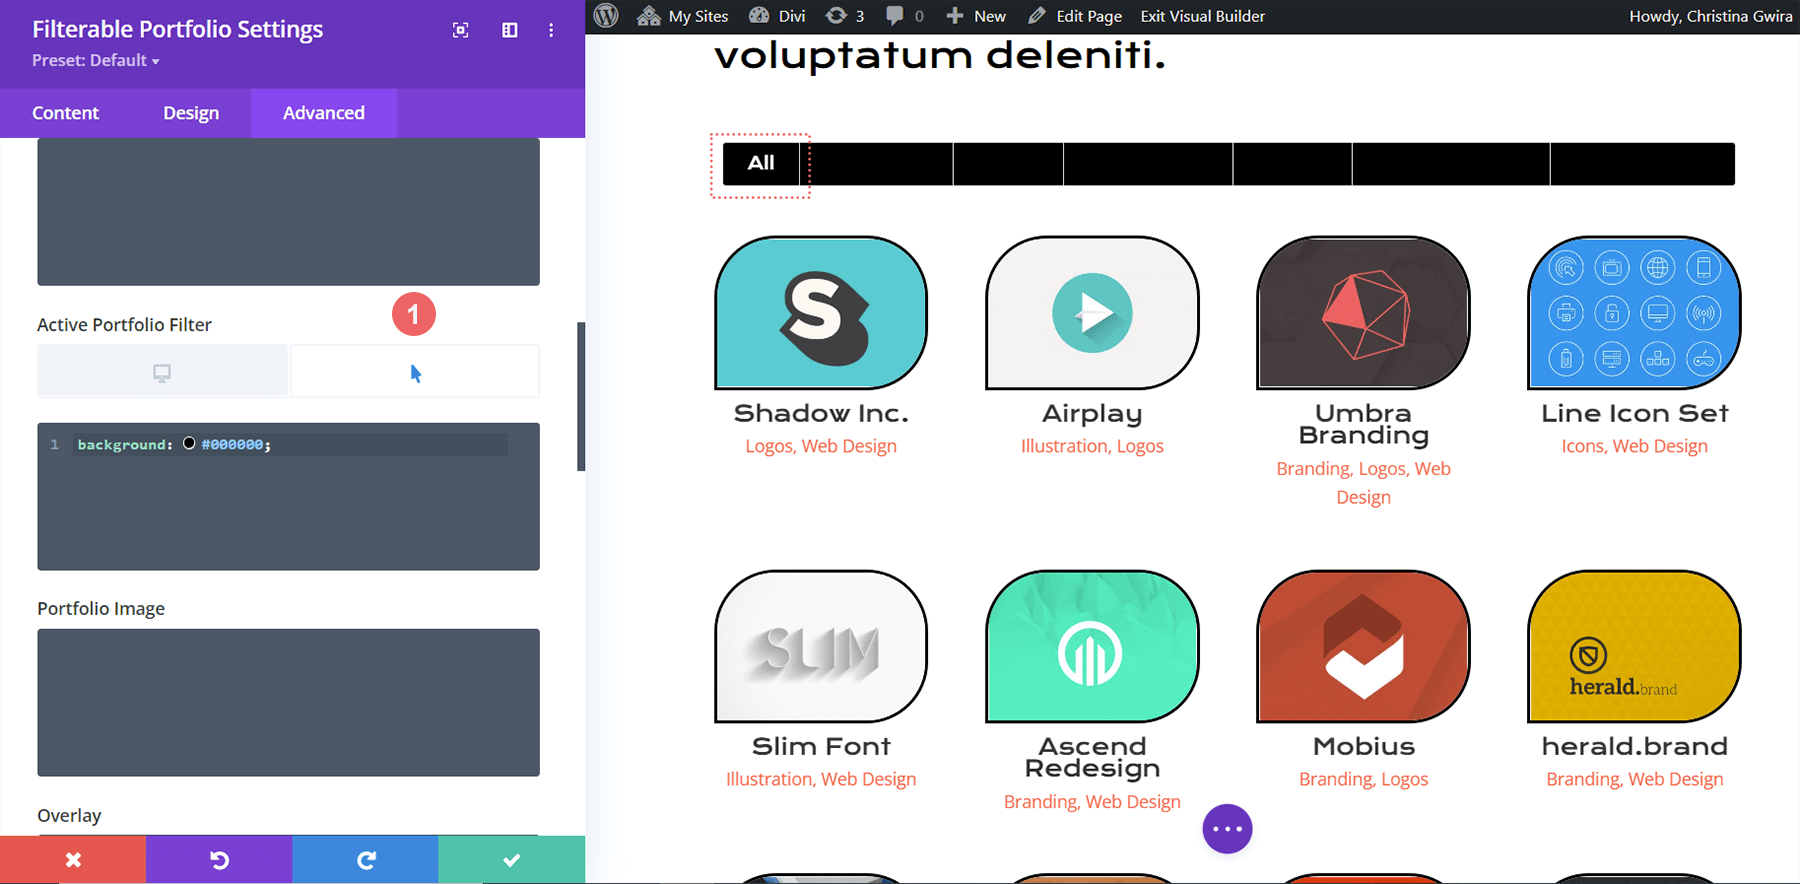
On hover, we’ll change the background to black.
color: #000000!important;
Final Look Styling Divi’s Filterable Portfolio with Divi Conference
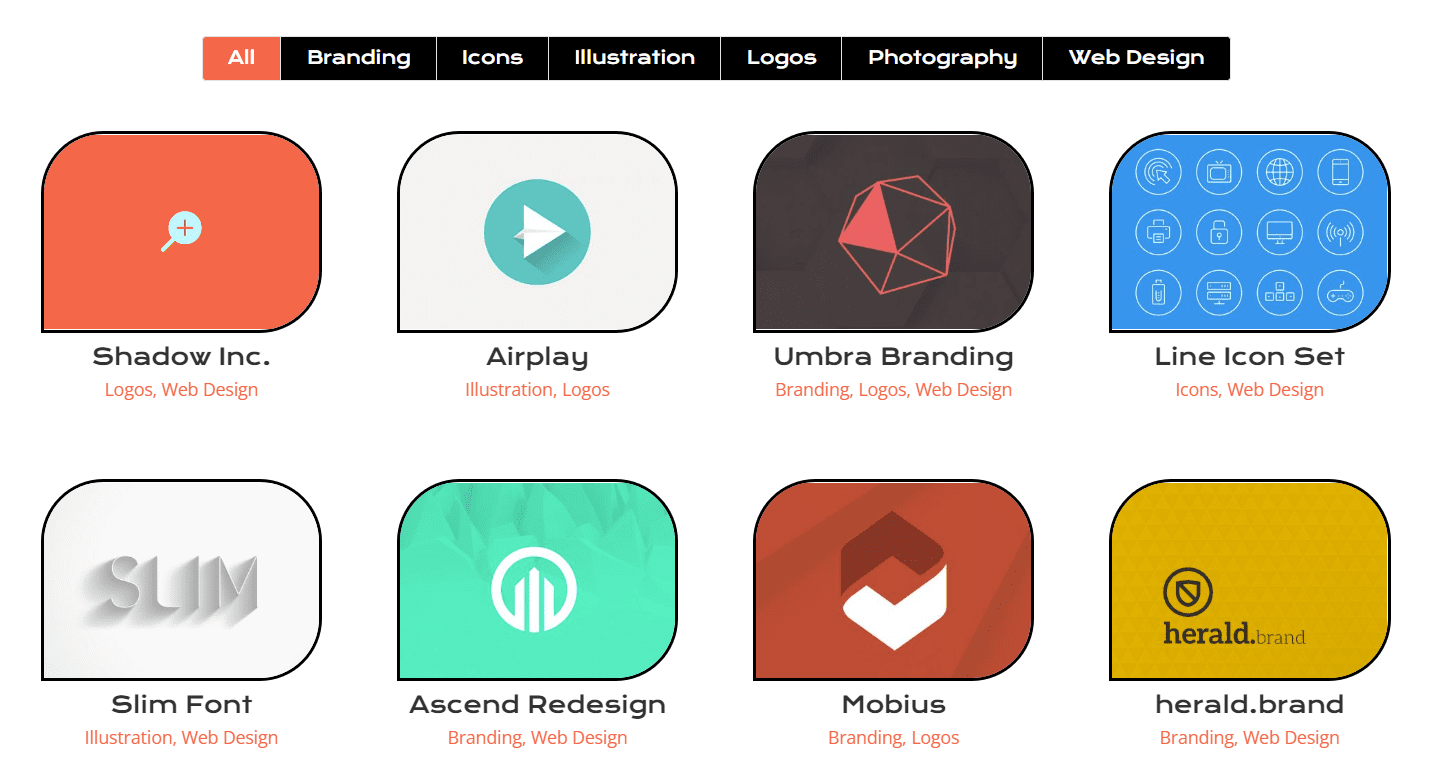
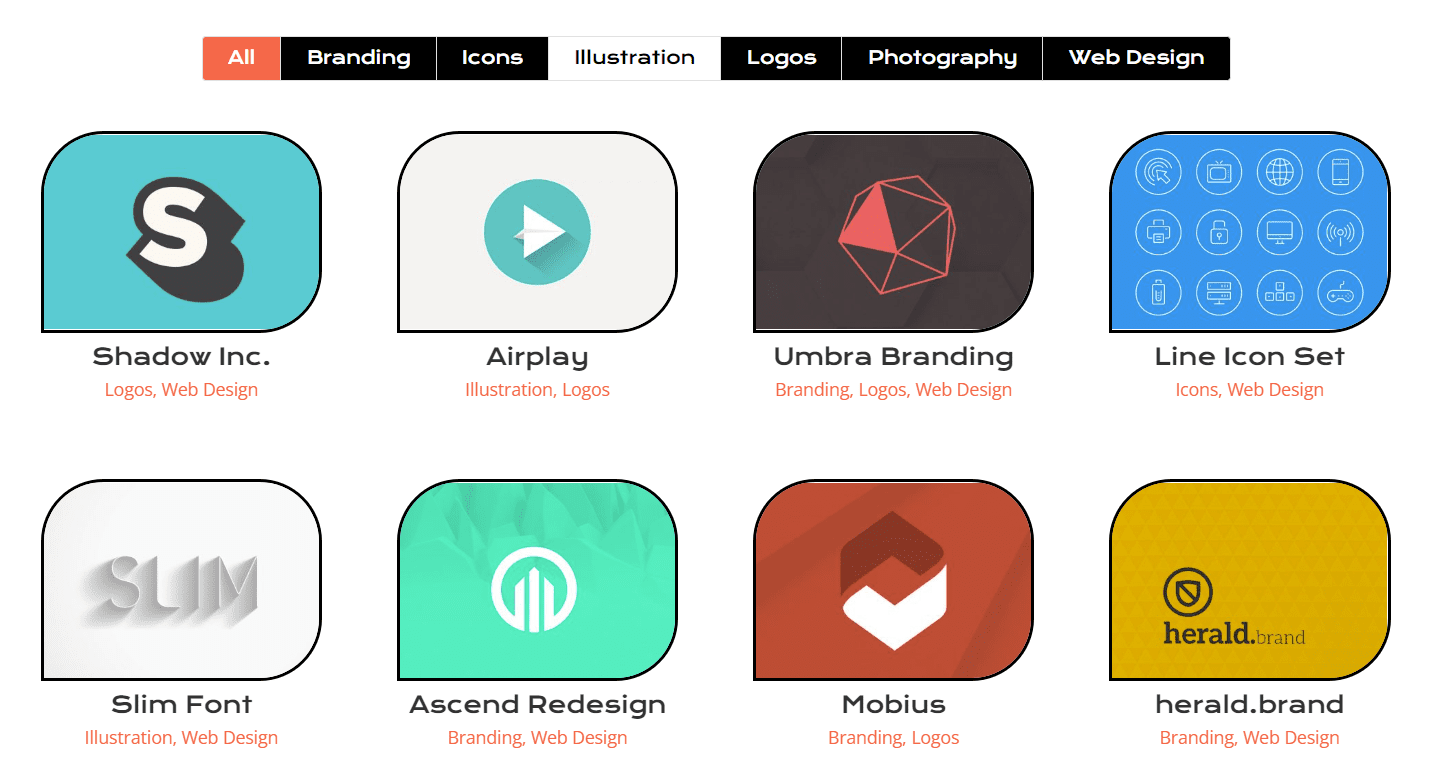
Here’s the final look!
And now, here’s what it looks like when we hover!
Styling Divi’s Filterable Portfolio Module: Divi Online Yoga Instructor Edition
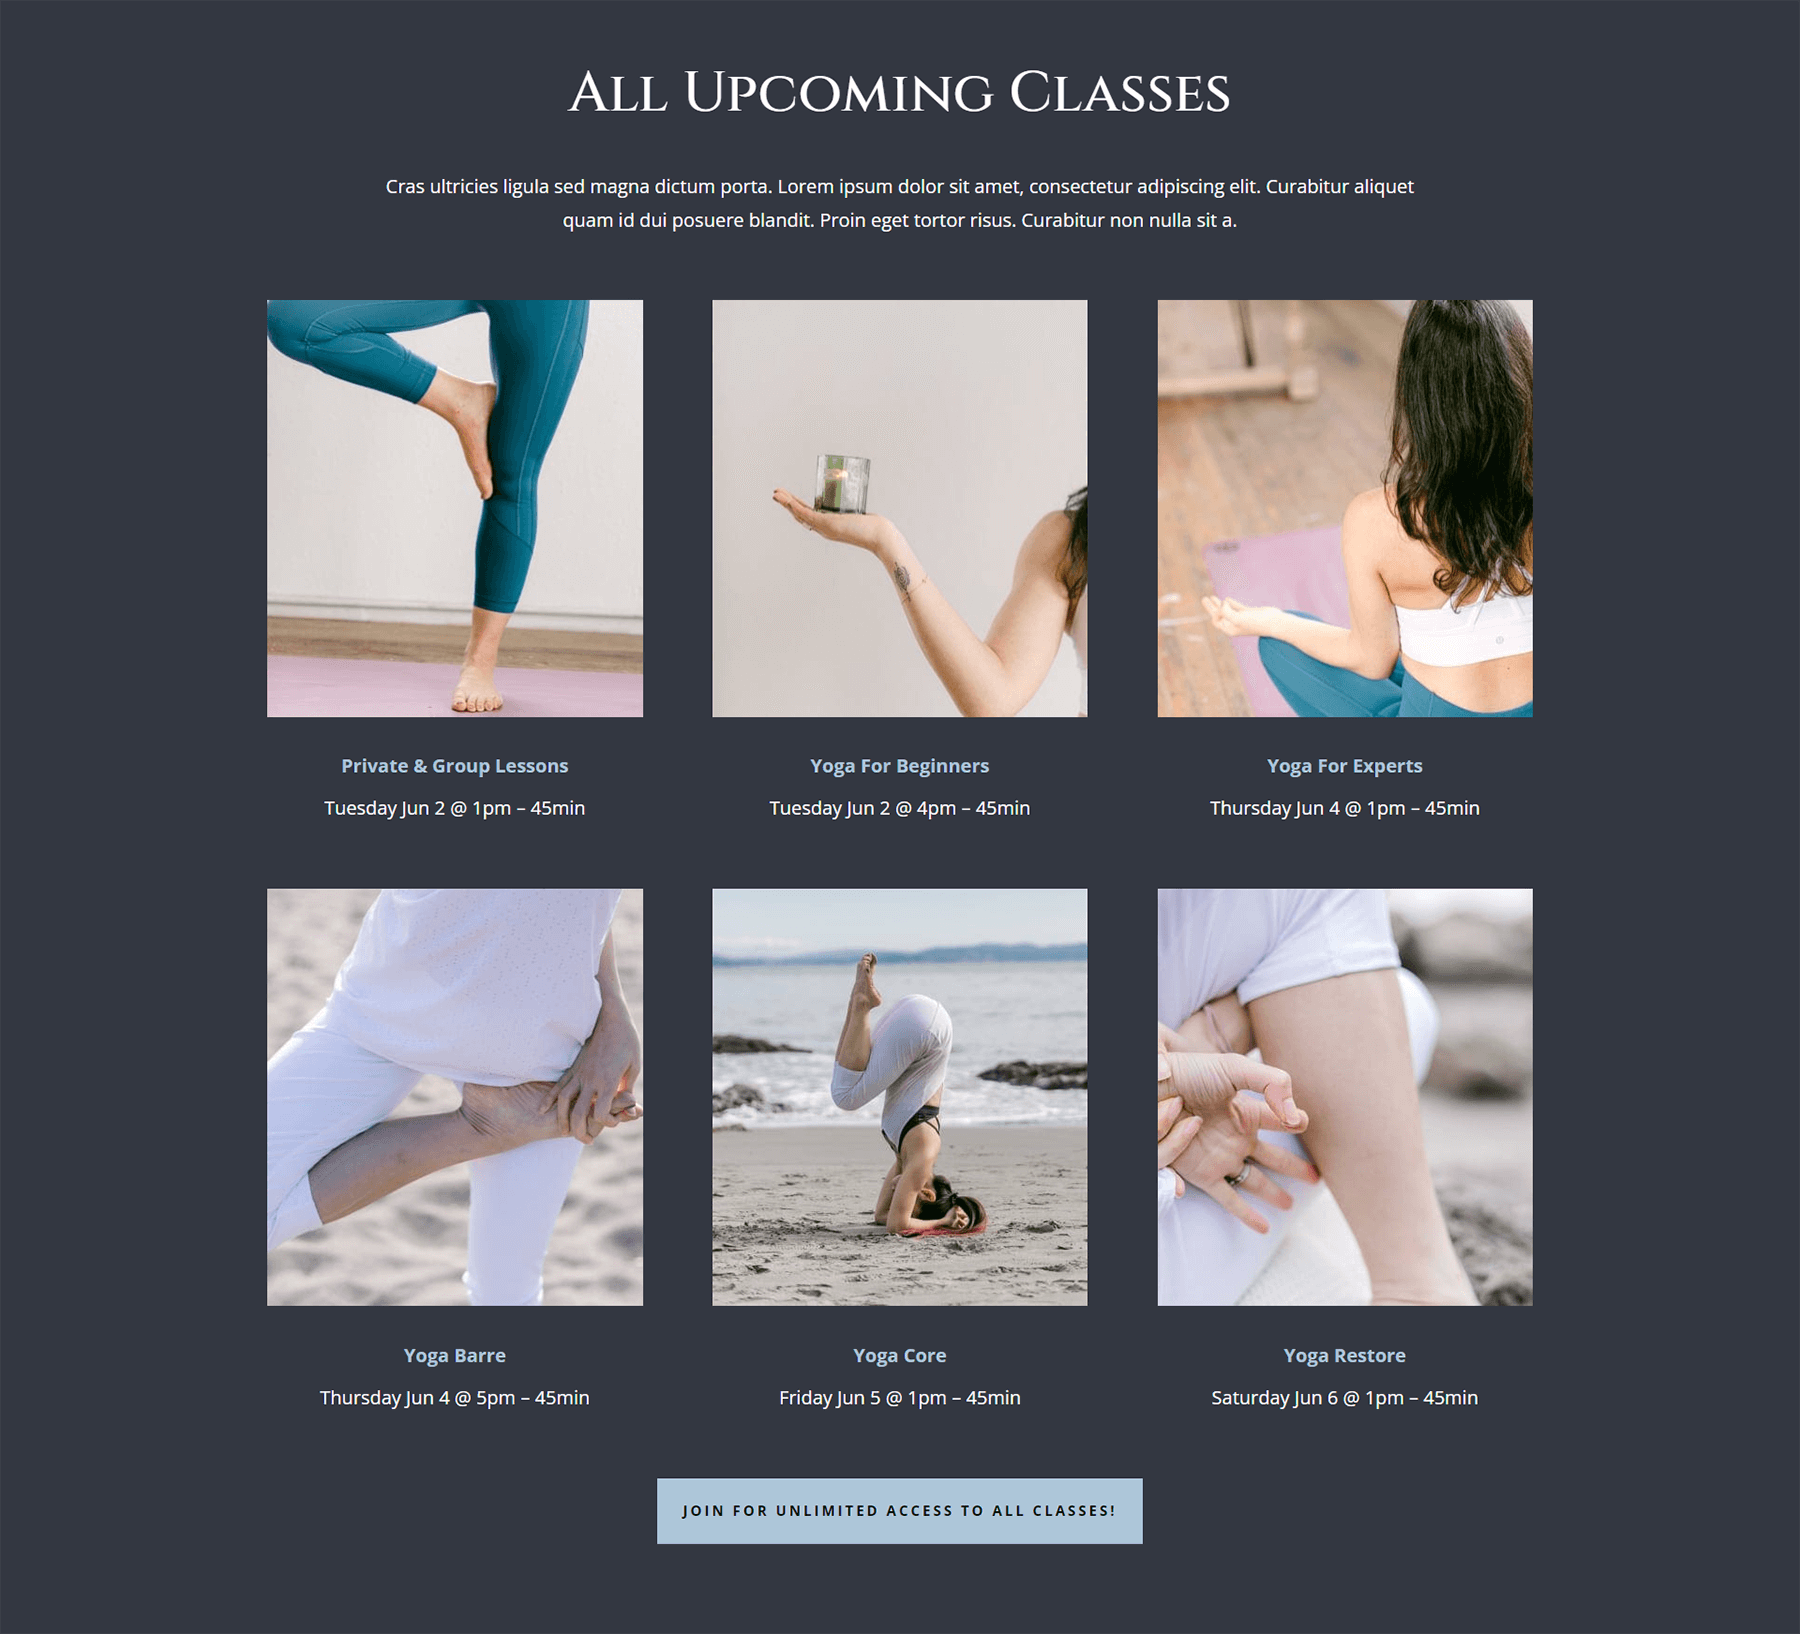
Similarly to the Divi Conference edition, find your layout within the Online Yoga Instructor Layout Pack inside the Divi Builder. We’ll be using the Landing Page Layout for this tutorial. Scroll down to the section Classes section with the title All Upcoming Classes Section.
Inserting Filterable Portfolio Module
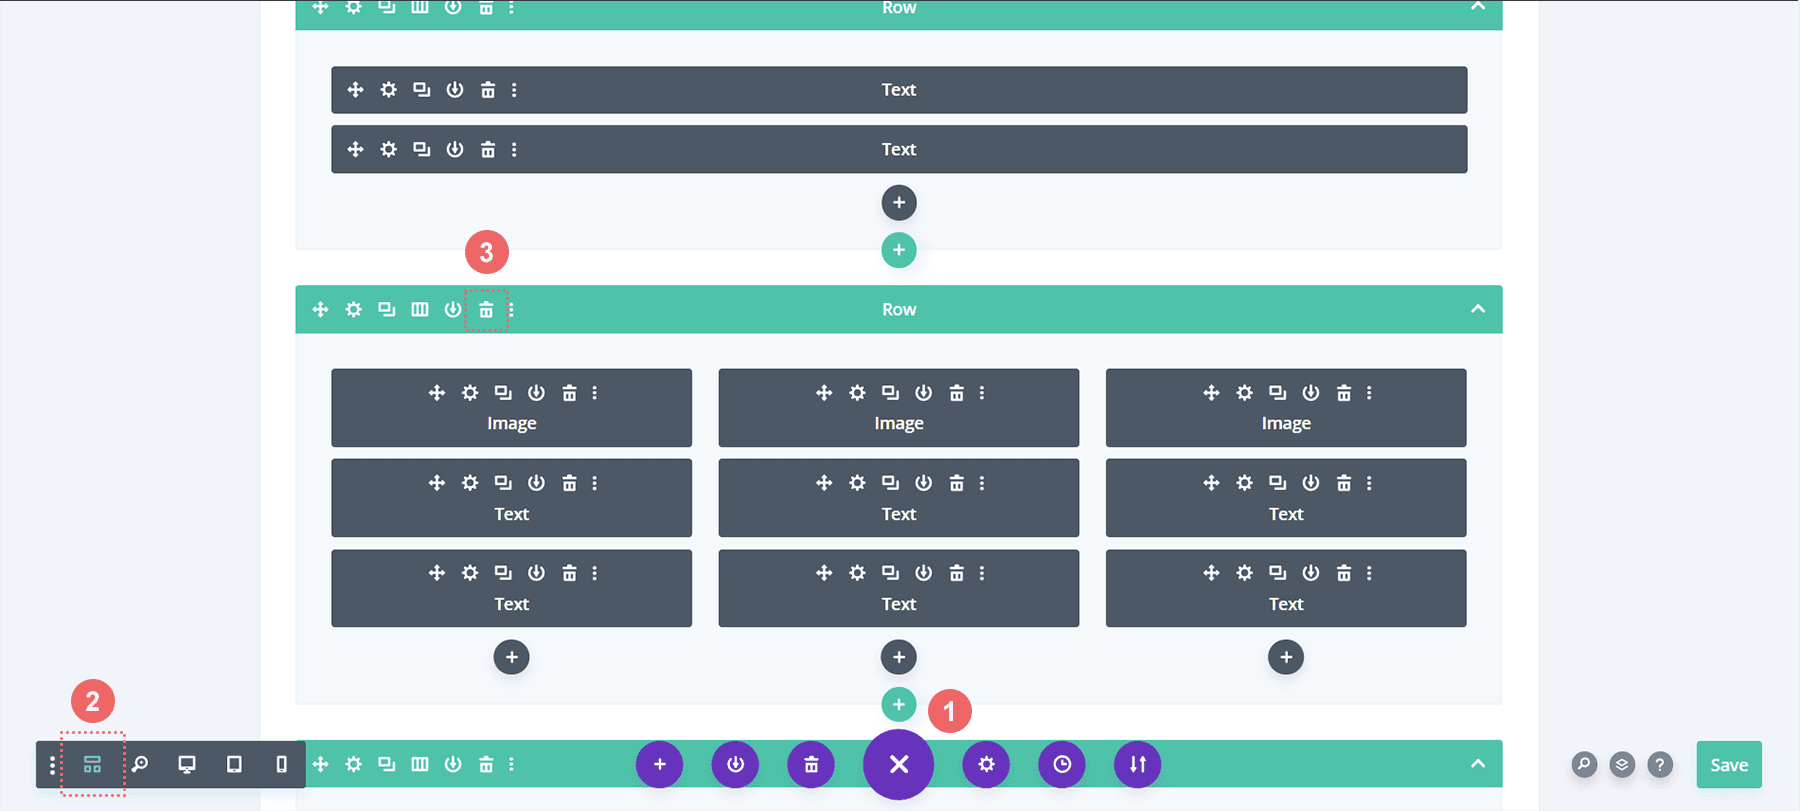
From here, we’re going to delete the rows with the classes. Click the purple icon with three dots on it. Next, select the Wireframe view. Lastly, you’re going to delete the two rows that have three columns within them.
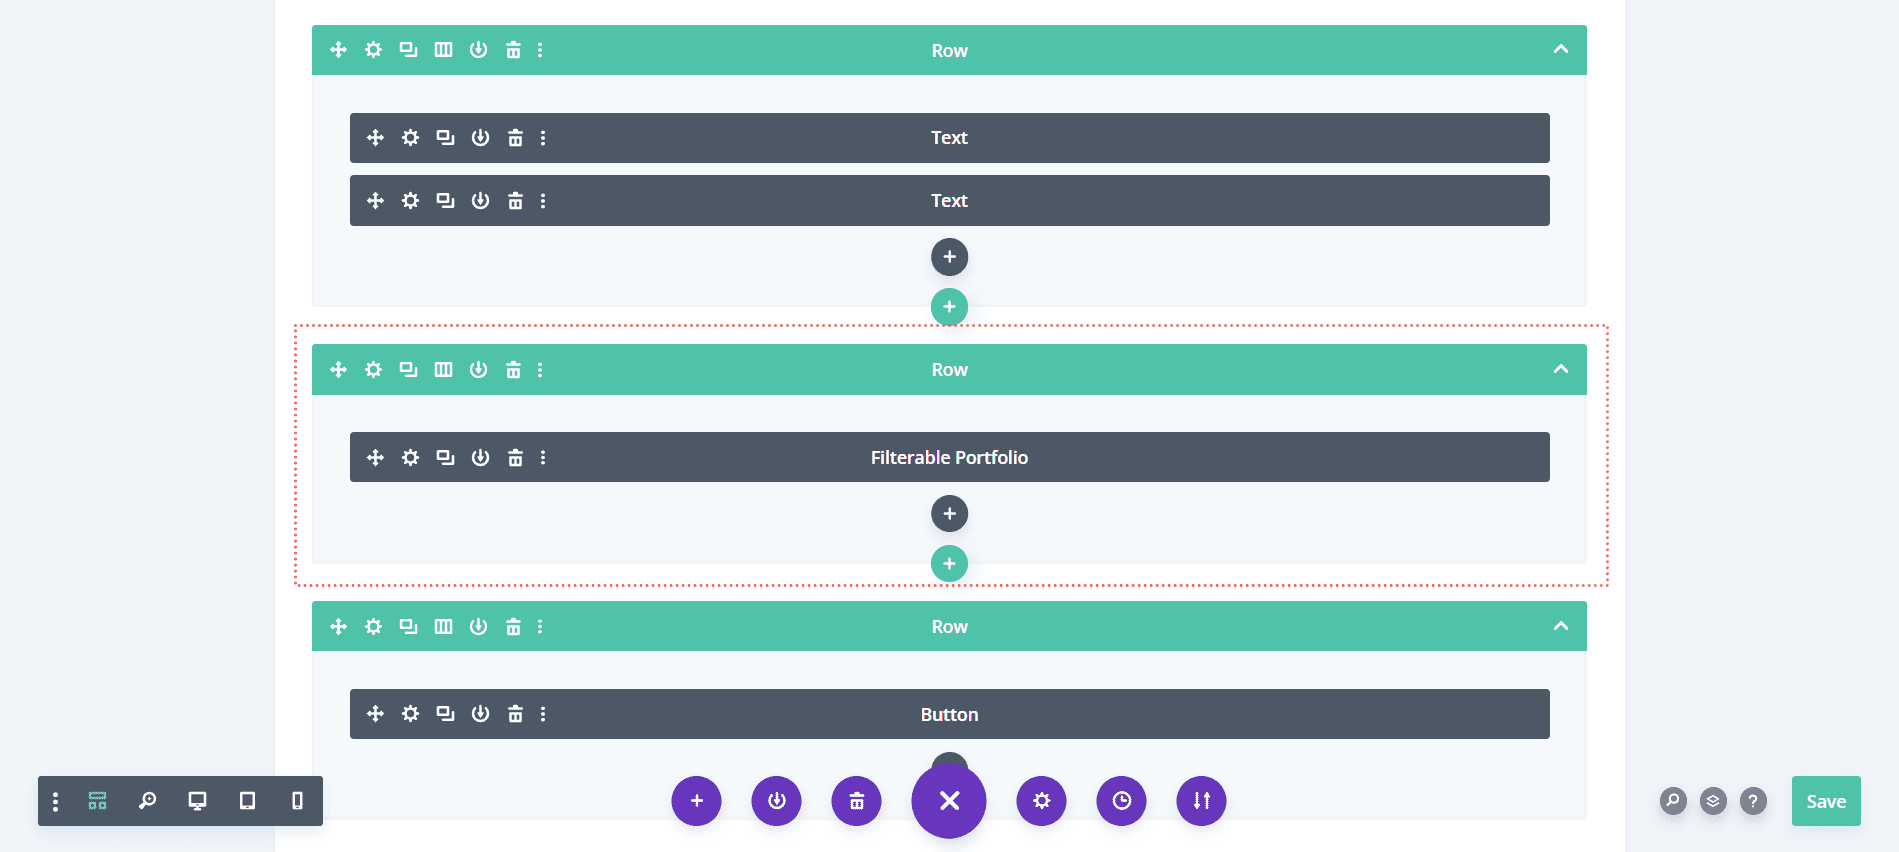
Next, we’ll replace them with a single column within the row within which. Then, we’ll add our Filterable Portfolio Module.
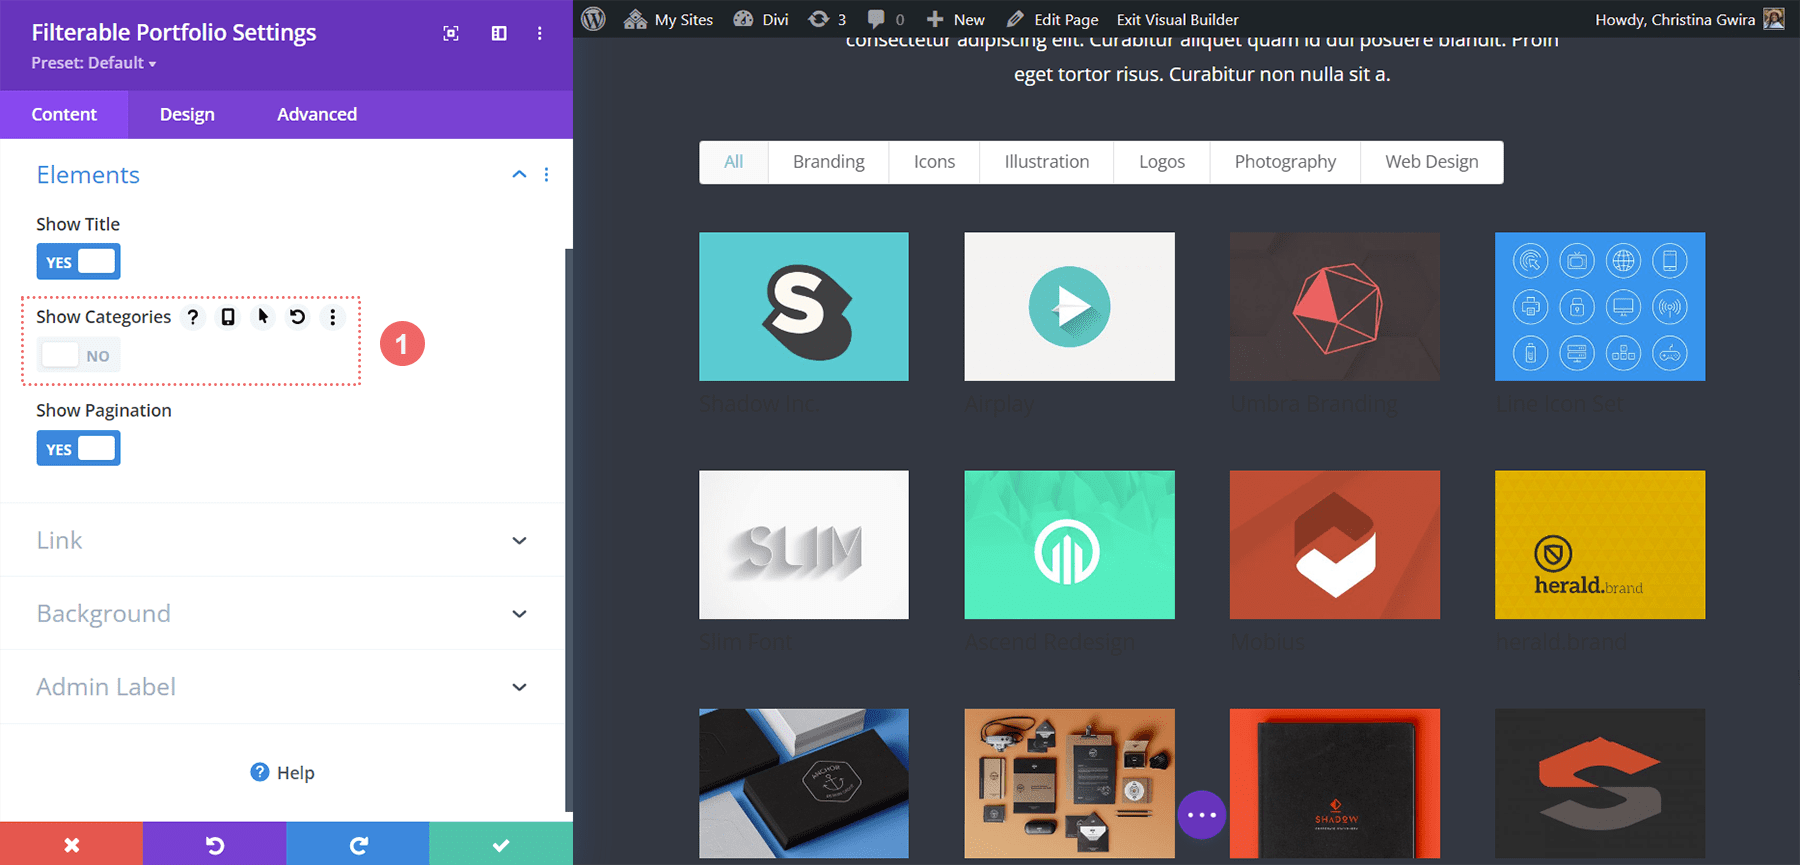
Like the previous example, we will be using the Grid Layout for this module with a multiple of 4 for the Post Count. Now, let’s do something a bit different with the information that we showcase on the card. In the Content tab, let’s navigate to Elements and unselect the Show Categories. This will mean that the Portfolio Module will only show the name of the project without the name of the category that it’s in.
Style Filter Criteria Text, Project Title and Pagination Text
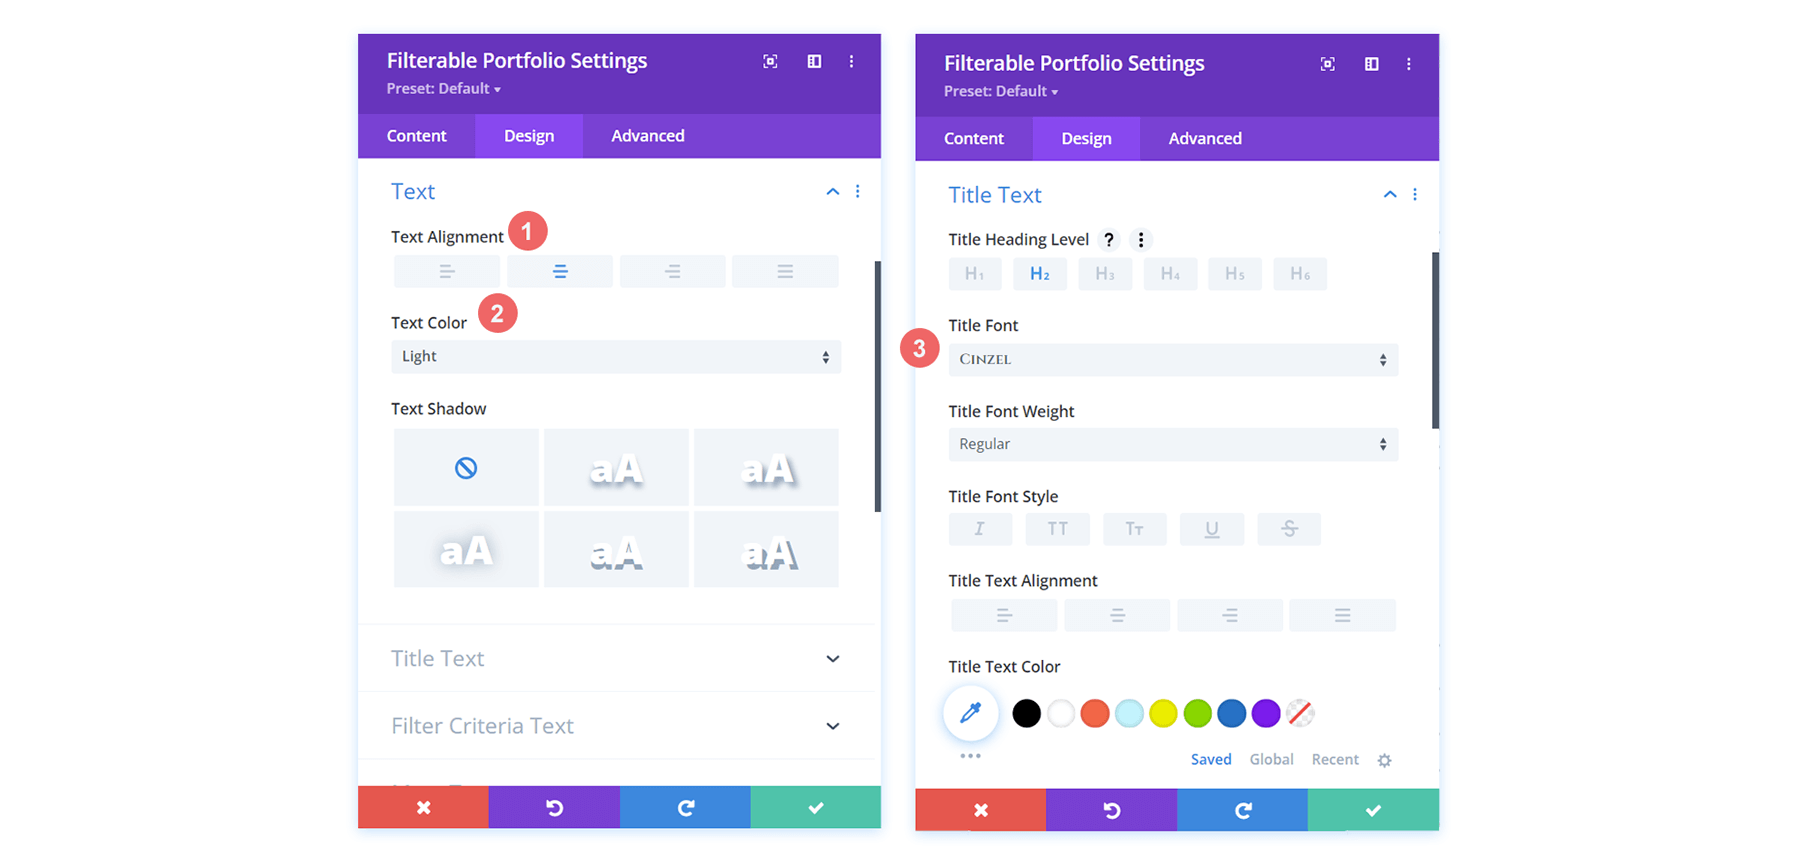
Let’s set the style foundation for the text portions of our module. The body text for this layout is Open Sans and the font used for the main headings is Cinzel. Therefore we’ll be using a combination of these two fonts throughout out styling process.
Text
- Text Alignment: Center
- Text Color: Light
Title Text
- Title Font: Cinzel
- Title Text Color: #ffffff
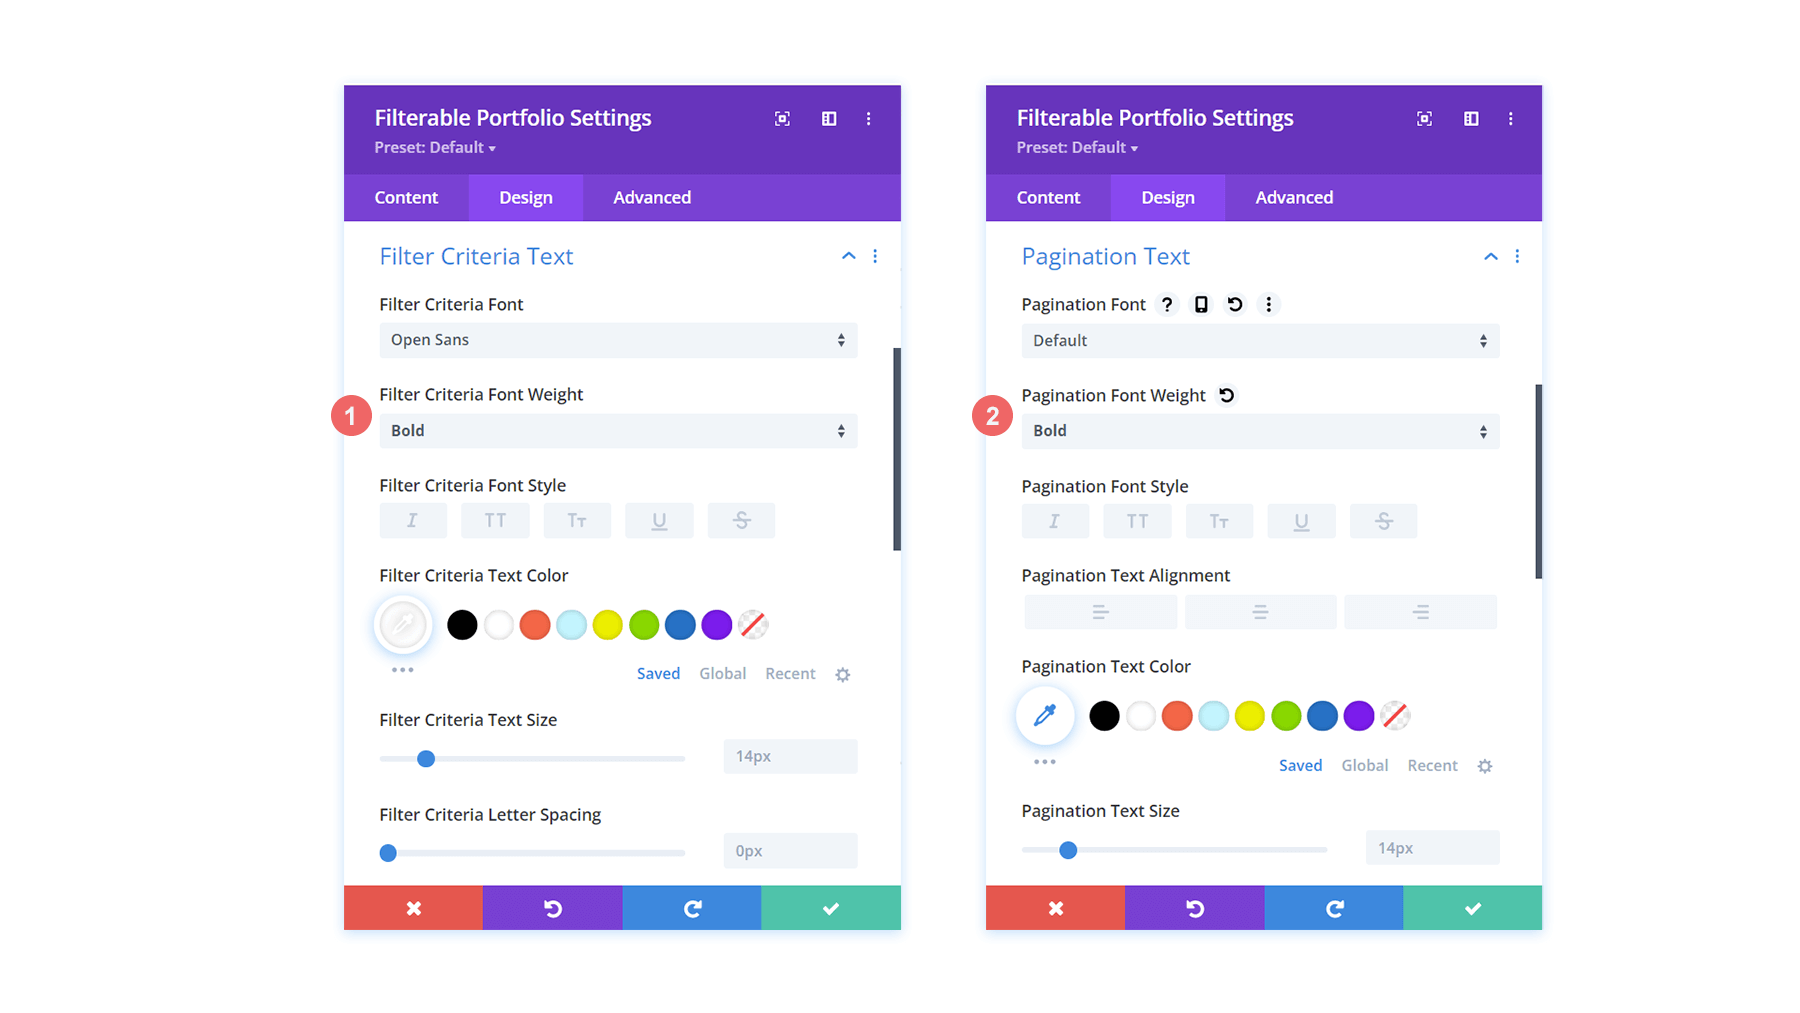
Filter Criteria Text
- Filter Criteria Font Weight: Bold
- Filter Criteria Text Color: #ffffff
Pagination Text
- Pagination Text Color: #ffffff
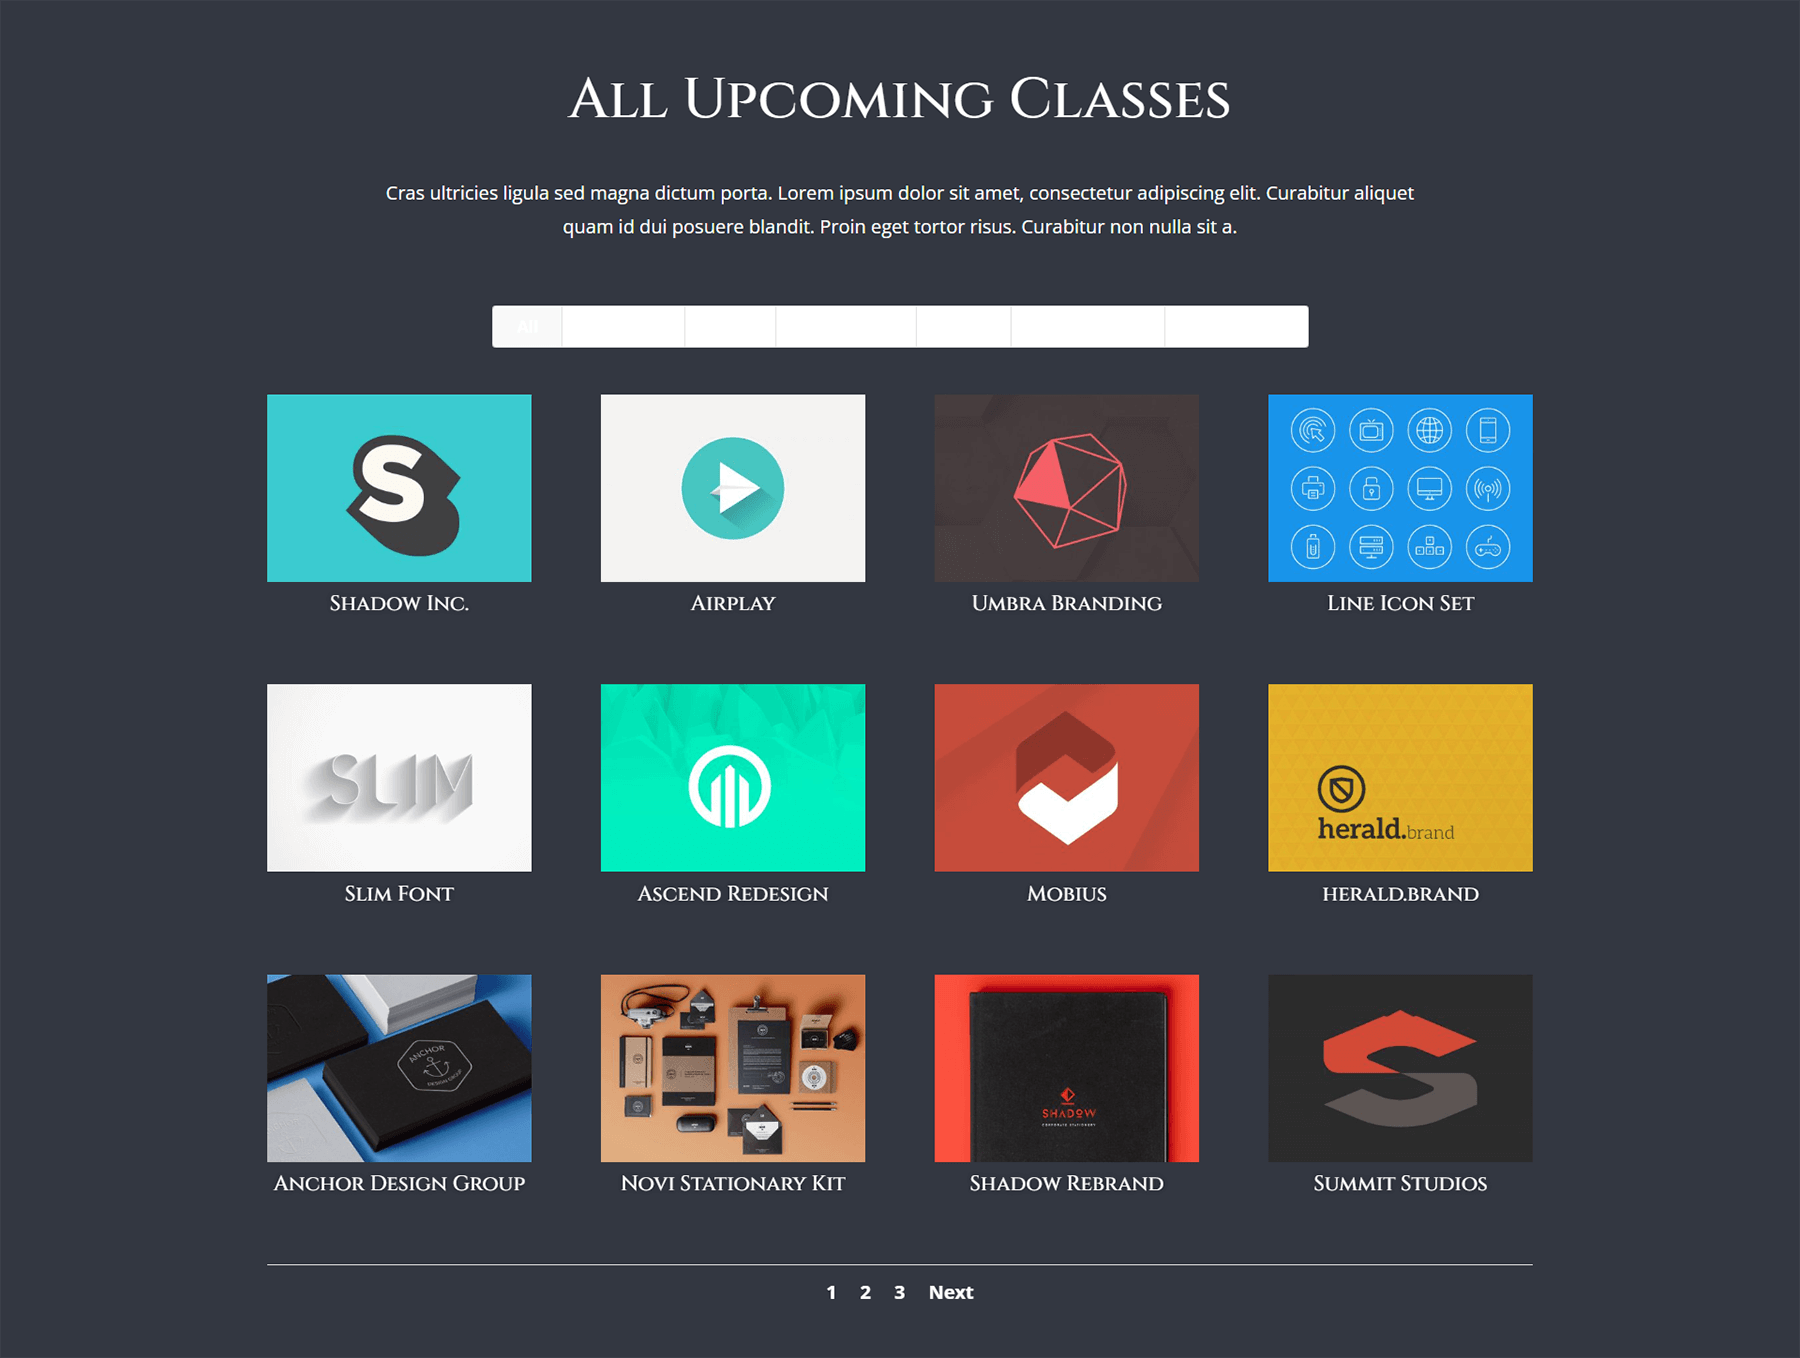
This is what our Filterable Portfolio Module is looking like right now. It’s not much, but we’re slowly getting there!
Creating a Translucent Hover Overlay
Let’s pull some inspiration from the various modules and beautiful gradients within this layout. For this, we’re going to create a translucent hover overlay and style the icon that shows up on hover as well.
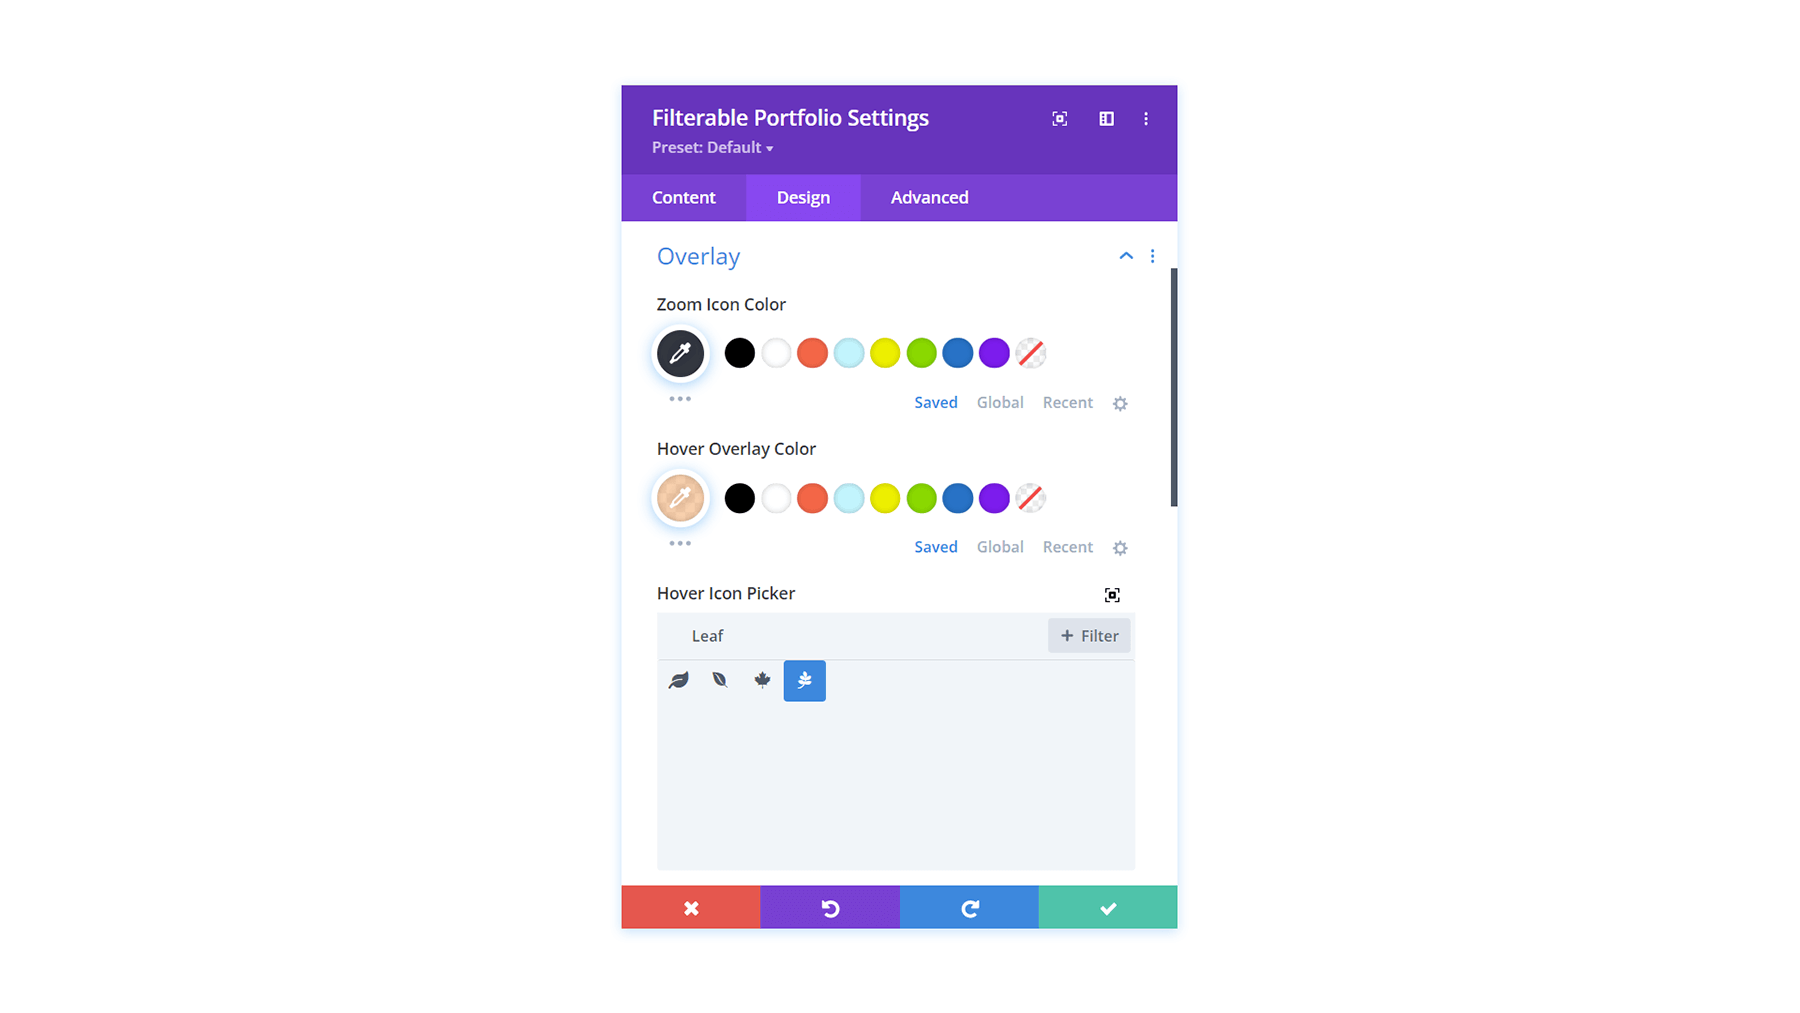
- Zoom Icon Color: #323741
- Hover Overlay Color: rgba(255,201,165,0.85)
- Hover Icon Picker: Search leaf and see icon above
Adding a Border to the Portfolio Grid Items with Custom CSS
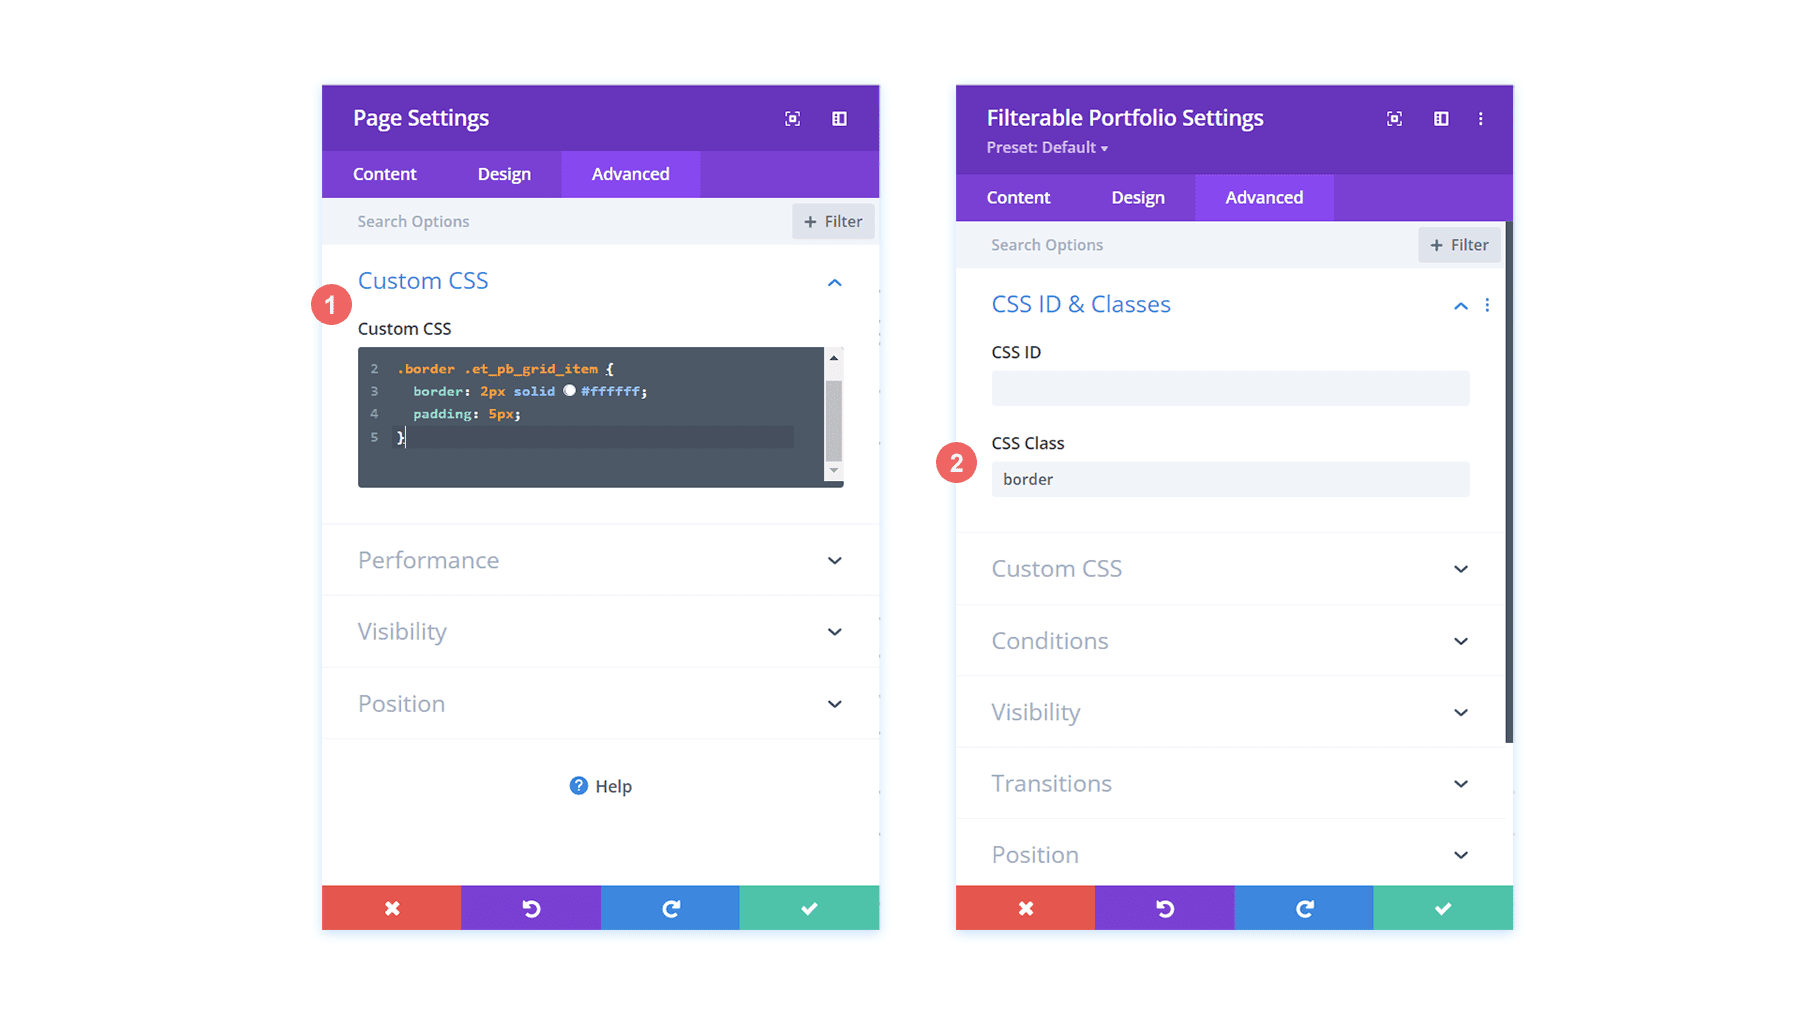
Similar to our first tutorial, we’re now going to use some CSS to add more interest to our Filterable Portfolio Module. Now, we are going to add a border around each individual portfolio grid item. Use the CSS snippet below within the Custom CSS portion of the Page Settings to add our border. We’ll also be assigning the CSS Class border to this module.
- CSS Class: border
Custom CSS
/* Border */
.border .et_pb_grid_item {
border: 2px solid #ffffff;
padding: 5px;
}
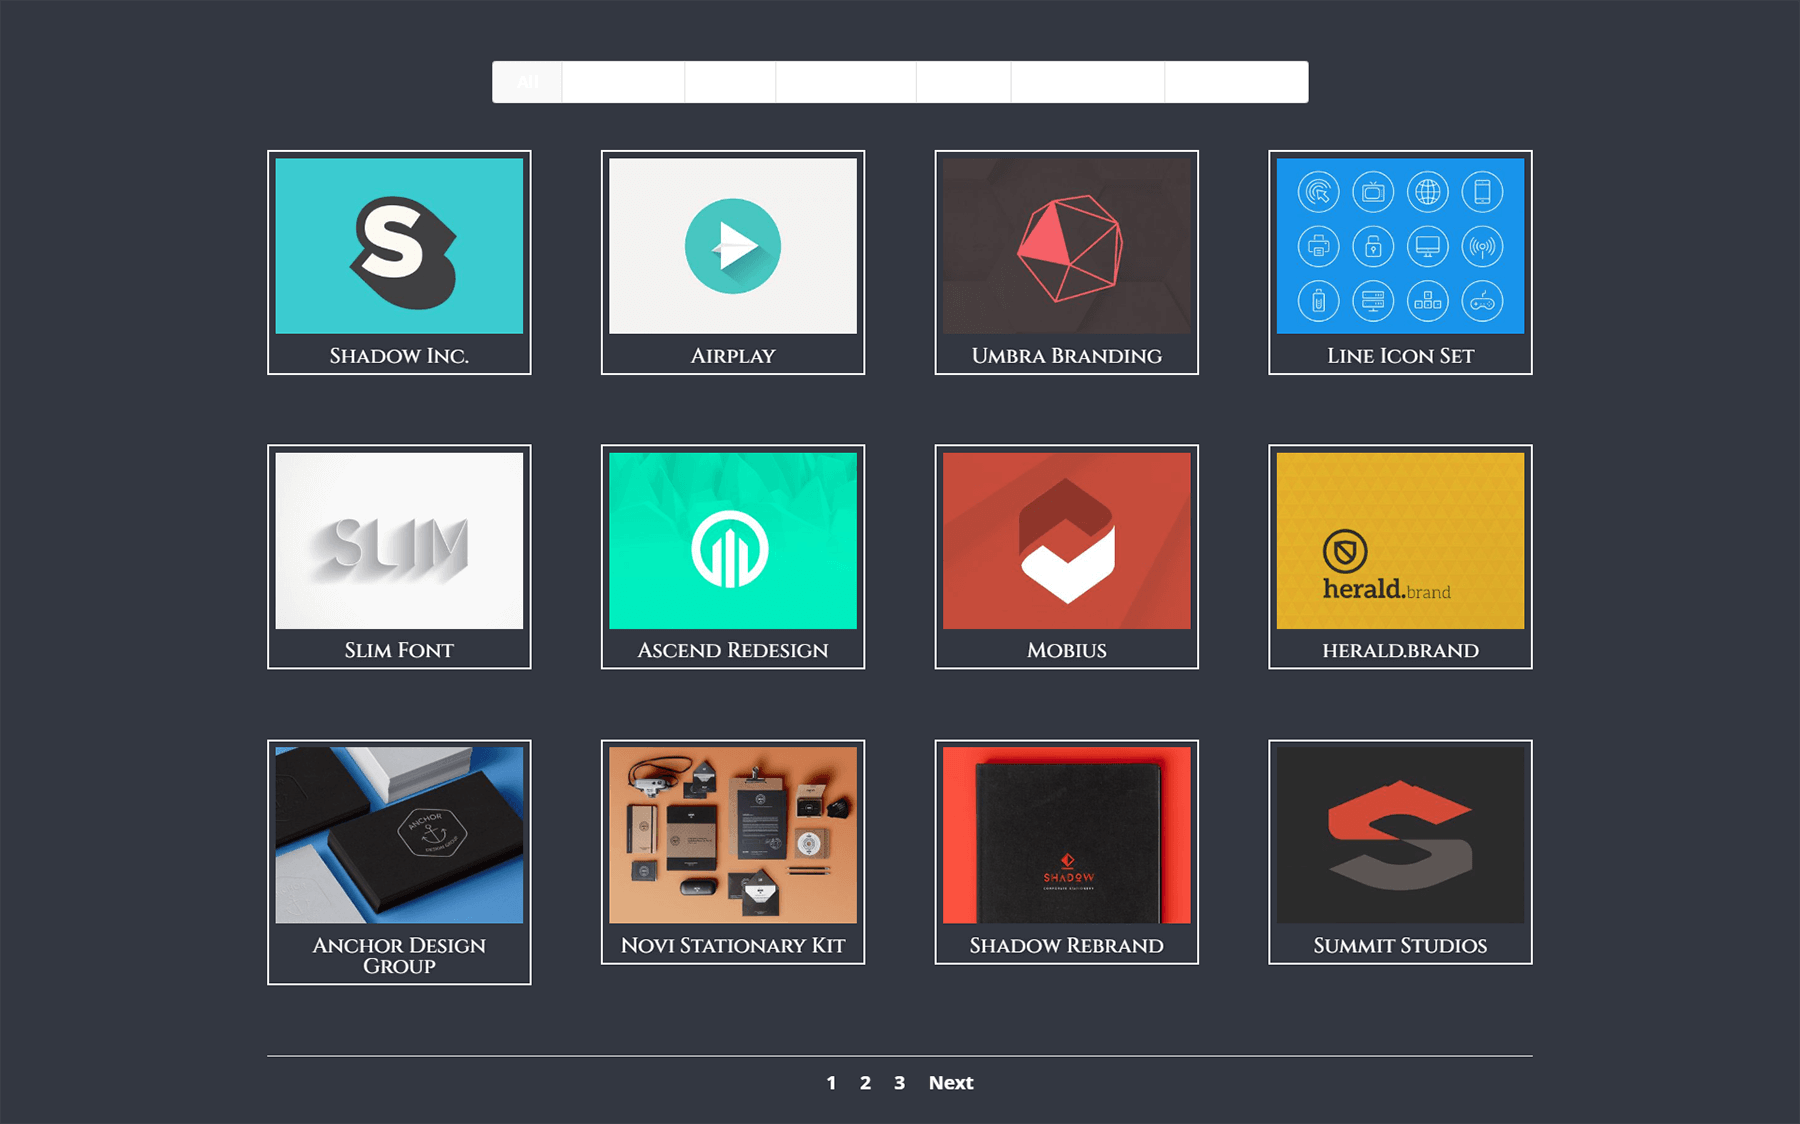
Here we now have our Filterable Portfolio Module with a nice border – and soe padding – around each grid item.
Adding CSS to Style Pagination Border
Unlike our previous example, let’s add some color to the border for our pagination with some CSS. This will also go within the Page Settings > Custom CSS area.
/* Pagination Styling */
.et_pb_filterable_portfolio .et_pb_portofolio_pagination {
border-top: 2px solid #adc6d9;
}
Styling the Filter Criteria Text
Similar to our Divi Conference Portfolio Module styling, we want to add some jazz to our category filters. Again, we want to pull from the styling that is already present within the template provided to us. Here’s the CSS that we’ll be adding into our Custom CSS section to target the background and hover of our Filter bar.
/* Change background color of filters */
.et_pb_filterable_portfolio .et_pb_portfolio_filters li a {
background: none;
}

.et_pb_filterable_portfolio .et_pb_portfolio_filters li a:hover {
background: #ffffff;
color: #323741 !important;
}
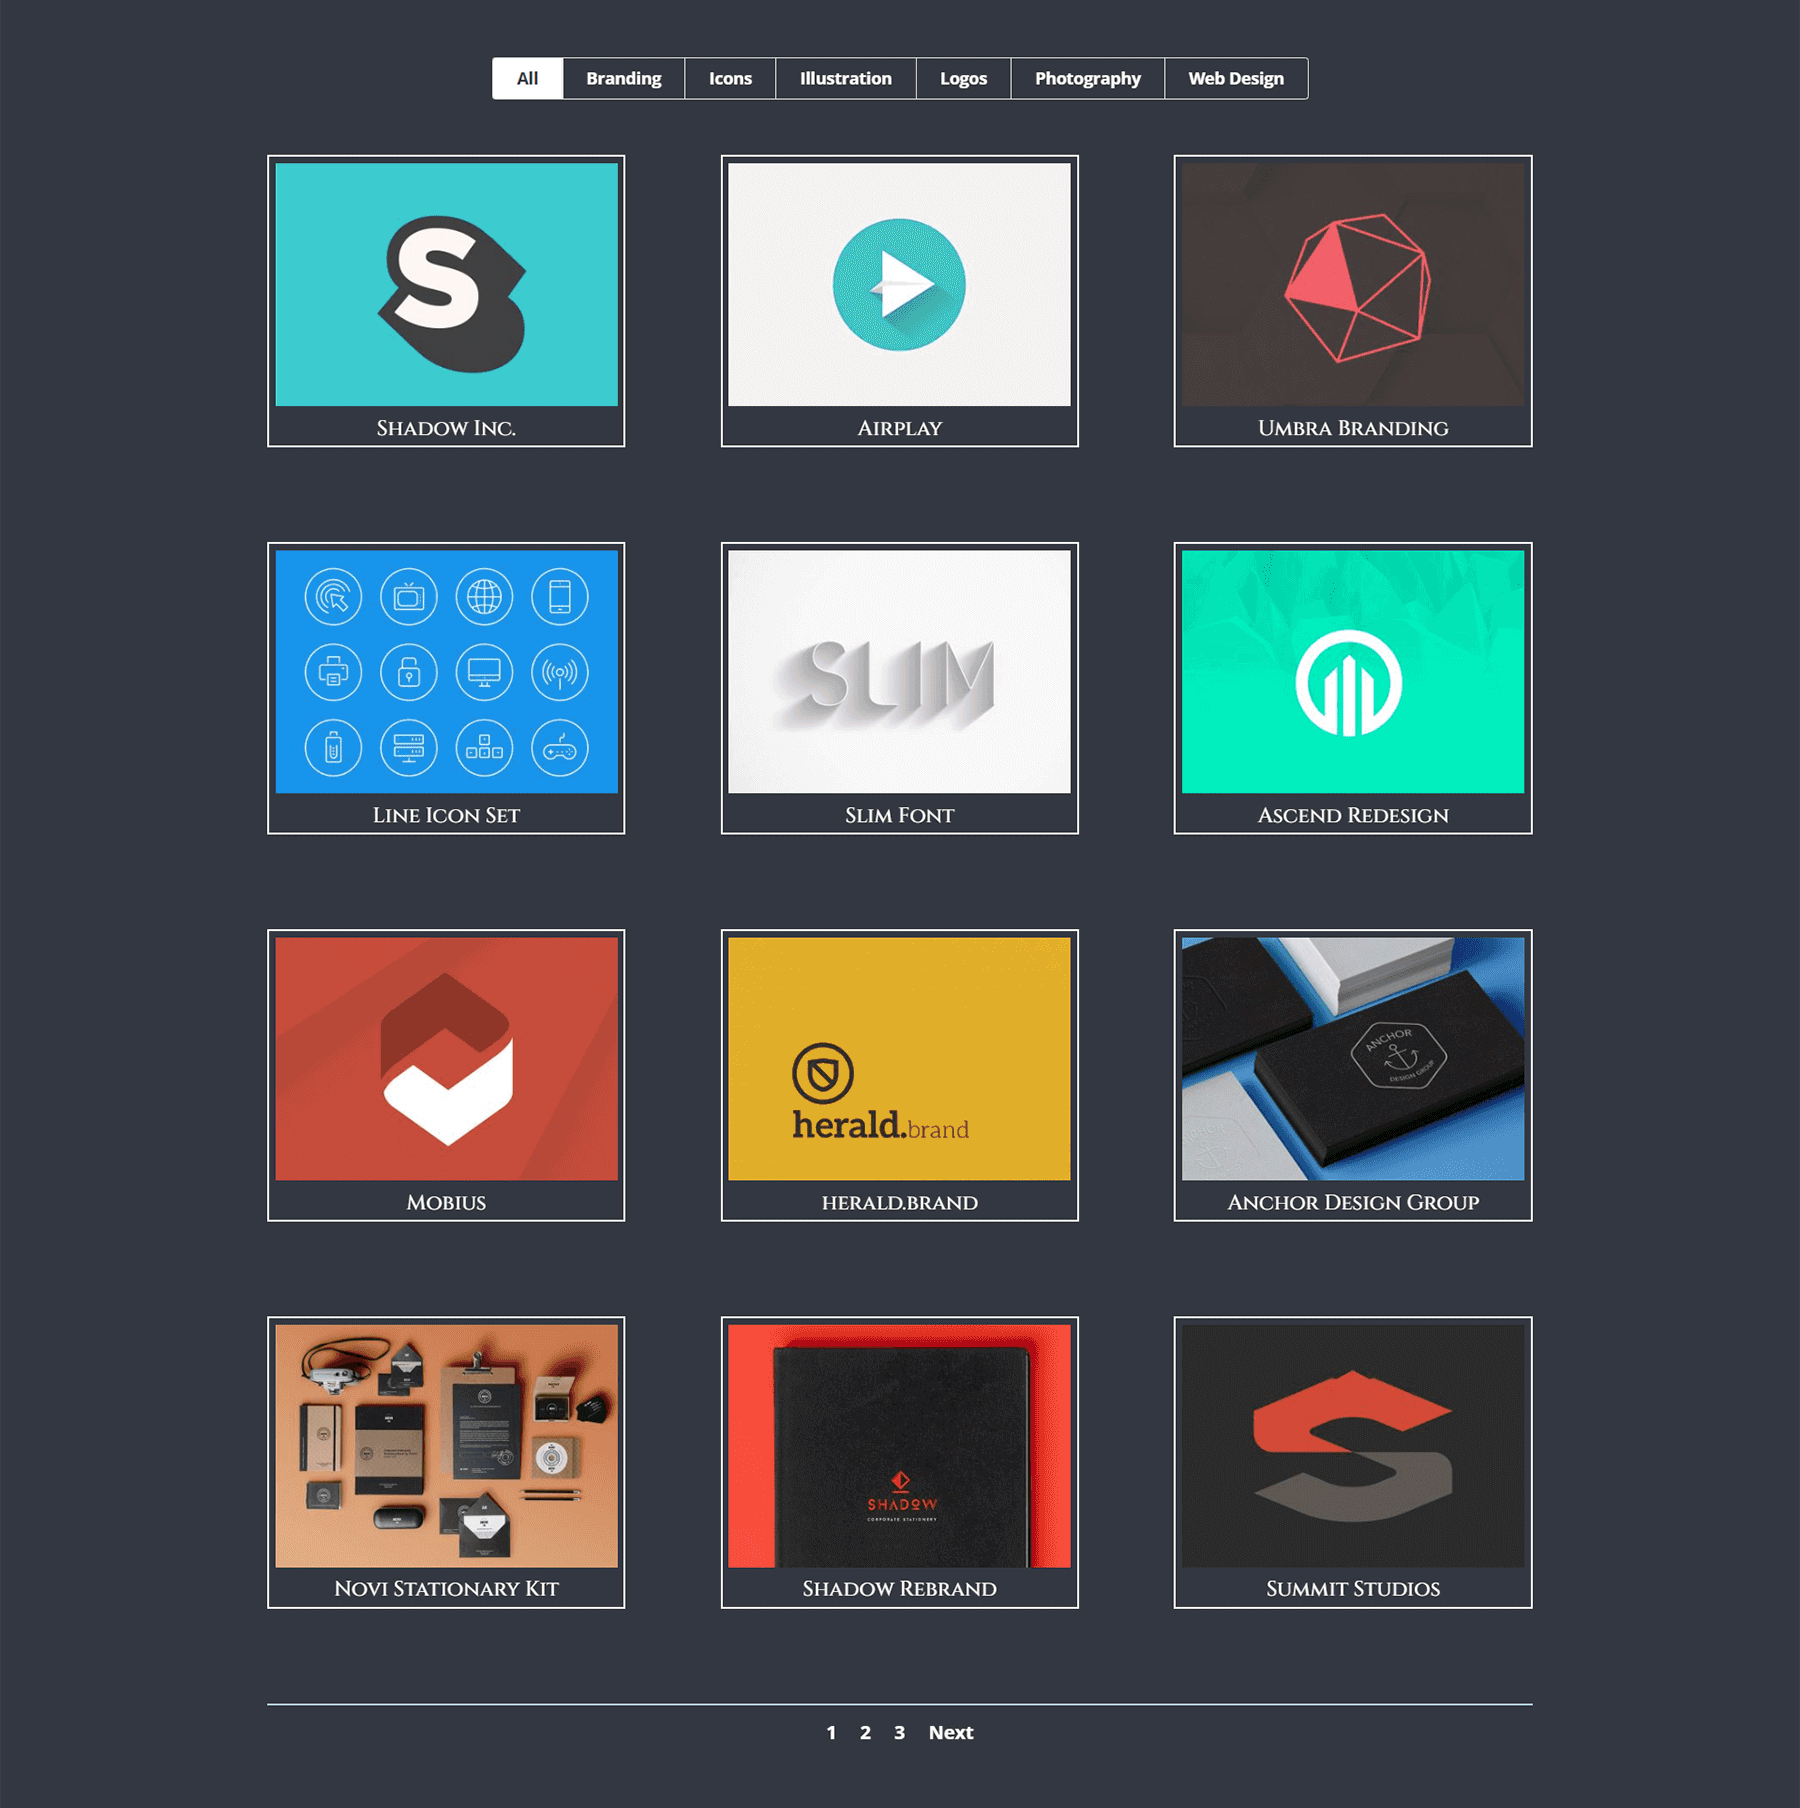
With these two new additions to our Custom CSS, this is what our Filterable Portfolio Module is shaping up to be.
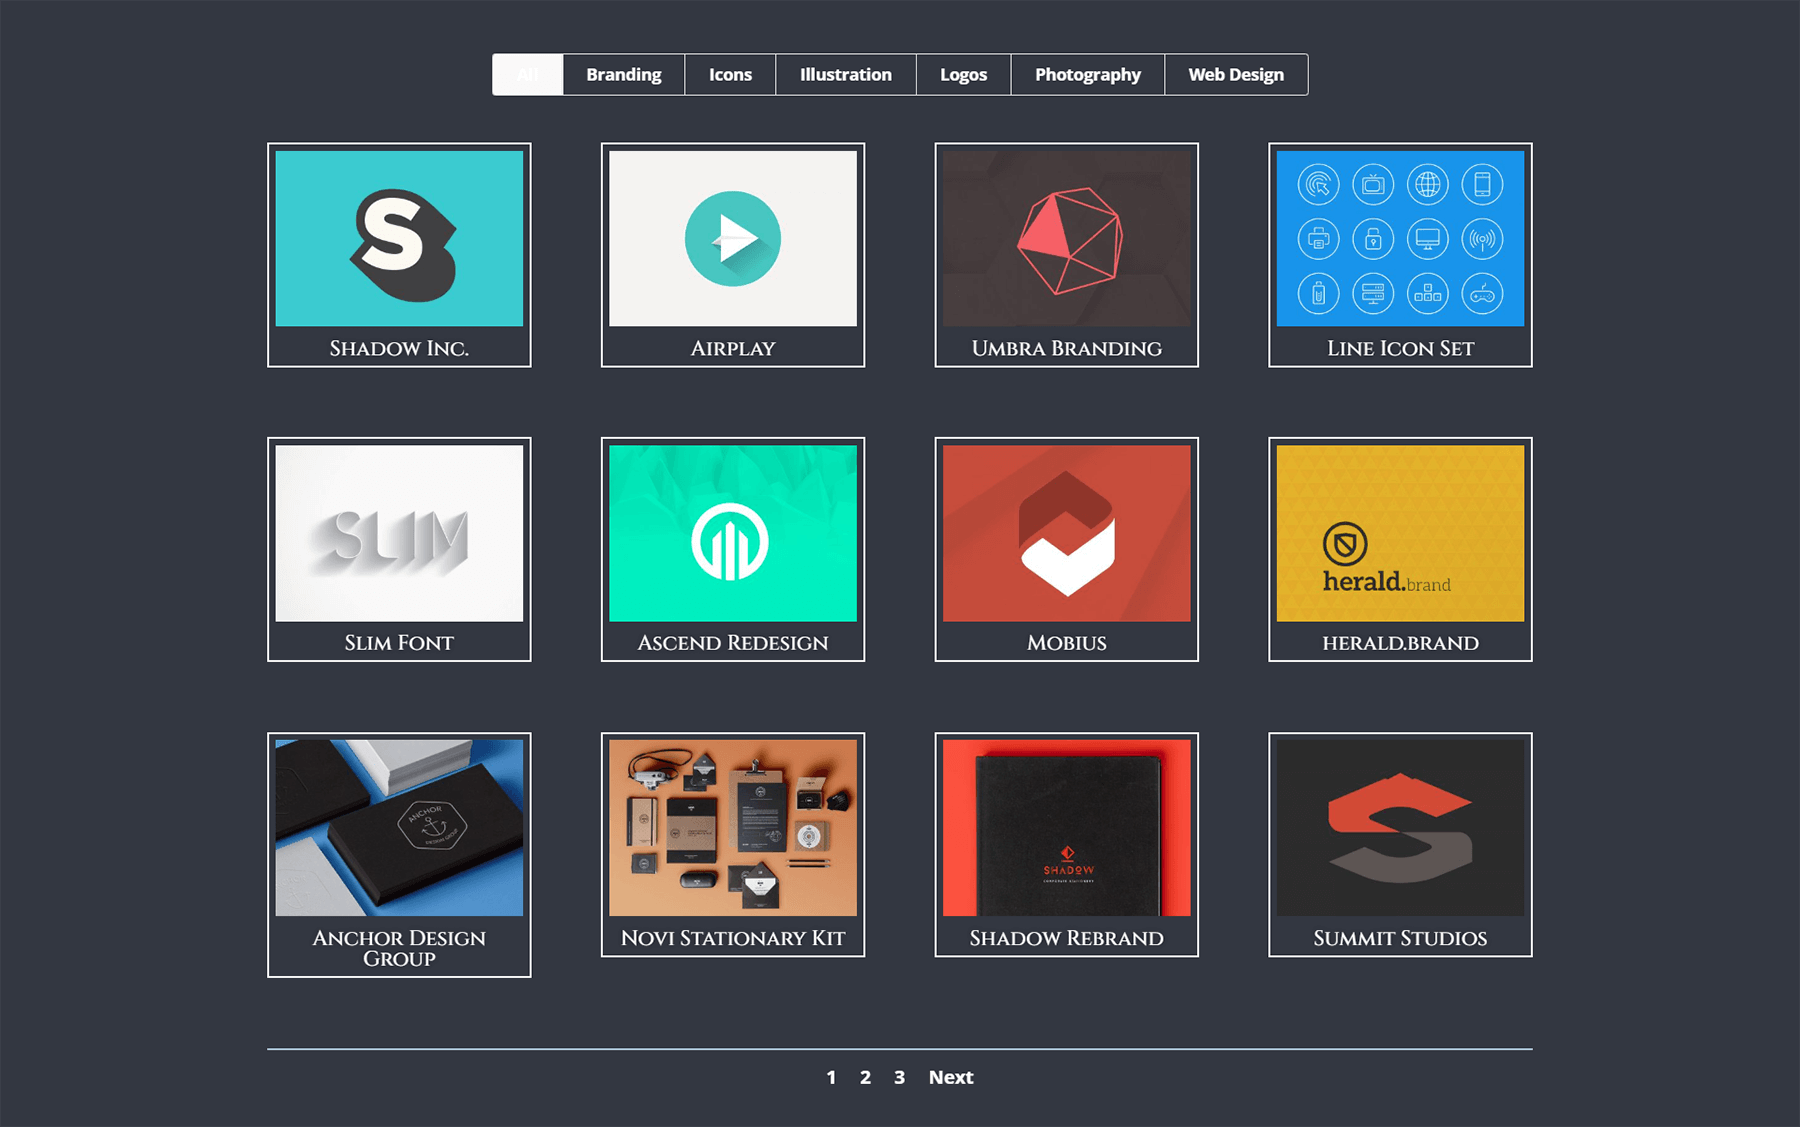
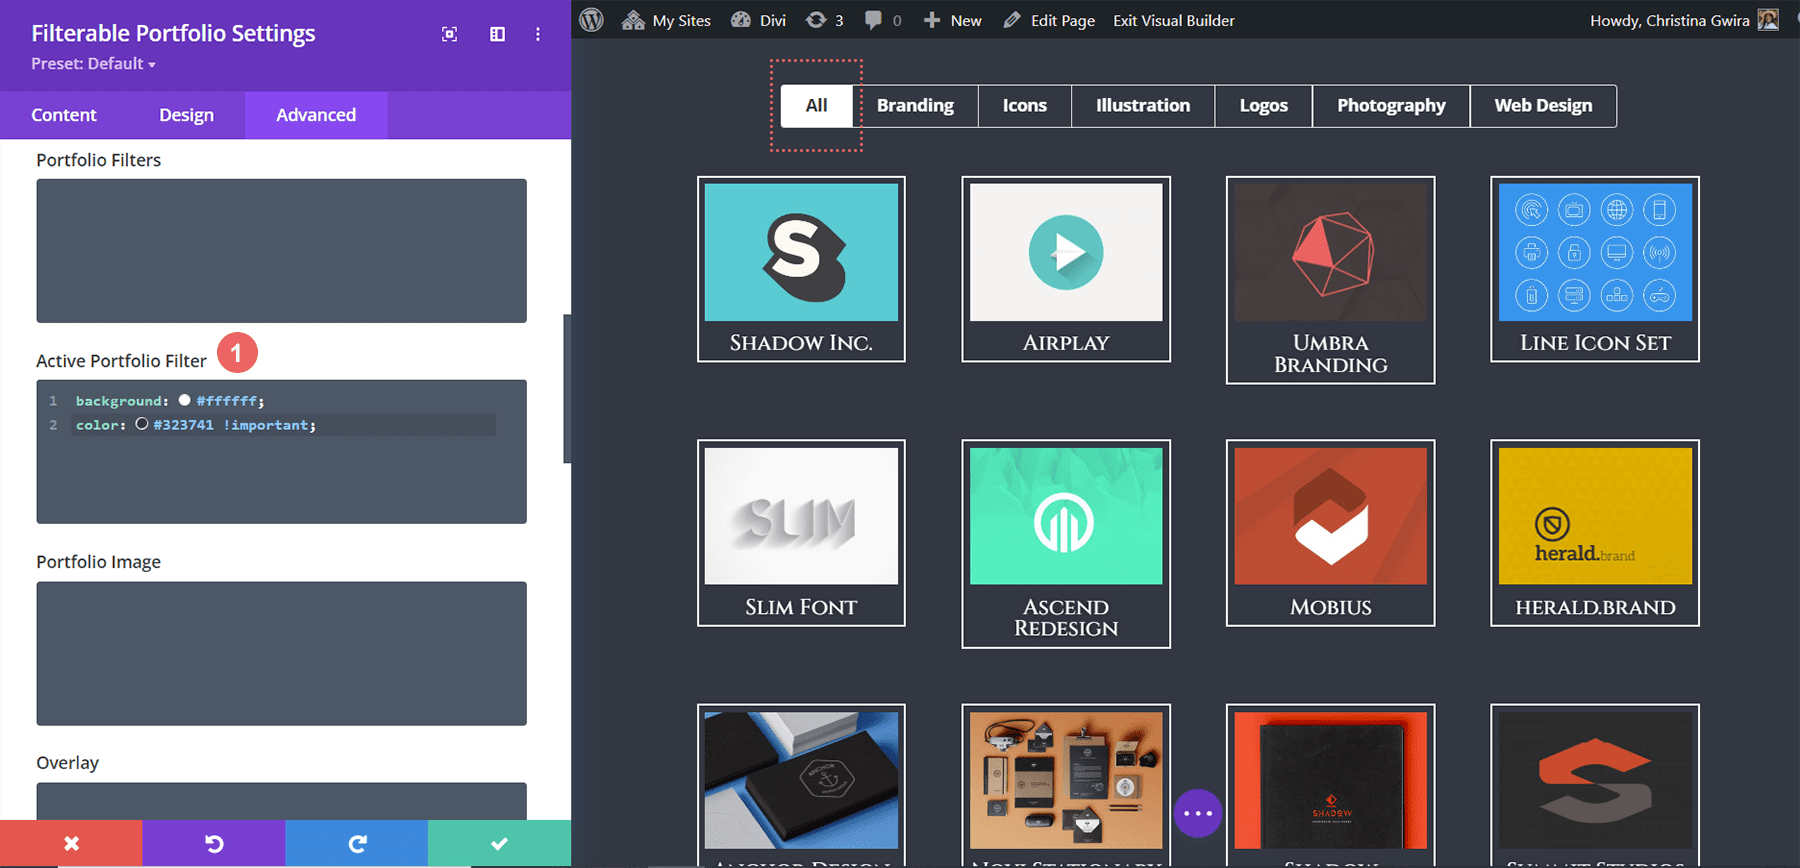
However, notice how the Active Portfolio Filter is lost. It still has a light background with white text on top of it. Let’s go into the module’s settings and add some CSS to change this.
Custom CSS
Active Portfolio Filter:
background: #ffffff;
color: #323741 !important;
Removing Animation From Module
To provide a cleaner experience, we’ll be removing the default animation that comes with the Filterable Portfolio Module. For this, we’ll first need to go back into our Page Settings and add some CSS that will target the portfolio grid items and remove the slide-in transition that occurs out of the box with Divi.
Custom CSS
/* Remove transition */
.et_pb_filterable_portfolio .et_pb_portfolio_item.active {
transition: none;
}
</code><code>
.et_pb_portfolio_item {
animation: none!important;
transition: none !important;
}
Change Portfolio Grid from Four Columns to Three
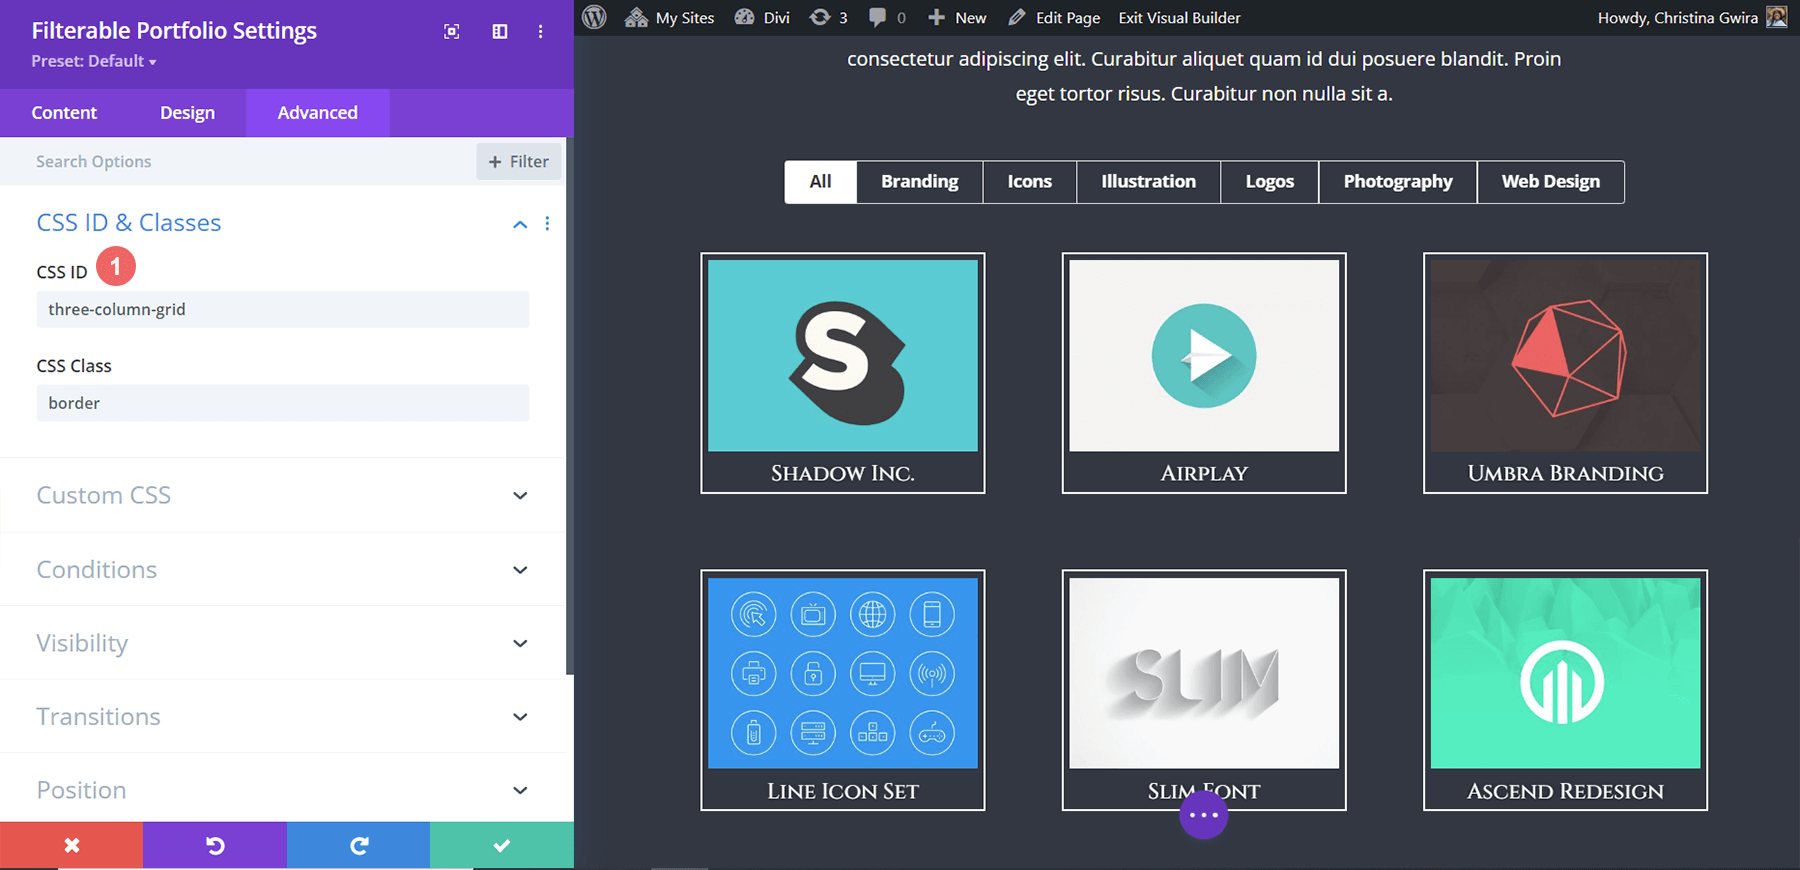
Our final CSS addition will be to transform our Portfolio module from four columns to three. This will allow us more room to see our projects. Also, we’ll be adding an additional row to our module. Here’s the final CSS snippet that you’ll be able to use to convert your columns.
Custom CSS
For this last snippet, we’ll be adding the CSS ID #three-column-grid to our module. We will still be keeping our CSS class from before intact.
/* 4 to 3 Columns */
@media only screen and ( min-width: 768px ) {
#three-column-grid .et_pb_grid_item {
width: 28.333%;
margin: 0 7.5% 7.5% 0;
}

#three-column-grid .et_pb_grid_item:nth-child(3n) {
margin-right: 0;
}

#three-column-grid .et_pb_grid_item:nth-child(3n+1) {
clear: left;
}

#three-column-grid .et_pb_grid_item:nth-child(4n+1) {
clear: unset;
}
}
Styling Divi’s Filterable Portfolio: In Conclusion
As with most of Divi’s modules, the settings that come with Divi can be further expanded upon with CSS. Showcasing your work is an important part of running a business, blog or brand online. As such, having an organized manner in which to display your work is key. Glean from the tips that were shared today to partake in your own journey of styling Divi’s Filterable Portfolio module and show us your work in the comments or on social media!




All that remained was to teach how to redirect items from the Divi filterable portfolio to custom URLs.
Good to learn new techniques to style grid items in Divi’s Filterable Portfolio Module. We are using Divi for quite a long time but we were not aware of this powerful module and how easy it is to use for making portfolios on websites. Thanks for sharing and looking forward to using in the future. We use Divi in our digital agency and really like Divi and its easy-to-use features.
https://cloudmedia.co.nz
This was informational, Divi is really powerful but didn’t know this feature was available. Thankyou!
Thank you very much for this blog post, it helped me a lot to harmonize one of my pages a little better!
I am trying to eliminate some of the “padding”/ gutter width between the images in the grid and have googled my brains out to no avail. Any ideas?