Changing website logos can be a time-consuming process. This is especially true if the website uses different headers for different templates. If you use an image for each one of those headers, you’ll have to manually get in there and change each one of them. Fortunately, Divi can display your website’s logo dynamically, saving you time! In this post, we’ll see how to use a dynamic logo inside Divi’s Fullwidth Menu Module.
Let’s get started!
Subscribe To Our Youtube Channel
Why Use a Dynamic Logo?
The dynamic logo option lets Divi users change their website logos in a single location. That change is then reflected in every module that uses the dynamic logo. This simplifies the process.
It’s especially helpful in headers, and even more helpful when there are several menu modules in use since it reduces the time it takes to make the changes. It also keeps the Divi user from making a mistake by forgetting to change one of the headers.
Why would Divi users need more than one menu module? The Divi Theme Builder allows Divi users to create multiple headers to use on various pages across their websites. This opens up lots of design possibilities for headers across the Divi website.
It’s not uncommon to have a header for the homepage, one for the blog, one for a services page, one for a CTA landing page, and lots more. It’s also not uncommon for these headers to use the same logo. This would require the Divi user to open every header template and change the logo in every menu module. Even using the copy and paste features requires the Divi user to open each template.
Theme Builder Example
In my example below, I’ve built 10 custom headers and assigned them to various pages on my website. Each header has a custom design, with different colors, CTAs, and layouts, but they all use the same logo. If I want to change the logo for my website, and I wasn’t using a dynamic logo, I’d have to open each Divi Fullwidth Menu Module and make the change manually.
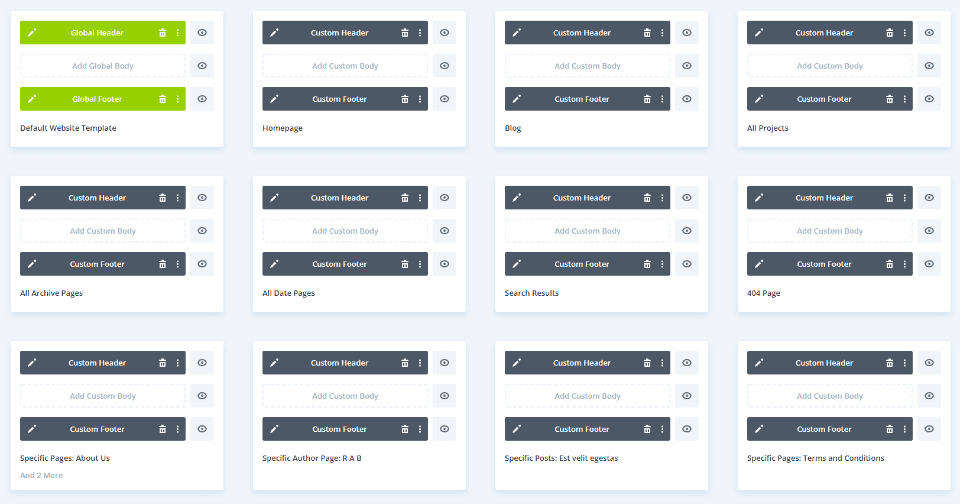
If I had the dynamic logo option set up in each module, the logo would change in every module automatically. Let’s see how to select the logo dynamically.
To get started, open the Fullwidth Menu Module that you want to use a dynamic logo. I’m adjusting the header template in the Divi Theme Builder. For this example, I’ll assume you have a Fullwidth Menu Module already set up with a logo selected.
Open the Divi Theme Builder
To use a dynamic logo, go to Divi > Theme Builder in the WordPress dashboard.
- Divi
- Theme Builder
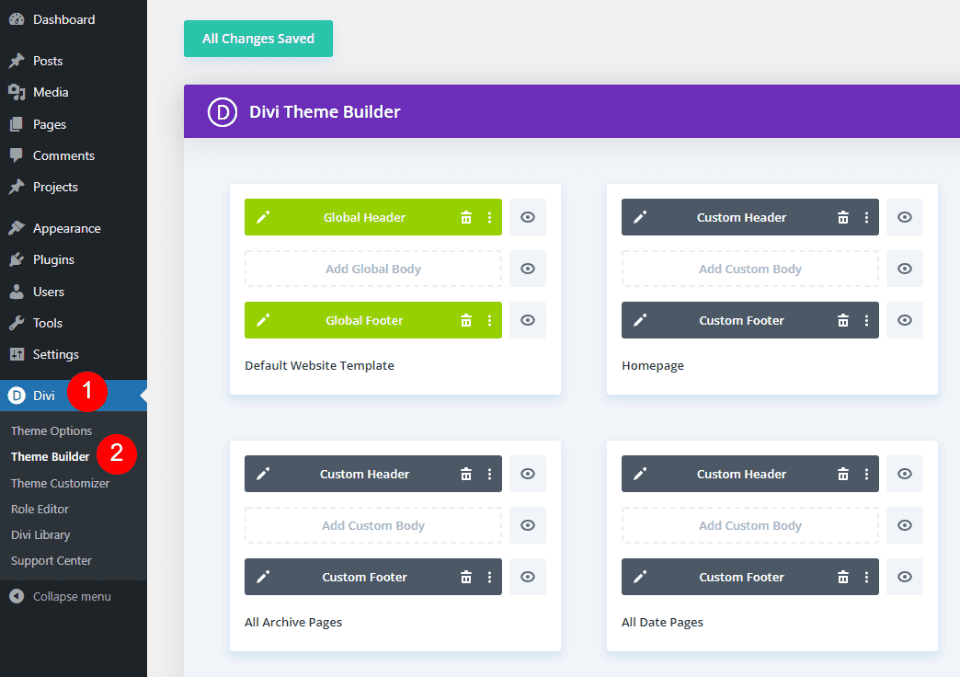
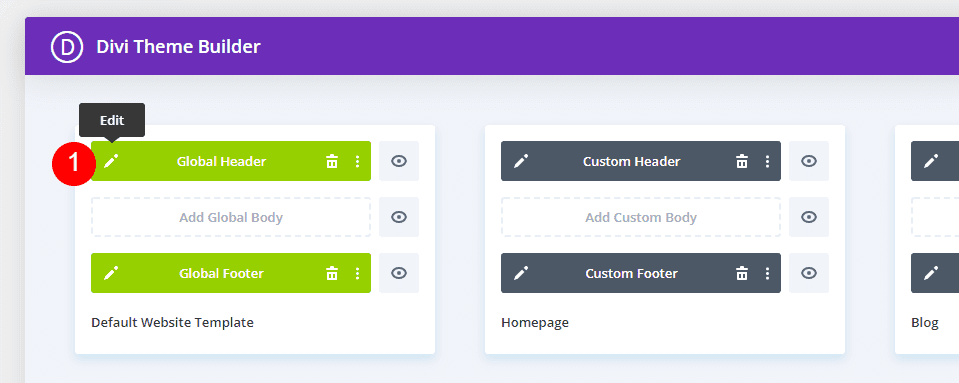
Select the edit icon for the header you want to modify. Wait for the editor to open.
- Edit
Change the Logo to Dynamic Content
Next, open the settings for the Fullwidth Menu Module by selecting its gear icon.
- Fullwidth Menu Module settings

In the Content tab, scroll down to the section called Logo. Hover over the logo image and click the trash can icon. You can also click the circular reset icon if you prefer.
- Trash can
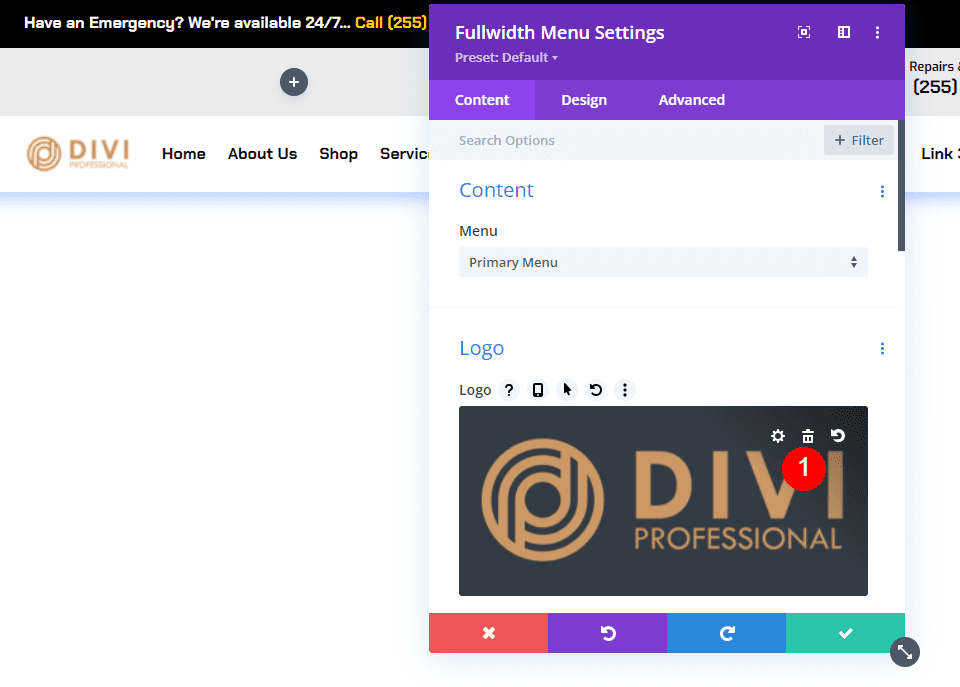
Next, hover over the image area to reveal the Dynamic Content icon. Click the icon to open the Dynamic Content choices.
- Dynamic Content
![]()
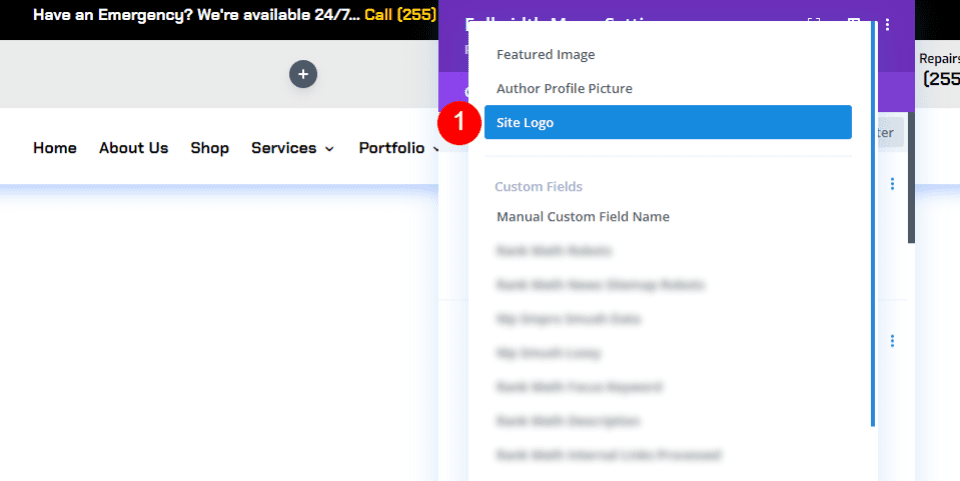
A modal opens with lots of options to choose from. Select Site Logo in the top section.
- Site Logo
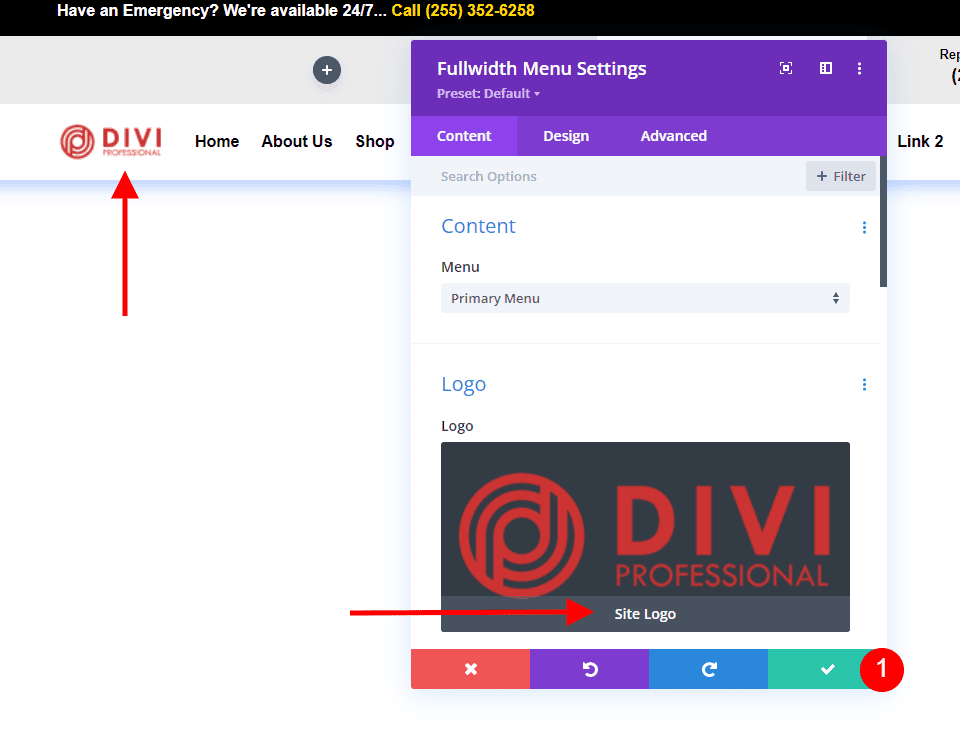
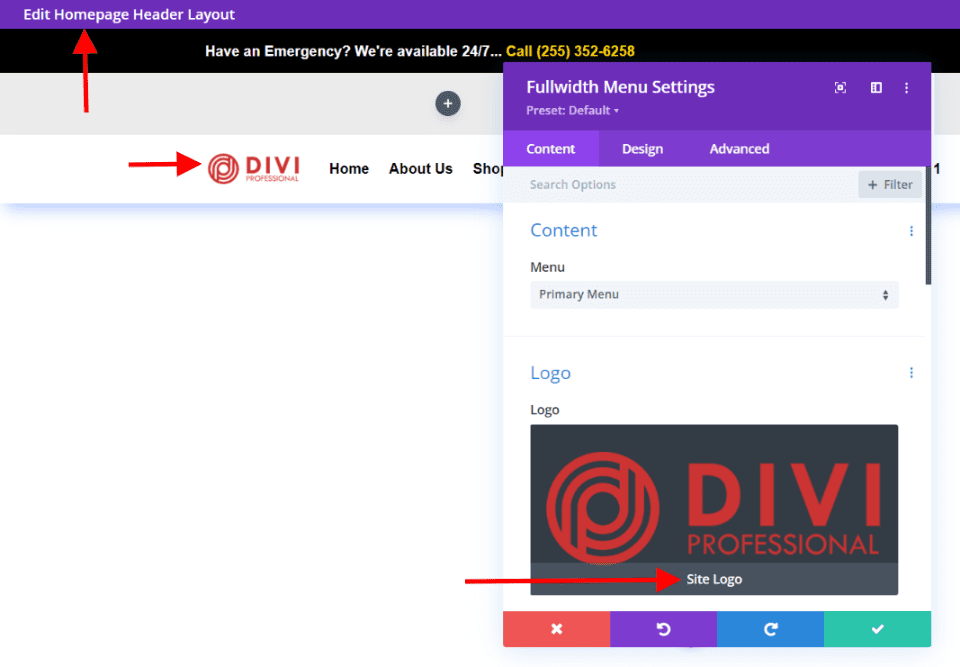
You’ll see the new logo appear in your header’s menu that’s specified in the Divi Theme Options (more on that in a minute). Under the logo in the Logo selection settings, you’ll see the message “Site Logo”. This indicates that the module is now displaying the dynamic logo. Click the green button to close the module.
- Close
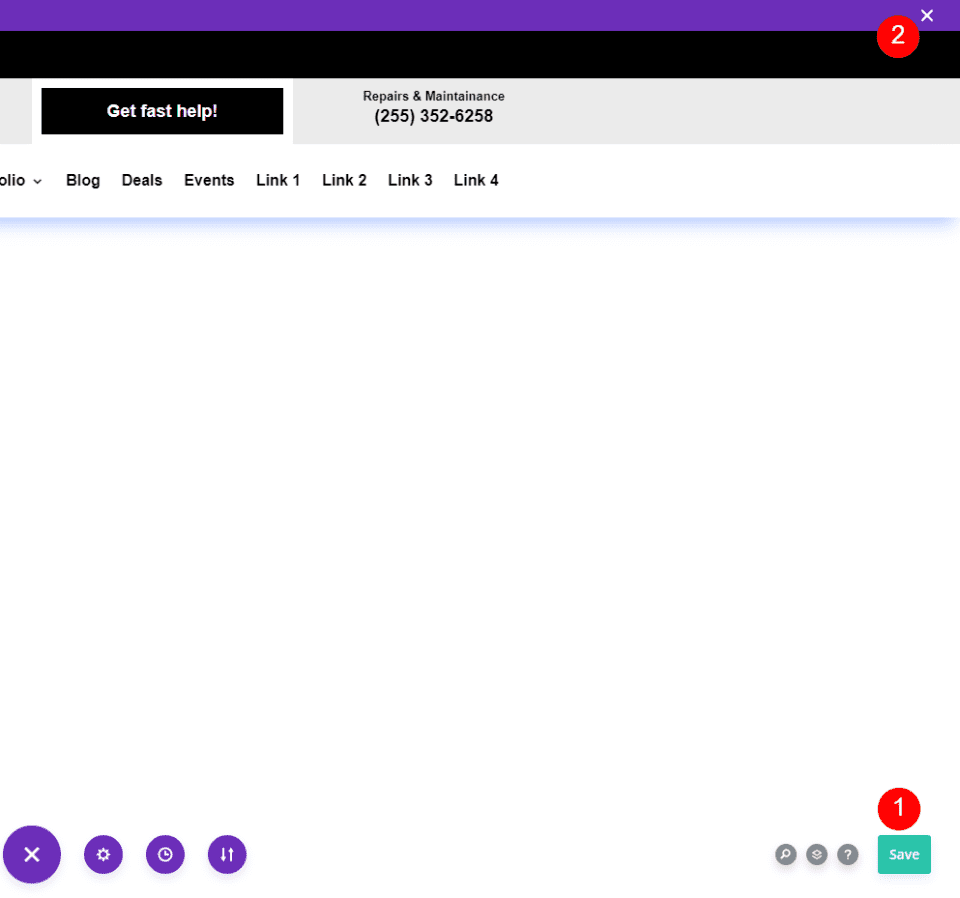
Next, save the layout by clicking the green Save button in the lower right corner and clicking the X in the upper right corner to close the editor.
- Save
- Exit
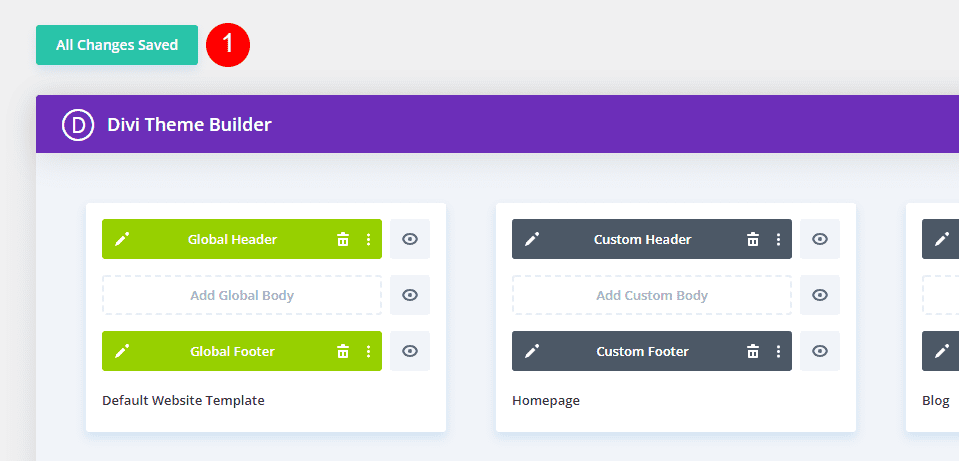
Finally, click Save Changes in the upper left corner of the Theme Builder screen.
- Save Changes
The new logo automatically changes on the front end for every Fullwidth Menu Module that you’ve set up to use a dynamic logo. We don’t have to change it on this page because it’s pulling the logo dynamically. For more information about using dynamic content with Divi, search the Elegant Themes blog for “dynamic content“.
Perform this set of steps for every Fullwidth Menu Module you want to use the dynamic logo. We recommend performing this task as you copy or create the headers.
Now, let’s see how to edit the Divi logo so that it changes in the Fullwidth Menu Module.
How to Change the Logo in Divi
Next, let’s see how to tell Divi which logo to use. Every time you want to change the logo, perform the following set of steps. The logo changes dynamically, so Divi users never need to open the Fullwidth Menu Module to change the logo.
Divi Logo Before
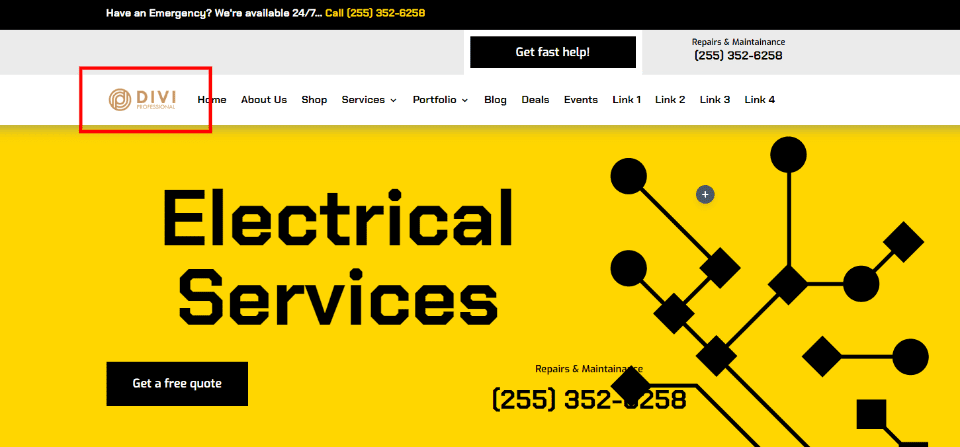
To help understand what’s happening, let’s look at the logo on the front end of the site before and after the change. First, here’s a look at the current logo on my test site. This is set up in the Divi Theme Options.
Change the Divi Logo
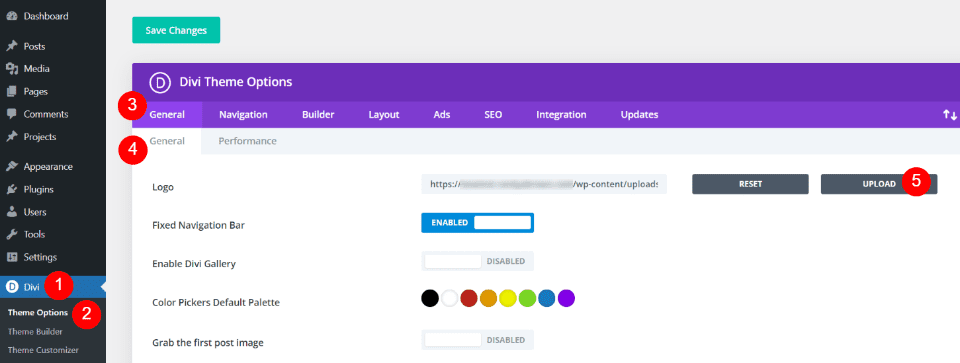
To change the Divi logo, go to Divi > Theme Options in the WordPress dashboard. The first tab, General, has a field called Logo. It includes a field with the logo’s URL, a button to reset the logo to the default, and a button to upload a logo to the Media Library. I currently have a logo set, which is the logo seen in the Before image above. Upload or select the image you want to use. Select the Upload button.
- Divi
- Theme Options
- 1st General tab
- 2nd General tab
- Upload
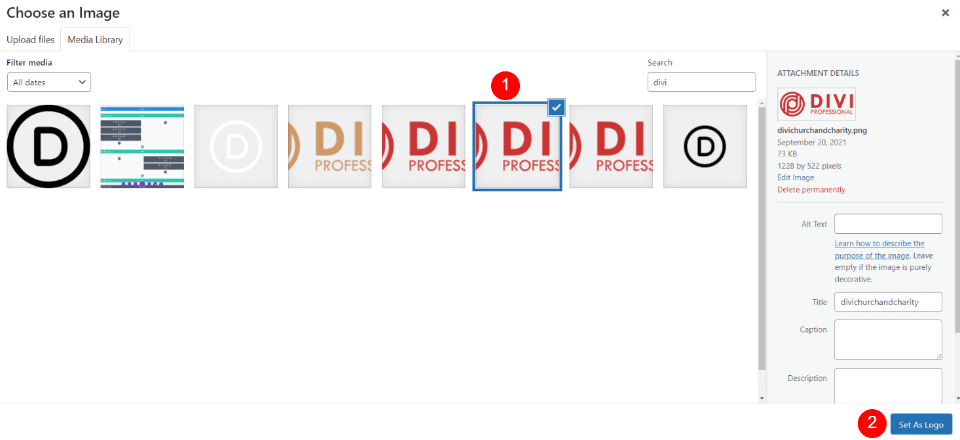
This opens the media folder where you can choose an image from the Media Library or upload a new image. Choose your logo and click Set As Logo in the lower right corner of the Media Library screen.
- Select image
- Set As Logo
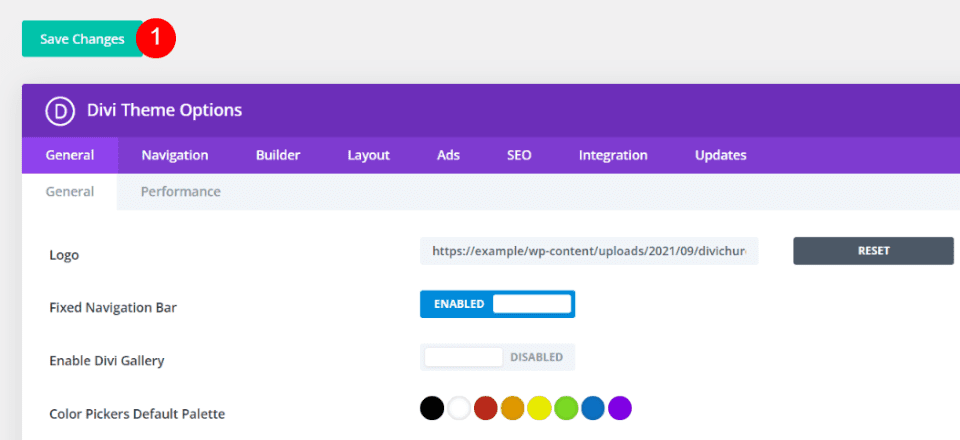
Click Save Changes in the upper left corner of the screen above the Divi Theme Options. Now, every template that includes the Fullwidth Menu Module with the dynamic logo setting has automatically changed the logo to show your new logo.
- Save Changes
Divi Logo After
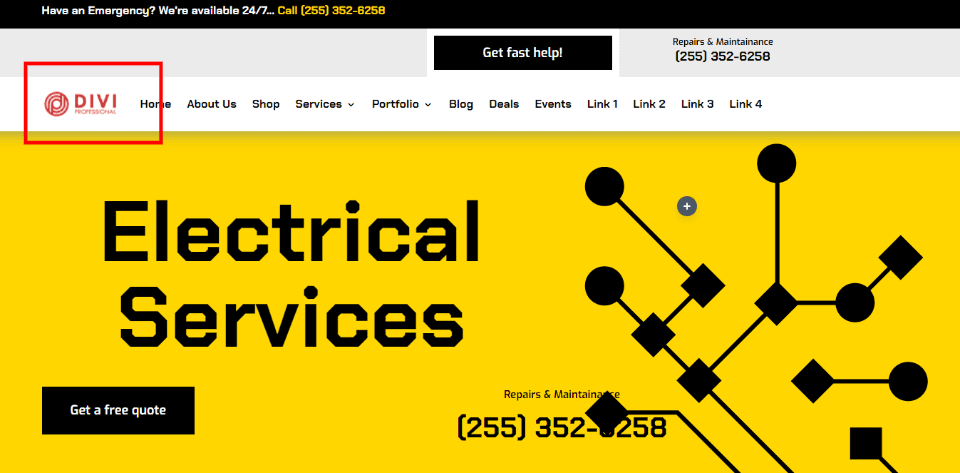
The front end of my site now shows the new logo, even though I didn’t open the Theme Builder and make changes there. This change was automatically reflected in every Fullwidth Menu Module that uses the dynamic logo.
As another example, when we open any of the templates in the Theme Builder, we’ll see the new logo. This example shows the Homepage Header Layout with the logo already updated with no further input from me.
Ending Thoughts
That’s our look at how to use a dynamic logo in Divi’s Fullwidth Menu Module. The dynamic logo is easy to set up in the module. Using a dynamic logo can save a lot of time when changing the logo on a Divi website. Even if you only use one Fullwidth Menu Module, the dynamic logo simplifies the process. When using multiple modules, dynamic logos make an even larger impact on time savings and reduce mistakes.
We want to hear from you. Do you use dynamic logos with your Fullwidth Menu Module? Let us know in the comments.



I absolutely love Divi Dynamic Content.
If you want even more powerful Dynamic Content, check out the plugin by DiviBooster “Divi Dynamic Content Extended”.
It lets you utilize dynamic content from a central location using “Settings/Options Pages” and works with ACF and Meta Box fields. This allows you to create a settings page with any fields you like for you client, and you can utilize those fields directly in Divi from ANYWHERE on your site. A client can change their business email or phone number in one easy spot, and it changes EVERYWHERE on the website automatically. Super useful.