Welcome to the future of writing! It’s no secret that writing quality content on your blog can help boost your SEO, increase your visibility in search results, and demonstrate your expertise. However, writing blog posts can be time-consuming and labor-intensive! By utilizing Divi AI, you can produce better content faster than ever.
Yes, you read that right – Divi AI can write captivating blog posts too! If you’ve ever wondered how this revolutionary technology works and how it can assist you in crafting unique and engaging articles, then prepare to have your mind blown. Join us as we demystify writing compelling blog posts with Divi AI and explore the endless possibilities it holds for creating extraordinary blog posts that will captivate your readers like never before.
In celebration of the launch of Divi AI, we are offering a 40% off discount for unlimited Divi AI! for one week. Now’s the time to lock in those savings forever!
What Divi AI Can Do: A Brief Recap
We’ve been sharing all week about the fantastic power of Divi AI, but in case you haven’t heard about it, here’s a quick recap.
Divi AI is a powerful new web design assistant available within the Divi Builder. Divi AI can write copy, revise copy, and generate unique images. Whereas writing blog posts from scratch can take days to create and edit, writing a blog post with Divi AI can help banish writer’s block and help you create high-converting blog posts from start to finish faster than ever before.
How to Access Divi AI
To access Divi AI, you’ll need the following environment setup:
- You have website hosting and a domain.
- You have WordPress installed on your website.
- You have an Elegant Themes membership.
- You have the latest version of Divi activated and set as your theme (learn how to update Divi here).
Great! Now that your environment is set up and ready to go, let’s get to work!
How To Write A Blog Post With Divi AI
Subscribe To Our Youtube Channel
For our example, we’ll a blog post for a Digital Marketing Agency. To start, we’ll be using the free Digital Marketing Divi Layout Pack and the accompanying blog post Theme Builder template that goes with it.
Step One: Add a New Post
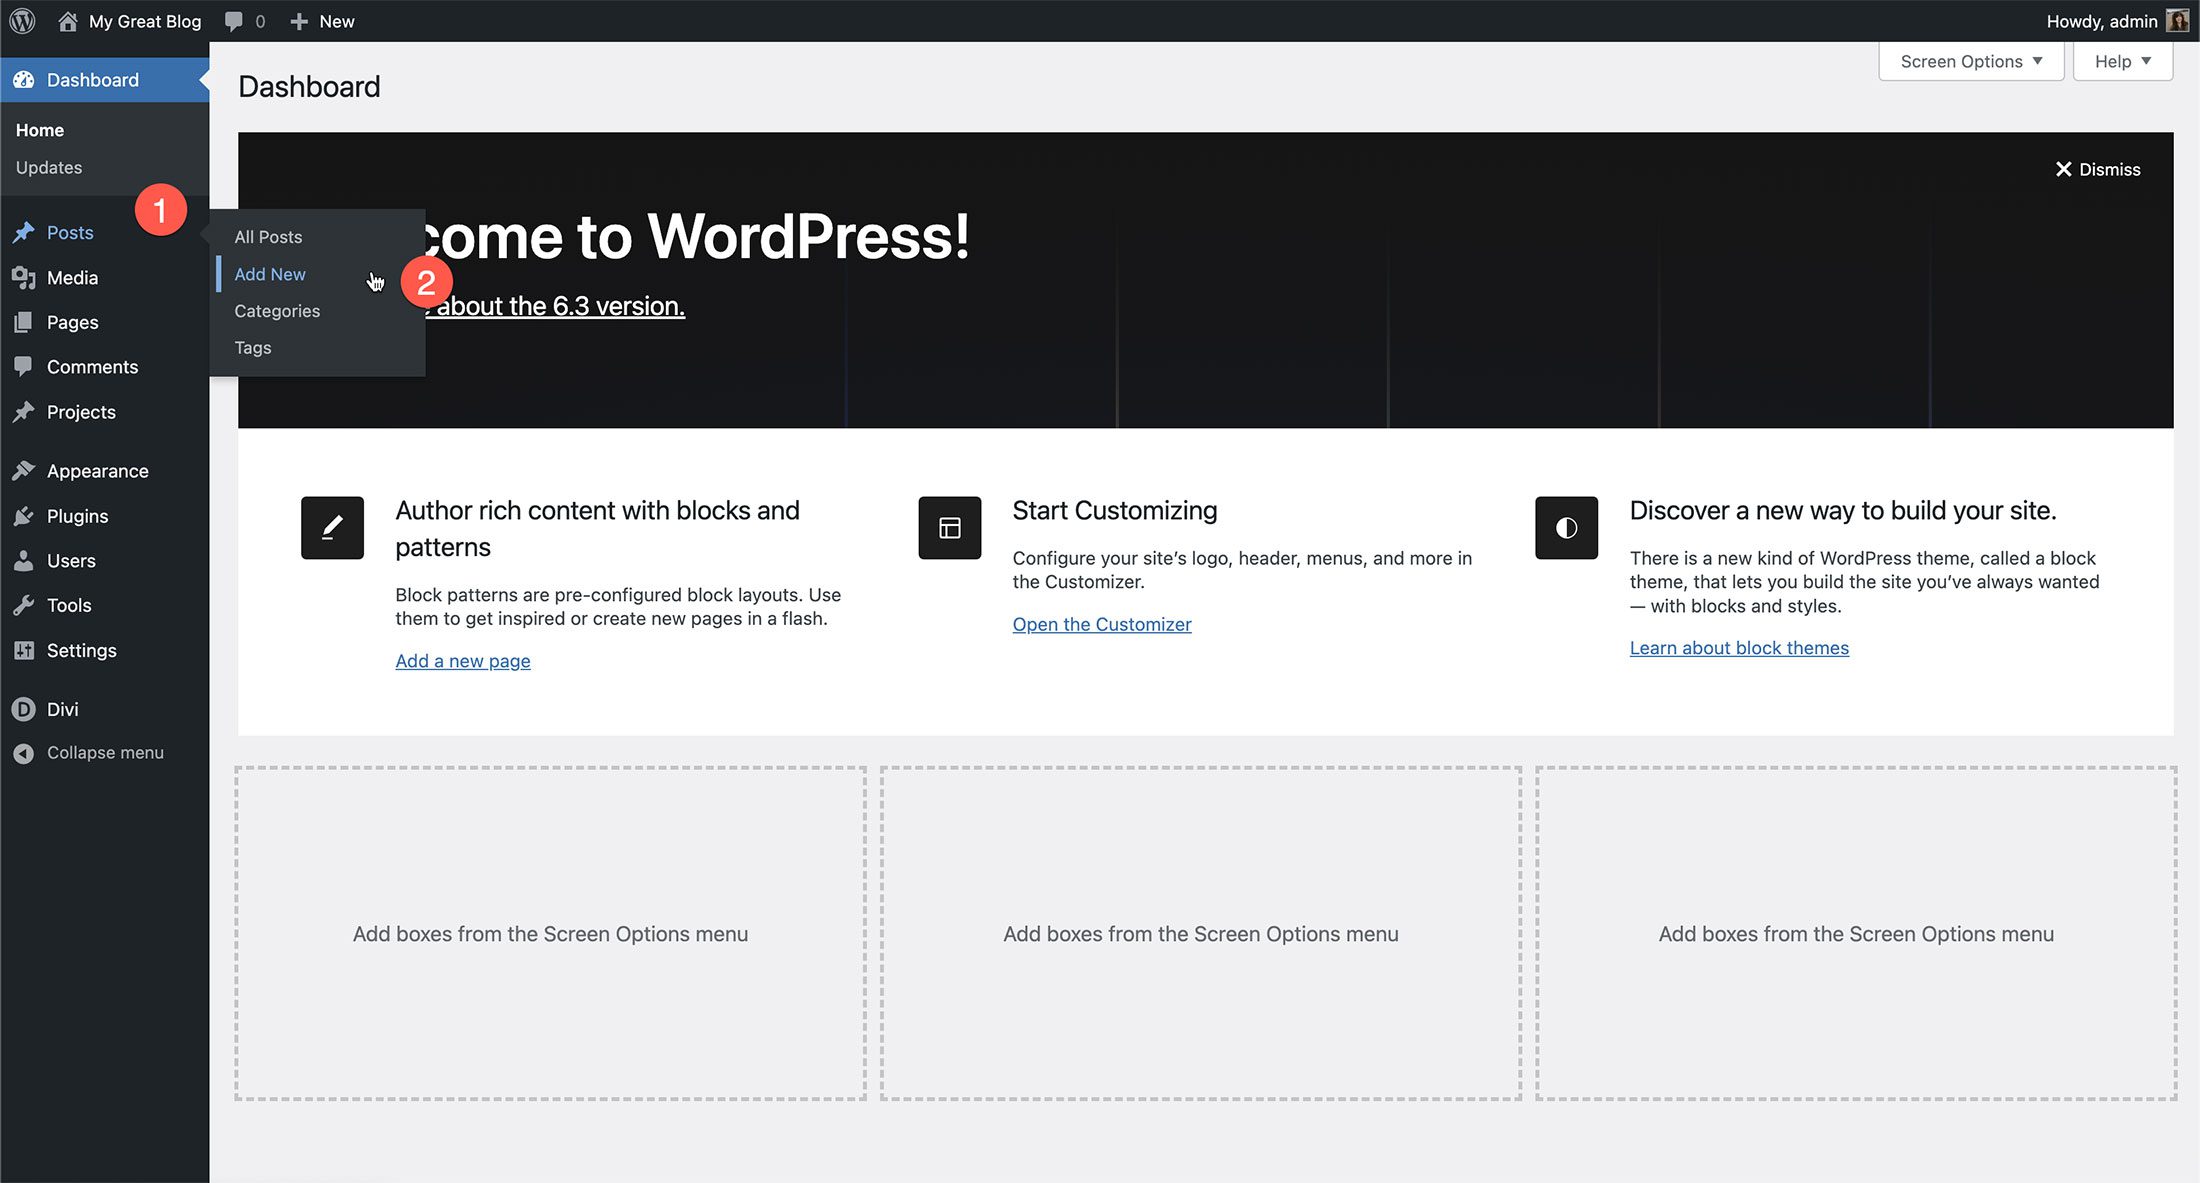
The first step is to navigate to your WordPress dashboard and add a new post. Hover over “Posts” in the lefthand sidebar and click “Add New” to add a new post.
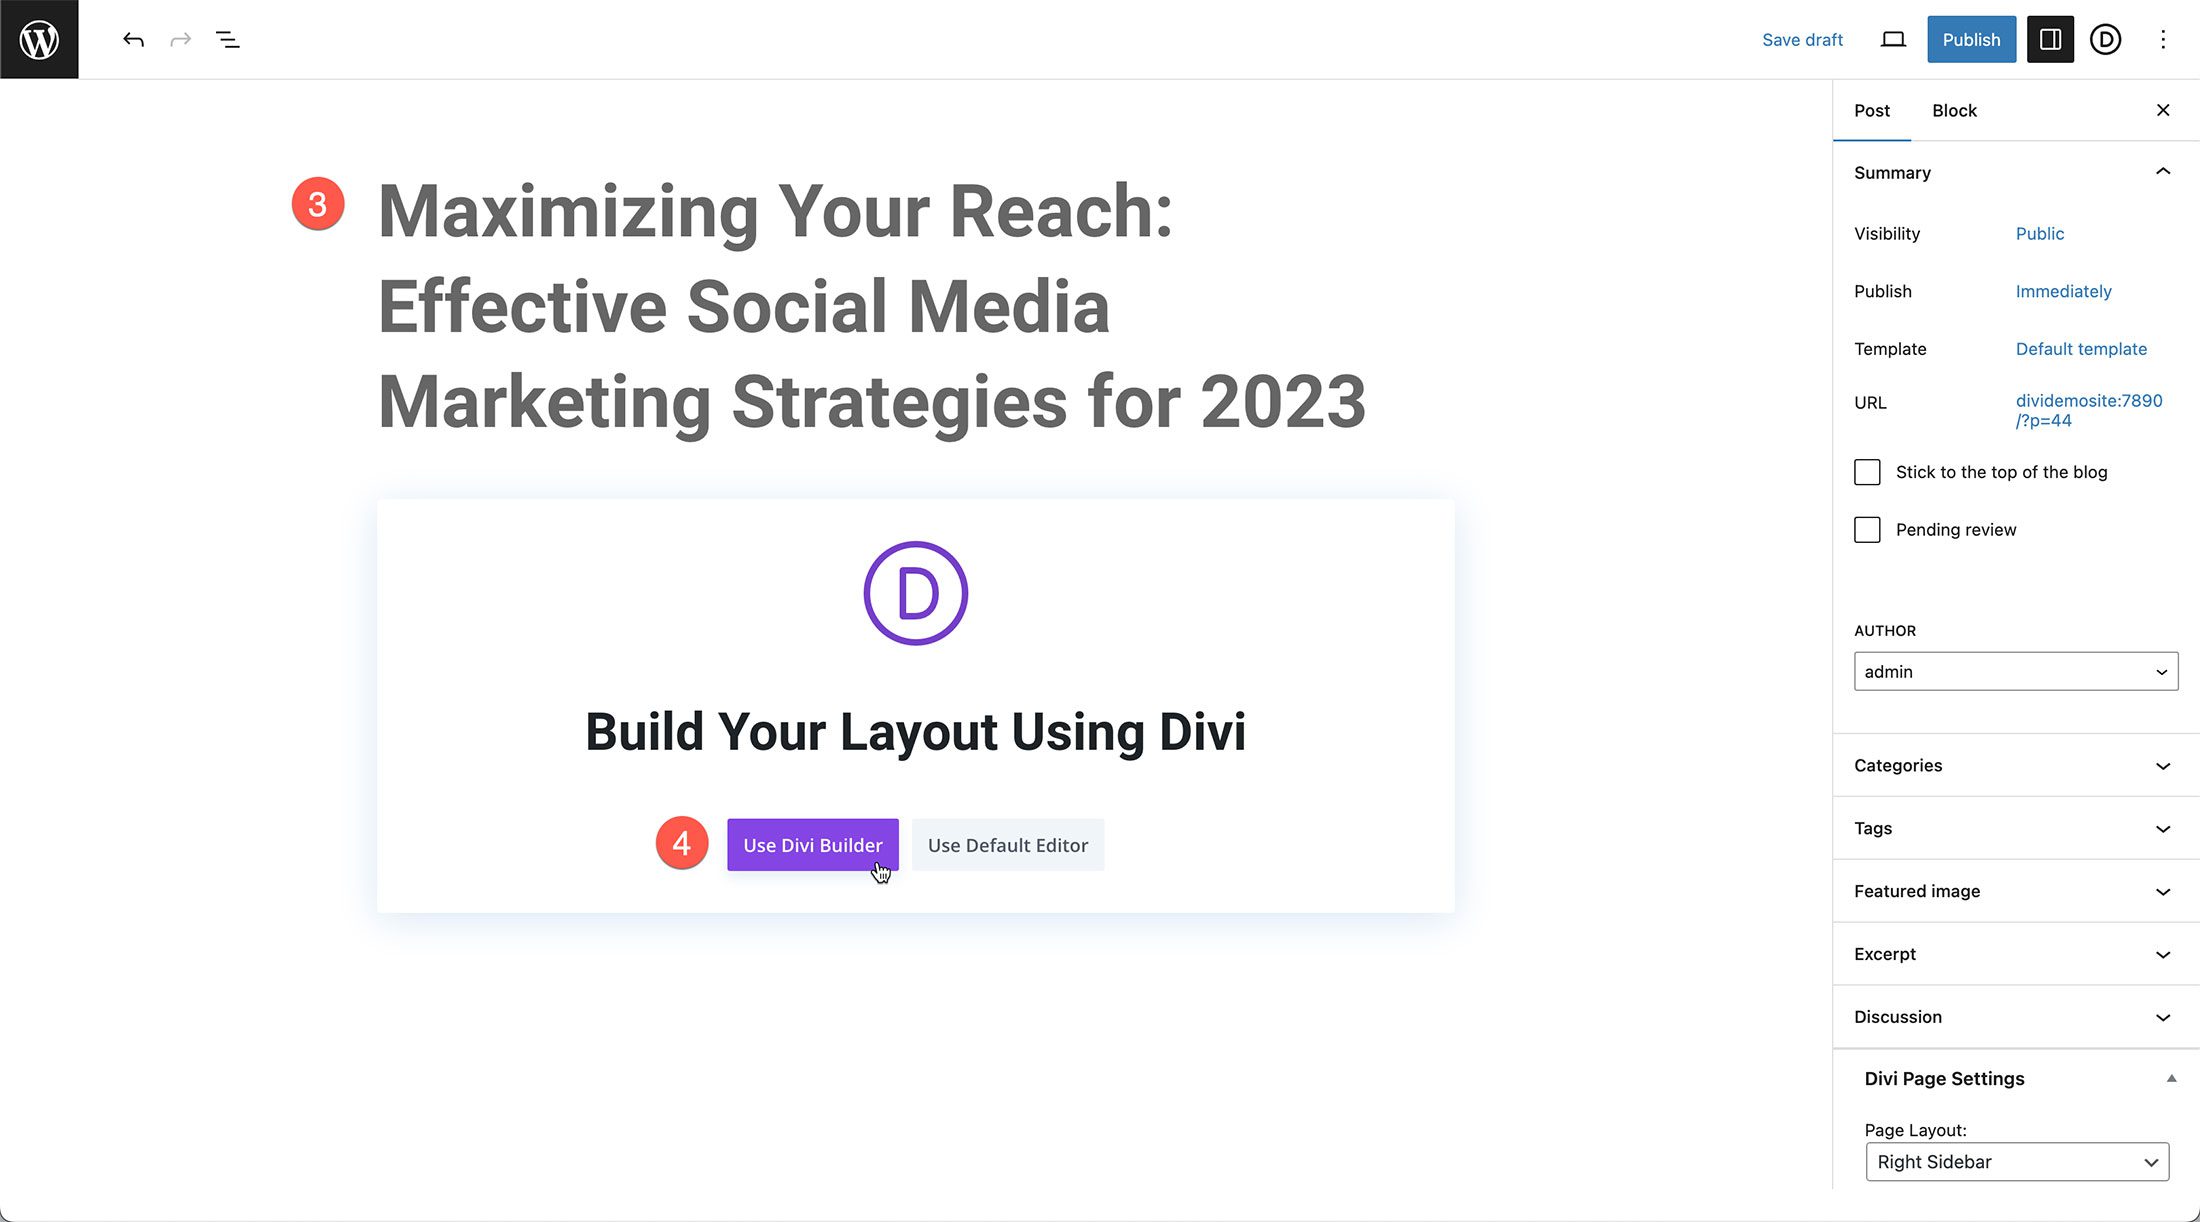
Give your blog post a title and click “Use Divi Builder.” This will reload your blog post on the front end so you can use the Divi Builder and Divi AI as you’re writing your blog post.
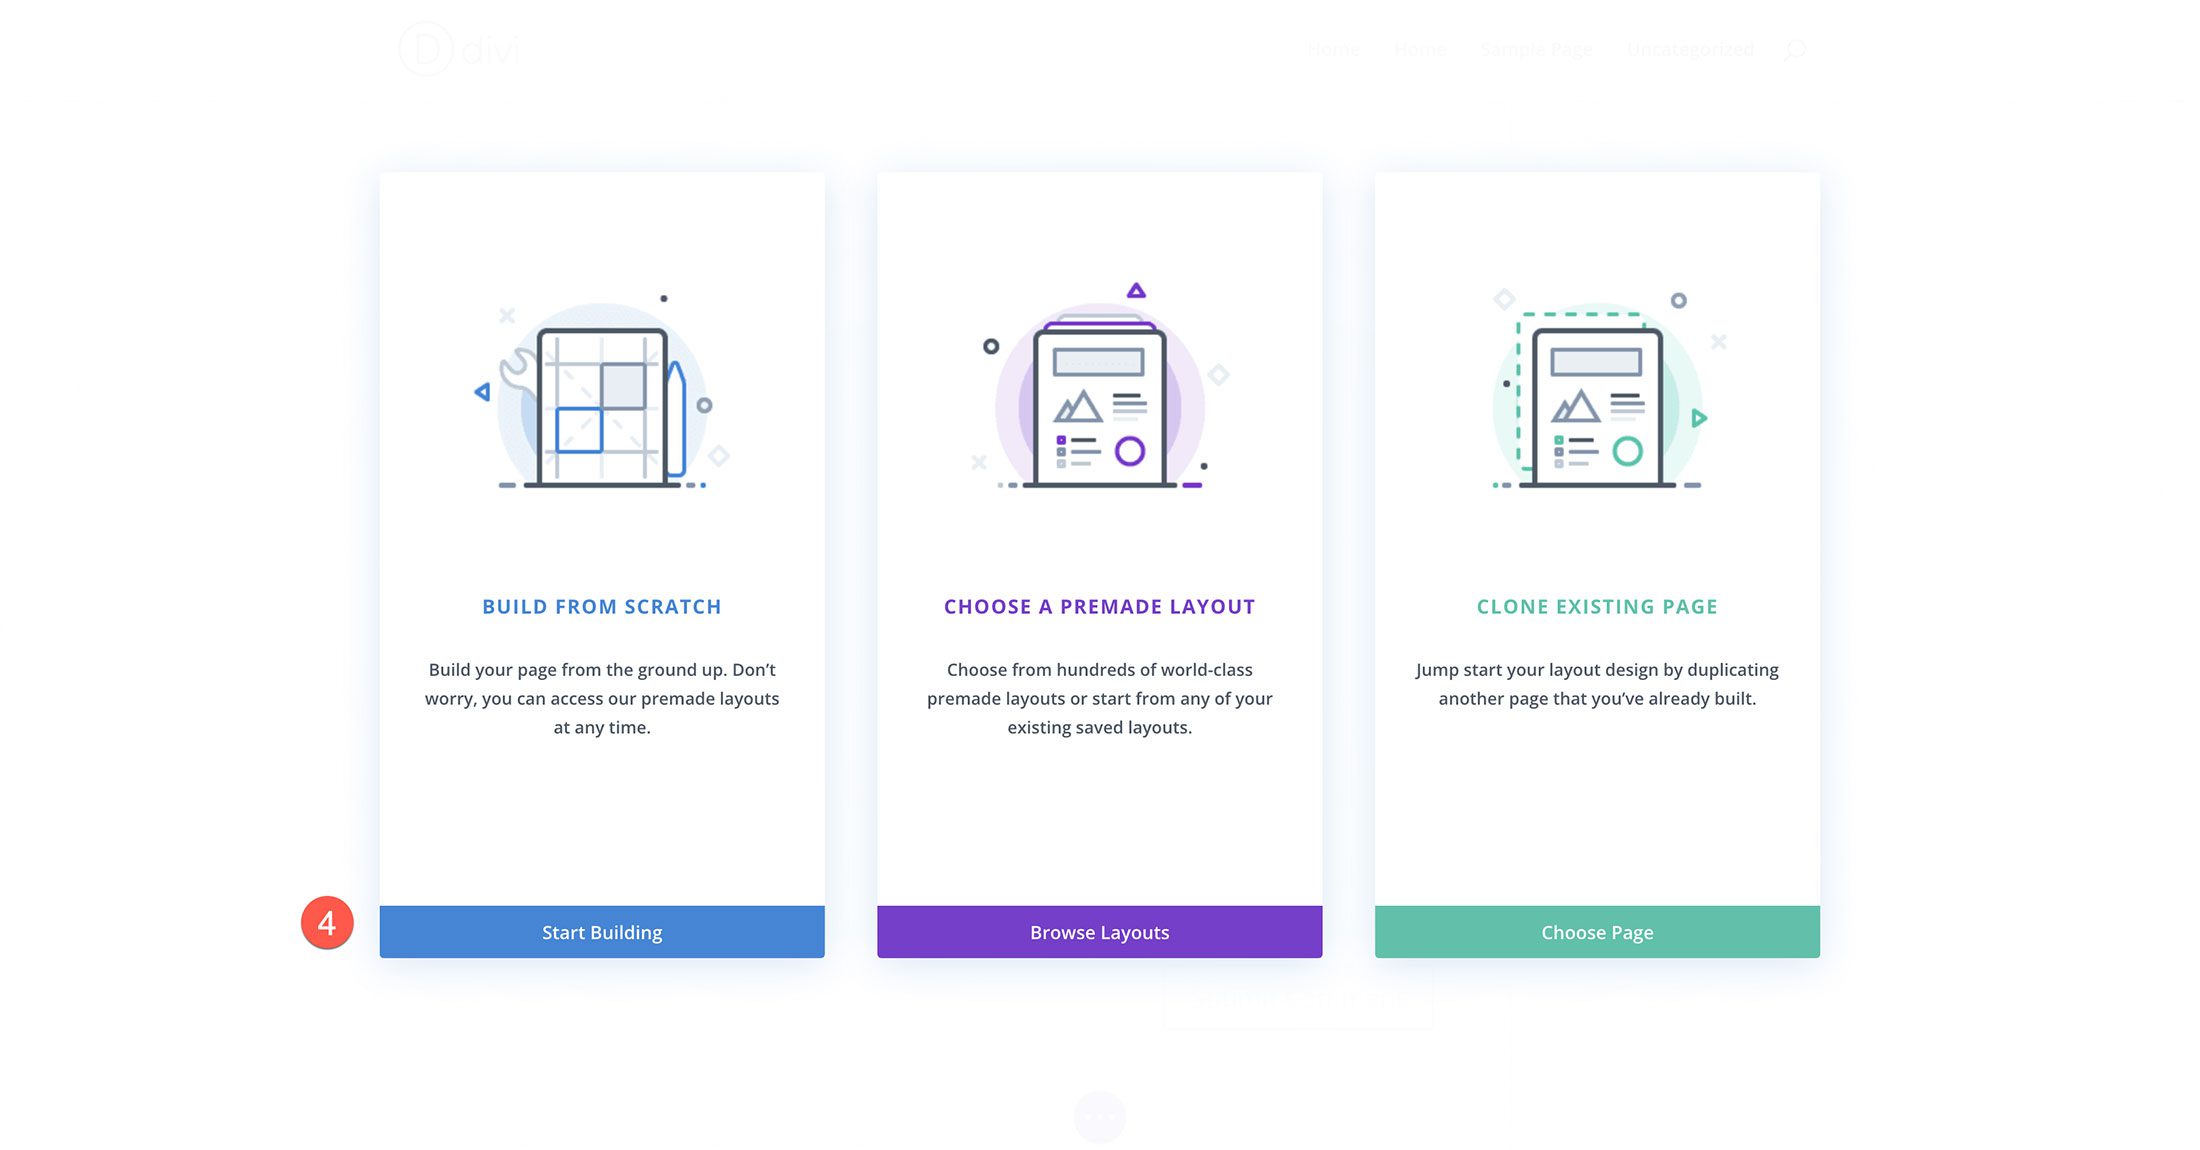
As your page reloads, you’ll see three options popup: Build from Scratch, Choose a Premade Layout, or Clone Existing Page. Select “Build From Scratch.”
Next, we need to add a row. Click on the green “+” button to load the row options.

Let’s add one full-width row by clicking on it.

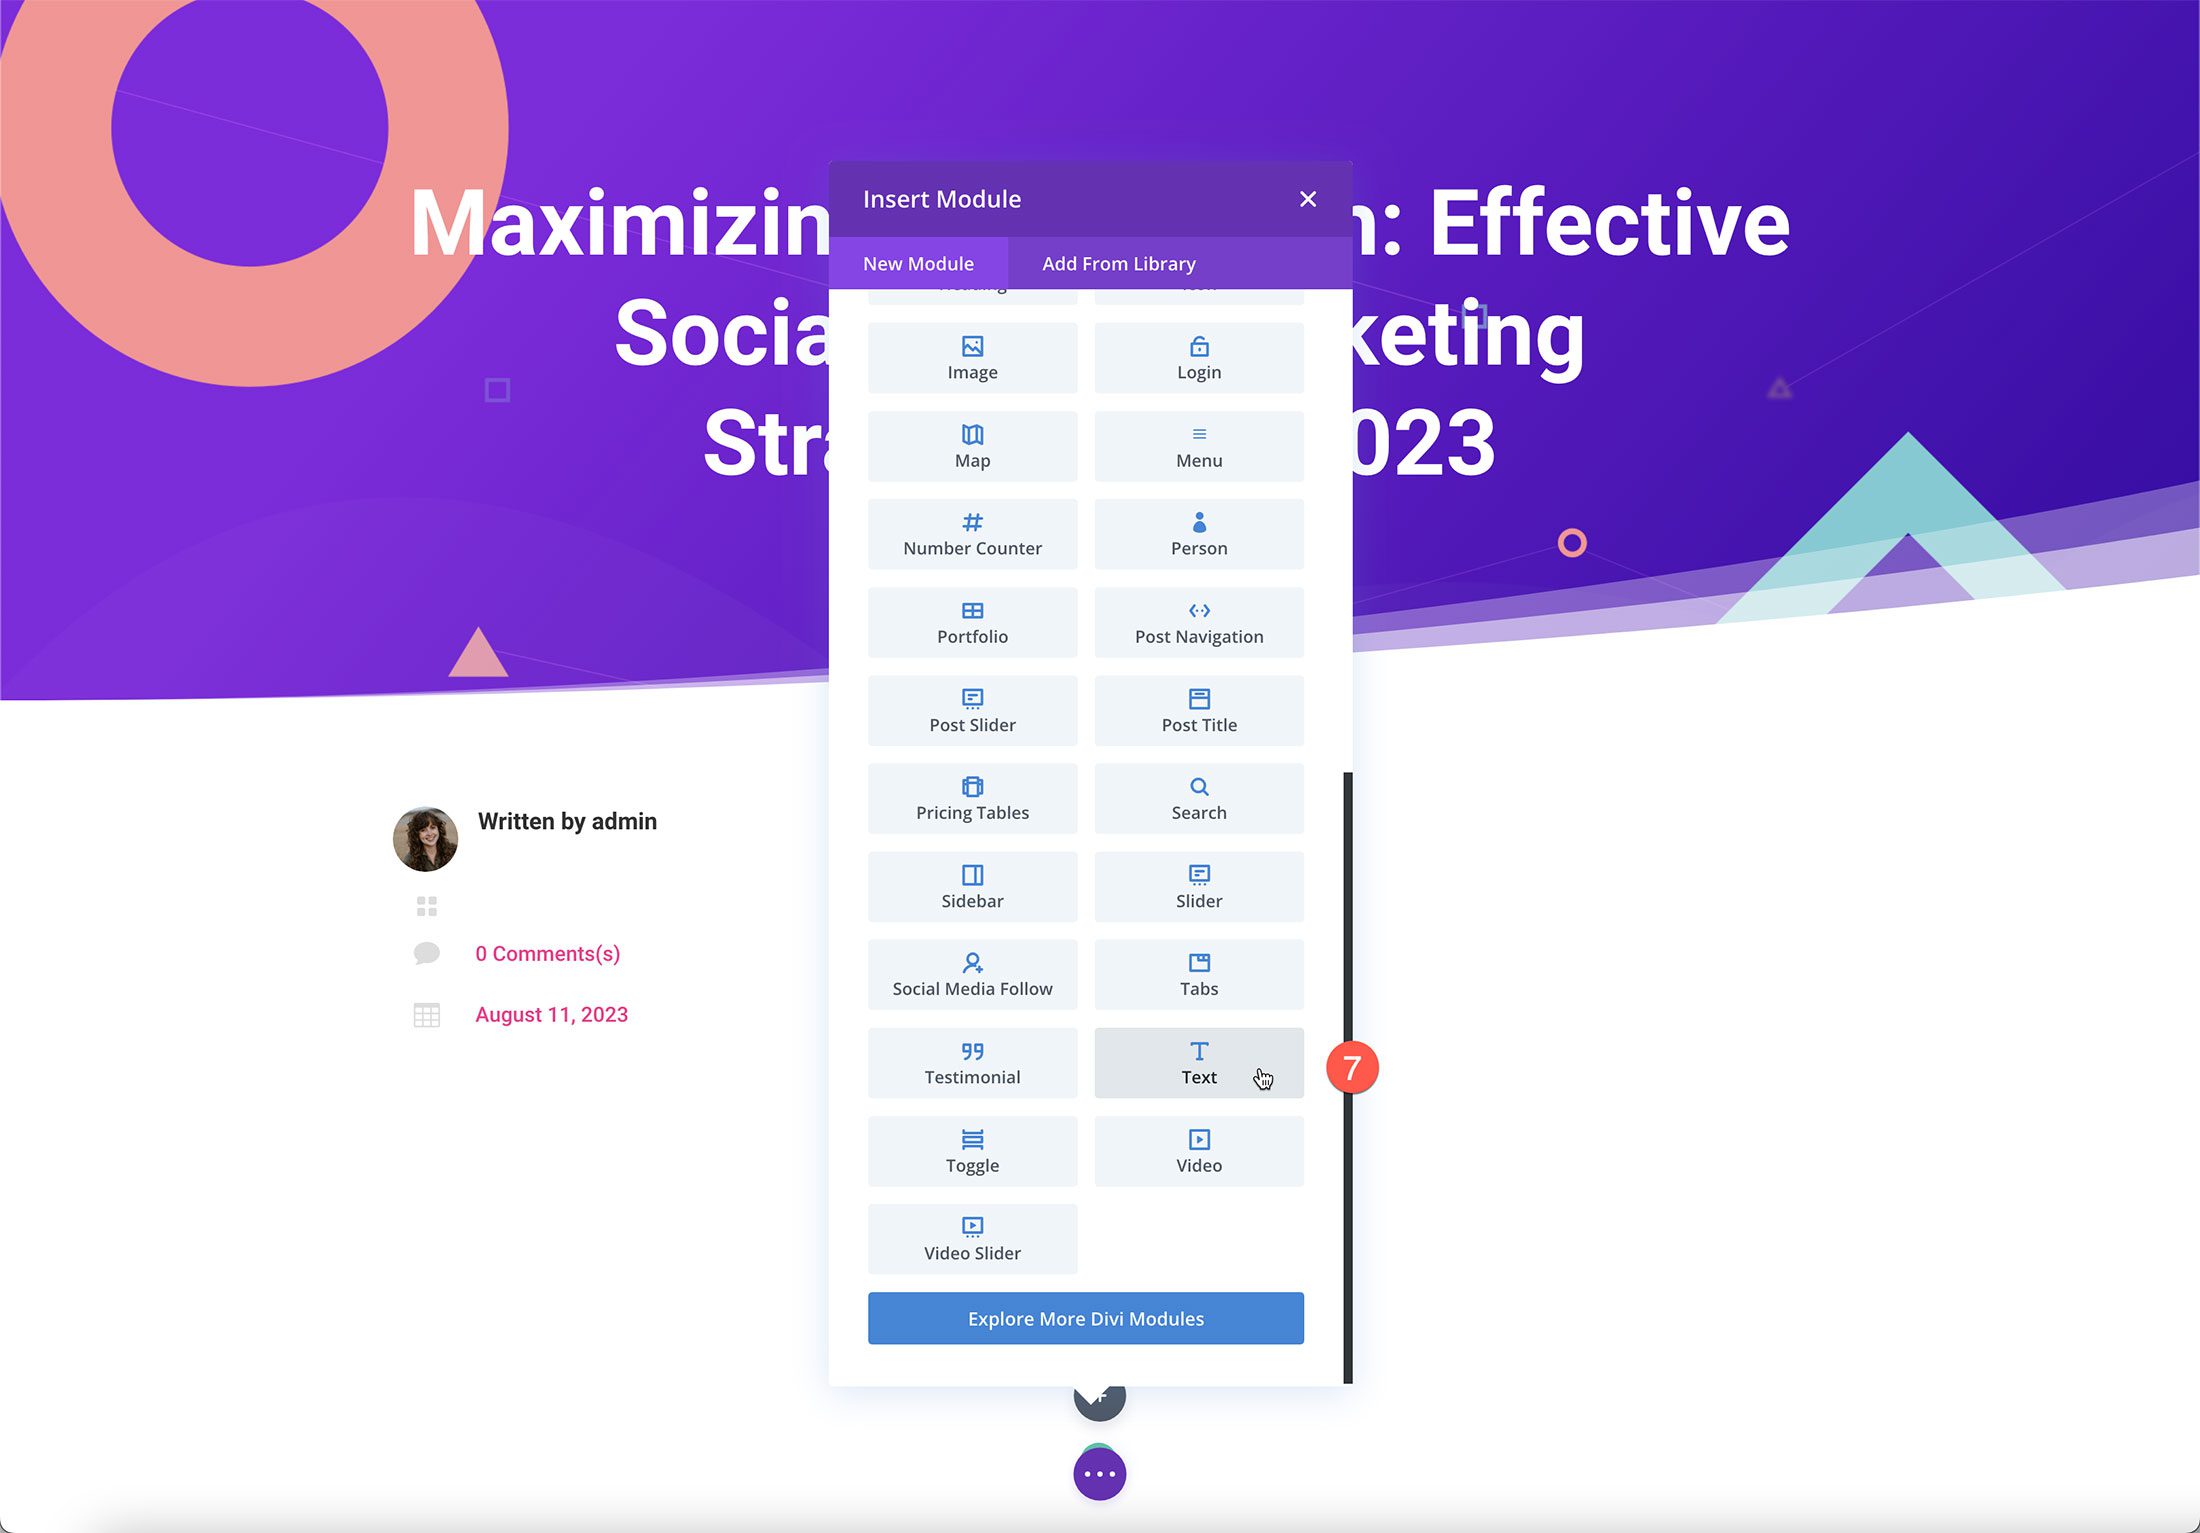
Next, click the grey “+” icon to load the module library. Scroll to “Text” and click it to load the text module.
By default, Divi modules load with demo content. There are two ways to generate text content with Divi AI in the Text module: by clicking the blue button at the top or by clicking the Divi AI icon in the text editor area.
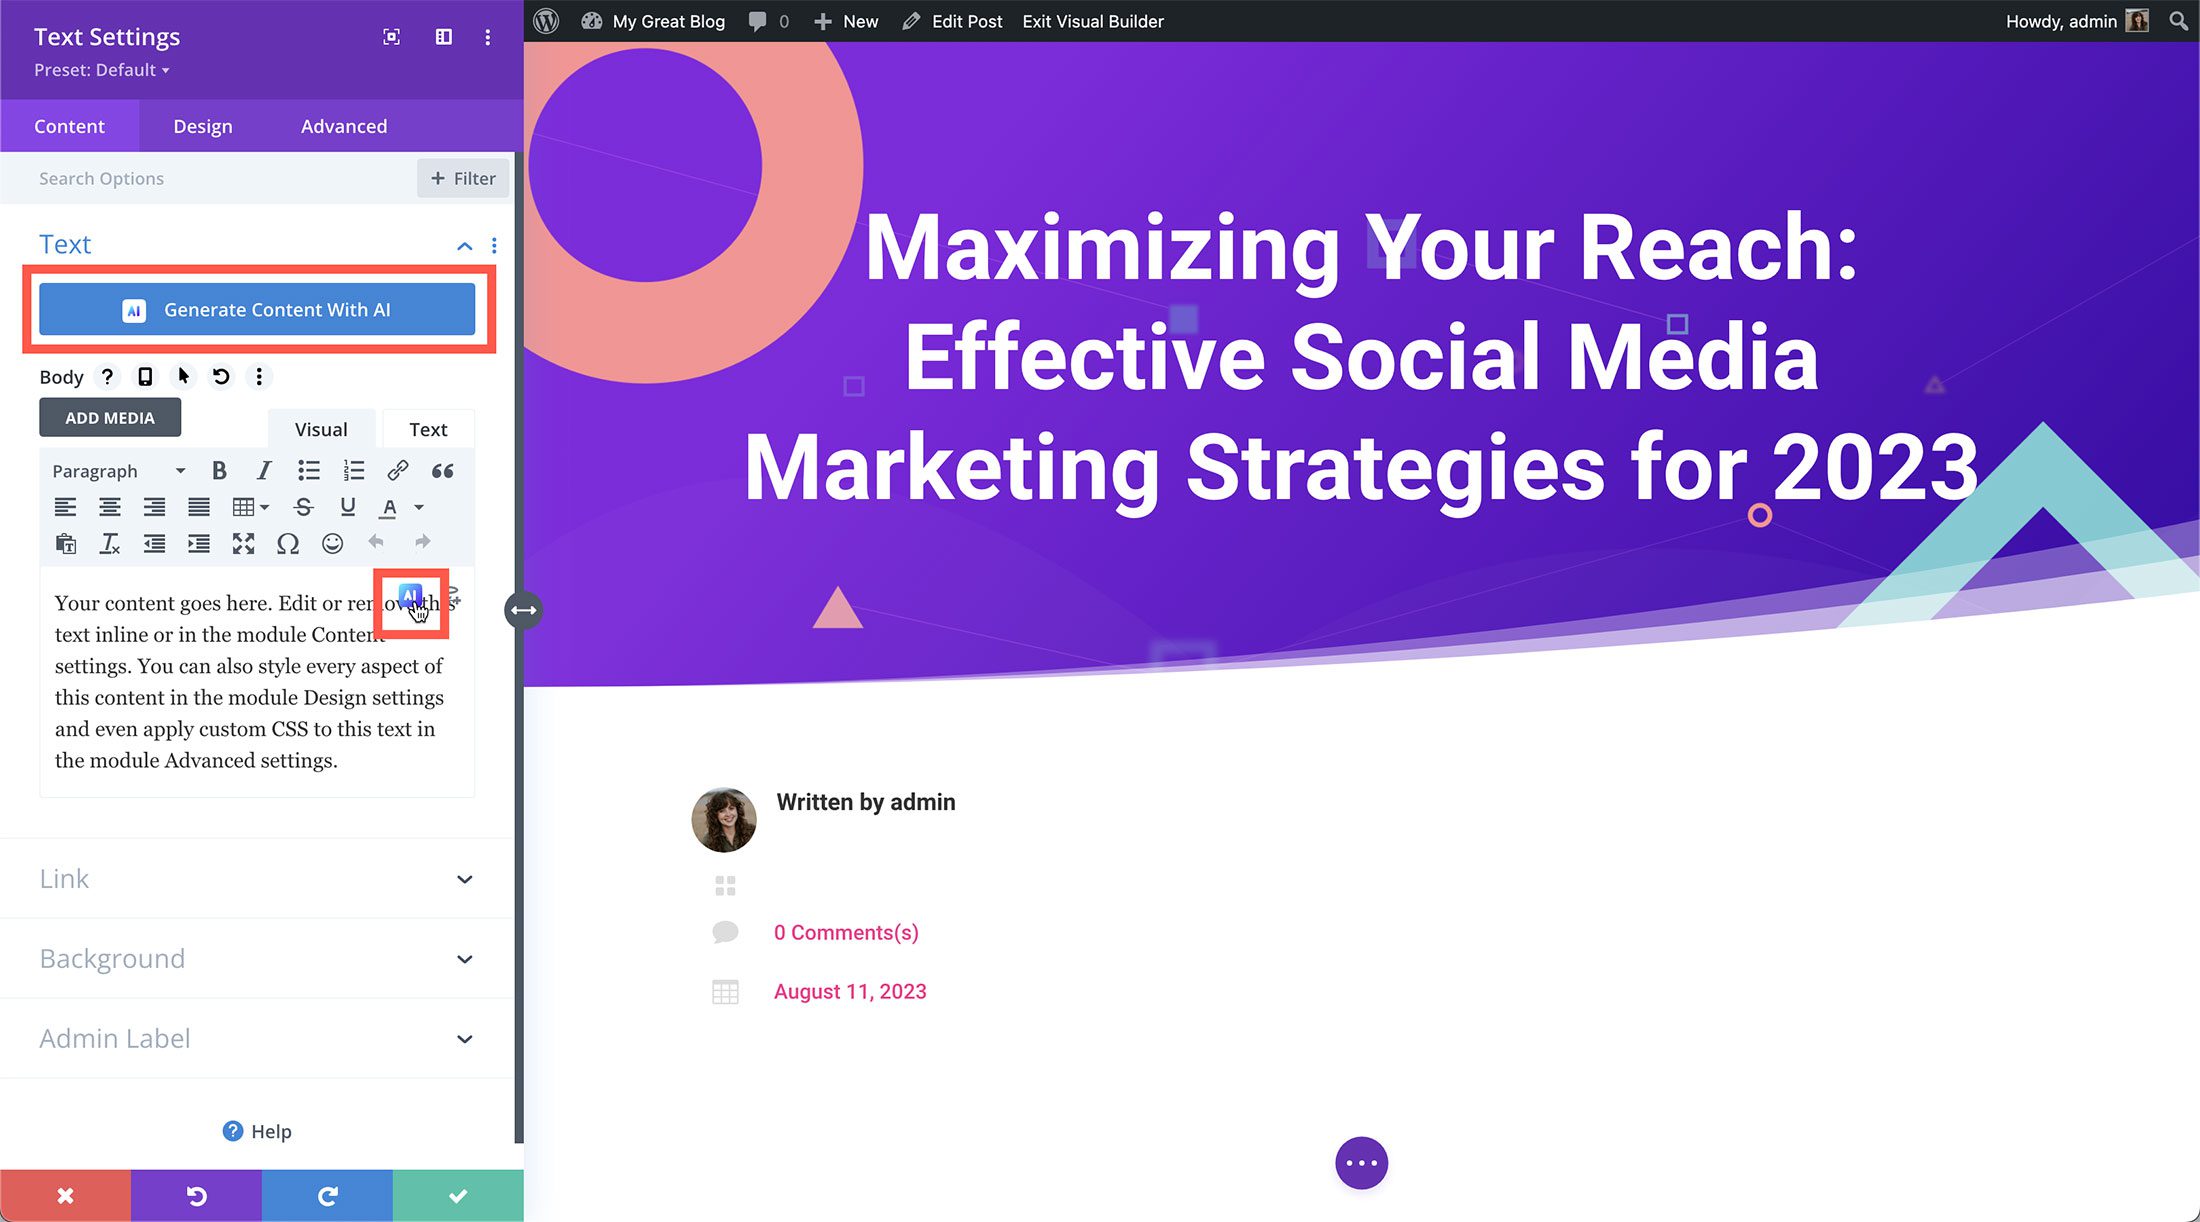
Let’s select the AI icon on the text editor to configure some settings before auto-generating text. Once clicked, select “Write With AI.”
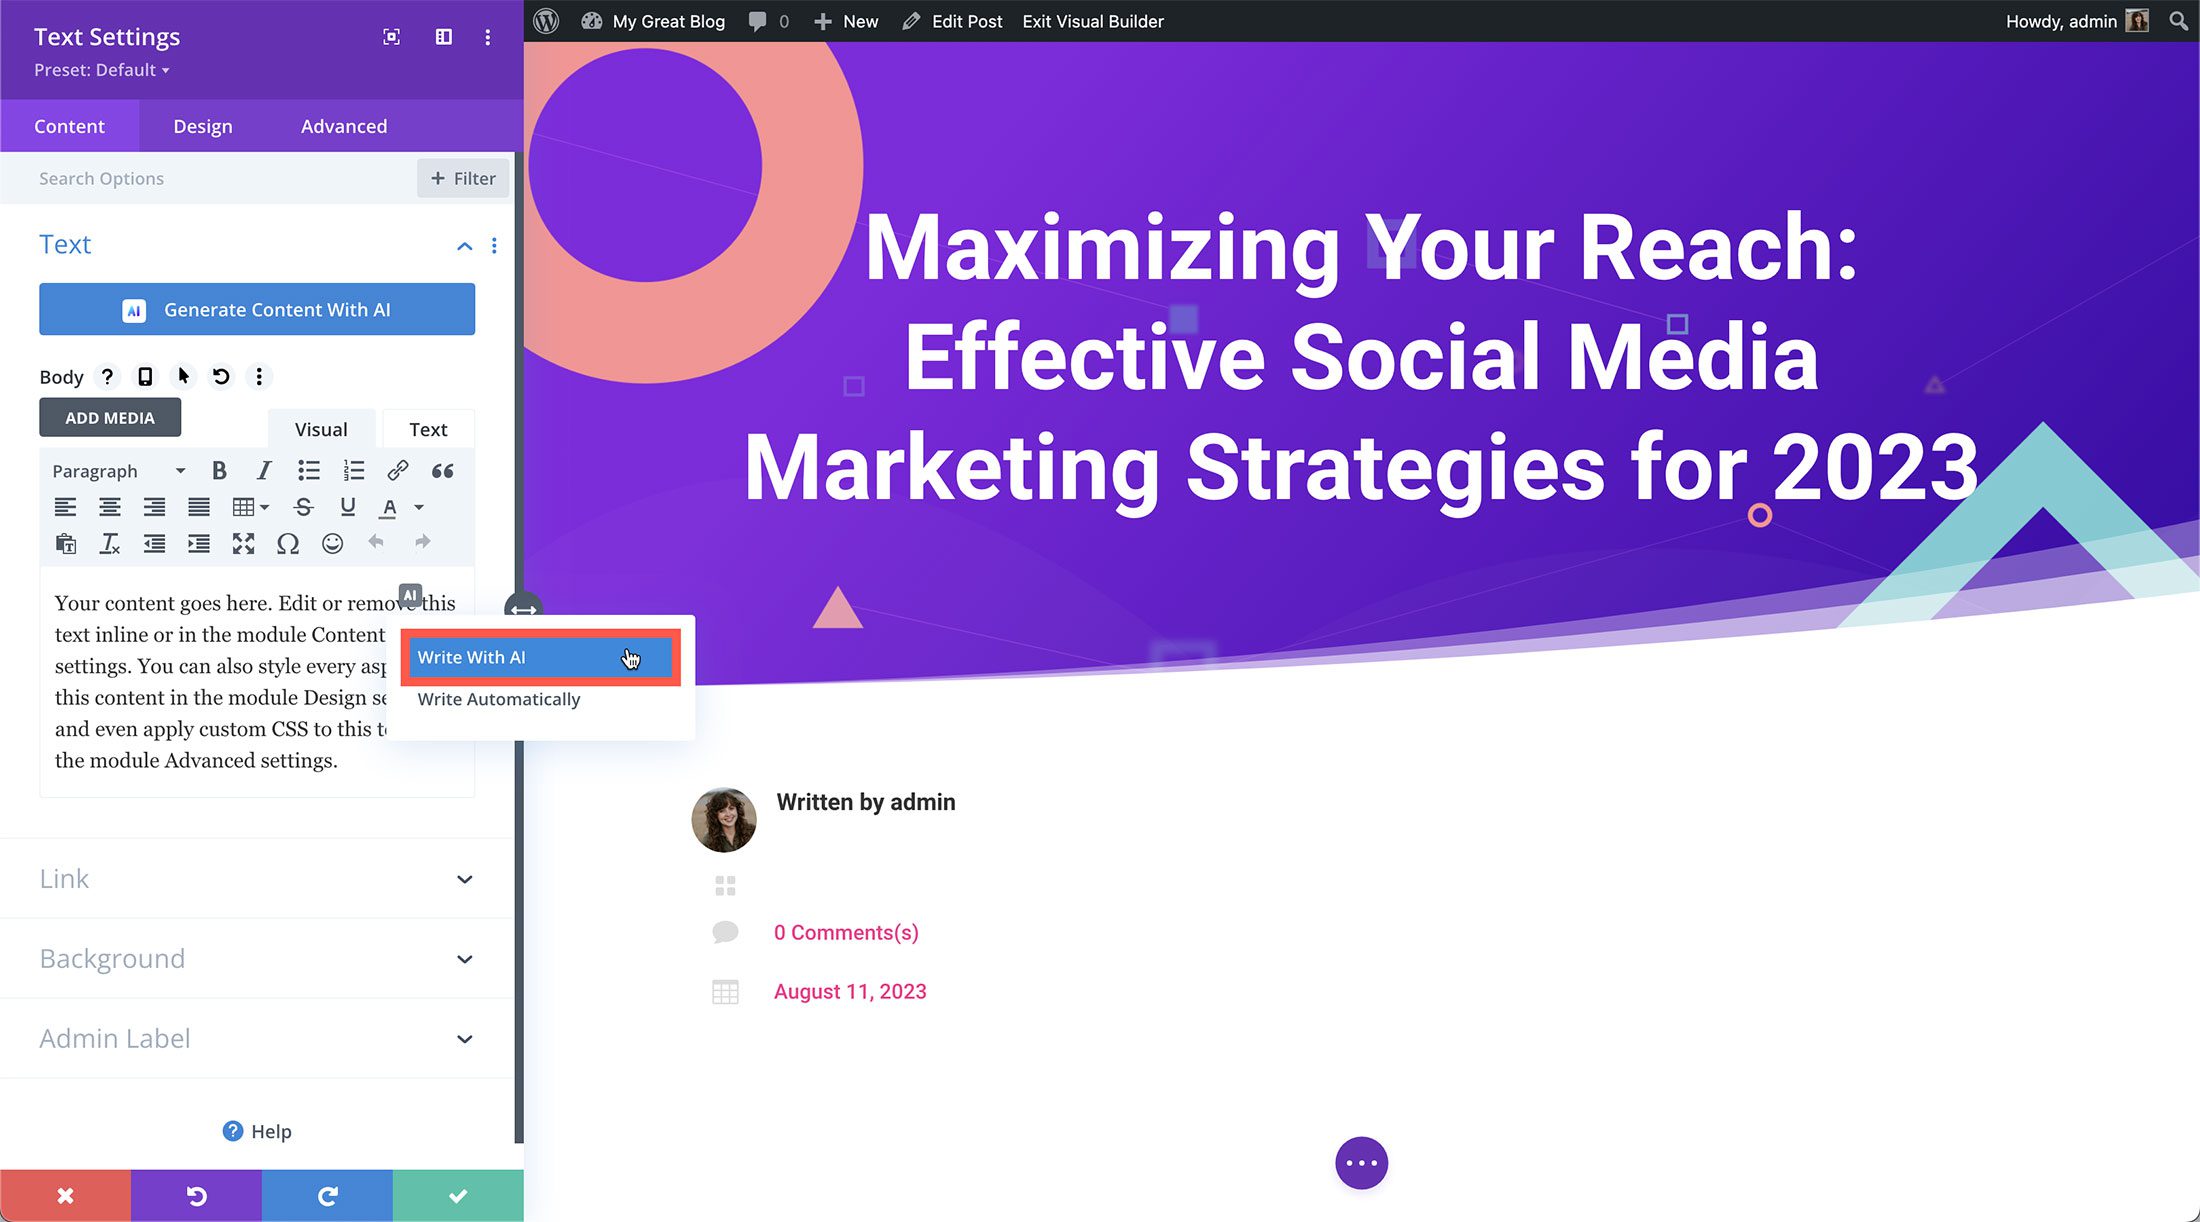
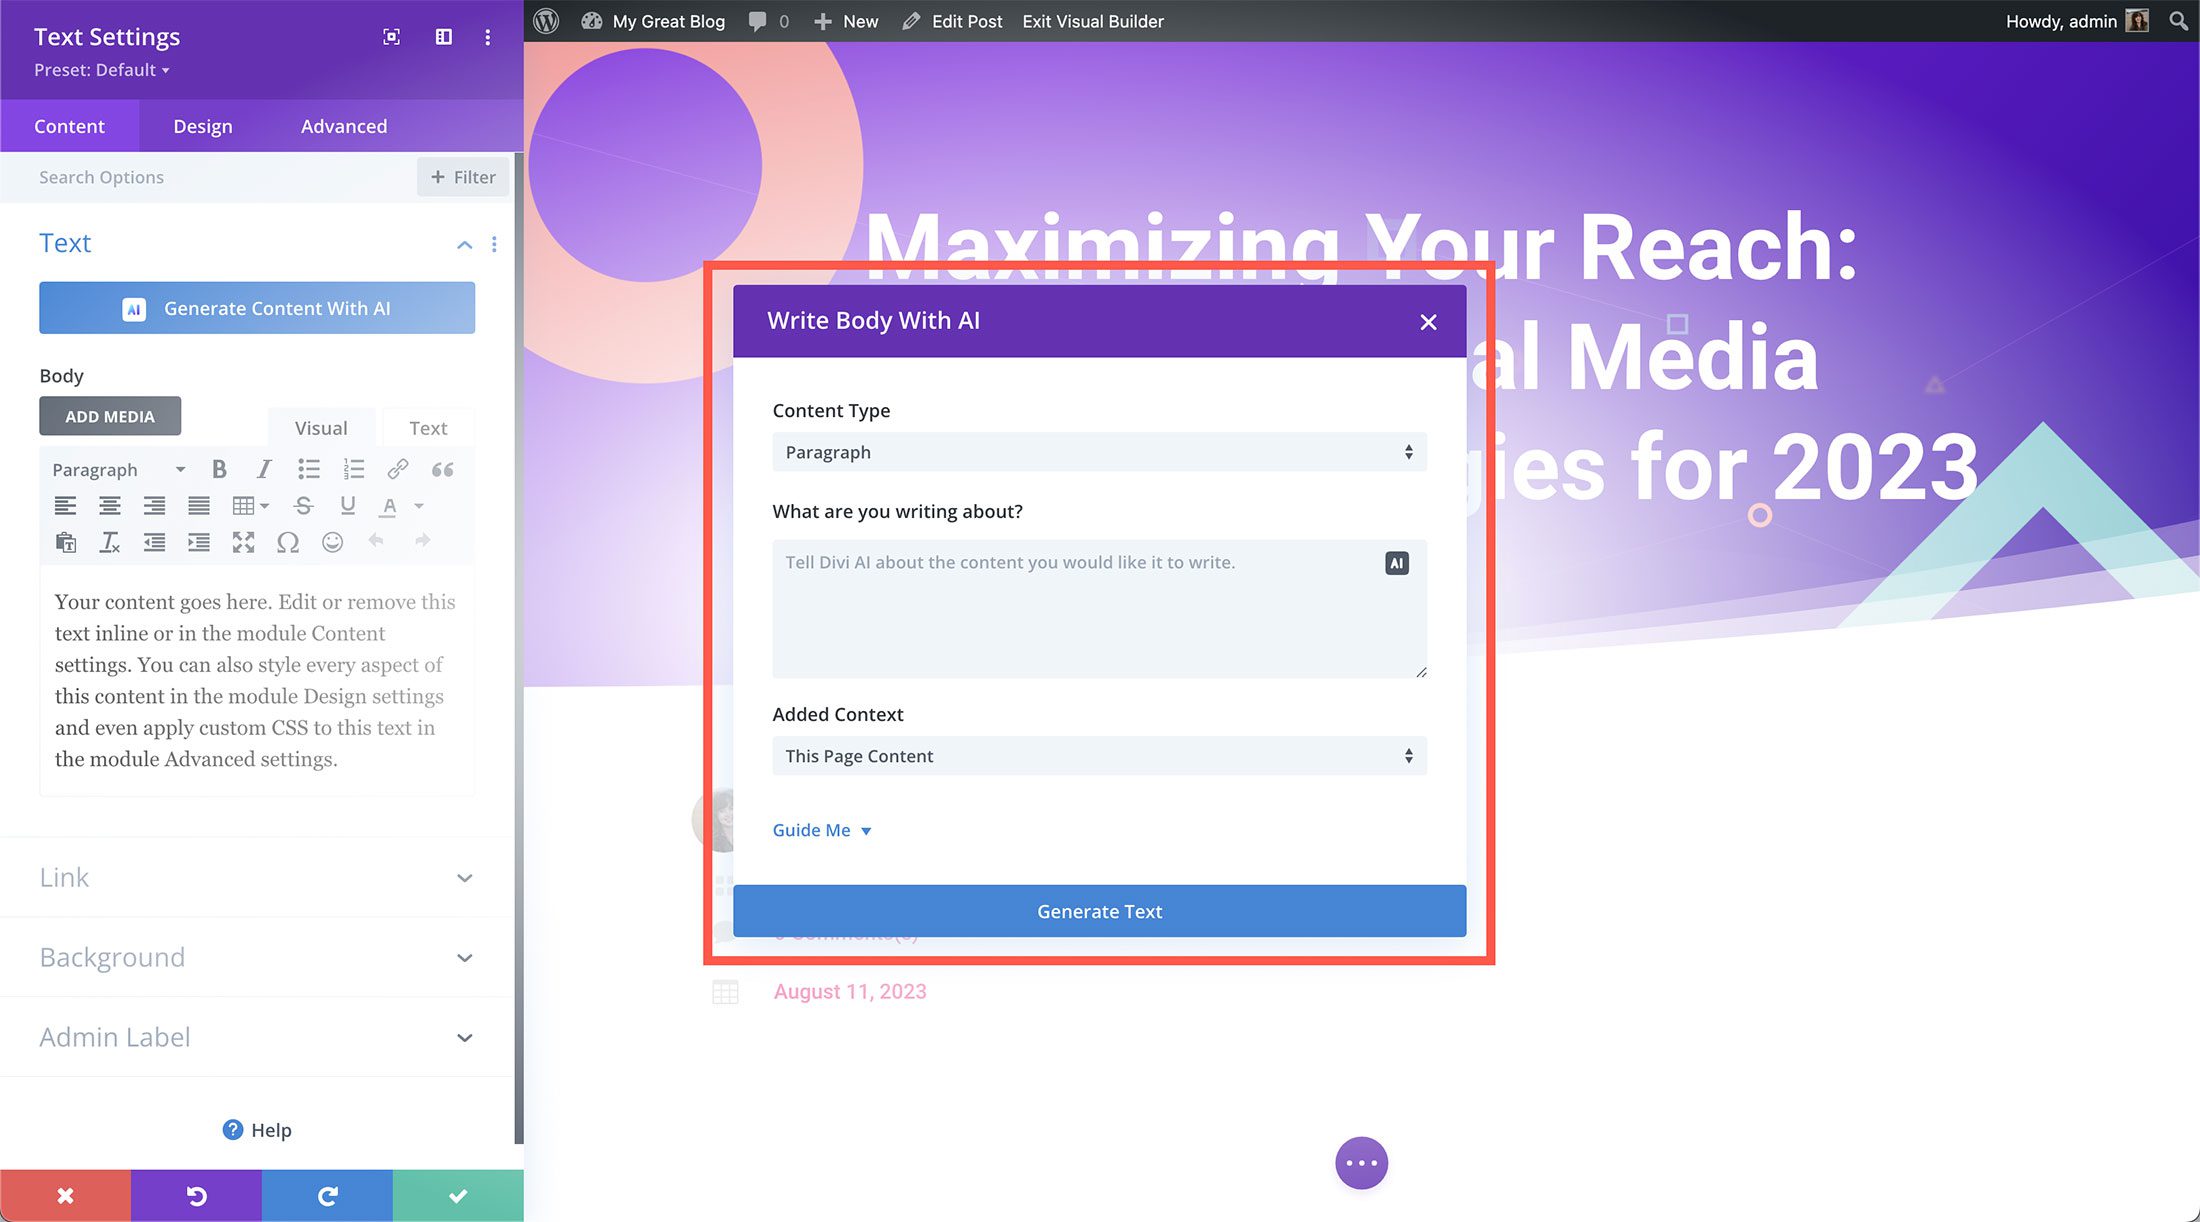
Once clicked, the AI window appears with all the settings and configurations available for Divi AI generation.
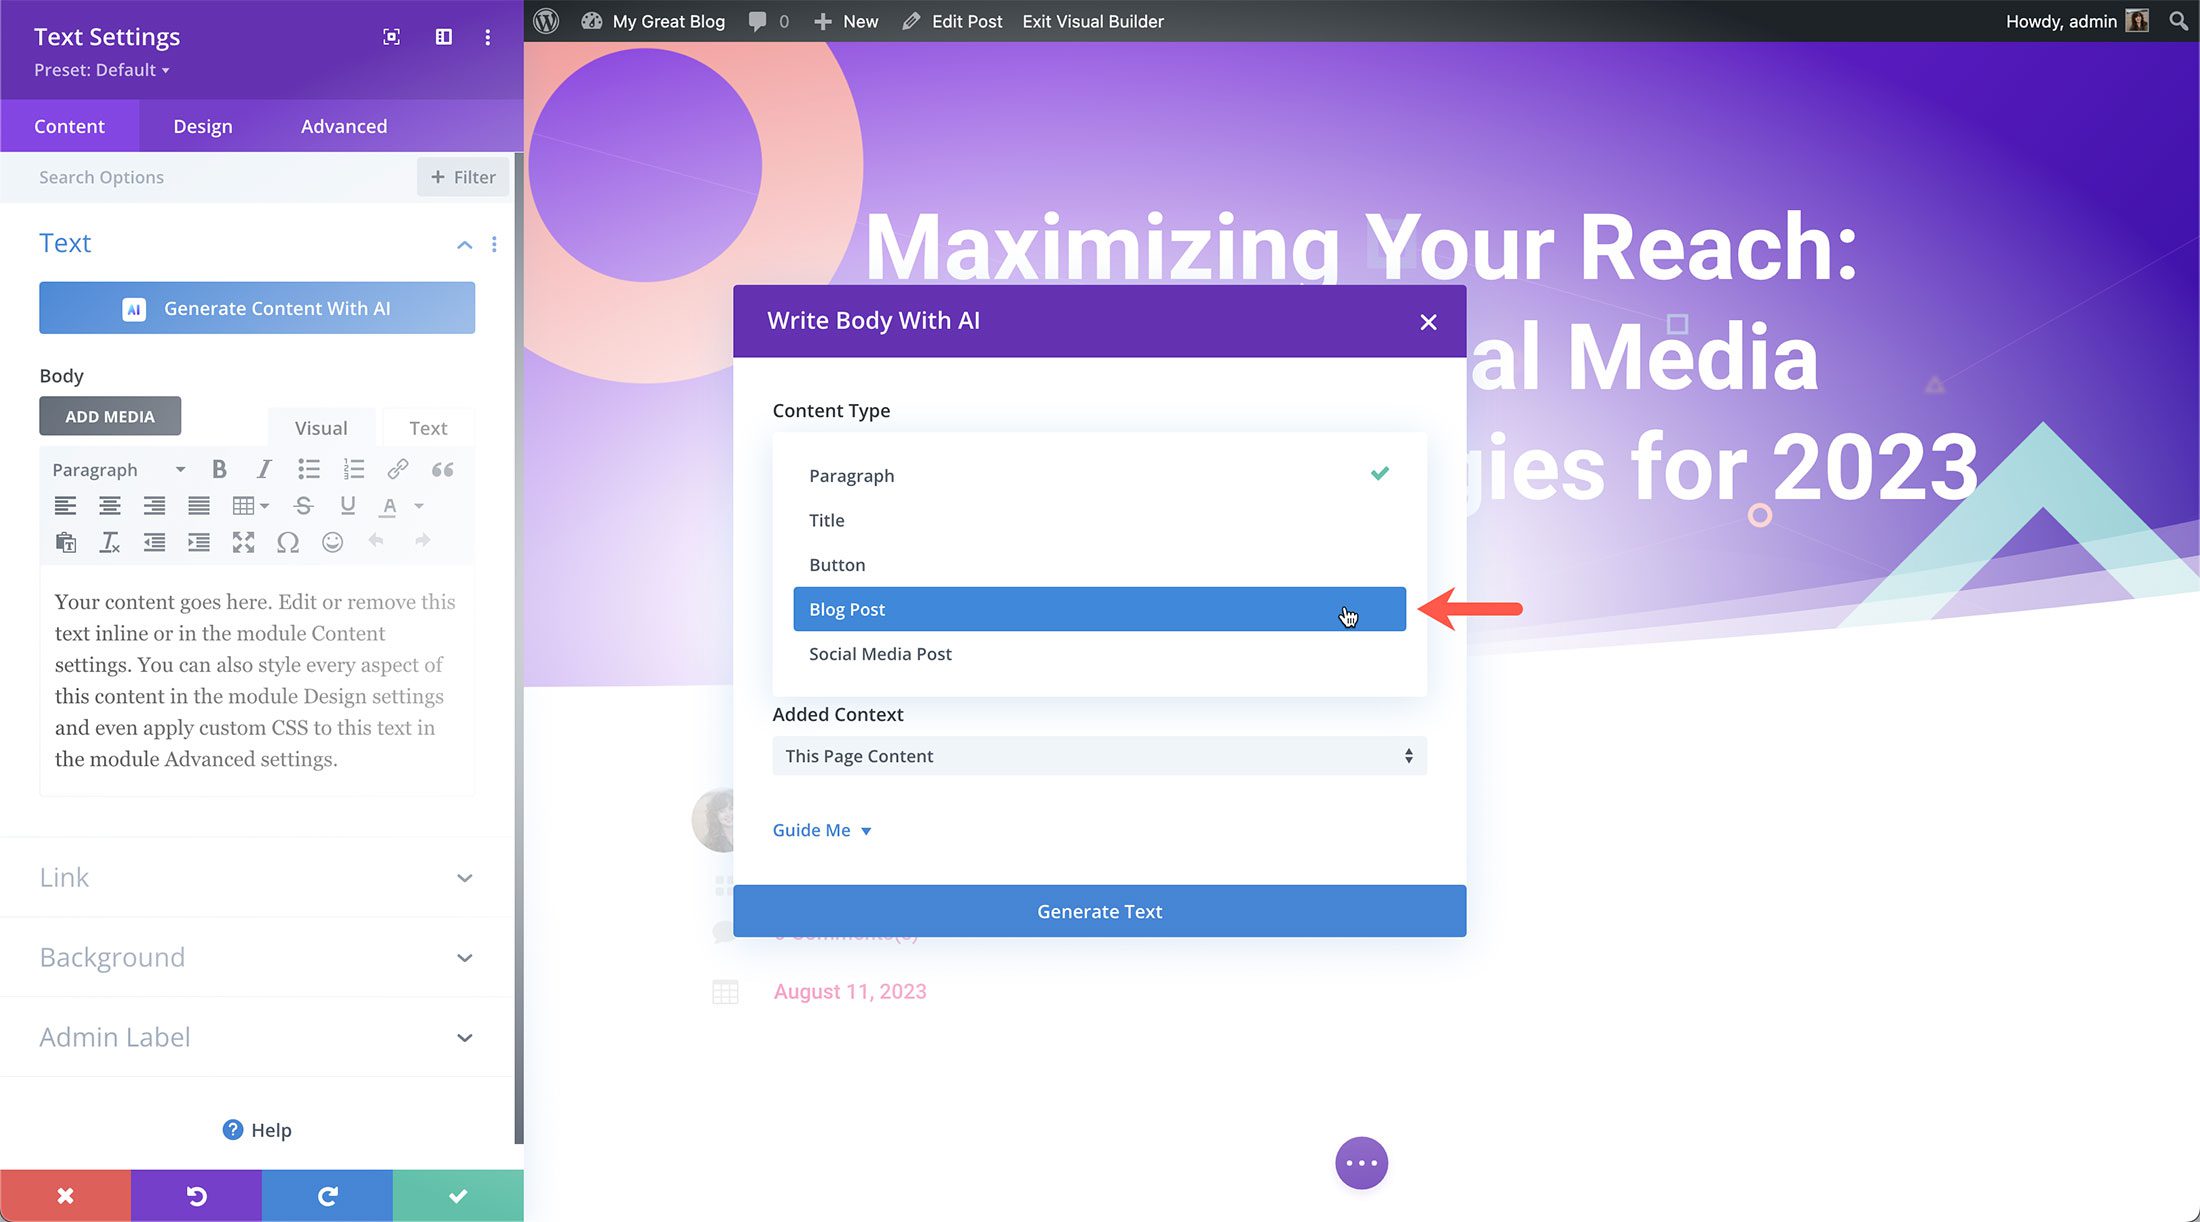
First, we’ll set the Content Type to Blog Post.
In the What are you writing about? section is where you type in a prompt for the blog post you want to write.
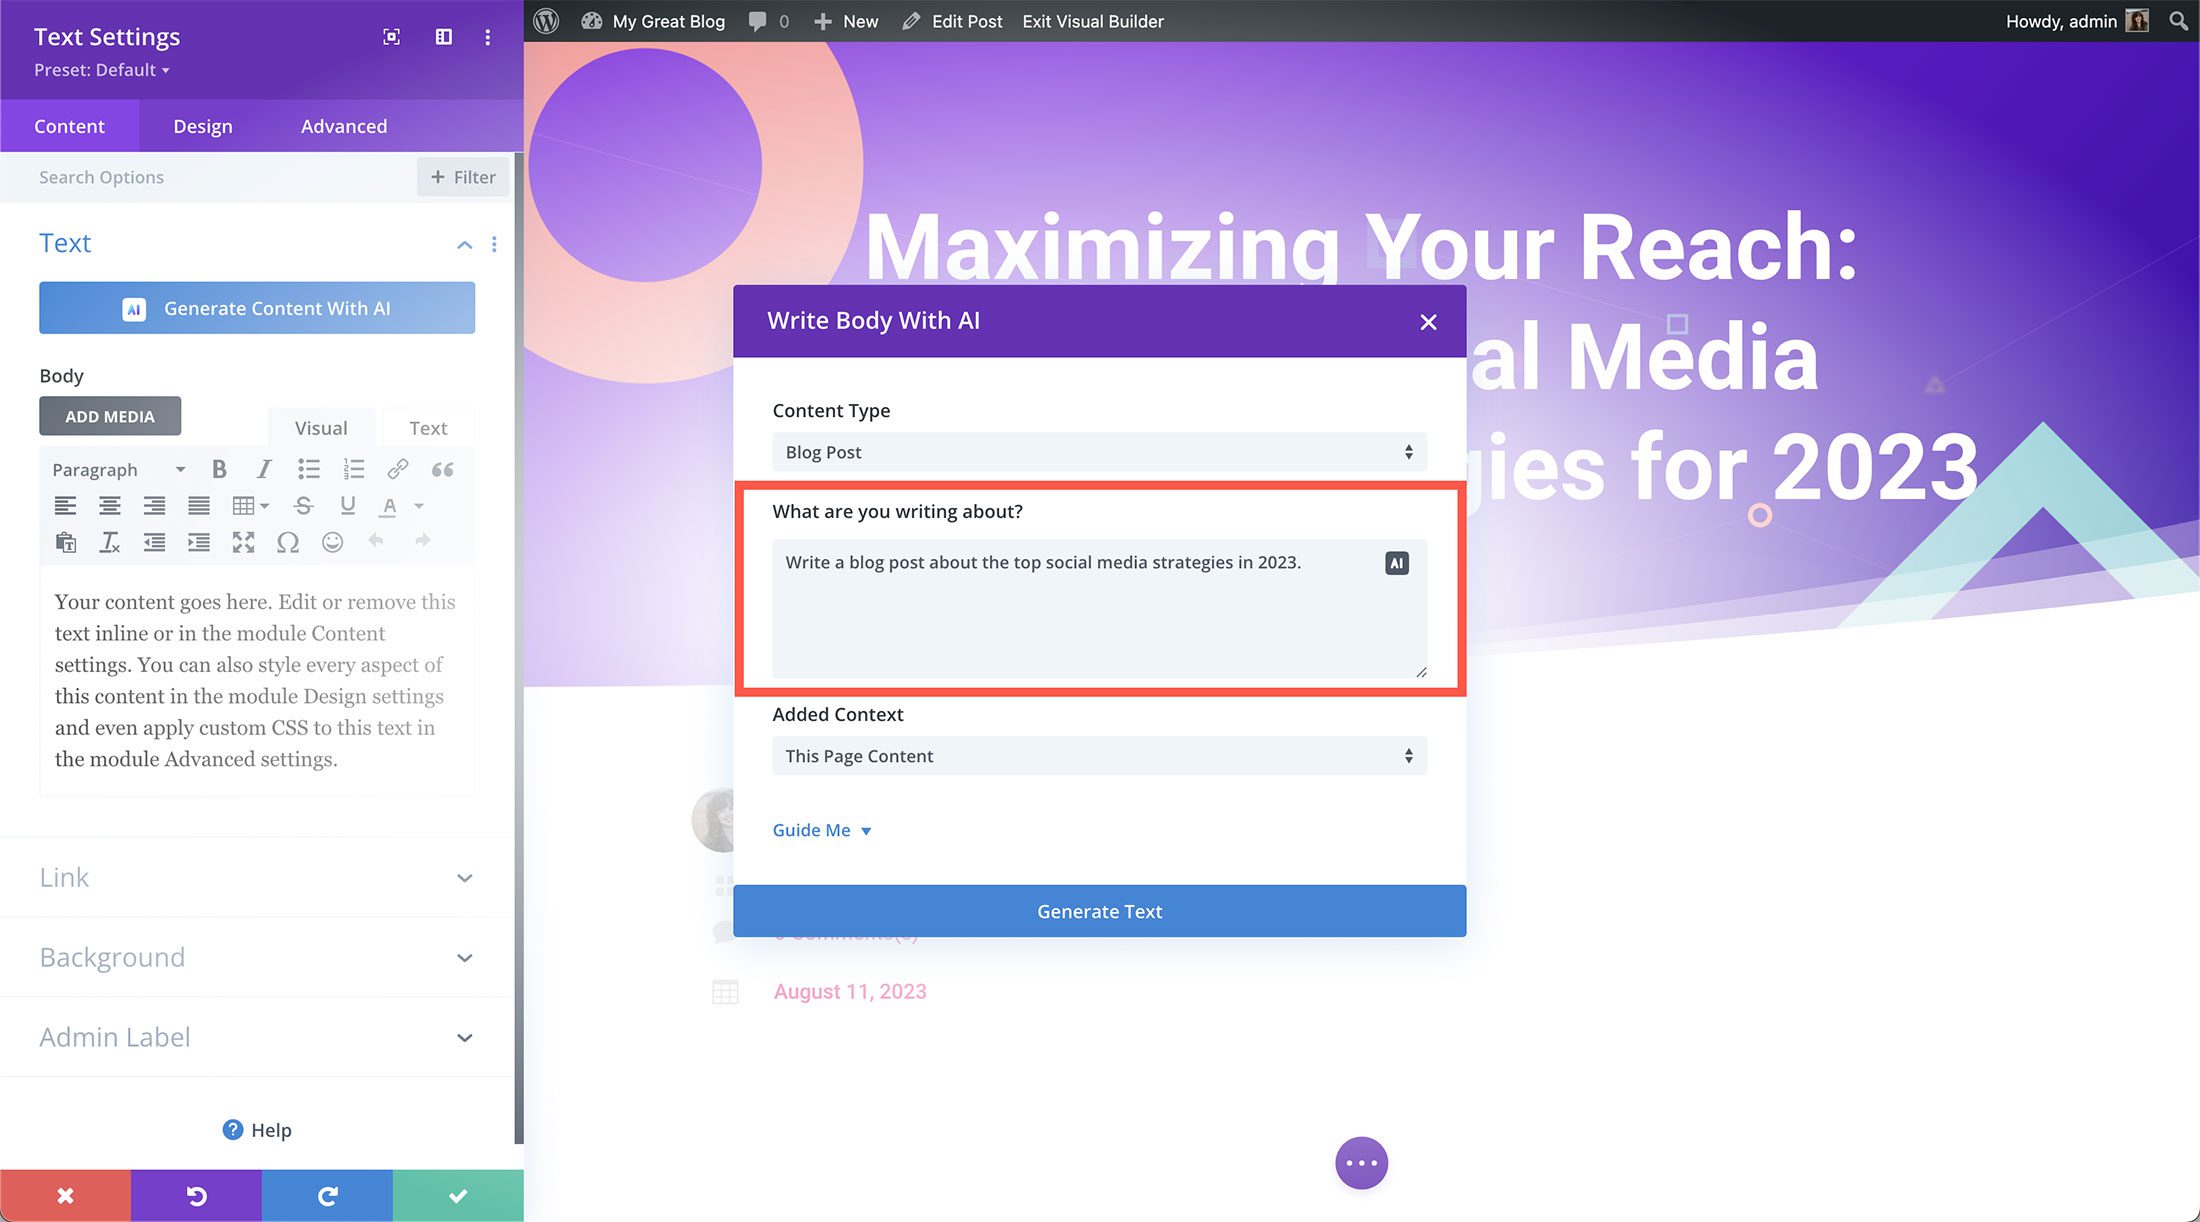
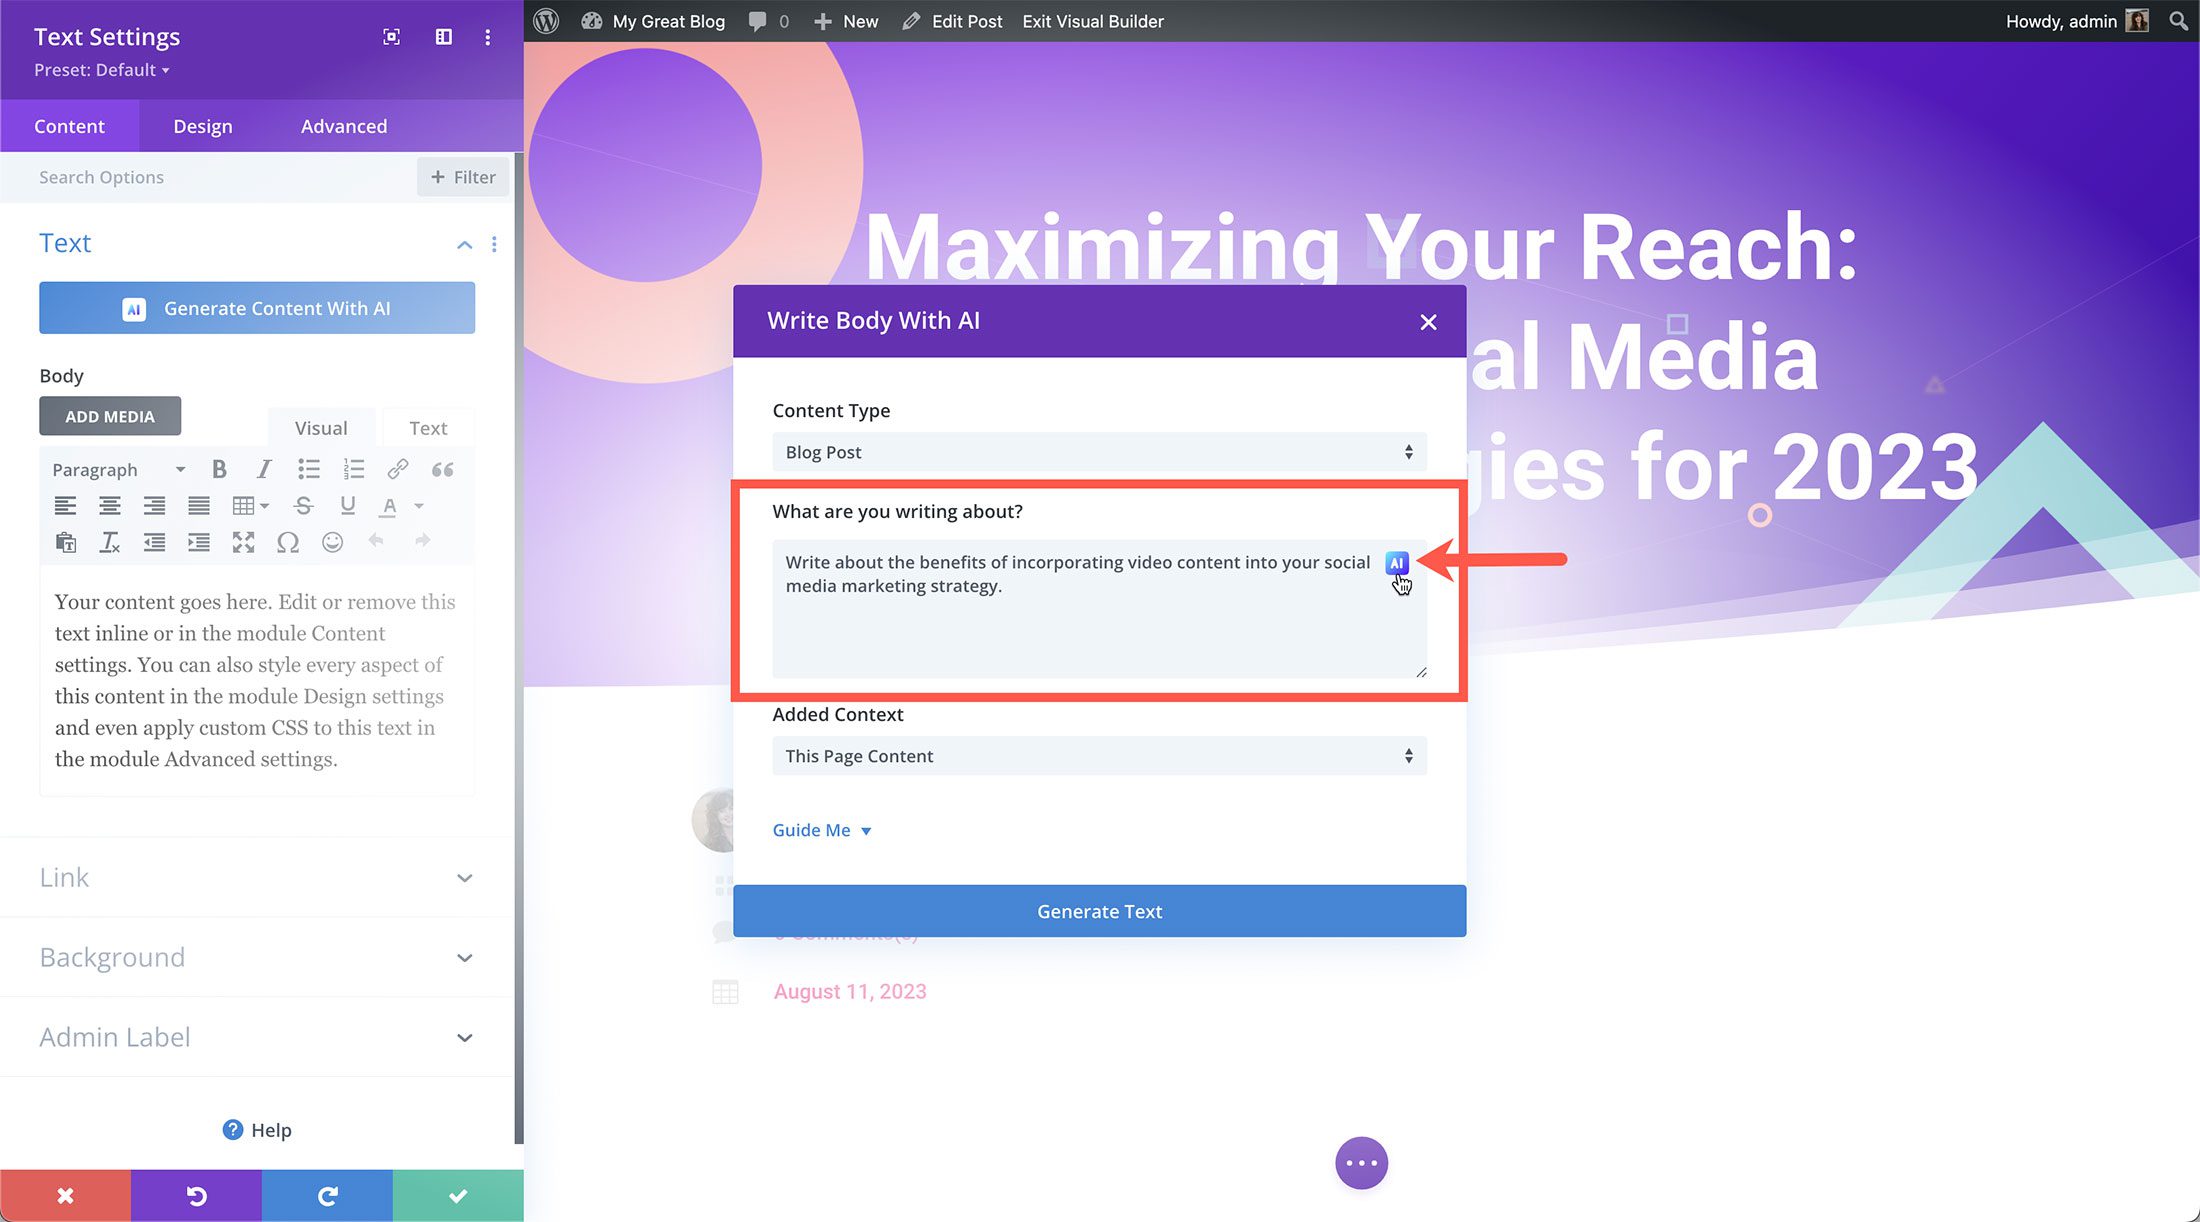
You can also use Divi AI to generate a prompt for you based on the content on the page! To do so, click the Divi AI icon in the text area.
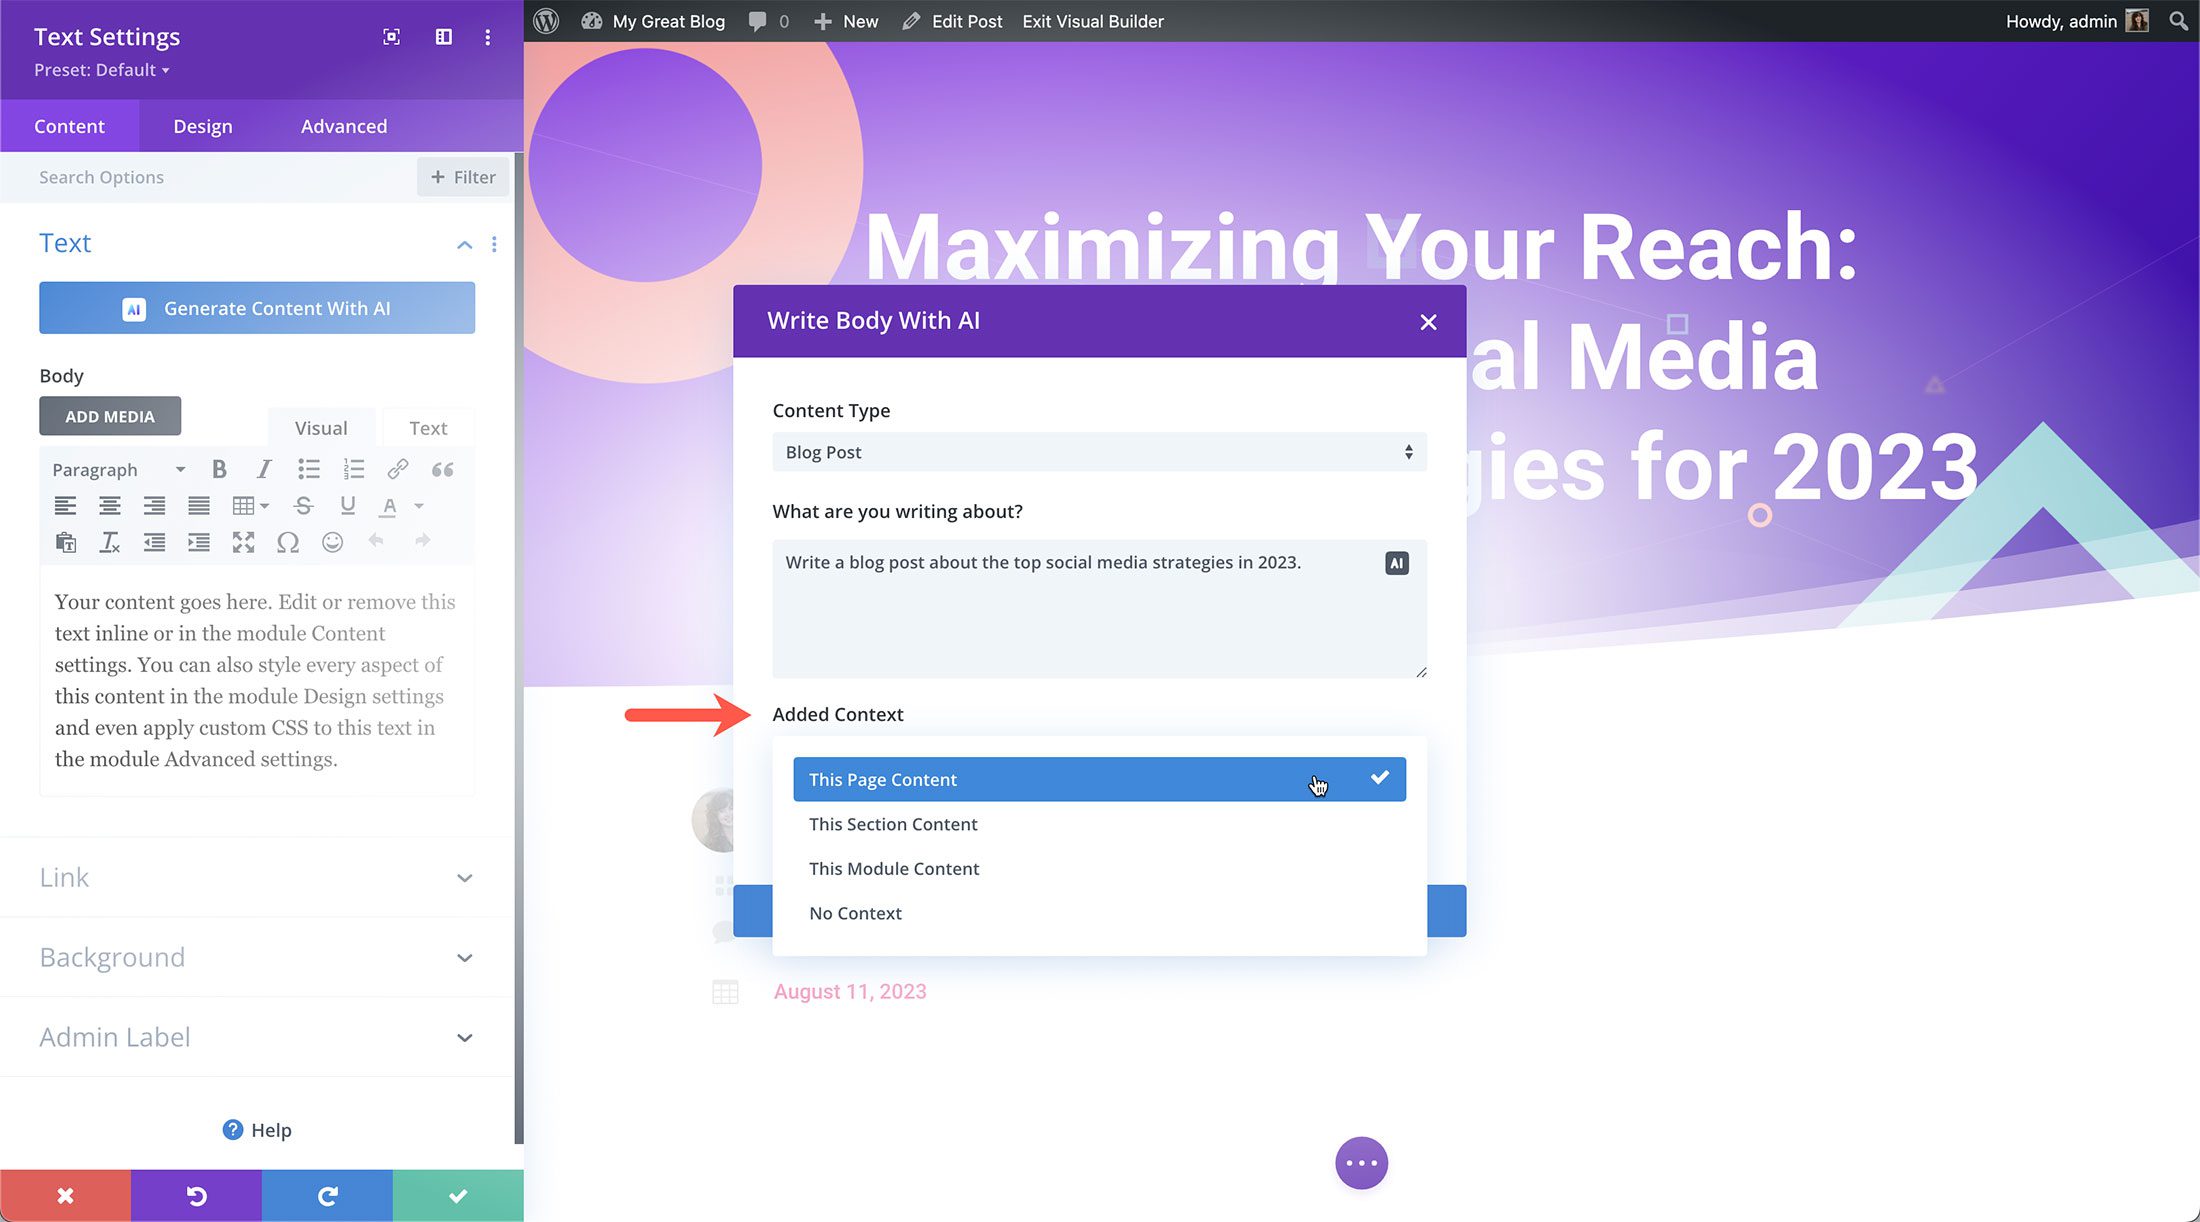
Here, let’s select the context in which Divi AI should write the blog post. Since we have the blog post title added to the page, let’s select “This Page Content” so that Divi AI writes a blog post on the topic of the blog post title.
To customize your AI-generated results further, click “Guide Me” to load more Divi AI options.
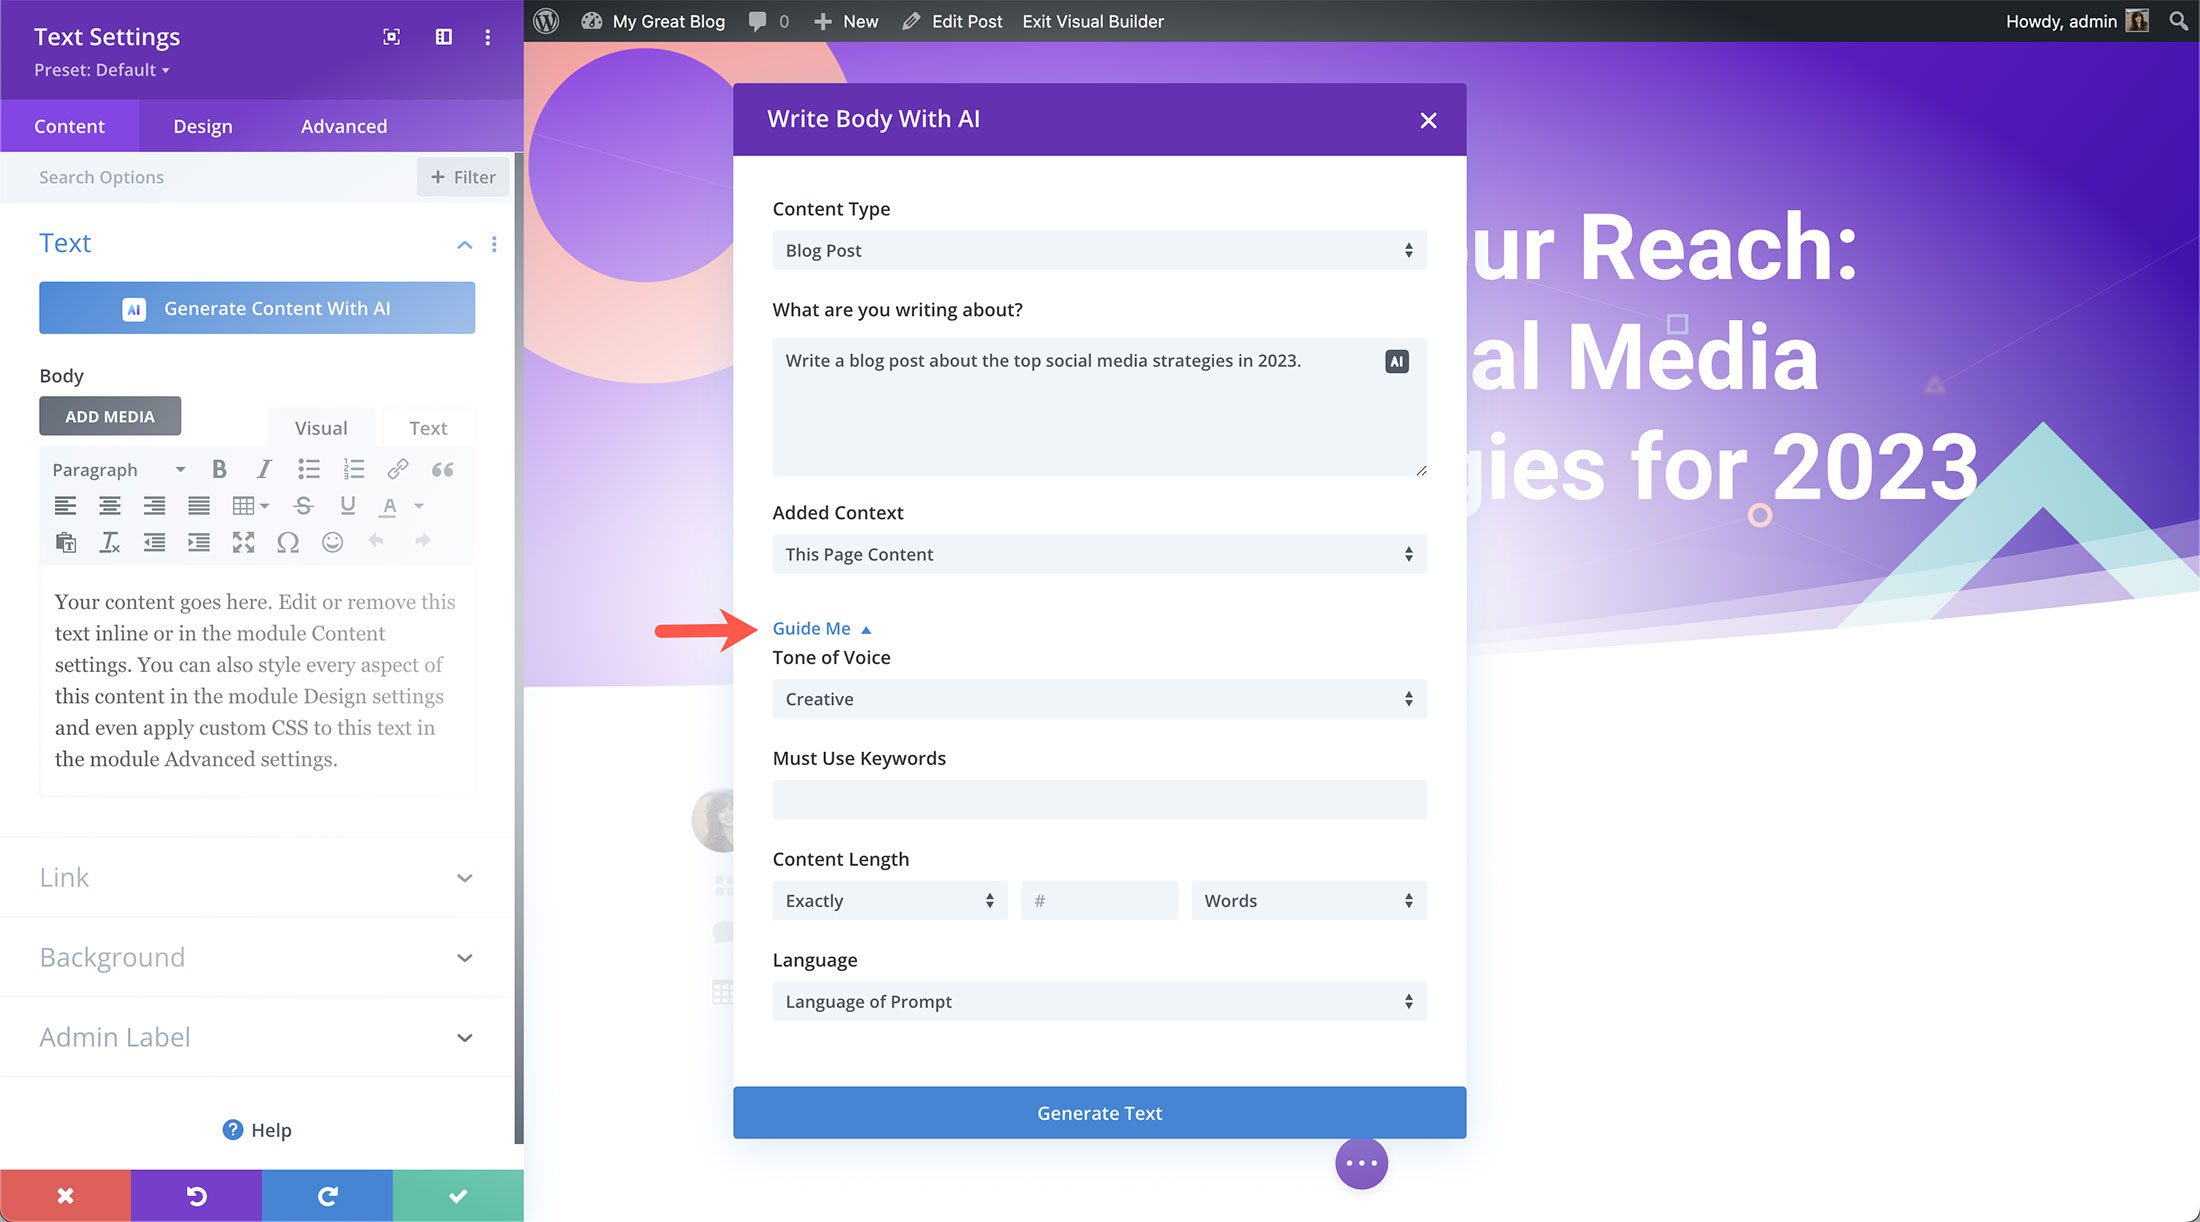
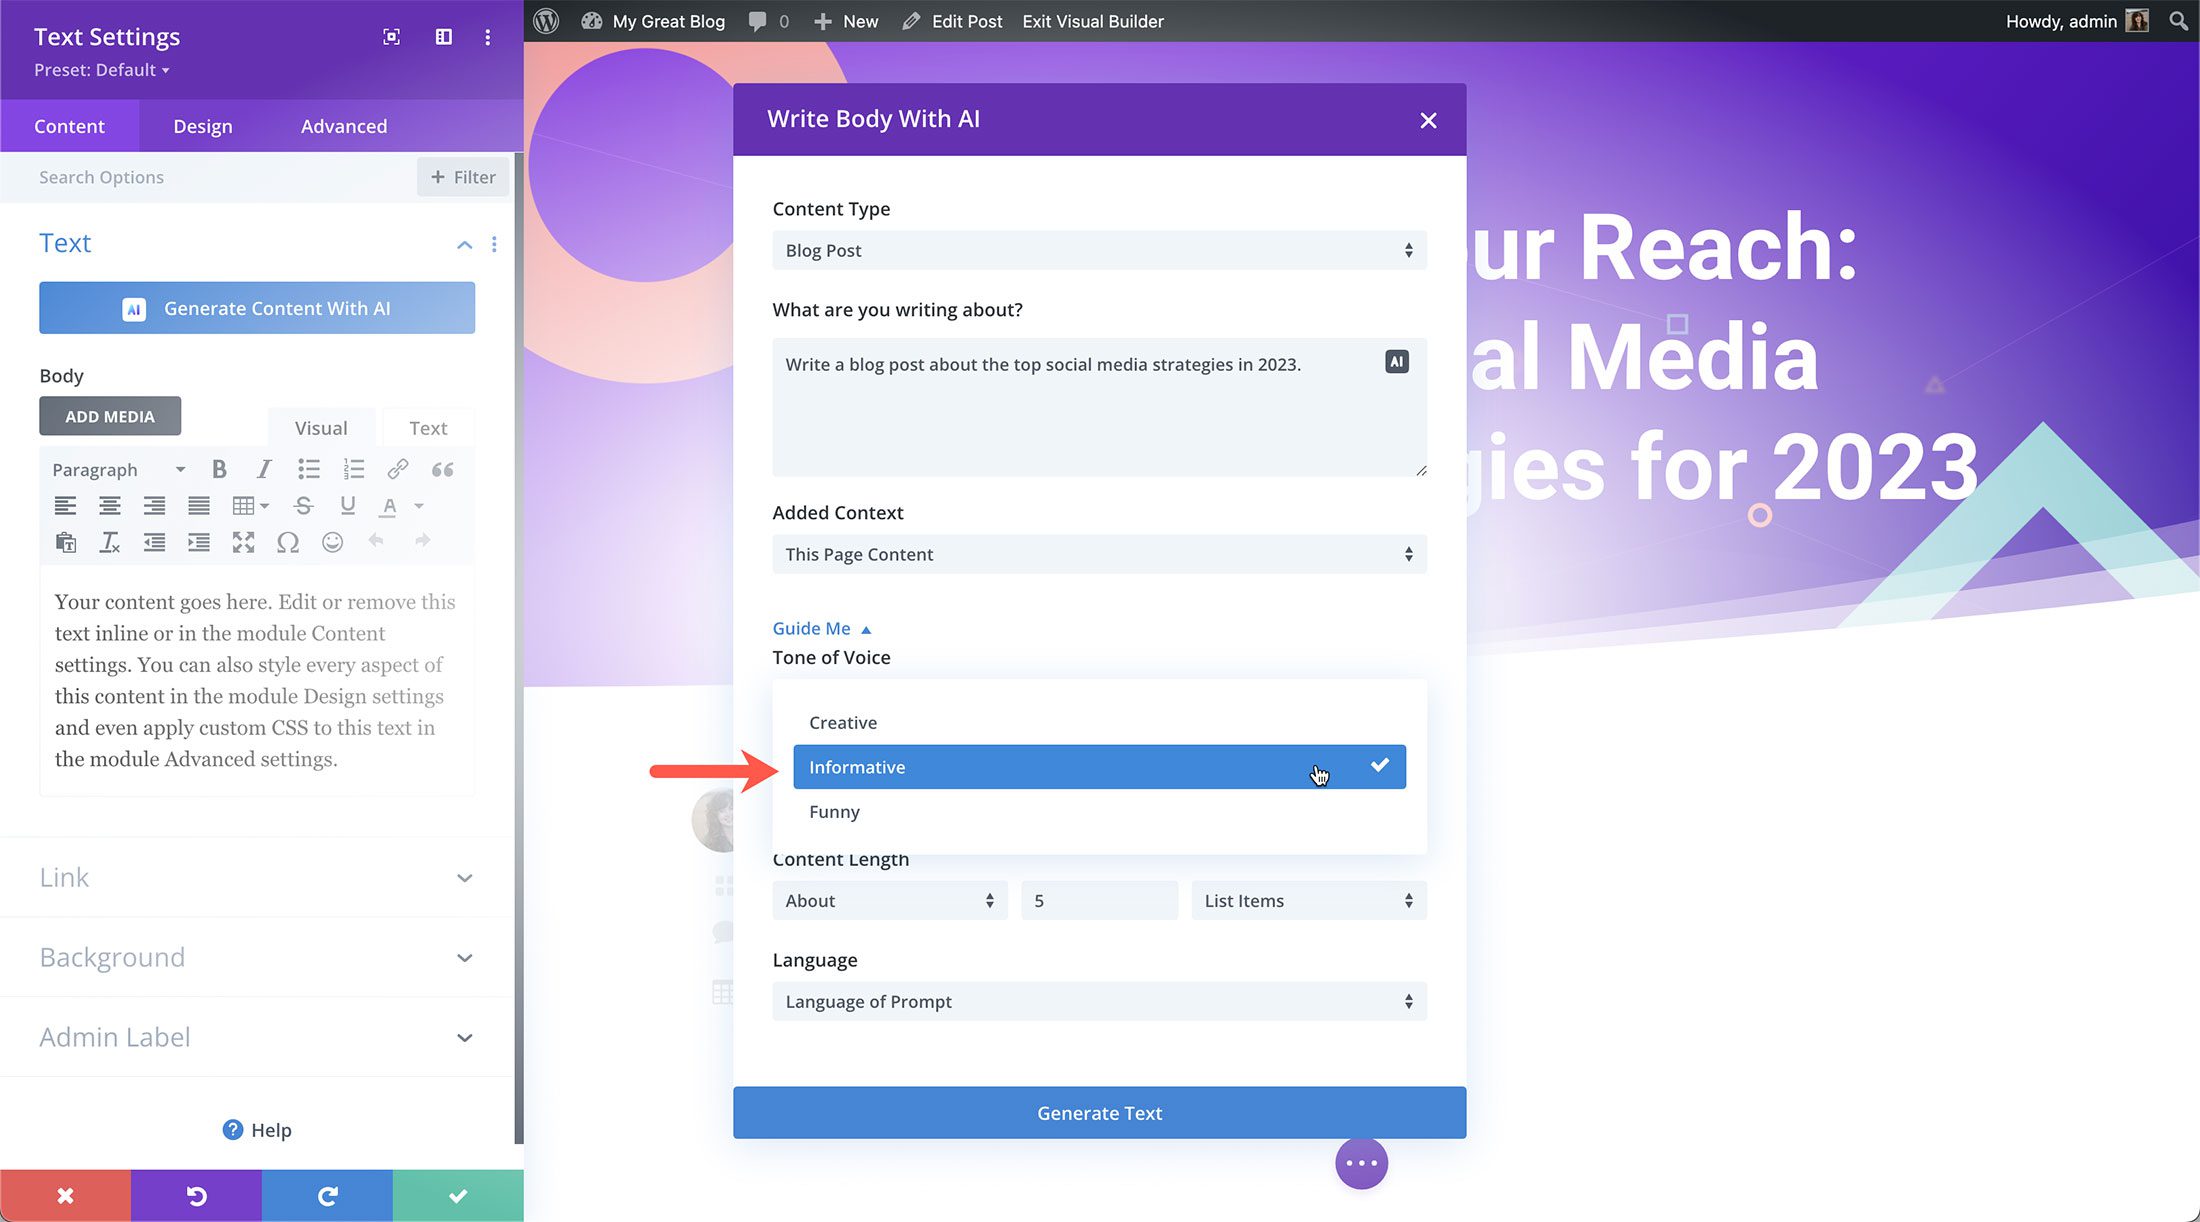
The first option is the tone of voice. Let’s select “informative.”
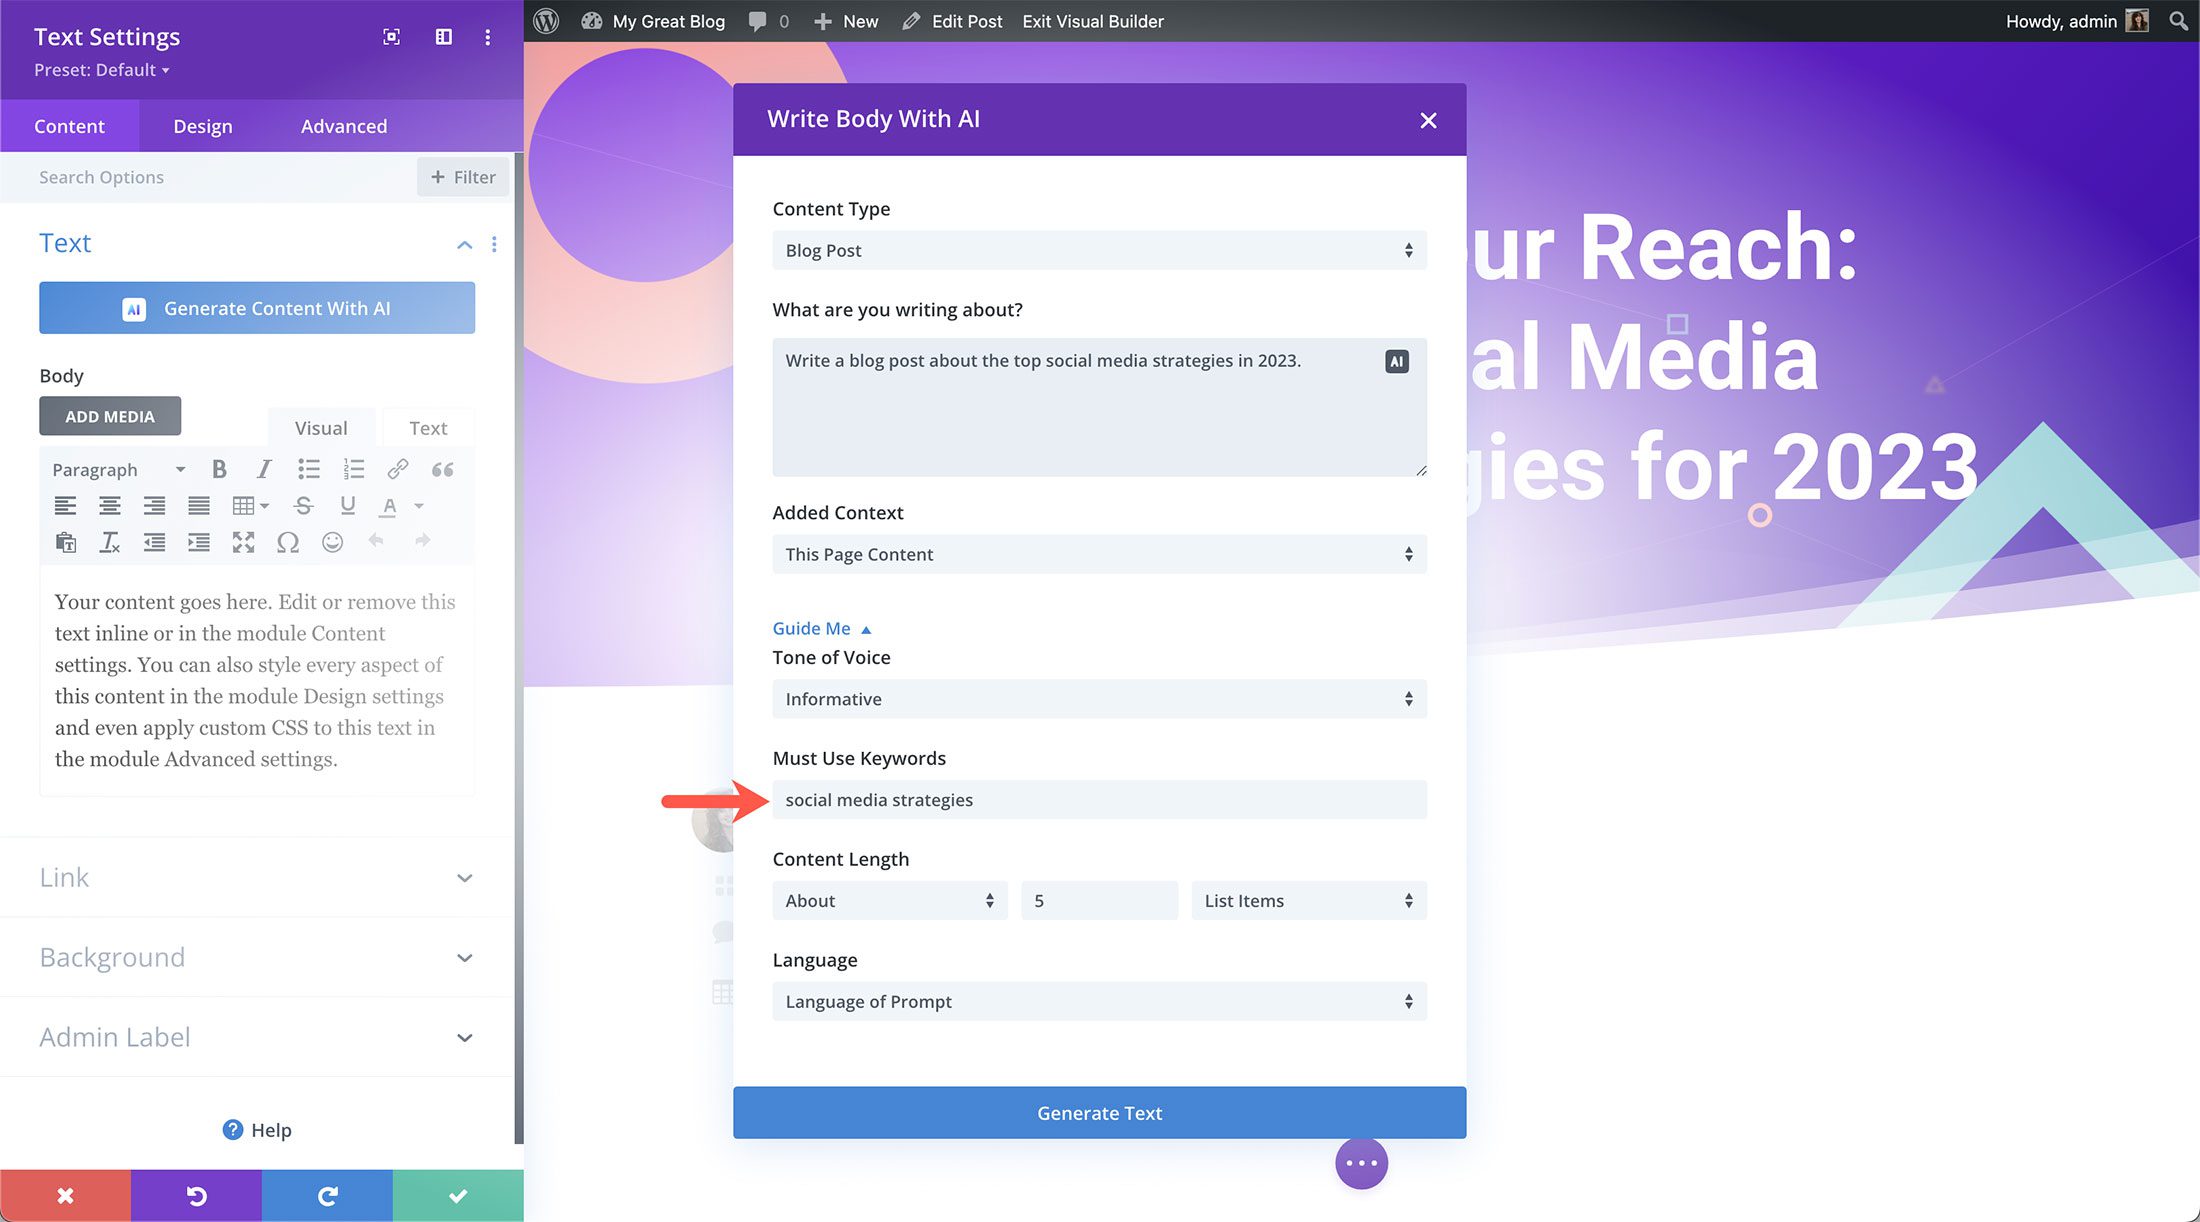
We can even tell Divi AI what keywords we want in the blog post. Let’s type in “social media strategies.”
Next, we can adjust the length of the content by selecting from several options.
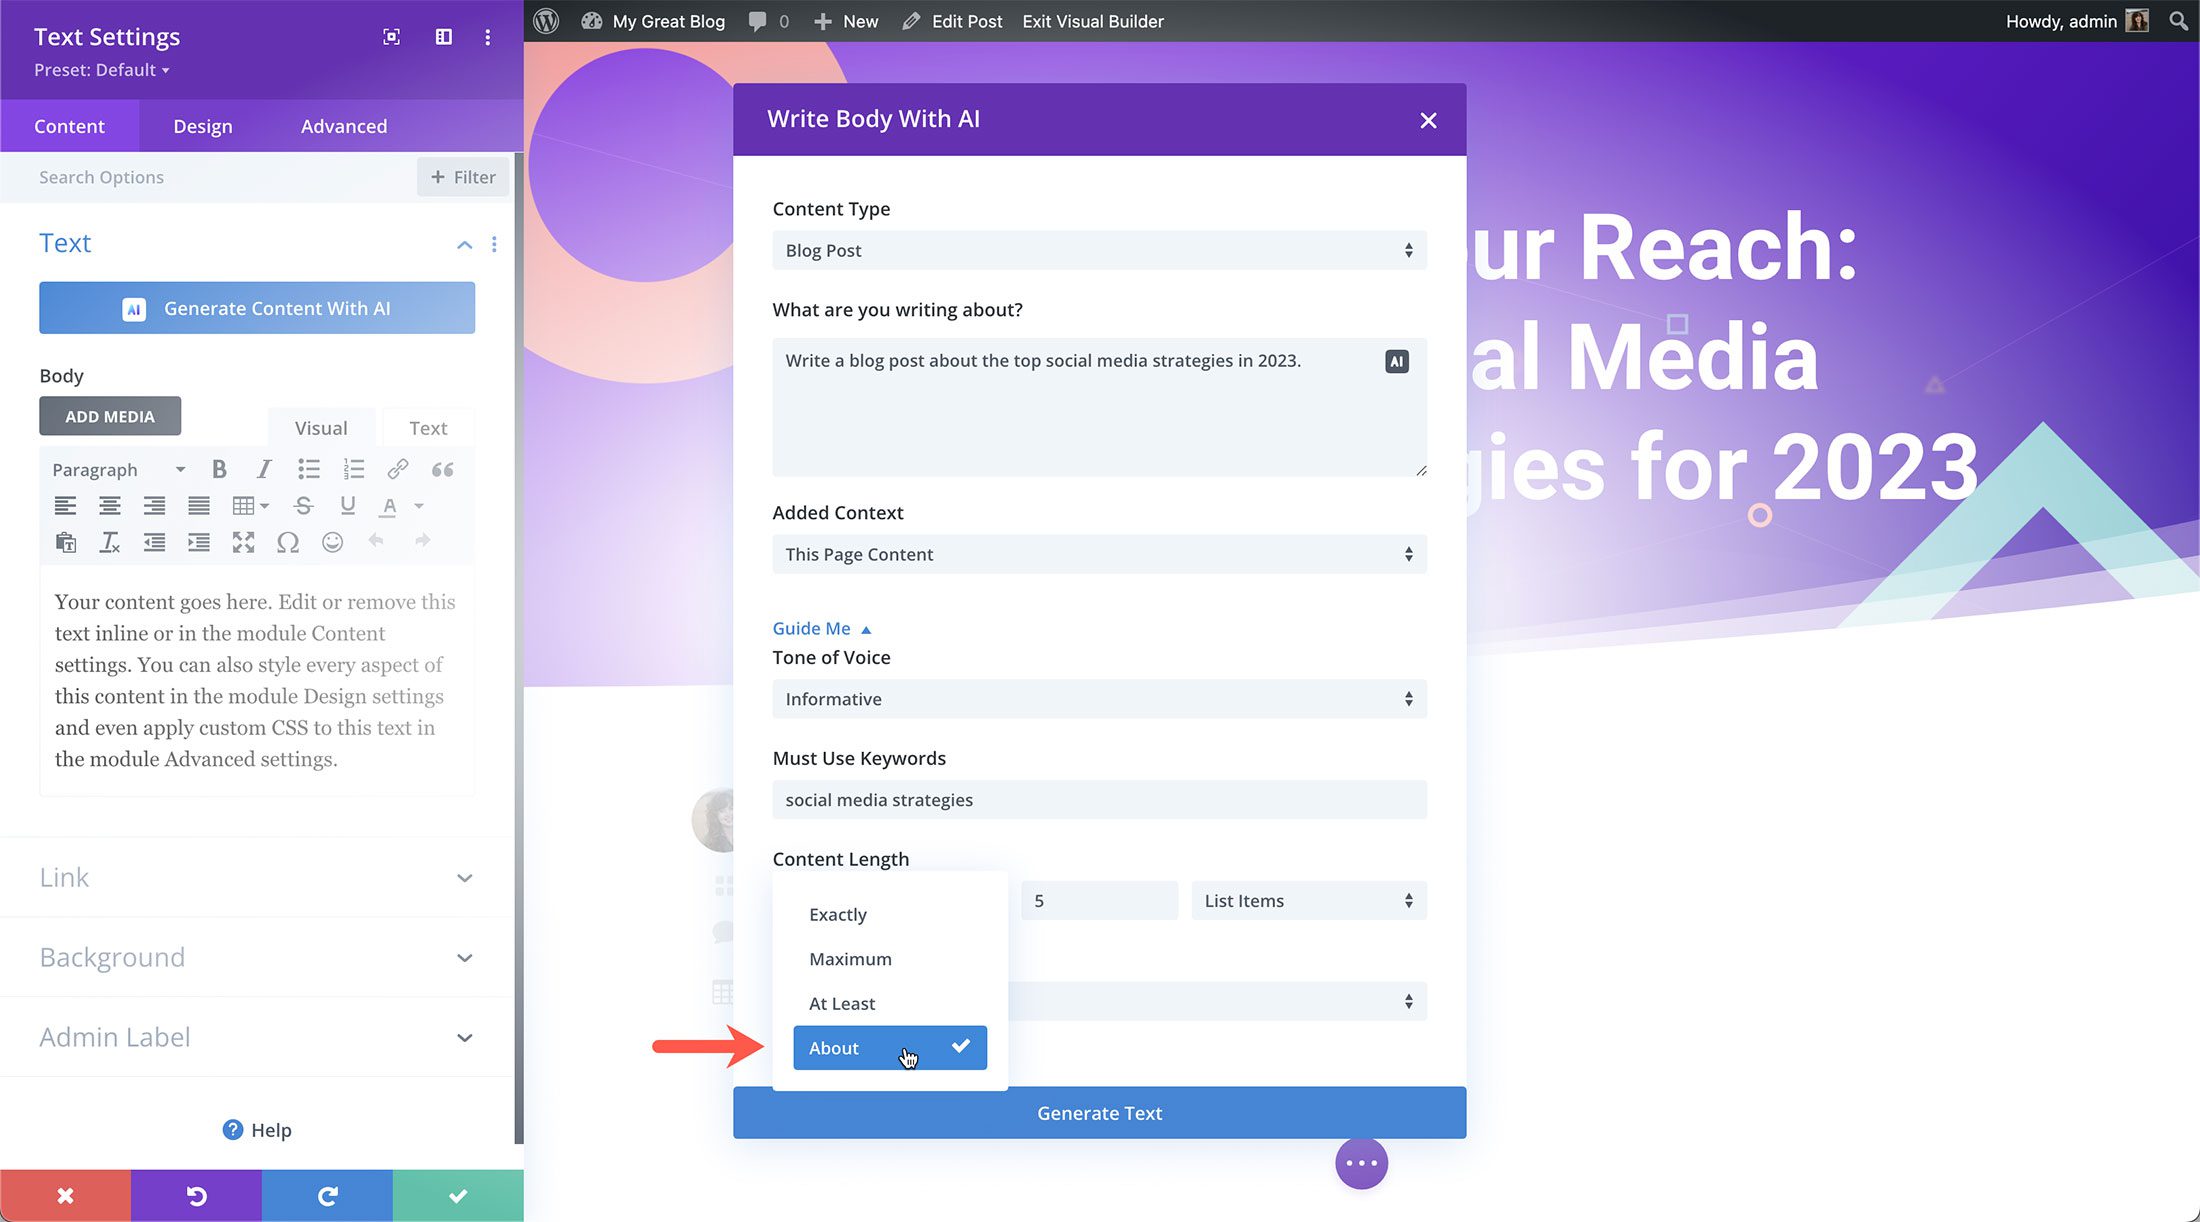
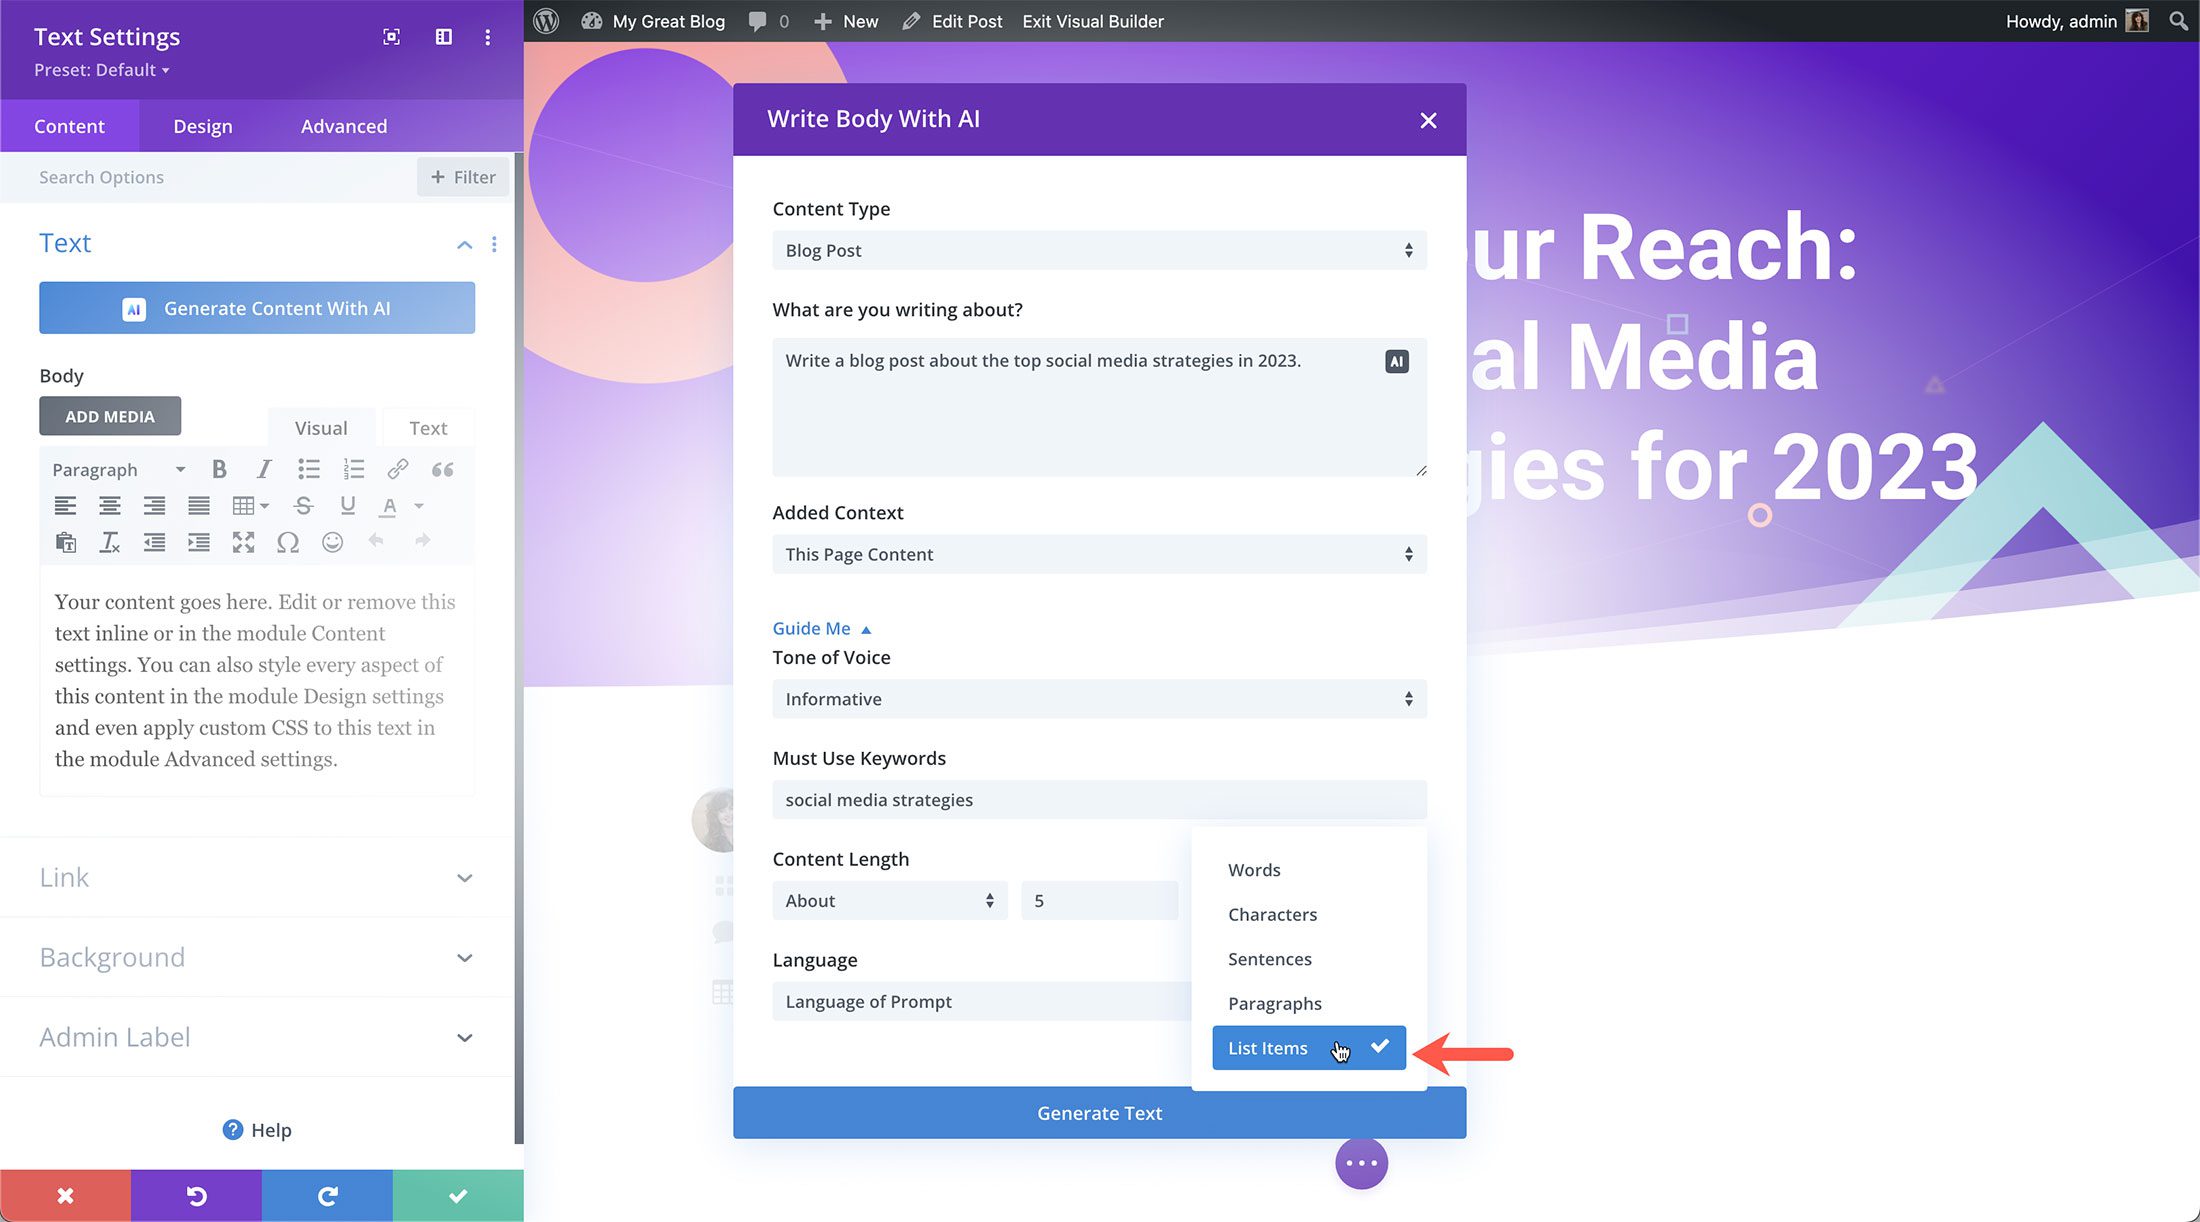
We’ll set it to about five list items using the dropdowns in this section.
Lastly, Divi AI can write the blog post in any language you choose. By default, Divi AI writes in the language of the prompt.
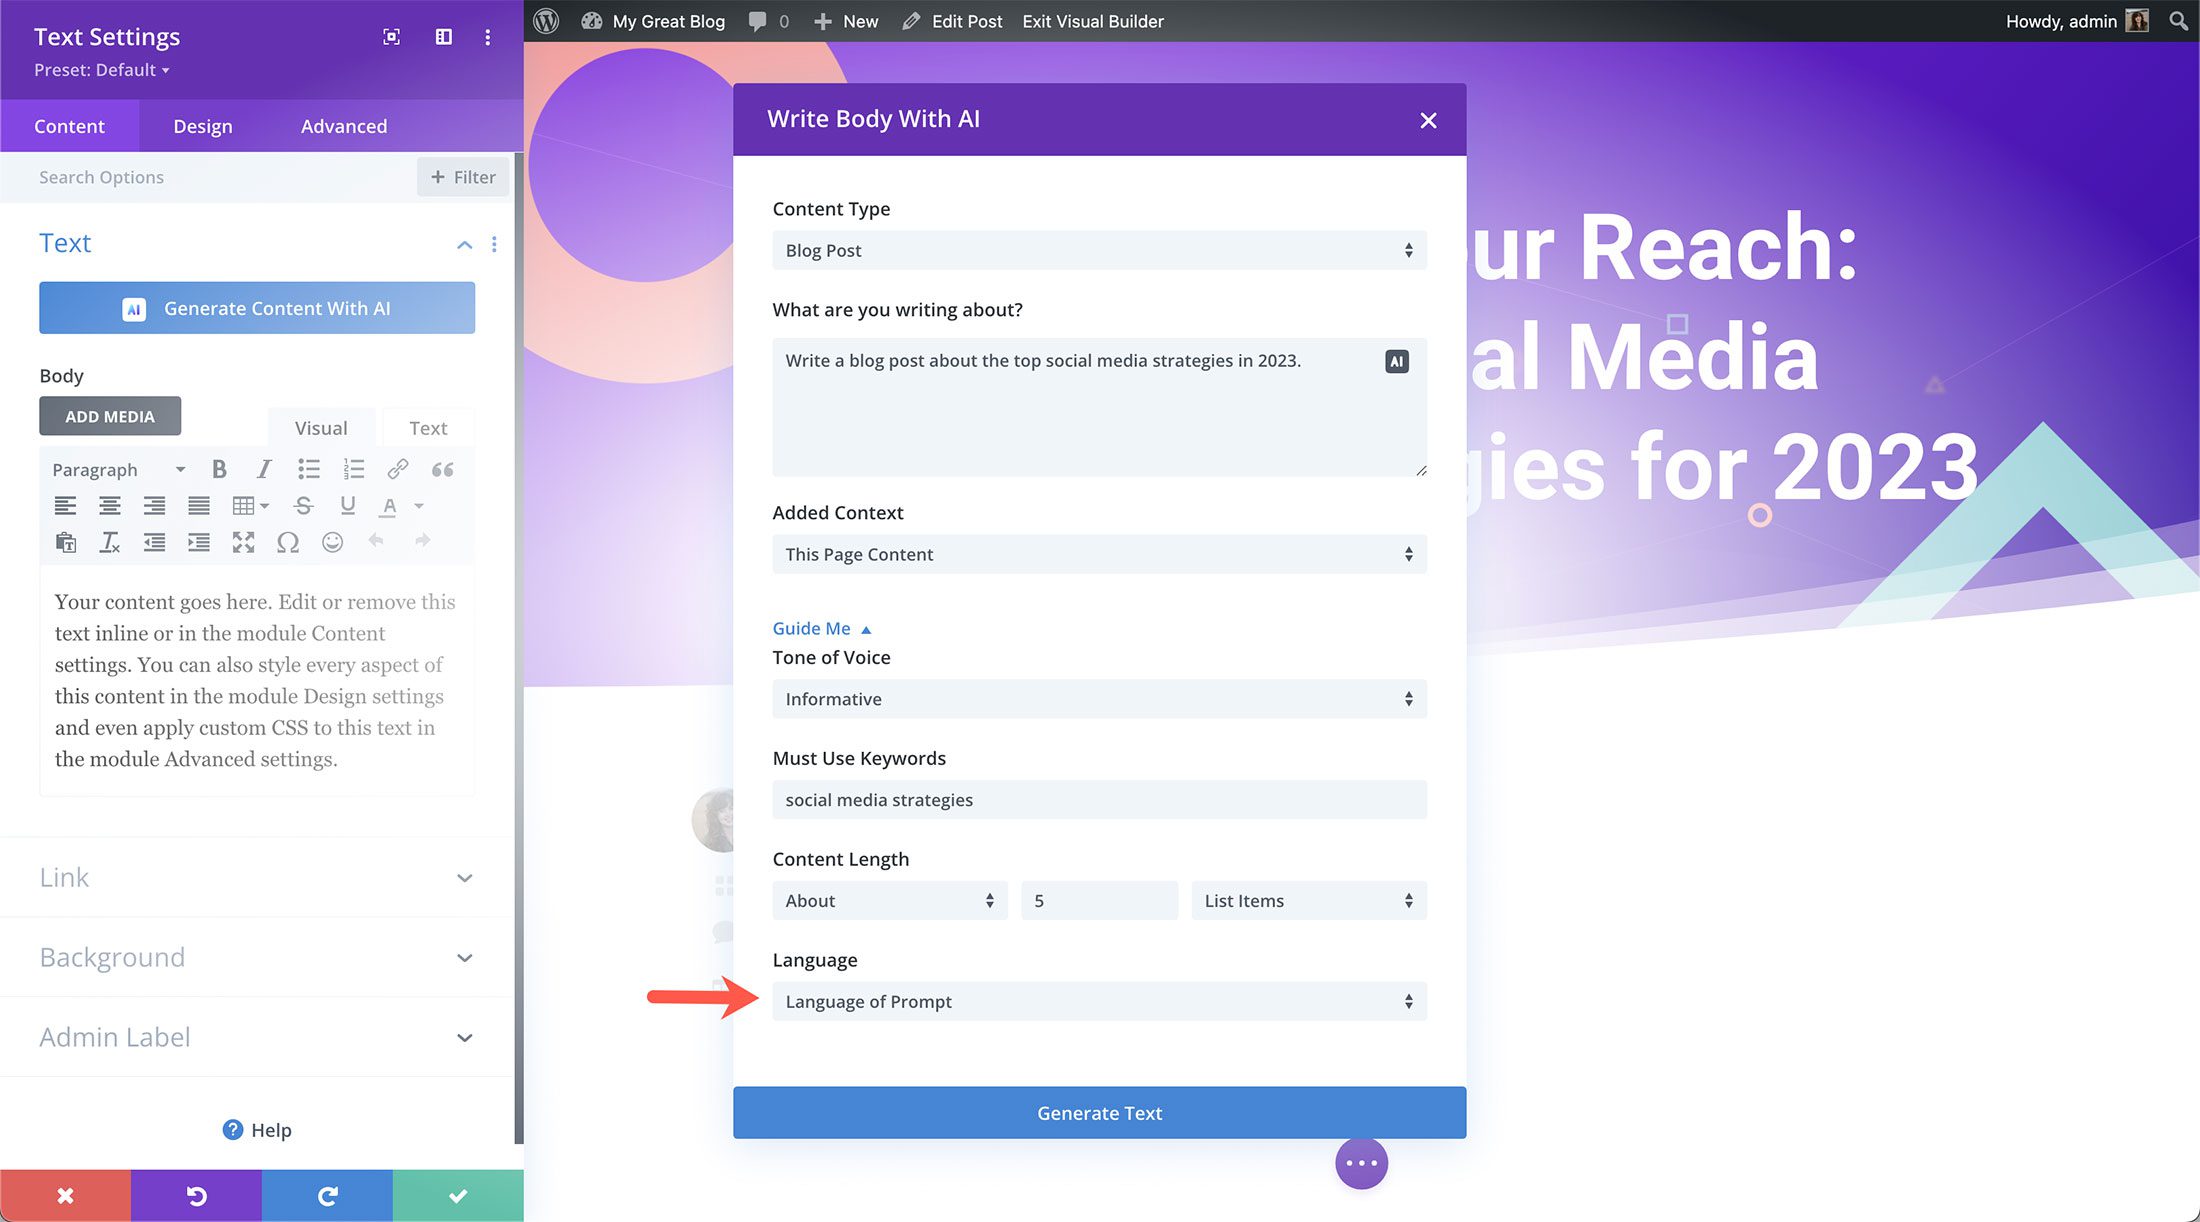
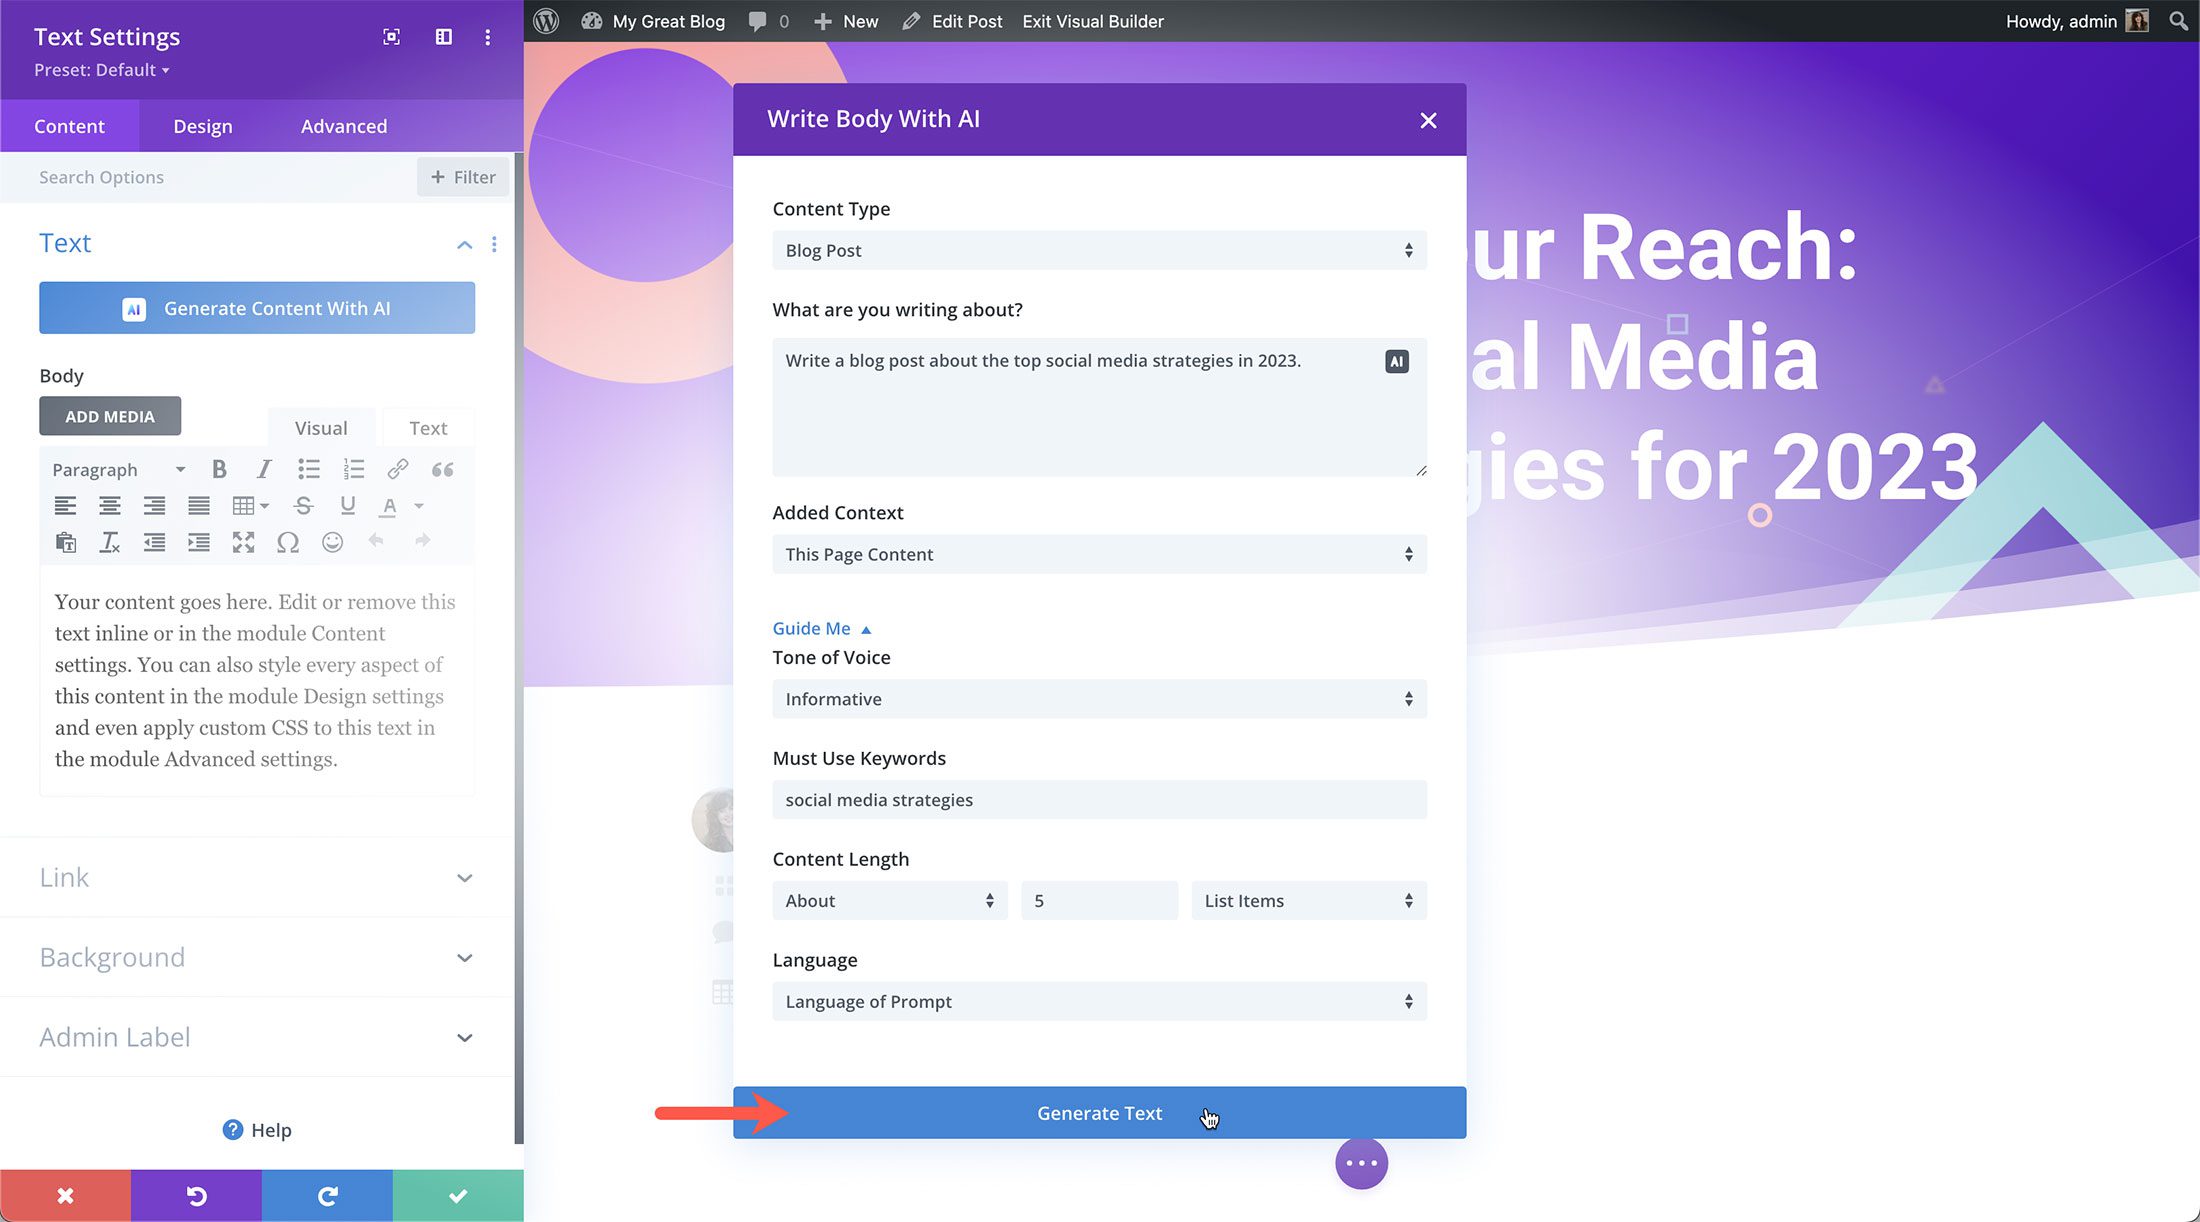
Now that we’ve set our prompt click “Generate Text” to see the results!
On the next screen, you’ll see the results.
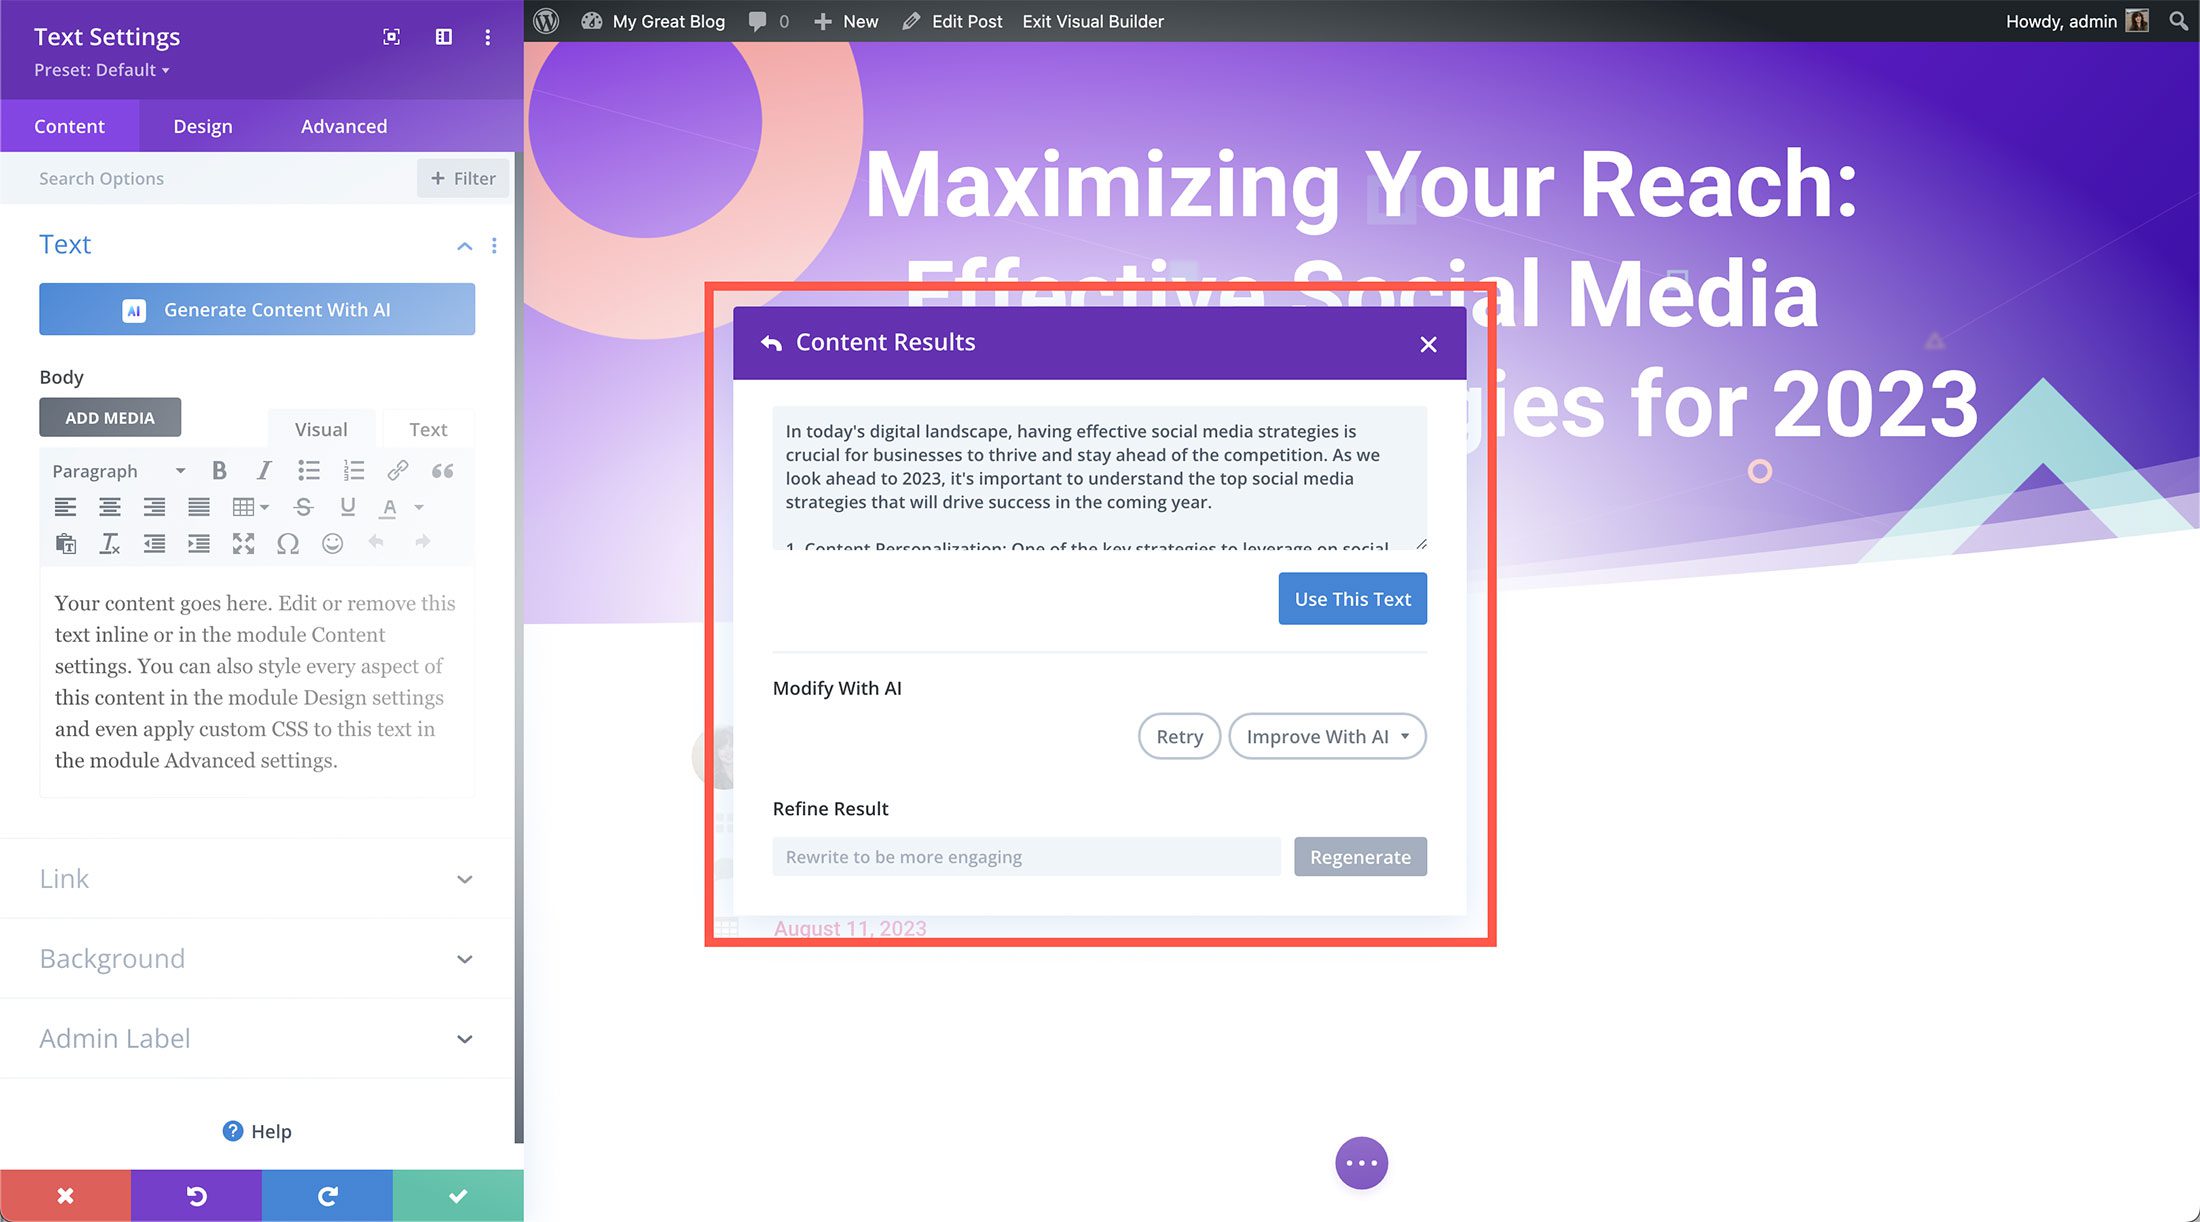
However, we’re not done yet! Divi AI can also help you refine, lengthen, and simplify the results until you have the blog post of your dreams.
Tips For Writing Divi AI-Generated Blog Posts
When writing blog posts with Divi AI, keep these tips in mind.
Edit and Revise the Results
Even though Divi’s AI generation is pretty powerful, it’s essential to edit and revise AI-generated content to avoid copyright issues or sound like you’re writing as a robot. Always do a final review and edit before hitting “publish” on your AI-generated blog posts!
Stay True to Your Tone of Voice
While writing with AI helps save you time by doing some of the heavy lifting when it comes to research and writing, it’s important to remember to stay true to your voice when writing content for your website visitors. AI can help generate ideas and provide outlines; however, you want to create content that resonates with your readers and doesn’t sound unnatural or artificial.
Use Divi AI to Generate Blog Images
Divi AI can also generate on-brand and unique images for your blog post—no more spending hours searching for the perfect image on stock photography websites. Now, you can create exactly what you want right with Divi AI! Learn how to generate Divi AI images here.
Write Compelling Blog Posts With Divi AI!
In addition to speeding up the blog writing process, Divi AI can also generate ideas you hadn’t thought of to include in your blog post and help you write compelling content that drives traffic to your website. Join today to access unlimited Divi AI generations!
Divi AI is the web design assistant you need! Not only does it help you work faster, it also helps provide multiple variations of the same design, making it easier to find your ideal outcome. If you’re signed up for Divi AI yet, take the opportunity to sign up today and enjoy the unlimited prompts you can enter! We hope you’ve enjoyed this tutorial, let us know if you have any questions in the comments and we’ll see you tomorrow for another Divi AI tutorial!
Get 40% Off Divi AI This Week!
For the next week, we are giving 40% off of Divi AI unlimited. Anyone who purchases Divi AI before the sale sends will save $115 per year and lock in those savings for LIFE! Plus, all of your team members can use Divi AI at no additional cost. Get the discount here 👇



This is the one place I wish DiviAI could work outside of Divi, I prefer to use the default editor for Blog Posts, tho I suppose with Gutenberg, it’s a bit more advanced than it used to be, and more on par with using Divi anyway, so I Could just go that route.
Esto está escrito con Divi AI? 🙂