No matter how big or small your blog is, you want it to perform well. For a blog to have success, it needs high volume traffic. To perform even better, it also needs engagement. To help you out, we’ve put together a list of the best types of blog posts that generate traffic and engagement.
Simply creating these posts isn’t going to cut it though. You really have to put the effort in to make them work as they should. For every type of blog post, we’ve included a list of steps to get you started.
Regardless of the type of blog post you choose for your next publication, there’s one thing you must always do. If you want to generate traffic and engagement, promote the post on all your promotion channels. Any blog post, no matter the amount of effort you put into it, won’t get traffic and engagement if no one knows it exists.
With that said, let’s dive in.
Expert Roundups
The first type of blog post on our list is expert roundups. The premise of an expert roundup is to select a group of experts and ask them the same question or their opinion about a specific topic. From a content marketing perspective, this type of post has huge potential for link building and influence. It’s regarded as one of the fastest ways to gain exposure as a blogger.
What isn’t fast about expert roundups, is putting them together. Actually, it might be one of the most time consuming of the list. What every blogger and content marketer will tell you is that no matter how much work they entail, they’re always worth it.

How To Create an Expert Roundup
1. Choose the Topic
When creating an expert roundup, consider your target audience. If you have an engaged social media following, ask in a poll what they’d like to learn more about. Come up with an idea within your niche that will bring value to your readers. For example, in the post above, experts share their best tips on how to choose the best eCommerce Software Platform.
2. Find the Right Experts
Once you’ve chosen the topic, write up one or two questions that you’ll ask. Then, reach out to as many experts in your field as you can. Look for them on social media, or use a tool like Buzzsumo. Create a list of the most influential experts in your niche or industry. The longer the better! Make sure to get their emails so you can get in touch with them about your expert roundup.
3. Send Personalized Emails
Reach out to all the experts on your list with personalized email messages that include the question to be answered. You’ll have better results if you’ve already been engaging with these people on social media for a while. Collect all the responses and don’t forget to ask for a bio and photo.
4. Put it all Together
Put it all together in your blog editor. Use a repeating pattern to showcase each expert’s answer. Don’t be afraid to get a little visual and add colored textboxes or interesting image frames or filters. Go all out and create an infographic!
5. Tag the Experts on Socials
When you share your expert roundup, tag the experts in your roundup! Send them an email, letting them know that you’ve published the story.
How-To’s and Tutorials
The second type of blog post on our list is tutorials or how-to posts. The difference between a how-to and a tutorial is in the way you word the title and format the content. They are essentially the same. These are perfect for bloggers that want to offer helpful resources to their readers. In fact, this type of content can work with any type of blog. There’s always something you can teach your readers.
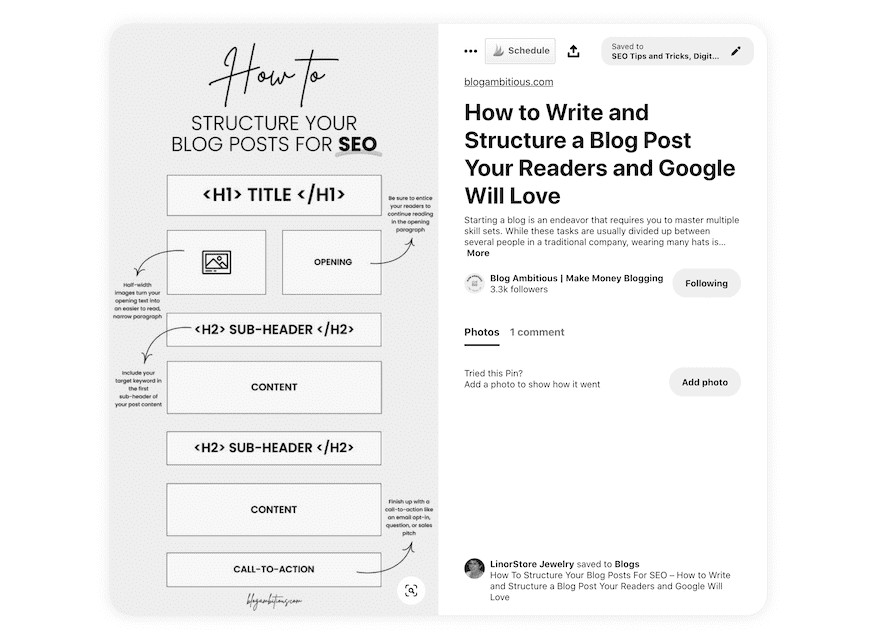
A good rule of thumb for tutorials and how-to’s is to be as visual as possible, preferably one visual for every step. For more complex topics, use video. Add the video to your blog post, YouTube, and social media for more exposure.
How To Create a How-To Or Tutorial
1. Choose a Topic
Like any blog post, you’ll need to come up with a topic. Make sure to pick a topic you really know about or one that you can research easily. The last thing you want to do is give the wrong instructions.
2. Outline the Steps
Before putting together the content for the post, write an outline of the steps to follow. Make sure you don’t forget any steps and be as detailed as possible. Take notes as to how you might be able to visualize them.
3. Find a Way to Visualize the Steps
If the tutorial is for a hands-on project, use photography. For something to do on a computer, take screengrabs of the process. If it’s something else, create some type of graphic of the steps. For example, the image above is an infographic created for a how-to blog post shared on Pinterest.
Listicles or List Articles
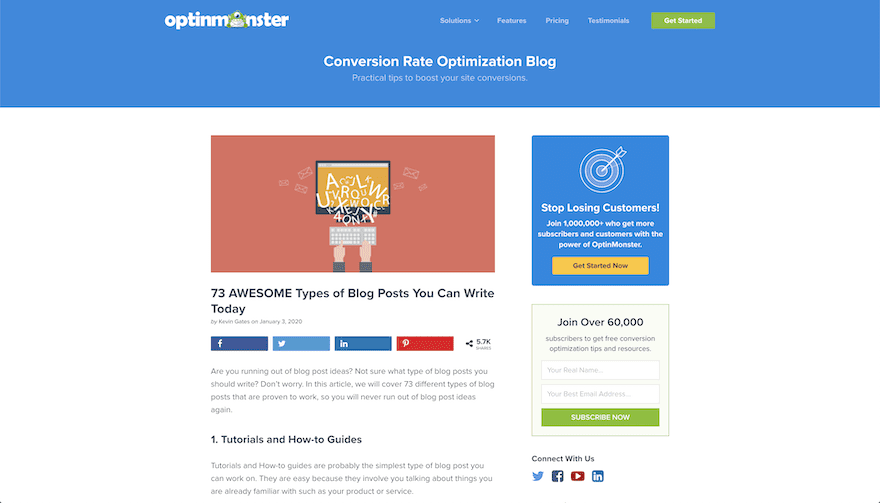
Next up is the list article, commonly known as the listicle. Creating articles in list format is great for SEO and SERPs. The key is to format the headings in the right way. Use the list to answer a question, give tips, share resources, or inspire ideas. List articles can be about pretty much anything. In fact, A few of the other articles on this list are also listicles. If it has a number in the title, its a list article.
How To Create A Listicle Or List Article
1. Create Your List
Figure out what your list will be about. As always, consider your target audience and what they want to learn from you. Tap into your own expertise and knowledge. A list can have as little as 5 items or over 100. Conduct research online to see other listicles out there on the same topic or niche. Choose a number that hasn’t been used too much already. Content marketers have found that an odd number will always perform better than an even one.
2. Write the Content
Write the content for each list item. You’ll find along the way that one item isn’t a great idea anymore. Find a replacement and stick to your odd number. Use two or three paragraphs with + or – 300 words per item. If it’s a long list, add a table of contents with anchor links at the top. Add outbound links to the items that warrant it.
3. Add Visuals
Don’t forget the visuals. Include at least one visual per list item. This will make the post easier to skim. Use graphics created by you, stock photography, or screengrabs of websites. Make sure to always follow the licensing guidelines for visuals.
Case Studies
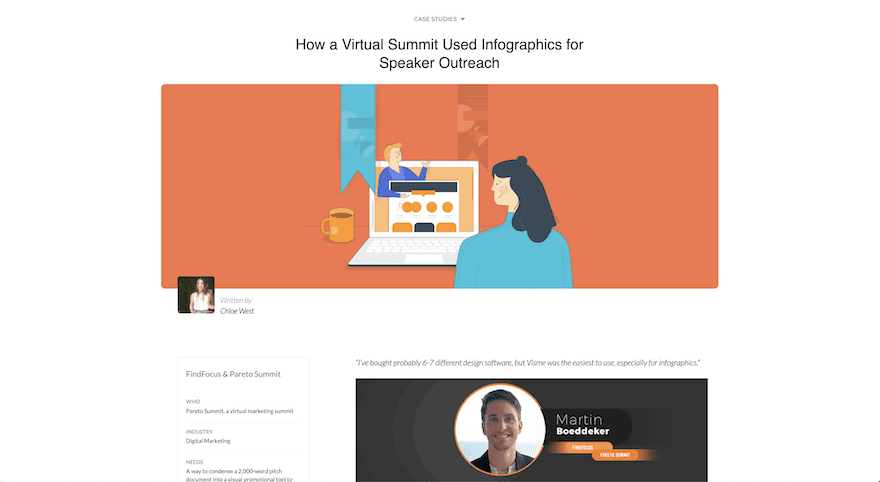
The fourth example is a case study. A case study is an article that tells the story of a user’s success with a product or service. These are great for showcasing your company. New clients can get a feel of what it’s like to work with you through someone else’s experience.
The key to a successful case study is to always be honest and clear. Work closely with the user being featured to highlight how your product solved their problem and what the positive outcomes were. Include real quotes to help the reader feel identified. Don’t forget to ask the featured user to share the article once it’s published!
How to Create a Case Study
1. Find the Right Client/User
The first thing you need is the user or client that you’ll be writing about. Look at reviews your users have left on your site and social media channels. Use your social media listening skills to find users who are talking about your product in a positive way. Check your emails to find those users that sing praises of your products. Pick the one that will be the most relatable to other users.
2. Have a Conversation
Get in touch with the user or client and ask if they’d be interested in being part of a case study for your blog. Set up a call and get some questions ready. For example:
- How do you use our product or service?
- What problem did it solve?
- Have you noticed a positive outcome from using our product or service?
- What’s your favorite thing about our product or service?
Don’t forget to ask follow-up questions. Record the call so you don’t miss anything when putting together the article.
3. Write the Article In a Problem-Solution-Outcome Format
When writing the content for the case study follow this format:
- Problem
After presenting the user/client being featured, layout the problem they were facing before using your product or service. - Solution
Tell the story of how your product or service helped solve the problem. Go from beginning to end and include personal reflections from the user. - Outcome
Finish the story with the final outcome after the problem was solved. What became easier for the user? Did they save time, get more clients, etc?
4. Use Visual Data
The best type of visuals for a case study is visual data. Create charts showing the before and after data of the problem your product or service solved. If it applies to the story, ask the featured user for screengrabs of their analytics. Add photos or visuals of things the client made or produced while using your service or tool.
Interviews
The next type of blog post on the list is the interview. These can be done in a number of ways:
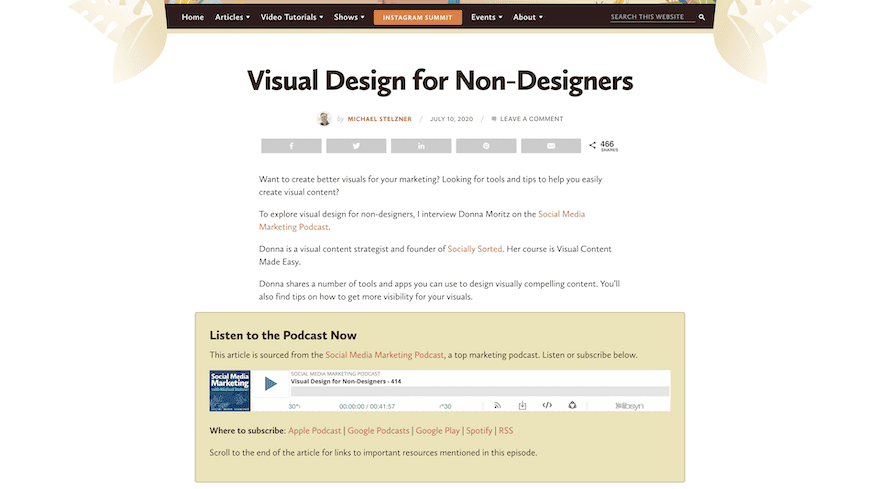
- Podcast transcribed into an engaging post.
- A video recording of a Zoom call and a transcription in the post.
- The classic style interview with the transcribed copy of a call or in-person meeting.
The premise of an interview is to ask someone a set of questions and publish them along with their answers.
A key factor of a successful interview post is the person you interview and the questions you ask. Don’t waste a good opportunity by asking the wrong questions or not connecting with the interviewee.
How To Create An InterviewArticle
1. Find the Right Interviewee
Choose an influential person in your niche that’ll bring value to your readers. If you can’t think of someone off the top of your head, do some social media listening to see who you are already connected to and who your audience is following. You’ll have an easier time getting a positive response from top thought leaders in your niche if they know a little bit about you. If your blog is still quite small, interview someone at your level or a little higher to start.
2. Make the Connection and Formulate Some Questions
Once you’ve chosen the person to interview, connect with them first. Have a conversation about your idea and why you’d like to interview them. Give them a chance to suggest questions that they’d like to answer. When you write up the questions, make sure they’re open-ended. Open-ended questions can’t be answered with a definite yes or no. Ask for their opinions on certain things, or ask for their personal experience on a particular subject. Ask questions that invite a bit of storytelling on their part.
3. Capture the Interview
Conduct the interview in a way that’ll be easy to review after it’s done. Record a virtual call or do it all via email. Do what the interviewee feels comfortable with and has time for. Podcasts, for example, are a great option because the exposure level is two-fold. Same with a video that can be shared on YouTube or Facebook.
4. Format the Blog Post
Put together the post. Follow the classic interview format of question/answer or create a curated story from the answers. If you recorded a virtual call, include the video above the fold. Podcasts and audio recordings should also be added above the fold. Then add the transcribed content or a summary.
Comparisons
The next type of blog post is a comparison. A post like this is good for a number of purposes; SaaS companies compare their software to competitors, affiliate marketers measure up different products in the same niche. One angle is to highlight your product other others, another is to compare two or more products so the reader can come to their own conclusions. Both are valid comparison posts and are great for traffic and engagement.

How to Create a Comparison Article
1. Select What to Compare
What’re you going to compare? Choose two products that compete against each other or a number of products for readers to choose from. Compare your product to your closest competitor. Stick to your niche and industry. Listen to your users to know what they’re searching for.
2. Do Your Research
Find as much information as possible about all the items you’re comparing. Make sure all the information is up to date, your readers will know if it’s not. Separate the content into themes or features so the post is easy to skim.
3. Highlight Pros and Cons
A good comparison post includes both the positives and negatives of the items being compared. Even if you’re comparing your product to another, include what your product is missing. Be honest as so why your product doesn’t have that feature and say if you plan on fixing that. Use charts and visual graphics for added value. There are lots of comparison infographic templates out there.
Downloadable Checklists and To-Do Lists
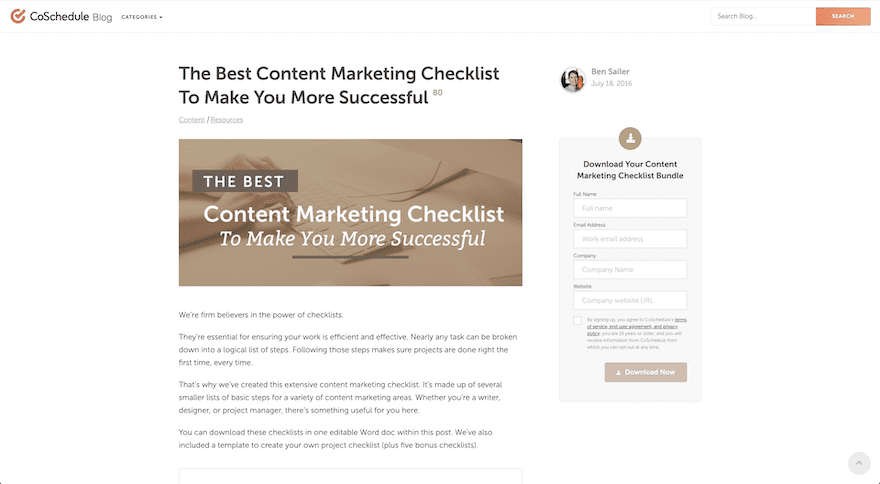
This type of blog post does more than drive traffic and engagement. It also generates leads. The idea is to offer the reader a downloadable checklist or to-do list that fits into your niche and industry. For example, on the post below, Coschedule shares a content marketing checklist in exchange for a sign-up. Usually, these downloadable are created as PDFs. There are plenty of resources online to help you create one.
How to Create Posts with Downloadable Checklists and To-Do Lists
1. Find Out What Your Readers Need
Use social listening to find out what the communities in your niche are looking for. Think of things that can help them get better results in their own business. Come up with an idea that isn’t too long and can be used easily.
2. Create the Download
Use a graphic design program to create your download. These are so popular that you’ll have no trouble finding templates to simply fill in with your content and idea. Make sure to use your brand colors and fonts!
4. Don’t Forget the Call to Action
Create the post where you’ll promote the download. Tell your users how this download will help them. Add a call to action above the fold with a lead capture module or use some sort of lead generation plugin. Make sure your email provider sends the download as soon as they sign up.
What Type Of Blog Post Will You Write?
Which of these blog posts have you tried already? Which one will you write next? From a content marketing strategy standpoint, your best bet is to publish as different types of posts as much as possible. That way you can analyze which ones do best for your niche and what your readers react best to. In this post, we included 7 types of blog posts that generate traffic and engagement. There are more types, but not all are as successful as the ones above. Let us know your thoughts in the comments.
Featured Image via rassco / shutterstock.com




Always good stuff to reference.
traffic is really encouraging for bloggers, especially when it is very high. However, it can be very frustrating when you put all your focus on traffic. Blogging should be a passion and be done with patience.
Nice post sir and good insight.
It’s true. Blogging is very rarely an instant gratification medium. Viral content is usually something that happens seemingly randomly. Even when you know the elements that make up a piece of highly sharable content there’s no way of forcing something to organically take off. Additionally, quality content does not guarantee high traffic either. But high quality content, good SEO, and email list building/usage over an extended period of time will earn you a loyal audience and a steady increase in traffic. The types of posts featured above fit nicely into that basic strategy and can provide quick boosts of traffic via social sharing.