Having a clean layout for your online shop can create a more pleasant shopping experience. However, you’ll also need to ensure that shoppers can easily browse your products according to their preferences. Fortunately, the Filter Products by Attribute WooCommerce block enables users to view items by color, size, and other characteristics.
In this post, we’ll take a closer look at the Filter Products by Attribute block and show you how to add it to your WooCommerce store. We’ll also share some tips and best practices for using this essential element.
Let’s get started!
- 1 How to Add the Filter Products by Attribute WooCommerce Block to Your Post or Page
- 2 Filter Products by Attribute WooCommerce Block Settings and Options
- 3 Tips and Best Practices for Using the Filter Products by Attribute WooCommerce Block Effectively
- 4 Frequently Asked Questions about the Filter Products by Attribute WooCommerce Block
- 5 Conclusion
How to Add the Filter Products by Attribute WooCommerce Block to Your Post or Page
The Filter Products by Attribute block enables users to browse through the items in your store by size, color, style, and other characteristics. This element makes it easier for consumers to find the right products for their needs.
To use this block, open the page or post where you want to display your newest products. We recommend that you add the element to the main shop page.
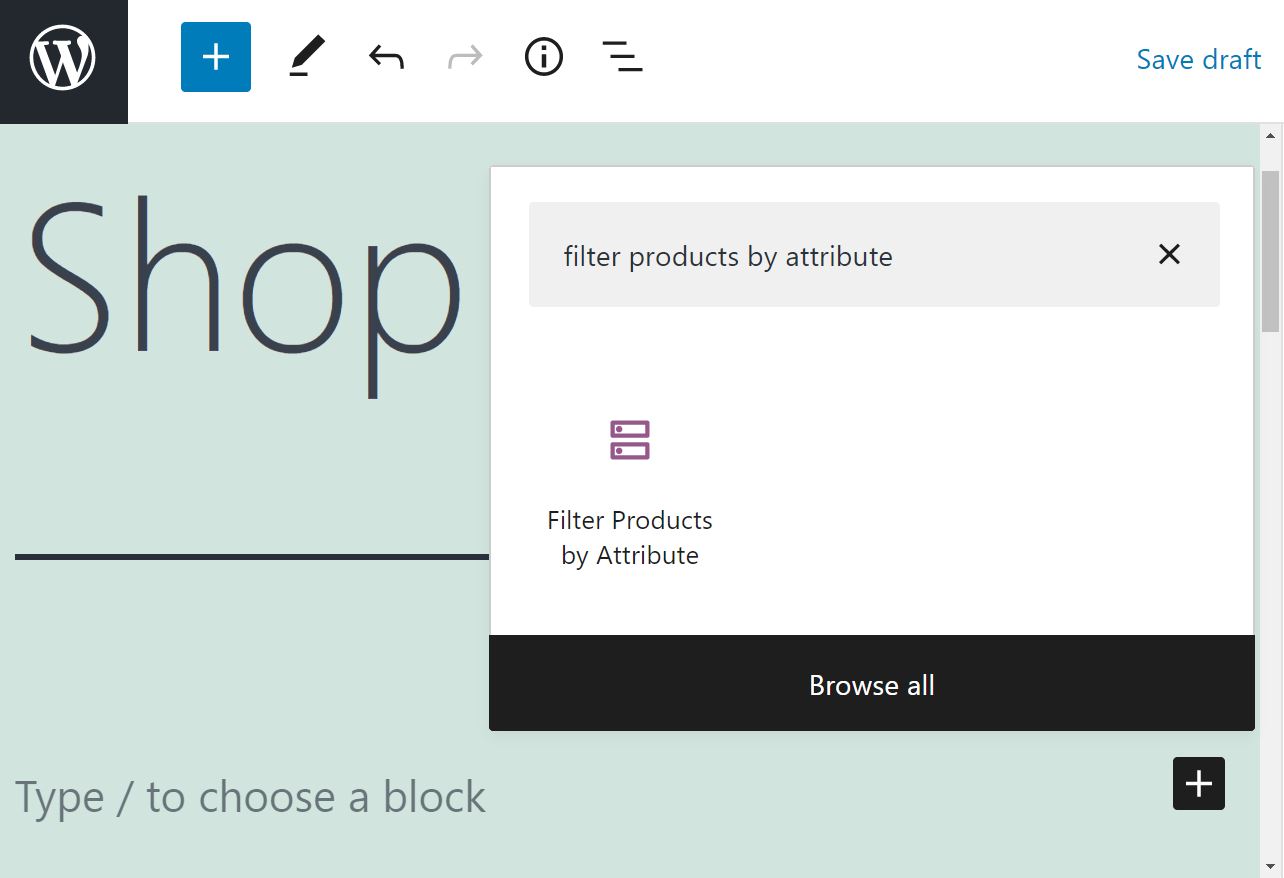
Next, click on the plus sign (+) to add a new block, and use the search bar to look for “filter products by attribute”:
Once you insert the block, you’ll be asked to select the attribute that you want to display:
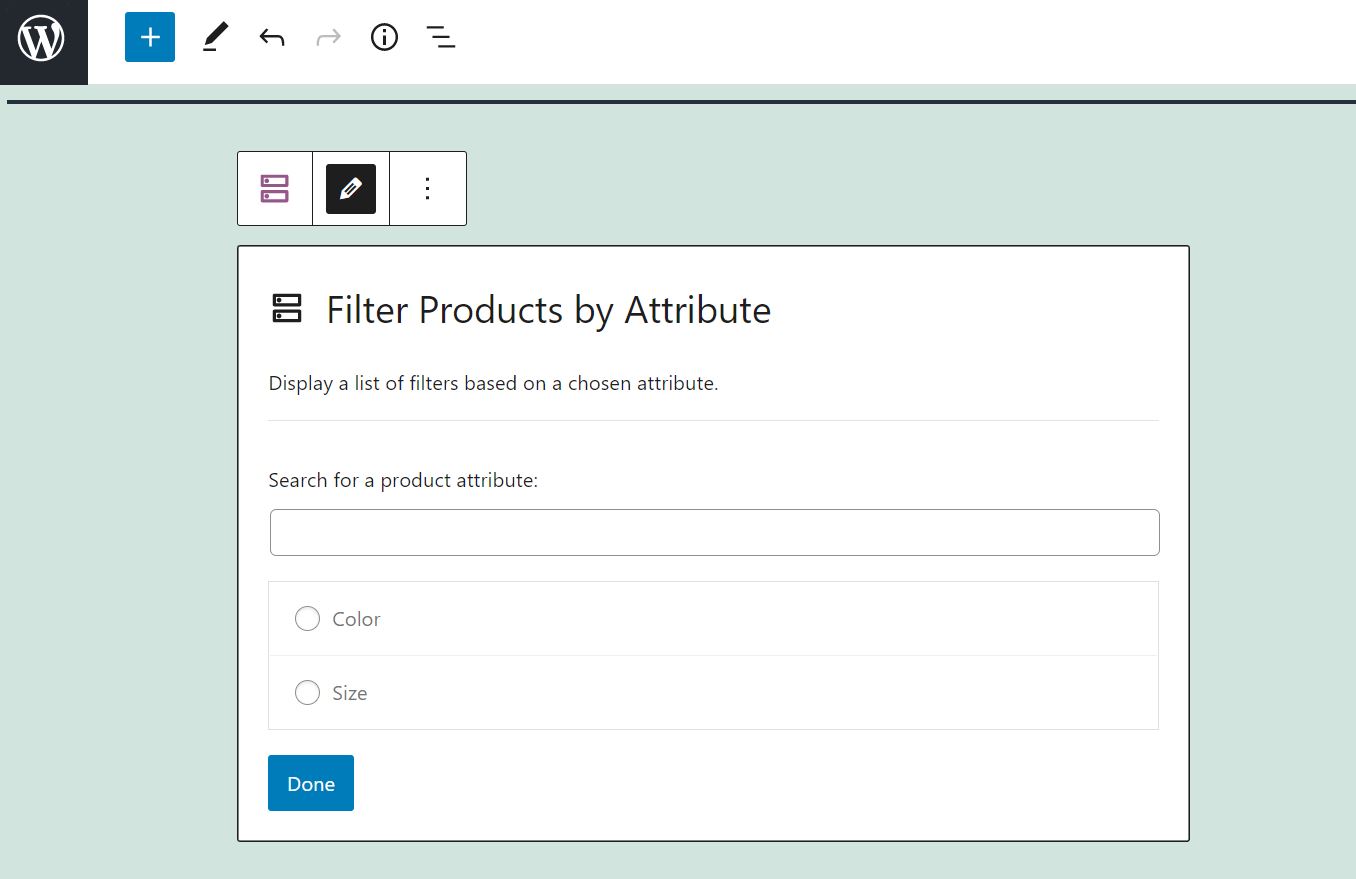
Make your selection and click on Done. For this tutorial, we’ve chosen “color” as our product attribute:
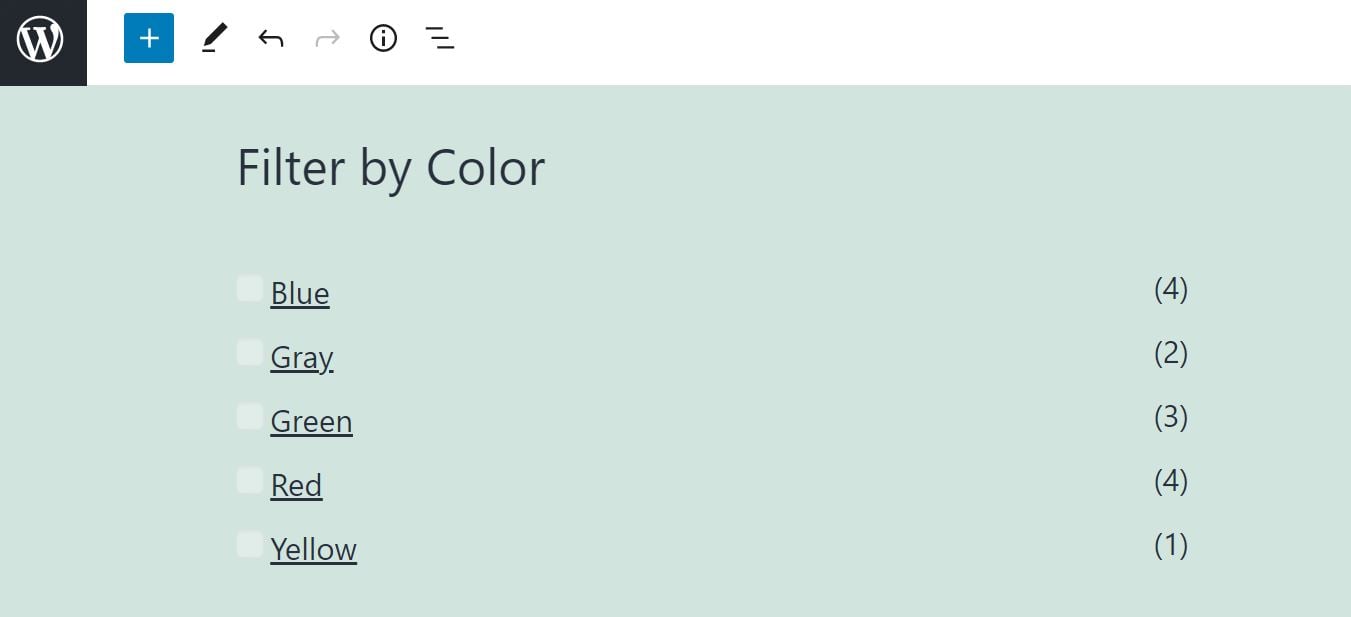
As you can see, the block displays a list of variations for your chosen attribute. For example, if you select “color”, you’ll see the different types of colors available and a product count for each option.
Note that the Filter Products by Attribute block is only available if you’re using WooCommerce on your site. With this e-commerce plugin, you’ll also get access to the other WooCommerce blocks in the Block Editor.
Filter Products by Attribute WooCommerce Block Settings and Options
Now that we know how to add the Filter Products by Attribute WooCommerce block, it’s time to explore its main settings. If you click on the block, you’ll see a toolbar at the top:
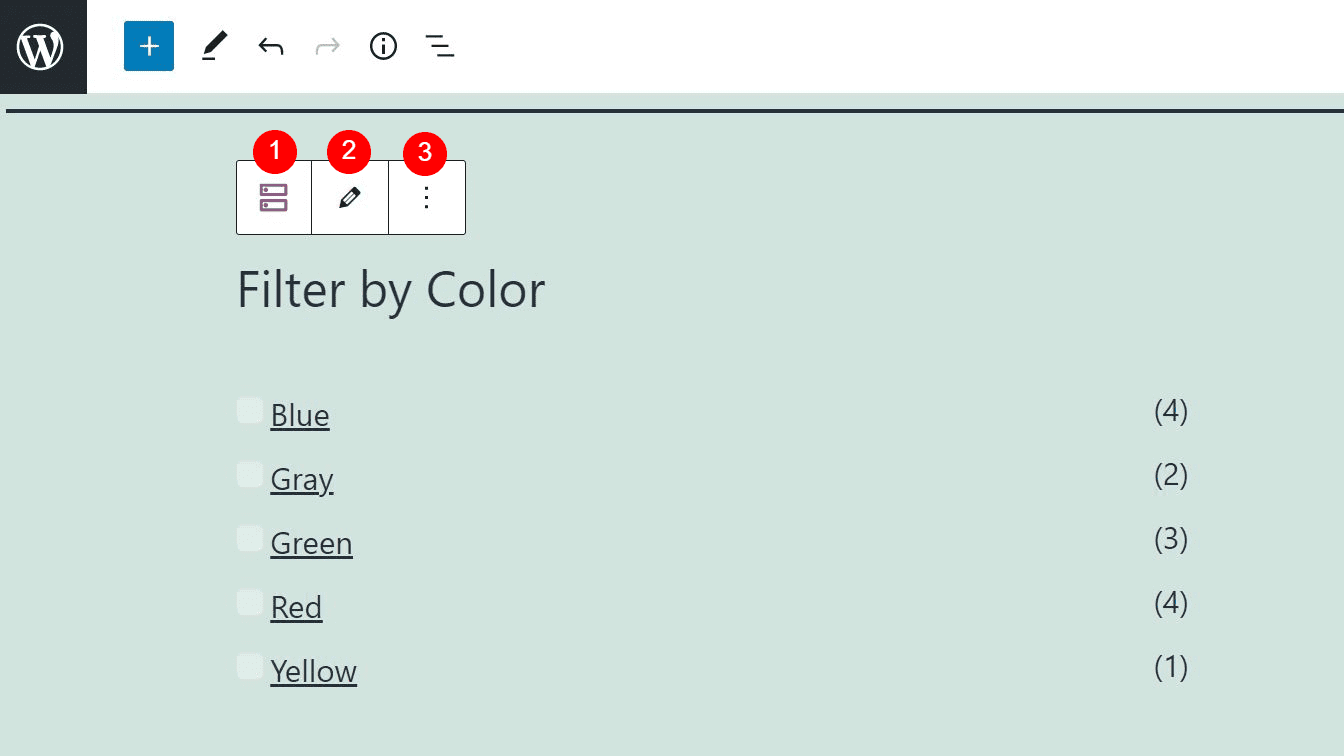
Let’s look at each option:
- Change block type or style: You can transform the element into a Group or Columns block.
- Edit: You can click on this option to select a different product attribute.
- Options: You can copy the block, group it, add it to your Reusable Blocks, or remove it.
As you’ve probably noticed, there are just a few settings. However, you also have some configuration options in the panel on the right-hand side.
For example, you can hide the Product count or select a different Heading Level for the title (in our example, it’s “Filter by Color” ):
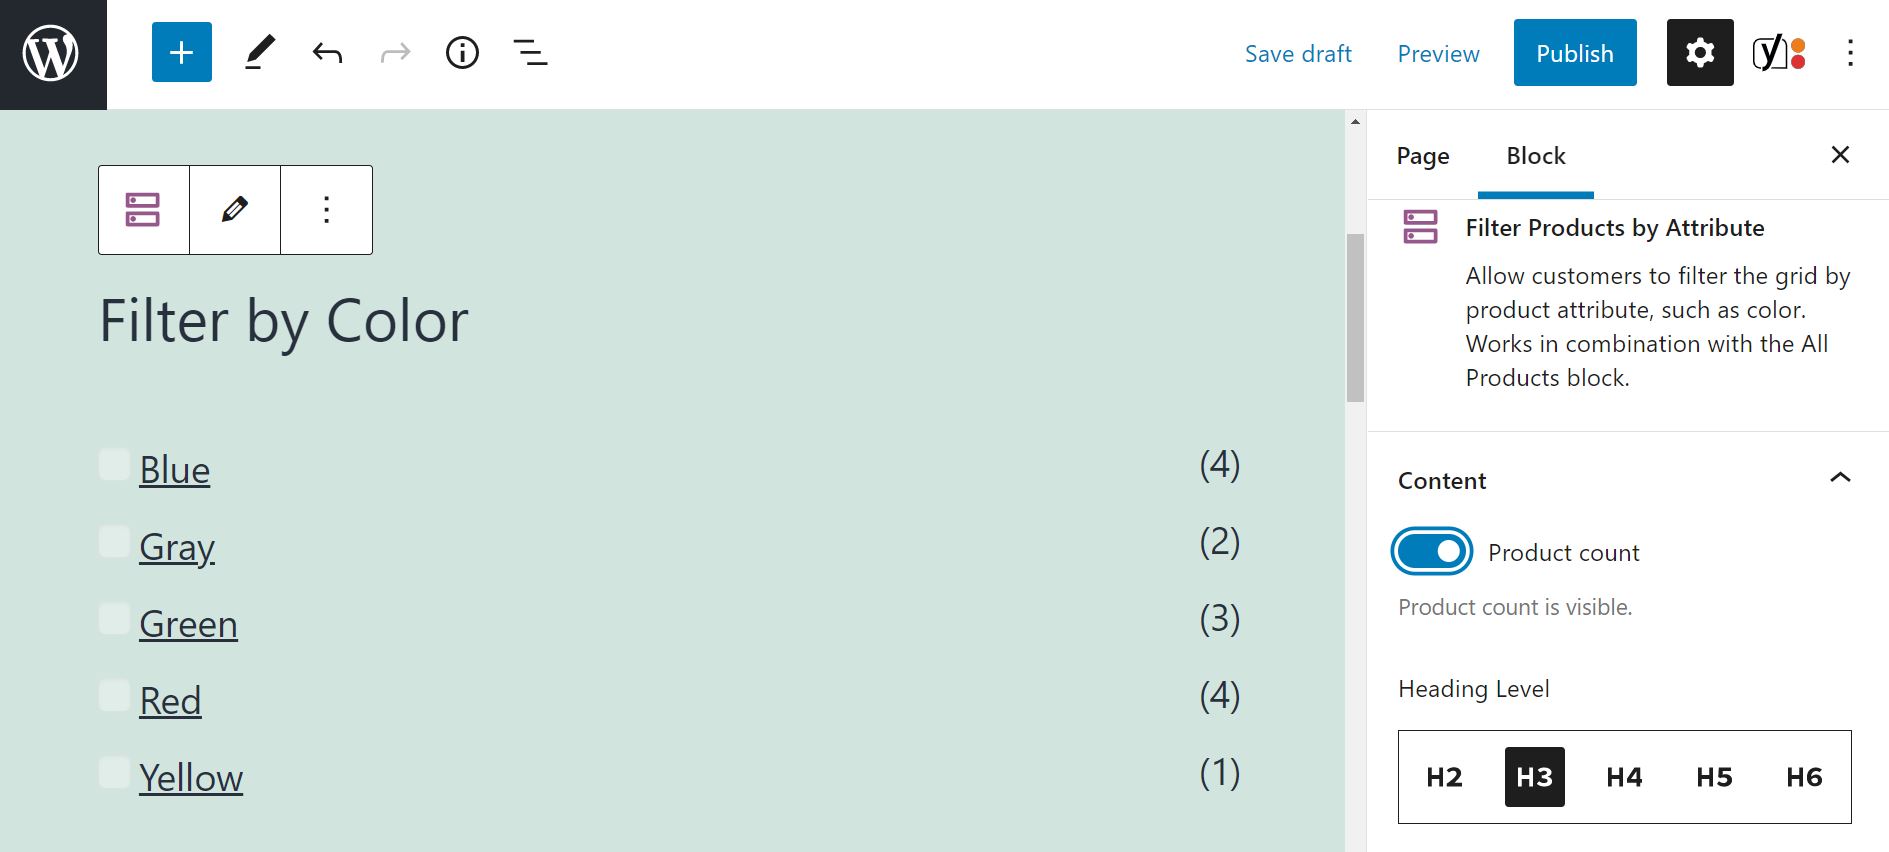
If you scroll down the panel, you’ll see more options under Block Settings. The Query Type option enables you to either display products that have any of the selected attributes or items that have all of the chosen characteristics:
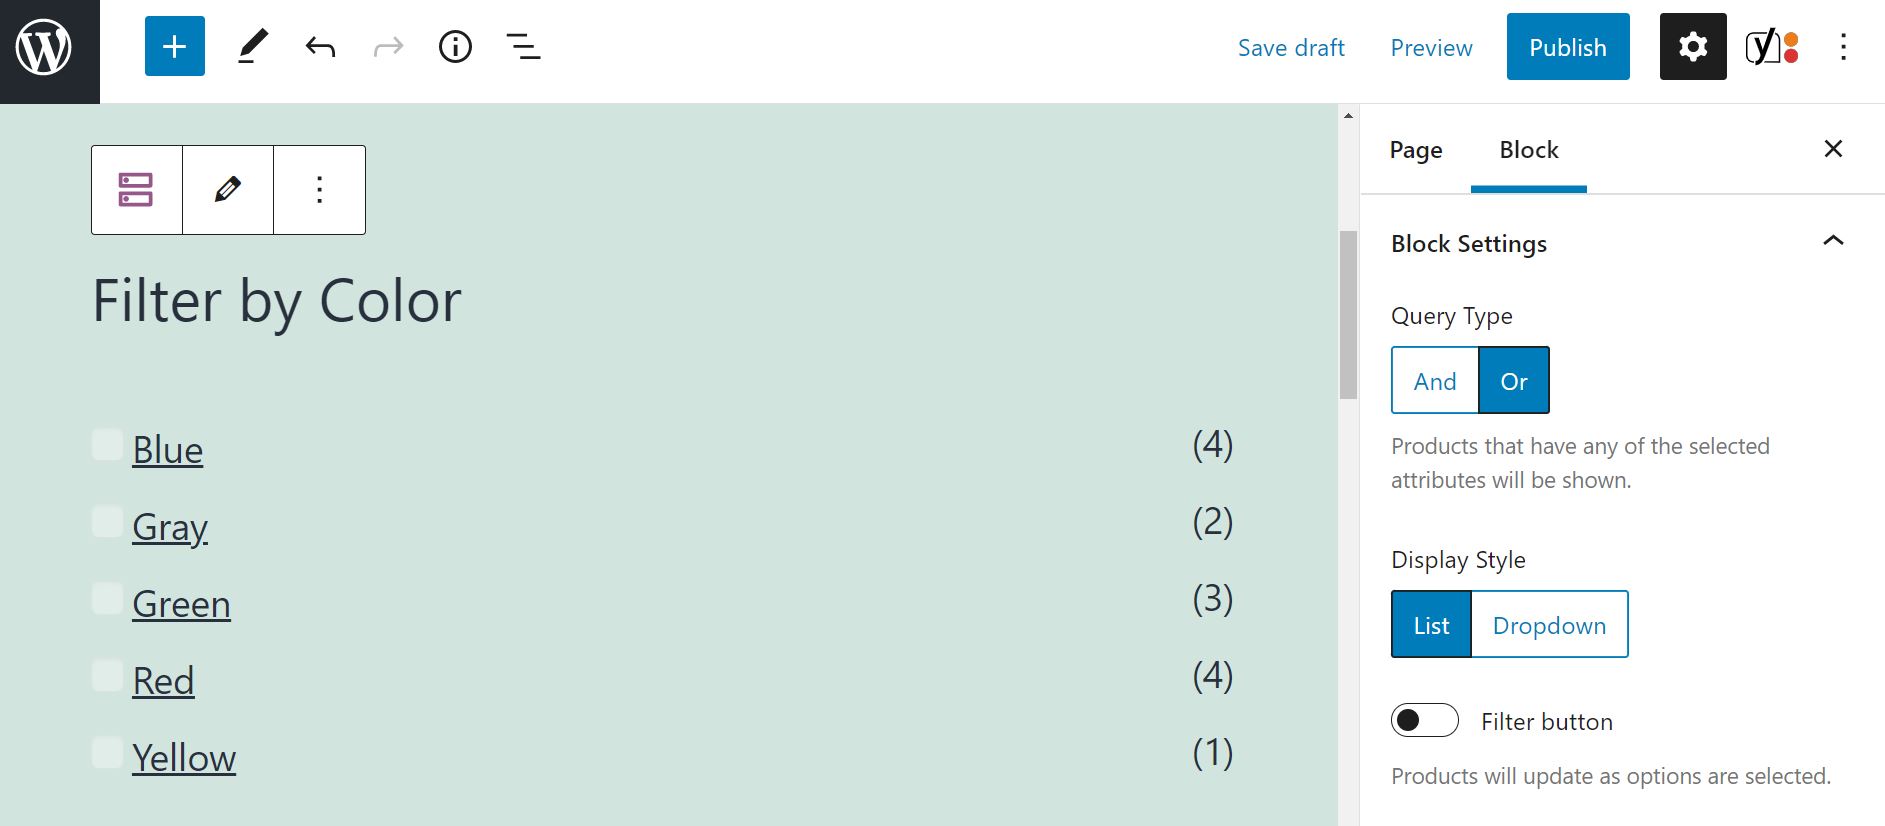
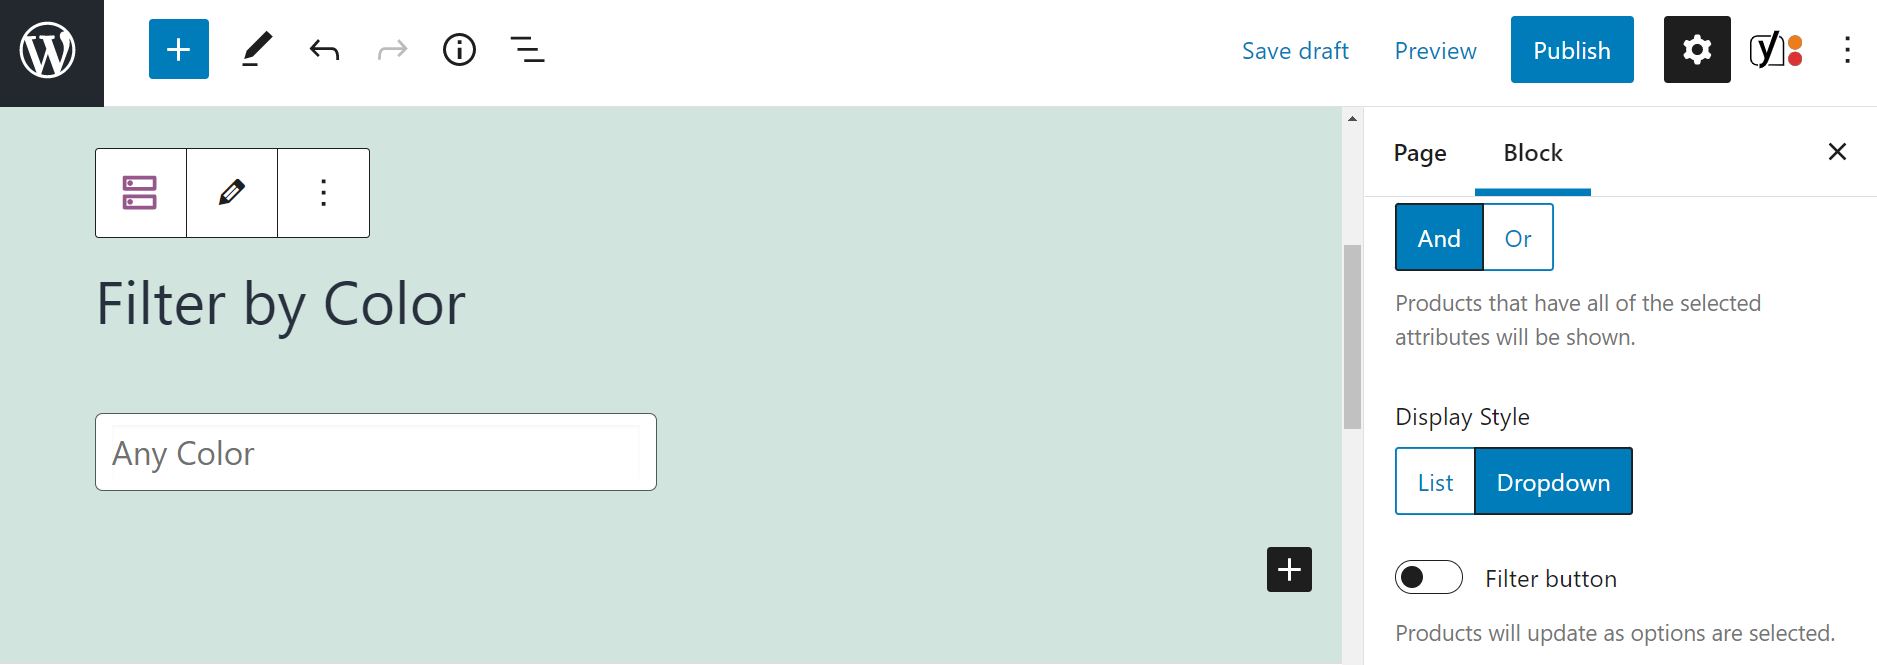
You can also change the display style of the filter. By default, the options are displayed as a list. Here’s what the block looks like if you choose Dropdown:
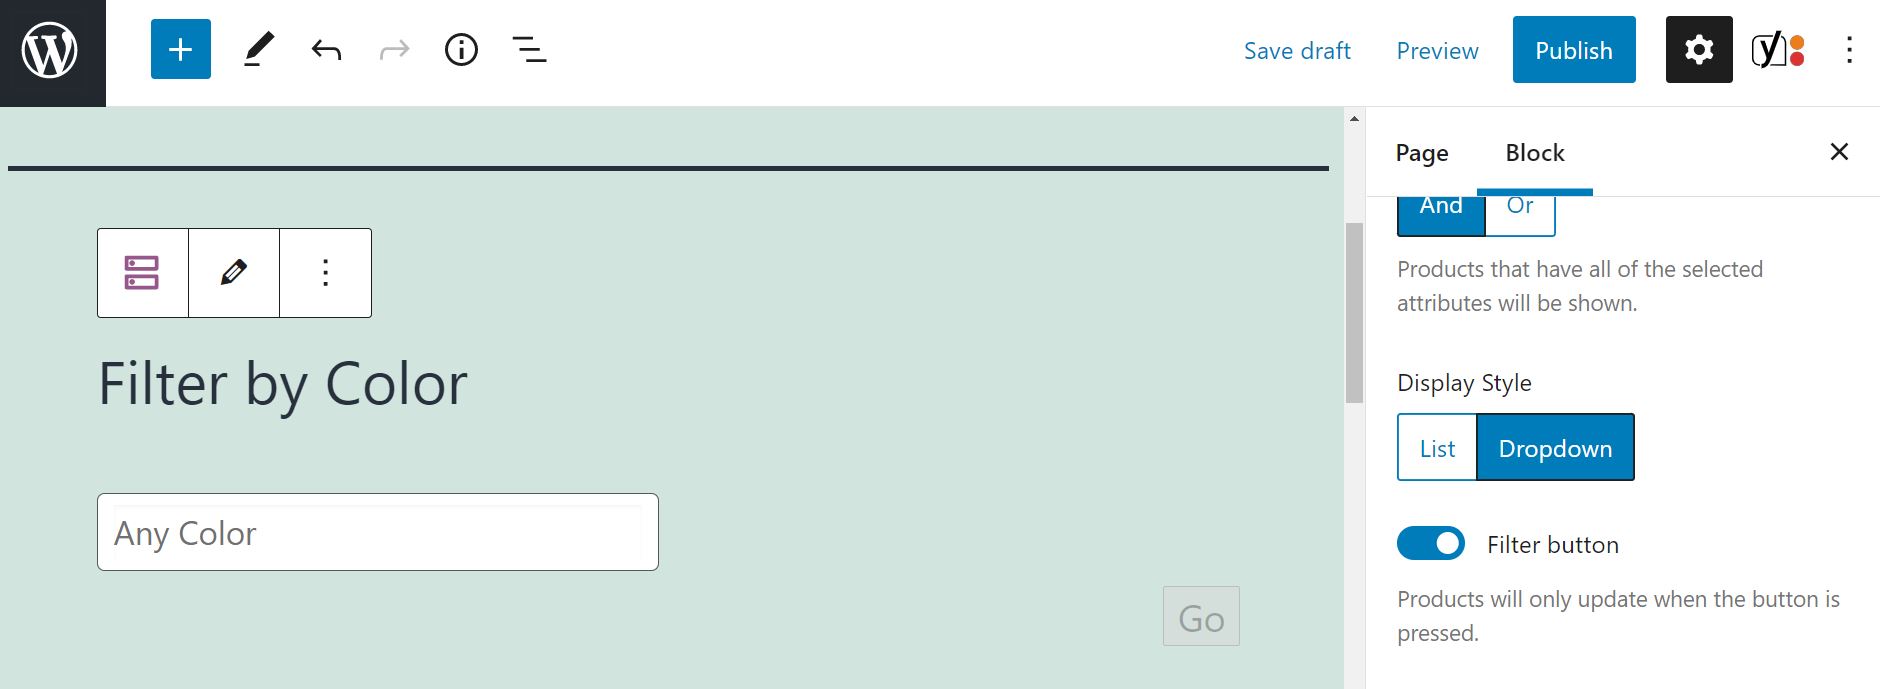
You can also add a Filter button. By default, products automatically update when the user selects an option (e.g., “blue”). If you enable the Filter button, the block will only display the relevant products once the user clicks on Go:
In the Filter Products by Attribute section, you can choose a different attribute. For instance, we switched to Size:
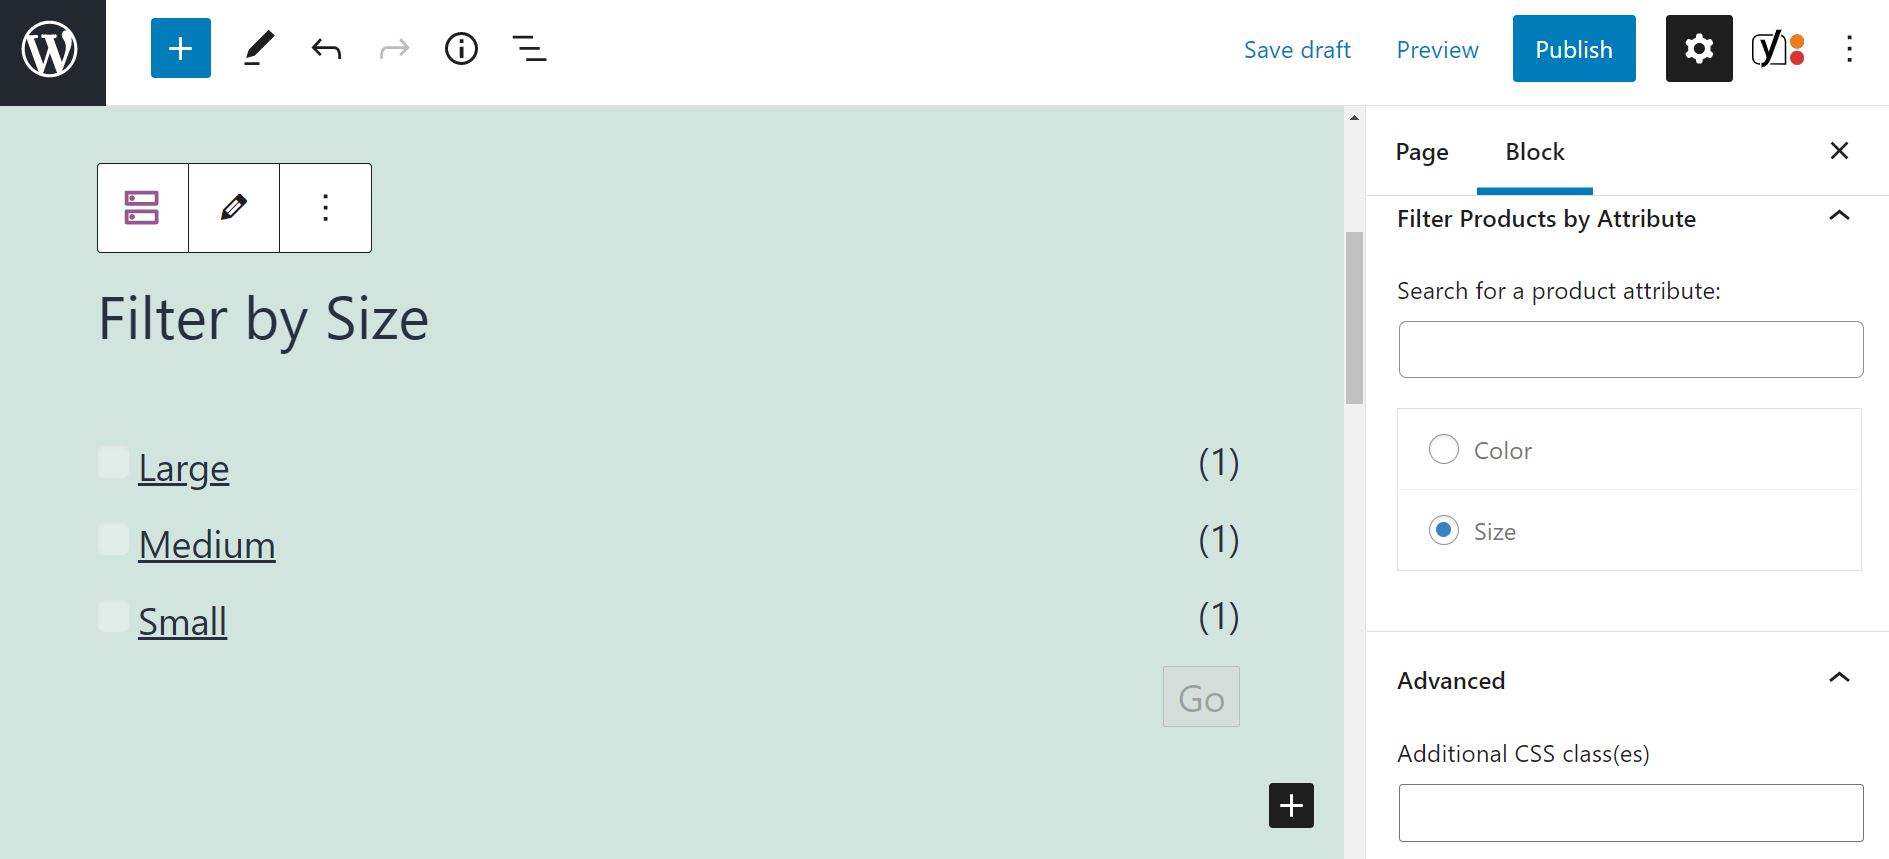
Finally, you’ll find the Advanced settings option. It enables you to add CSS classes to the block.
Tips and Best Practices for Using the Filter Products by Attribute WooCommerce Block Effectively
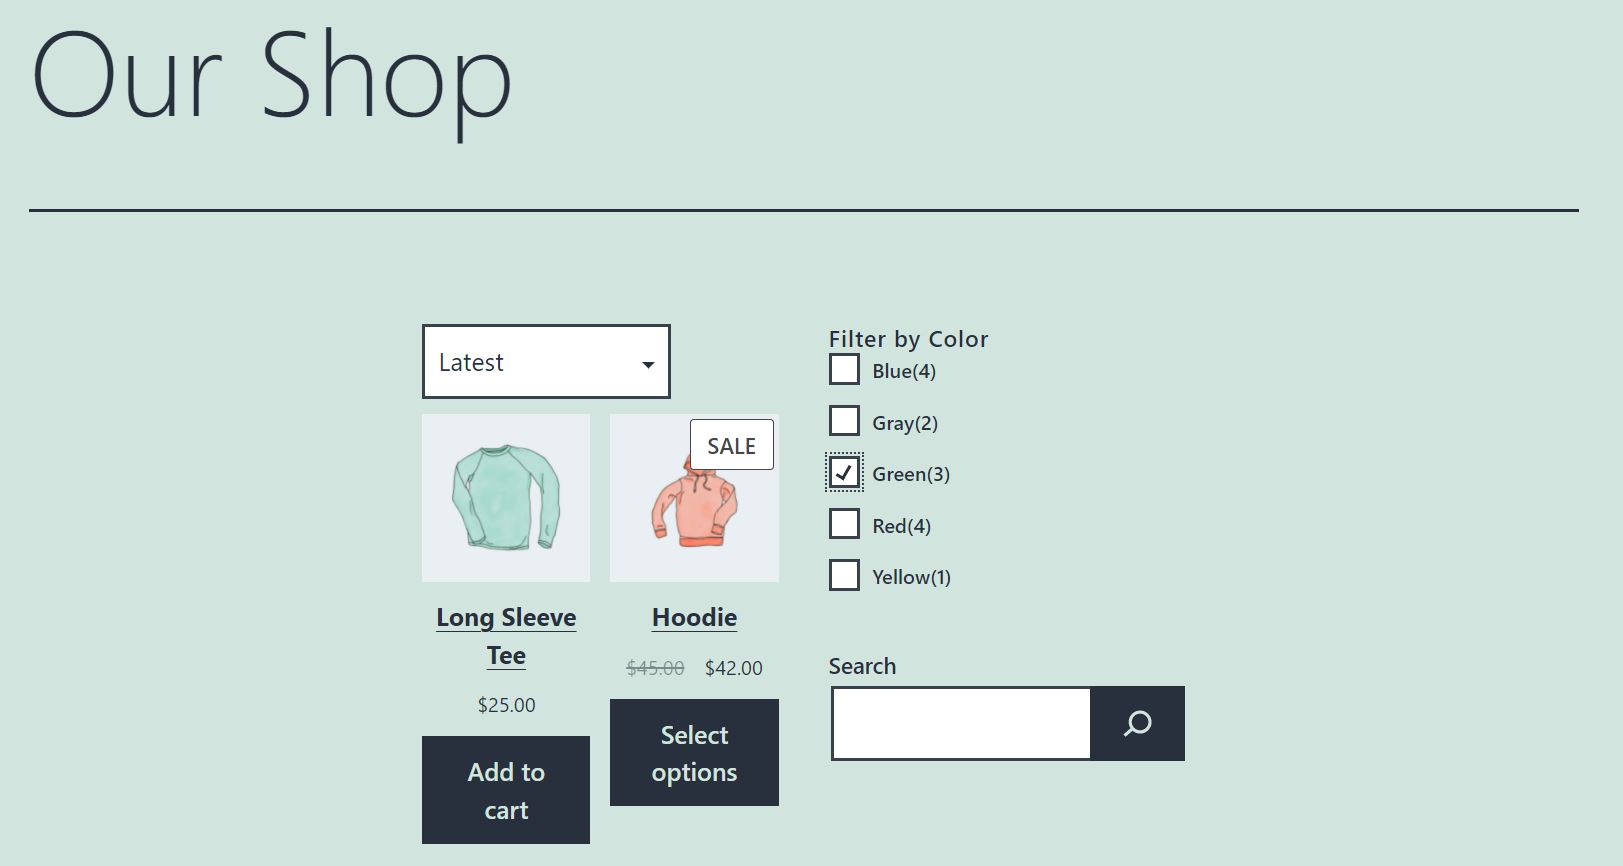
As we mentioned earlier, you should ideally use the Filter Products by Attribute block on the main shop page (this could also be your homepage). That way, users can easily search for their preferred attributes while browsing through your catalog of products.
We recommend adding this filter on the side or at the top of your page so that shoppers can spot it straight away:
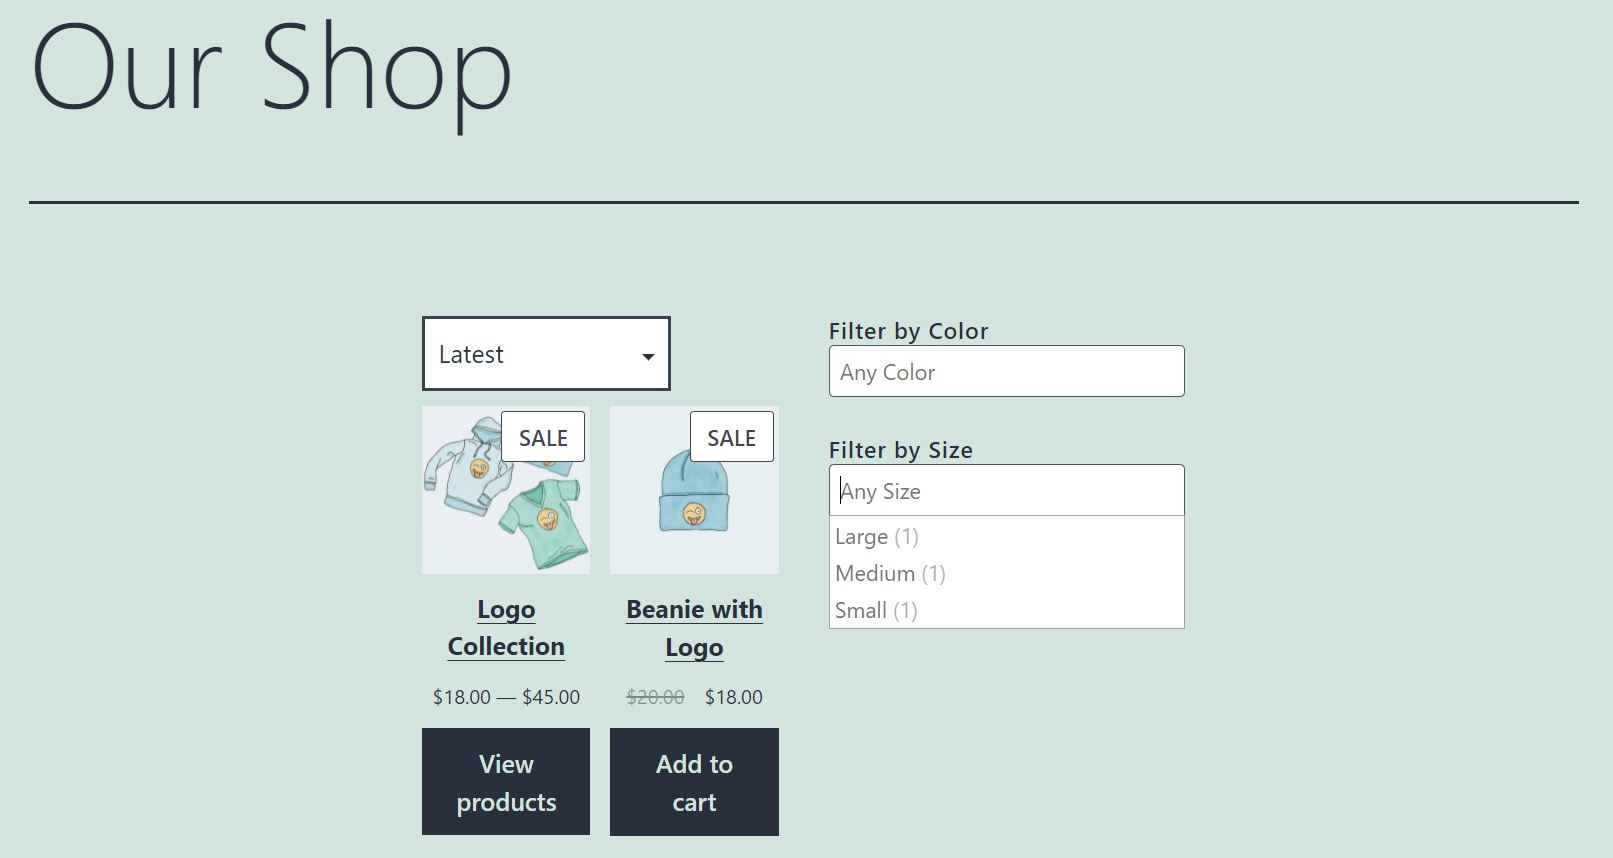
You may also want to use Filter Products by Attribute blocks for all available attributes. For instance, you could use one element for color and one for size:
If you designed your shop in the Block Editor and wish to display the Filter Products by Attribute block on one side of the page, you’ll need to work with WordPress columns. Alternatively, you may choose to insert the block into your site’s widget areas, such as your sidebar.
Frequently Asked Questions about the Filter Products by Attribute WooCommerce Block
As we have seen, the Filter Products by Attribute WooCommerce block is pretty straightforward to use. However, you may still have some questions about this element. Let’s take a look at some of them!
Can I Add New Attributes in the Block?
Unfortunately, you can’t add new attributes using the Filter Products by Attribute block. If you wish to create another product characteristic, you’ll need to navigate to Products > Attributes in your WordPress dashboard.
Can I Use Different Filter Products by Attribute Blocks at the Same Time?
You can use multiple Filter Products by Attribute blocks simultaneously. Let’s say you add one block for color and one for size. A user might want to look at clothes that come in white and blue and are available in small and medium sizes. In that case, they can select their preferences from each block. WooCommerce will then display all the products that meet those criteria.
Does the Filter Products by Attribute Block Work the Same Way As the Products by Attribute Block?
No, the two blocks are a bit different. The Products by Attribute block enables shop owners to display a grid of products from their selected attributes. Meanwhile, the Filter Products by Attribute block enables shoppers to browse products according to their chosen characteristics.
Conclusion
Filtering products helps users find what they’re looking for faster. In turn, filtering creates a more convenient shopping experience, potentially leading to higher conversions.
As we have seen, the Filter Products by Attribute WooCommerce block enables shoppers to browse through products according to their preferred color, size, and other options. Pairing this block with a robust search plugin will provide a better customer experience on your WooCommerce store. Ideally, you should place the element in a practical location, such as your shop’s sidebar. It’s also wise to create a filtering block for every product attribute.
Do you have any questions about using the Filter Products by Attribute block in WooCommerce? Let us know in the comments section below!
Featured Image via Chaosamran_Studio / shutterstock.com



Leave A Reply