Customers will often arrive at your WooCommerce store with a set budget in mind. They’ll think, “I can only spend $X, so I need to find the perfect fit.” Forcing users to navigate through page after page of products until they find one that meets their budget can be exhausting. That’s where the Filter Products by Price WooCommerce block comes in handy.
This block enables customers to choose a specific price range. WooCommerce will then update the products list to show only the items that fit into that budget. This article will show you how to place the Filter Products by Price block and how to configure it. We’ll also discuss best practices for using this element.
Let’s get to it!
- 1 How to Add the Filter Products by Price WooCommerce Block to Your Post or Page
- 2 Filter Products by Price WooCommerce Block Settings and Options
- 3 Tips and Best Practices for Using the Filter Products by Price WooCommerce Block Effectively
- 4 Frequently Asked Questions About the Filter Products by Price WooCommerce Block
- 5 Conclusion
How to Add the Filter Products by Price WooCommerce Block to Your Post or Page
Before we explain how to use the Filter Products by Price block, it’s important to note that it only works in conjunction with the All Products WooCommerce block. If you place the Filter Products by Price block on any page that doesn’t include the All Products block, the filtering feature won’t work.
Together, these two blocks make a perfect combination for your store’s main shop page. With that in mind, open the Block Editor and place the All Products block first:
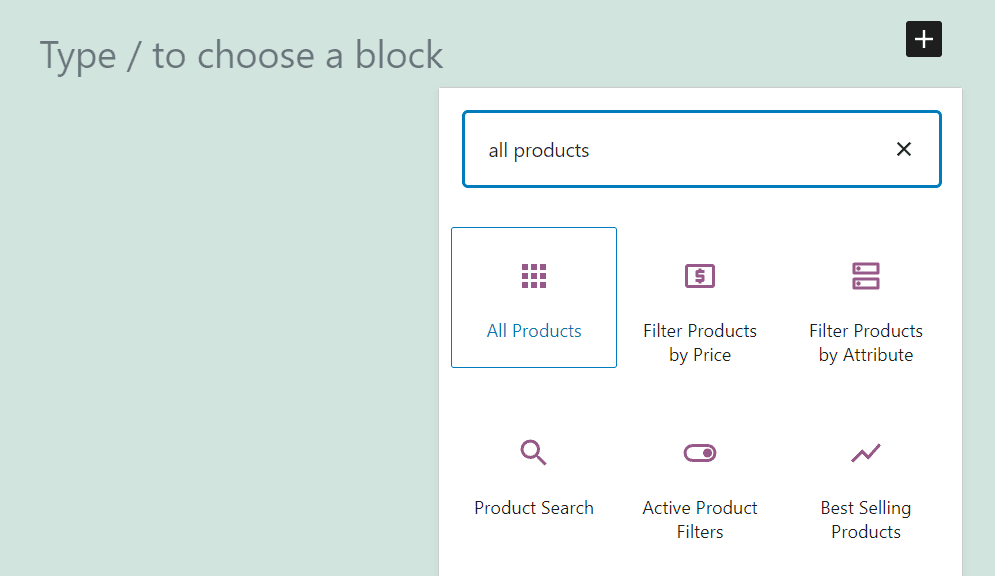
This block will generate a product grid that includes every single item in your catalog. You can configure how many rows and columns that product grid includes, and change the order in which items appear:
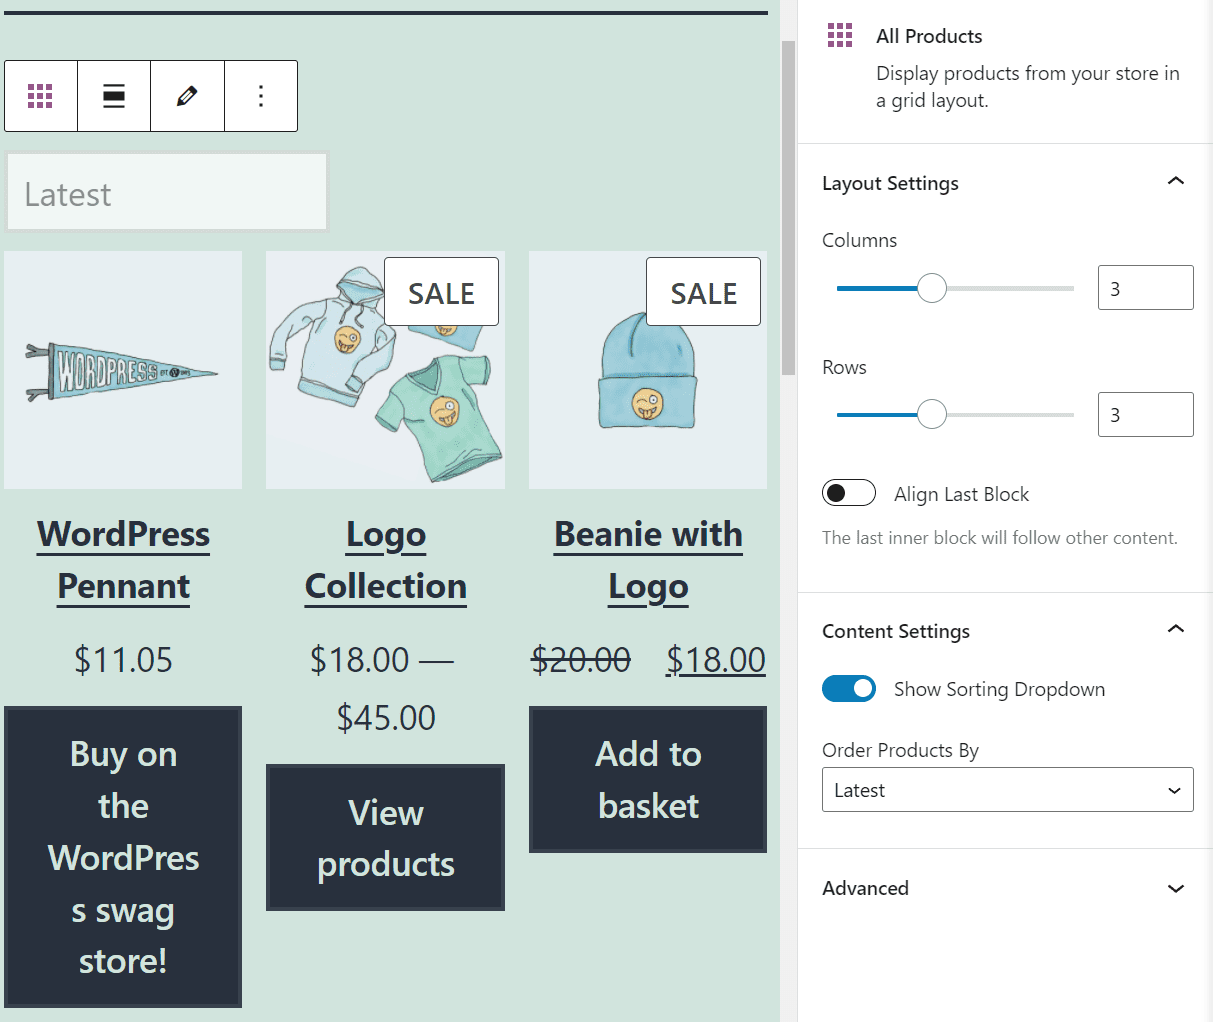
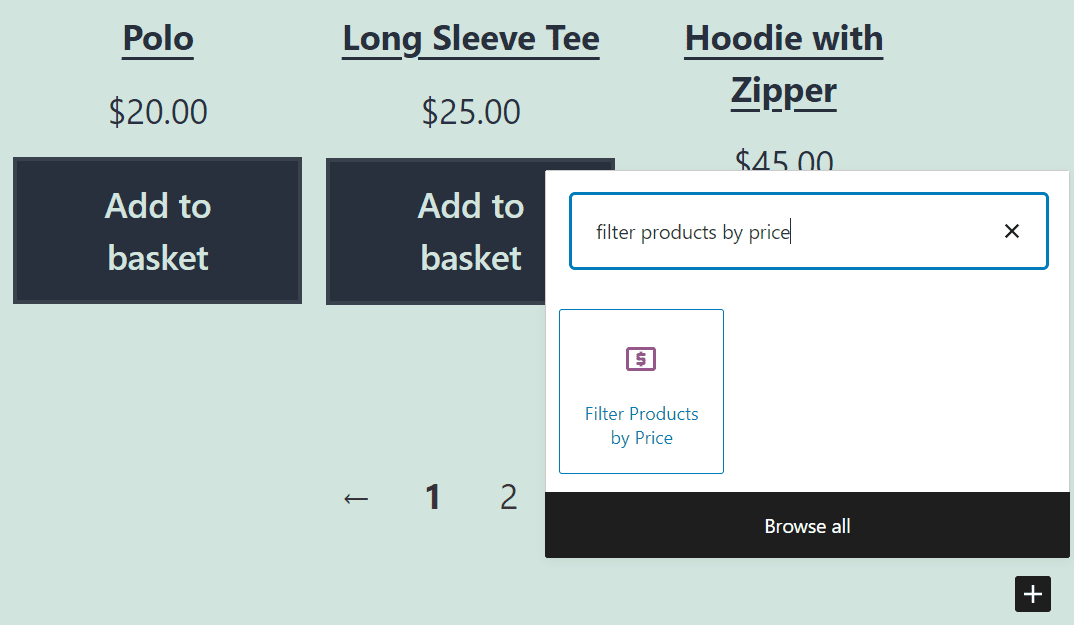
For now, we’re not going to tinker with those settings. Instead, select the option to add a new block above the All Products element. Look for the Filter Products by Price block:
Once you place this element, the Block Editor will display a price slider starting at $0 and capping at the price of your store’s most expensive item. In our case, that’s a $90 dollar product, so the slider goes from $0 to $90:
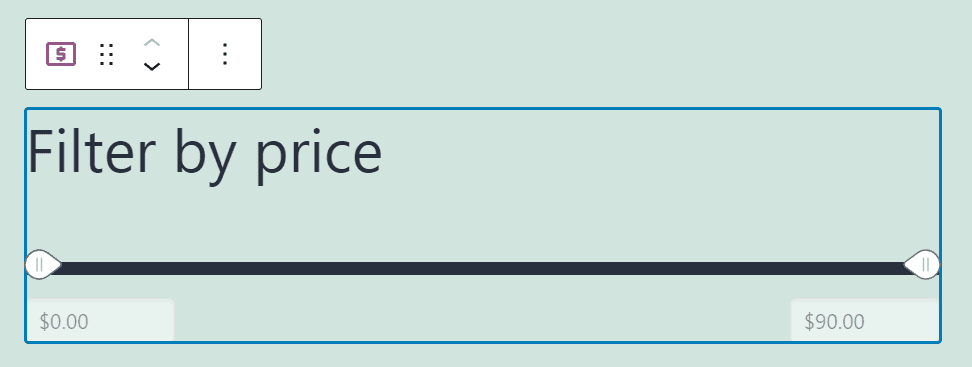
You’ll notice that the slider isn’t functional within your editor screen. To see the block in action, you’ll need to preview the page (or publish it and access it from the front end). If it doesn’t look quite right yet, don’t worry – let’s talk about how to configure it.
Filter Products by Price WooCommerce Block Settings and Options
The Filter Products by Price block doesn’t offer a broad range of settings. However, you can configure a few aspects of how the block looks and works.
To access these settings, select the element within the Block Editor and click on the gear icon in the top-right corner of the screen. That will open the block’s settings menu to the right. Within this menu, you can enable or disable the option for editable price text fields:
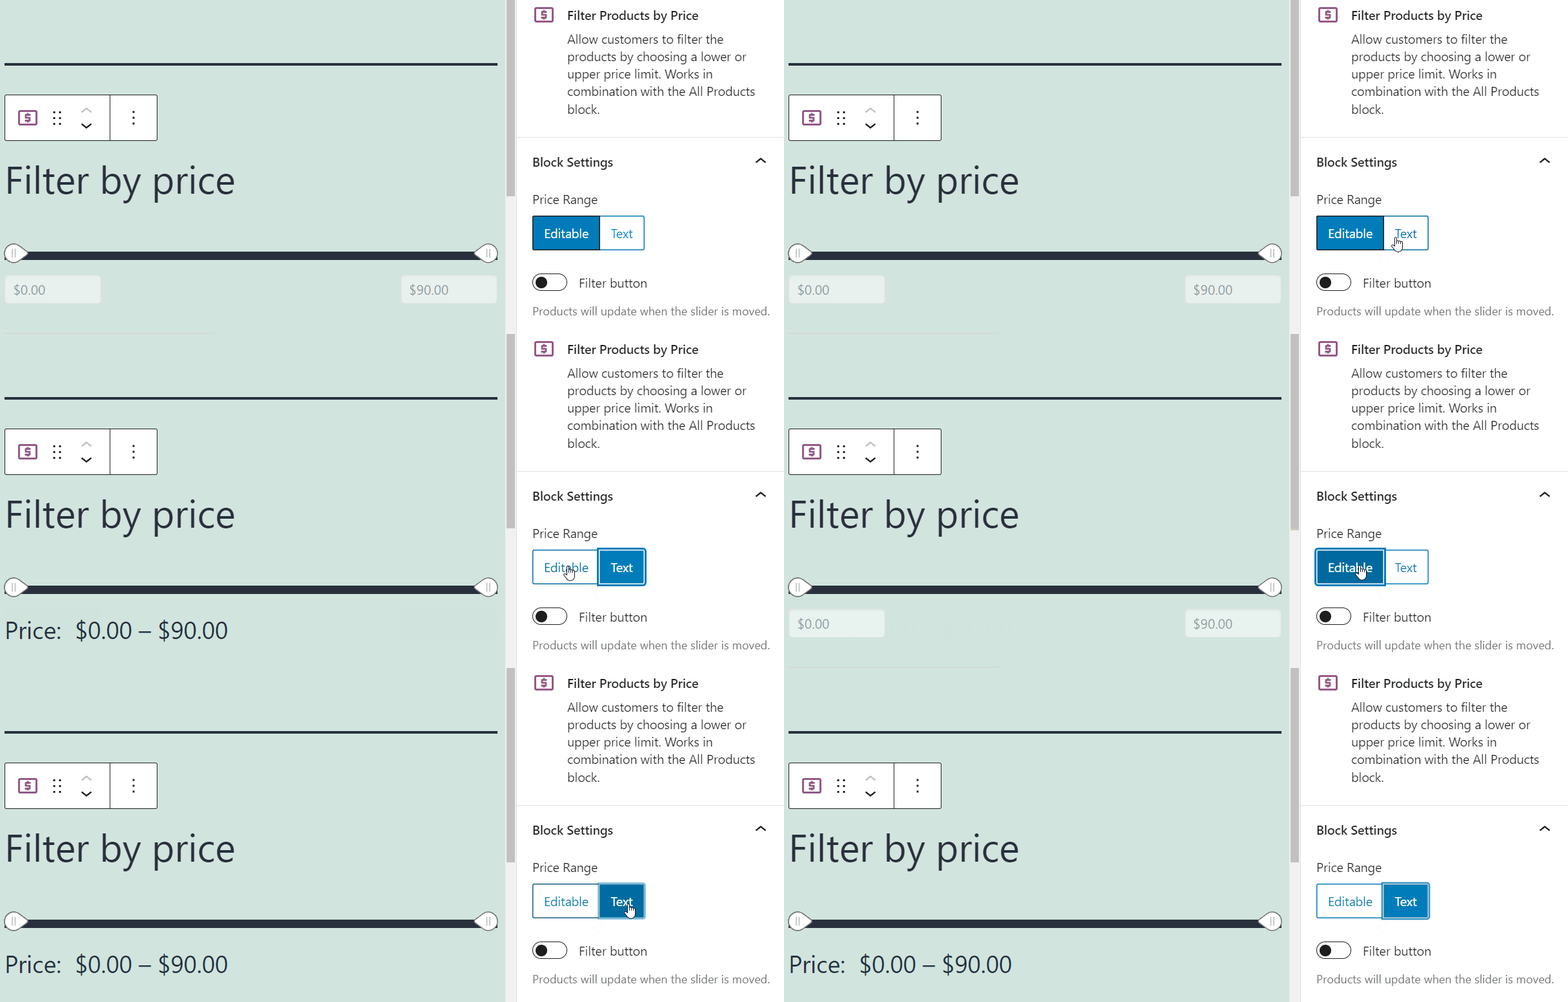
If you select the Text option, users will only be able to filter prices by using the slider. The default Editable option also enables them to change the price fields manually.
Moving on, the block’s settings menu includes an option to add a confirmation or “filter” button. If you enable this setting, users will have to click on a button to confirm the price range they set. Finally, you can change the heading level for the Filter Products by Price label text:
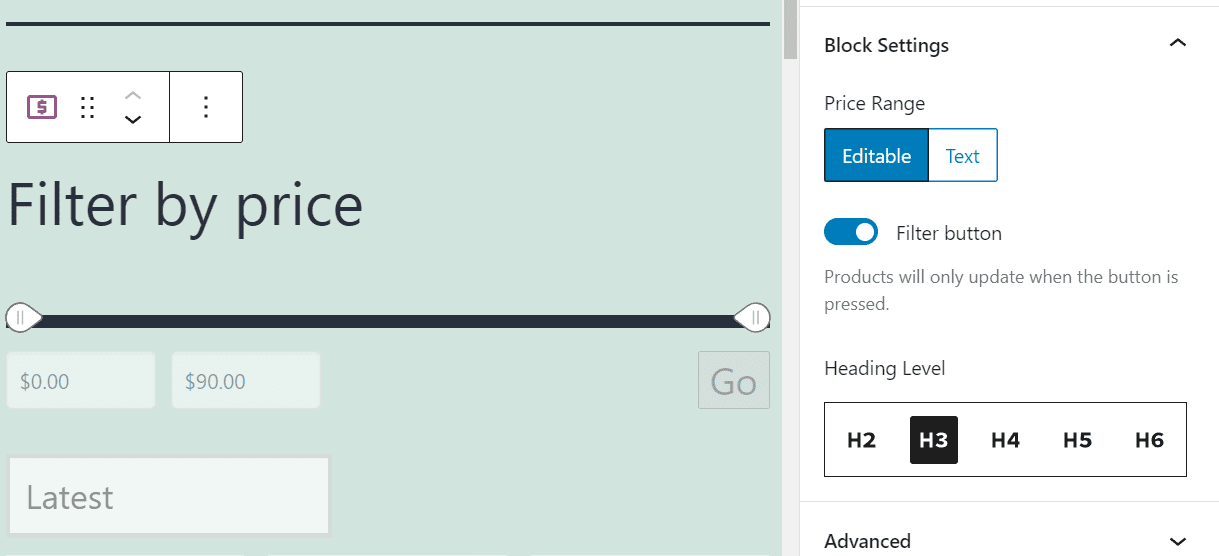
Configuring the Filter Products by Price block shouldn’t take long, since the element only includes a handful of settings. If you’re not sure what options to select, we’ll talk about our recommended settings in the next section.
Tips and Best Practices for Using the Filter Products by Price WooCommerce Block Effectively
The first thing you need to consider when using the Filter Products by Price block is that it only works alongside the All Products WooCommerce block. The All Products block doesn’t enable you to filter products by categories or any other attribute. That means it makes sense to pair the two blocks together if you’re building a WooCommerce shop page.
As we mentioned before, it makes sense to place the Filter Products by Price block above the All Products element. That way, users won’t miss the filtering feature while they’re browsing the shop page.
The Filter Products by Price block already includes an identifying header, which reads “Filter by price”. That header is perfect for most stores, as is its default H3 level. We only recommend using lower heading levels if there are other H3 elements on the page that take precedence.
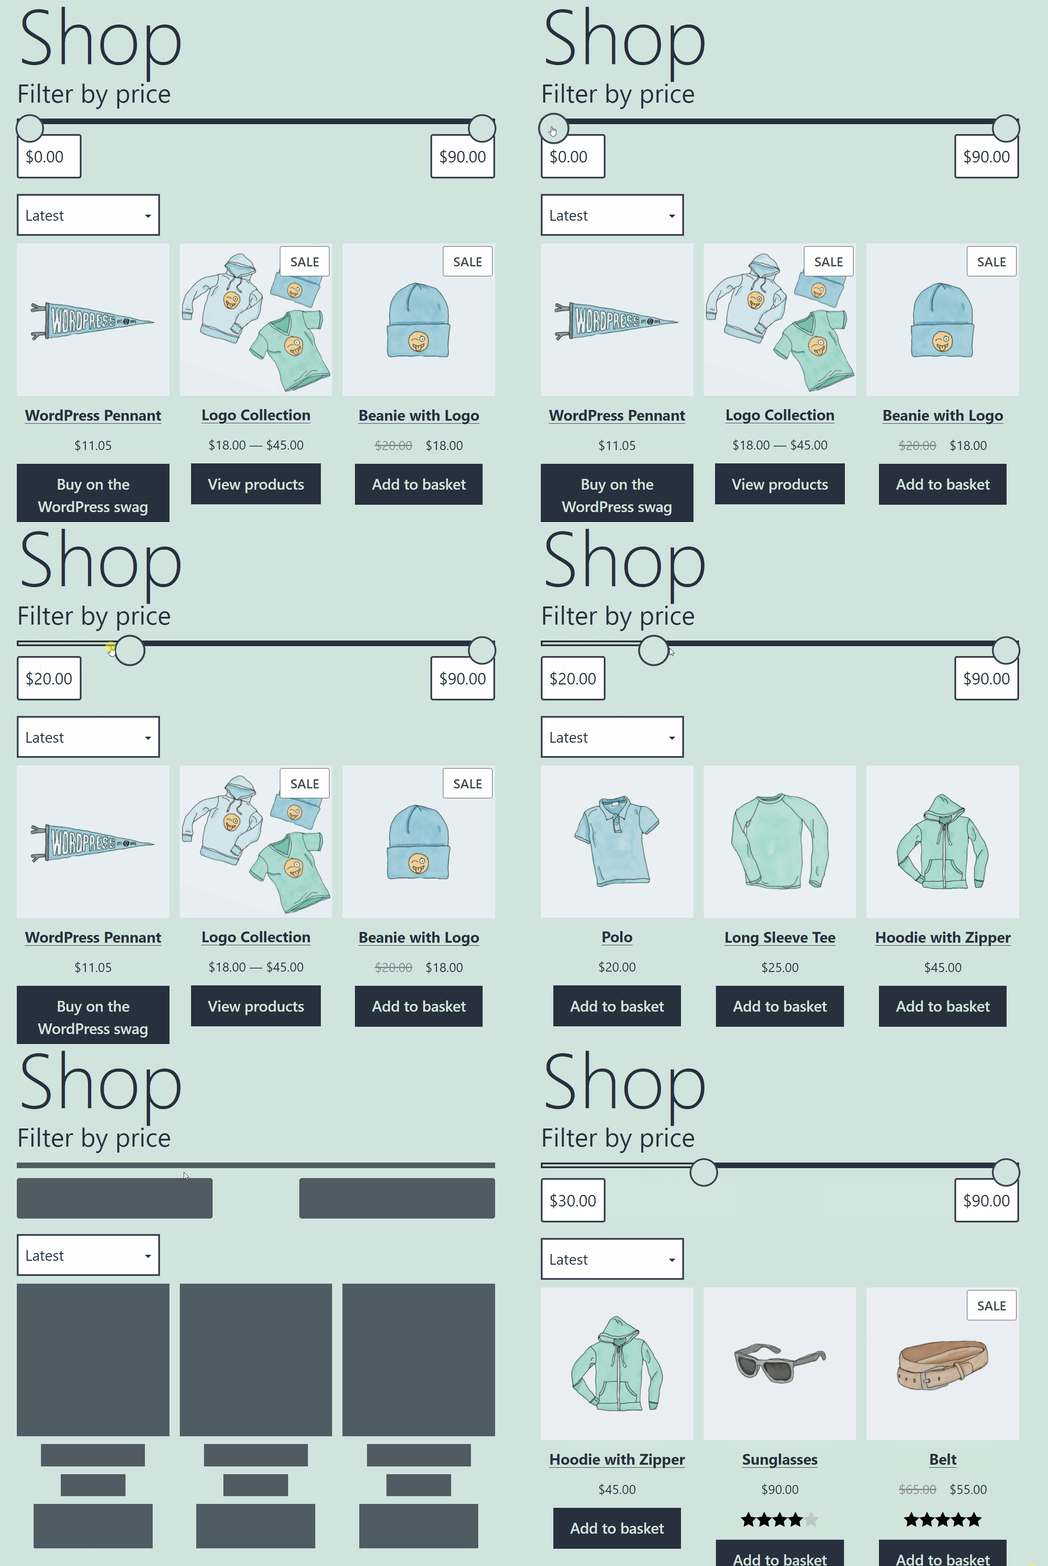
For usability’s sake, we recommend that you also maintain the default editable text fields that come with the Filter Products by Price block. Offering users the option to edit prices manually or use the slider makes the block more adaptable.
As far as adding a confirmation button goes, we leave that choice up to you. Enabling the button means that your product grid won’t update automatically as you use the Filter Products by Price slider. However, that can be a valid compromise if your website is already suffering performance issues.
Frequently Asked Questions About the Filter Products by Price WooCommerce Block
If you have any questions left about the Filter Products by Price block, this section aims to answer them. Let’s start by talking about the requirements for this block to work.
Why Is the Filter Products by Price Block Not Working?
The Filter Products by Price block only works if you pair it with the All Products WooCommerce block. If you place the Filter Products by Price block alongside any other type of product grid, it simply won’t work. You’ll be able to move the slider, but the products won’t update accordingly.
Can I Edit the Minimum and Maximum Prices in the Filter Products by Price Block?
The Filter Products by Price block automatically sets its price slider to start at $0 and to cap at the price of your store’s most expensive product. You can only edit the slider’s value by changing product prices in your store.
Conclusion
The Filter Products by Price element is a WooCommerce block that only works when you pair it with another element. Other blocks that only work in pairs include Filter Products by Attribute and Active Product Filters.
Using the Filter Products by Price WooCommerce block enables customers to navigate your store’s entire inventory and only see the items that fit their budgets. The block only works alongside the All Products element, so keep that in mind when placing it on your website. You can further enhance your customer’s experience with your site by adding a search plugin to boost up the features of the WordPress default search engine on your site.
Do you have any questions about how to use the Filter Products by Price block? Let’s talk about them in the comments section below!
Featured image by Bakhtiar Zein / shutterstock.com







Hi Will,
How can i translate the ‘Filter by price’ tag into dutch?
Thank you
Esther
You can use this plugin (https://wordpress.org/plugins/say-what/) to manually translate that.