Adding individual elements to your post or page using the Block Editor is simple. However, if you plan to use similar blocks throughout your website, it makes sense to put them together and save them as templates. Doing this becomes simple once you master the Group block.
In this article, we’ll talk about what the Group block does and how to add it to your posts and pages. We’ll also show you how to configure its settings, and discuss some tips and best practices for your grouped elements.
Let’s get to it!
Subscribe To Our Youtube Channel
How to Add the Group Block to Your Post or Page
Adding this block is simple, but requires a different process than you’ll use with other blocks. To get started, open the post or page you want to work on, choose to add a new block, and select the Group option:
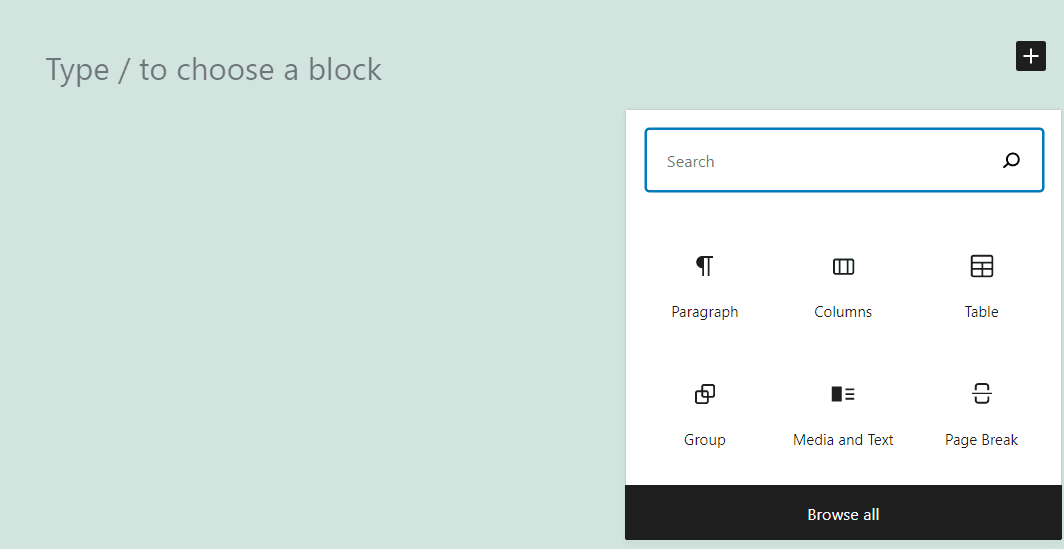
When you place this block, a new section will appear, including the option to add multiple elements. Notice that there are two buttons for adding blocks now. If you use the first one, you’ll add an item within the set. The second button will add new modules after the Group block:

You can insert multiple elements of any type within the Group block. In our example, we added three table blocks. At first glance, it might not be clear what elements are included within the group. To avoid confusion, you can click on the List View button within the Block Editor’s main menu:
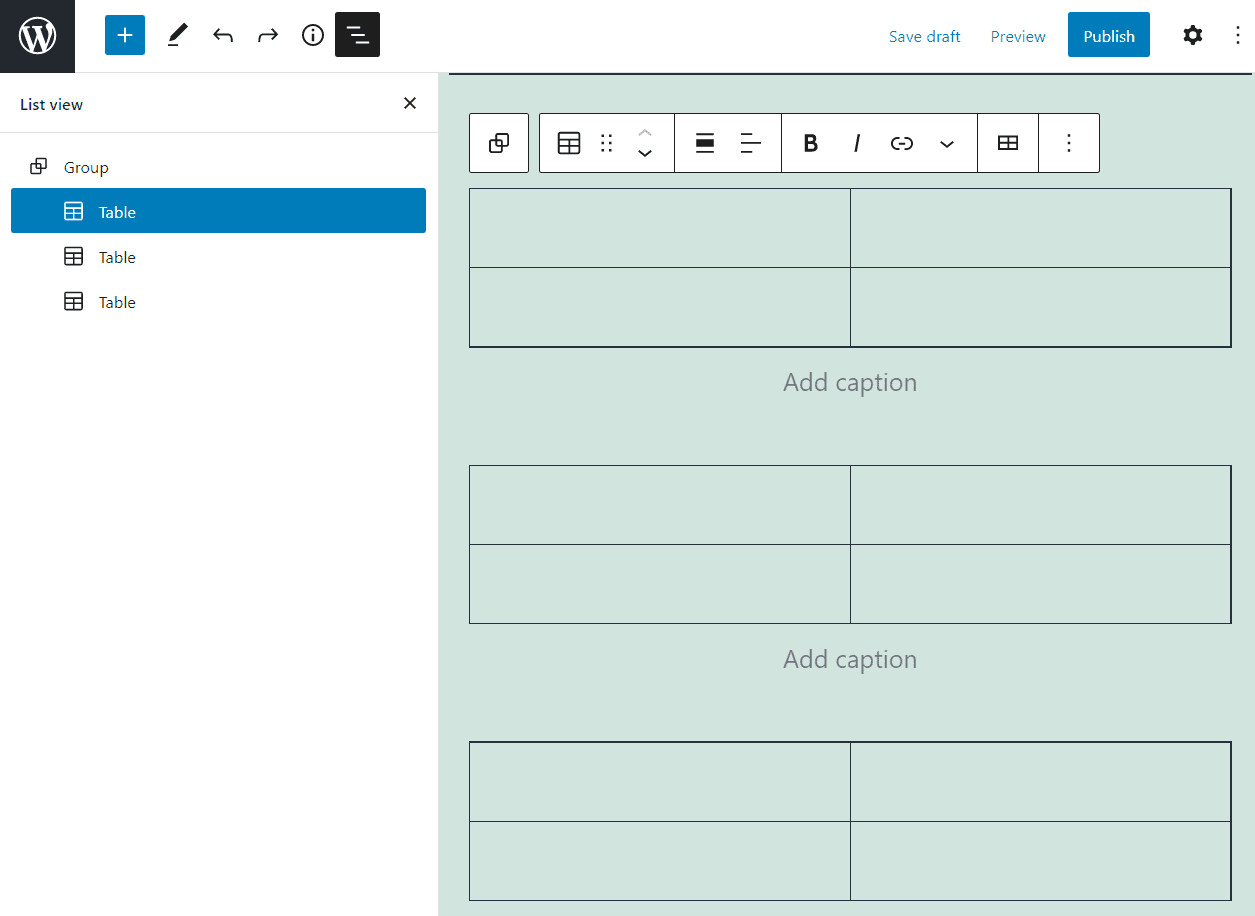
That’s the first method for adding a Group block to your posts and pages. An alternative is add all of the blocks you want in your group, and then select them within the editor. If you choose multiple elements, the Block Editor will give you the option to link them:
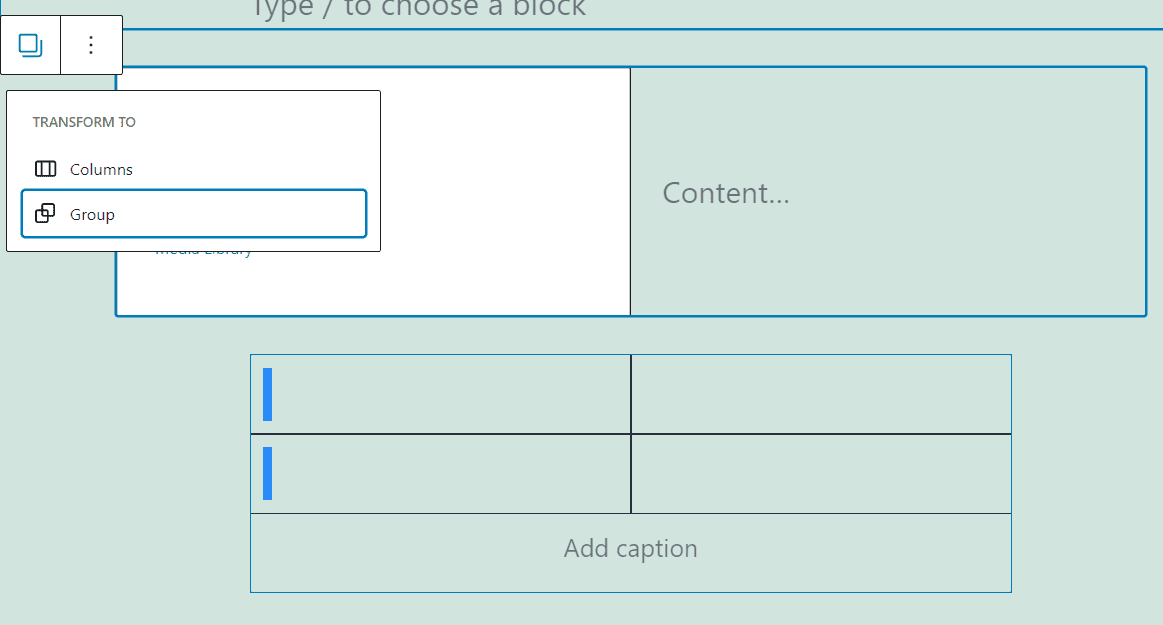
Once your block is ready to go, remember that you can save specific groupings as templates or reusable blocks. We’ll show you how to do that in the next section.
Group Block Settings and Options
Since the Group block can contain several different elements, you’ll likely be presented with multiple formatting menus. This section will show you how to work with this block’s customizable options and general settings.
Toolbar Settings
If you put several tables together, you can select each Table block and get access to its formatting settings and options:
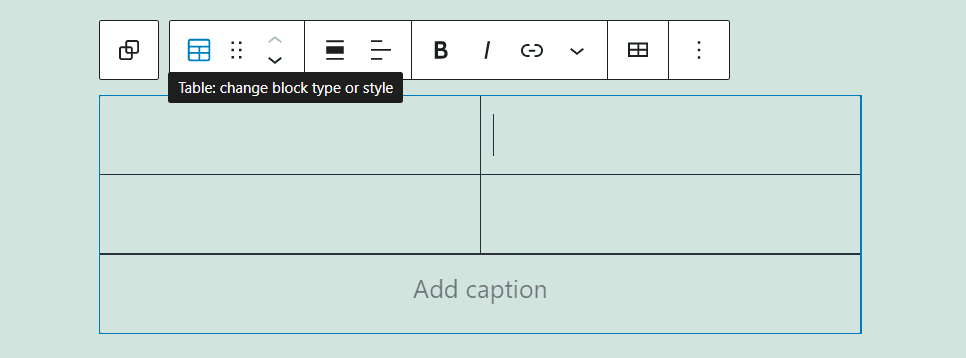
If you select an entire Group block, you can view a different, more straightforward formatting menu. Here are the options it includes:
- Transforming the block into columns
- Moving the block using drag-and-drop functionality, or shifting the element’s position up or down
- Modifying the block’s width
- Additional options, including breaking up the set or saving it as a reusable block
Let’s check out where to find each setting within the Group block’s formatting menu:

Most of the options here are relatively straightforward. You’ll likely spend more time tweaking the formatting for individual blocks within the set. The two standout settings here are the options to save the Group block as a reusable element (1) or break it up (2):
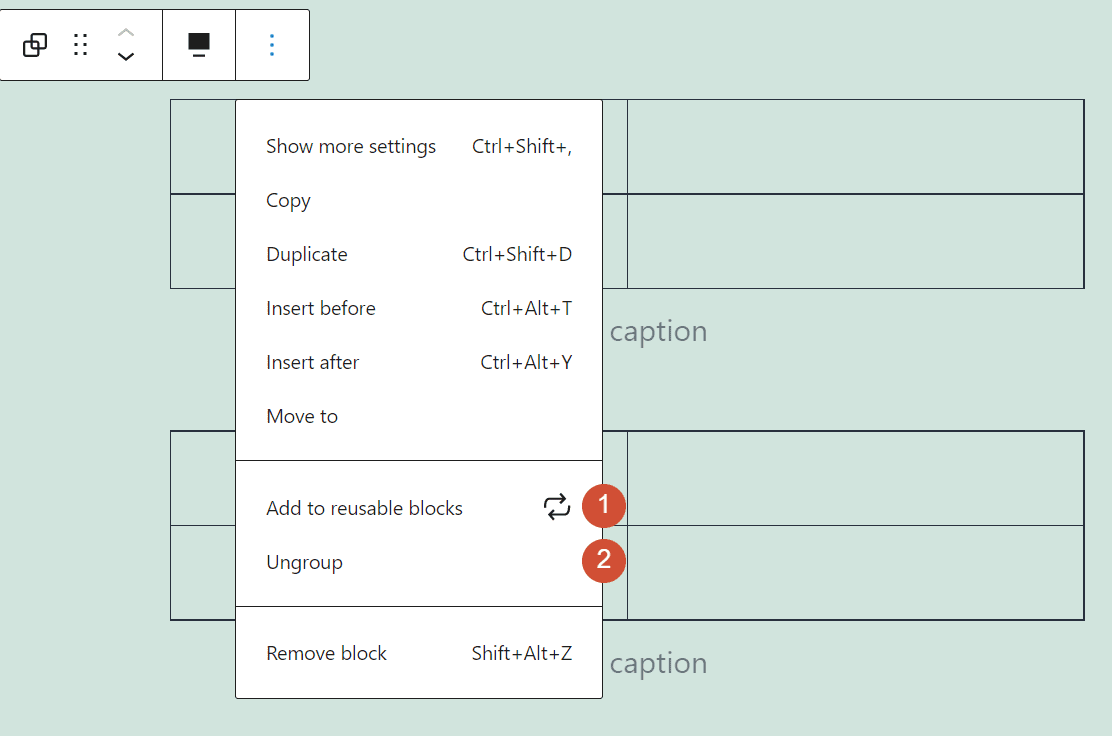
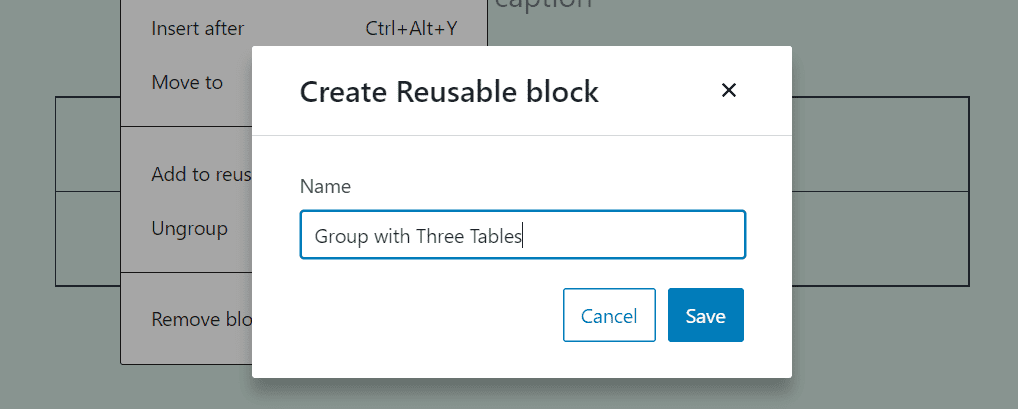
If you choose Ungroup, the block will separate into individual elements. The Add to reusable blocks option will enable you to save that unique grouping and its settings, so you can reuse it in other posts or pages:
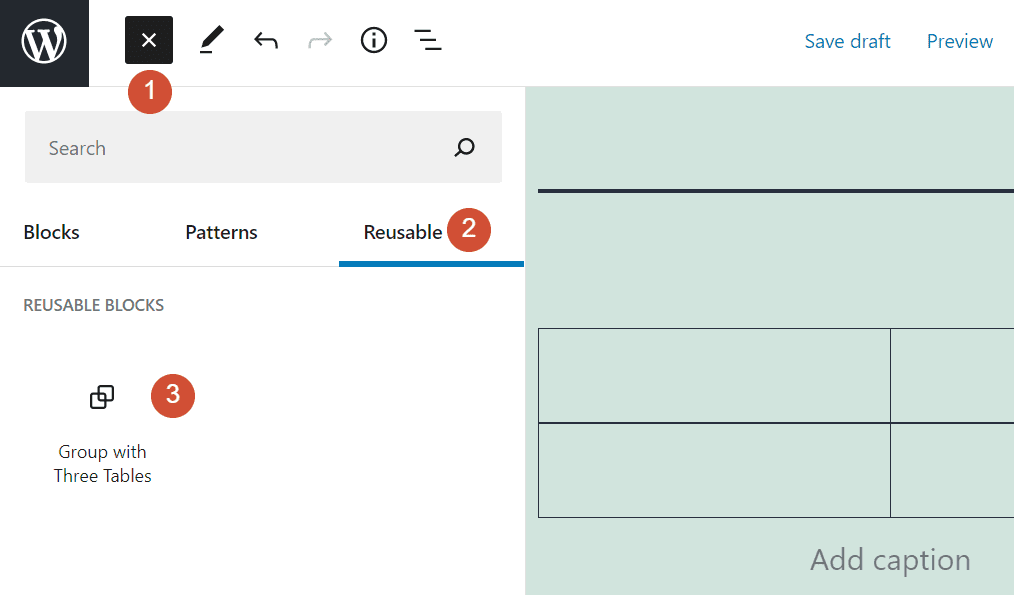
Once you save your block, it will show up under the Reusable tab when you add a new element to any post or page:
You can add reusable blocks to any page or post within WordPress. However, you might have to change some styling settings for the elements to fit properly.
Additional Options
Each WordPress block comes with various settings that you can access by clicking on the gears icon in the top-right corner of the Block Editor’s main menu.
The Group block offers settings that change the style of your set (1), modify its colors (2), and add padding between the border and its internal elements (3):
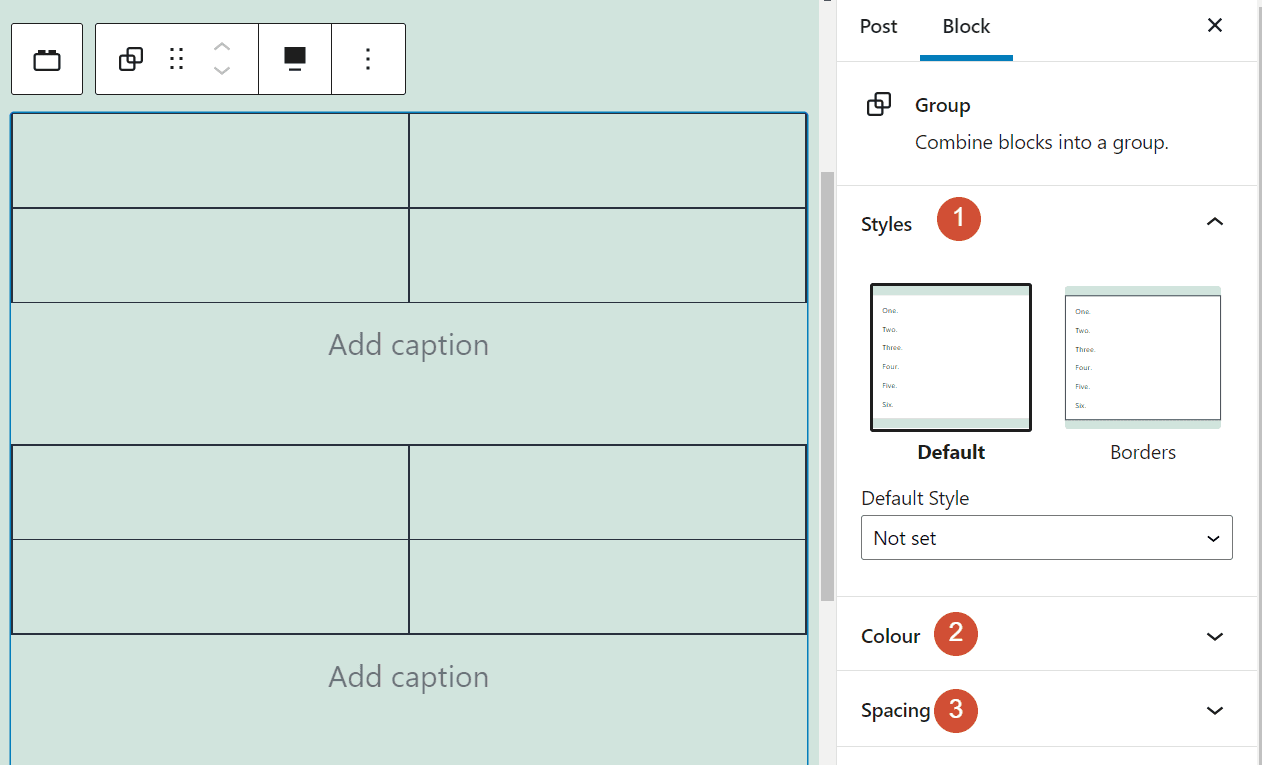
The Group block enables you to choose between two styles: one with and one without borders. If you pick the Borders option, it will add a boundary surrounding the internal components. However, the settings menu doesn’t enable you to change the style or color of the edges:
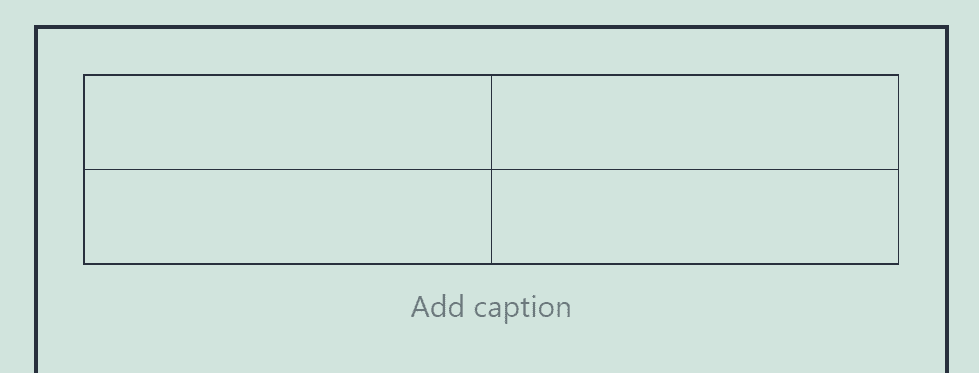
Moving on, you can set new colors for the text, the background, and the links within the block. However, keep in mind that individual settings for each internal element will override these global options:
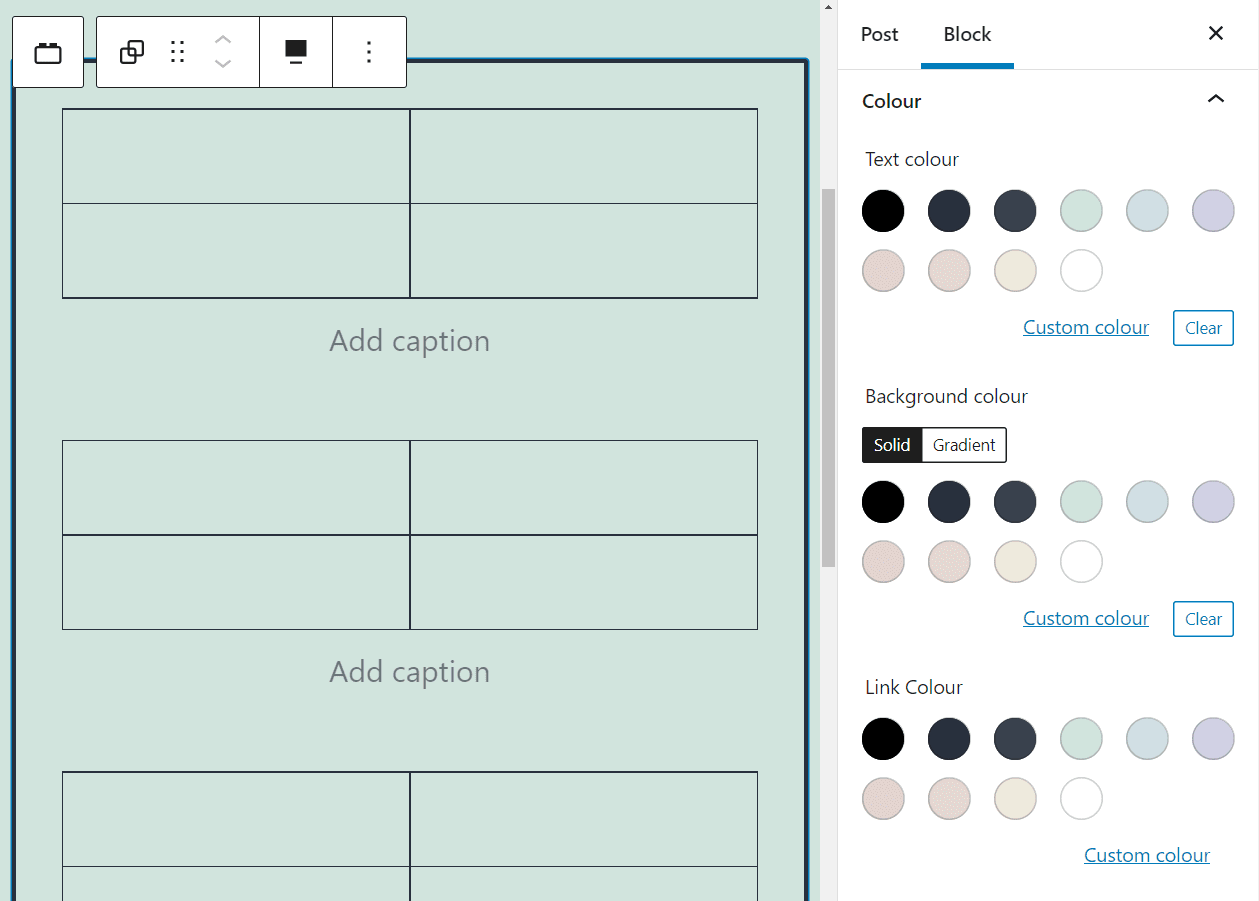
Then you can click on the Spacing tab to change the padding between the block’s border and its internal elements. To do so, you’ll need to specify the distance in pixels:

Once you’re happy with the configuration and style of your block, you can move on to other elements within that post or page.
Tips and Best Practices for Using the Group Block Effectively
You can use the Group block to link any elements you want. However, we recommend that you only group items if you have a compelling reason to do so. Some great reasons for using this block include:
- Customizing a set of blocks with similar settings.
- Moving a selection of blocks within a post or page’s layout while keeping them together
- Saving a collection of blocks to reuse them later on another post or page.
If you change your mind about linking a set of blocks together, remember that you can always separate them, and it won’t affect their individual settings. Once you’re familiar with the Block Editor, you can create gorgeous and complex elements that you can reuse throughout your website.
Frequently Asked Questions About the Group Block
By now, you know almost everything there is to know about the WordPress Group block. To wrap things up, we’ve put together a collection of the most commonly asked questions concerning this element, to ensure that you’re not missing any key details.
Can I Group Any WordPress Blocks Together?
The Group block enables you to link any WordPress blocks. As such, you can use it to put together complex designs that include multiple elements.
Can I Edit Individual Blocks Within a Group?
The Block Editor gives you access to “global” options that encompass the entire Group block that you’re working on. Additionally, you can still access formatting and styling settings for each element within the set.
Are Group Blocks the Same as Reusable Elements?
You can save most blocks as reusable elements within the Block Editor. However, the Group block enables you to save entire sets of block components as a single reusable item.
Conclusion
The Group block is one of the most interesting features within the WordPress Block Editor. Instead of dealing with blocks individually, it enables you to link them together and customize them simultaneously.
You can save Group blocks as reusable elements that you can add throughout your site, break up if you want to work with individual components, and more. Considering that the WordPress Block Editor enables you to group any type and number of blocks, there’s little you can’t do with this feature.
Do you have any questions about how to use this WordPress block? Let’s talk about them in the comments section below!
Featured Image via Alphavector / shutterstock.com



Leave A Reply