Photographs are perhaps the best way to show off the products and services you sell. However, pictures – and even video – sometimes aren’t enough for users to make a decision.
Sometimes, you need to go a step further, such as adding interactive images to your WordPress website. In this article, we’ll show you how to do this using the Algori 360 Image plugin. It’s one of many interesting VR and metaverse plugins available for WordPress.
Let’s dig in!
Subscribe To Our Youtube Channel
Why Use 360-Degree Images on Your Website
It’s safe to say that 360-degree or interactive pictures on a website is something of a novelty, unless you’re frequently visiting sites within certain niches. However, this isn’t due to a lack of support in modern browsers.
You might not know that regular filetypes such as JPEG or PNG work perfectly for panoramic or 360-degree images. The two main differences between 360-degree images and “regular” ones are:
- Resolution. As you might expect, 360-degree images use drastically different resolutions than regular pictures.
- Lack of interactivity. With a normal PNG or JPEG, you can’t “move” the image around to see new parts of it.
Although some people might discount panoramic images as gimmicks in general settings, they do open the door for a lot of interesting applications on websites. For example, if you run an online store, you can offer 360-degree pictures of the products you sell. This would enable visitors to rotate the product around to see it from every angle.
You’ve liked seen these types of interactive images used on the sites for online retailers. In other words, it’s not “fringe” technology:
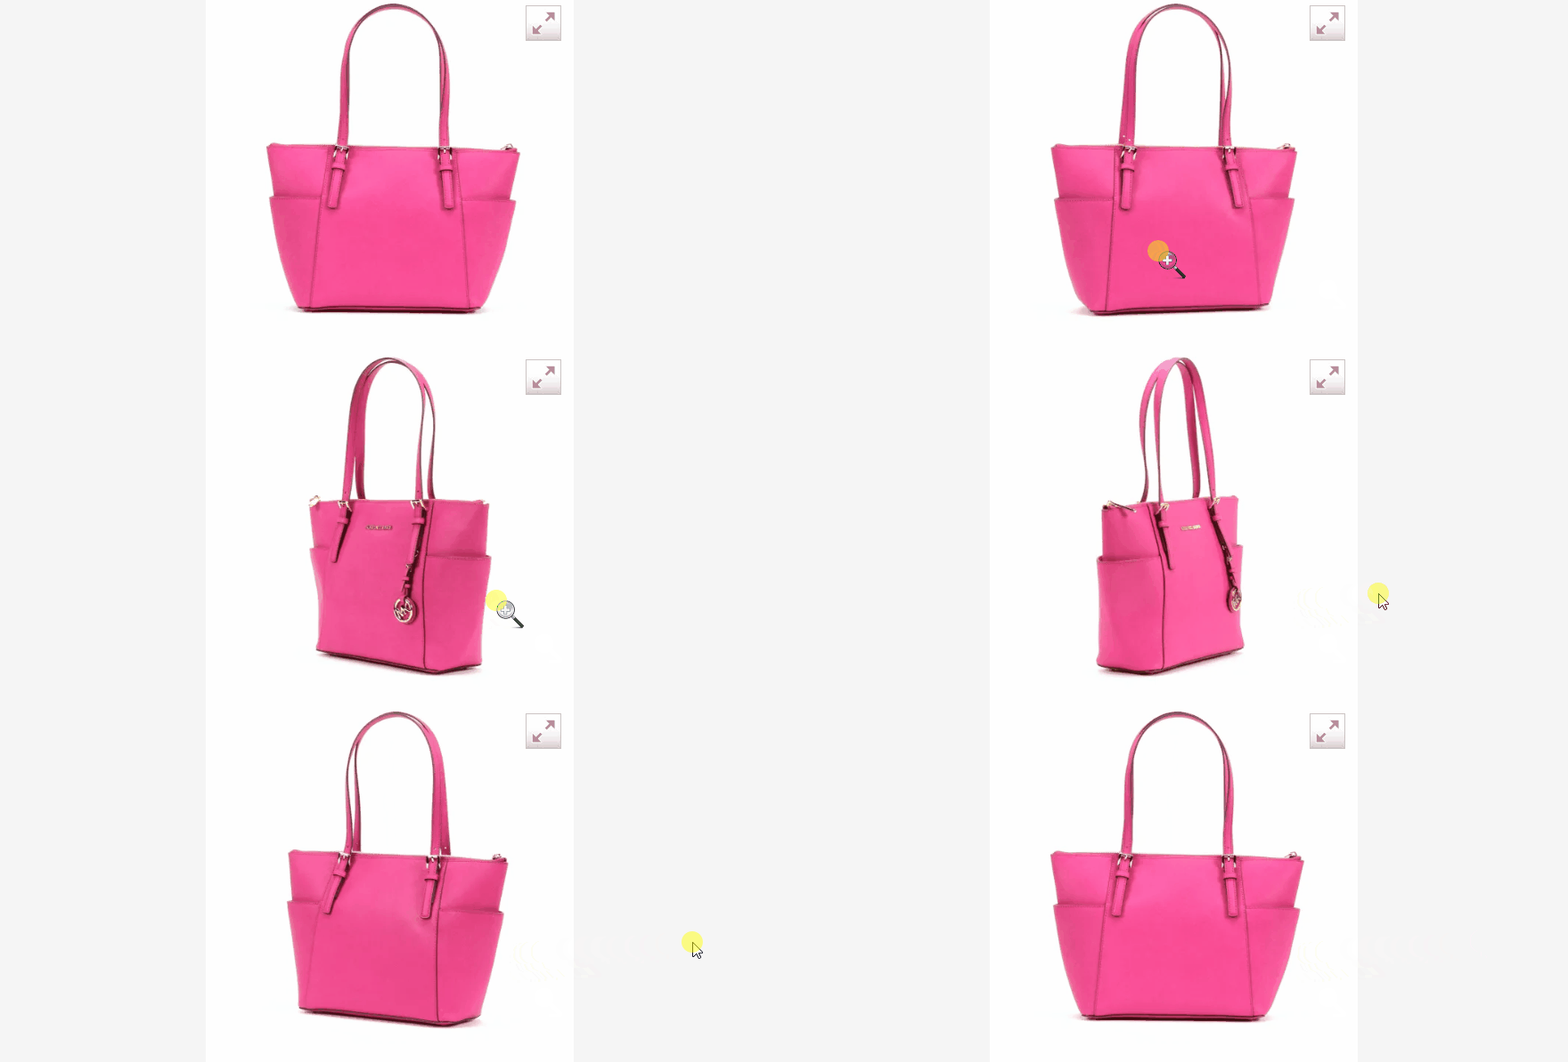
Panoramic images are also perfect if you’re advertising rentals or selling properties. With a 360-degree image, interested parties can get a full view of the property instead of browsing through dozens of pictures.
As Virtual Reality (VR) becomes more popular and headsets grow in ubiquity, websites that can offer immersive experiences also stand to benefit. Users with headsets may be more likely to spend time on your website, boosting engagement – all thanks to interactive images.
An Introduction to Algori 360 Images

We’ve talked about VR plugins in the past. However, Algori 360 Images stands out because it supports both 360-degree images, and works with most major VR headsets on the market, such as Vive, Oculus Rift, GearVR, and even Google Cardboard.
Algori 360 Images is basically a plug-and-play tool, but it only works with WordPress’s native Block Editor (because Divi and the block editor work well together, you can likely make this work inside most Divi pages/layouts. However, if that’s not the case, we recommend checking out Panorama plugin). The Algori 360 Images plugin adds its own custom block and you can only use it for embedding one interactive image per page.
If you’re comfortable with those limitations, interactive images can be pretty fun to use. Visitors will be able to zoom in on pictures, use their mouse or finger to move around images, and activate VR mode if they own a headset.
One thing to keep in mind is that Algori 360 Images doesn’t add support for VR filetypes. VR files are too massive for casual use on most websites, so that’s a no-go from a usability standpoint. What the plugin does offer VR support for is panoramic images.
Key Features:
- Upload 360-images to WordPress using a custom block.
- Enables users to zoom in and move around “within” images.
- Includes support for both mouse and touch navigation.
- Enables visitors to use VR devices to interact with images.
- Offers support for most major VR headsets, including Vive, Rift, GearVR, and Google Cardboard.
Price: Free | More Information
How to Add 360 Degree Images to WordPress
The easiest way to show you how the Algori 360 Images plugin works is to show you. One of our favorite applications for panoramic images on the web is for travel blogs:
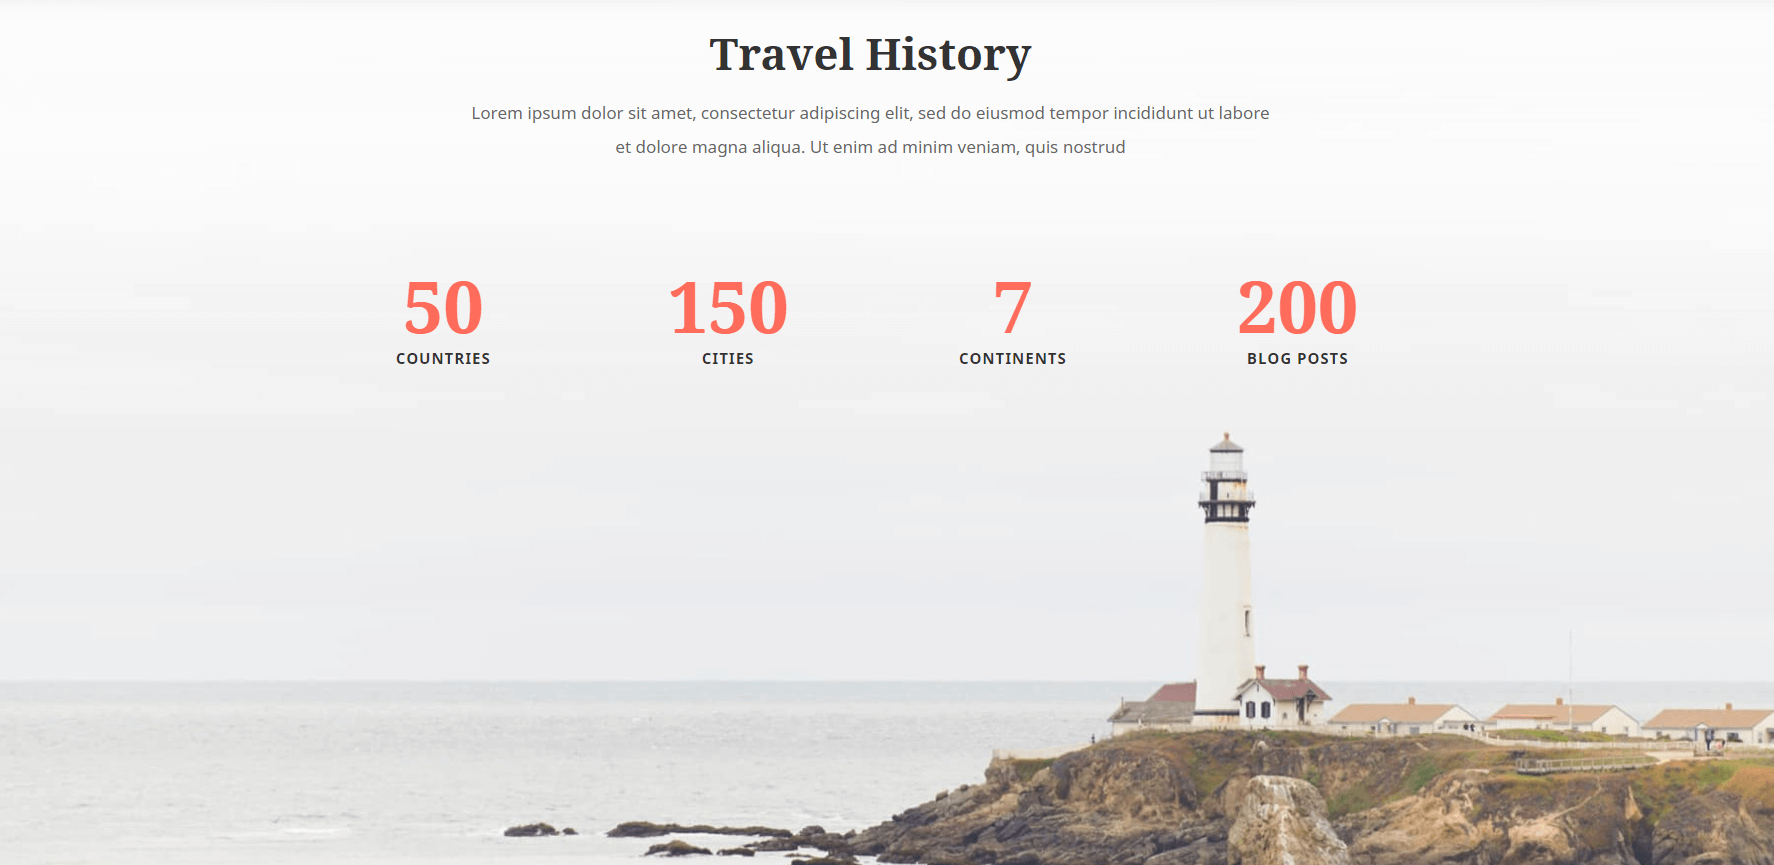
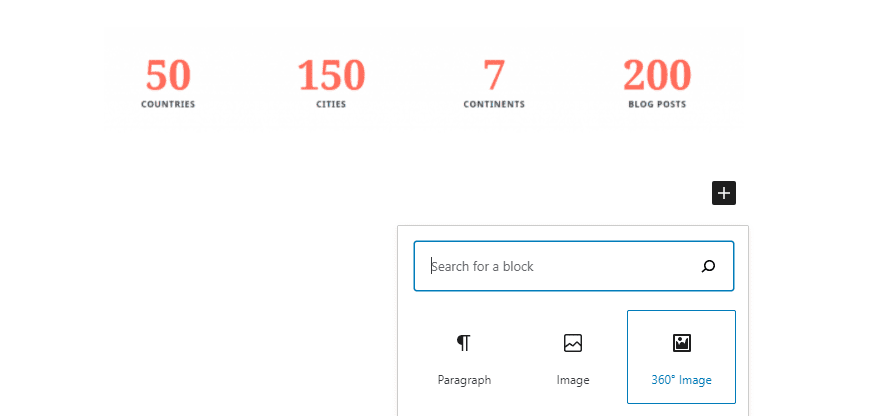
To test the plugin, you could set up a travel blog using our layout packs, that also includes some suitable panoramic images. Once you open the Block Editor, a new 360 Images option will display at the top:
360-degree images look best on full-width, so use that setting for you 360 Images blocks. The plugin may point out that VR mode only supports headset sensors over HTTPS. This is something the plugin’s download page doesn’t tell you, so bear this in mind:
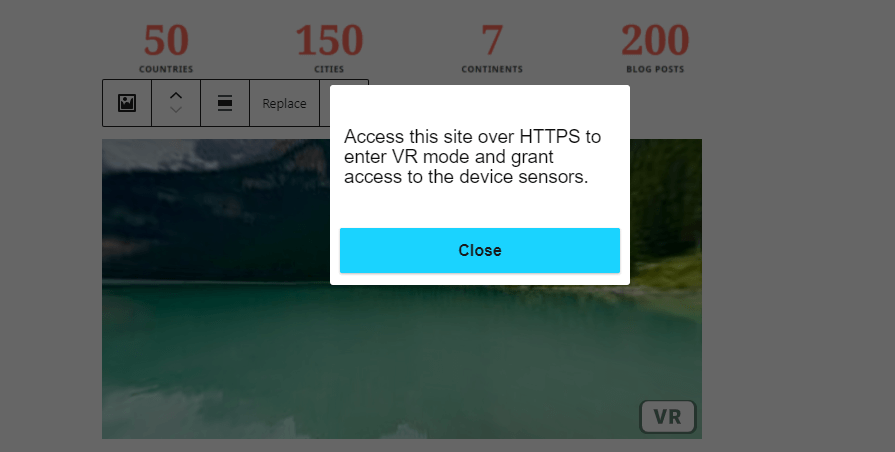
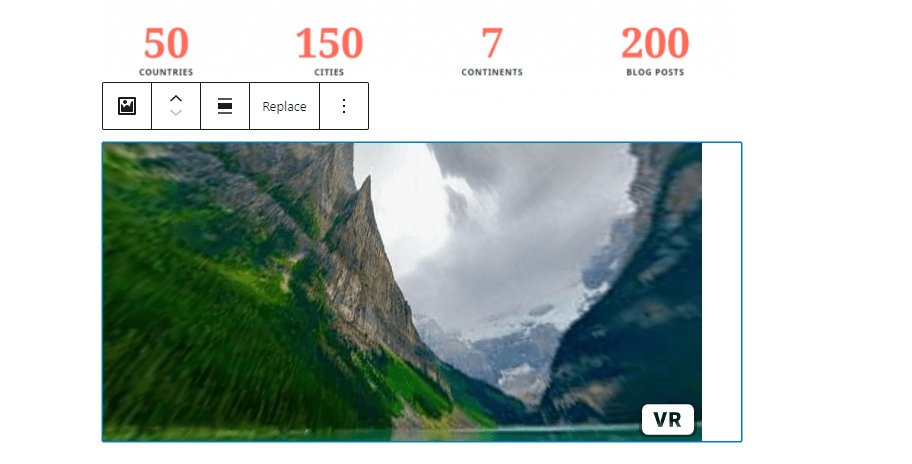
In any case, image interactivity is available right out of the gate, even within the Block Editor:
Once you publish the page, your 360-degree image will be available for visitors to navigate immediately:
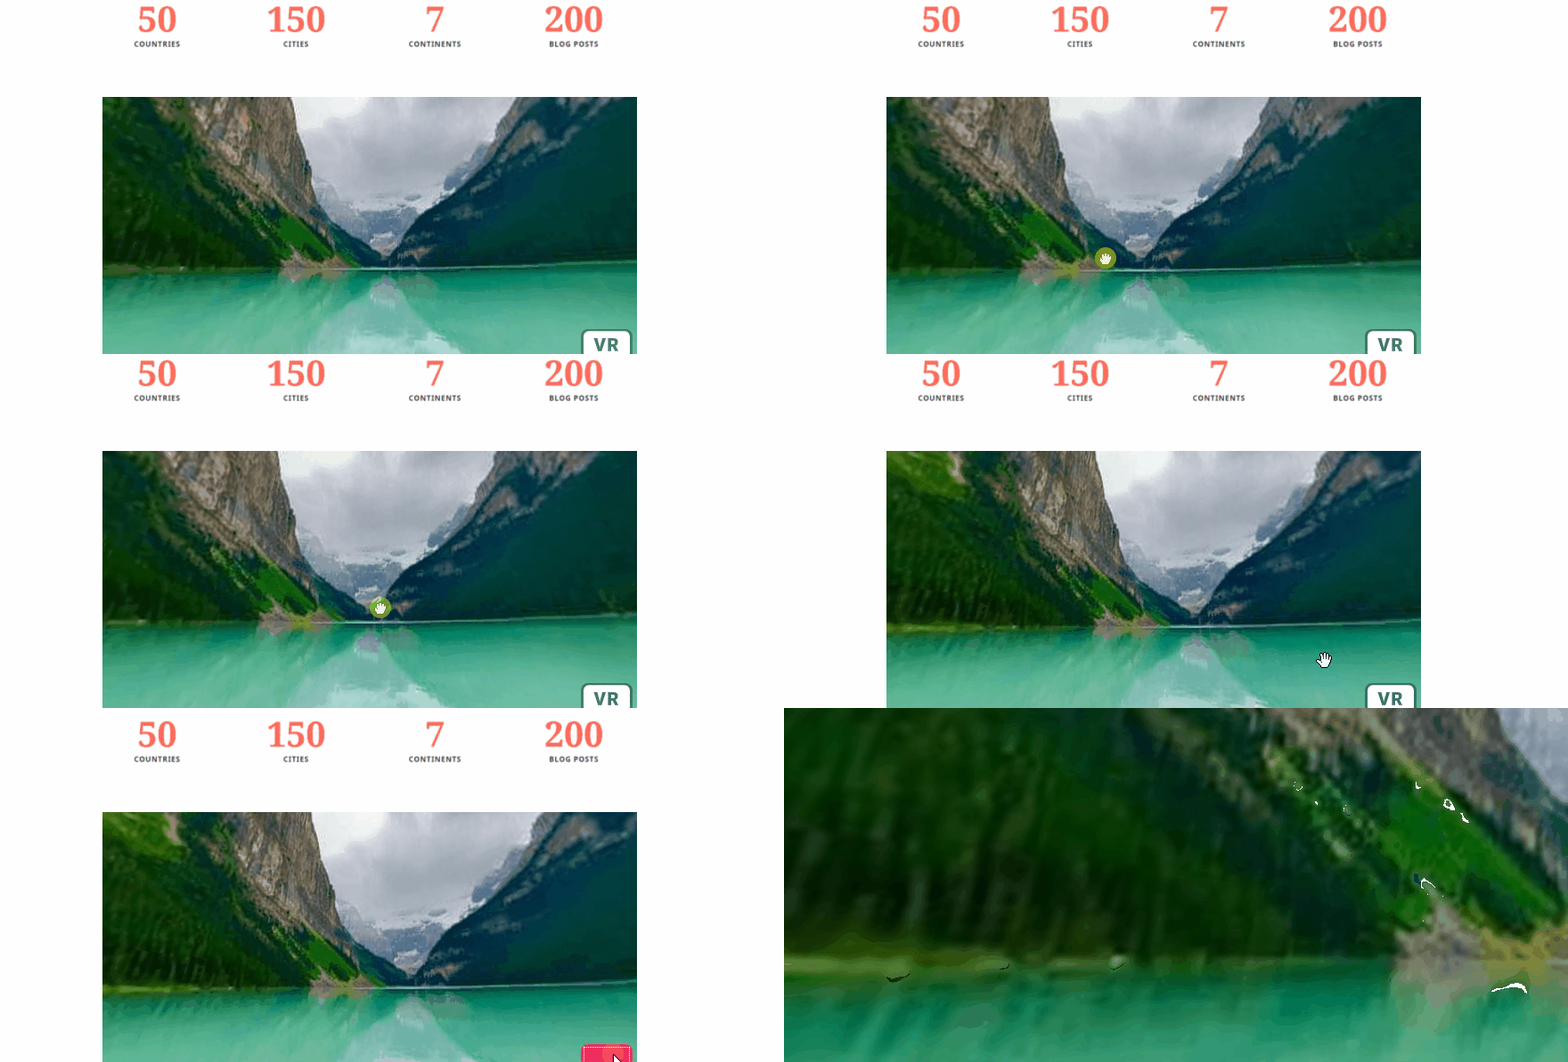
Although the plugin itself couldn’t be easier to use, it comes with a few downsides that might not be evident upon first glance. For one, 360-degree images use massive resolutions across the board. This is inherent – if you want to provide a good interactive experience, those images need to be in high-resolution.
However, high-res interactive images have the potential to slow down your loading times. This is particularly apparent if you add several of them on a single page. Of course, this plugin only lets you add one, which helps to keep your page size down.
Another aspect missing is that there’s no user indicator for designated interactive images beyond the VR button. If you’re a VR user, this is likely enough to indicate that you can use your headset. However, for more casual users, you’ll need to include an explanation so they know they can interact with images.
Putting those limitations aside, adding interactive images to WordPress using Algori 360 Images is about as easy as it gets. This makes the plugin a great option if you want to use the occasional 360-degree image on your website and add a little VR support while you’re at it.
Conclusion
Interactive images are a fantastic way to show off products and locations. That interactivity enables visitors to fully immerse themselves in the experience, which is hard to replicate with normal pictures. If you’re targeting an audience with VR headsets, the experience can be even more engaging.
Algori 360 Images is a “simple” plugin solution that enables you to upload panorama and VR photography, among other types of files. It works out of the box with the Block Editor, so all you have to do is upload your images and add a new block where you want them to go.
Do you have any questions about how to use Algori 360 Images? Let’s talk about them in the comments section below!
Article thumbnail image by Oleksandr Yuhlichek / shutterstock.com.



Best to provide 360 Panorama and Interactive Tours using the division code module, as it offers you no limits and many ways to configure how your 360s are viewed.
Thanks for the suggestion, Adam!
That’s really attractive and i also love the new attractive things of WordPress themes Thank You for sharing amazing things like that.
I make lamps that have 4 sides and a different image for each side. On my existing site, which I need to completely redesign, I show a gallery with the 4 views plus I’m showing the light on and off because it affects how the image is displayed on the lamp. This many images confuses people. If I want the user to interact with the image, I will need, obviously, more than one image for each lamp.
“Of course, this plugin only lets you add one, which helps to keep your page size down.” Any idea how this would work for my needs?
Hi Wil,
Just reading the post and one part is confusing where you say:
“To test the plugin, you could set up a travel blog using our layout packs, that also includes some suitable panoramic images. Once you open the Block Editor, a new 360 Images option will display at the top:”
I read this as, set up a page and use a Divi layout, and then open a the block editor in the middle of it? Do you mean, add the layout via the Divi layout module?
That’s really attractive and i also love the new attractive things of WordPress themes Thank You for sharing amazing things like that.