At its core, WordPress is all about writing. This platform makes it easy for you to publish blog posts and other content, as well as foster discussions among readers. While that’s not all WordPress is good for, it’s definitely a publisher-friendly platform.
Even better, there are several WordPress writing settings that you can tweak to modify parts of the content creation experience. In this article, we’ll go over all of them, and explain what each option does.
Let’s dive in!
Subscribe To Our Youtube Channel
An Introduction to the WordPress Writing Settings
WordPress offers a wide arrange of options, including several under the Writing Settings category. Before we get started, it’s important to explain that these settings have very little to do with using the Block or Classic Editors. Instead, they focus on specifying your content’s default format, providing a “post via email” option, and alerting third-party services about updates.
To find your WordPress writing settings, log in to your admin dashboard and go to Settings > Writing:
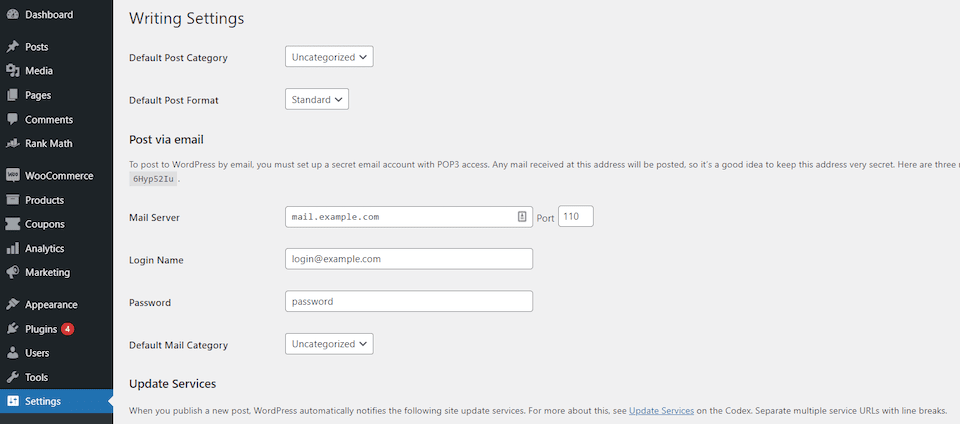
As you can see, there aren’t very many options here. However, some of them can be deceptively complex. It’s important to take your time and make sure that everything is set up exactly as you’d like. Below, we’ll explain how to do that.
How to Configure Your WordPress Writing Settings
Without further ado, let’s take a look at all the options you have access to. Remember that once you’re done updating your WordPress writing settings, you’ll need to save the changes you’ve made.
Default Post Category and Format Settings
As you may know, WordPress includes a robust taxonomy system that enables you to assign tags and categories to each post you publish. You can set up as many categories and tags as you want. This makes it easier to organize your site and help visitors find content they’re interested in reading.
On the Writing Settings page, WordPress enables you to decide which of those categories you want to use as the default for new posts. Moreover, you can also choose between multiple default post formats:
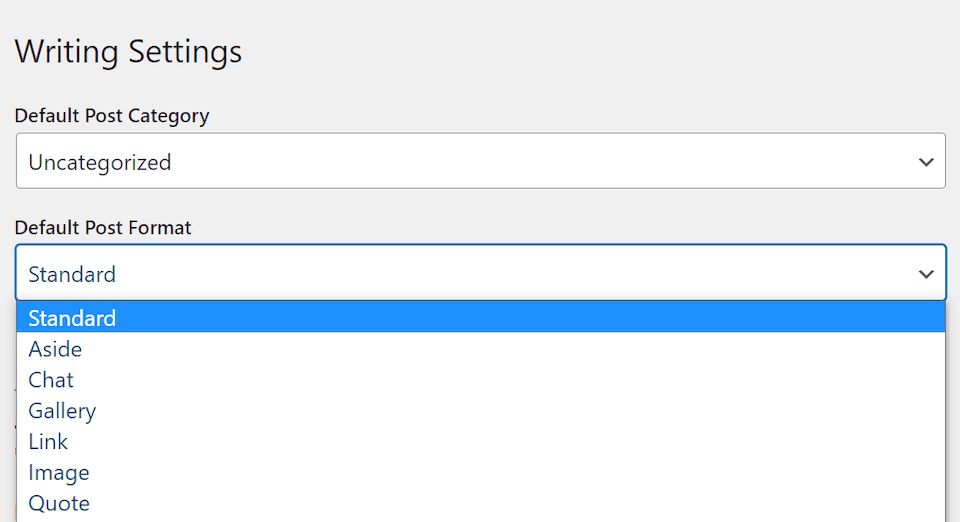
Depending on which theme you use, you might get access to different post formats. These are templates that govern how each type of content is laid out on your site’s front end. By default, WordPress will assign the Standard format to new posts.
However, WordPress supports many post formats, including image galleries, block quotes, audio playlists, and more. Using a relevant layout for your content can make it more visually appealing. For example, if you run a music blog and often share audio files with your visitors, you might consider switching your site’s default post format. However, this is a purely aesthetic feature, so it’s not necessary to use it if you don’t want to.
Some themes only offer a single post format. If that’s the case for yours, the Default Post Format drop-down menu won’t appear in your writing settings at all. However, this is relatively uncommon.
When it comes to categories, if you don’t see a default option you like, you can expand your website’s taxonomies by going to Posts > Categories and adding a new one:
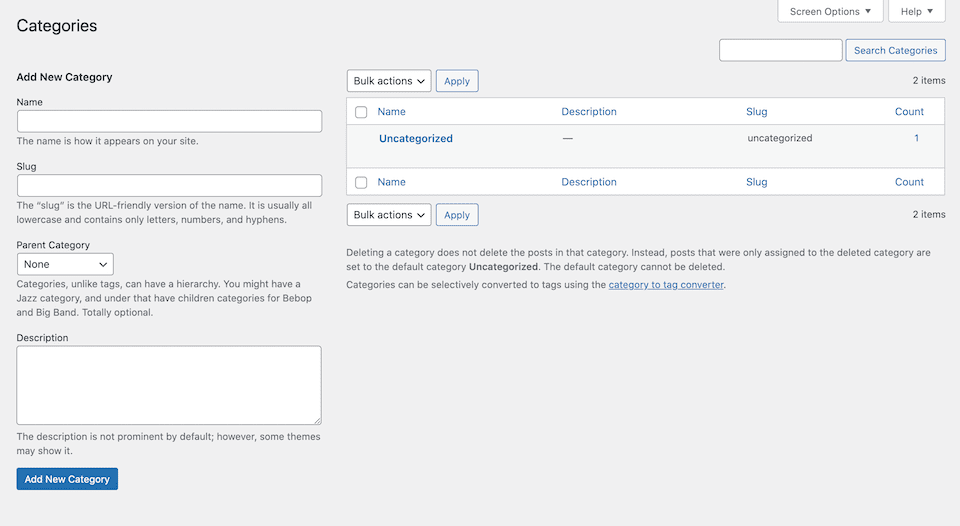
Once you save your new category, you’ll be able to select it as the default taxonomy for your website by returning to the Settings > Writing screen and choosing it from the relevant drop-down menu. Just keep in mind that you can always categorize your content however you like. Therefore, your choice here won’t lock you into anything permanent.
Post via Email Settings
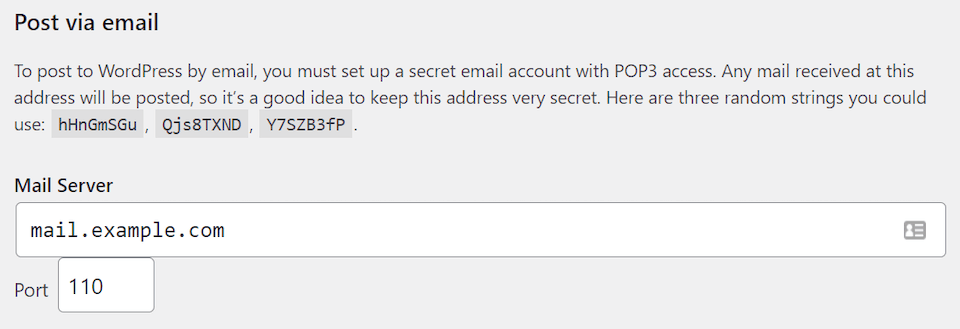
One WordPress feature that’s often overlooked is the ability to publish blog posts via email. The platform enables you to configure a specific email address so that if it receives a message, it will automatically publish the contents as a post on your website:
This functionality can be useful if you’re temporarily locked out of your dashboard and you need to publish content urgently. It’s also handy if you’re on a mobile device and can’t use the WordPress editor with ease, but can still type out an email.
The downside of submitting a post via email is that you lose out on advanced formatting options. Any content that you publish via email will simply appear as a plain text blog post.
Post formatting is critical when it comes to readability, engagement, and Search Engine Optimization (SEO). With that in mind, we recommend using the post by email functionality sparingly, and only for short, vital updates.
If you want to configure this setting, you’ll need a POP3-enabled email address that you don’t use for any other purpose. WordPress will ask for the email address, its server, what port it uses, and its password:
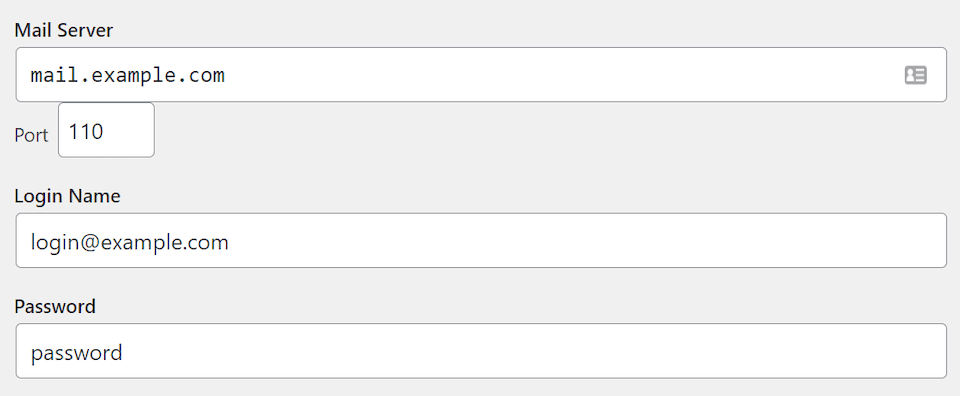
If you’re not sure what your email server is, you should be able to find the answer in your email provider’s knowledge base. Alternatively, you can run an nslookup using the command line if you feel comfortable using that tool.
In this section of the Writing Settings screen, you can also set the default category for the blog posts WordPress creates from the emails you submit. This can be a different taxonomy than the one you chose in the previous section for traditionally-published content.
Update Services Settings
Another WordPress feature that doesn’t receive much fanfare is the option to notify third-party services about new content that goes live on your website. The most common use for this feature is to tell search engines and newsfeeds about recent posts on your site, so you don’t have to wait for them to index your fresh content manually:

For this feature to work, you’ll need to add a list of services and newsfeeds that you want to ping whenever you update your website. By including a few relevant newsfeeds here, you can increase your visibility and keep your audience up to date. As an alternative, you can simply list Ping-O-Matic, which will notify multiple services all at the same time.
However, we do recommend against notifying search engines too often. In some cases, they may penalize your website if you ping them repeatedly. For a site that publishes new content daily or even weekly, that can happen all too easily.
Moreover, there are better ways to ensure that search engines re-crawl your website often enough. For example, if you use Search Console, you can ask Google to review your site at any time.
Conclusion
The WordPress Writing Settings screen is one of the smaller options pages, but it’s still important to pay attention to. Every WordPress site is different. As a result, you’ll want to configure each of your site’s options to meet your (and your visitors’) needs.
These particular settings include some handy options. For example, you can configure your site’s default post format and category. Others are less often used but still worth knowing about, such as the post-by-email functionality and the update services feature.
Do you have any questions about how to configure your WordPress writing settings? Ask away in the comments section below!
Featured Image via vladwel / shutterstock.com


I thought to switch to divi, I have used the genesis framework for years, but I want something new for blog
Good luck, Arian! Hope you enjoy Divi 🙂
This is fact:) Love the designs you or the company gives, I thinking to switch to divi, I have used genesis framework for years, but I want something new for blog:)
Thanks, Kristina! Hope you give Divi a try and enjoy it.
Gregory Blocker ,I want to add a pay button to my site,you can only see when you pay.Is this possible?
Hi Gregory – Are you saying you want to create a button that is only visible to users after they’ve made a purchase? Or that you want to put your site’s content behind a paywall so that it is only visible to users who pay for access?
I’m not aware of any way to create an invisible button off the top of my head, but if you want to set up a paywall there are many plugins that enable you to do so, such as MemberPress.