
")
Creating your first website as a non-coder can seem overwhelming, but WordPress simplifies the process. While limited, its free plan offers a user-friendly way to get started. And if you’re serious about building a professional, scalable website, WordPress.org + Divi is the ideal combination that gives you unlimited flexibility and customization.
Ready to start? This step-by-step guide will help you create a free website on WordPress and explore why upgrading to a self-hosted site is worth it.
You might be wondering…
Is it Really Possible to Create a WordPress Site for Free?
Yes, you can create a free website using WordPress.com, but it comes with limitations that impact your site’s customization and functionality:
- Fewer Customization Options: While the free plan lets you get started, it doesn’t allow complete control over your site’s design or layout.
- Annoying Banner & Upgrade Prompts: Your site will have a WordPress promo banner at the top. Some advanced features are locked behind paywalls, and popups will often prompt you to upgrade. Upgrading to the cheapest plan ($4/month) will fix this.
- Limited Flexibility: With a free plan, you can’t install plugins and are limited to the free themes they offer. You’ll need to upgrade if you want better designs and more flexibility.
- Less Storage: Your free site only has 1GB of storage. Typically, sites require at least 3-5 GB, especially if they have a lot of images or videos.
That said, you can definitely create and host a free WordPress site on WordPress.com for all the world to see. But before we get into how to do that, let’s clear up the confusion between the different “types” of WordPress.
WordPress.org vs WordPress.com: What’s the Difference?
There are differences between WordPress.org and WordPress.com that can confuse those unfamiliar with WordPress. So, before you start building a free site, let’s explore those:
WordPress.com is an all-in-one website builder platform. It’s beginner-friendly, as hosting, updates, and security are managed for you. You can start for free, but sticking with the free plan comes with significant limitations:
- Your site will display WordPress ads unless you upgrade.
- Customization is restricted, and you’ll be prompted to pay to access most features/styling options.
- You can’t install additional plugins unless you upgrade to a Business plan.
- A custom domain (without ‘wordpress.com’) is only available with paid plans.
WordPress.org, on the other hand, is a content management system (CMS) that is different from a website builder. It is the open-source software version of WordPress outside the limits of the .com website builder platform. It offers you more control and flexibility. It’s free to download, but you’ll have to purchase web hosting and a custom domain to get a live site up and running. Nearly 43% of the world’s websites use WordPress to build their site. And because it isn’t managed inside WordPress.com, it is basically limitless. You can install plugins, use premium themes, and optimize your site’s design and features. While it has a learning curve, it’s ideal for serious website creators who want complete flexibility.
Note: Technically, you can also create a website for free using WordPress CMS as long as you host it locally. This is usually good for testing or development, but you’ll need a domain and a hosting provider to take it live.
Which One Should You Use?
If you’re experimenting or creating a personal blog, WordPress.com is a simple way to get started. But if your goal is to create a professional, scalable website, WordPress.org offers greater flexibility and control. Pair it with Divi and Siteground, and you can create a visually stunning, feature-rich site that reflects your brand—perfect for long-term growth.
Get Started With WordPress + Divi
Is a Free WordPress Site Worth It?
Not really. A free WordPress.com site is a good starting point for creating a personal blog or experimenting as a hobby. But it’s not for those who want a professional or custom site. Think about it. Your website is often the first impression customers have of your business, and a free site’s limitations—ads, lack of customization, and no custom domain—can hurt your credibility. However, upgrading to a paid plan on WordPress.com can provide the missing pieces to create a polished and credible online presence. But this still pales in comparison to what you can get using WordPress.org.
If you will have to pay for the features you want down the road anyway, WordPress.org is a smarter investment. Sure, there are costs involved with a WordPress site. But it is worth it if you want a professional site that can scale to your needs without limitations. Check out this guide to creating a website using WordPress.org, Divi, and Siteground.
If you want to stick to creating a free site on WordPress.com, keep reading.
Steps to Create a Free Website on WordPress
You don’t need technical skills to create a website on WordPress. Just follow this process:
1. Create a WordPress.com Account
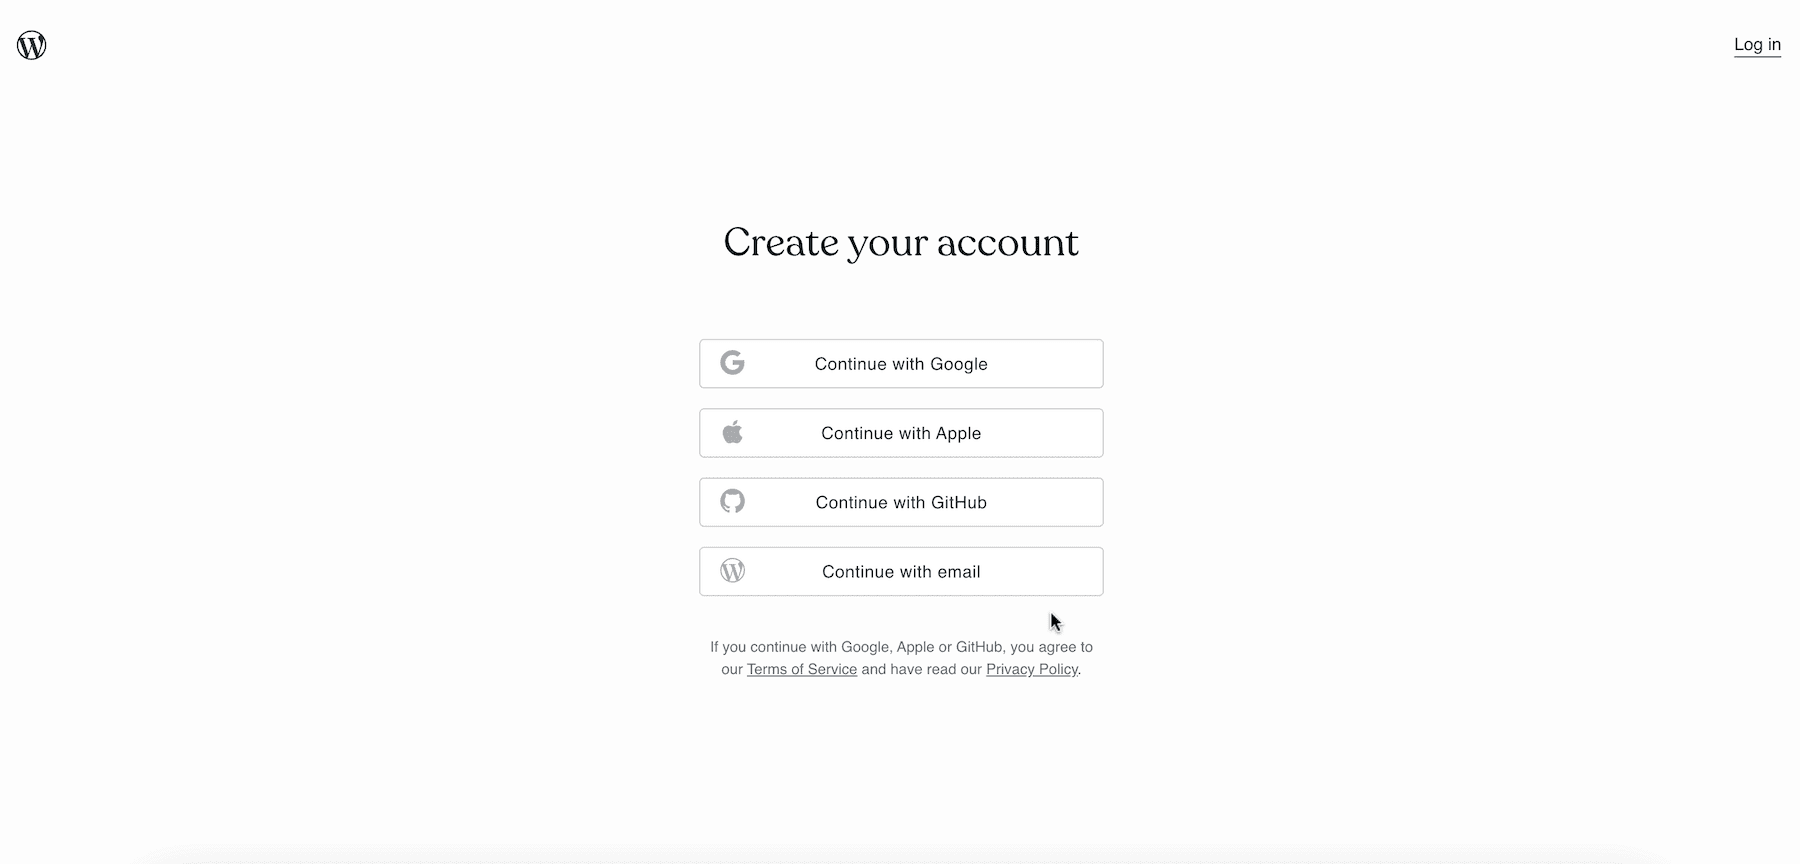
Go to WordPress and click on Get Started. Now, sign up using your preferred method.
2. Choose Your Domain
Once you sign up successfully, WordPress will ask you to choose a domain, which is the online address that people will enter in search to find your website.
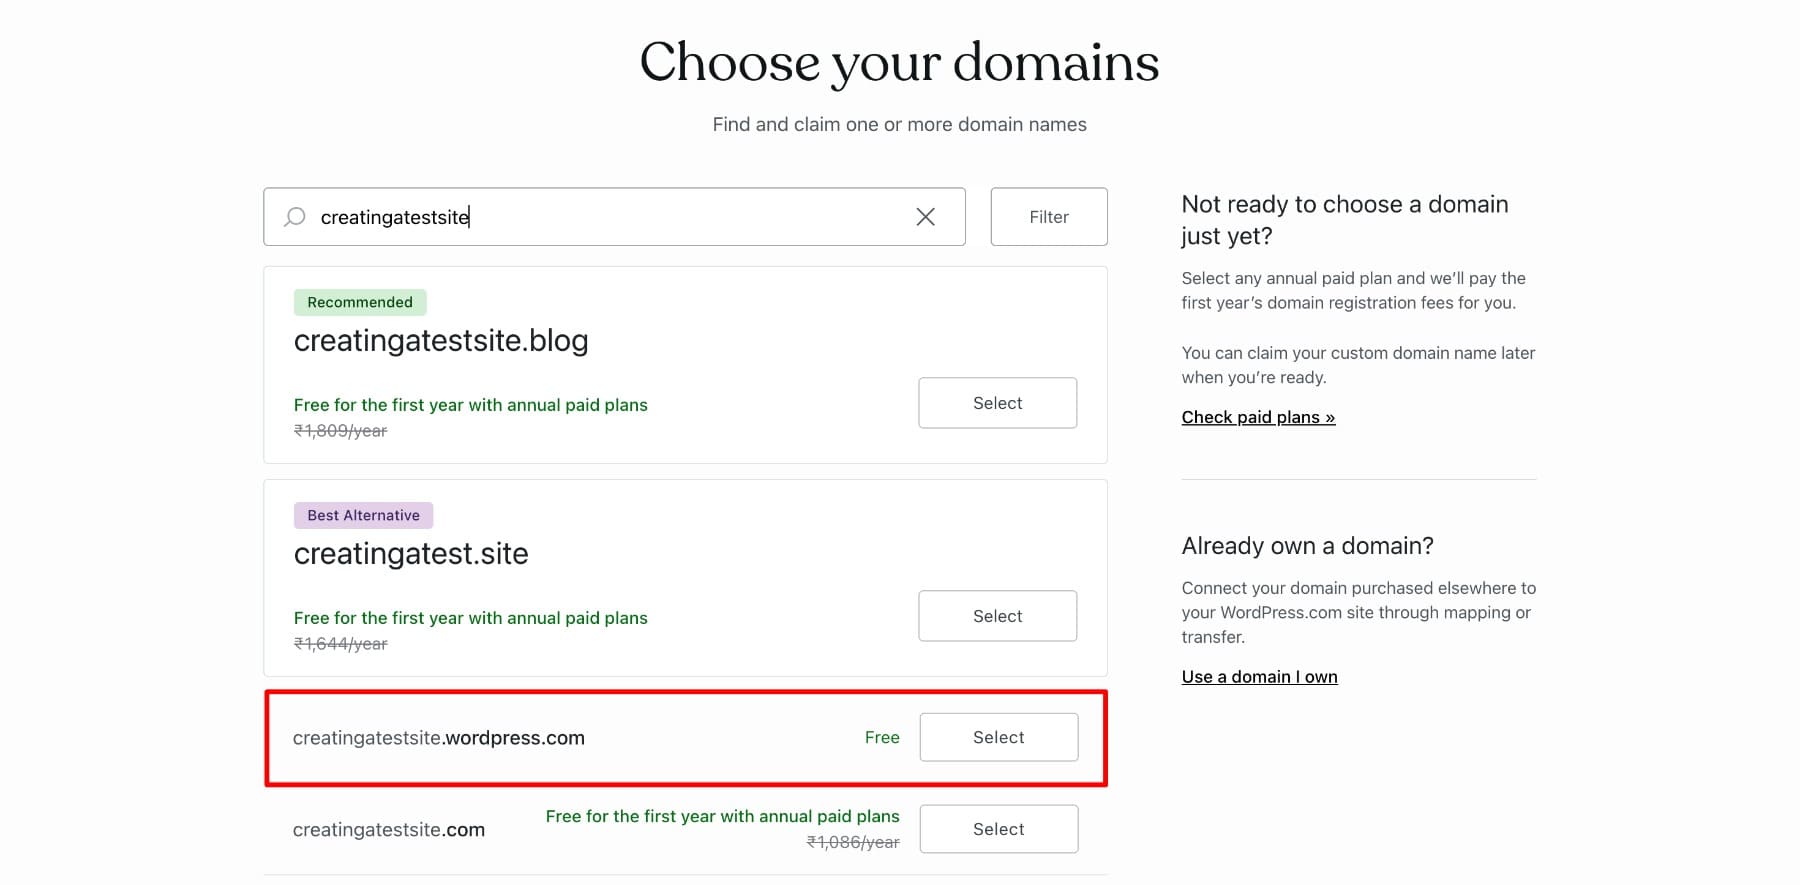
You get a free custom domain (without ‘wordpress.com’) for one year, but only if you start with one of WordPress.com’s annual plans. To access it, you’ll need to upgrade to a premium plan or higher.
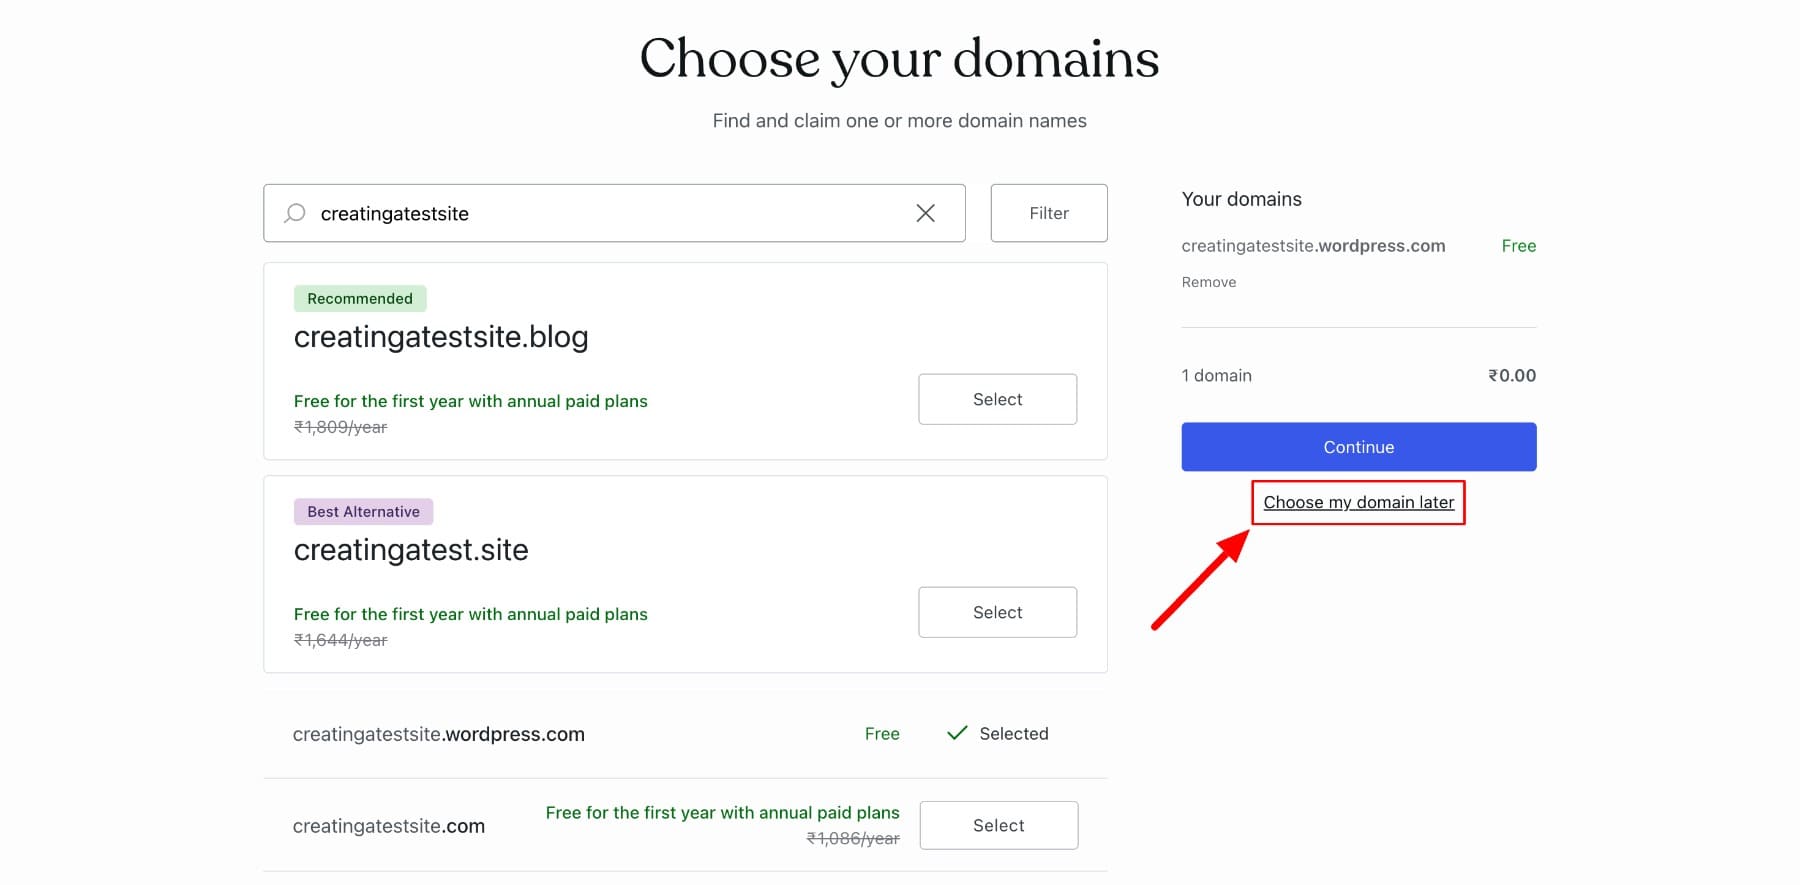
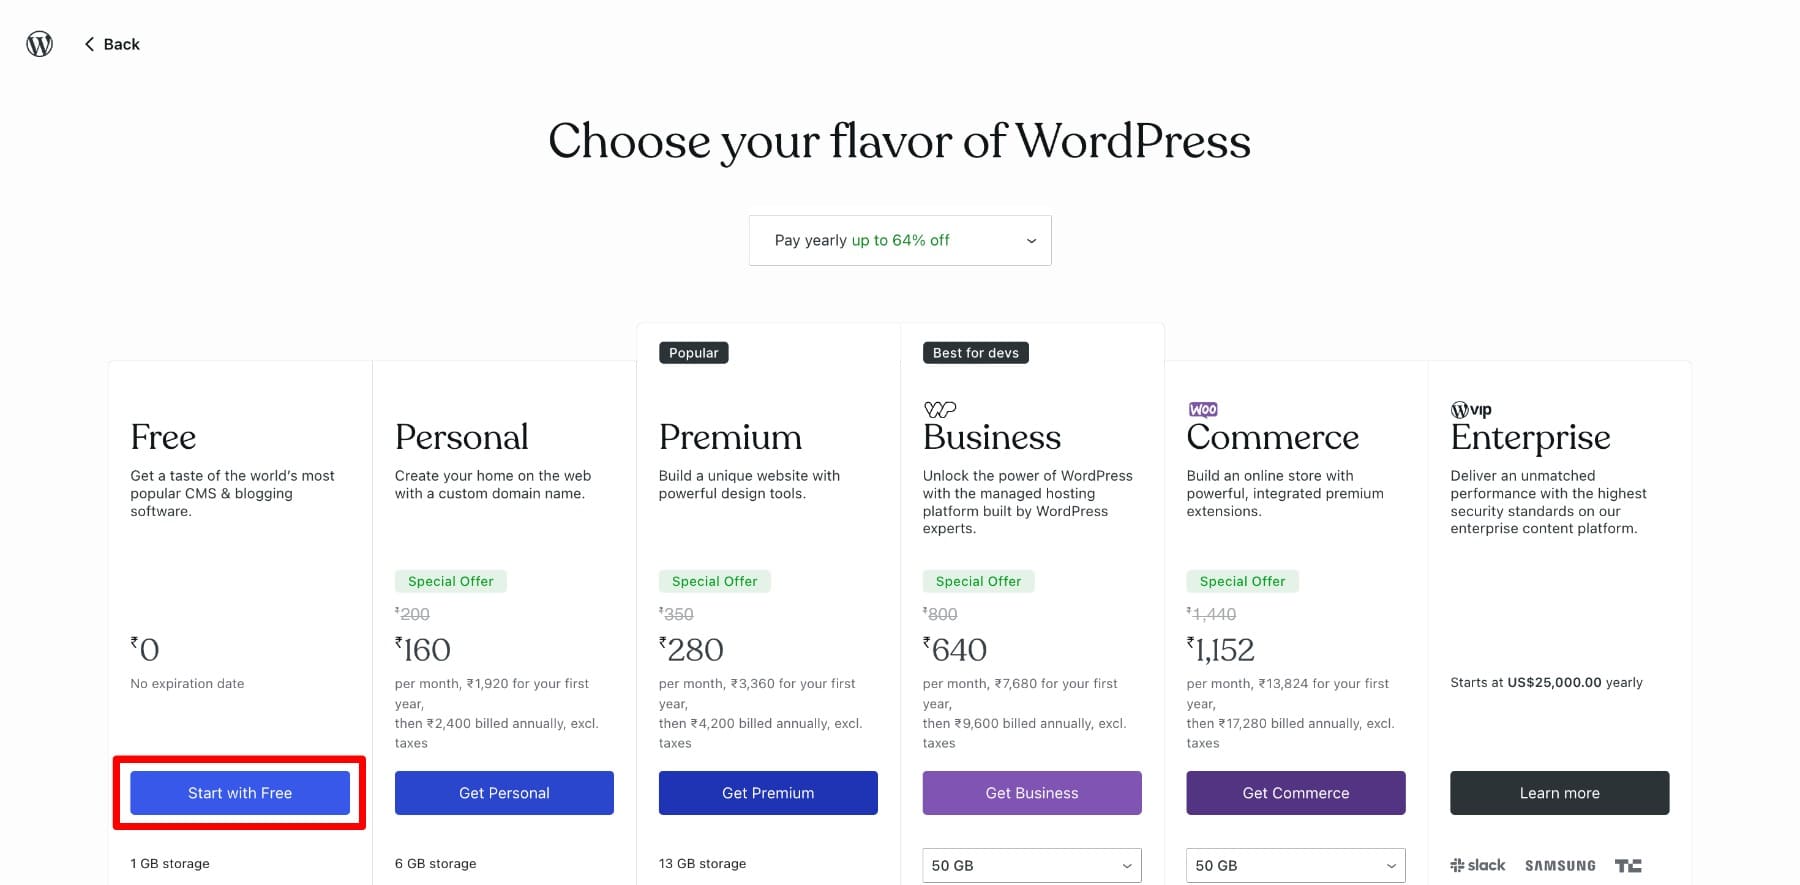
Since we’re creating a free site, choose the free option that contains ‘wordpress.com’ after the domain name. If you’re not sure about the name of your website, select Choose a Domain Later. You only see this option after selecting a domain name (I selected the free domain.)
To choose the free plan, click Start with Free.
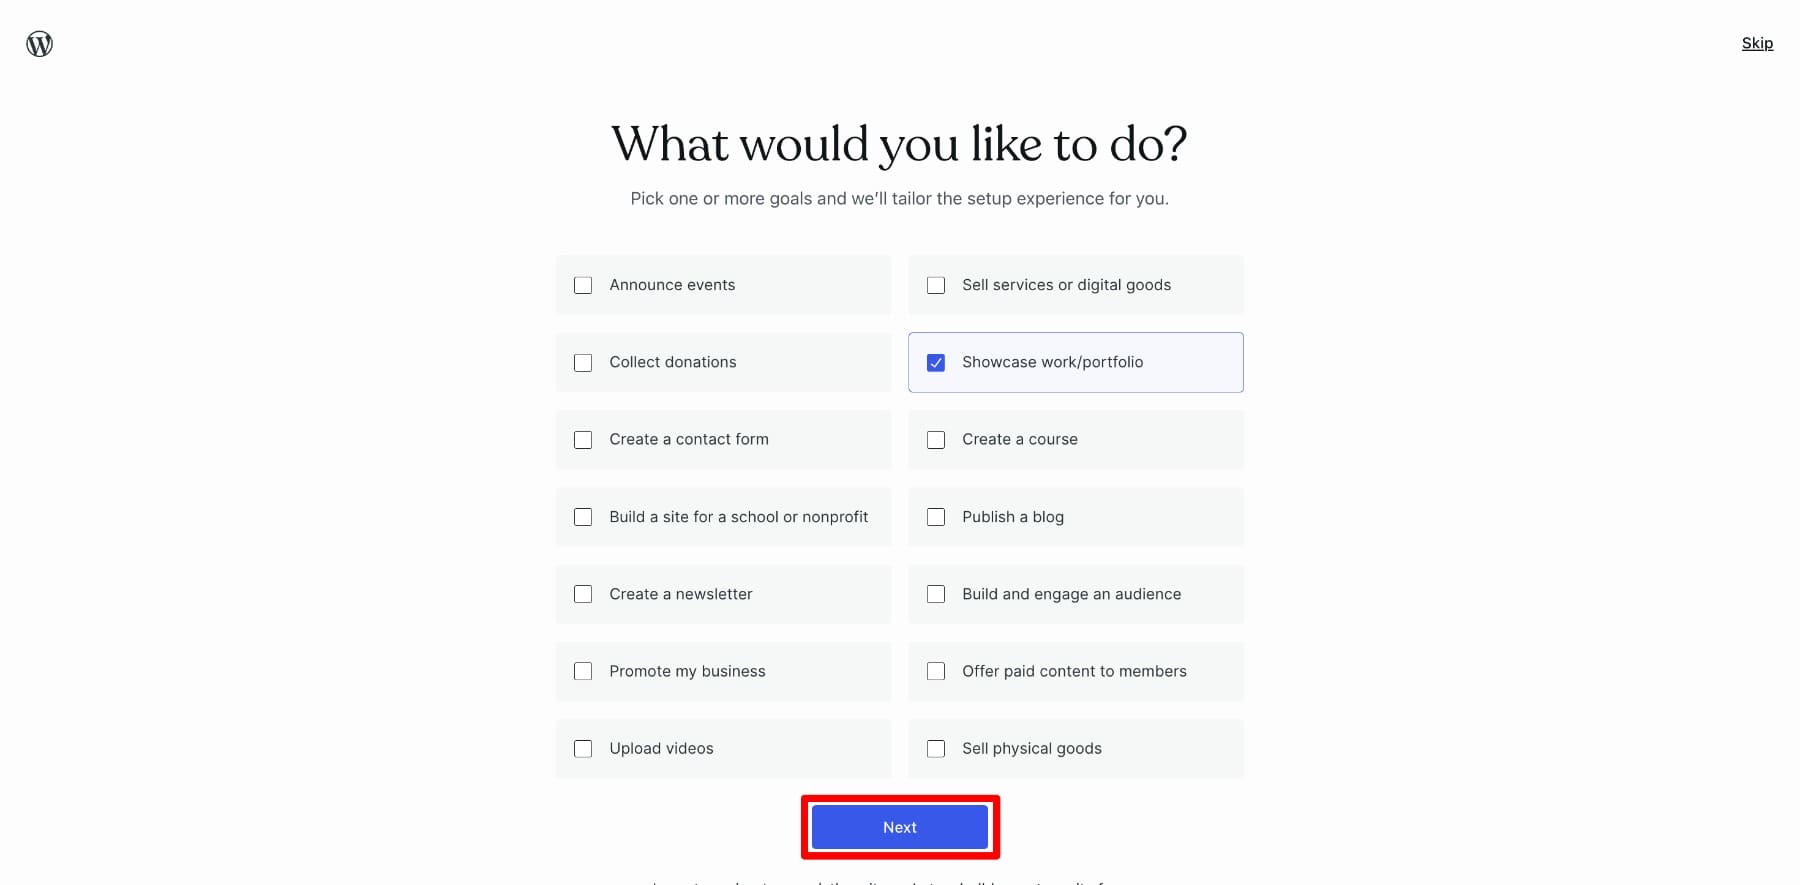
WordPress will ask you about the purpose of your site and give you personalized recommendations. Why are you creating your site? Choose it and click Next.
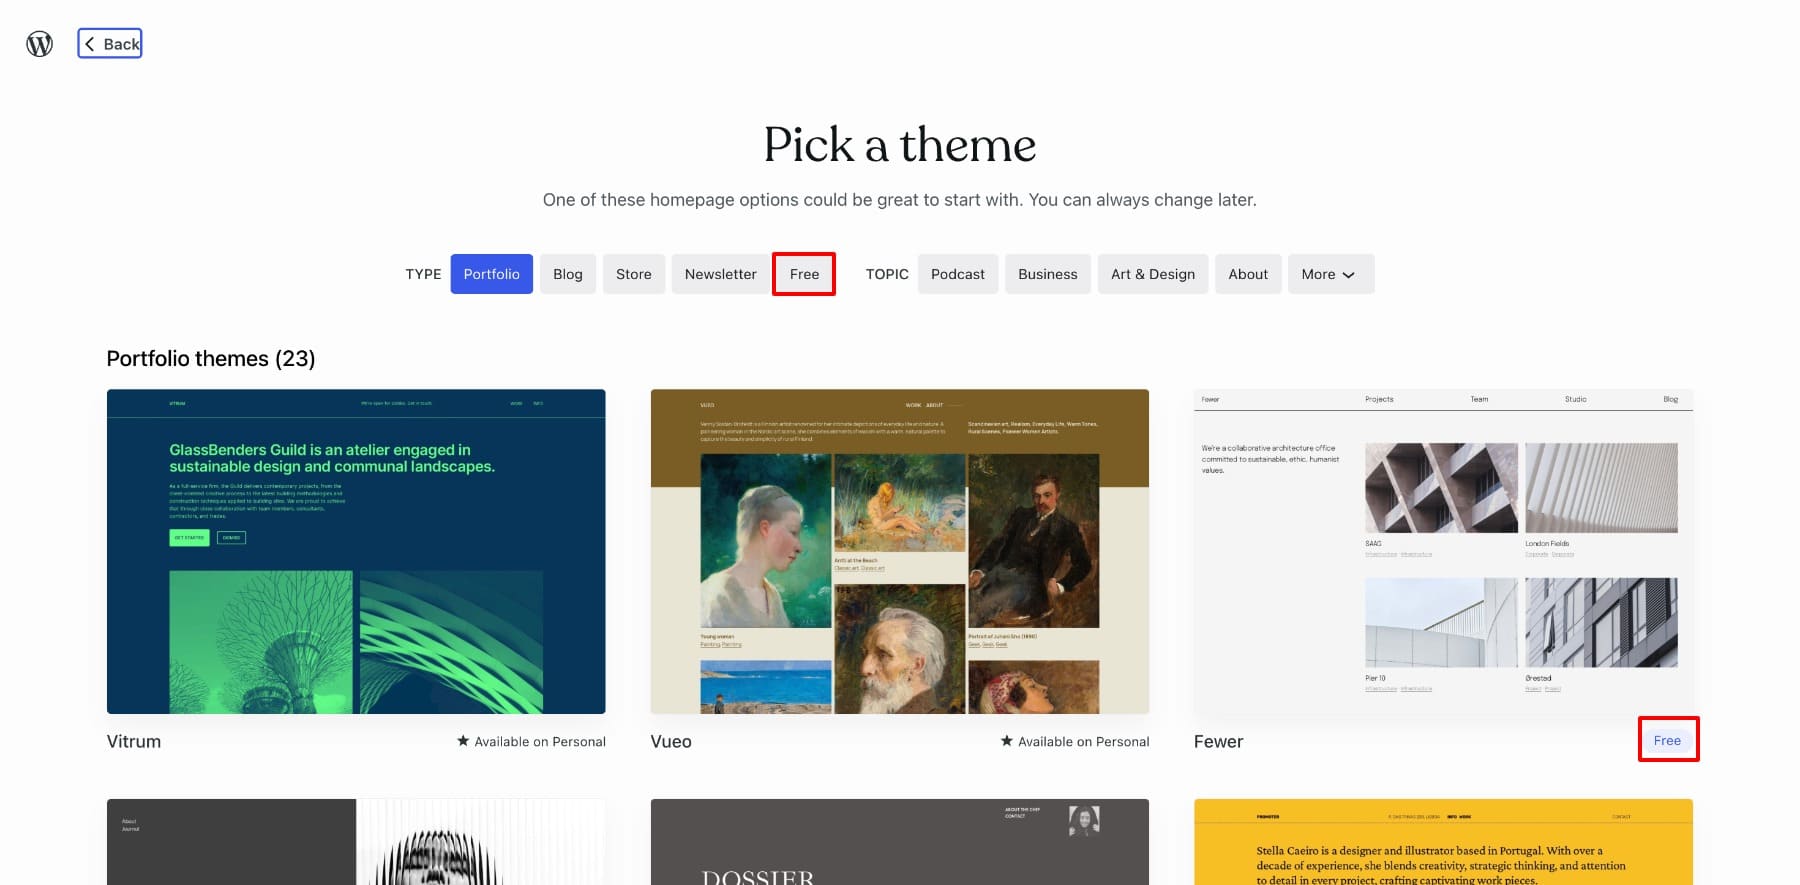
Here, you’ll pick a Theme, which determines your website’s overall design and layout. A theme controls how your site looks, including colors, fonts, menus, and its structure. For now, choose anyone—we’ll select the right theme later. But make sure it’s free because if you choose a theme with the Available on Personal tag, you’ll be prompted to select a WordPress premium plan.
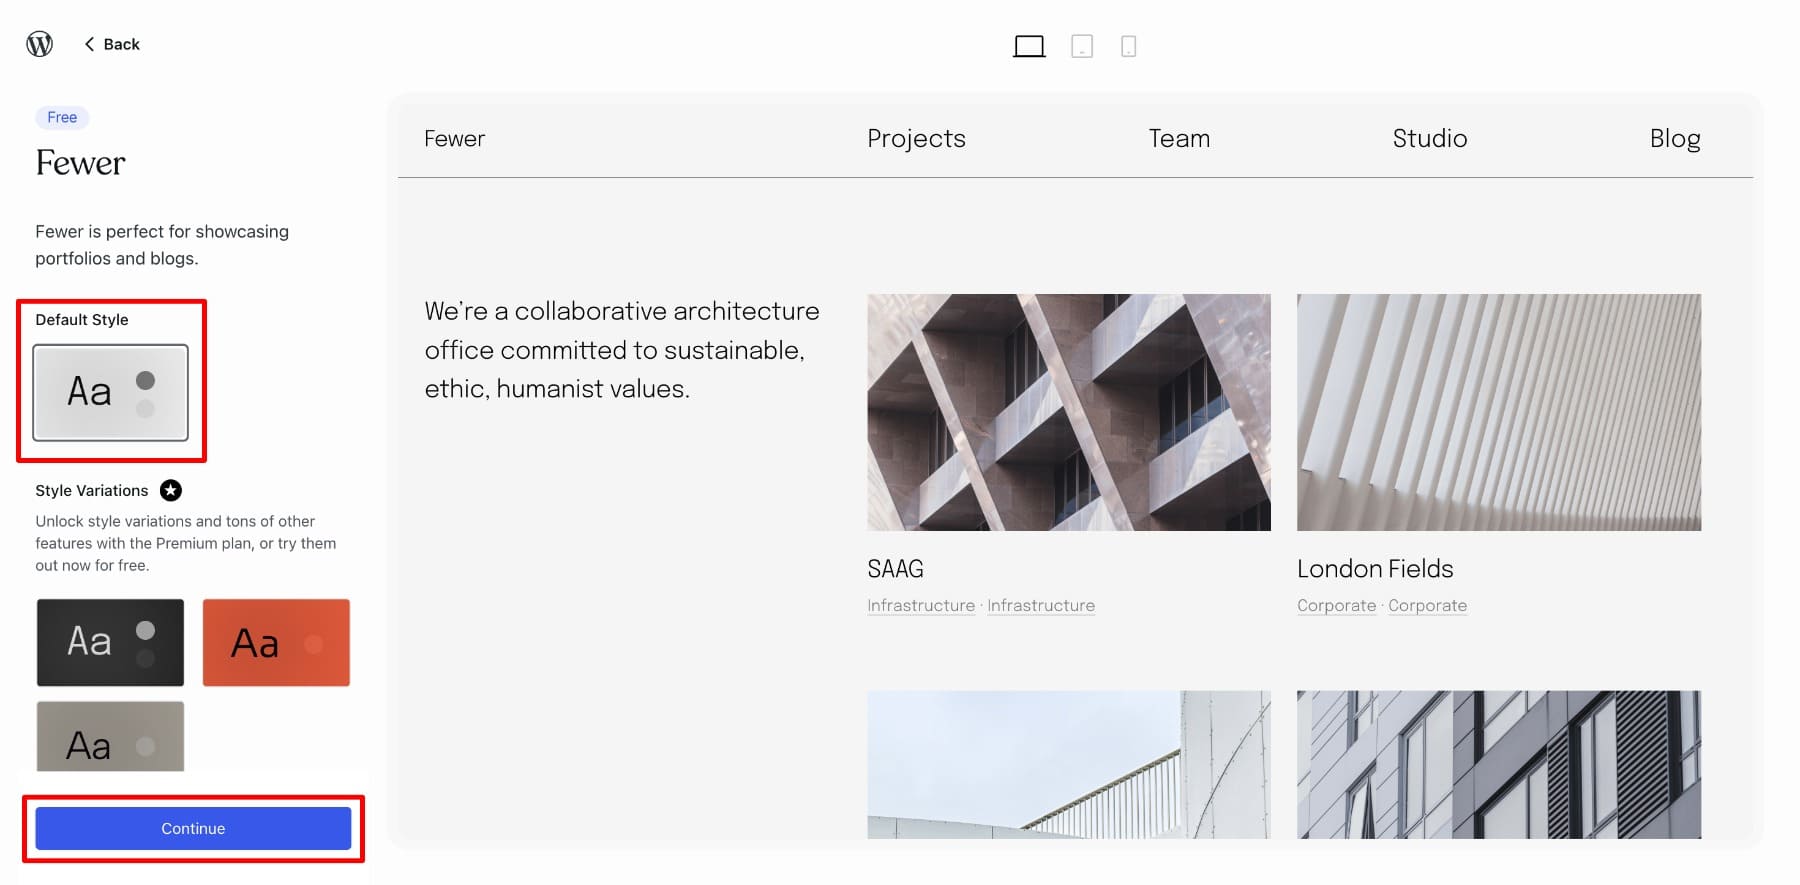
Your site’s first look is ready. Next, choose the Default style since the others are available only with the premium plans.
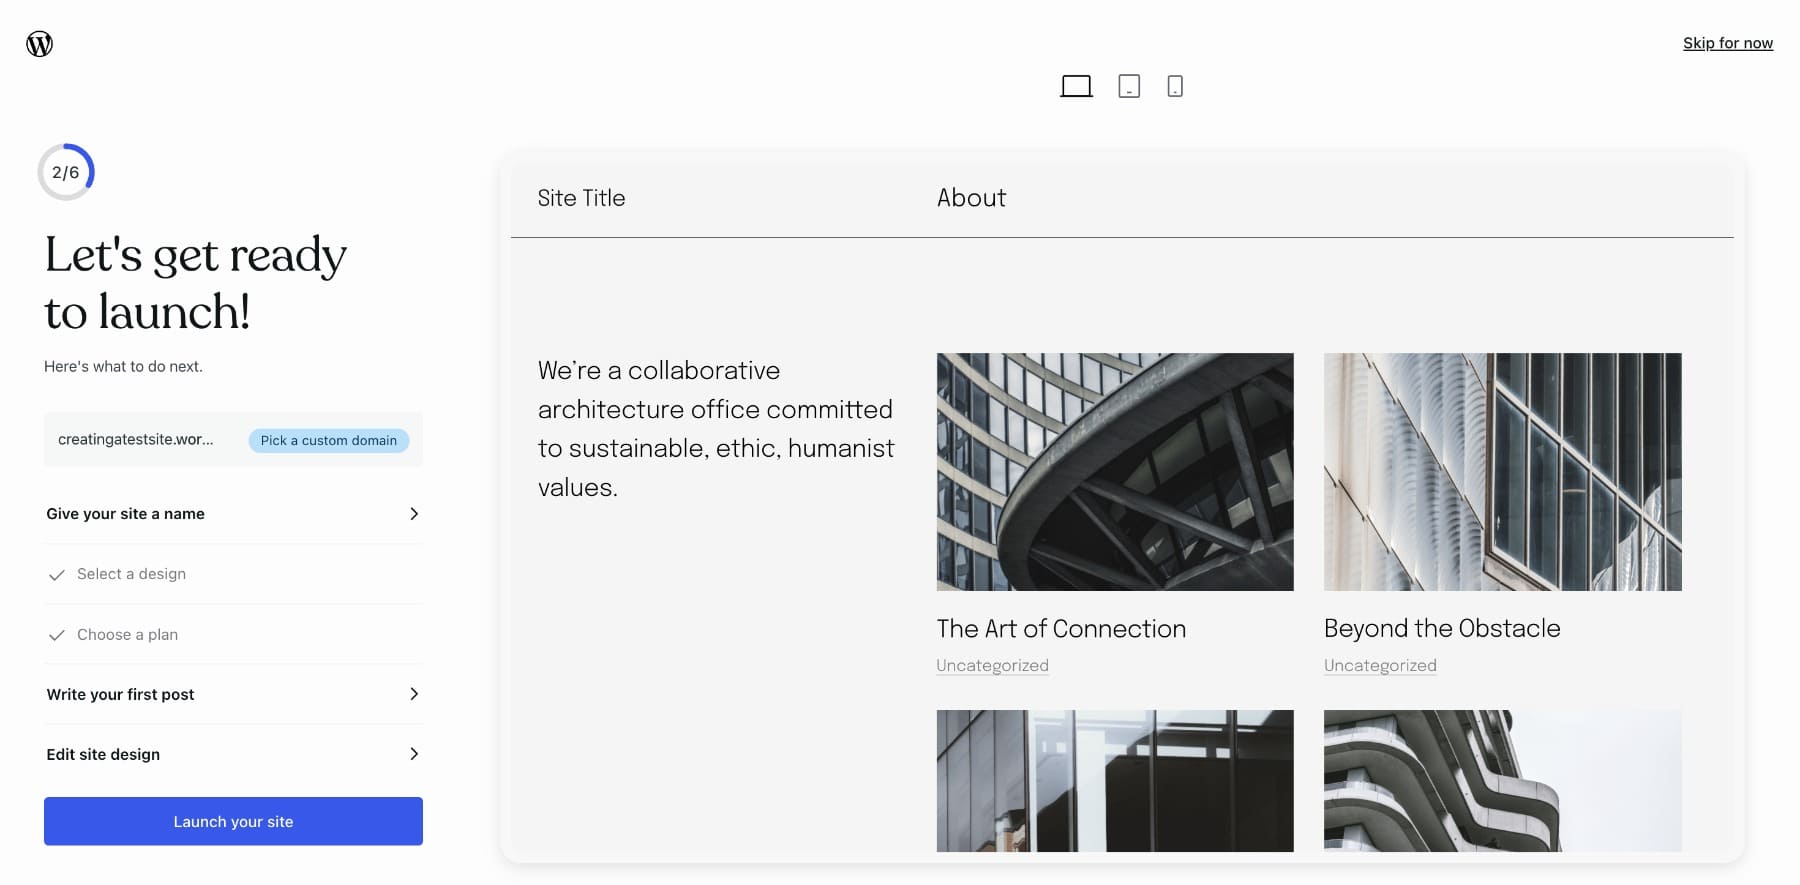
You’ll see the Launch Your Site screen, which includes a step-by-step checklist before launching your site. Click Skip for Now to follow our process.
3. Add Pages
You’ll publish pages and blog posts to build your website’s structure and content. Pages are ideal for timeless content like an About page, Contact details, or Services, while blog posts are perfect for regularly sharing updates, articles, or news. I’ll show you how to create a blog post later.
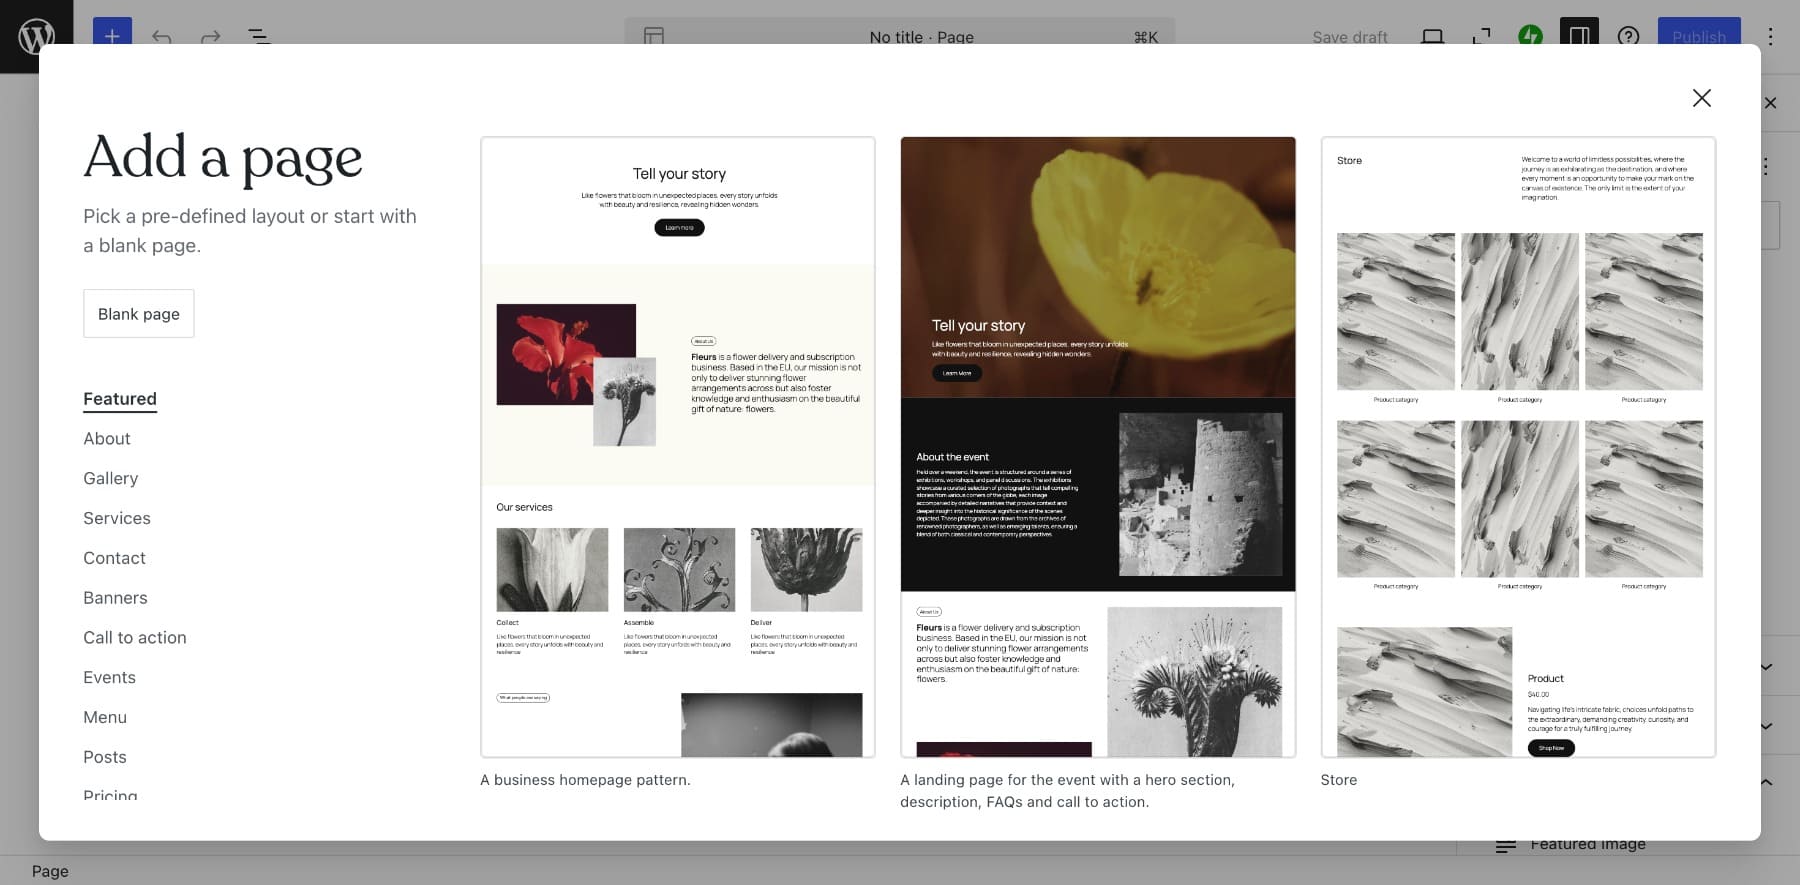
Go to Pages > Add New on your WordPress dashboard to create a page. You can choose a pre-defined layout or Blank Page (if you prefer to build from scratch.) Pre-defined layouts come with your theme and are essentially templates with a sample structure of the page’s appearance.
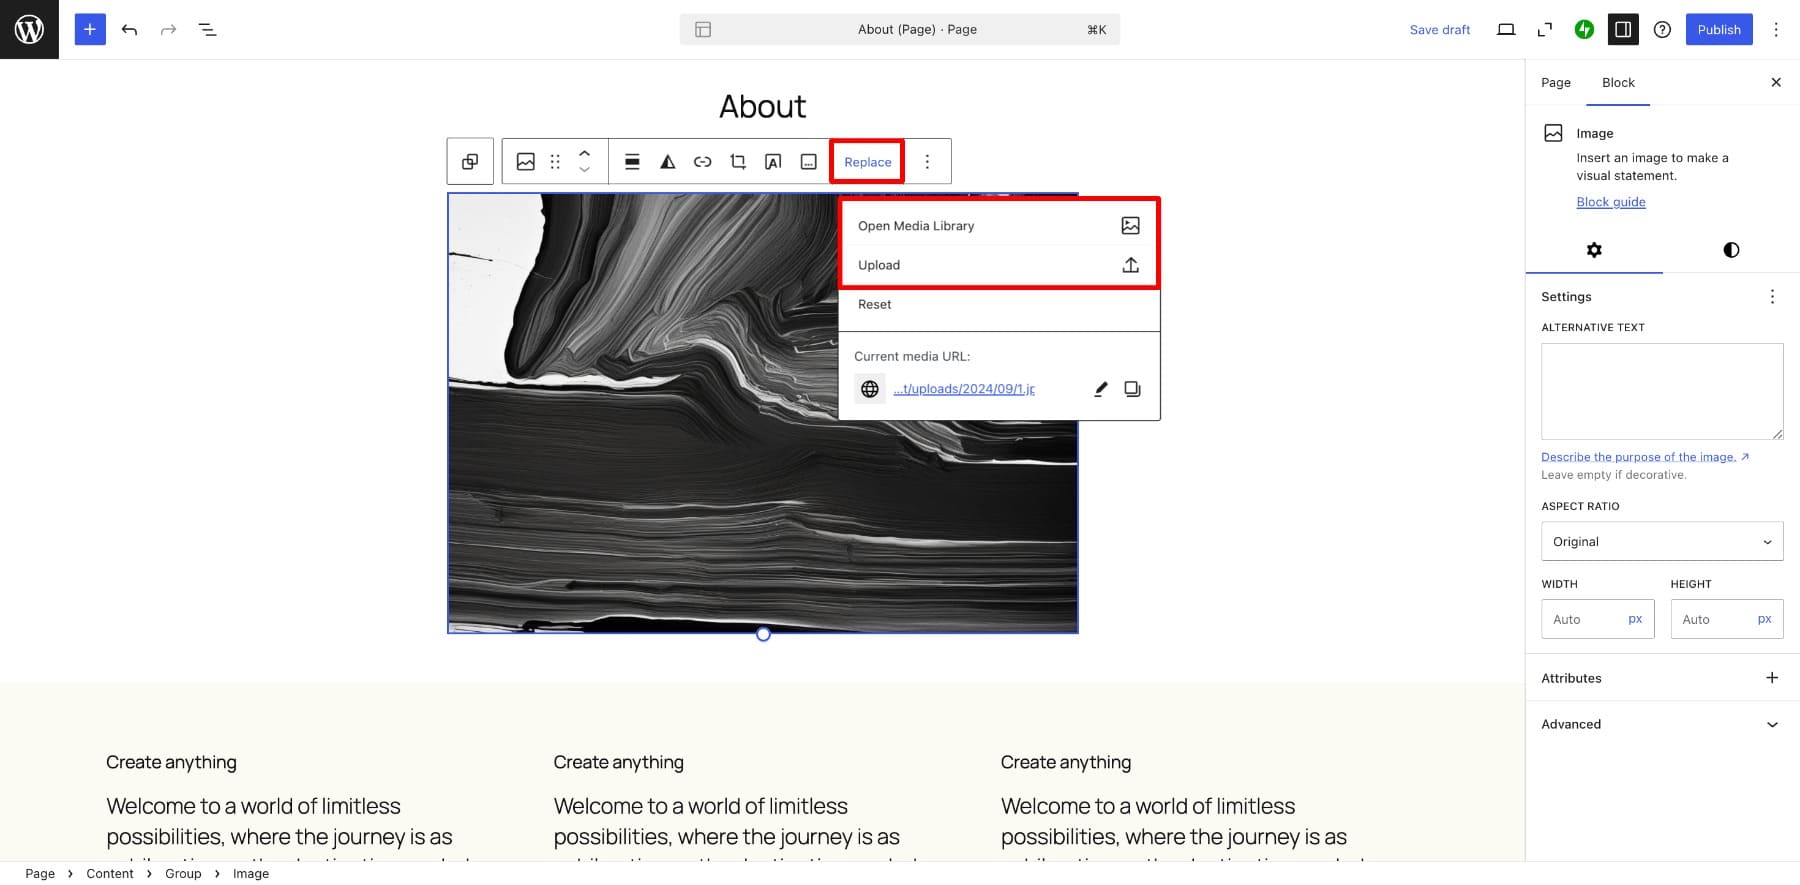
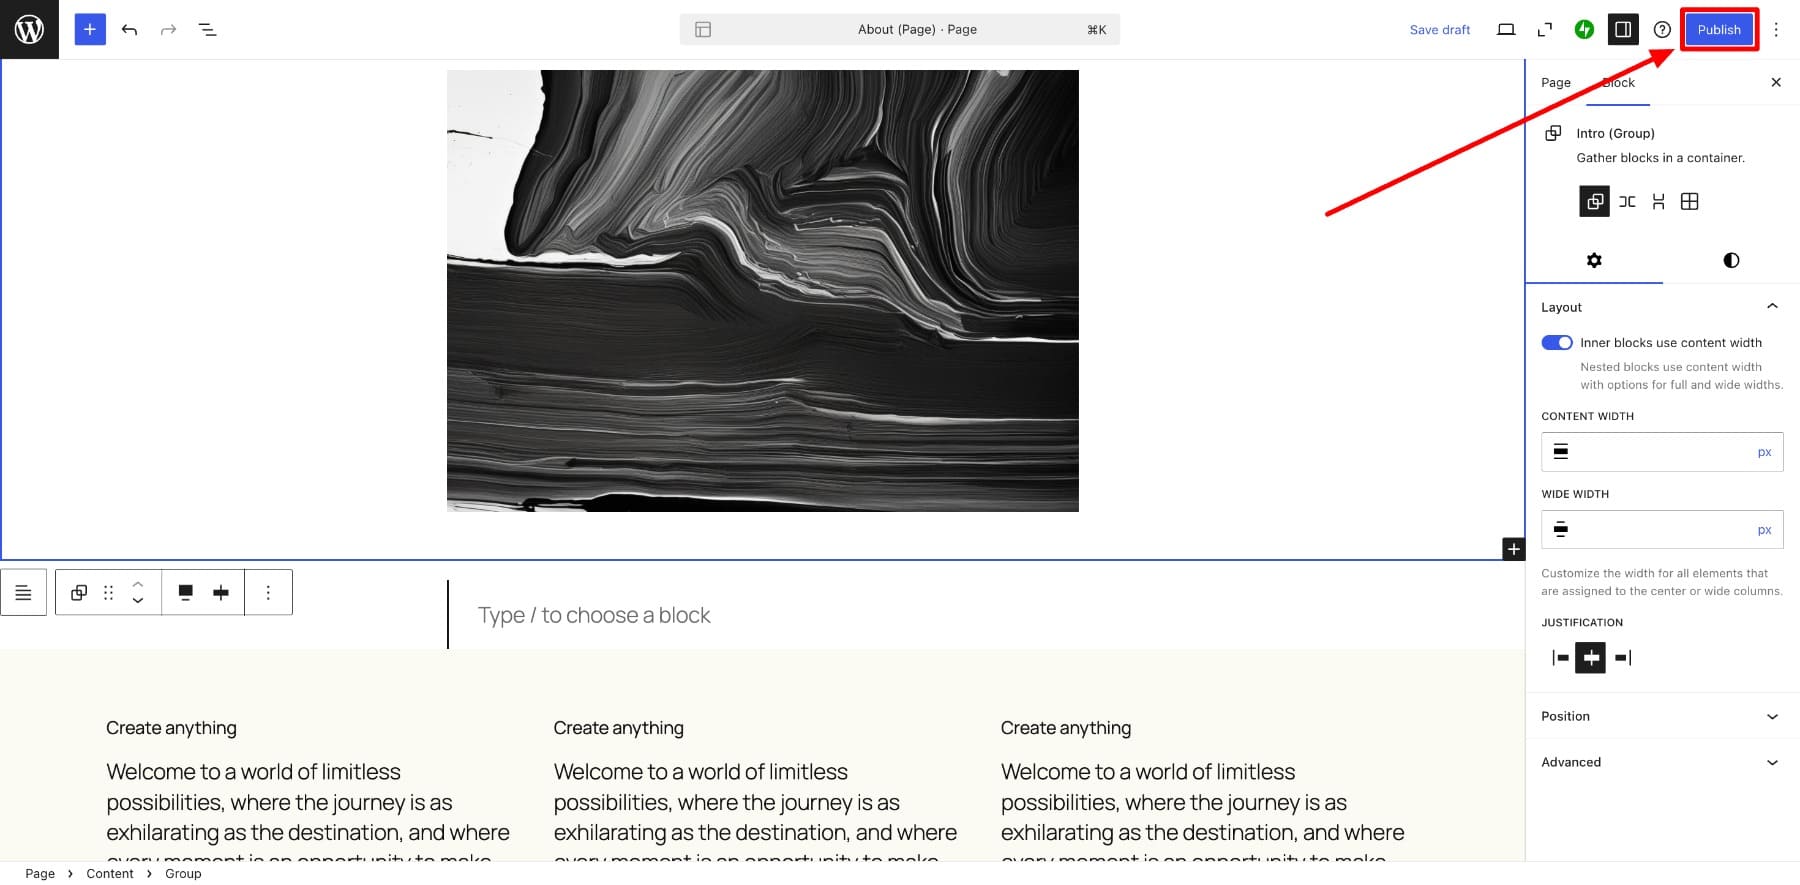
Once you click on a template, it will apply to your page. Then, all you need to do is change the content, such as text and images. To edit text, just highlight it and type with your keyboard.
Similarly, to replace an image, you can click on Replace and upload the photos directly from your computer.
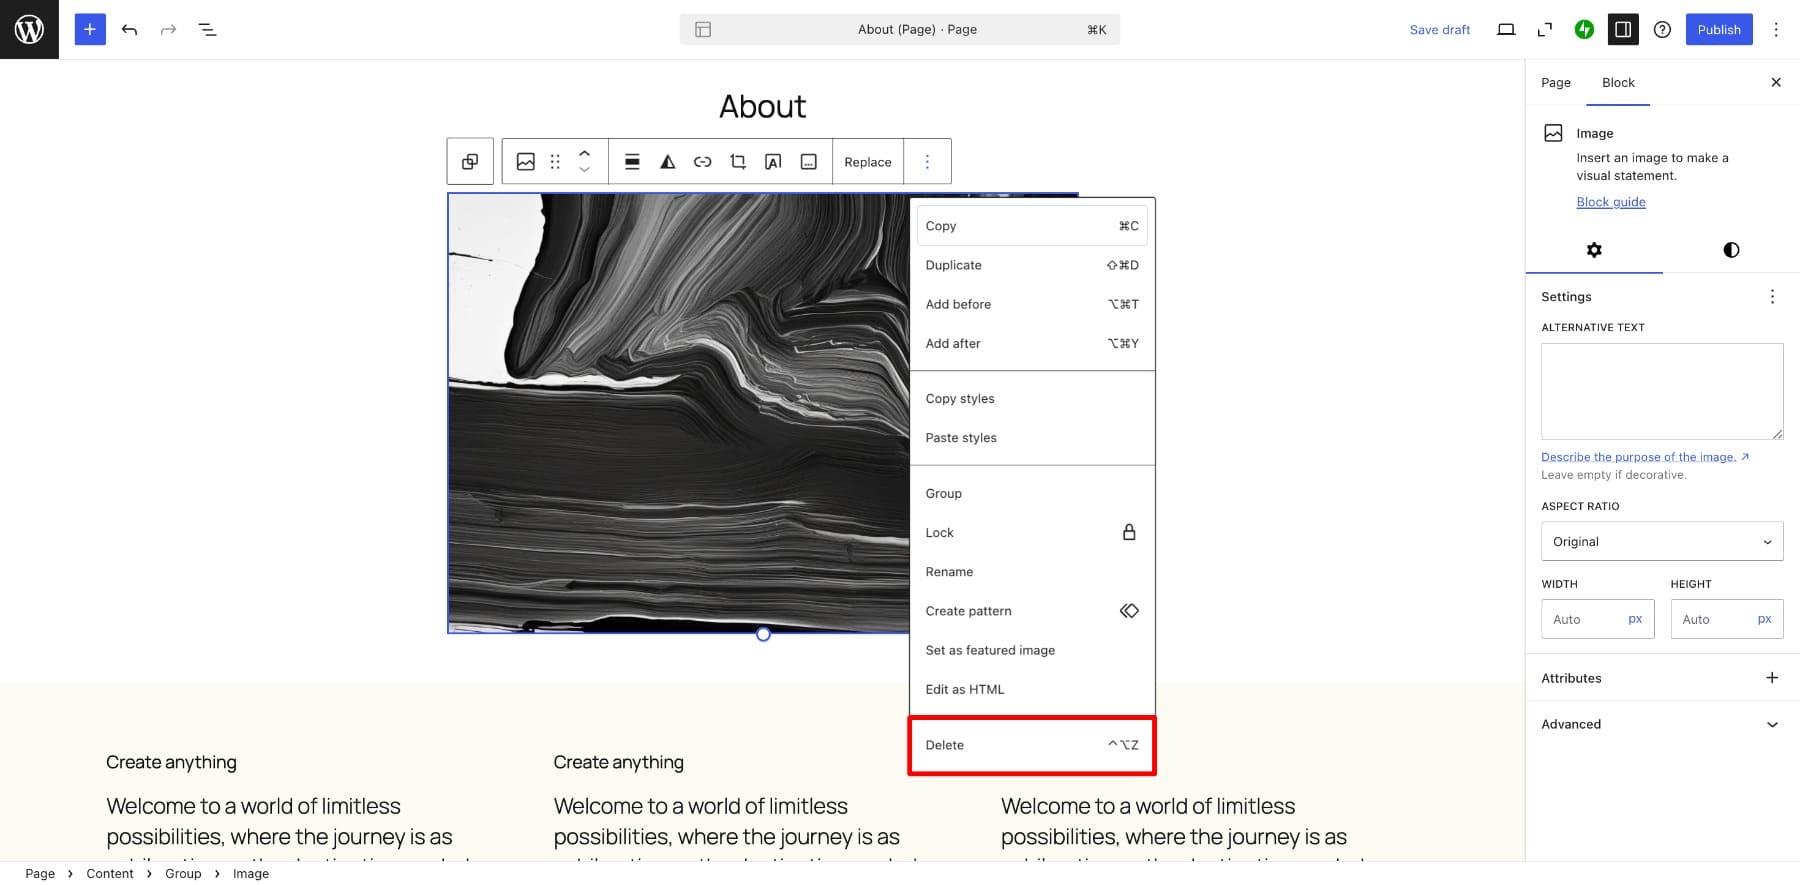
If you want to remove a block (an individual content element—paragraph, image, or heading, that you can add, customize, and move to design your page or post), click the Settings icon and find the Delete option.
You can add more blocks by clicking the Plus icon at the top left.
Once done, click Publish to share it live on your website.
Similarly, you can create more pages (contact, services, landing pages, etc.) to structure your website. Once you have enough pages, you may want to customize your site to improve its navigation, enhance design, and ensure it aligns with your branding and purpose. This includes setting up menus, adjusting the layout, and adding widgets or plugins for additional functionality.
4. Customize Your Website
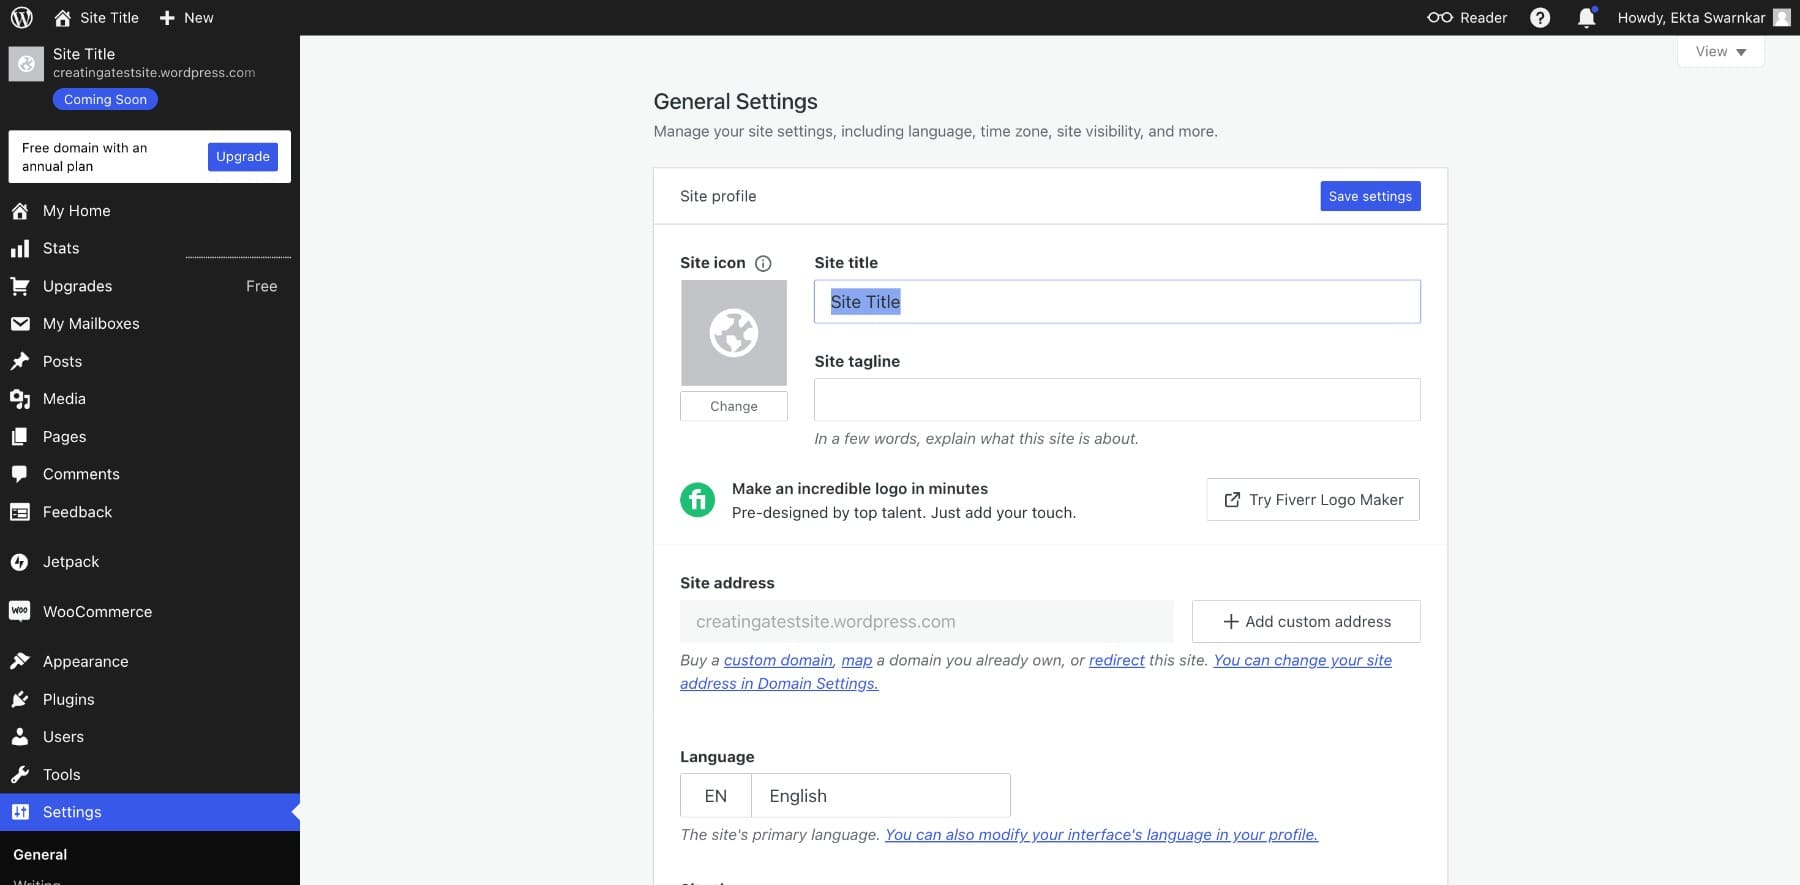
Let’s start by naming your site. Go to Settings > General and enter your site name in Site Title. You can also configure other settings like adding a logo, tagline, etc. Once done, Save settings.
Installing a Theme
You can also change your theme if you want. To do so, go to Appearance > Themes. Use the search bar and category filters to find a good theme. For example, you can put the Portfolio category if you’re building a portfolio.
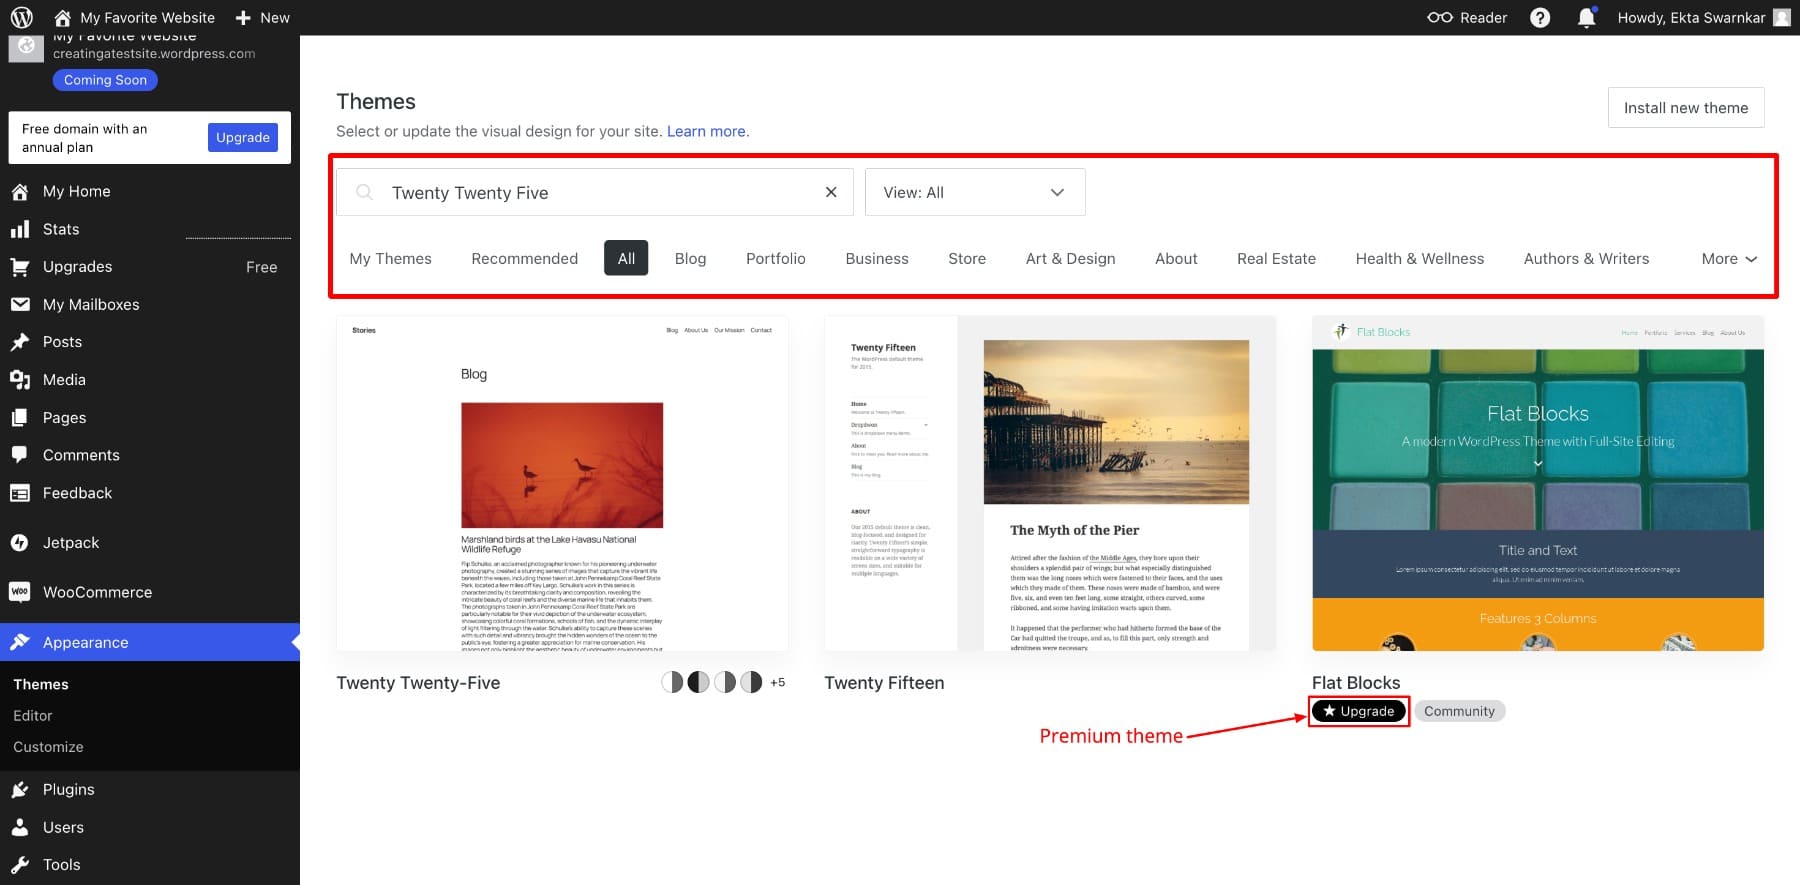
Themes with Upgrade are premium themes that prompt you to upgrade. Some of the best free themes to start off with include Twenty Twenty Five (WordPress’ default theme) and Blocksy, but if you have a specific theme in mind, type and search for it.
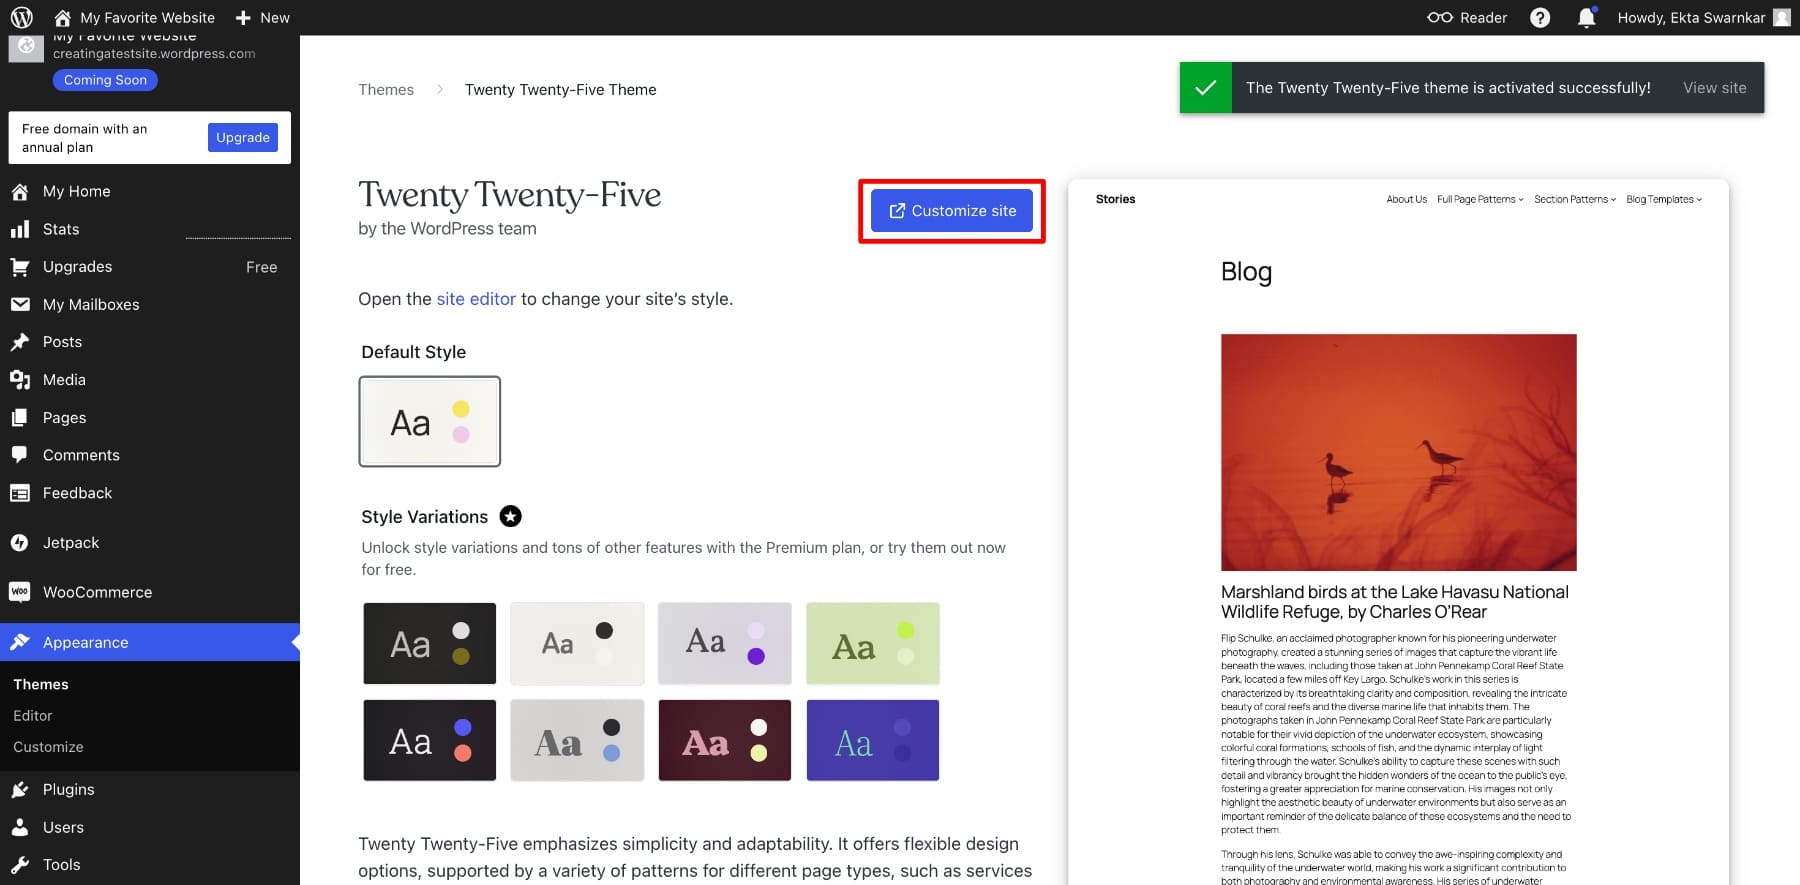
When you find your theme, click on it to Activate the Design. You can also preview how your site will look.
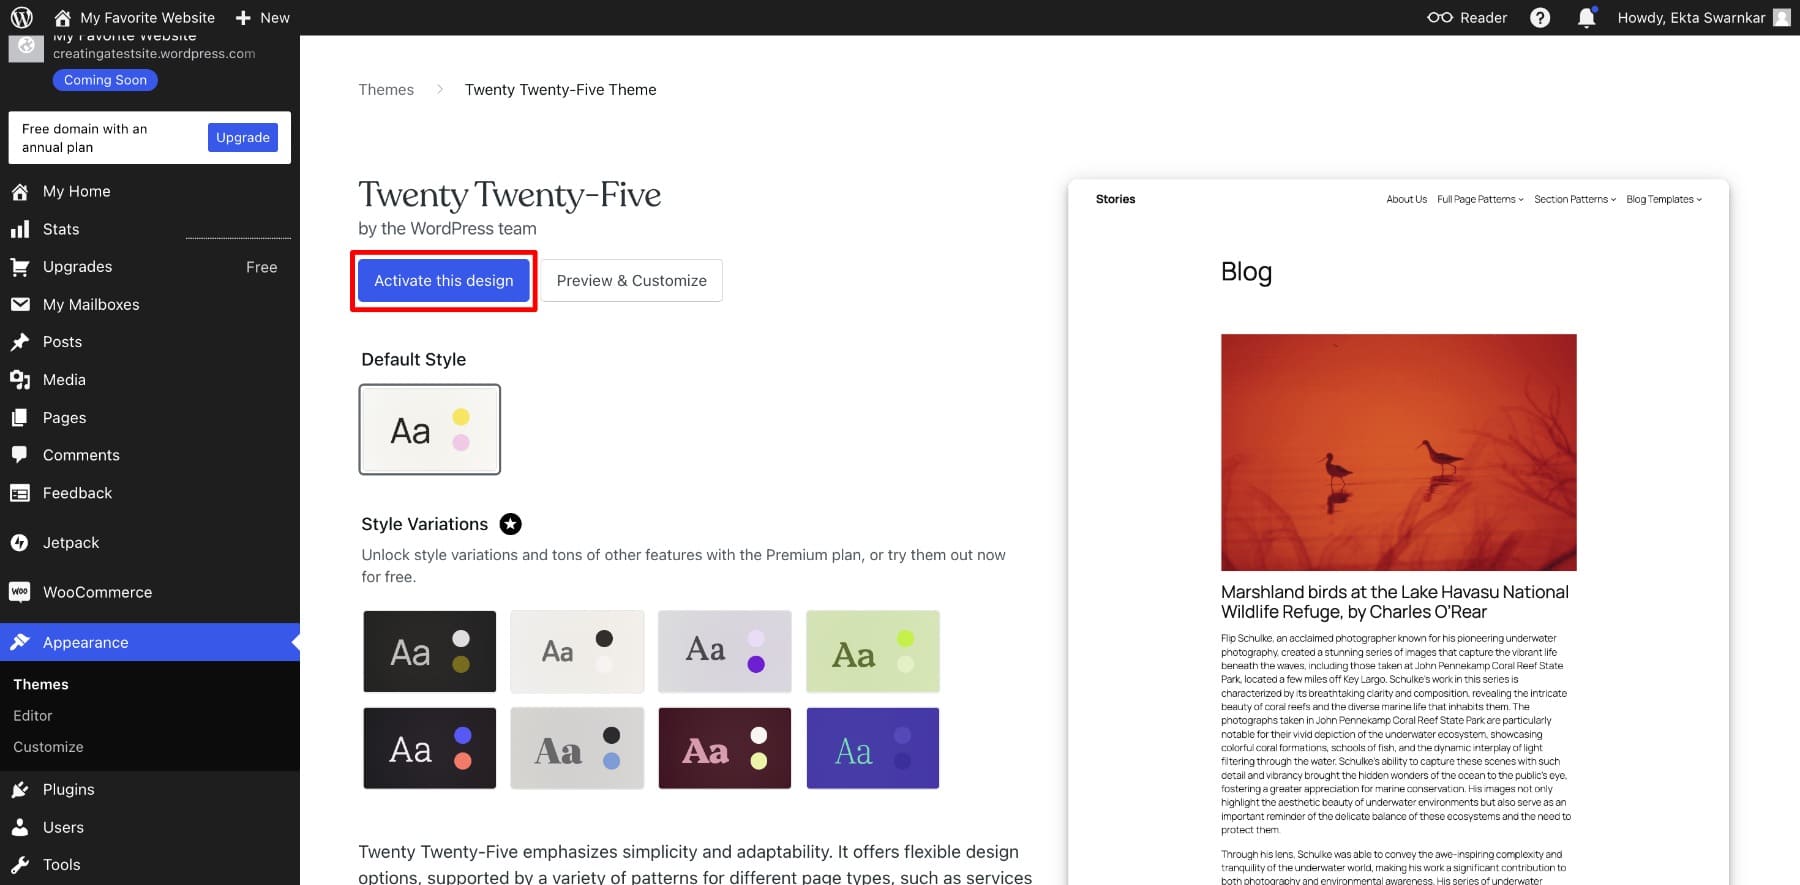
Once your theme is active, you’ll see the Customize Site option. Click on it to open the Site Editor, or you can go to Appearance > Editor.
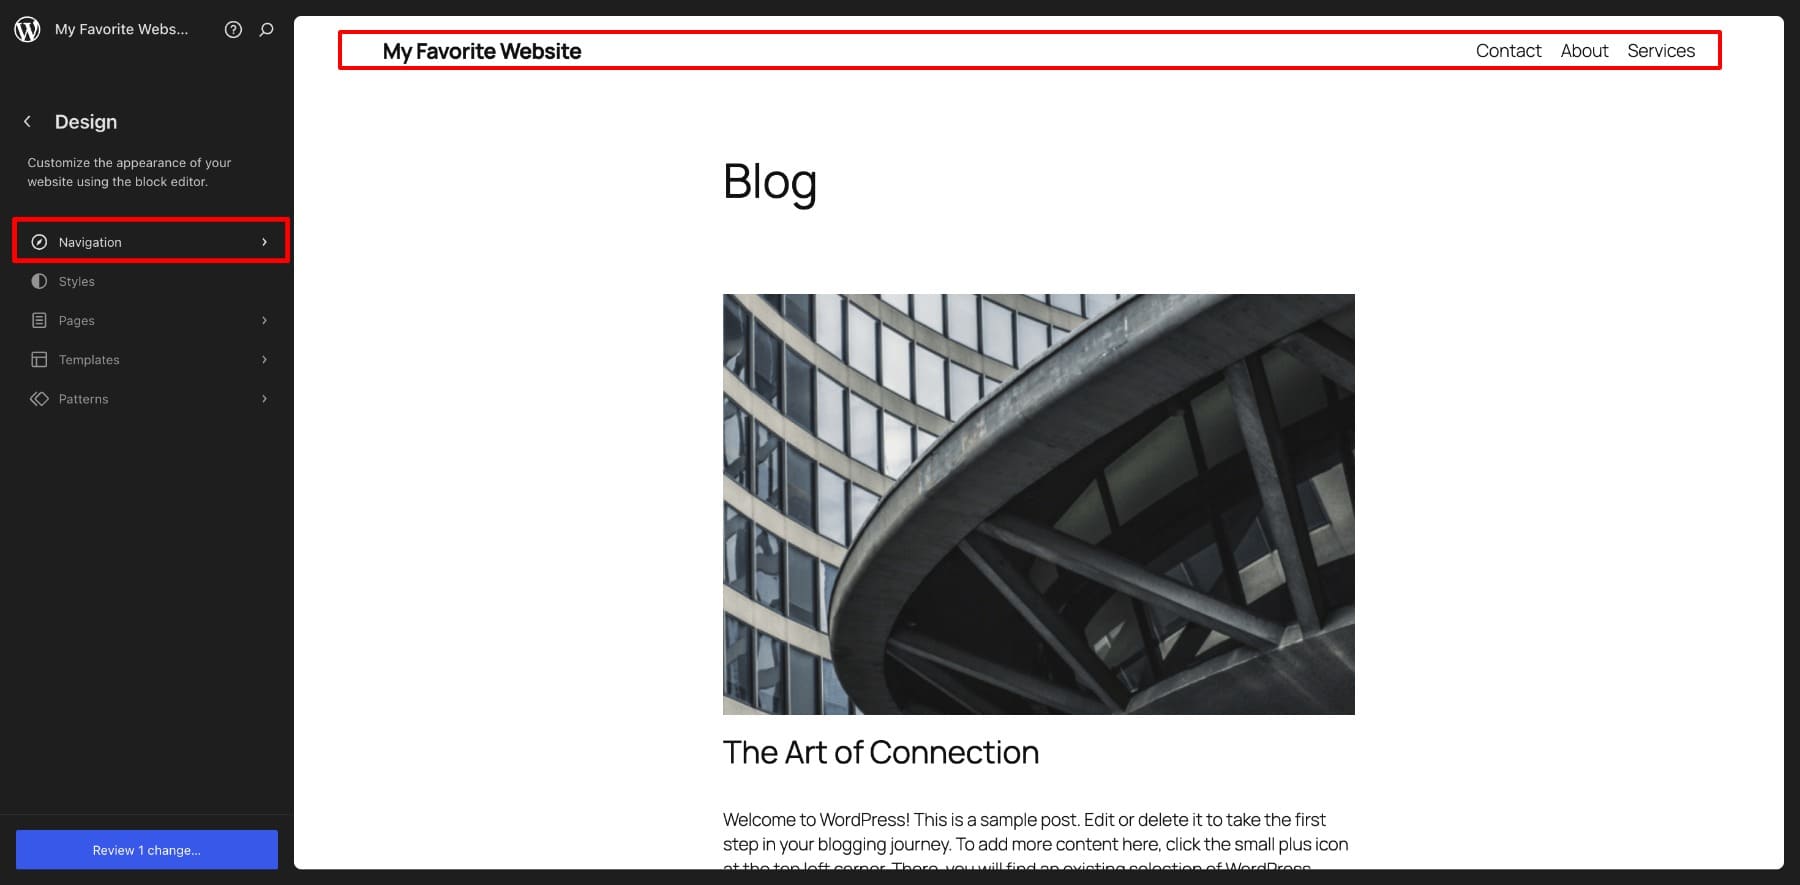
Setting up Navigation
Next, set up your site navigation, which is the menu system that helps visitors move quickly between the different pages on your website. You’ll notice that your site menu includes the pages you created, you can modify how it should look. To edit, click on Navigation.
You can switch the positions of elements and delete them if you don’t want to display them.
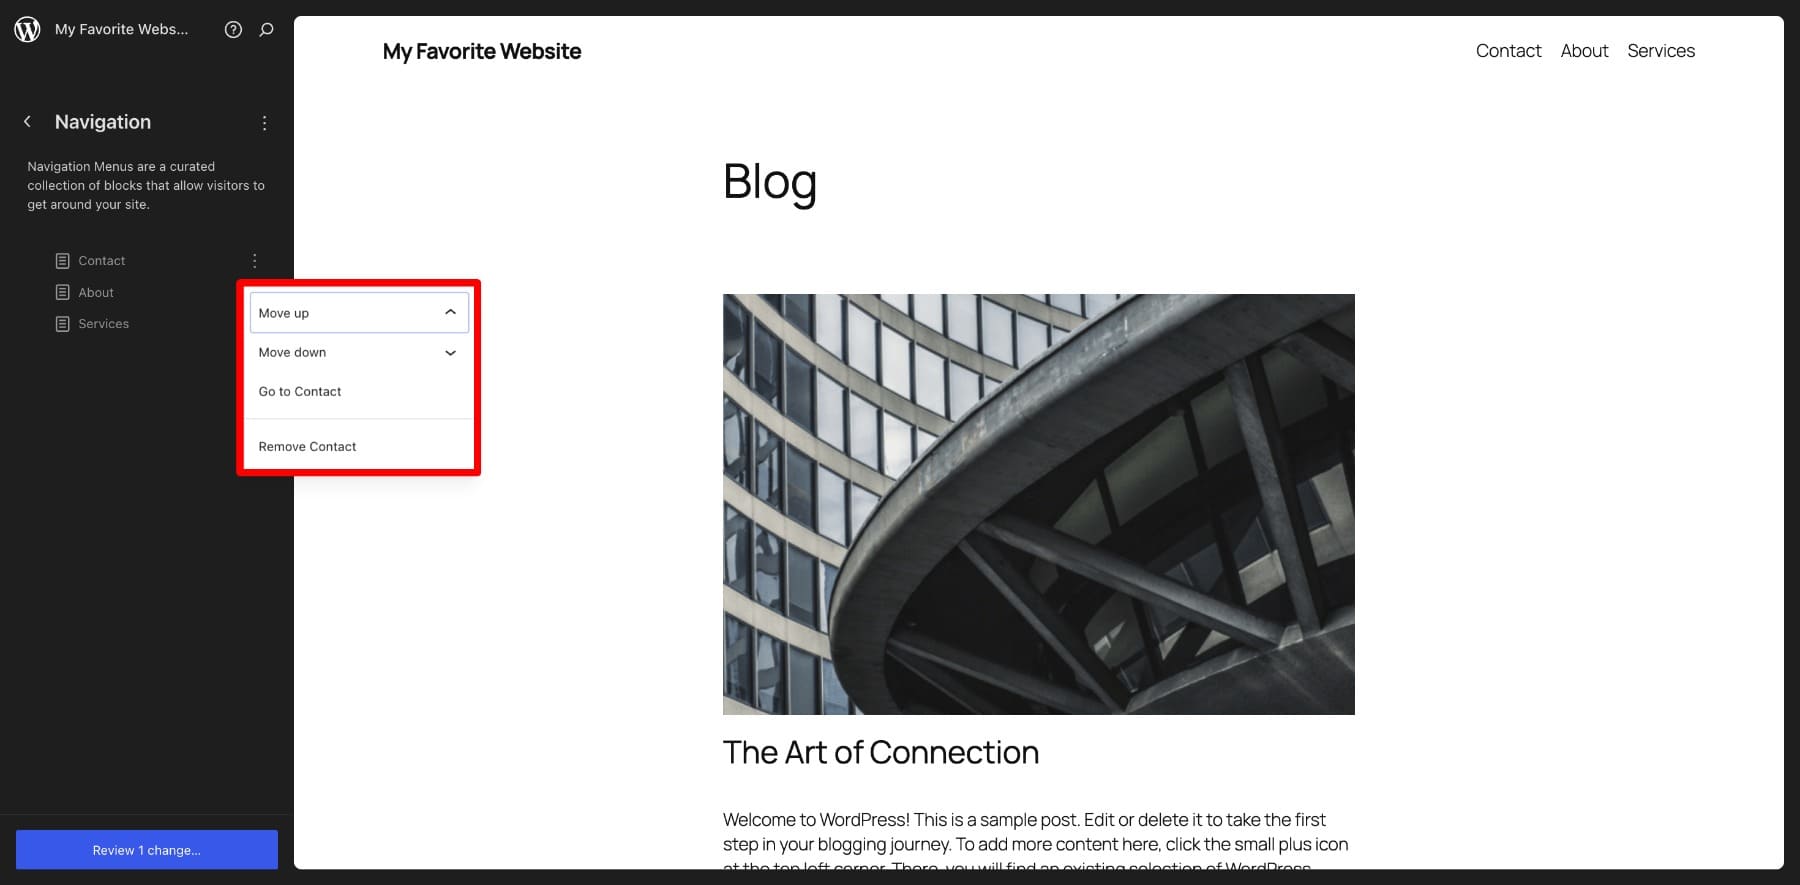
This option allows you to make limited changes to your navigation. To get more slightly options, you can change the Header template.
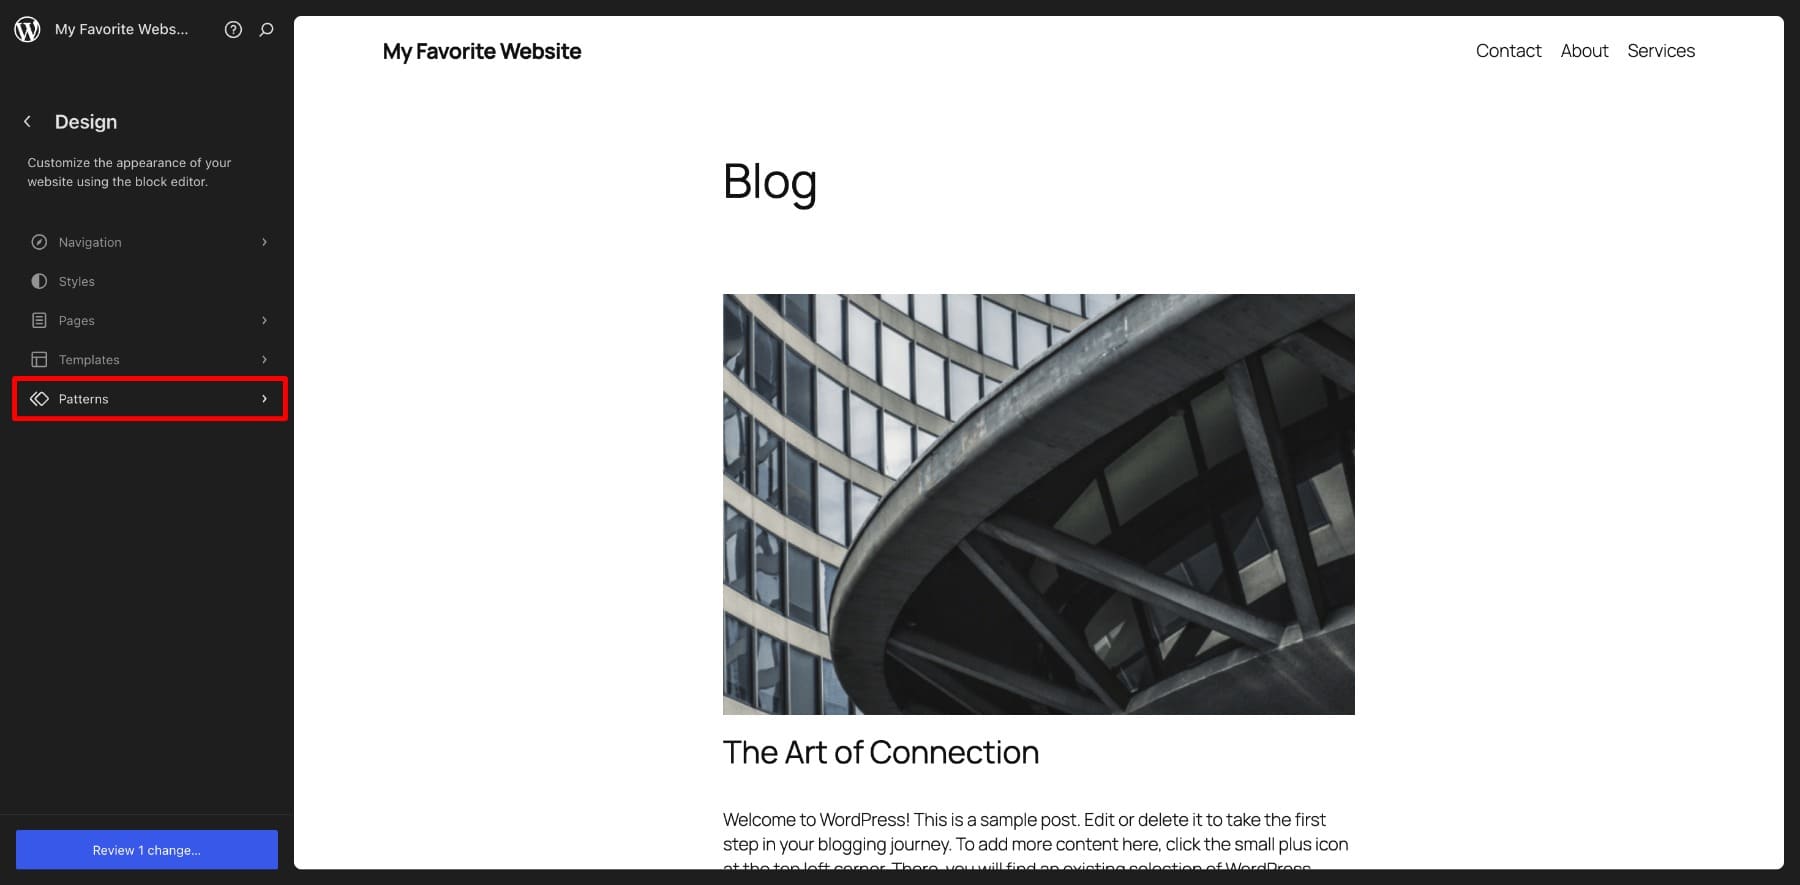
Updating Header
Go back to Design > Pattern > Header. Patterns are pre-designed layouts or sections, such as headers or galleries, that you can insert and edit. Multiple Patterns together make a Template (which you imported while creating your WordPress pages.)
The header and footer are also WordPress patterns. You can click the plus icon to add more menu items, update the site title and menu titles, etc.
In the same way, you can customize your site footer. You can add your business address, social media links, contact information, or whatever you want.
WordPress.com falls short when customizing your site to match your brand. For example, you can’t use custom fonts, colors, or advanced design options with the free plan, which limits your ability to create a unique and professional look. You’d also have noticed annoying upgrade prompts whenever you try to use advanced features, such as choosing Styles beyond the default options. This leaves your options limited; however, it’s not a problem if you’re okay with a site that looks basic.
5. Write Your First Blog Post
Creating a WordPress blog post is similar to creating a page. From your WordPress dashboard, go to Posts > Add New Post. Now, you can add blocks, type text, and do more before publishing your first blog post.
Your current home page is your blog post listing page, displaying all your published posts. After you publish your first post, it will be updated there.
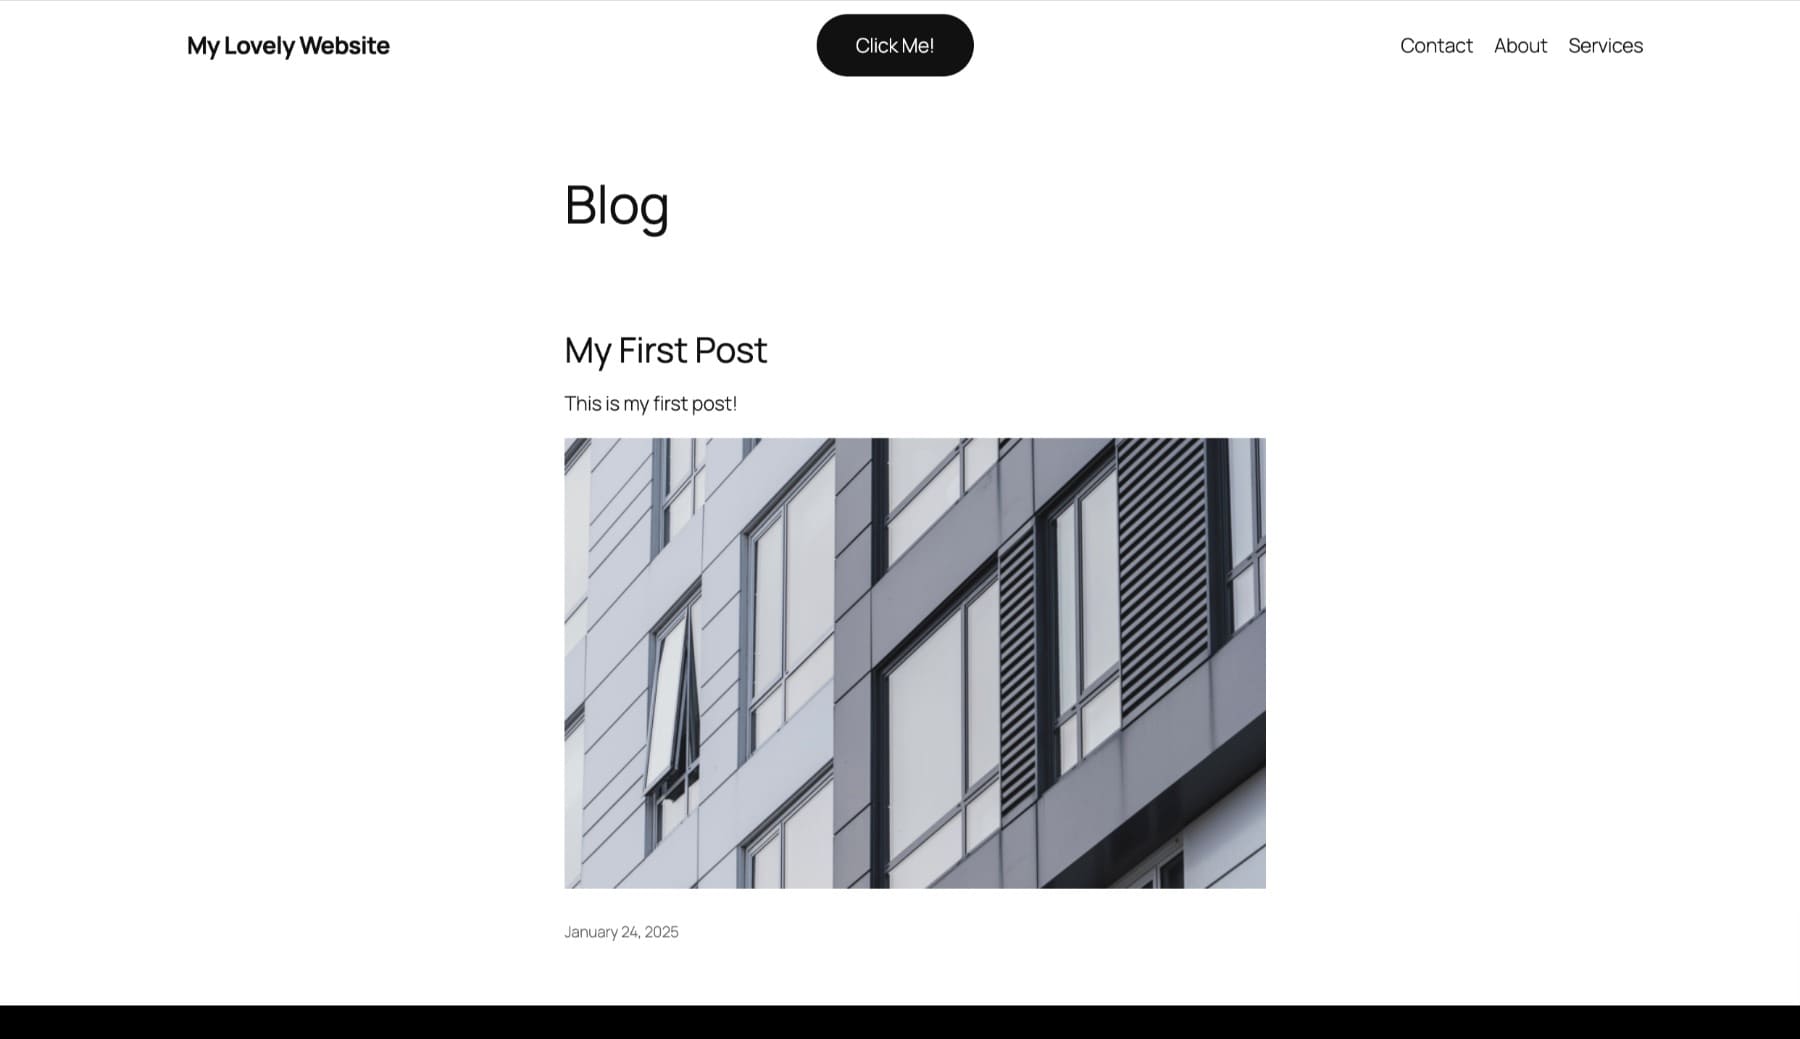
You can keep it this way if the primary purpose of your website is to publish blog posts. But if you’re creating a business website, you’d want a home page about your business or services. In that case, you can use that as your home page and keep the blog post listing page separate.
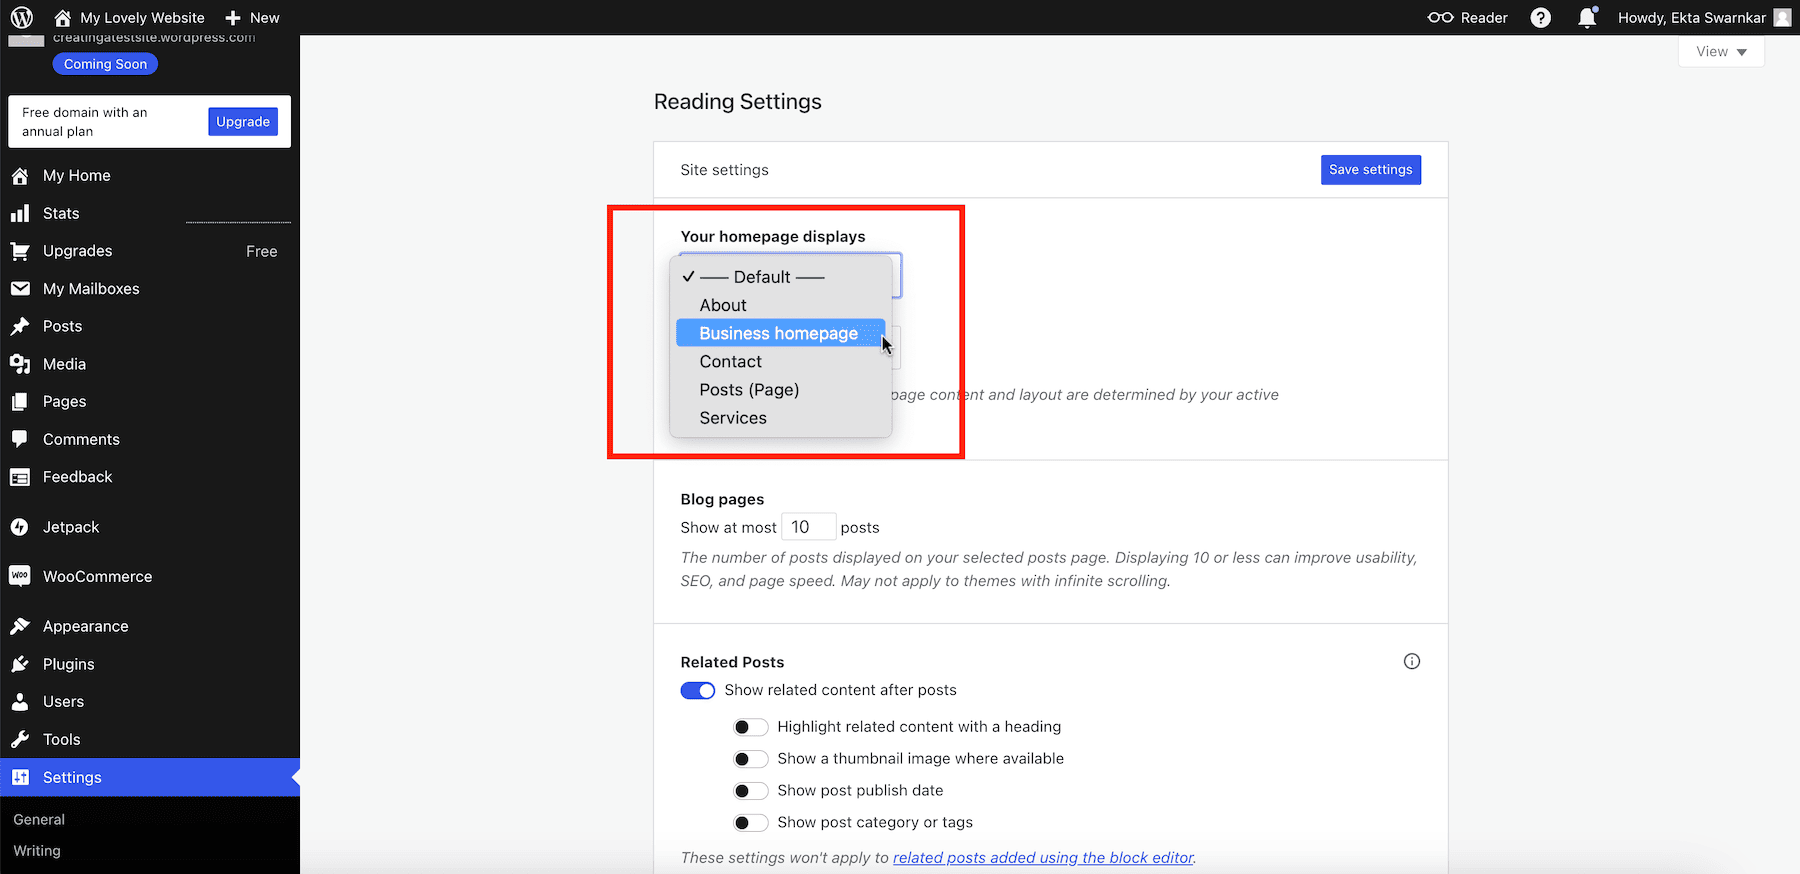
Changing Home Page
Once you have created a different home page, go to Settings > Reading. Now, choose the page you want to display as your home page from the drop-down menu.
Similarly, you’ll create a new page to display the blog post listing page by choosing the Posts template. Then, choose your posts page and Save Settings.
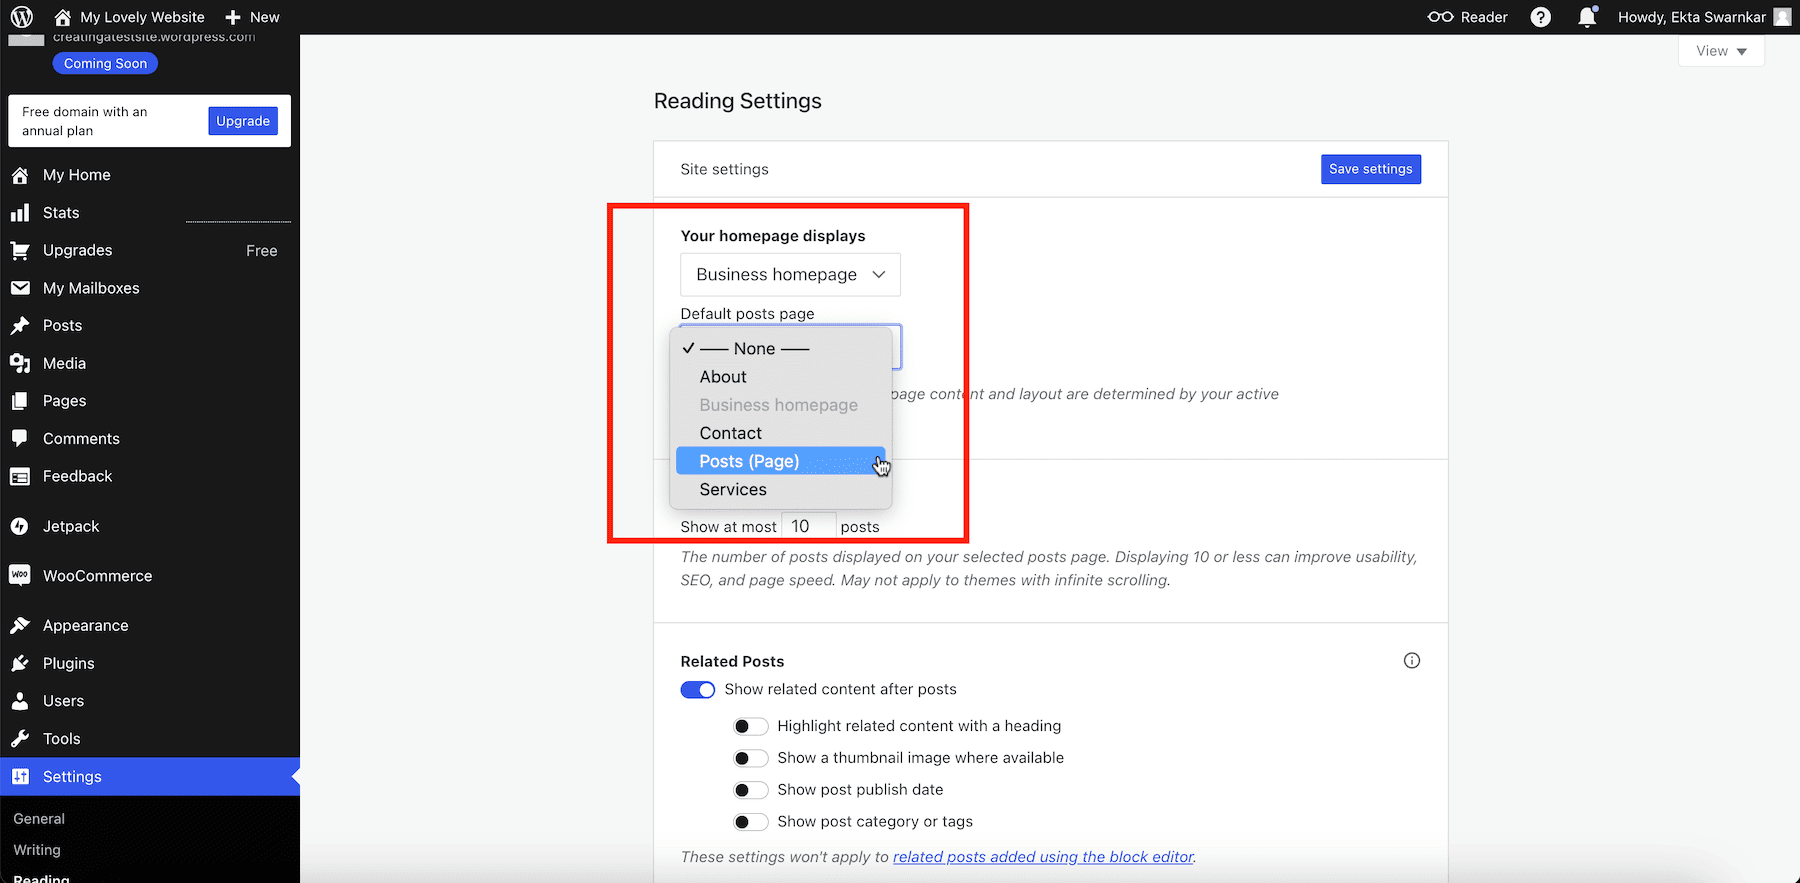
When you review your domain, it points to your new home page. You can add a Blog to the menu item by editing your Navigation to point to your default blog post listing page.
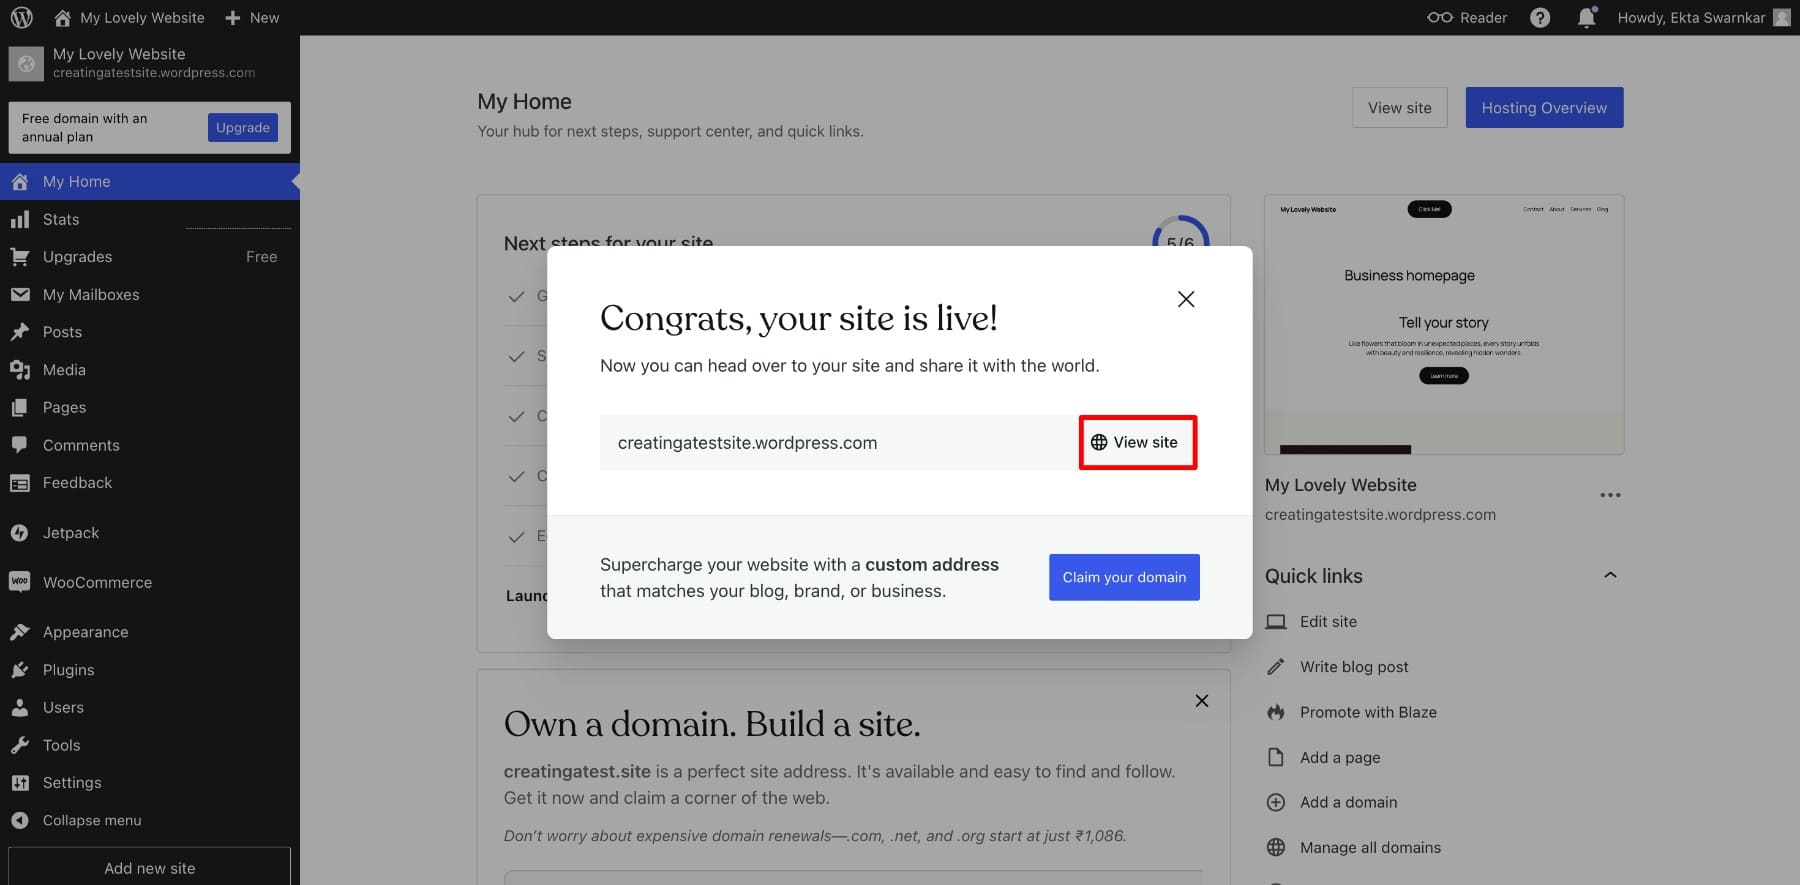
Once you’re satisfied with your site, it’s time to launch it. Go to your home screen to see that you’ve checked all the items off the checklist. The only remaining option is to Launch Your Site. Click.
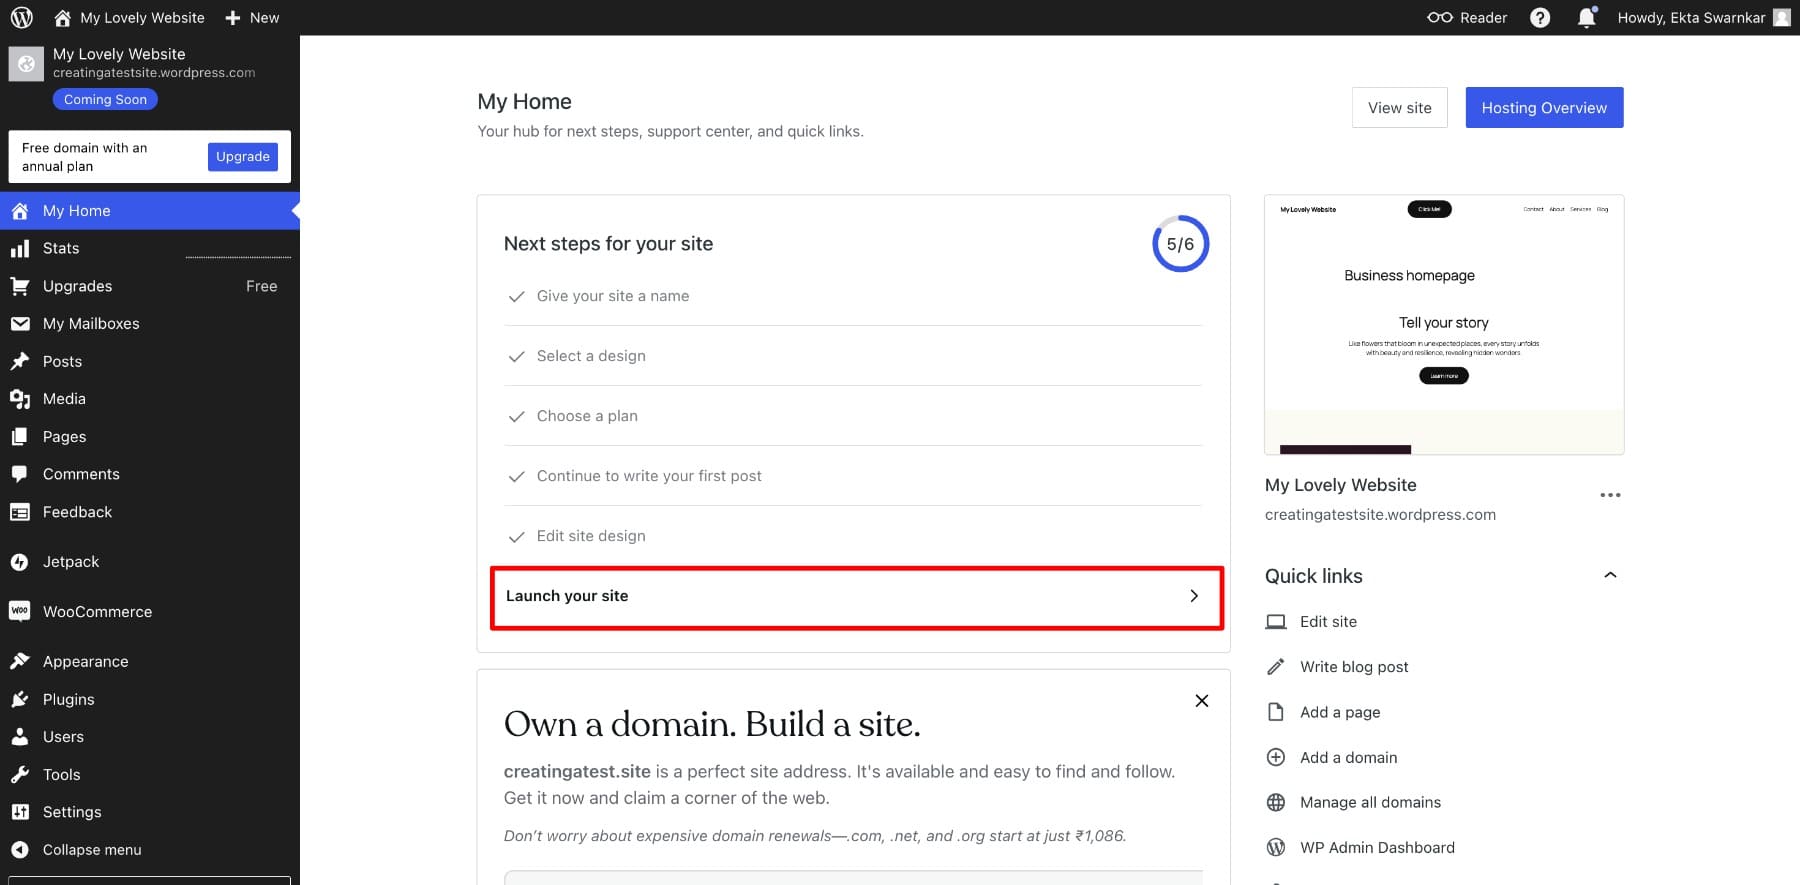
Congrats! Your WordPress site is live. Click on View Site to view it.
You can also enhance the functionality of your site using plugins (add-ons that let you add specific features or capabilities without needing to write any code), but that’s only possible with premium plans. When you’re ready to upgrade your site, use this list to identify essential plugins to install.
Should You Stick With Free or Upgrade?
The free WordPress site is a great starting point, especially if you’re building it for personal use or experimentation. However, if you’re creating a site for your business or professional goals, you may quickly encounter flexibility, control, and customization limitations. That’s when upgrading to premium tools becomes essential to unlock the full potential of your website. But the ultimate choice depends on you.
To help you decide, we created a detailed comparison of what you get with a free WordPress.com site, what you’ll end up paying for upgraded plans, and how it compares to building a professional website with WordPress.org, Divi, and Siteground:
| Feature | Free WordPress.com | Upgraded WordPress.com | WordPress.org + Divi + Siteground |
|---|---|---|---|
| Custom Domain | No | Yes (free for one year, then $12/year) | Yes (free for one year, then $12/year) |
| WordPress Ads | Displayed on your site | Removed | None |
| Plugin Support | No | Limited (only available with the Business plan or higher) | Yes, full access to all plugins |
| Themes | Limited Free Themes | Access to premium themes | Full access to free/premium themes, including Divi |
| Customization | Very Limited | Improved (with restrictions) | Unlimited flexibility to customize every element |
| Security Features | Basic | Better (managed by WordPress.com) | Advanced security, fully customizable with Siteground tools |
| E-commerce Tools | Not Available | Only with WooCommerce plan ($45/month) | Full control with WooCommerce or similar plugins |
| Flexibility | Highly restricted | Limited | Unlimited, can adapt to any website needs |
| Storage Space | 1 GB | Depends on plan (up to 200 GB) | Depends on hosting plan (usually starts at 10 GB) |
| SEO Tools | Basic | Advanced (only with Business plans, includes Google Analytics integration) | Full access to SEO plugins like RankMath |
| Control Over Site | Minimal | Limited | Full control (design, hosting, backups, etc.) |
| Cost (Approx.) | Free | $48–$300/year depending on the plan | ~$150/year for hosting + Divi ($89/yr or $249 one-time fee) |
Take Full Control of Your WordPress Website with Divi
For businesses and professional sites, we recommend building your website with WordPress and our powerful website builder, Divi, to unlock its full potential. This combination allows you to get a new site up in minutes and offers all the customization options and flexibility you need to build any site you want.
Divi, one of the most popular WordPress themes, enhances this experience by offering:
- Premade Starter Sites and Layouts to help generate your entire site in minutes.
- A drag-and-drop visual builder that makes designing intuitive and code-free.
- Unlimited customization options to tailor layouts, colors, animations, and more.
- Professionally designed templates to help you create stunning websites faster.
Whether you’re creating a blog, business site, or online store, WordPress.org and Divi empower you to build a professional, scalable website that aligns with your vision.
Since you’ll need a domain and hosting provider, Siteground can handle all that for you at an affordable price, including your WordPress installation.
Start building your site with Divi today!


Leave A Reply