Adding contact forms to your WordPress site enables users to reach out with queries and business proposals. However, if you’re not using a Customer Relationship Management (CRM) solution, you may be losing out on potential leads. Fortunately, you can easily pair your contact forms with a CRM using Contact Form 7 and Zoho, keeping your website light, while properly nurturing leads that come to your website.
In this post, we’ll look at the benefits of integrating Contact Form 7 with Zoho. Then, we’ll show you how to do it in three easy steps. Let’s get started!
The Benefits of Integrating Contact Form 7 with Zoho CRM
Contact Form 7 is one of the best WordPress contact form plugins. It enables you to build a variety of customized forms for your site:
With Contact Form 7, you can enter your business email address as the sender and reply to your messages using your favorite email client. This setup will help you project a more professional image for your company. Divi also integrates with Contact Form 7 for more design control.
To get the most out of Contact Form 7, you might consider using it with Zoho. This is a powerful CRM tool that helps you generate leads and manage your contacts more effectively:
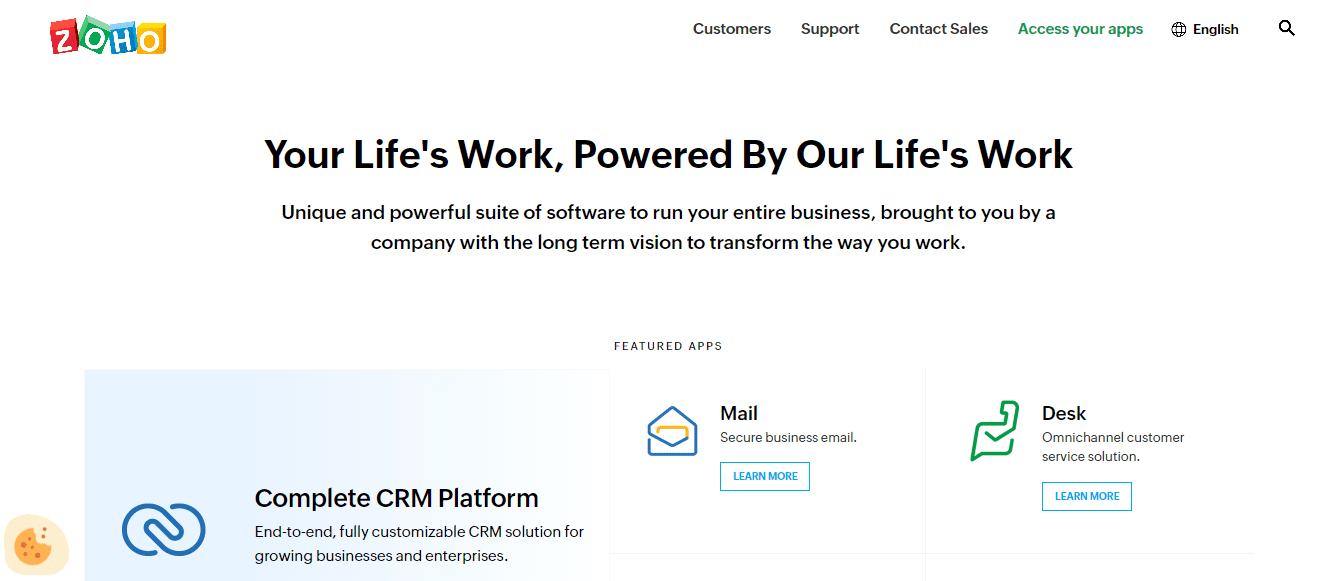
Integrating Contact Form 7 with Zoho lets you synchronize your user data and organize your leads using the CRM tool. For instance, you can sort your contacts into recently created leads, converted leads, and more.
This integration can be beneficial if you run a remote team. Once a message comes in through your contact form, you can assign that lead to the appropriate employee or department. Zoho facilitates team collaboration so your company can deliver better customer service and drive more conversions.
How to Integrate Contact Form 7 with Zoho CRM (In 3 Steps)
Unfortunately, Contact Form 7 doesn’t natively support integration with Zoho CRM. However, you can use a plugin such as Integration for Contact Form 7 and Zoho CRM to connect these two tools:

This plugin lets you send messages submitted through Contact Form 7 to your Zoho account. Fortunately, it’s also very easy to set up.
For this tutorial, you’ll need to have both Contact Form 7 and Integration for Contact Form 7 and Zoho CRM installed and activated on your site. You’ll also need to create a Zoho account (you can get started for free).
Once you’re logged in, you’ll be asked to select a product. Make sure to choose CRM.
Step 1: Add Your Zoho Account in WordPress
Once you add Integration for Contact Form 7 and Zoho CRM to your site, you’ll see a new menu item in your dashboard called Zoho. Click on it and navigate to the Zoho Accounts tab:
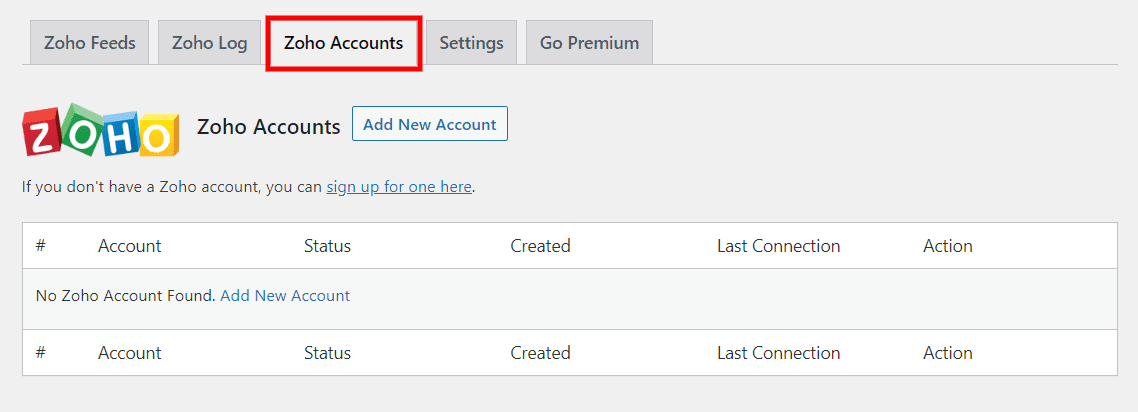
Then, select Add New Account. You’ll be asked to provide some information about your Zoho account, including the account name, data center, and type of Zoho Service (we’re using Zoho CRM):
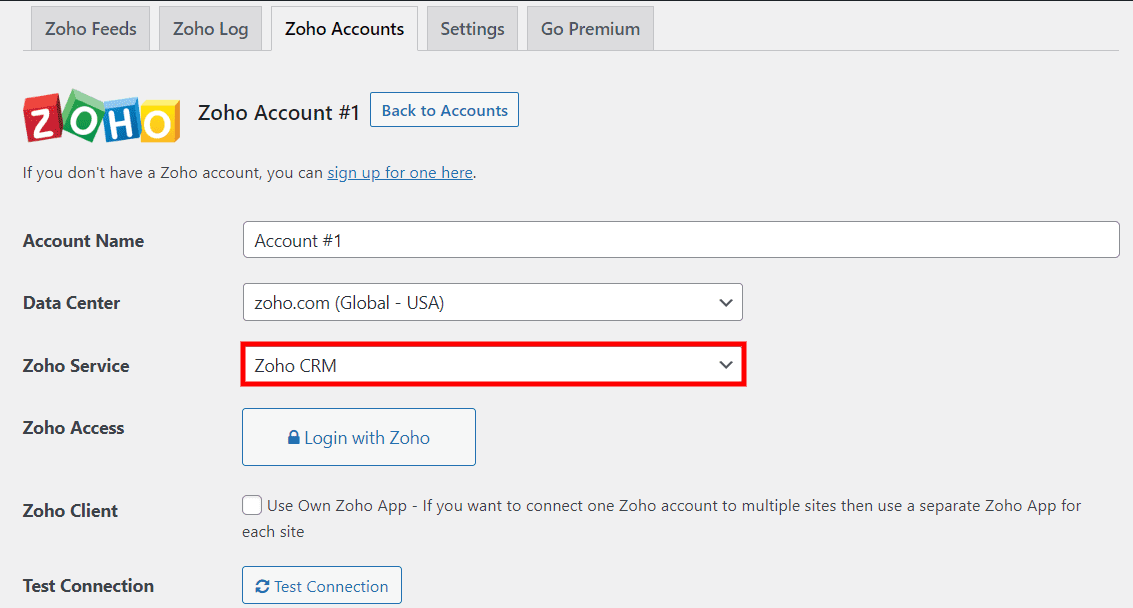
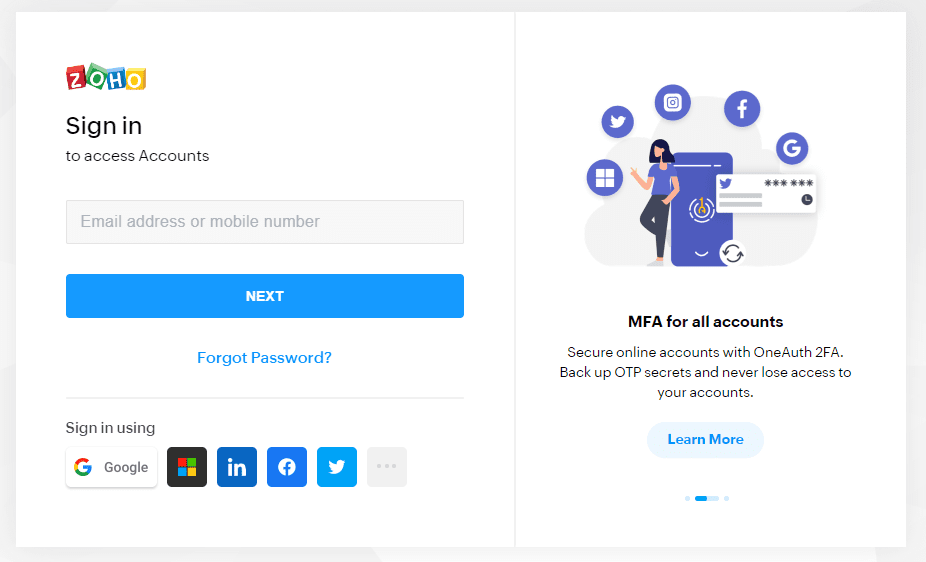
If you click on the Login with Zoho button, you can simply sign in to your account:
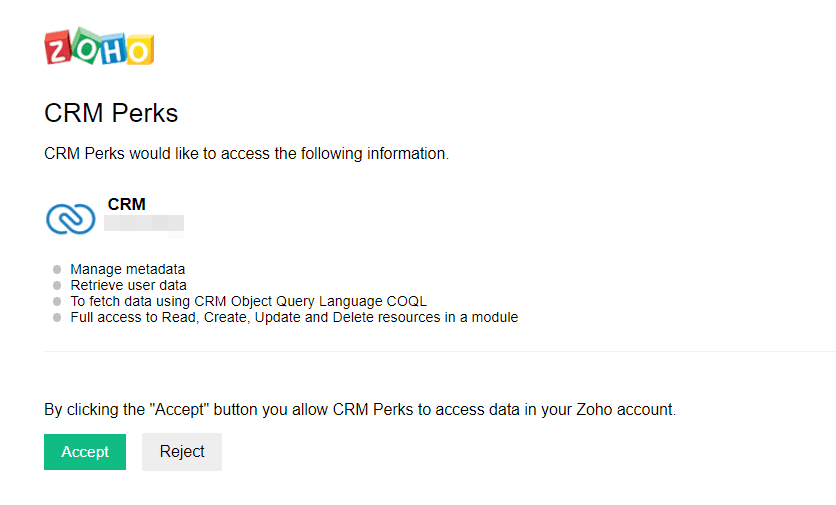
Zoho CRM will then ask for access to your user data. Go ahead and click on Accept:
You’ll then be redirected to your WordPress dashboard, where you’ll see a success message:
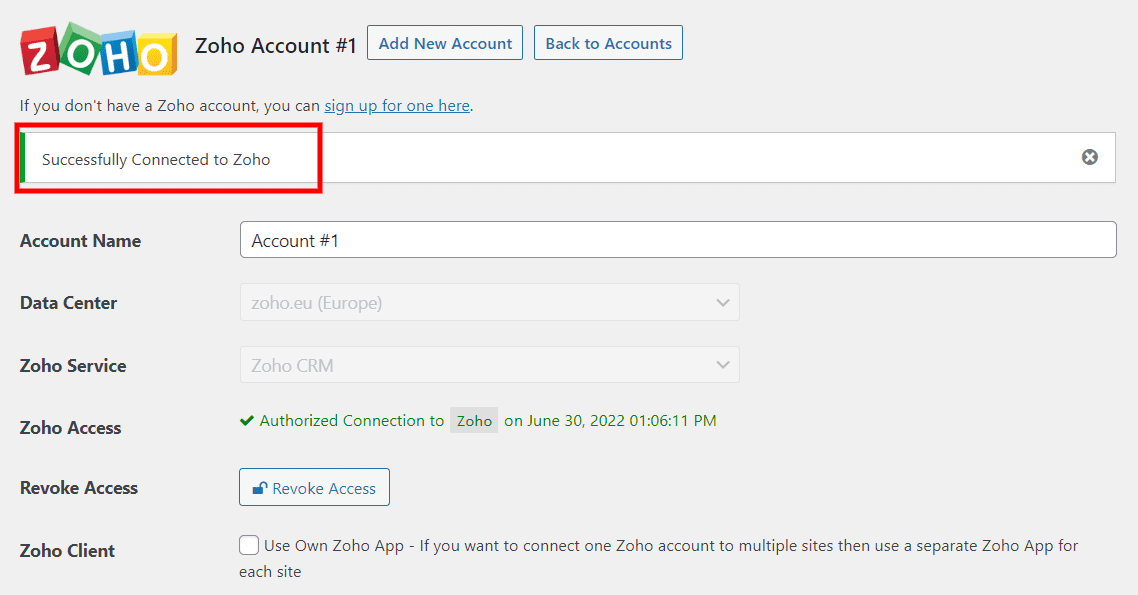
If you get an invalid_code error, make sure that you’ve selected the right data center. For instance, if you’re based in Europe, you’ll need to choose zoho.eu. Then, save your changes and try again.
Step 2: Create a Zoho Feed
Next, you’ll need to create a Zoho feed. In other words, you’ll be connecting your Zoho account with a contact form.
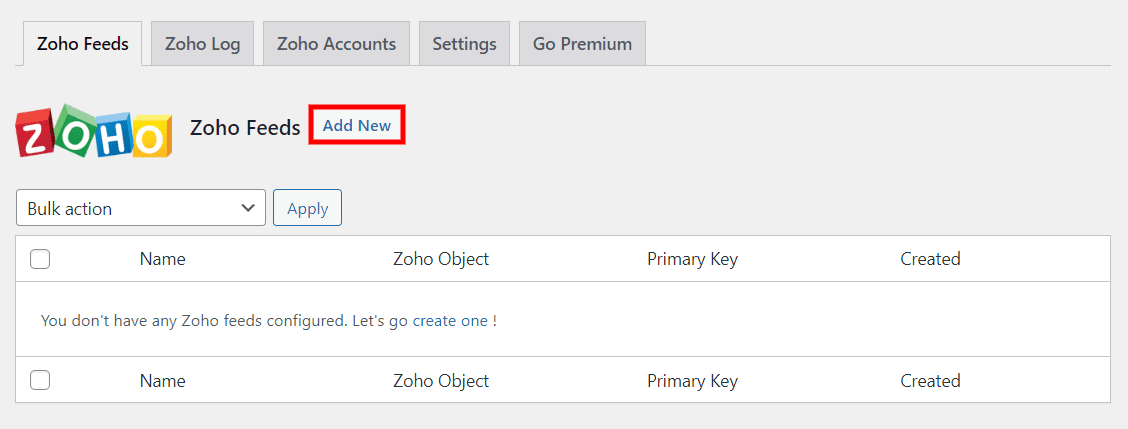
In your WordPress dashboard, navigate to Zoho > Zoho Feeds and select Add New:
Next, you’ll need to enter a name for your feed and choose a Zoho account. You’ll also have to select a contact form:
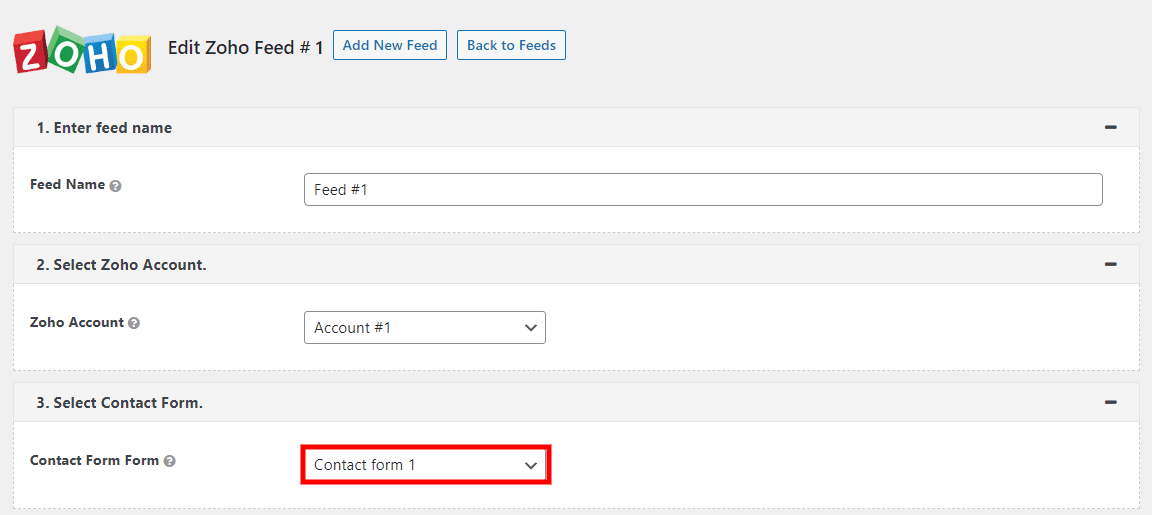
Once you choose a form, the plugin will ask you to select a Zoho Object from the menu. An Object is a specific area of your CRM, including meetings, accounts, calls, projects, and more. For this tutorial, you can select Leads:

Then, you’ll need to link your form fields with the fields corresponding to your Zoho leads. This connection will enable the plugin to synchronize your data.
For example, here’s what your leads page might look like in your Zoho account:
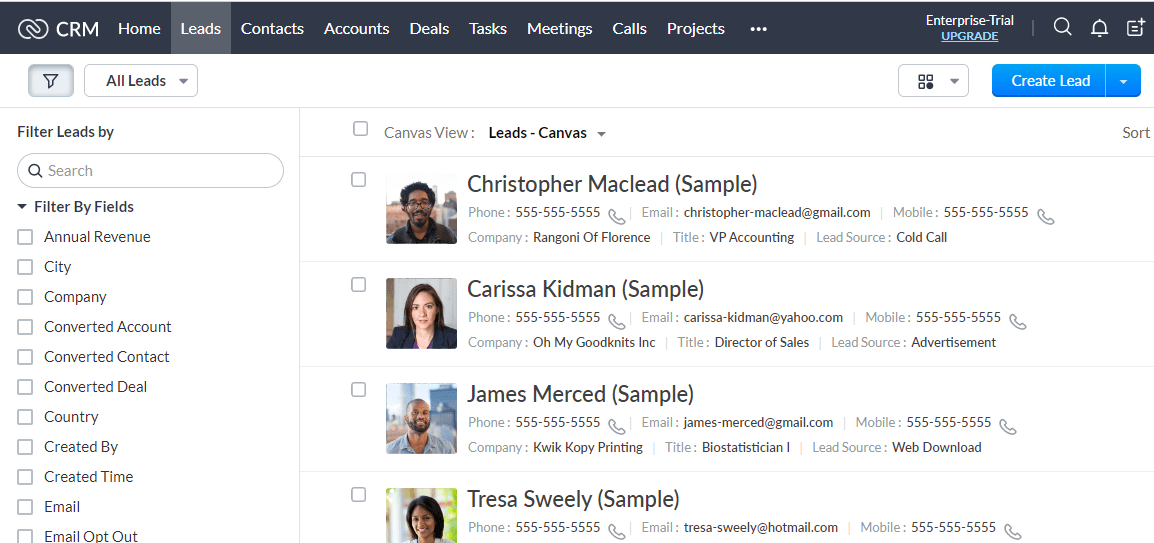
On the left-hand side of the screen, you’ll see a list of fields you can use to filter your leads. You can connect some of these fields to the ones in your site’s contact form.
For instance, you can select the Email field in your Zoho account and pair it with the Your Email field in your contact form:
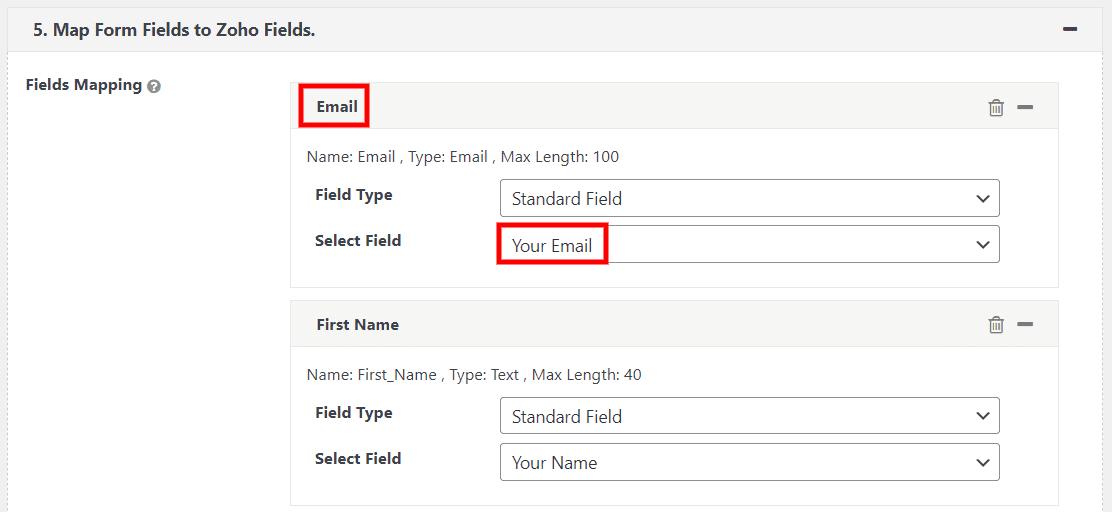
This way, when a user enters their email address into the contact form on your site, the information will appear in the appropriate field on your Zoho Leads page. You can map as many fields as you want.
You also have the option to only export manually approved entries to Zoho. Additionally, you can set an opt-in condition so that only entries that meet a particular criterion are exported:

Finally, you can configure some additional settings, such as setting a primary key:
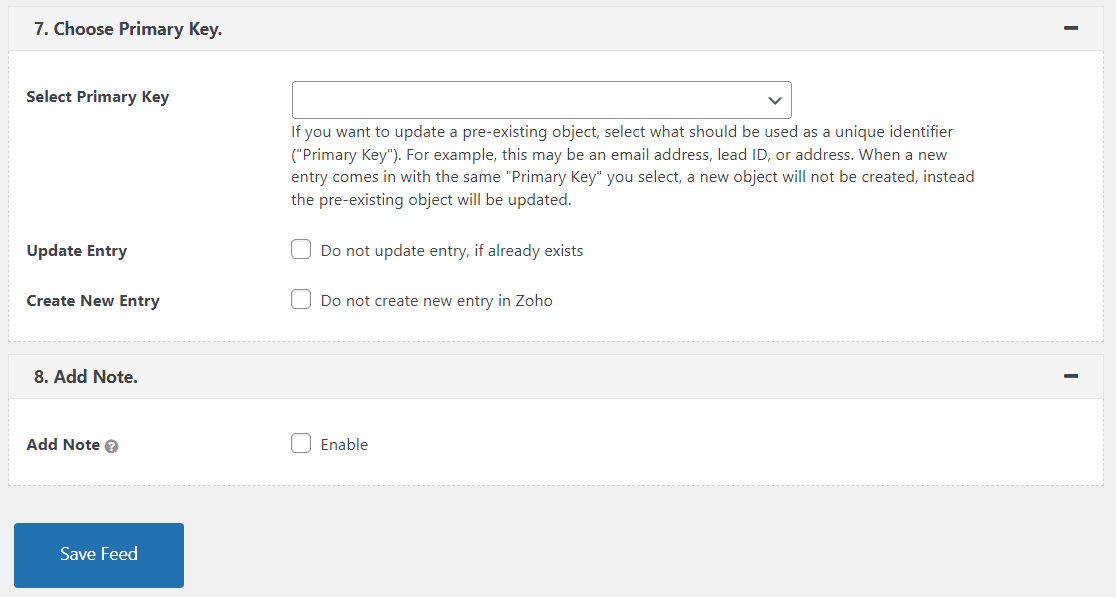
When you’re ready, click on Save Feed. Contact Form 7 is now fully integrated with Zoho.
Step 3: Test your Contact Form 7 and Zoho Integration
Finally, it’s time to run a quick test to ensure everything is working correctly. Firstly, you’ll need to navigate to your contact form on the front end and submit an entry.
Then, in your WordPress dashboard, go to Zoho > Zoho Log to see if your entry was registered in the CRM:
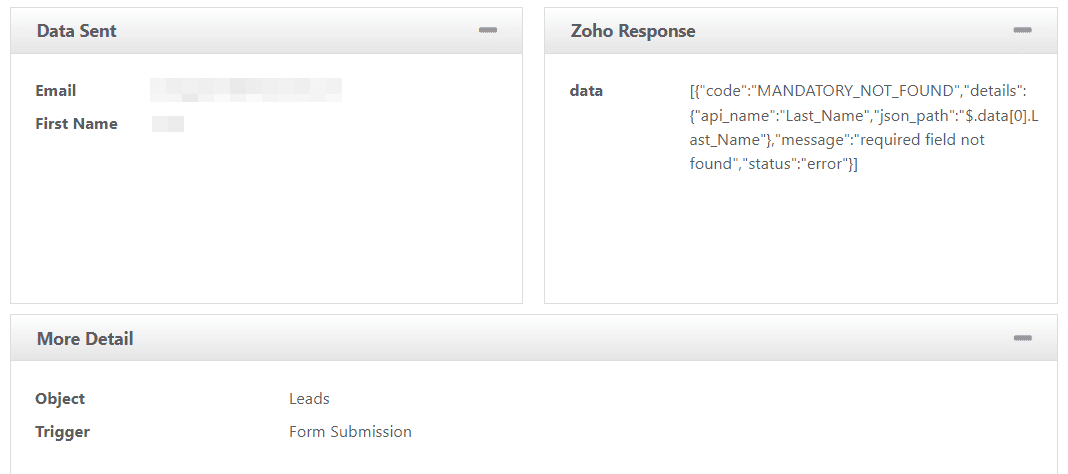
Here, you’ll be able to view the fields you mapped in the previous step. That’s it — you can now start generating leads with Contact Form 7 and Zoho CRM!
Conclusion
A CRM tool such as Zoho enables you to manage any leads that come through your WordPress website. If you use Contact Form 7, you can simply integrate your forms with Zoho using the Integration for Contact Form 7 and Zoho CRM plugin.
In this post, we showed you how to integrate these two powerful tools:
- Add your Zoho account in WordPress.
- Create a Zoho feed.
- Test your integration.
Do you have any questions about integrating Contact Form 7 with Zoho CRM? Let us know in the comments section below!





Hi Will,
I have been using Contact form 7 and Zoho for a Long time but I did not know how to integrate them. So, thanks for this amazing post.
I really appreciate the article.
Thanks.