


There are two safe ways to use SVG images in WordPress. You can enable SVG uploads with a plugin that cleans each file as it arrives, then switch the plugin off once you finish uploading. Or, on a Divi site, you can skip uploads and paste the SVG’s code into the Divi 5 SVG module, which leaves WordPress’s upload settings untouched.
I paste wherever I can and enable uploads only for the length of a task. Both routes are below, along with where to find SVGs licensed for client work and how to prepare one before it goes on a page.
- 1 What An SVG Is And When To Use One
- 2 Why WordPress Blocks SVG Uploads
- 3 How To Paste An SVG Into Divi’s SVG Module
- 4 Where To Find SVGs Licensed For Client Work
- 5 Prepare The File Before You Paste It
- 6 Generate An SVG With An AI Assistant
- 7 Reuse A Pasted SVG On Other Pages
- 8 How To Upload SVG Files To WordPress Safely
What An SVG Is And When To Use One
SVG stands for Scalable Vector Graphics, and an SVG is a vector file. A JPEG or PNG stores a grid of colored pixels. An SVG stores instructions for drawing shapes: points, lines, curves and fills. Open an SVG in a text editor, and you read XML markup rather than binary data.
Because the browser draws the shapes at whatever size the page needs, an SVG stays sharp on a phone and on a large monitor from the same small file. That makes it the right format for logos, icons, dividers, decorative shapes, and simple illustrations.
It is the wrong format for photographs and detailed artwork. A photo would need so many shapes to describe that the SVG would be far larger than the equivalent JPEG. Use the Image module for those.
Why WordPress Blocks SVG Uploads
An SVG is a document, and XML can carry more than shapes: script elements, event-handler attributes that run code when the image loads or a visitor clicks it, and references to external files. A JPEG or PNG carries none of that. So WordPress core leaves SVG out of its default upload types, and an SVG upload fails with the message “Sorry, you are not allowed to upload this file type.” Core ticket #24251, which proposes adding SVG to the allowed types, is still awaiting review.
Two things add the file type, and they differ in what happens next. A code snippet that hooks the upload_mimes filter registers the type and does nothing else. Elegant Themes’ upload guide provides that snippet and states that it does not sanitize files. A plugin such as Safe SVG registers the type and also cleans each file on upload with an SVG sanitizer. It limits SVG uploads to the users you choose and displays SVG previews in the Media Library. Its README notes that sanitization cannot be guaranteed for upload paths defined by other plugins.
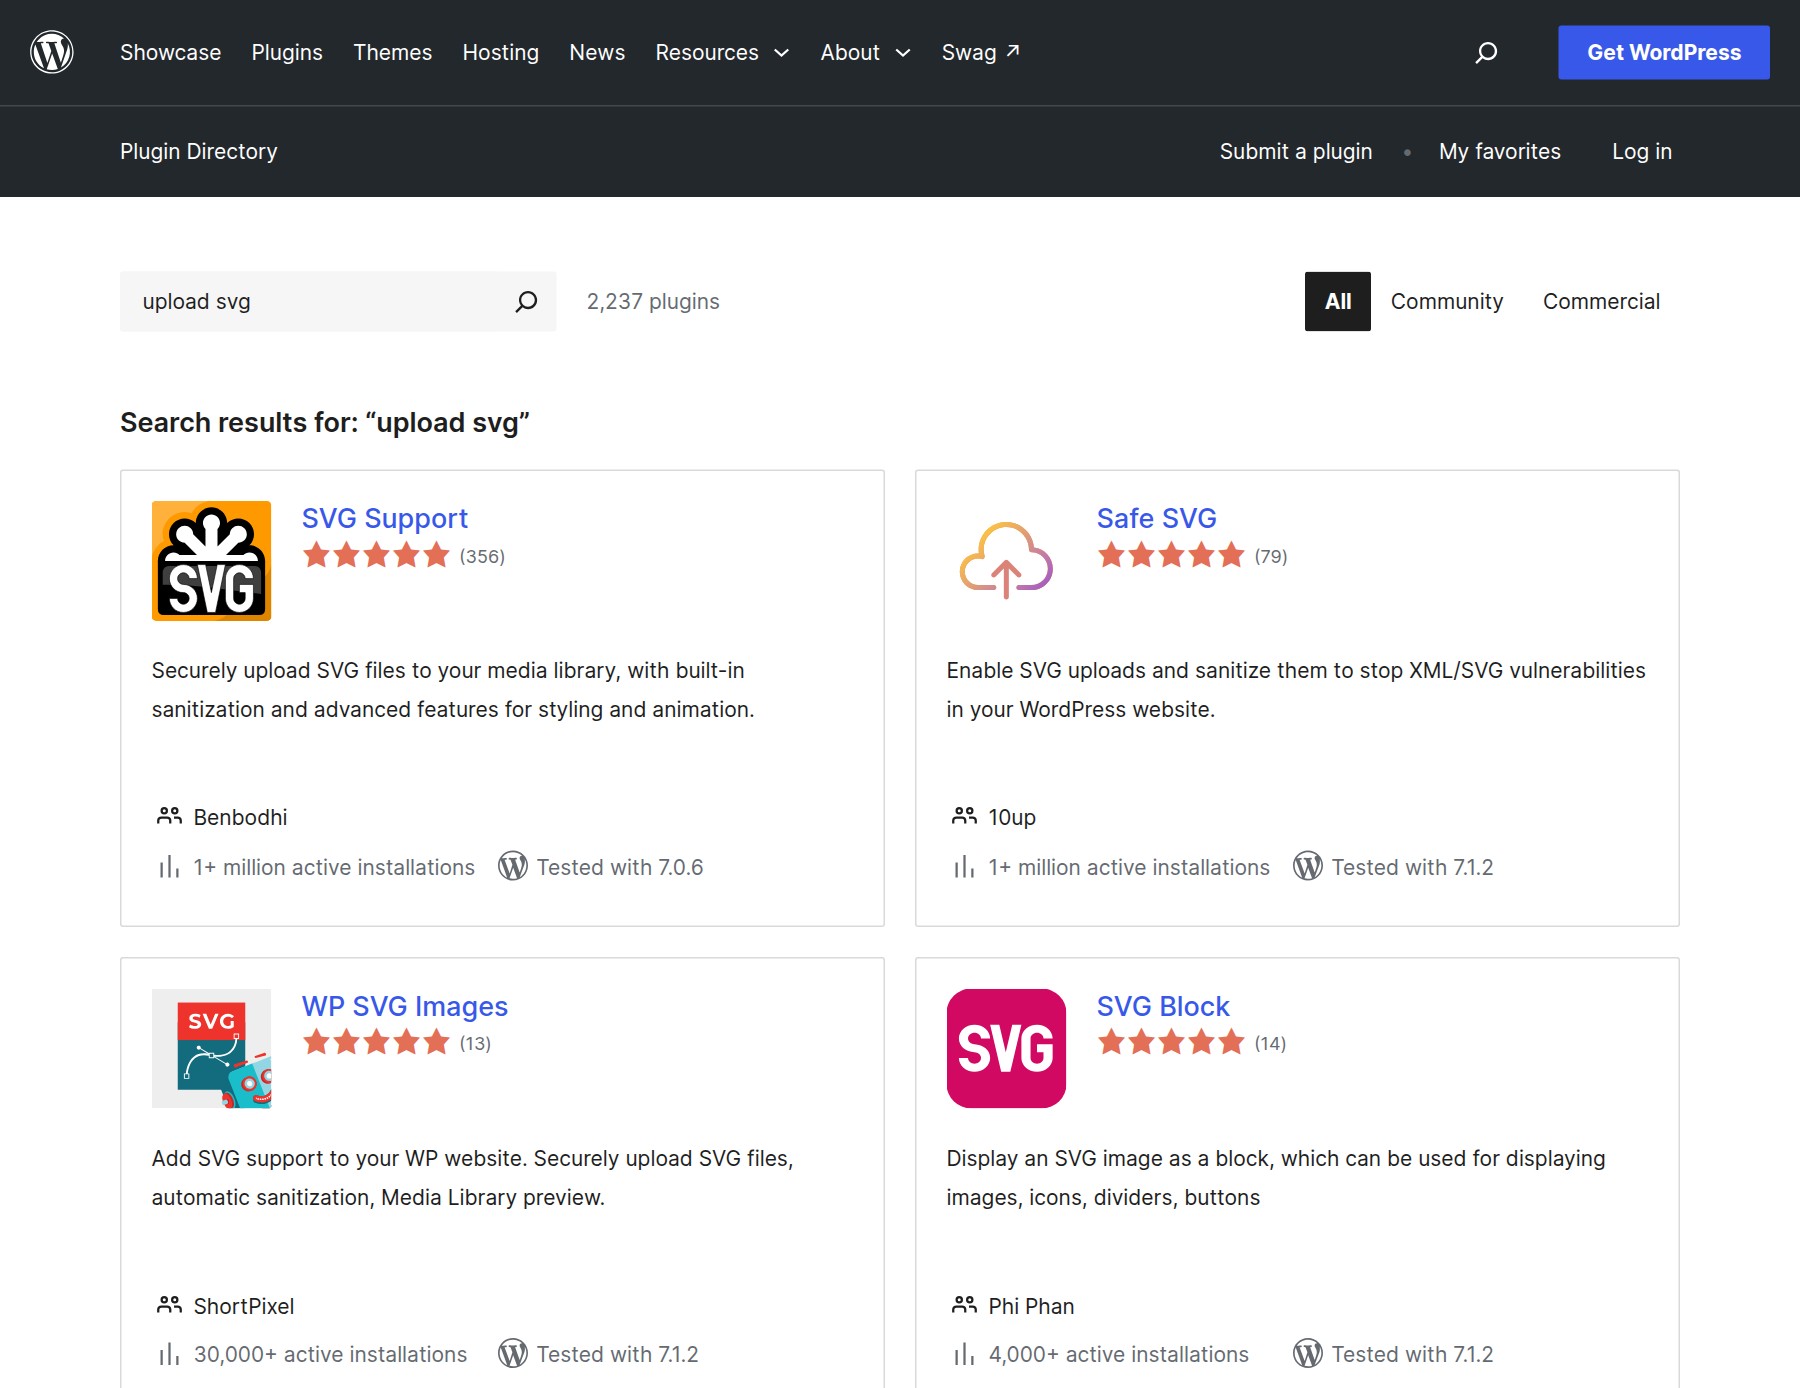
Searching the WordPress plugin directory for “upload svg” returns more than 2,000 plugins. SVG Support and Safe SVG lead the results, each with more than a million active installations.
With a snippet, you are the sanitizer, so it suits files you made or received from a source you trust. A sanitizing plugin suits files from anywhere else.
Either one changes the site for as long as it stays active, and it has to keep working through every WordPress update. I activate a snippet or a plugin when I have SVGs to upload, upload them, and deactivate it. I have not worked with a client who needed to upload SVGs day to day, so nothing has needed it left on.
How To Paste An SVG Into Divi’s SVG Module
The SVG module’s SVG Source setting offers two options. SVG Code takes pasted markup and works on any Divi site. Uploaded SVG uses a file from the Media Library and works only while SVG uploads are enabled.
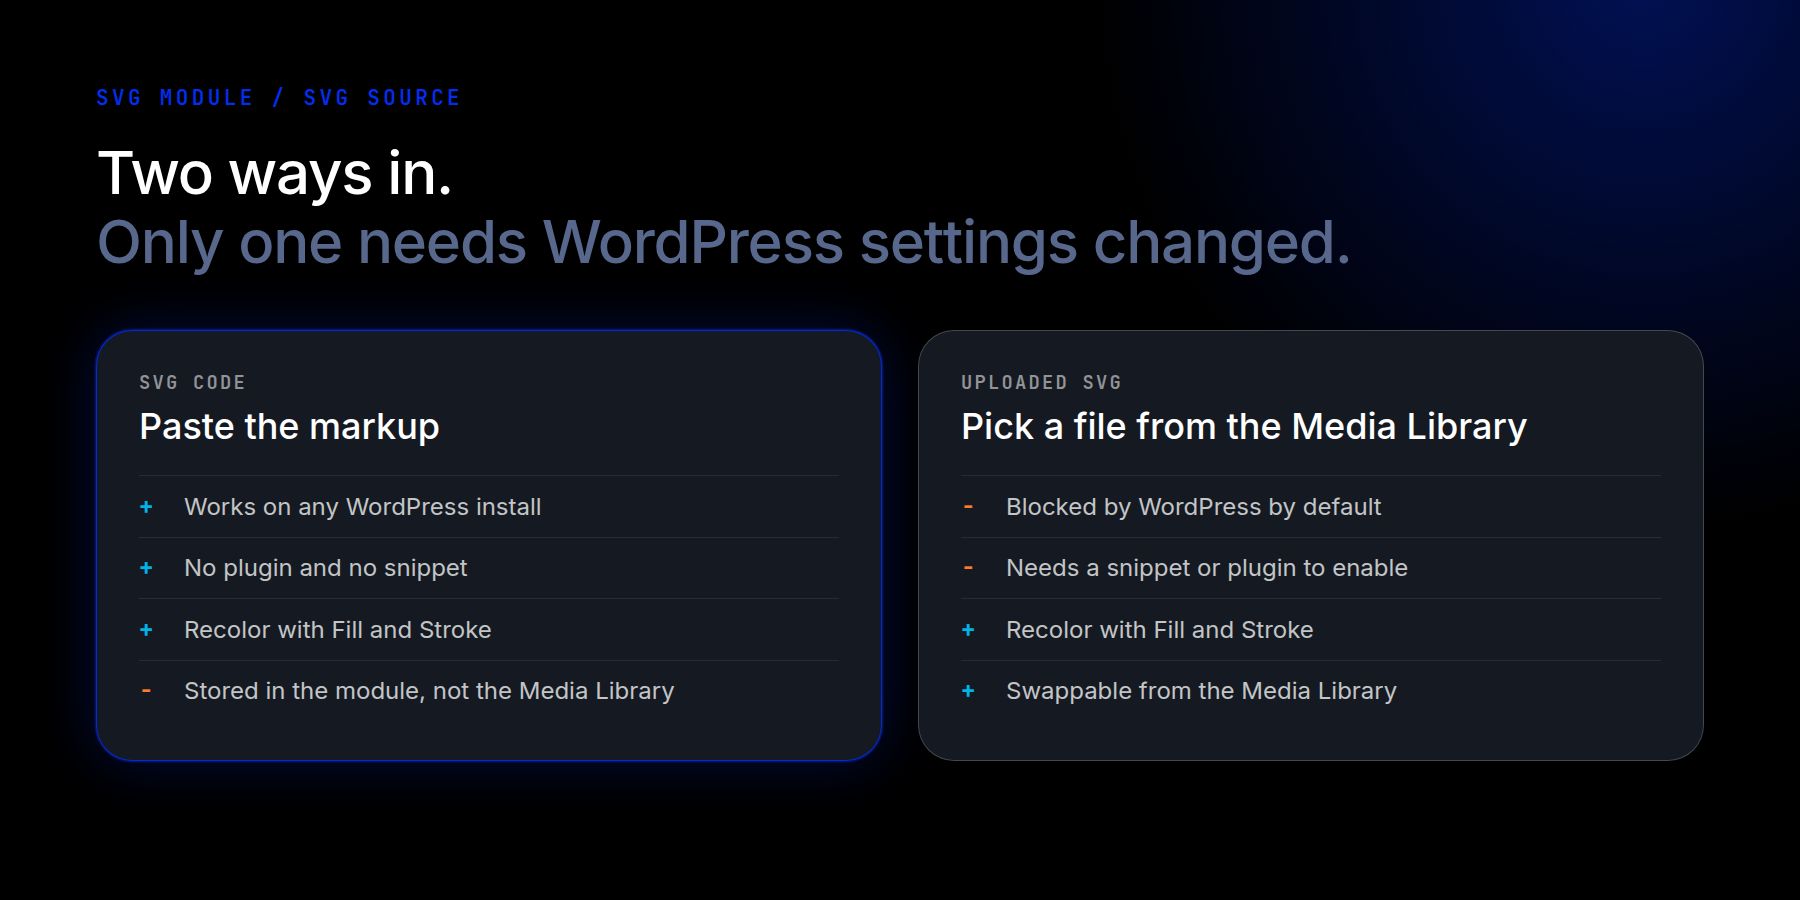
To use the first option, open the SVG file in a text editor and copy everything from the opening <svg> tag through the closing </svg> tag. Icon libraries and design tools also offer a copy-as-SVG action that puts the same markup on the clipboard.
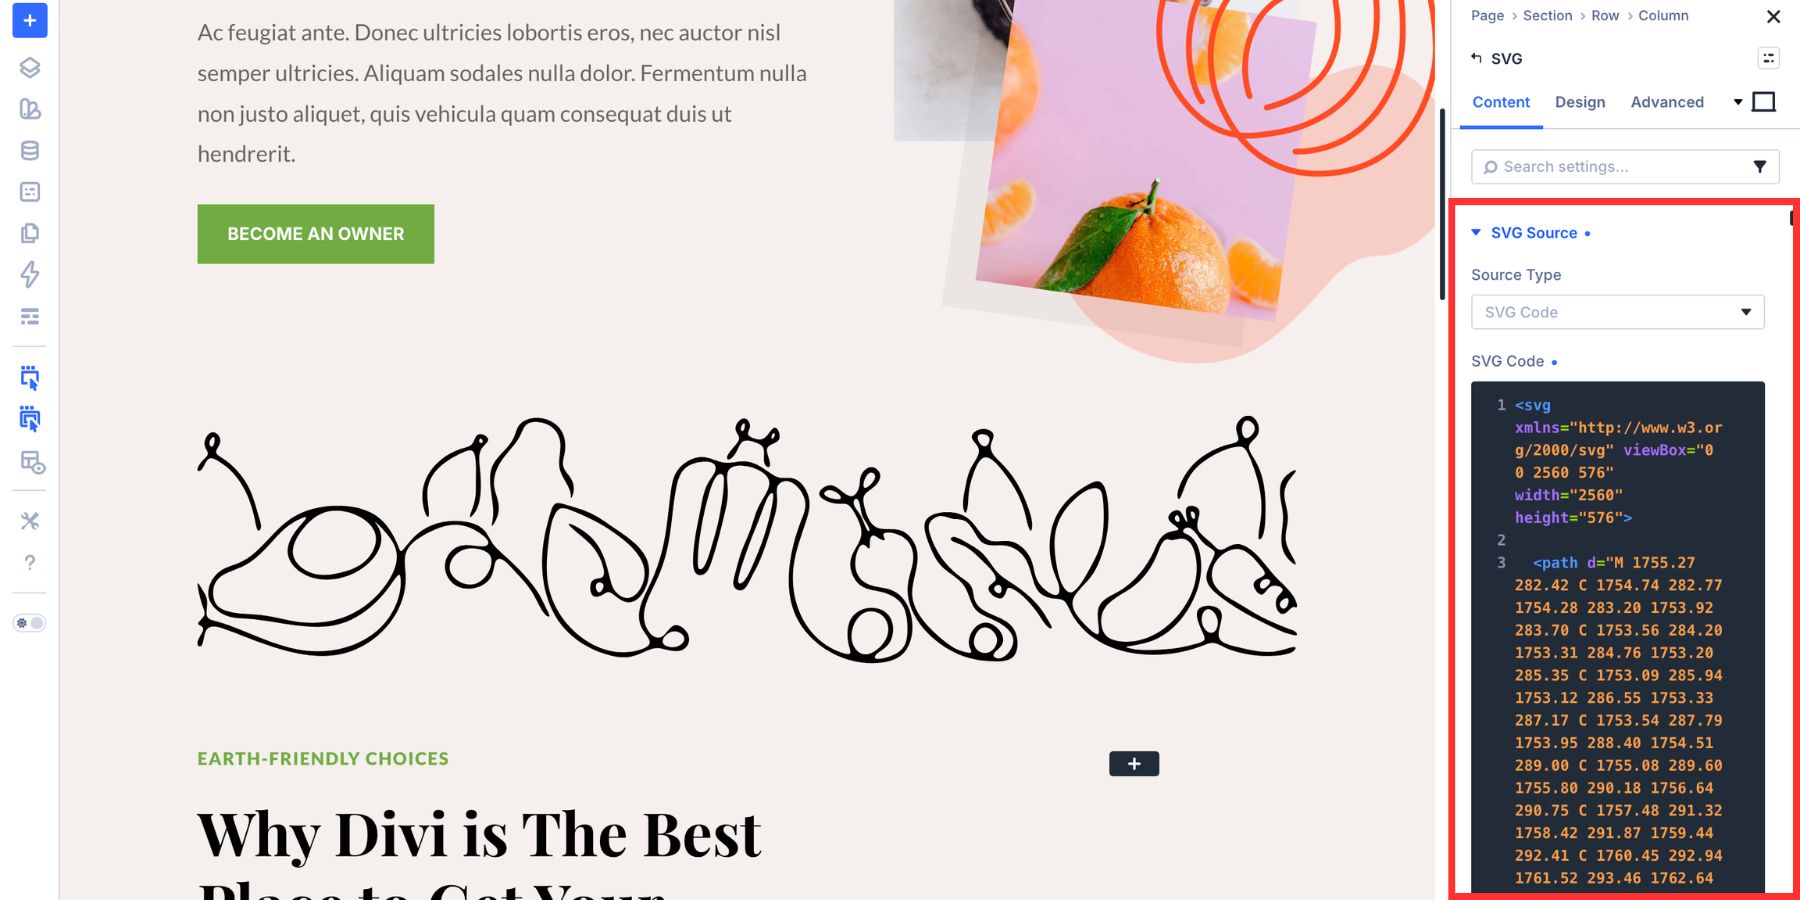
Click the Gray Plus icon inside a Row and add the SVG module. In the Content tab, open SVG Source, choose SVG Code, and paste the markup. The markup must be a complete <svg> element, because broken or partial markup does not render. Enter a Title when the graphic carries meaning, such as a logo. The title is read by screen readers and appears as a tooltip on hover.
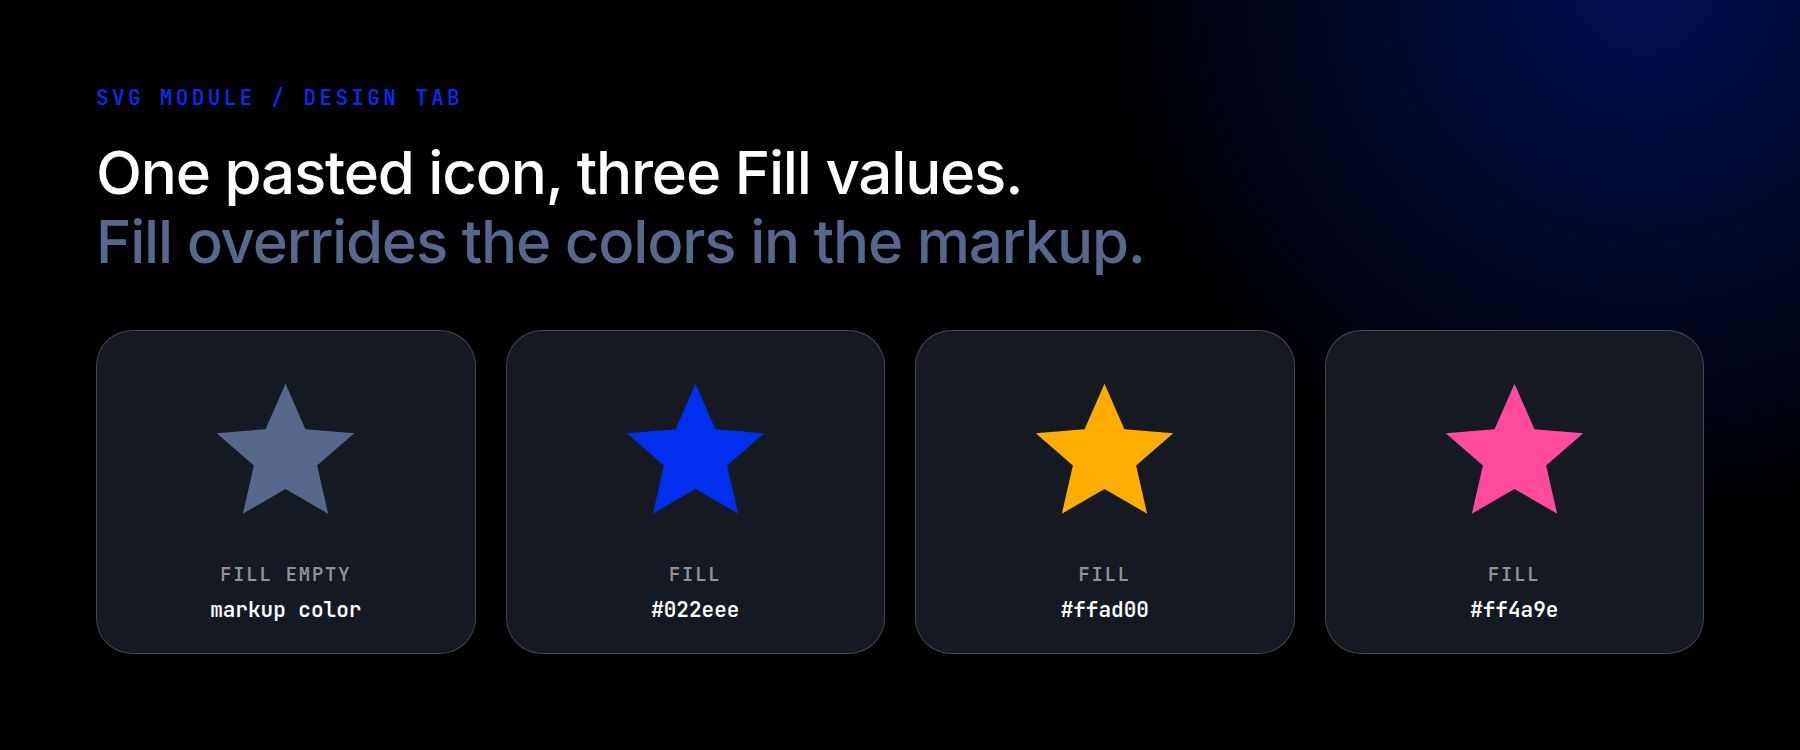
Open the Design tab. Fill sets the fill color and overrides any fill defined in the markup. Stroke sets the stroke color, width, and style. Leave Fill empty when the artwork depends on the colors in its own markup.
The module’s Animation settings add entrance effects such as fade, slide, and zoom, with no CSS required. For motion inside the graphic itself, a tool such as SVGator builds the animation into the SVG’s own code. Those settings, along with Sizing, Filters, and Transform, are covered in the SVG module guide.
Where To Find SVGs Licensed For Client Work
A license decides what you owe once the SVG is on the page. The list below covers common sources and what each license asks. Check the source’s license page before relying on an entry, since licenses change. Lucide, for example, removed all of its brand icons in version 1.0 and now points users to Simple Icons.
- Interface icons, MIT: Heroicons, Feather, Tabler Icons, Phosphor Icons and Bootstrap Icons. Keep the license notice with the files. No credit line on the page.
- Interface icons, ISC: Lucide. The same terms as MIT in practice.
- Brand and product logos, CC0: Simple Icons. Nothing is owed for the artwork, but the logos remain trademarks of their owners.
- Interface and brand icons, CC BY 4.0: Font Awesome Free. Attribution is required.
- Icons for nearly any subject, CC BY 3.0: Noun Project free downloads. Attribution to the creator is required, and a paid license removes it.
- Placeholder logos: Logoipsum. Commercial use is allowed and attribution is optional, but unaltered logos are for mockups only.
- Illustrations: unDraw. Free for commercial use with no credit. Redistributing the files in packs is not allowed.
MIT and ISC licenses require the license notice to remain with the files, but they do not require a credit line on the page. Pasted markup carries no notice, so record the source and license of each graphic in the site’s handoff notes.
Font Awesome Free and Noun Project free downloads require attribution. Each Font Awesome SVG carries its attribution as a comment inside the <svg> element, so keep that comment when you paste the markup. Simple Icons publishes brand logos as CC0, but the logos remain the trademarks of their owners.
I use Logoipsum for mockups. Its logos are placeholders, and its license does not allow an unaltered logo to serve as a final logo or trademark.
Prepare The File Before You Paste It
Read the markup in a text editor before you paste it. Delete any script element and any event-handler attribute, which is any attribute whose name begins with the letters “on”. Pasted markup becomes code on your page, so apply the same care you would to a plugin you install.
Confirm the <svg> tag has a viewBox attribute. Without one, the graphic cannot scale to the size set in the module.
Give every ID in the file a unique name. When two SVGs on one page both define an ID such as “grad” for a gradient, the browser uses the first definition for both, and the second SVG renders with the wrong colors. Exporters often reuse the same ID names in every file, so prefix each ID with the name of its graphic.
Check the fill values as well. A fill value in the markup shows when Fill is empty, and Fill replaces it when set.
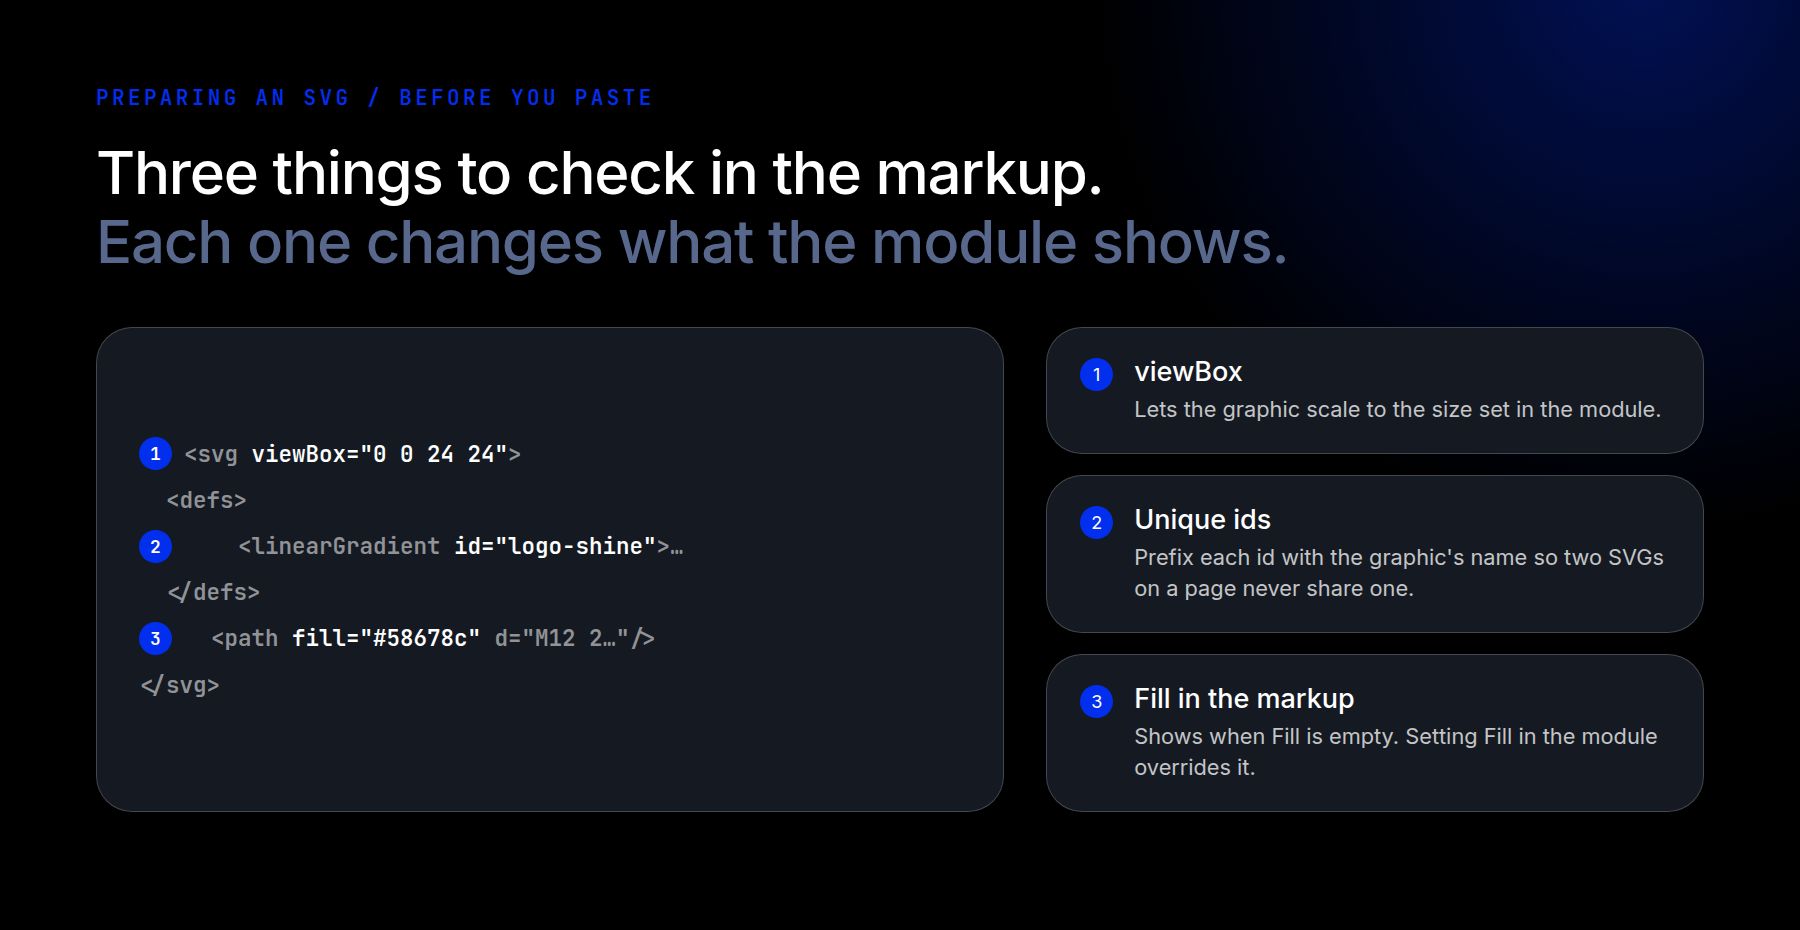
Run the file through an optimizer such as SVGOMG, which the Elegant Themes upload guide recommends, then confirm the viewBox is still there.
Generate An SVG With An AI Assistant
An AI assistant returns SVG as text, the same input that the SVG Code field takes. Ask for a single <svg> element with a viewBox and unique IDs. If you plan to set colors with Fill and Stroke, ask for markup without fill or stroke colors.
Geometric requests work well: icons, marks, arrows, badges, dividers, section shapes, and background patterns. A set of icons remains consistent when the request specifies a single grid, stroke width, and line-end style for all of them. An existing file is also a good input. Ask the assistant to add a missing viewBox, rename duplicate IDs, remove editor metadata, or simplify paths.
Other requests do not work. An assistant writes coordinates without seeing the result, so organic illustrations come out with uneven proportions and curves. It cannot trace a raster logo into a vector. Text remains a <text> element that depends on the font being installed where the file renders, whereas a logo requires its text to be converted to outlines in a vector editor.
Treat each answer as a draft. Paste it into the module, check the preview, describe what is wrong, and ask again.
Reuse A Pasted SVG On Other Pages
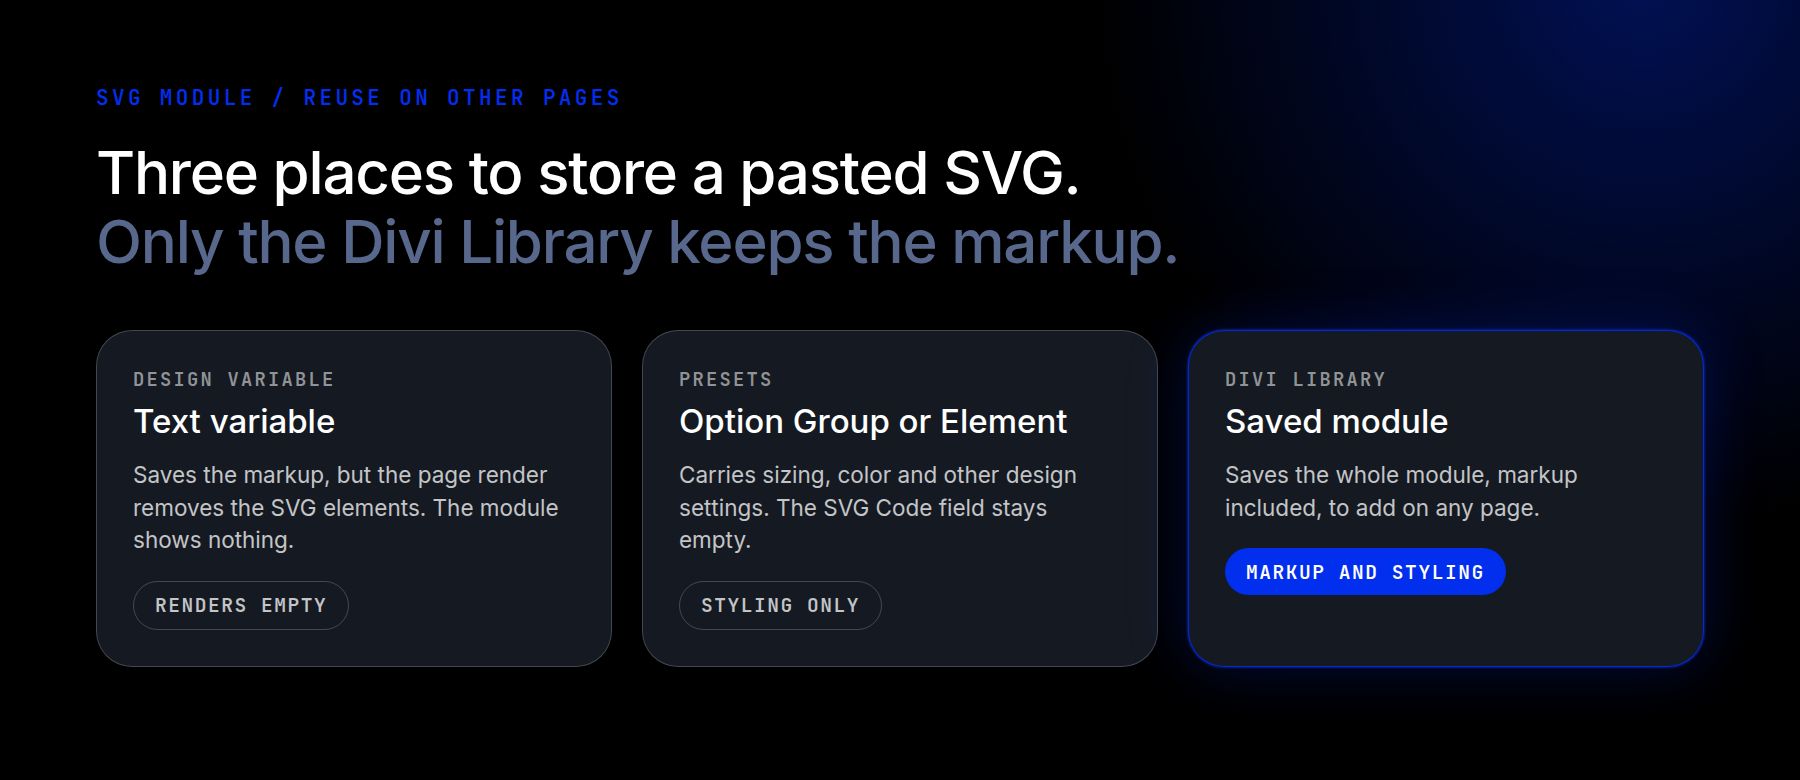
A Text variable holds reusable strings, and the SVG Code field accepts dynamic content, so a Design Variable looks like a place to store markup. It saves the markup unchanged, but the page render passes the value through WordPress’s content filter, which removes SVG elements. The module receives no <svg> element and renders empty, with no error message.
Presets do not carry the markup either. Divi treats the SVG source as the module’s content, while Option Group Presets and Element Presets store design settings. A preset restores the styling on another SVG module and leaves the SVG Code field empty.
The Divi Library saves the module itself. Right-click the SVG module, choose Save To Library, name the item, and click Add to Library. On another page, open Add Module, choose the Add From Library tab, select the item, and click Use This Module. Library items can also be saved as global elements.
Of the three, only the Library keeps the markup, so it is the one to use for a graphic that repeats across pages.
How To Upload SVG Files To WordPress Safely
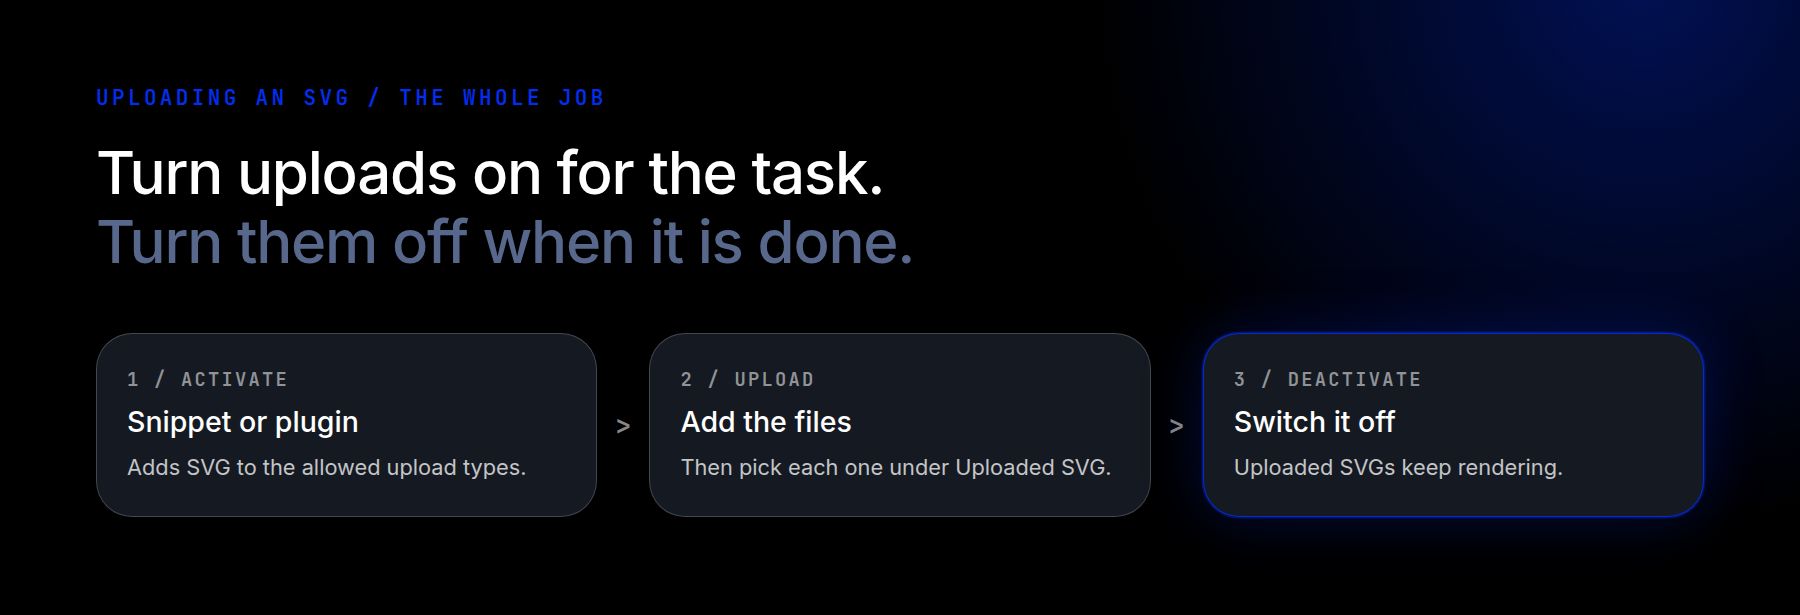
Upload the file when someone who never opens the Visual Builder needs to swap the graphic from the Media Library. Activate the snippet or plugin, upload the file, then choose Uploaded SVG in SVG Source and select it.
Deactivate the snippet or plugin when the uploads are done. The files stay in the Media Library and keep rendering, so reload the front end to confirm.
Then write down what you did. The handoff notes should state whether SVG uploads are enabled, what enables them, and where each graphic came from and under what license. Anyone who works on the site later can then tell a deliberate setting from a leftover one.
Fill and Stroke both accept color variables, which tie every pasted SVG to the site’s palette. Creating Color Variations From Brand Colors In Divi 5 covers how to build that palette.







Hello John Hughes,
Actually, I am trying to add a logo on SVG format but have no idea how to add properly but after going through all the steps you have mentioned now it is easy and safe to do that. And it will save my lots of time also.
So thank you so much for sharing this great tutorial with us which is really helpful for those who are a beginner or no idea about this like me.
You are very welcome Rick I am glad it helped so much!
Your explanation good, I want to know if I use images URL address on my site, does it harmful for the site?
Thank you for your comment Muk, but I’m afraid I don’t understand what you’re asking. Could you possibly rephrase your question?
SVG’s rock! Easy to change colors, animate, and they’re super lightweight. I’m hoping more people start using them.
They’re pretty cool things, and are the future of web graphics. Thanks for your opinion, Jeremiah!
Standards Services is a recruitment firm in nsp We provide the best jobs. We are Hiring fresher or experienced candidates mainly for hr recruiter, bpo jobs in Delhi, Noida, Gurgaon.
I might try the manual way of implementing SVG on my WordPress site. But for now I’ve been using the Safe SVG plugin. I’m even thinking of upgrading to pro.
A great plugin!
Im a big vector fan! Would this also make it easy to implement animated vectors made with tumult hype?
That’s a question I don’t have an answer to, but Google will be your friend on this one I think. 🙂
Thank you for the information. I’ve noticed that more than 100.000 websites using this plugin
You’re welcome 🙂
Interesting post ! Thanks !
“n a nutshell, this plugin takes care of all the issues we listed before, including:
Enabling you to upload SVGs in the first place.
Making sure you can see your SVGs within the Media Library.
Sanitizing the code of every SVG you upload to prevent security issues.”
Does it mean that it won’t be a good idea to upload (for any reason) svg files via ftp ?
I mean the plugin won’t be able to manage the files…?
I would think that you can still upload SVGs via SFTP without an issue. However, if you try this and it doesn’t work, come back and let us know!