The WordPress Block Editor has a wide range of embed tools that make it easy to display third-party media on your WordPress blog post or page. The Speaker Deck embed block is one of the many embed tools you can use in the Block Editor. If you want to embed a Speaker Deck presentation in your WordPress page or blog post, you’re in the right place.
In this article, we’ll be covering how to add the WordPress Speaker Deck embed block to your blog post or page. It’s one of the many WordPress embed blocks users can include in the Block Editor. We’ll talk about the settings and options available for your block. Then, we’ll share some best practices and frequently asked questions so you can get started on the right foot.
Ready to dive in? Let’s go!
- 1 How To Add The Speaker Deck Embed Block To Your Post Or Page
- 2 Speaker Deck Embed Block Settings And Options
- 3 Additional Options And Media Settings
- 4 Tips And Best Practices For Using The Speaker Deck Embed Block Effectively
- 5 Frequently Asked Questions About The Speaker Deck Embed Block
- 6 Conclusion
How To Add The Speaker Deck Embed Block To Your Post Or Page
To get started with the WordPress Speaker Deck embed block, log in to your WordPress site and start a new draft. Then, follow the following steps to embed your Speaker Deck presentation.
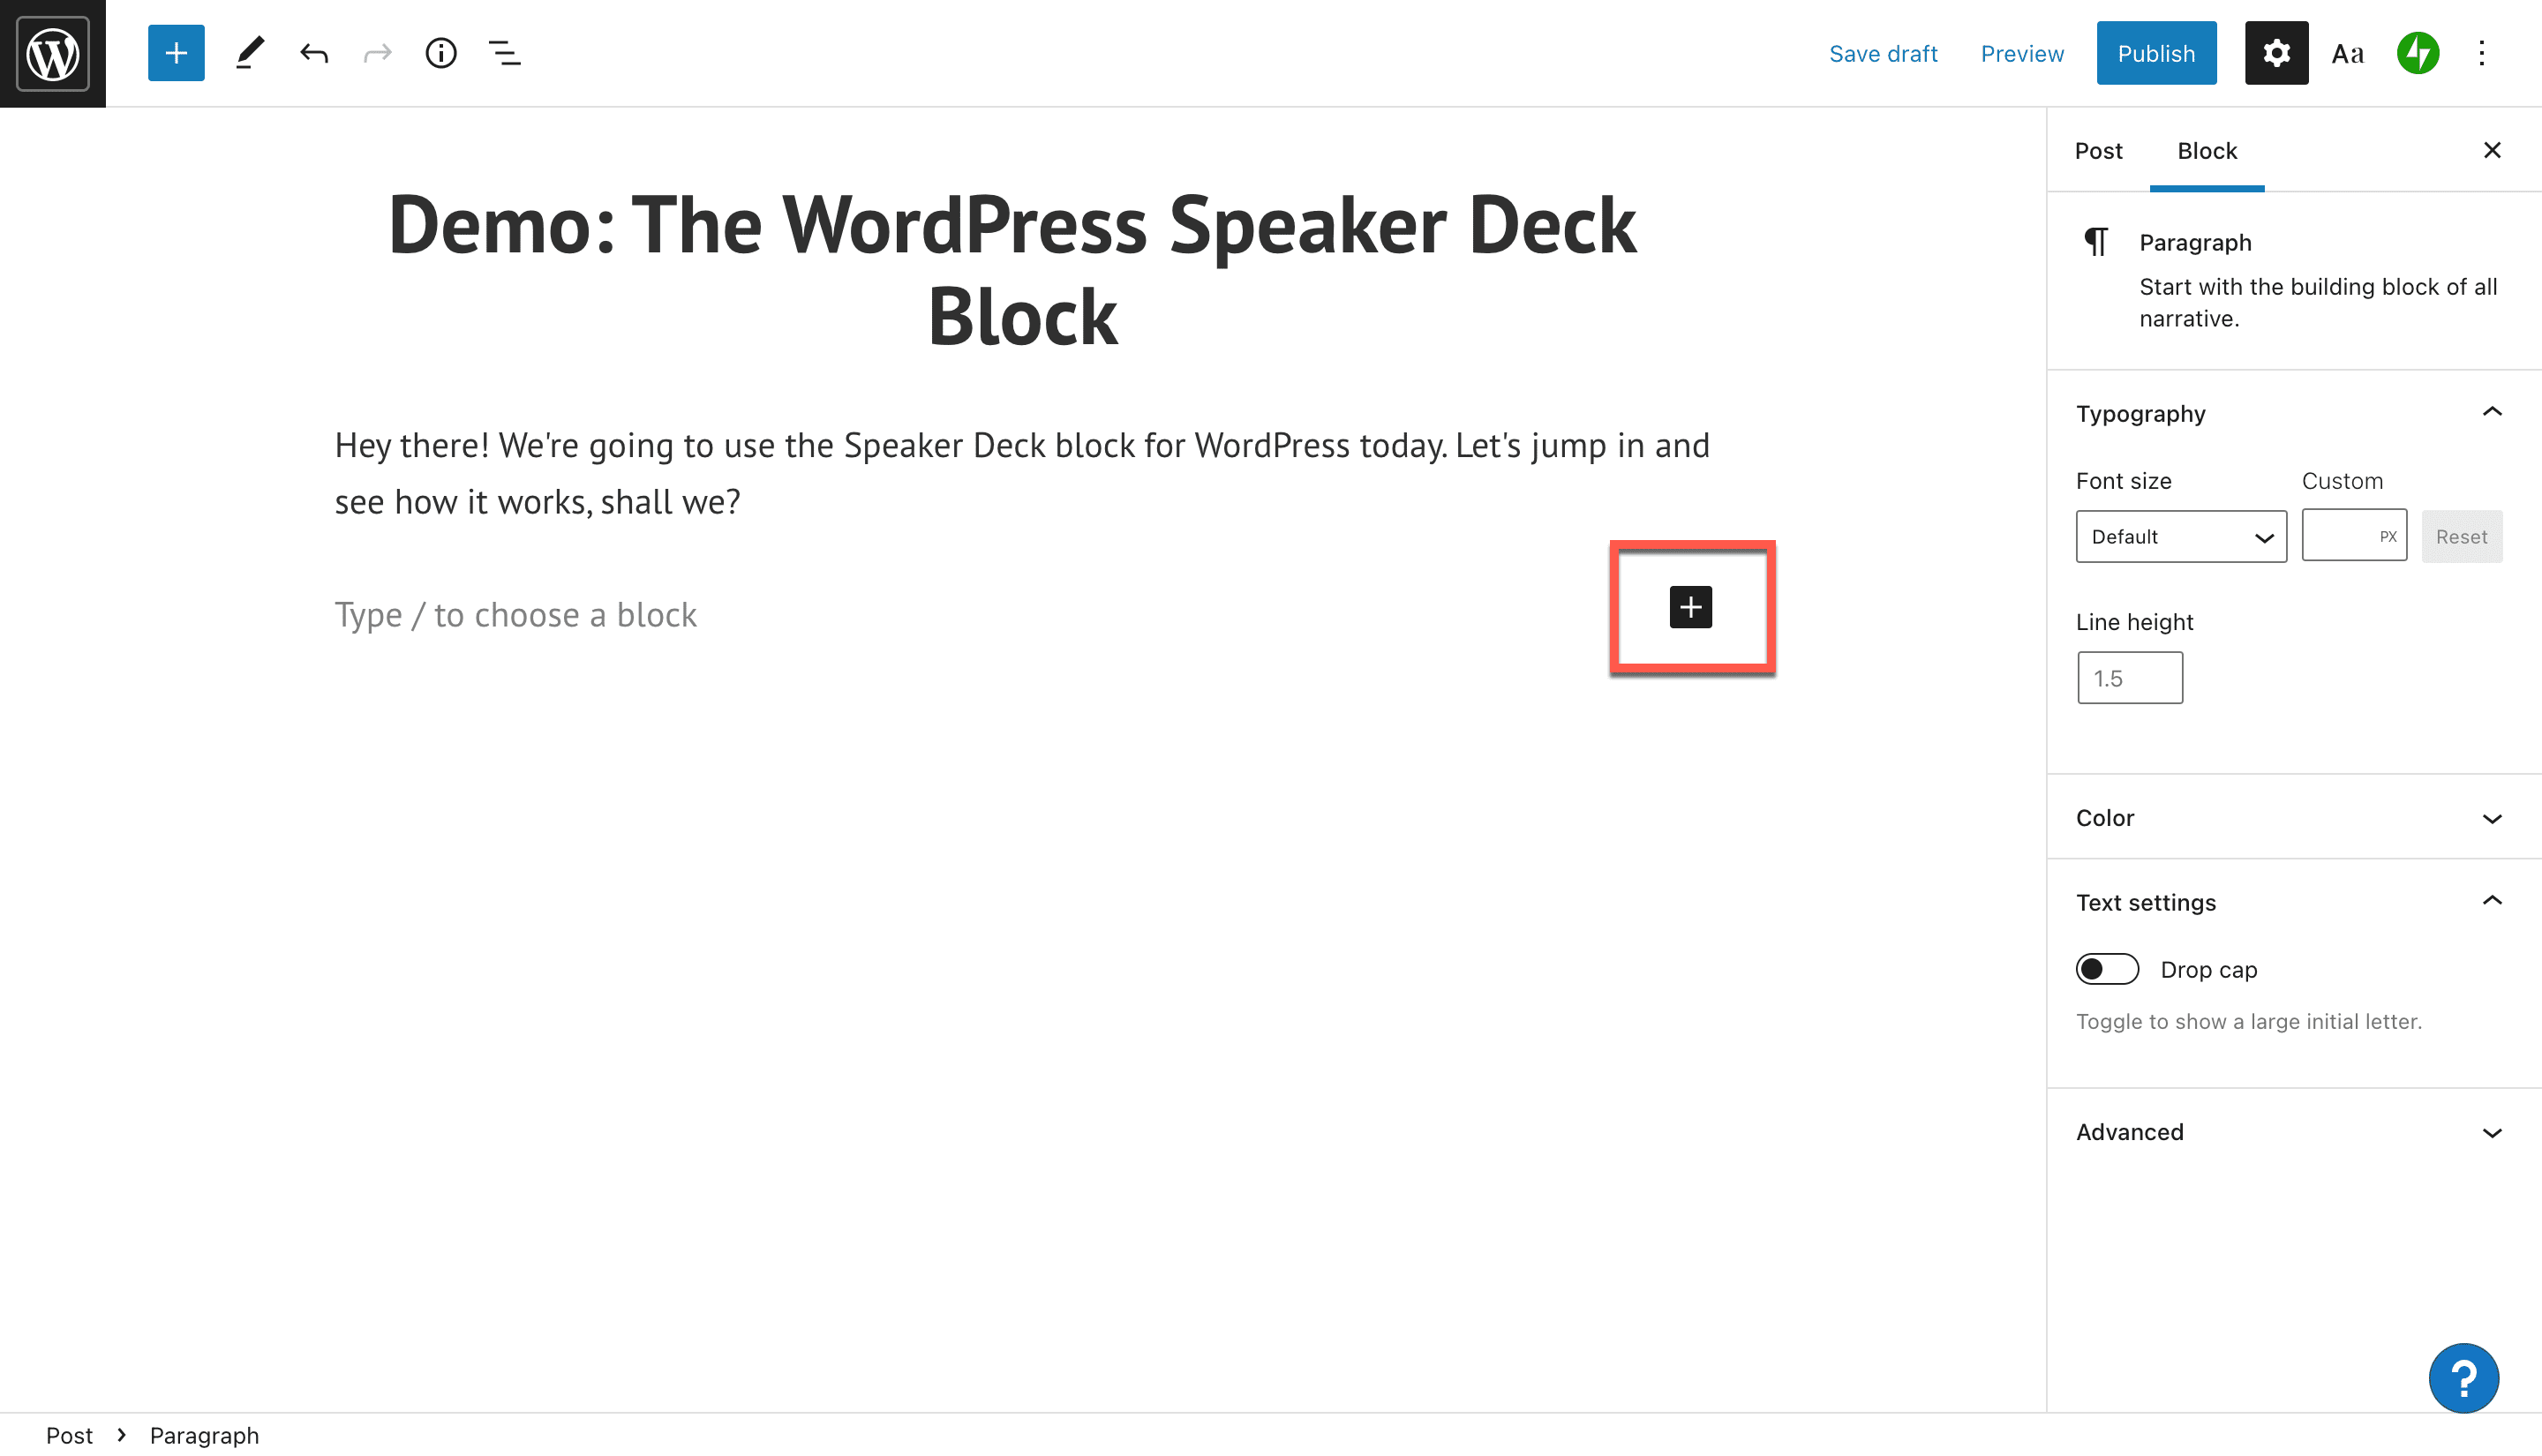
1. Click the black plus sign in your post to view a menu of options for your next piece of content.
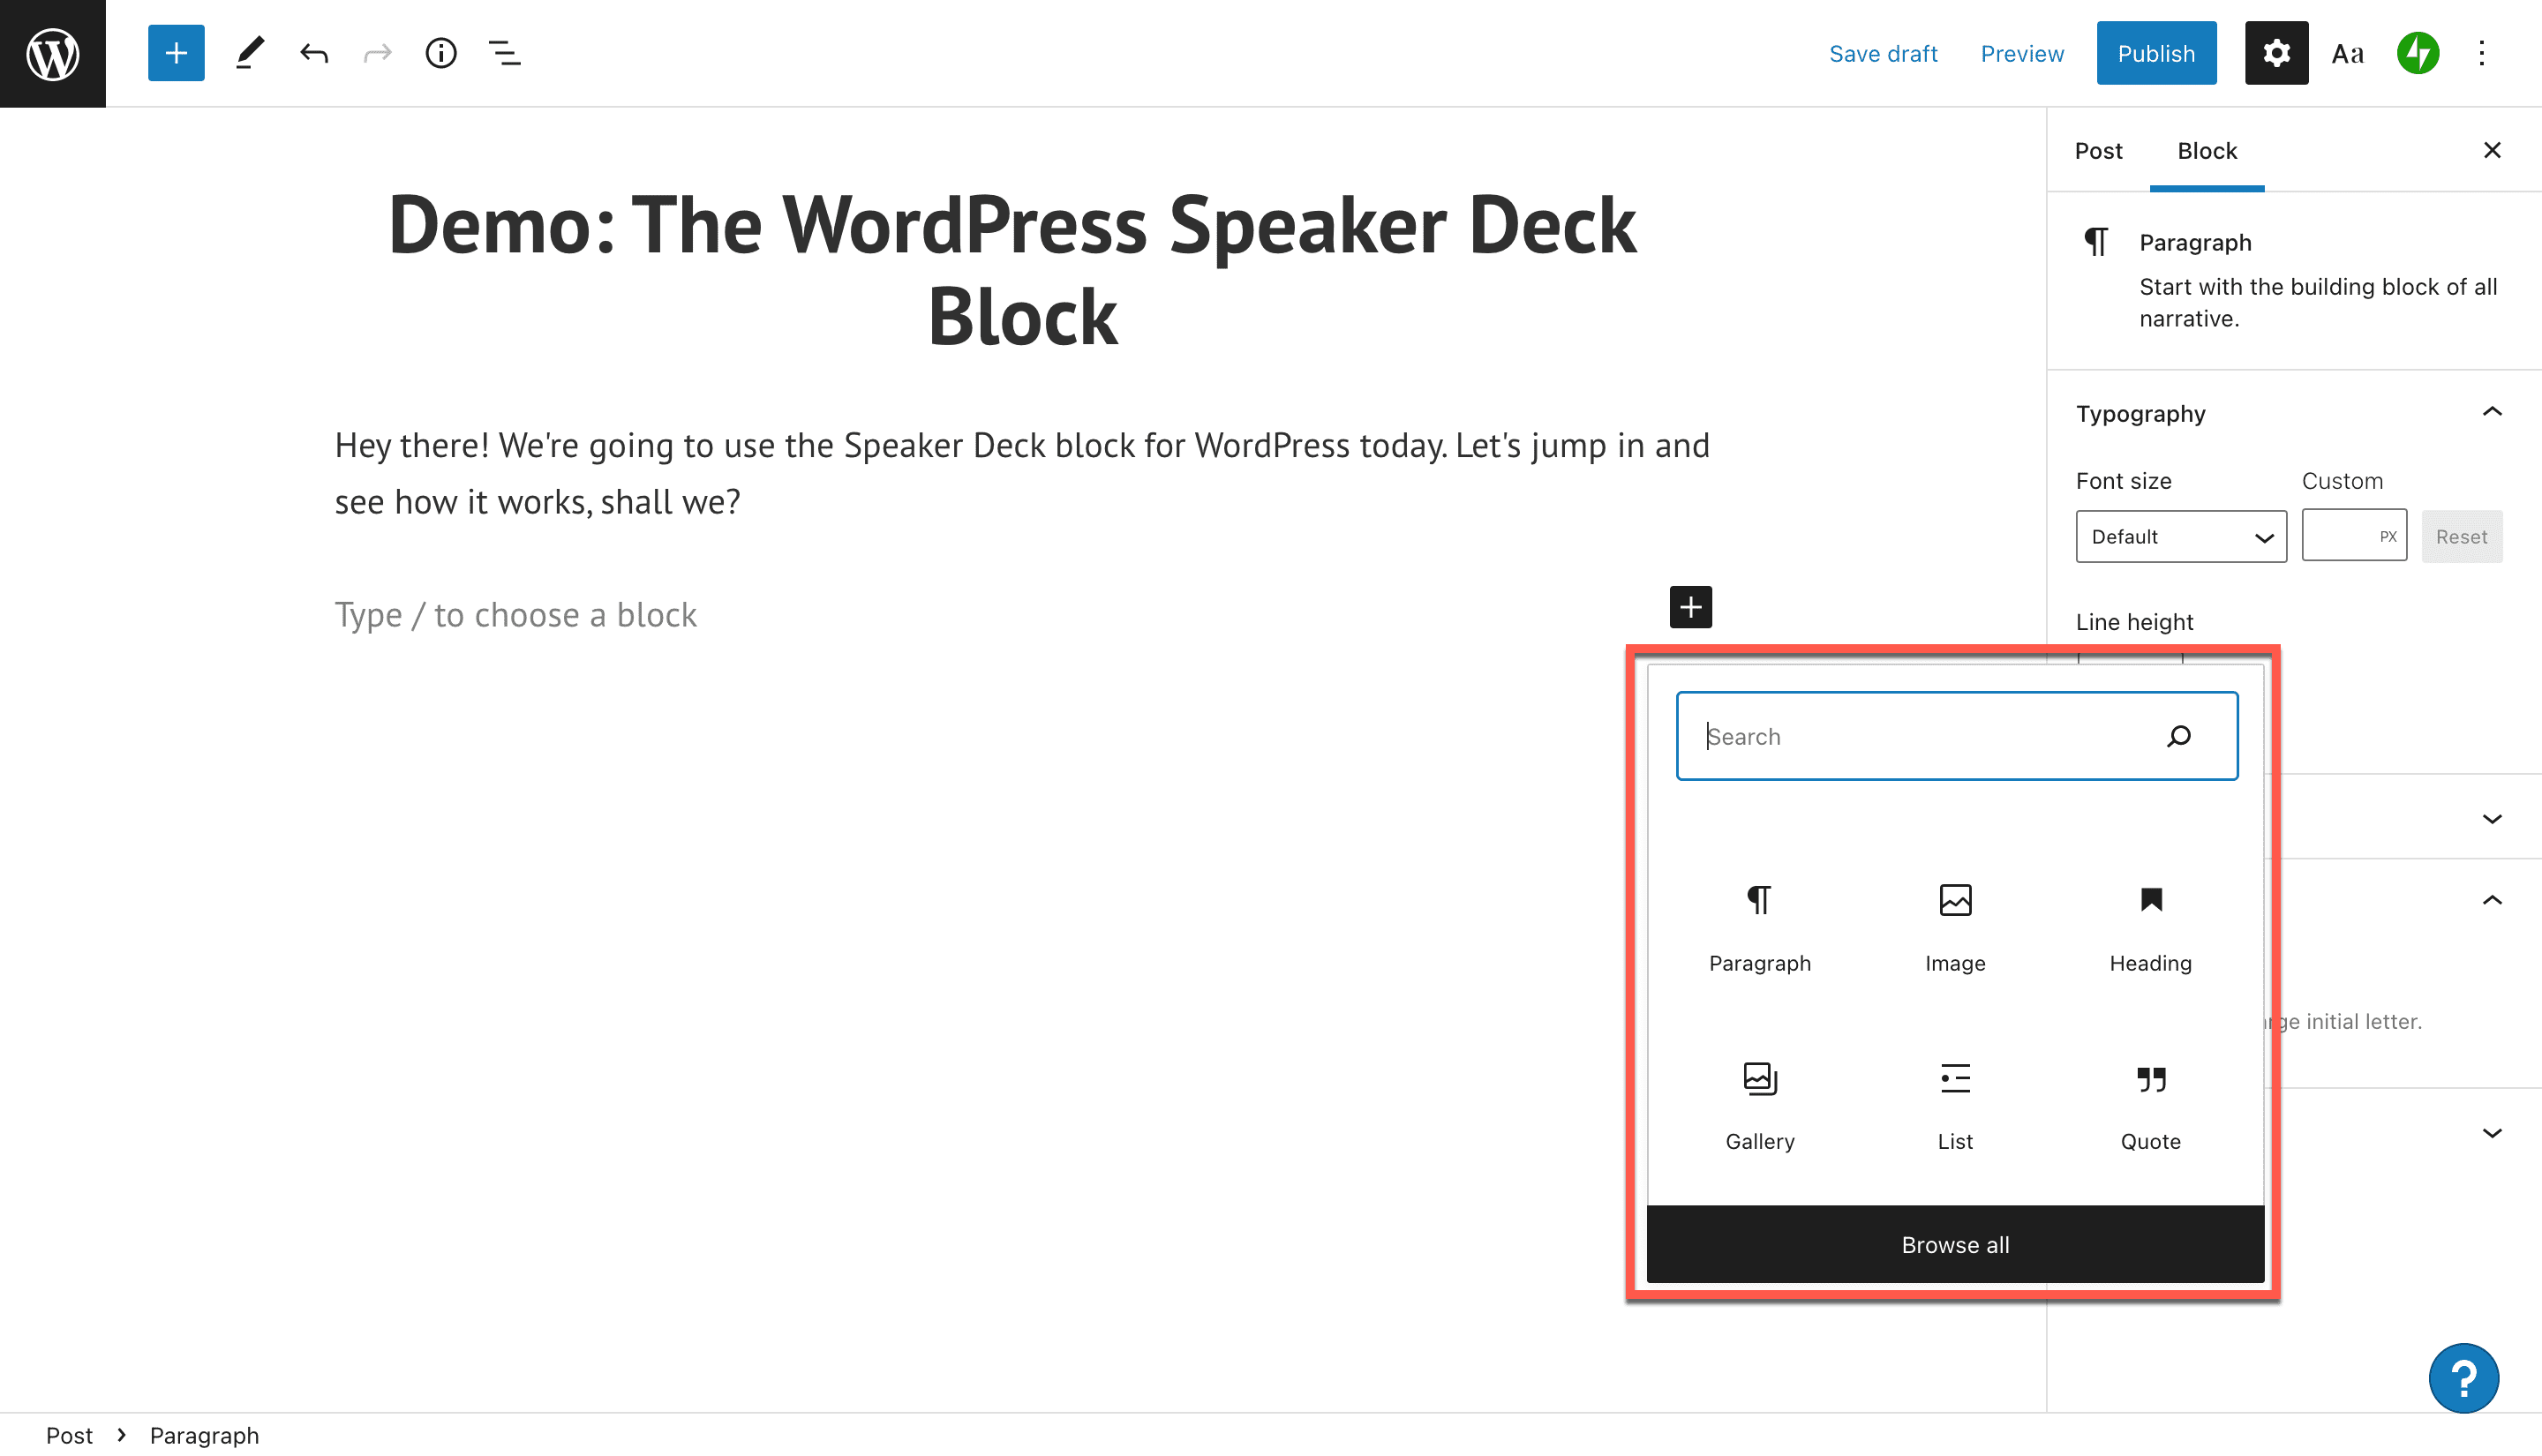
2. You’ll see a popup menu of options to embed. These include a new paragraph, heading, image, gallery, list, quote, and more. You can click “Browse all” to see the full list, but the easiest way to locate your desired embed block is to type its name into the search bar.
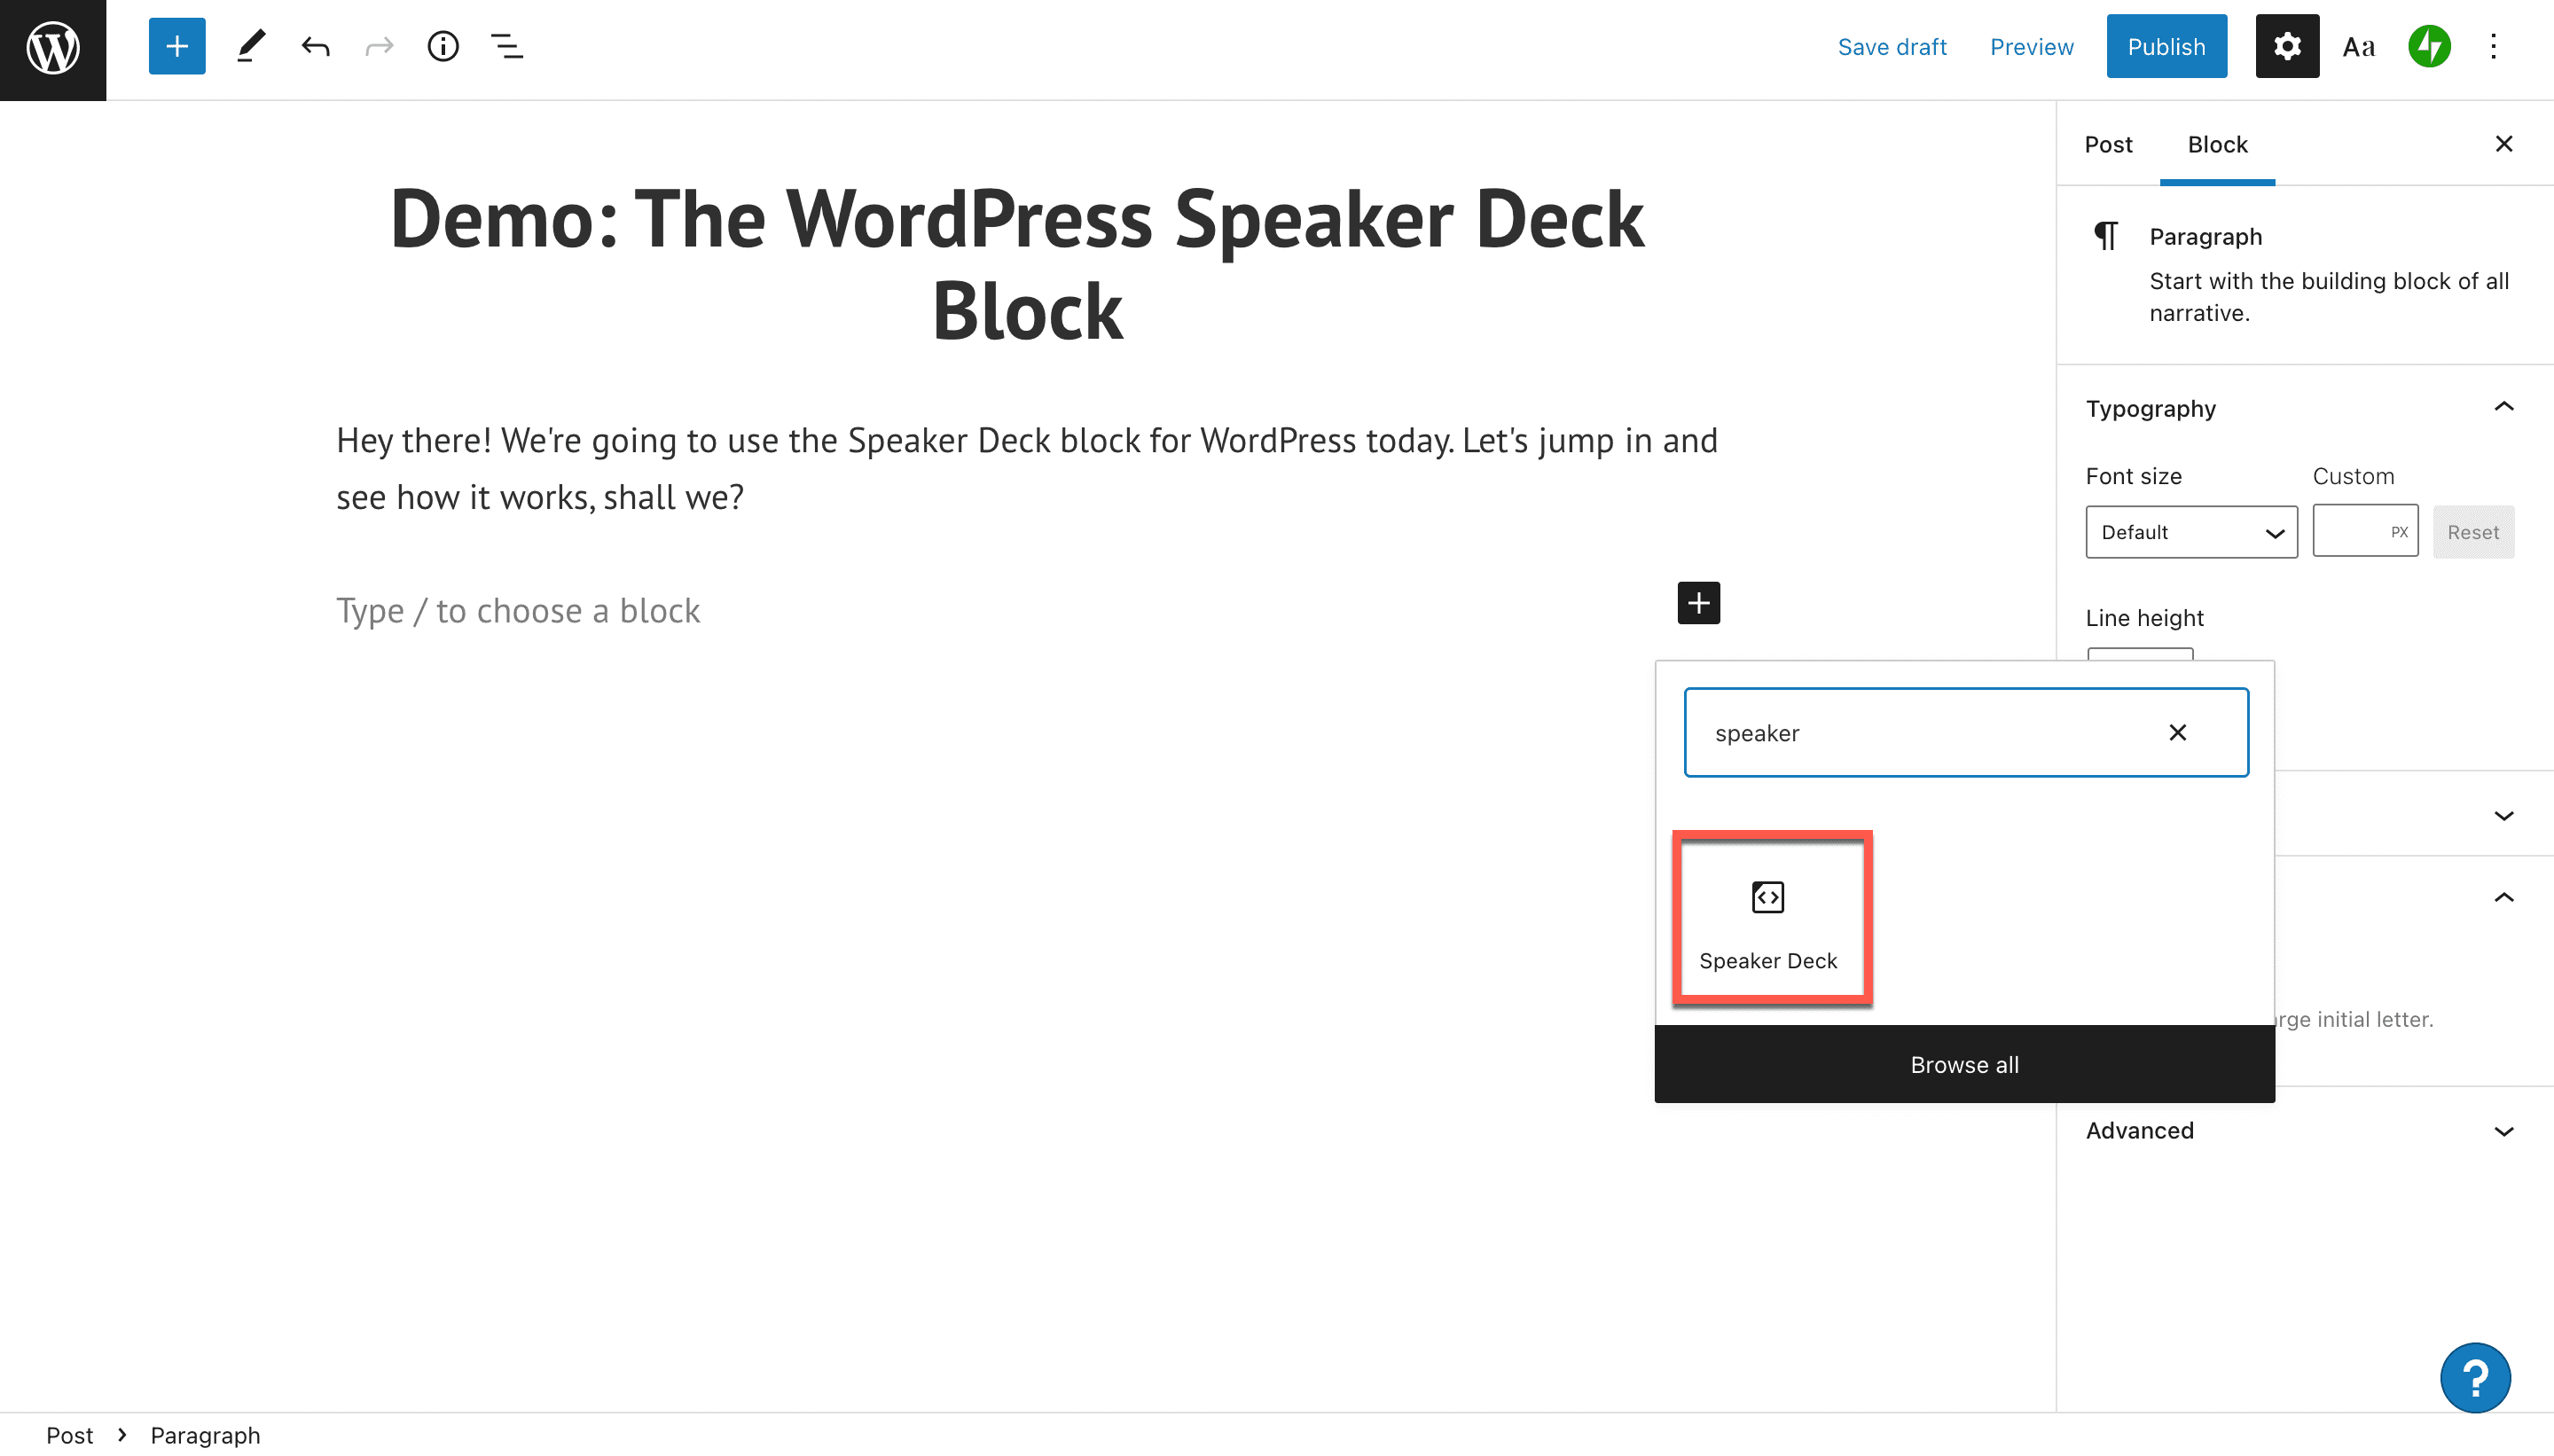
3. In this case, we’ll type “speaker” or “Speaker Deck” into the search bar. You’ll see the option for the Speaker Deck embed block displayed in the popup. Click on it to add it to your post or page.
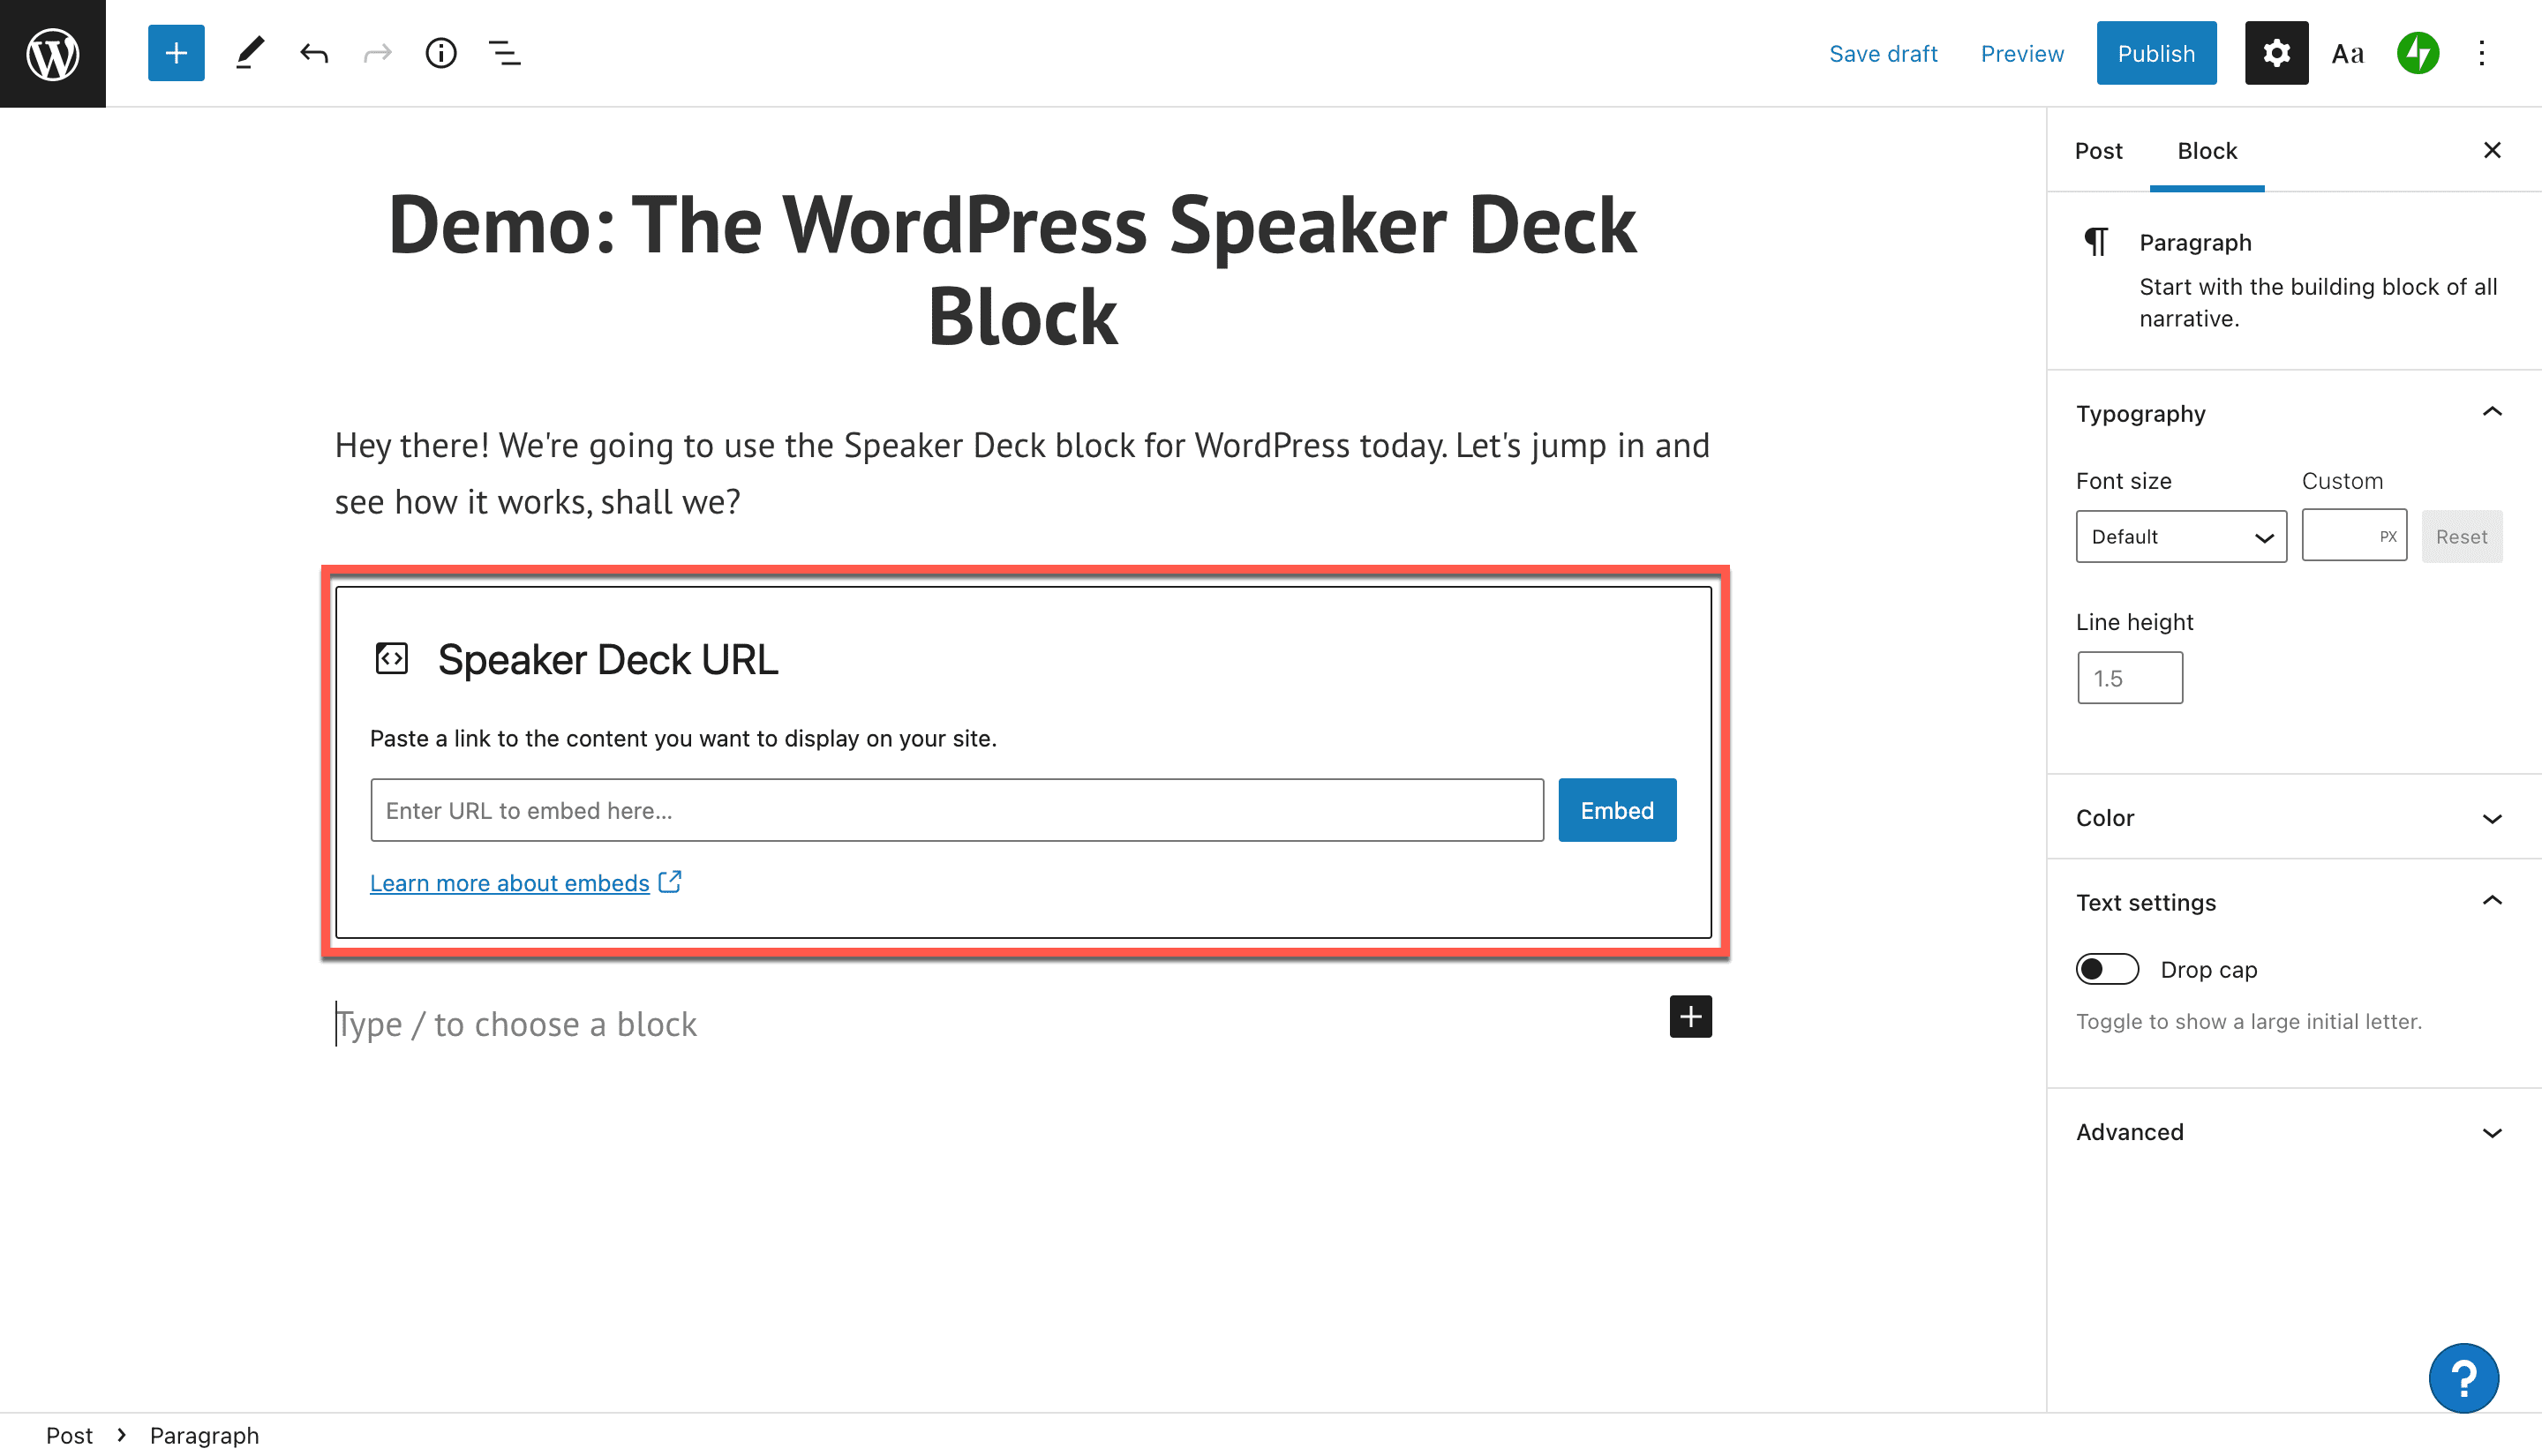
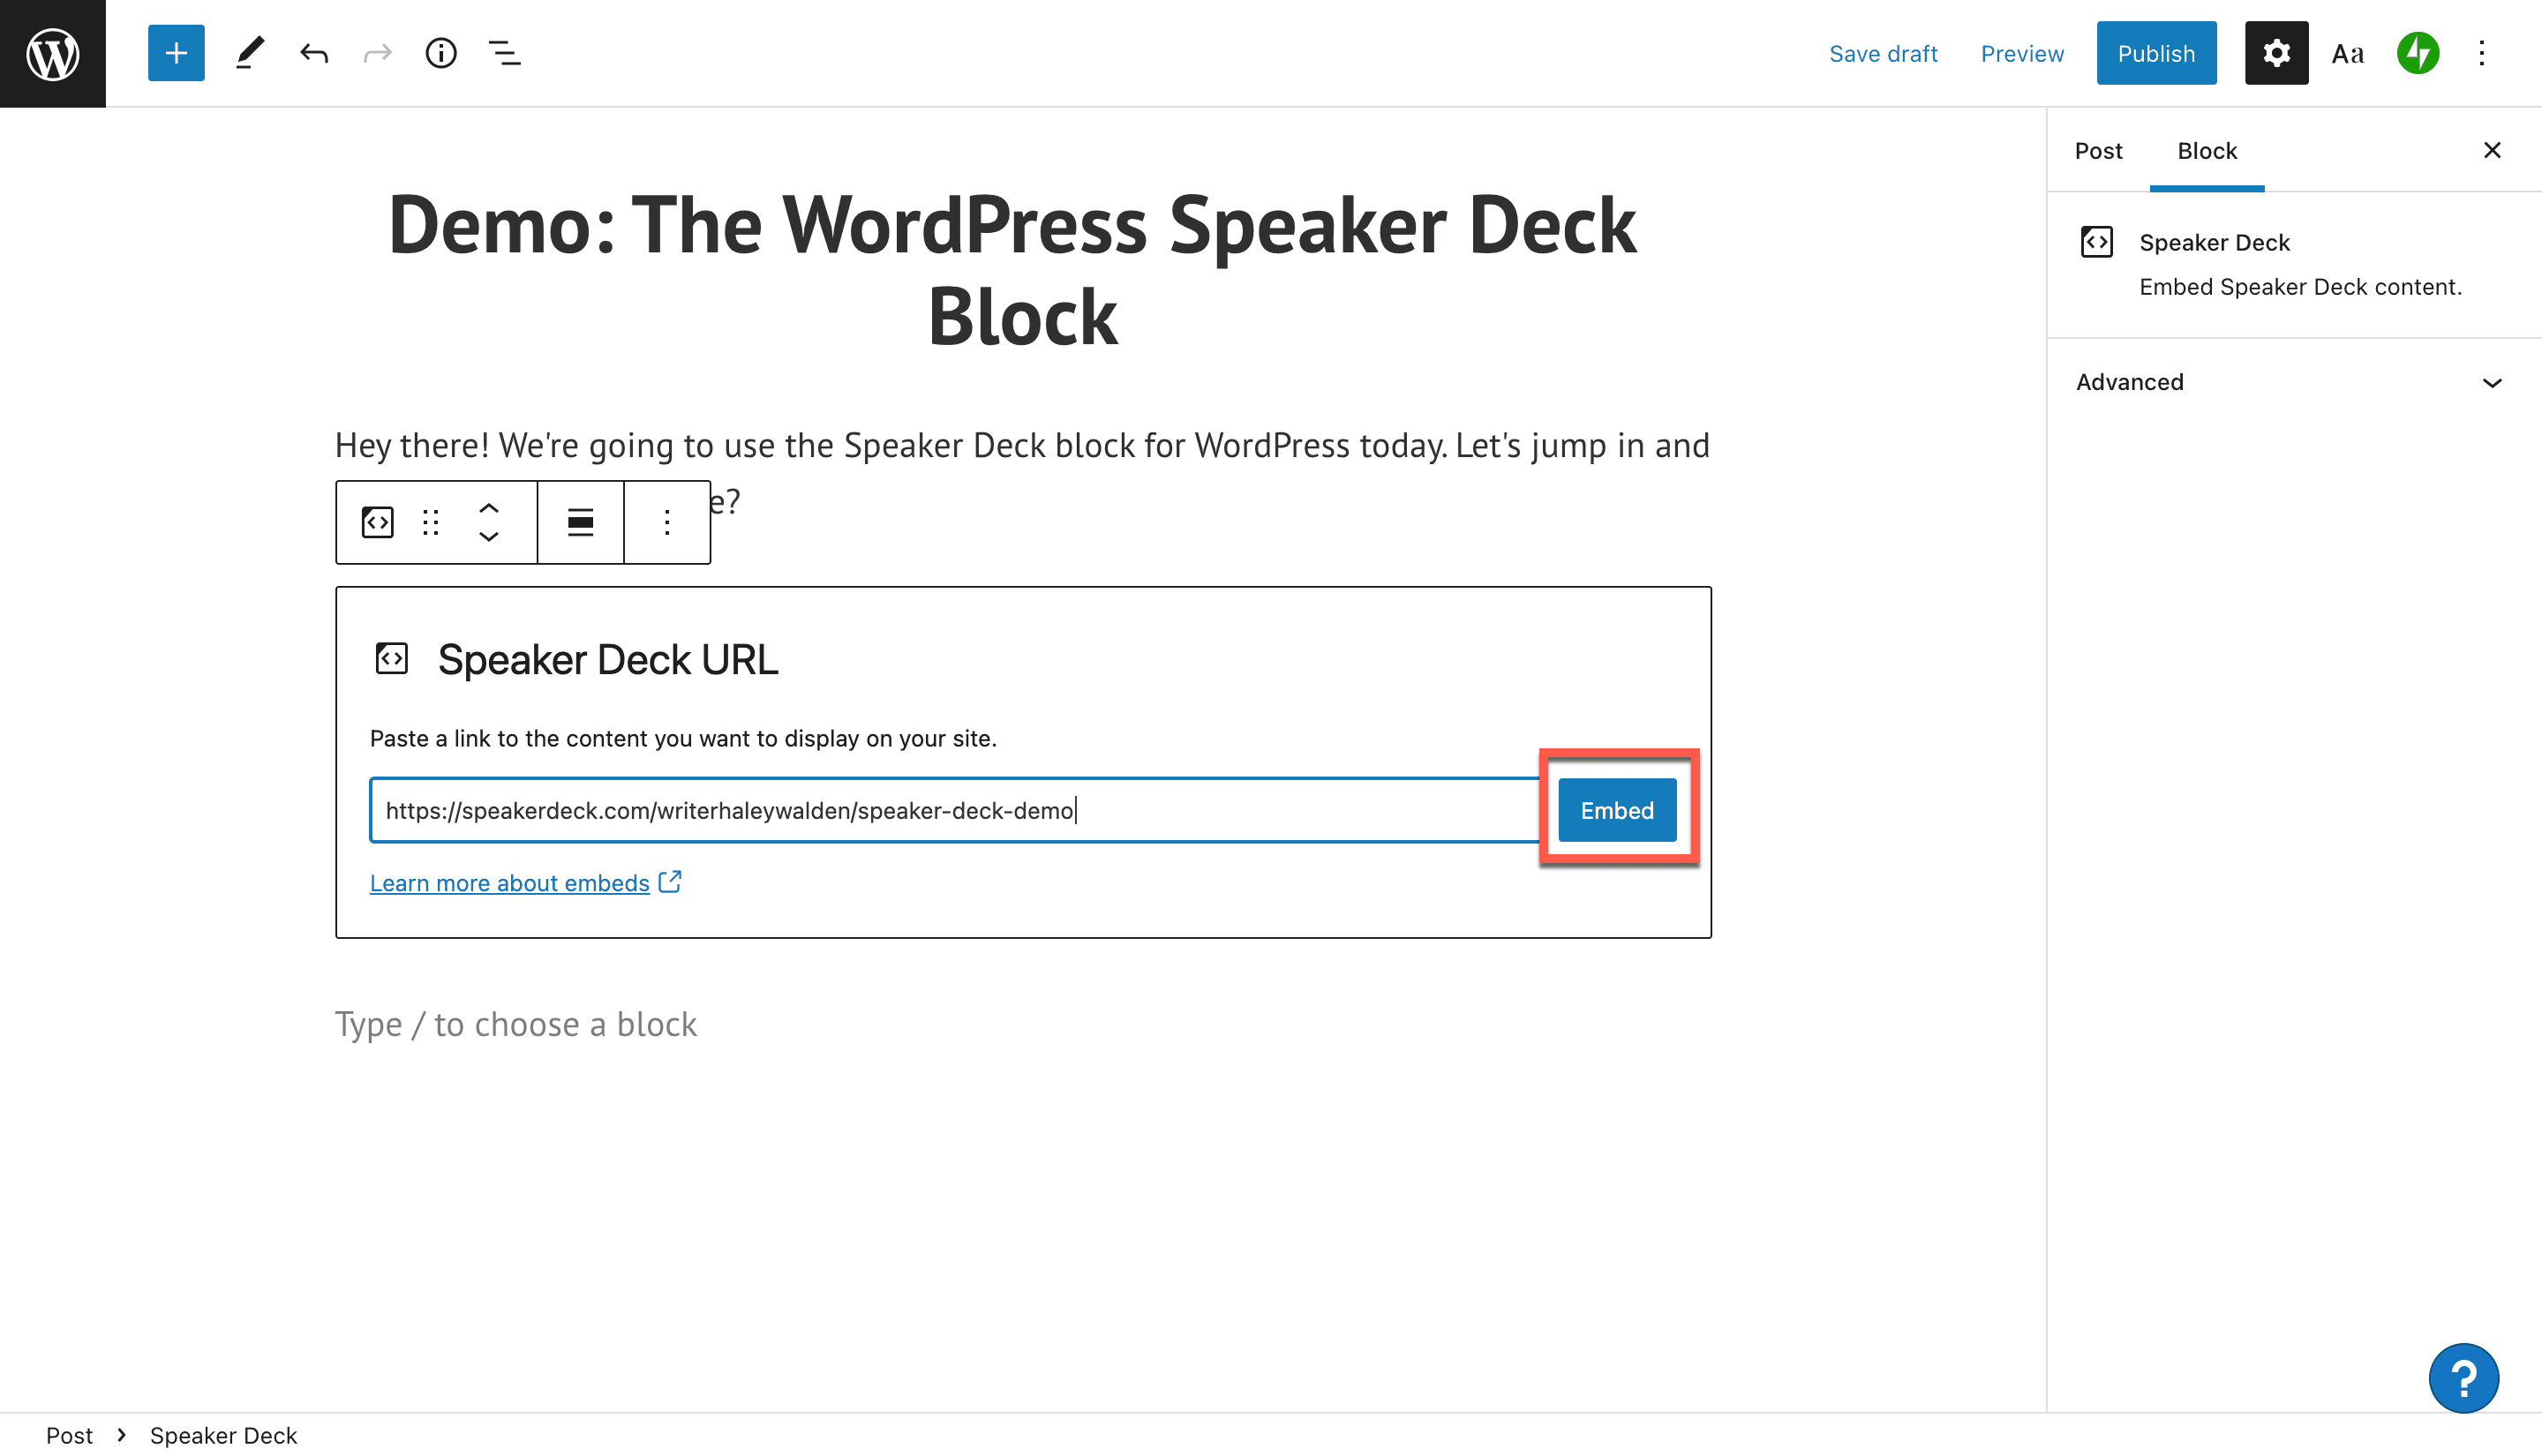
4. Next, you’ll see the Speaker Deck URL embed tool. To embed your Speaker Deck presentation, you’ll need to get the URL from your presentation.
5. Head over to your Speaker Deck profile and select the presentation you want to share on your WordPress post or page. Click into your presentation.
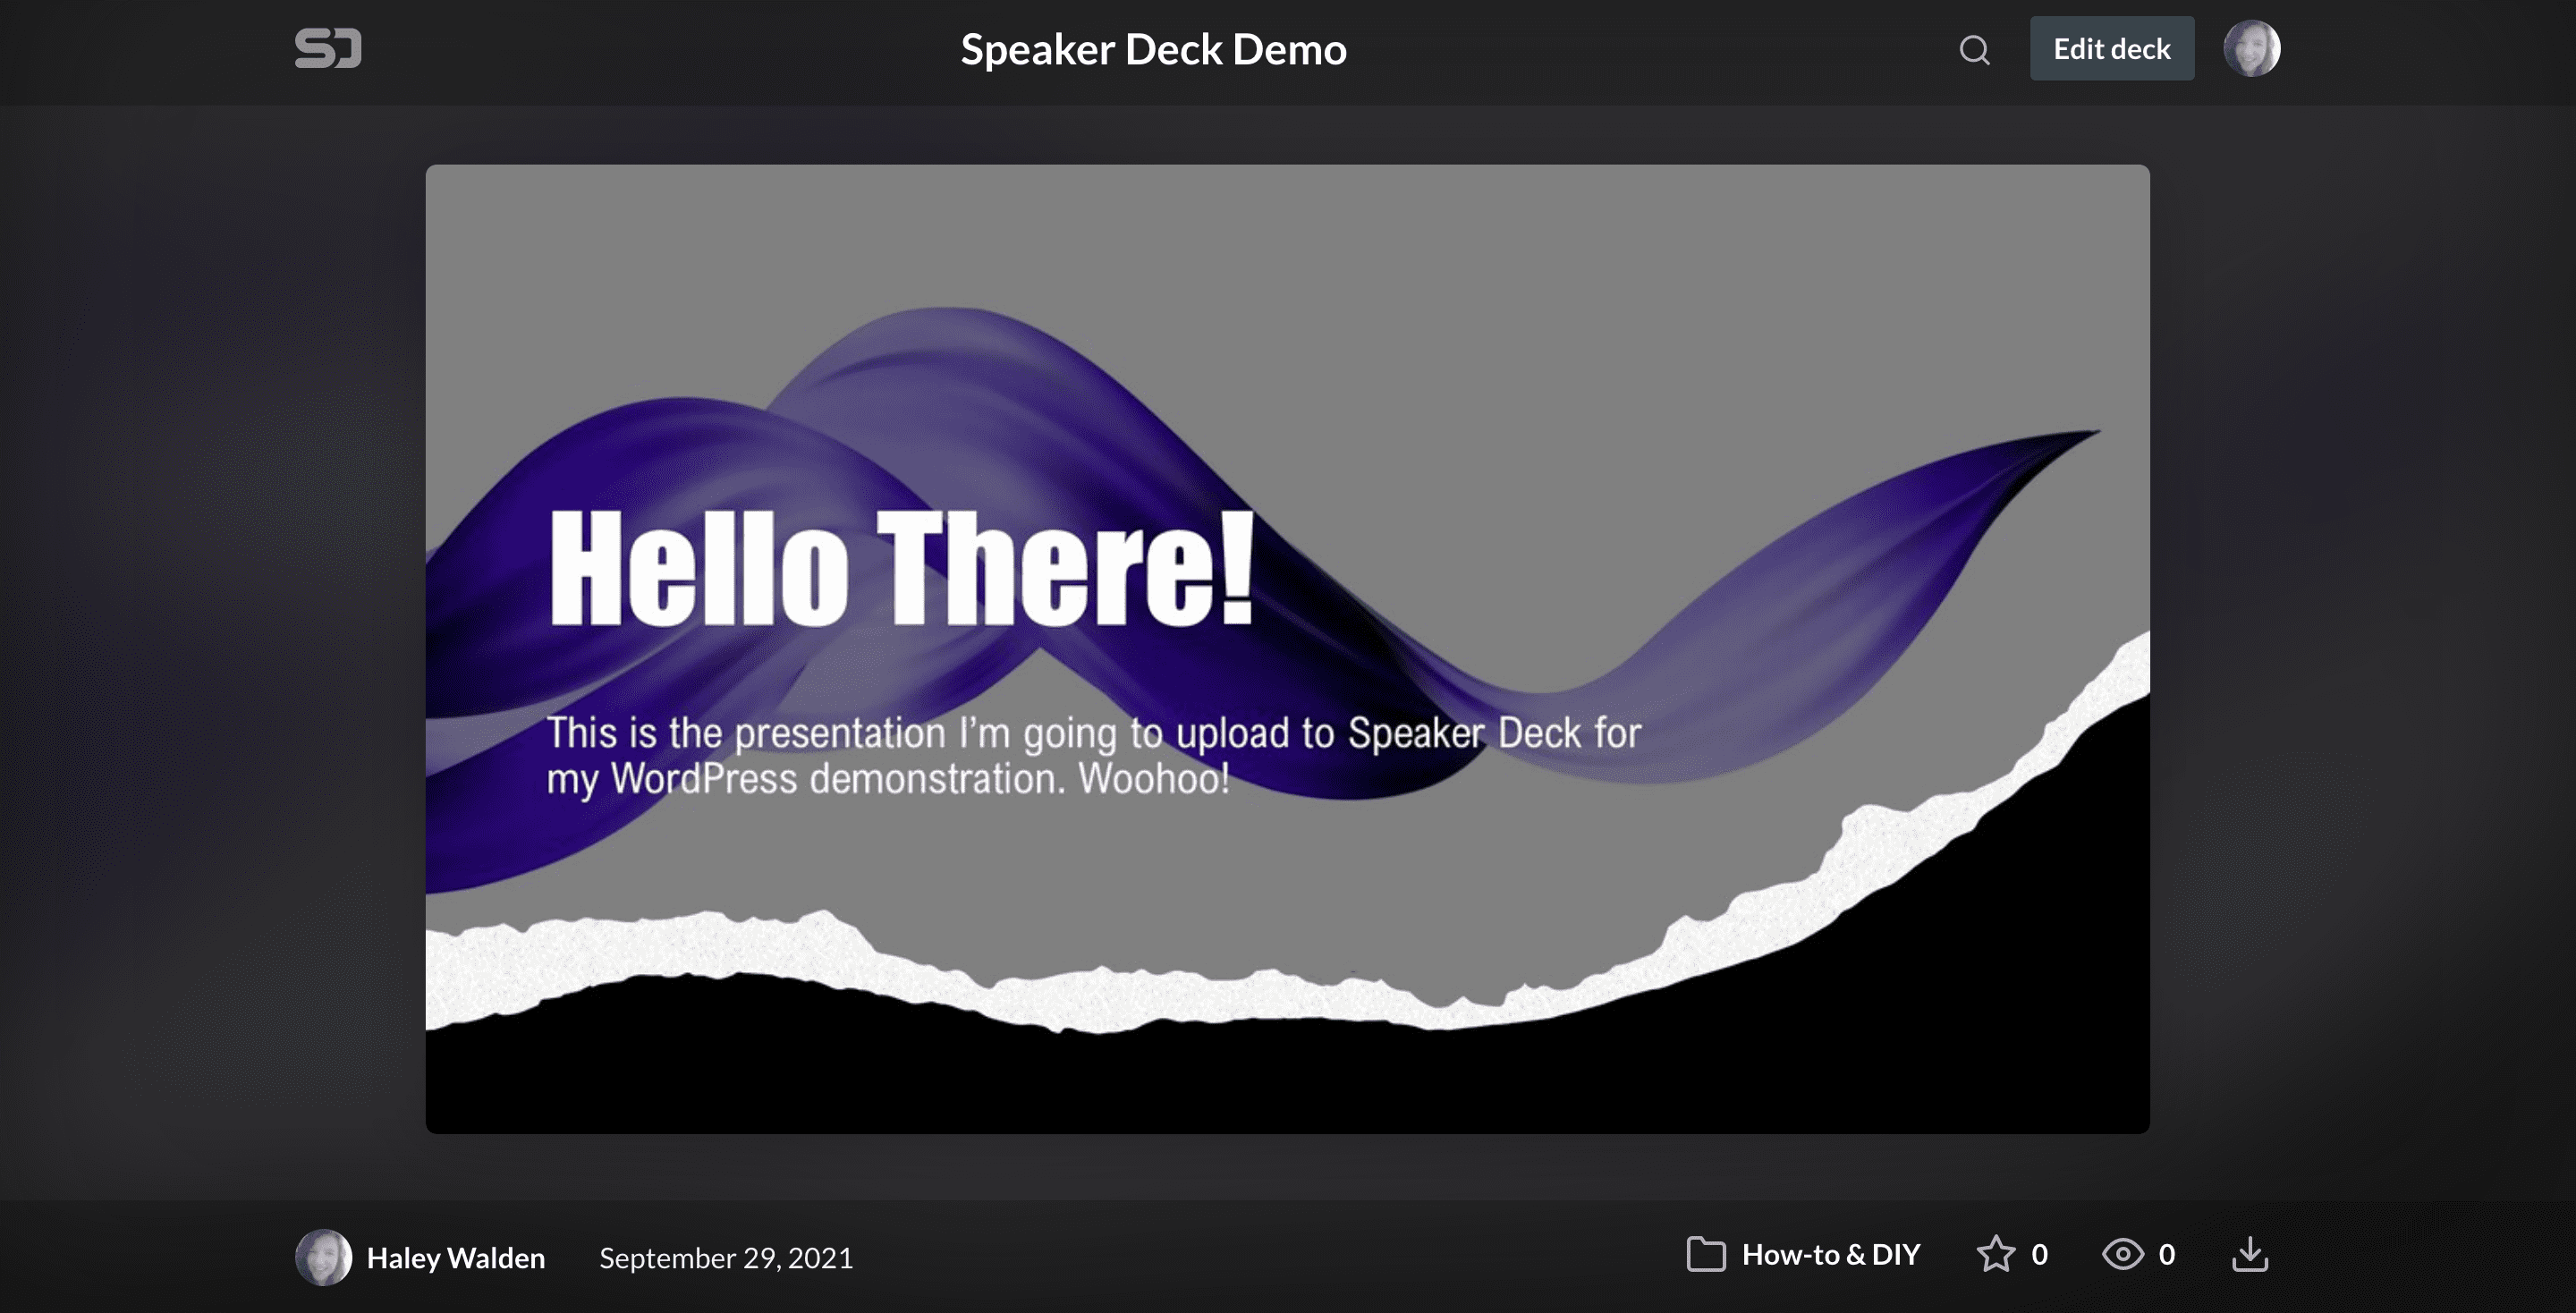
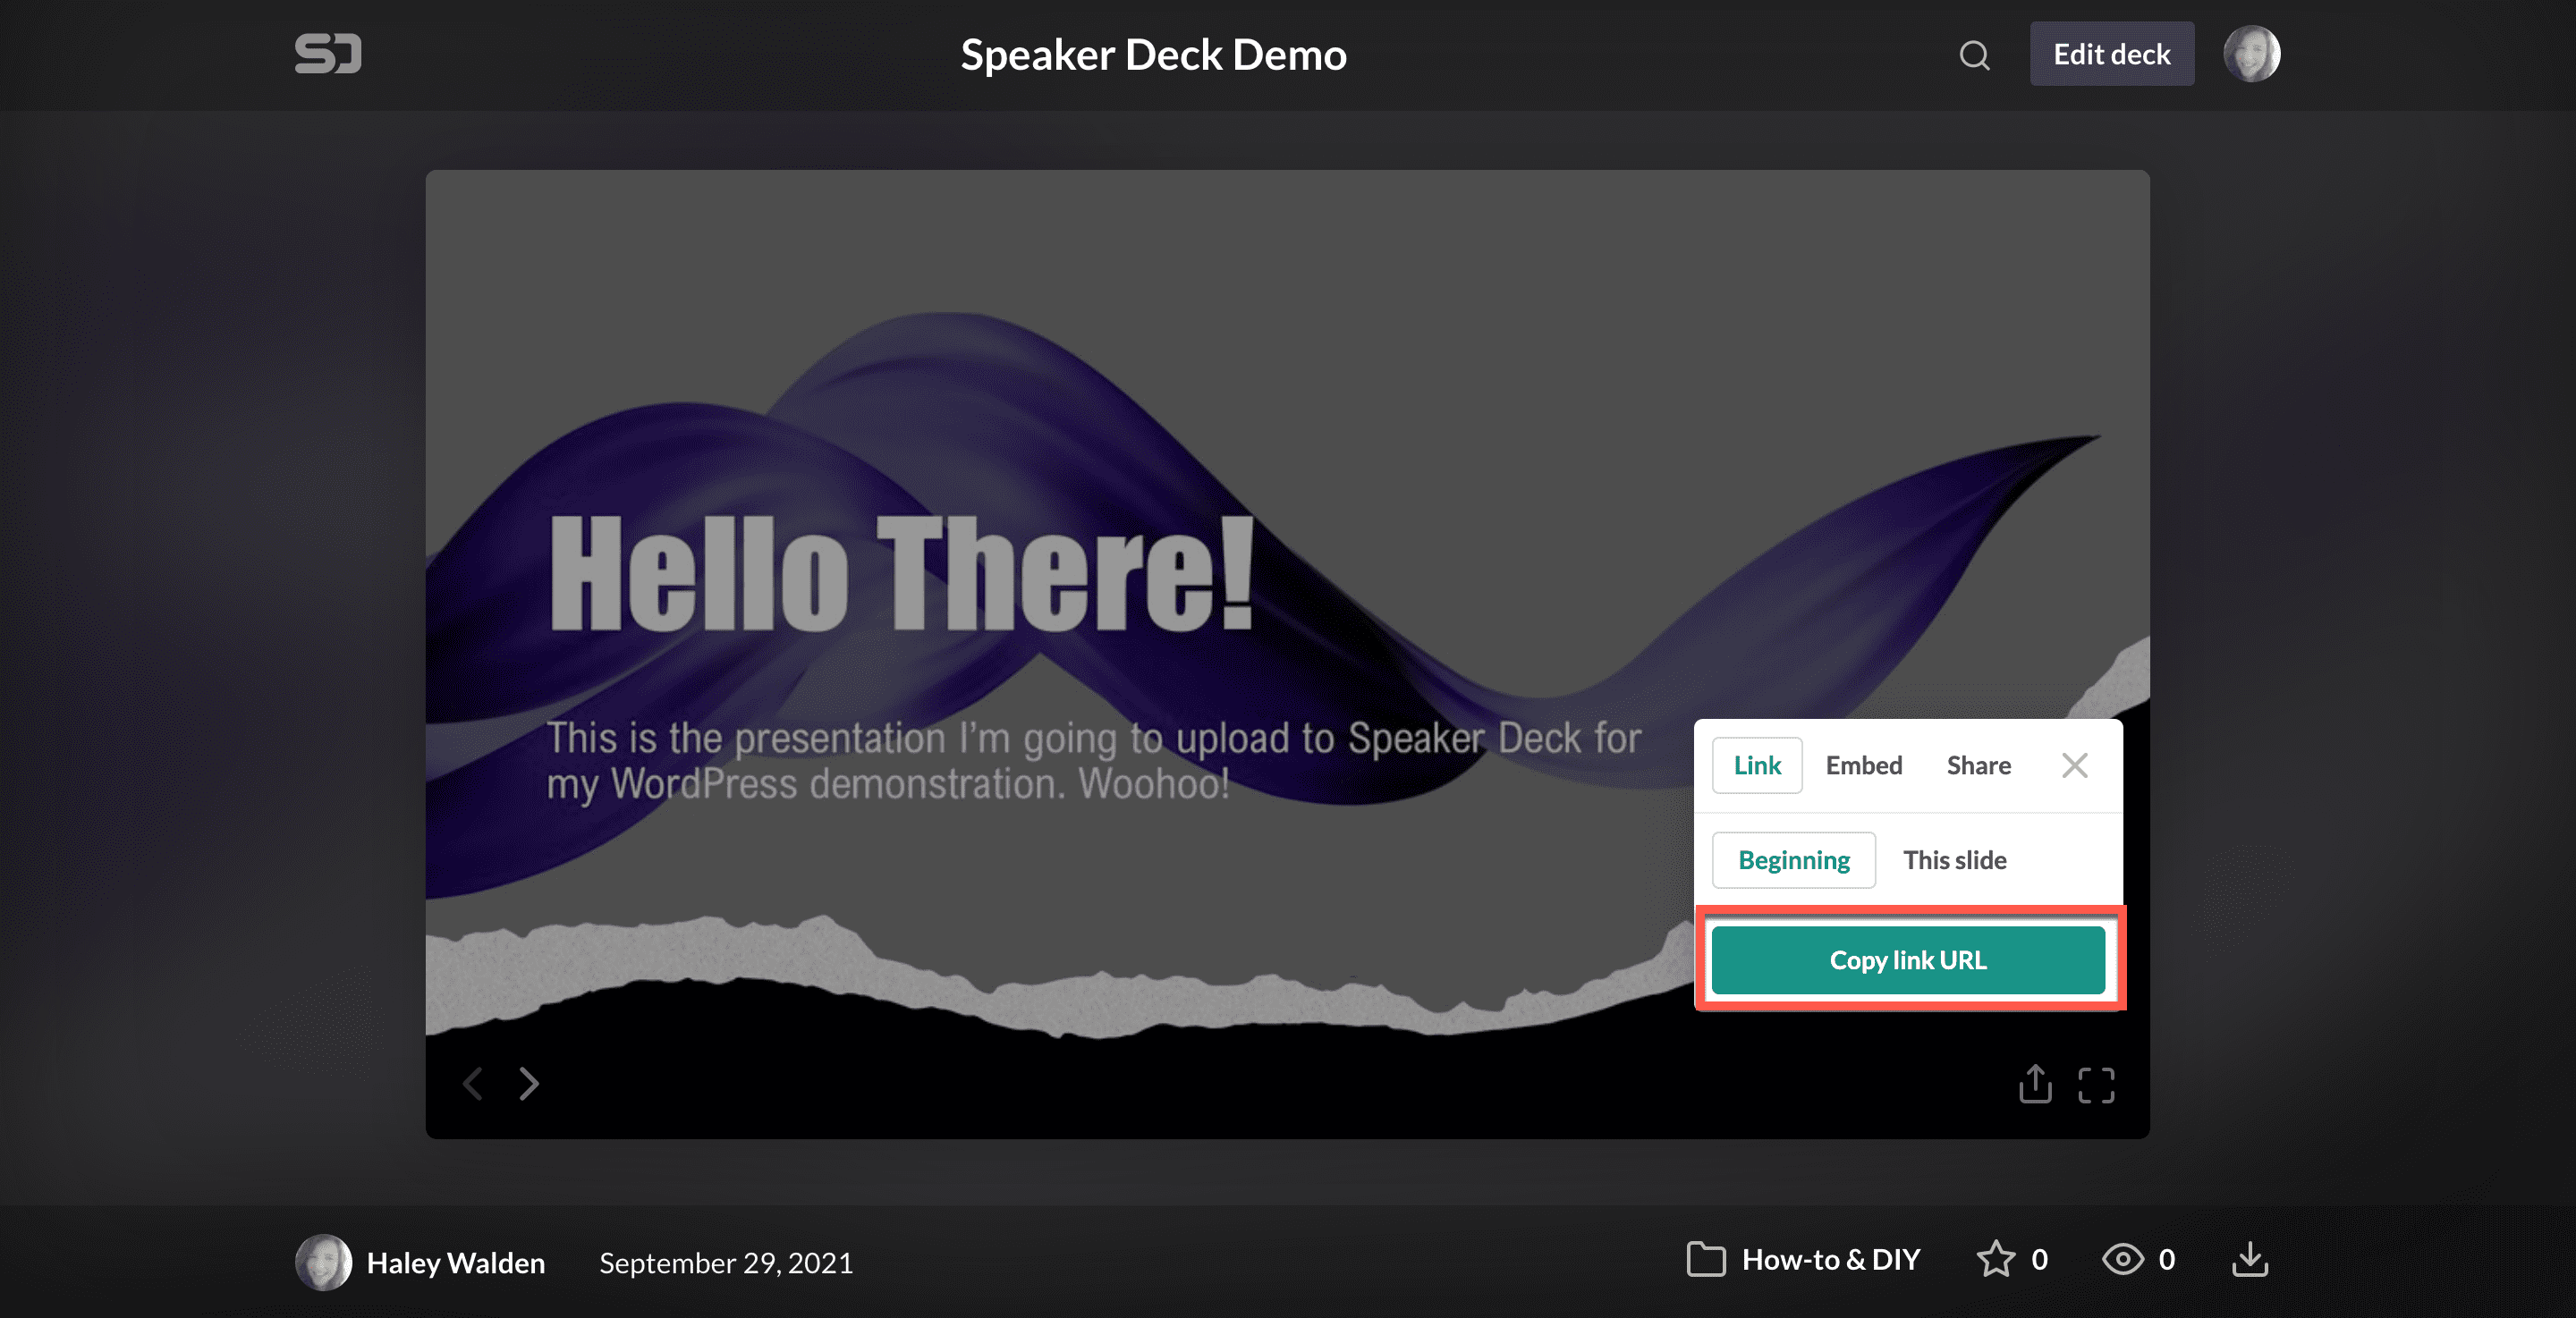
6. Hover your mouse over the bottom right corner of your presentation to get a share button. Click that, and you’ll see several options for embedding your presentation. If you want, you can select a specific slide to start from, or just start from the beginning. Click “Copy link URL,” then navigate back to your WordPress account.
7. Now, you’ll want to paste the URL from your Speaker Deck presentation into the box. Click the blue Embed button when you’re ready.
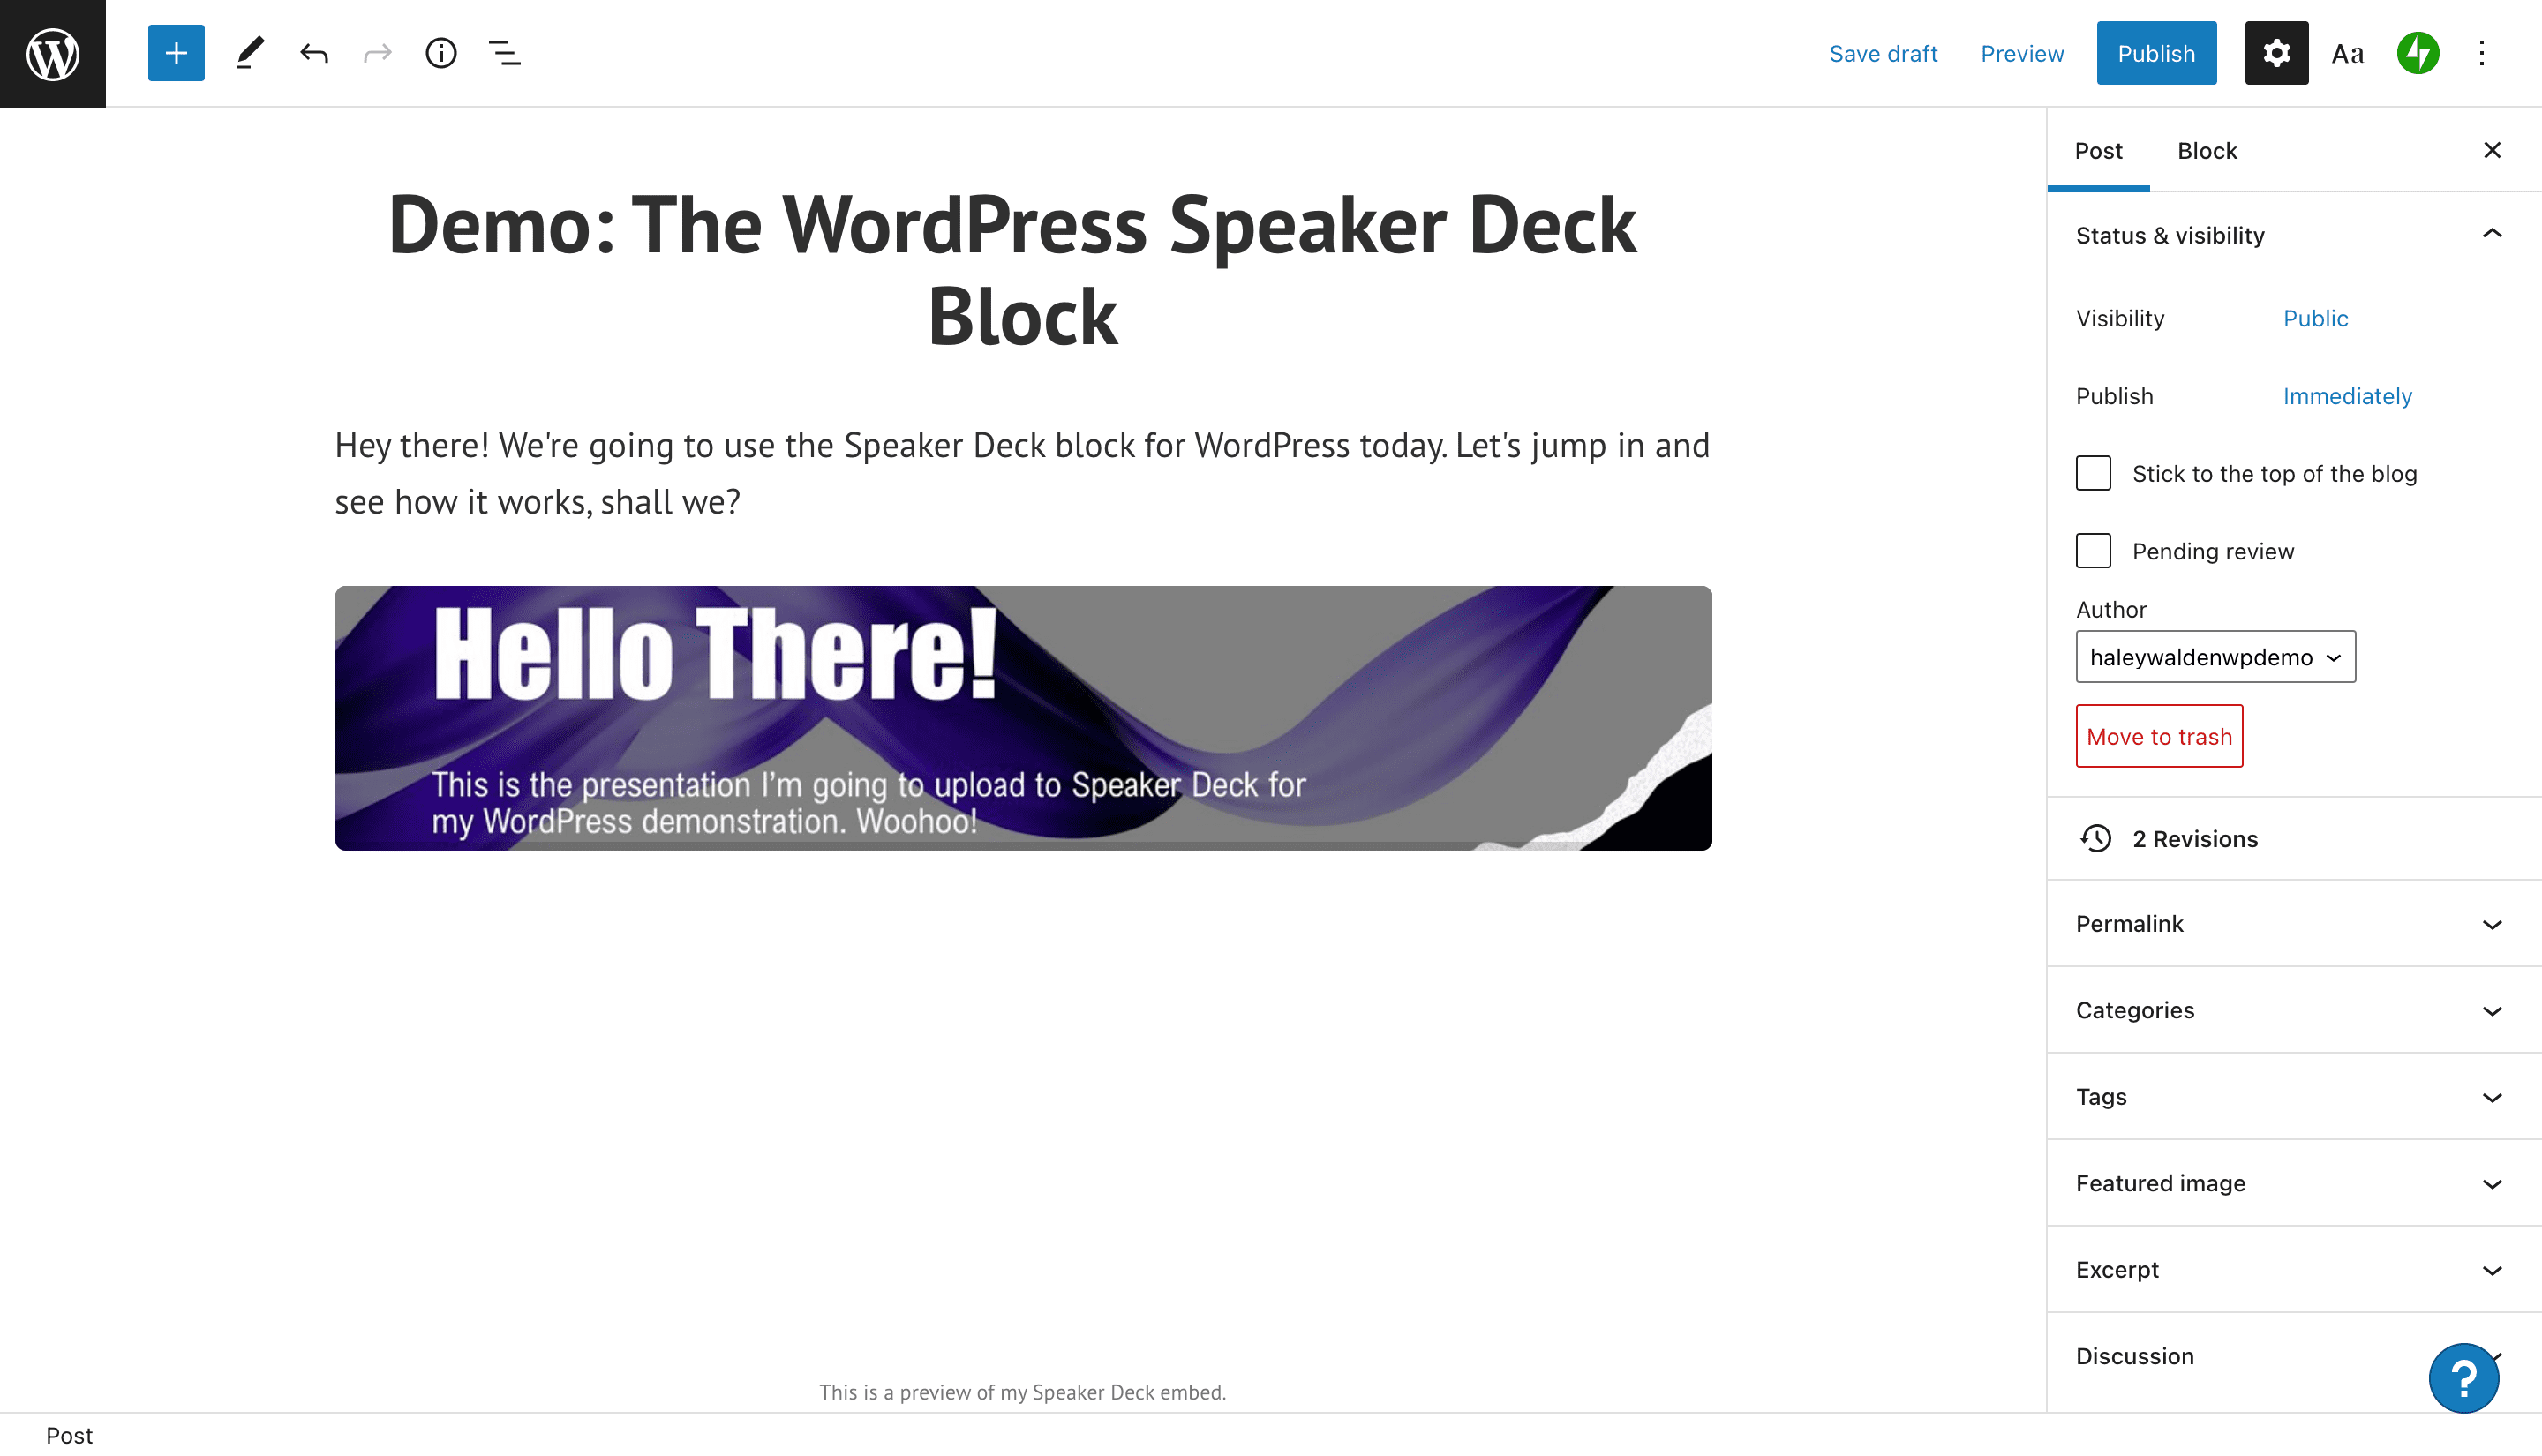
8. Now, you’ll see a preview of your embed block displayed in your WordPress editor. If the presentation can’t be displayed, it will revert to a hyperlink. Alternatively, you may get an error message.
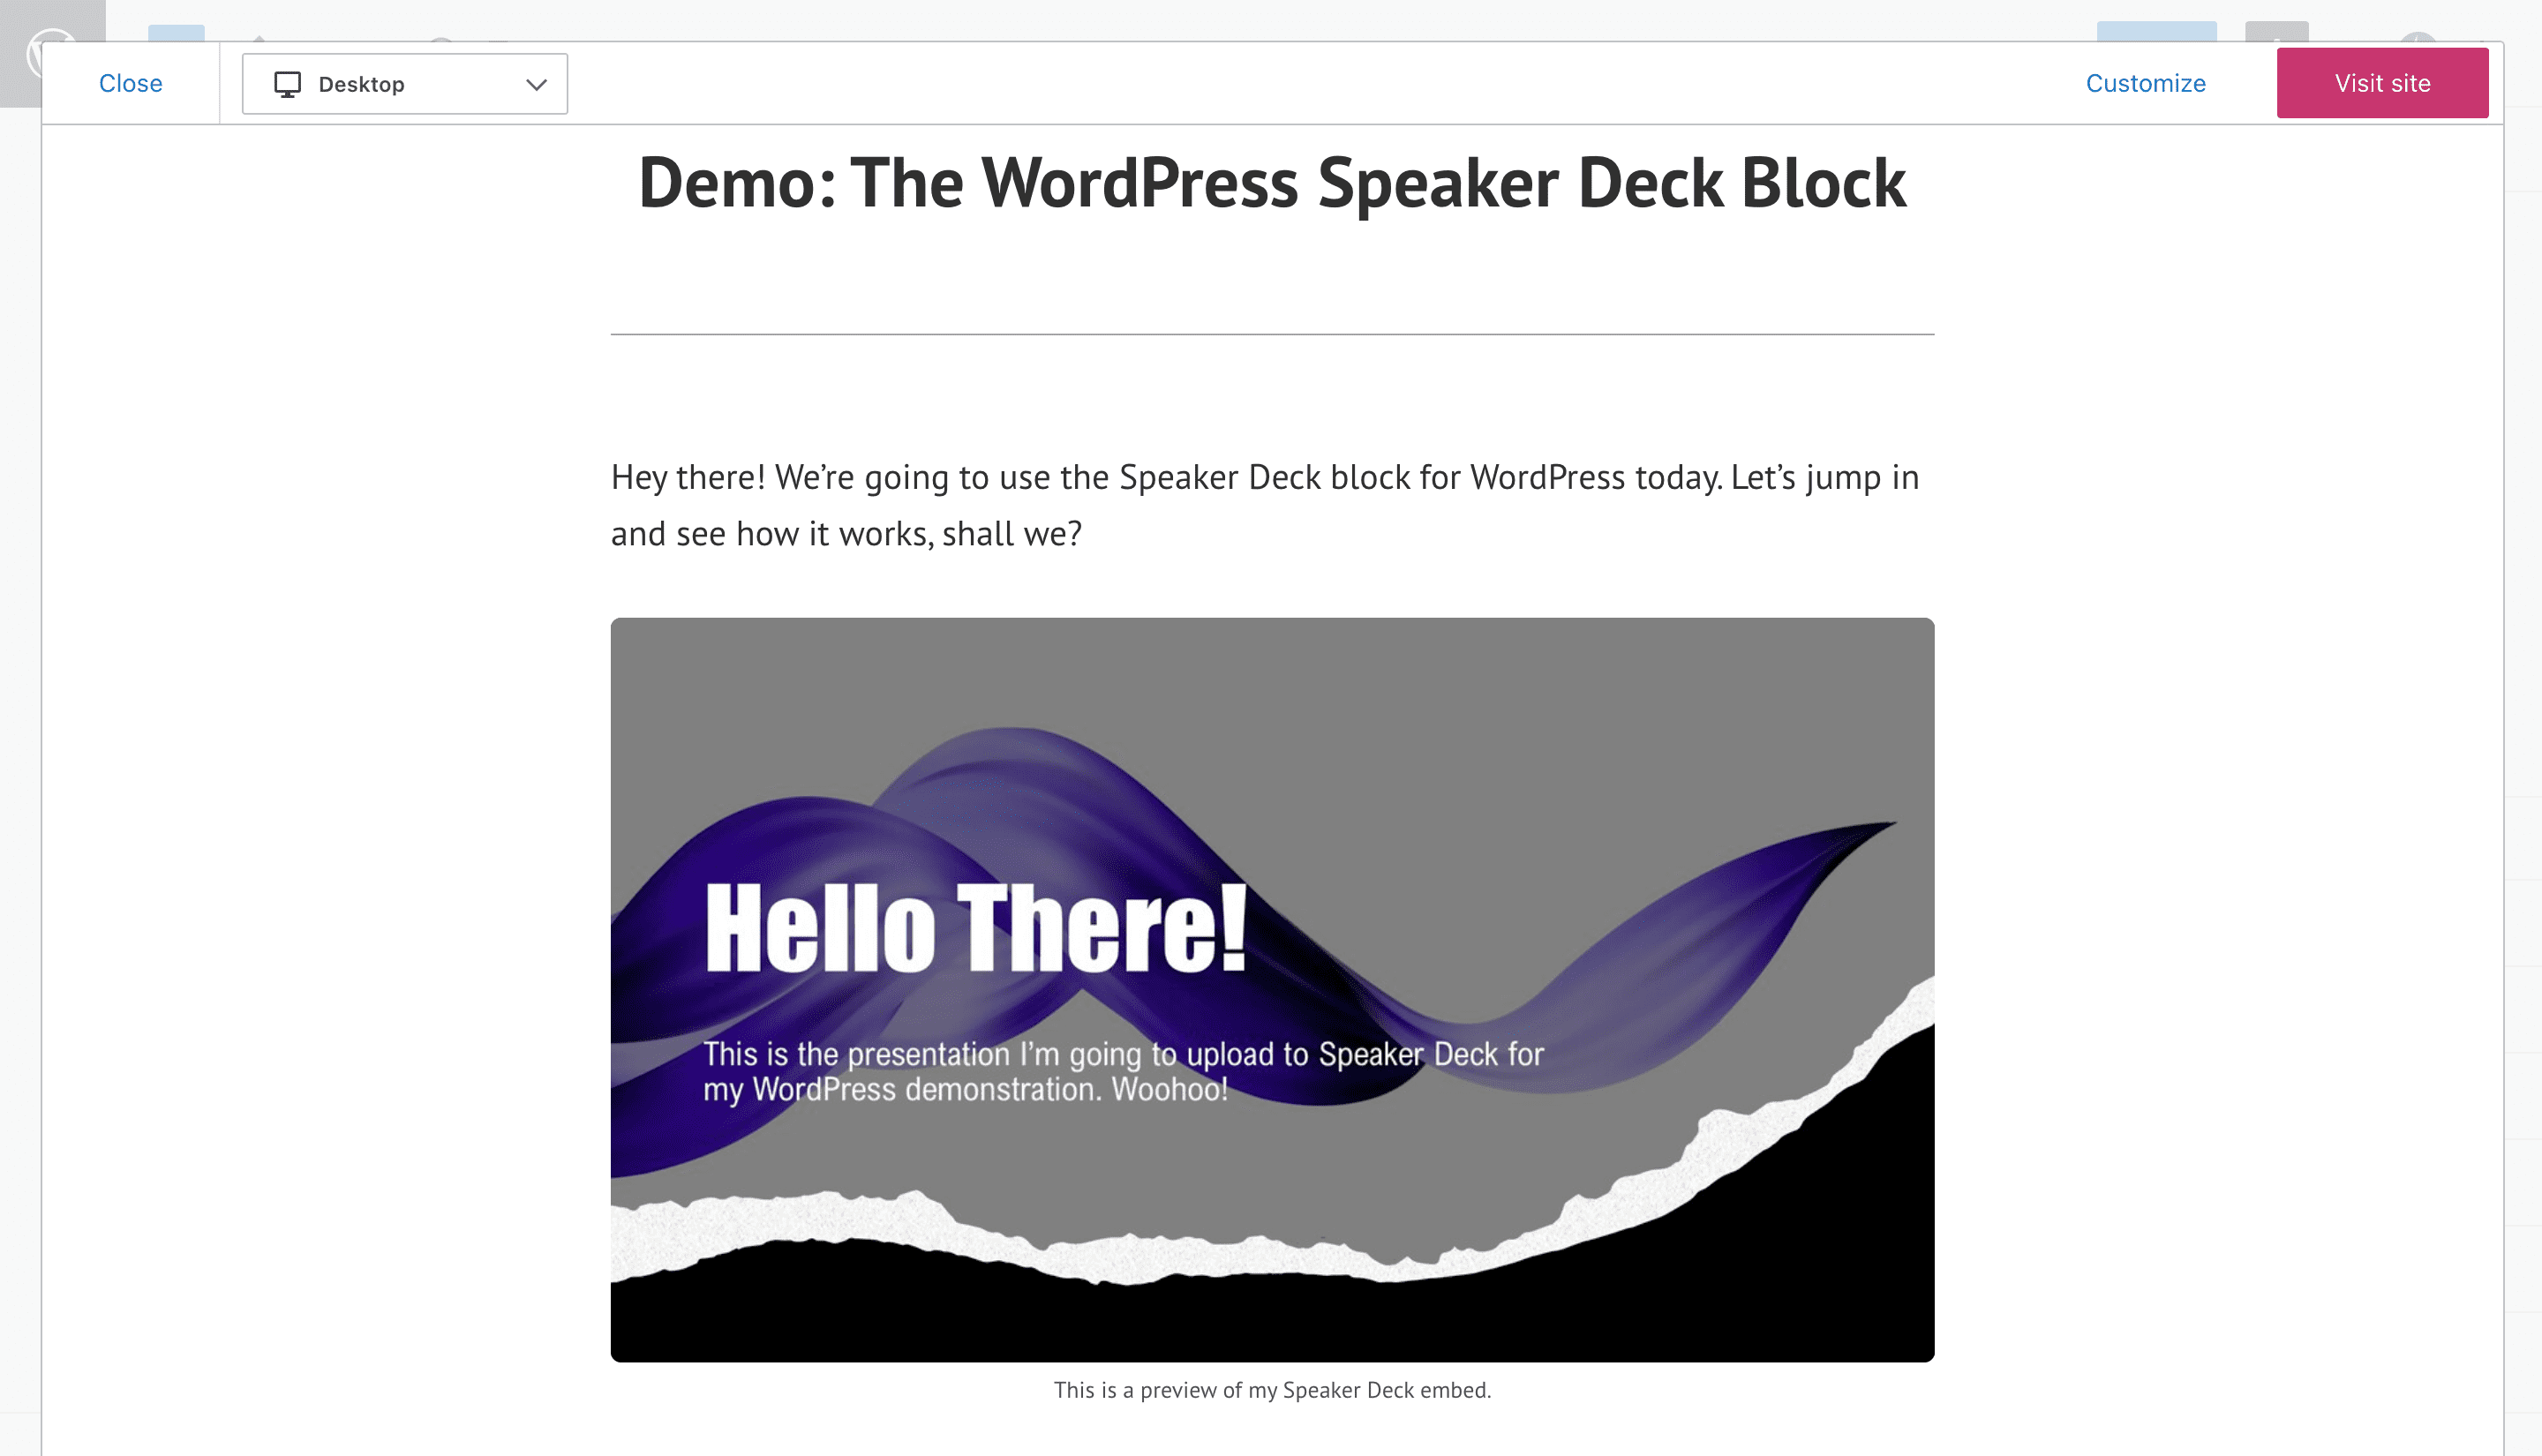
9. To view your Speaker Deck embed block as it will appear to your site visitors, click Preview in the upper right corner of your WordPress block editor.
Speaker Deck Embed Block Settings And Options
Now that you’ve embedded your Speaker Deck presentation, you can make tweaks to the block to adjust how it’s displayed. Let’s take a look at your options.
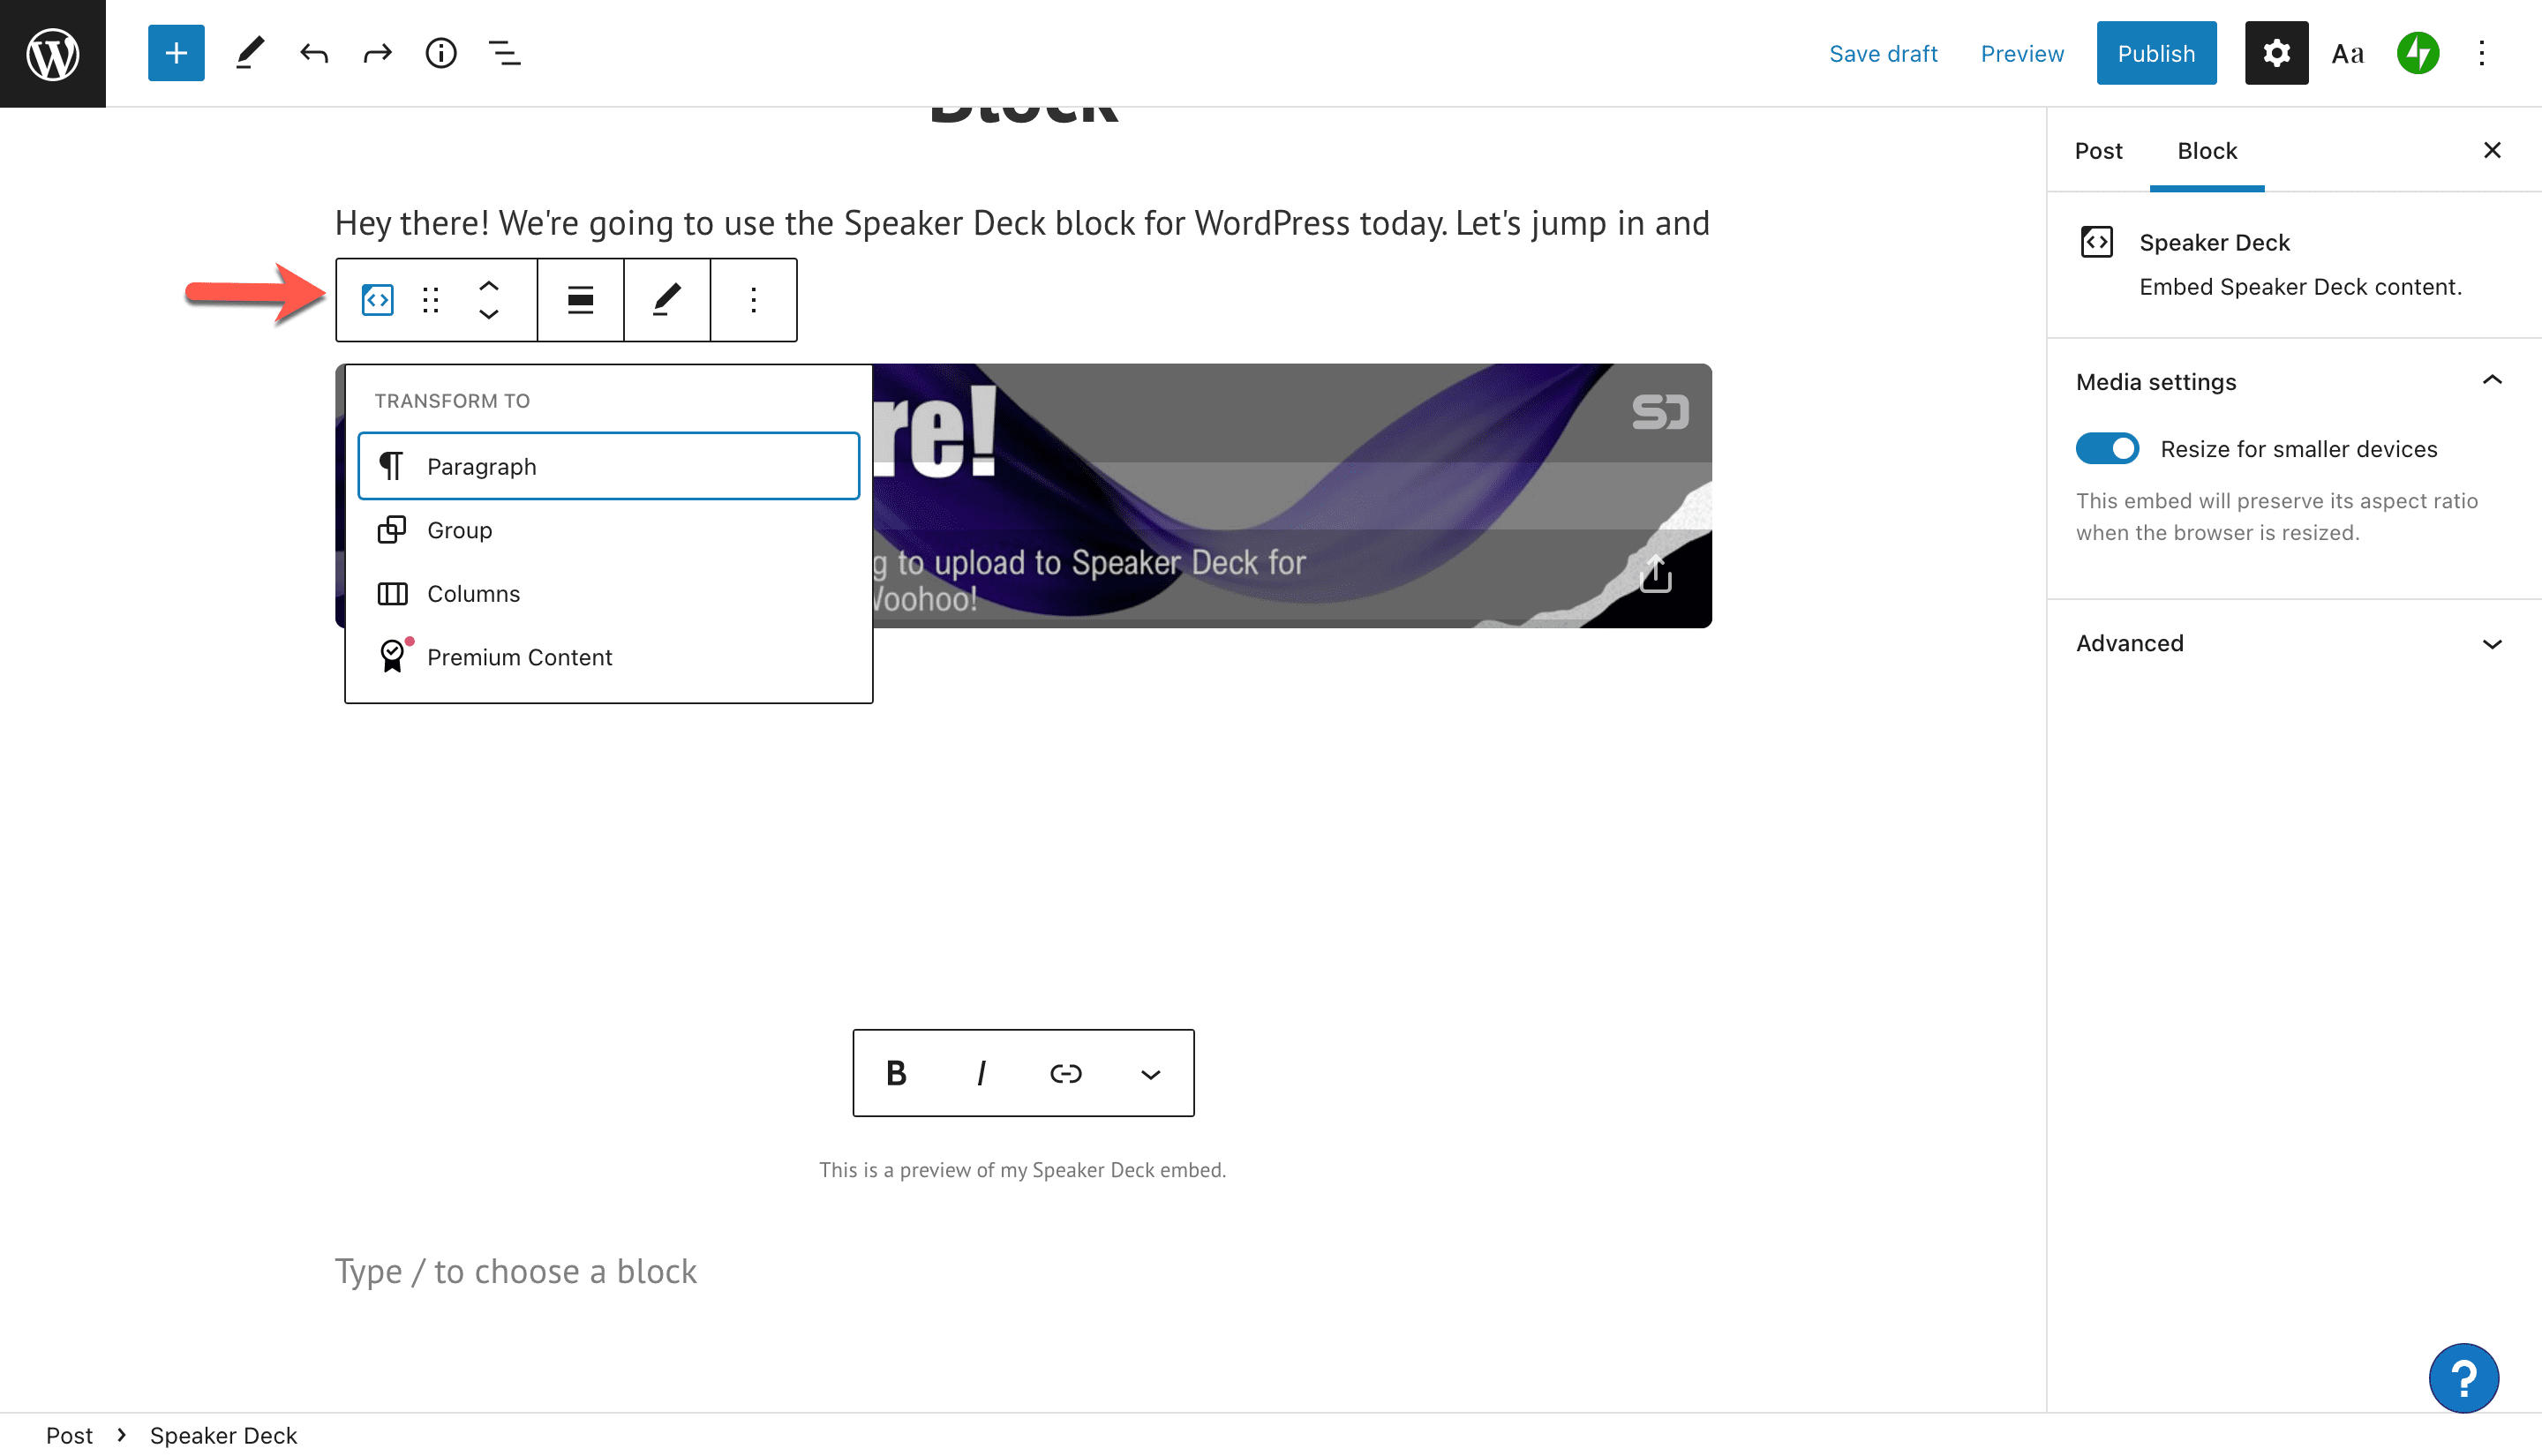
First, click inside your block to display the options toolbar in the upper left corner of the block. Your options include (from left to right) Transform, Drag, Move Up and Move Down, Change Alignment, Edit URL, and Options.

Transform Block Option
Click Transform to change your Speaker Deck block. The block’s default setting is Paragraph, but you can also transform the block to Premium Content (paid, subscriber-only content), Columns, or a Group along with other blocks on the page.
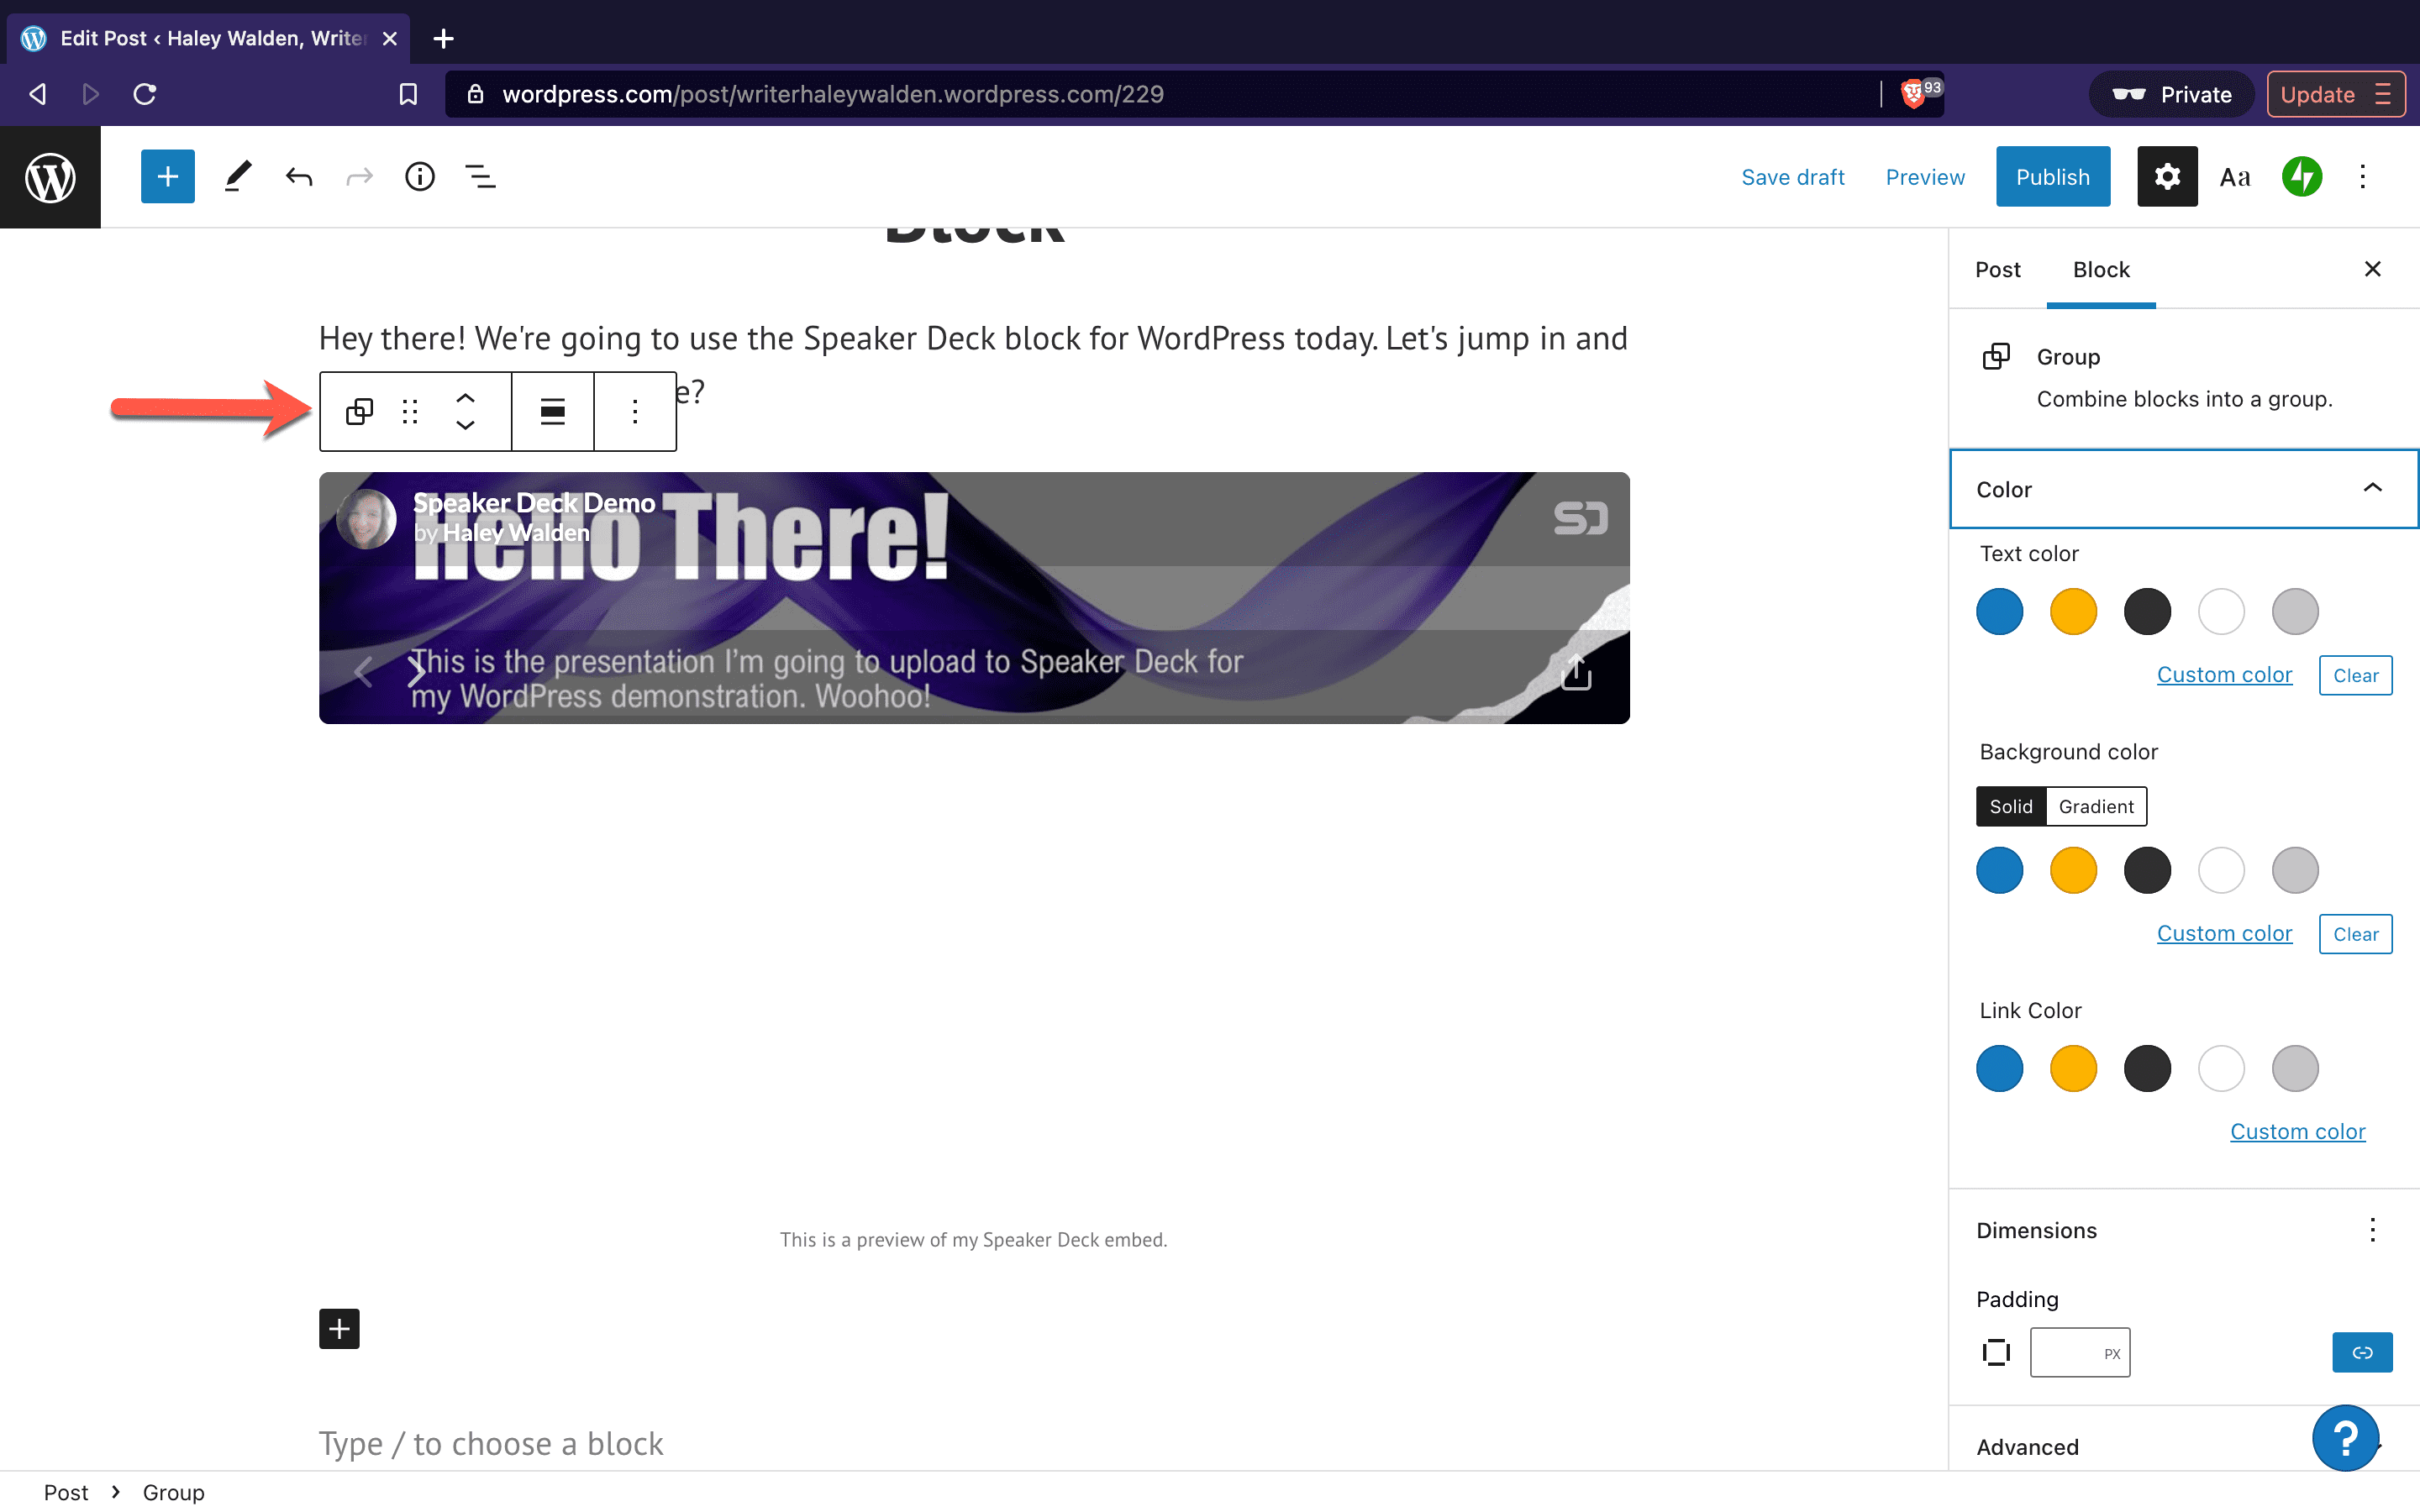
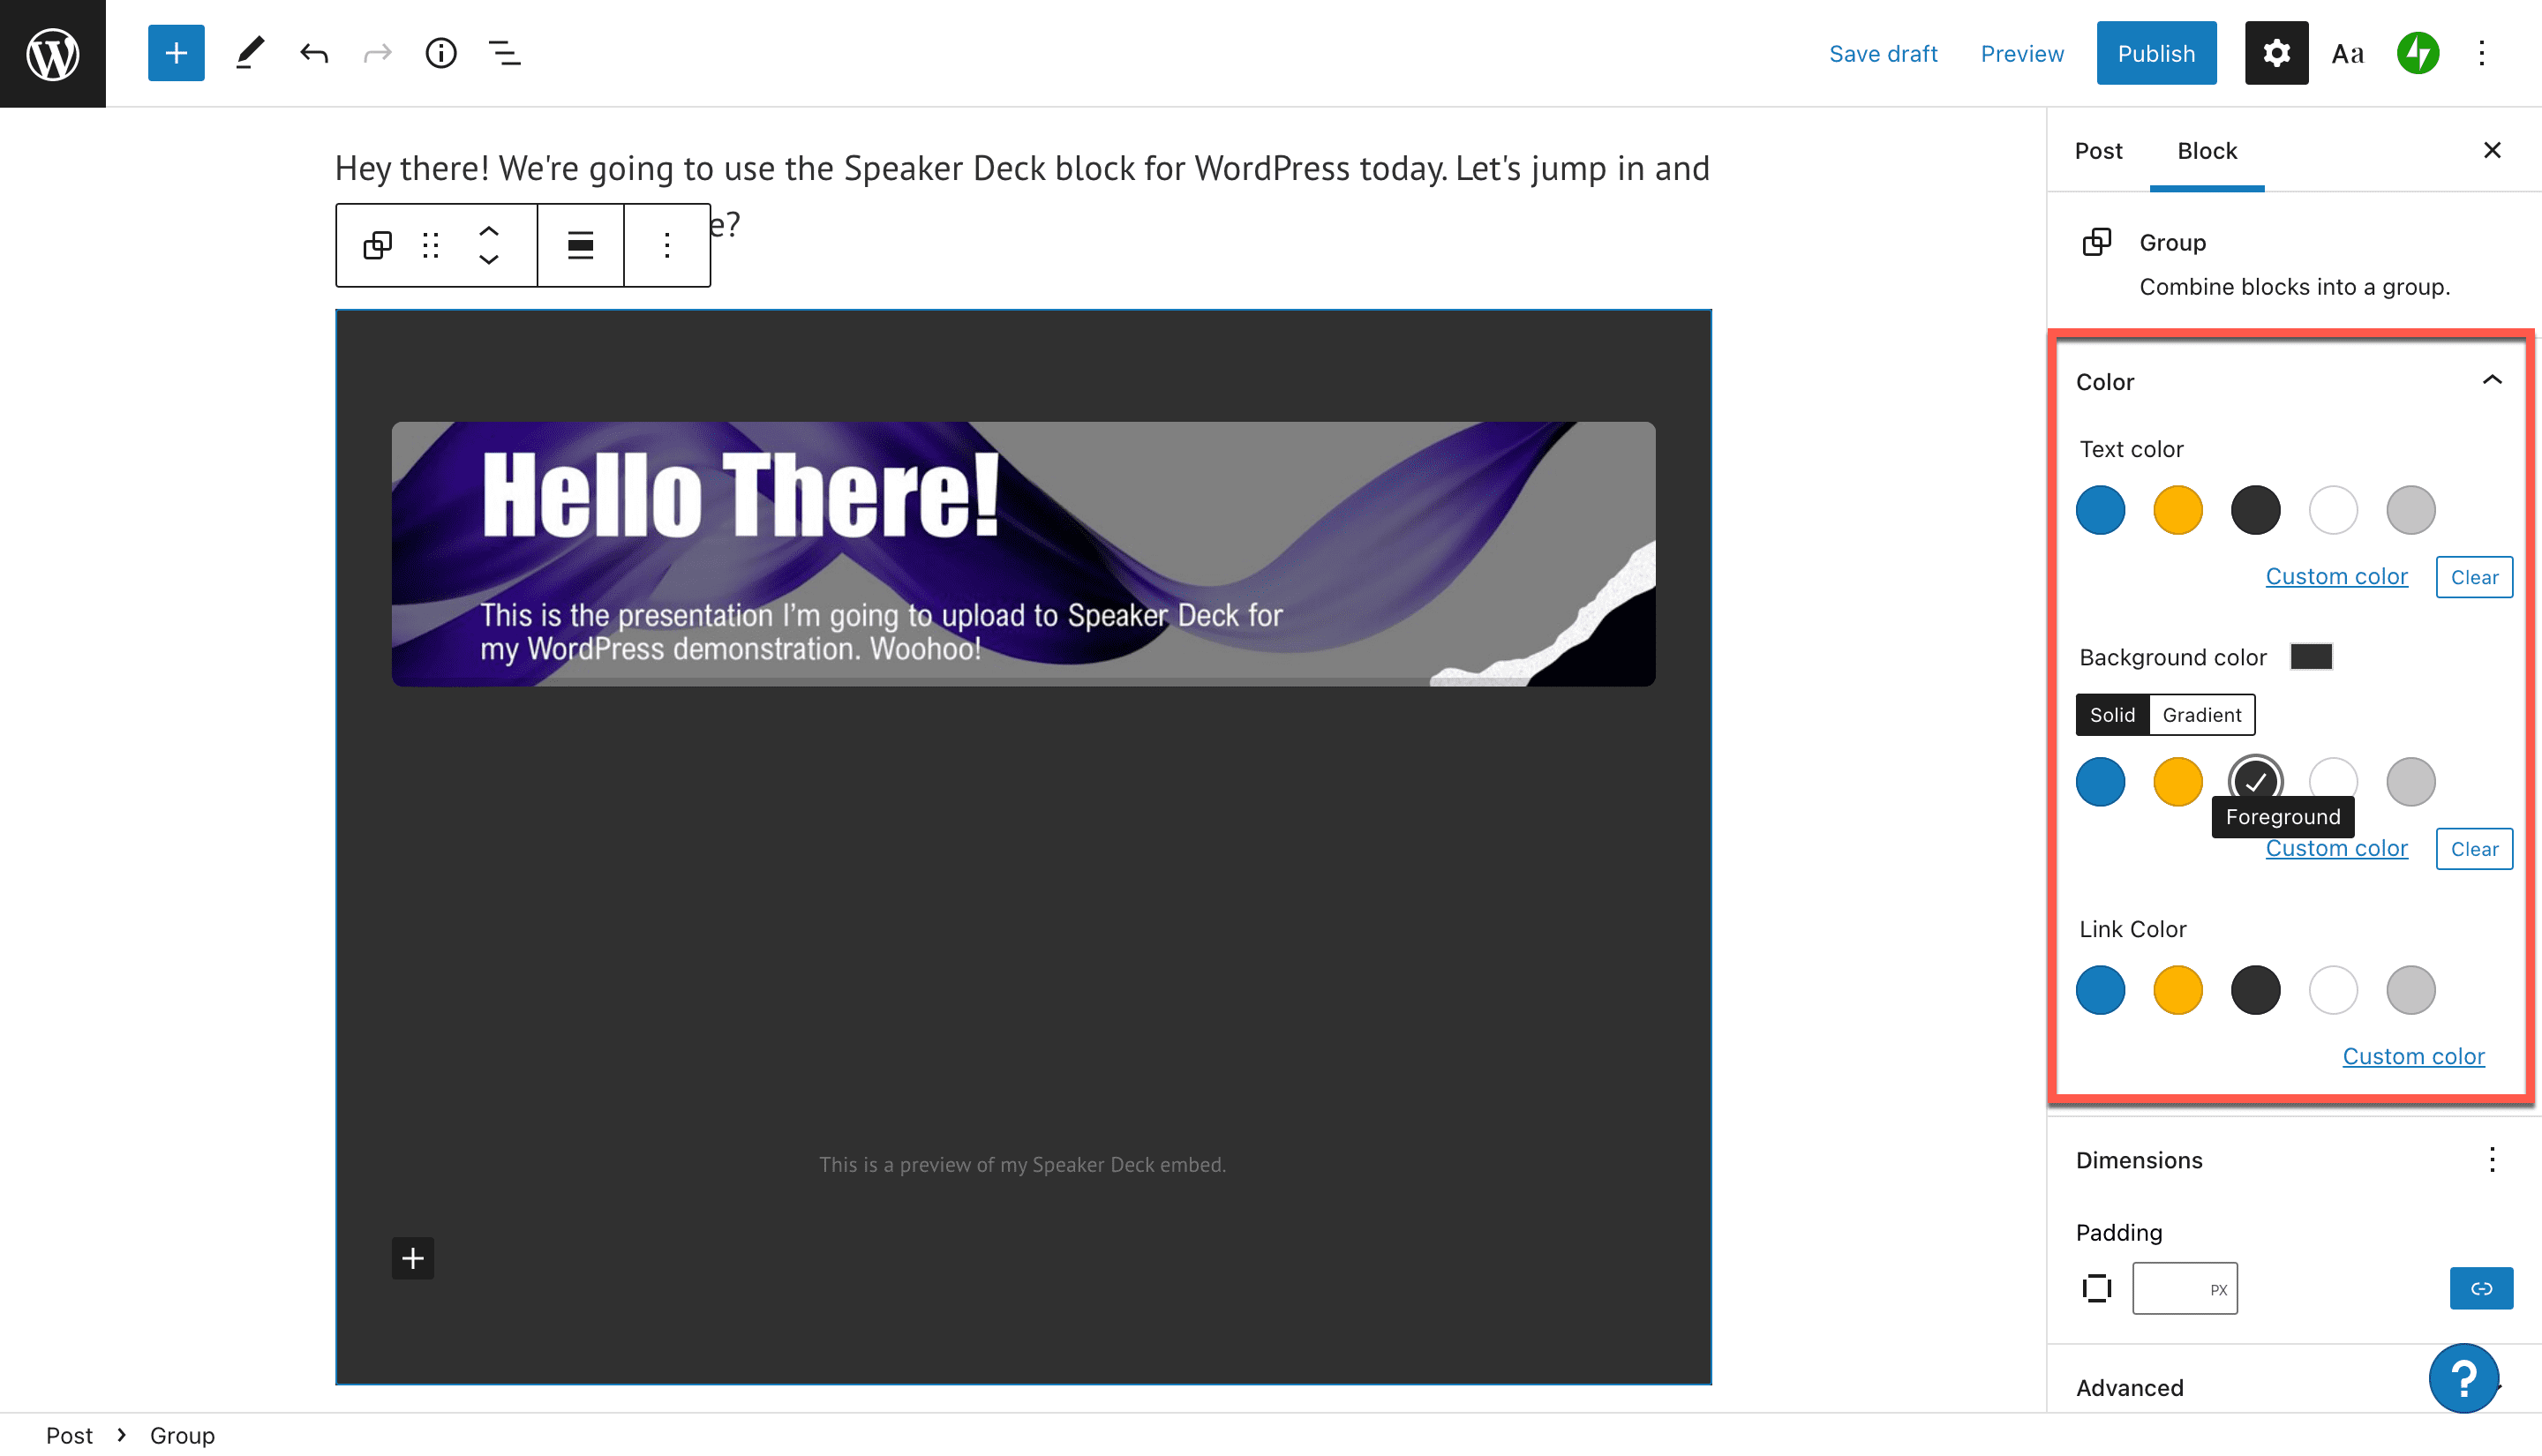
If you choose to Group your block, you can set a custom background color as a frame around the presentation. Simply select the Group option, and you’ll see color options on the right-hand side of your WordPress editor.
When you select your background color, it will display around your presentation preview in your WordPress editor.
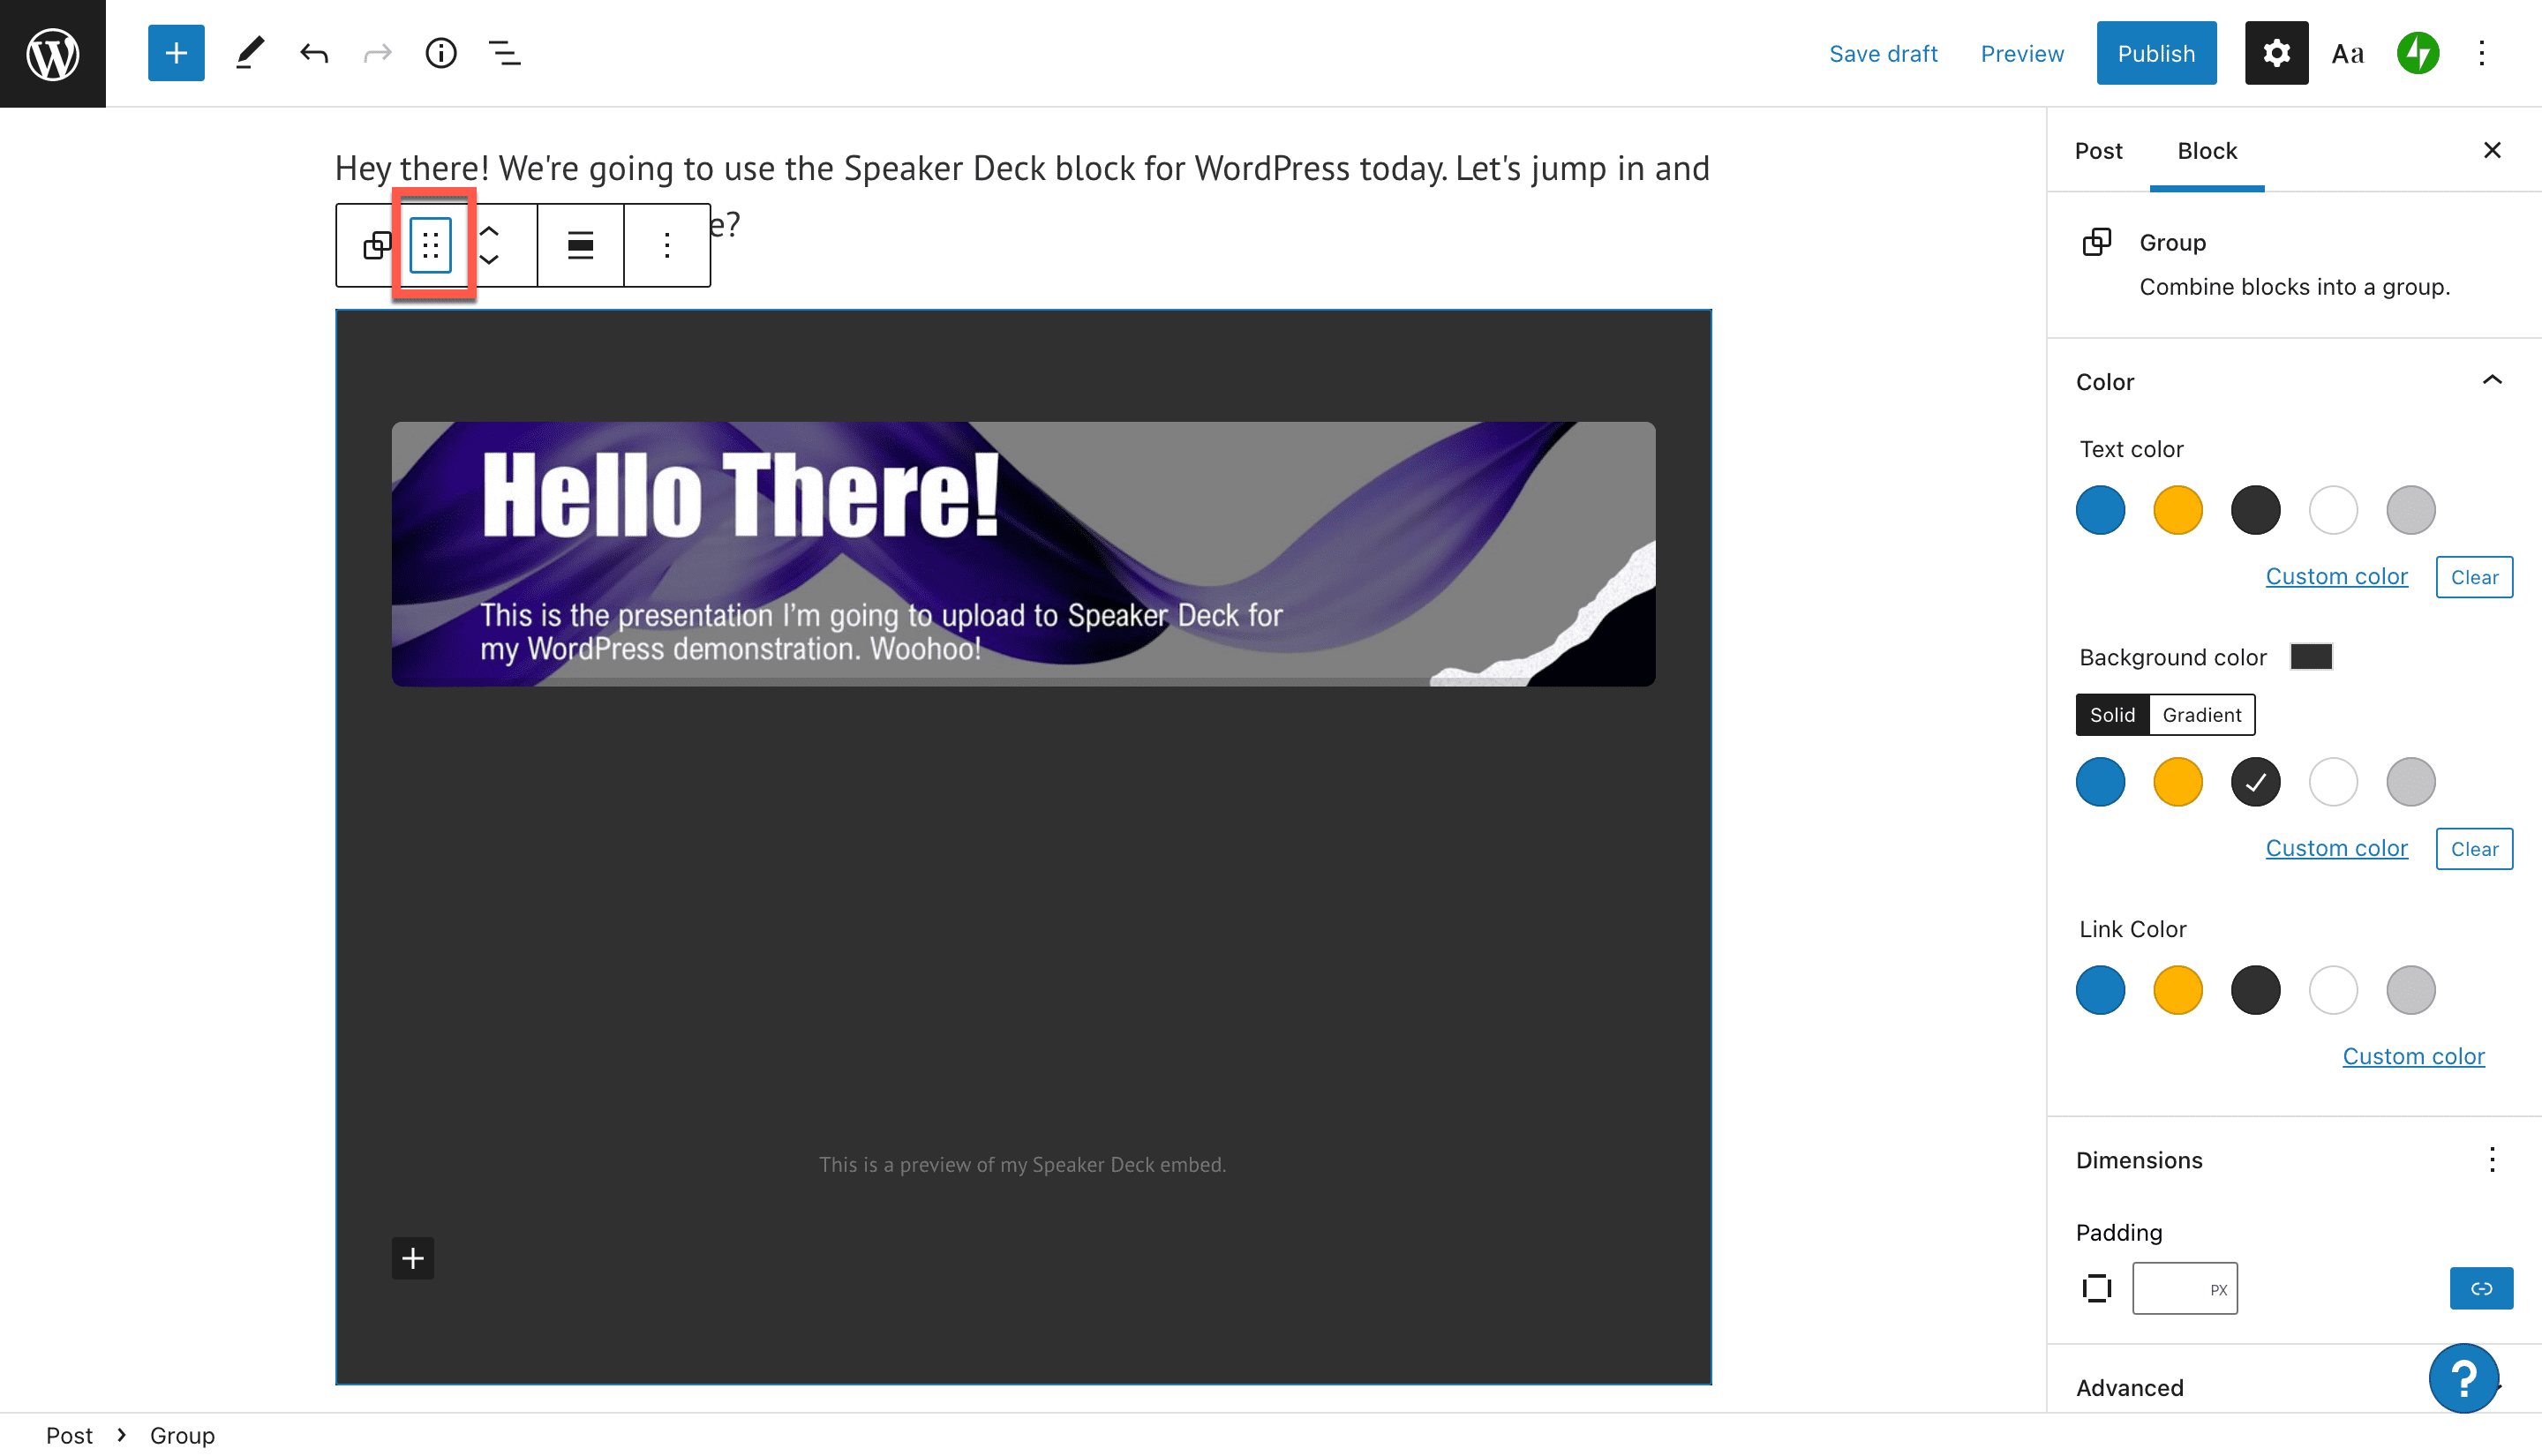
Drag Block Option
If you want to drag and drop your Speaker Deck embed block anywhere in your WordPress page or post, then the Drag button is for you. Just click, hold, and drag the block wherever you want to place it next.
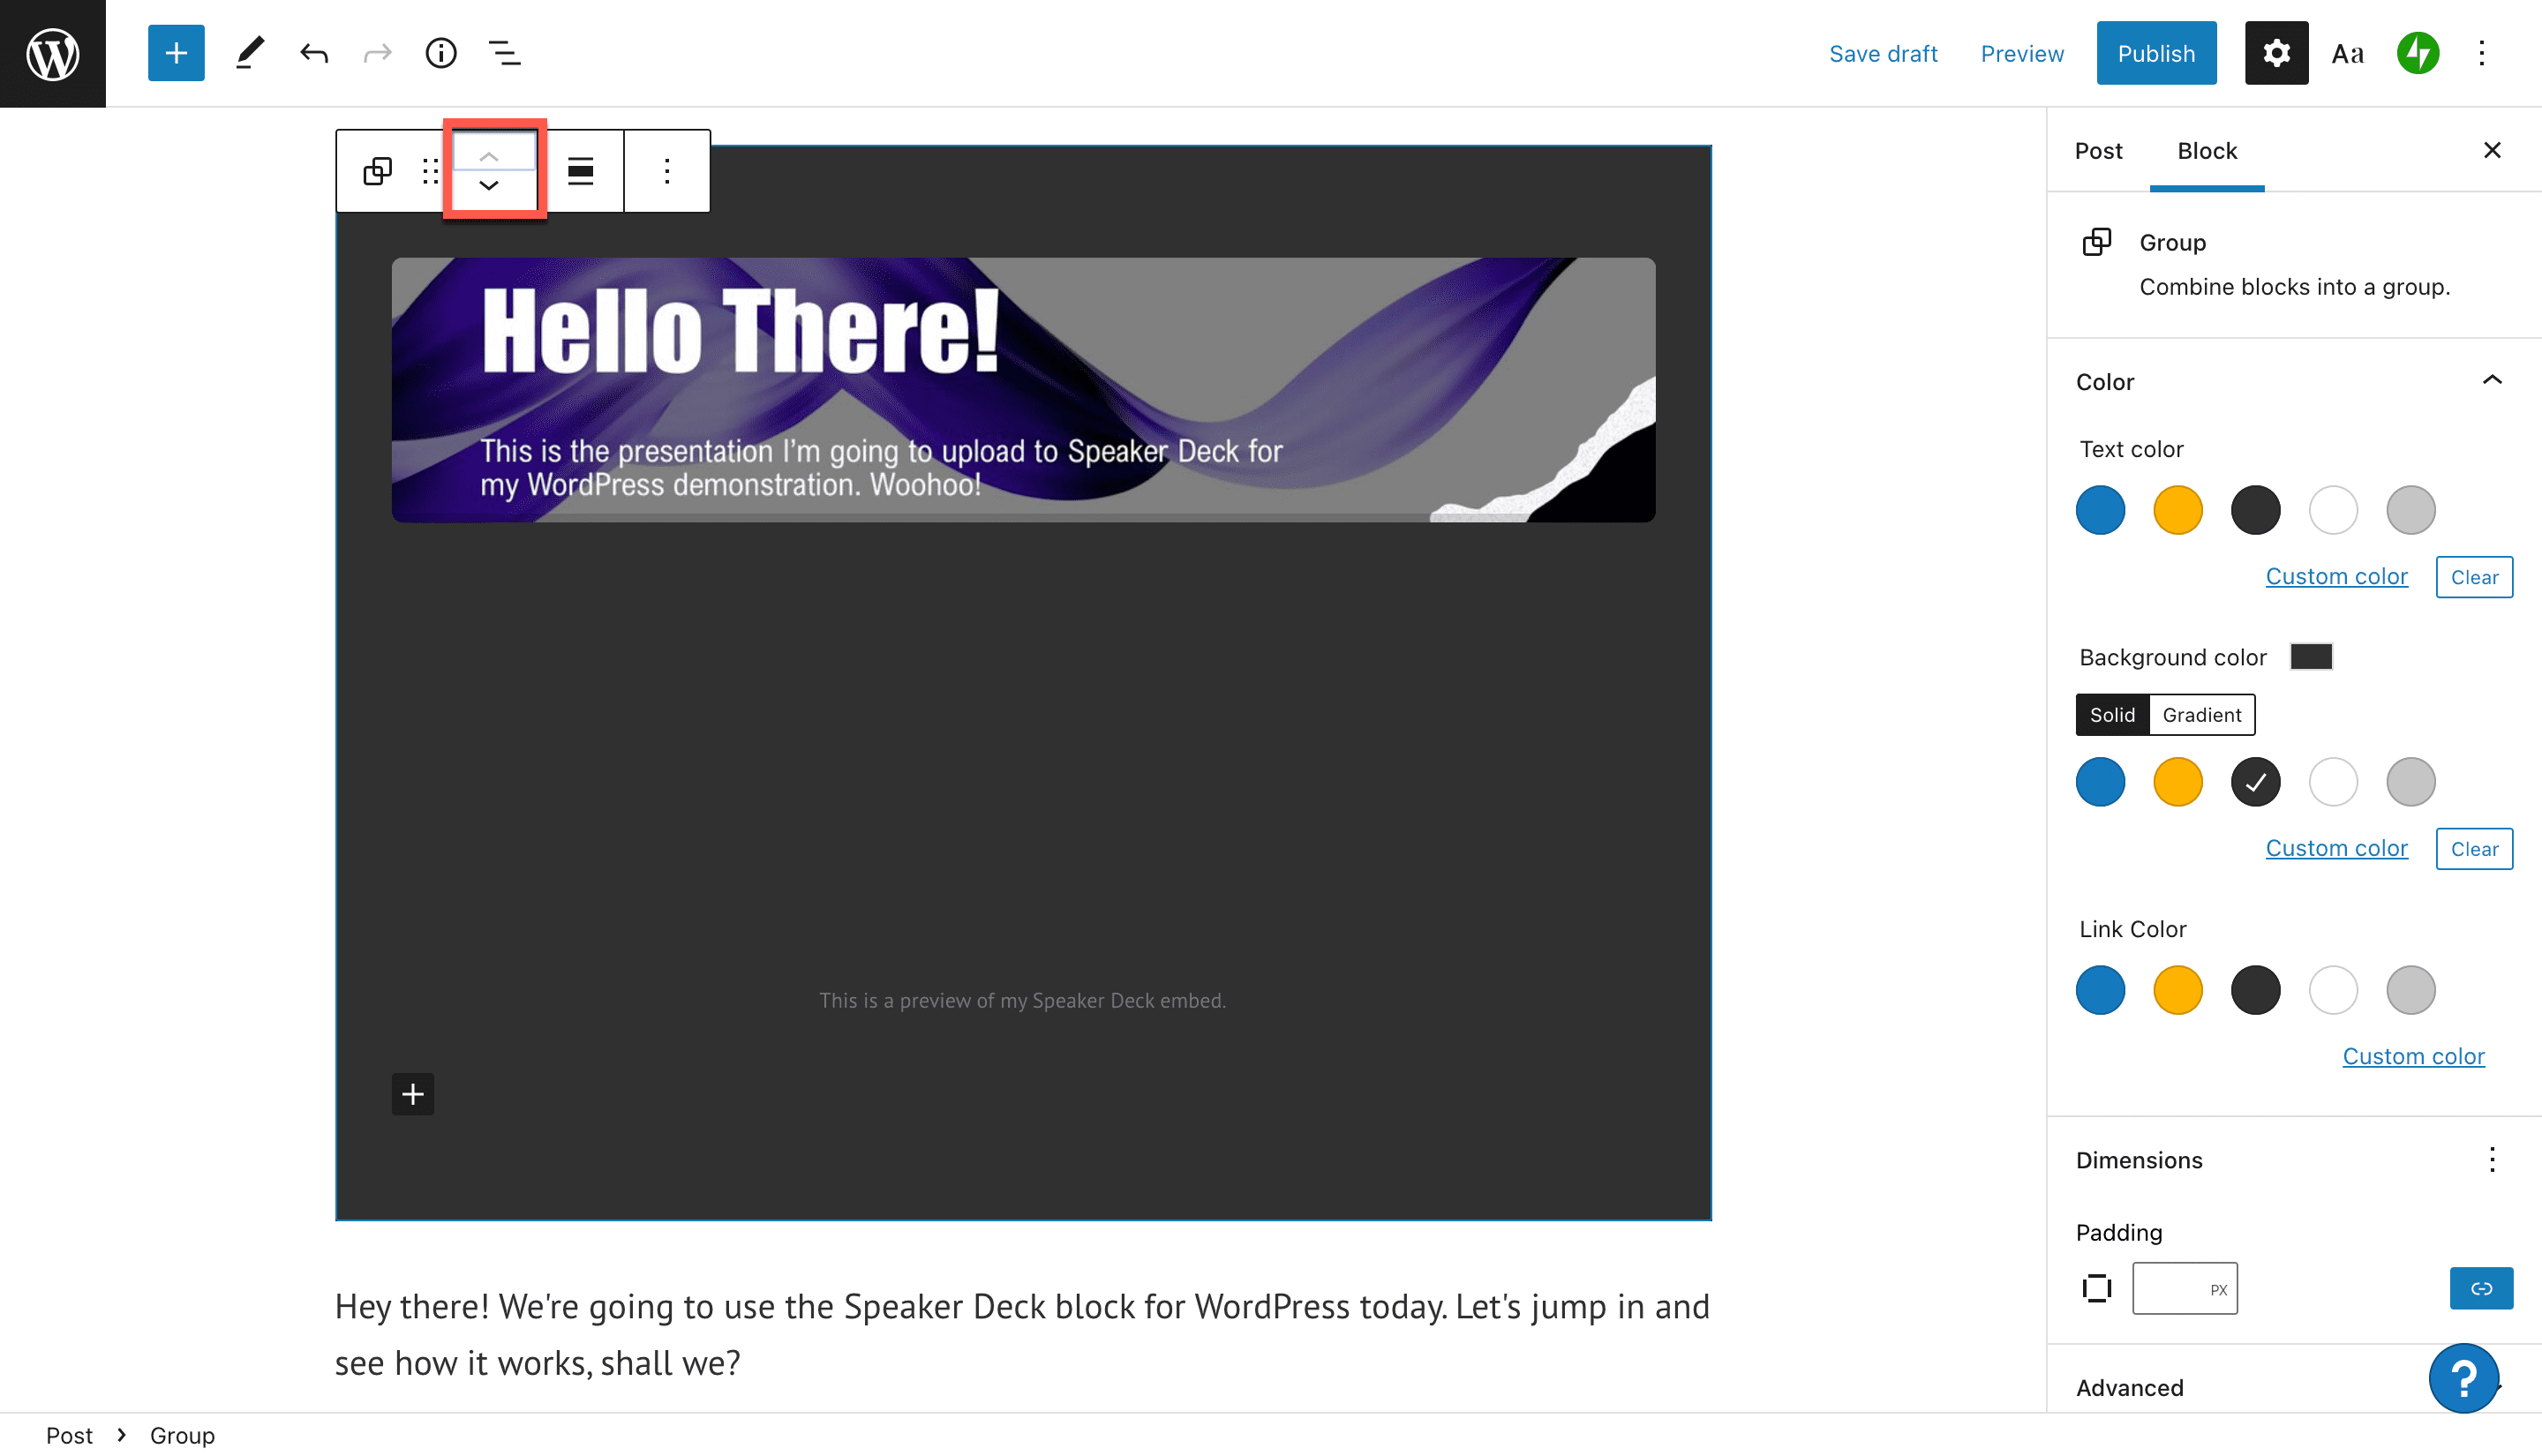
Move Up And Move Down Options
The Move Up and Move Down options allow you to move your block up or down by one space at a time. Just click in either direction, and your presentation will jump above or below its adjacent block.
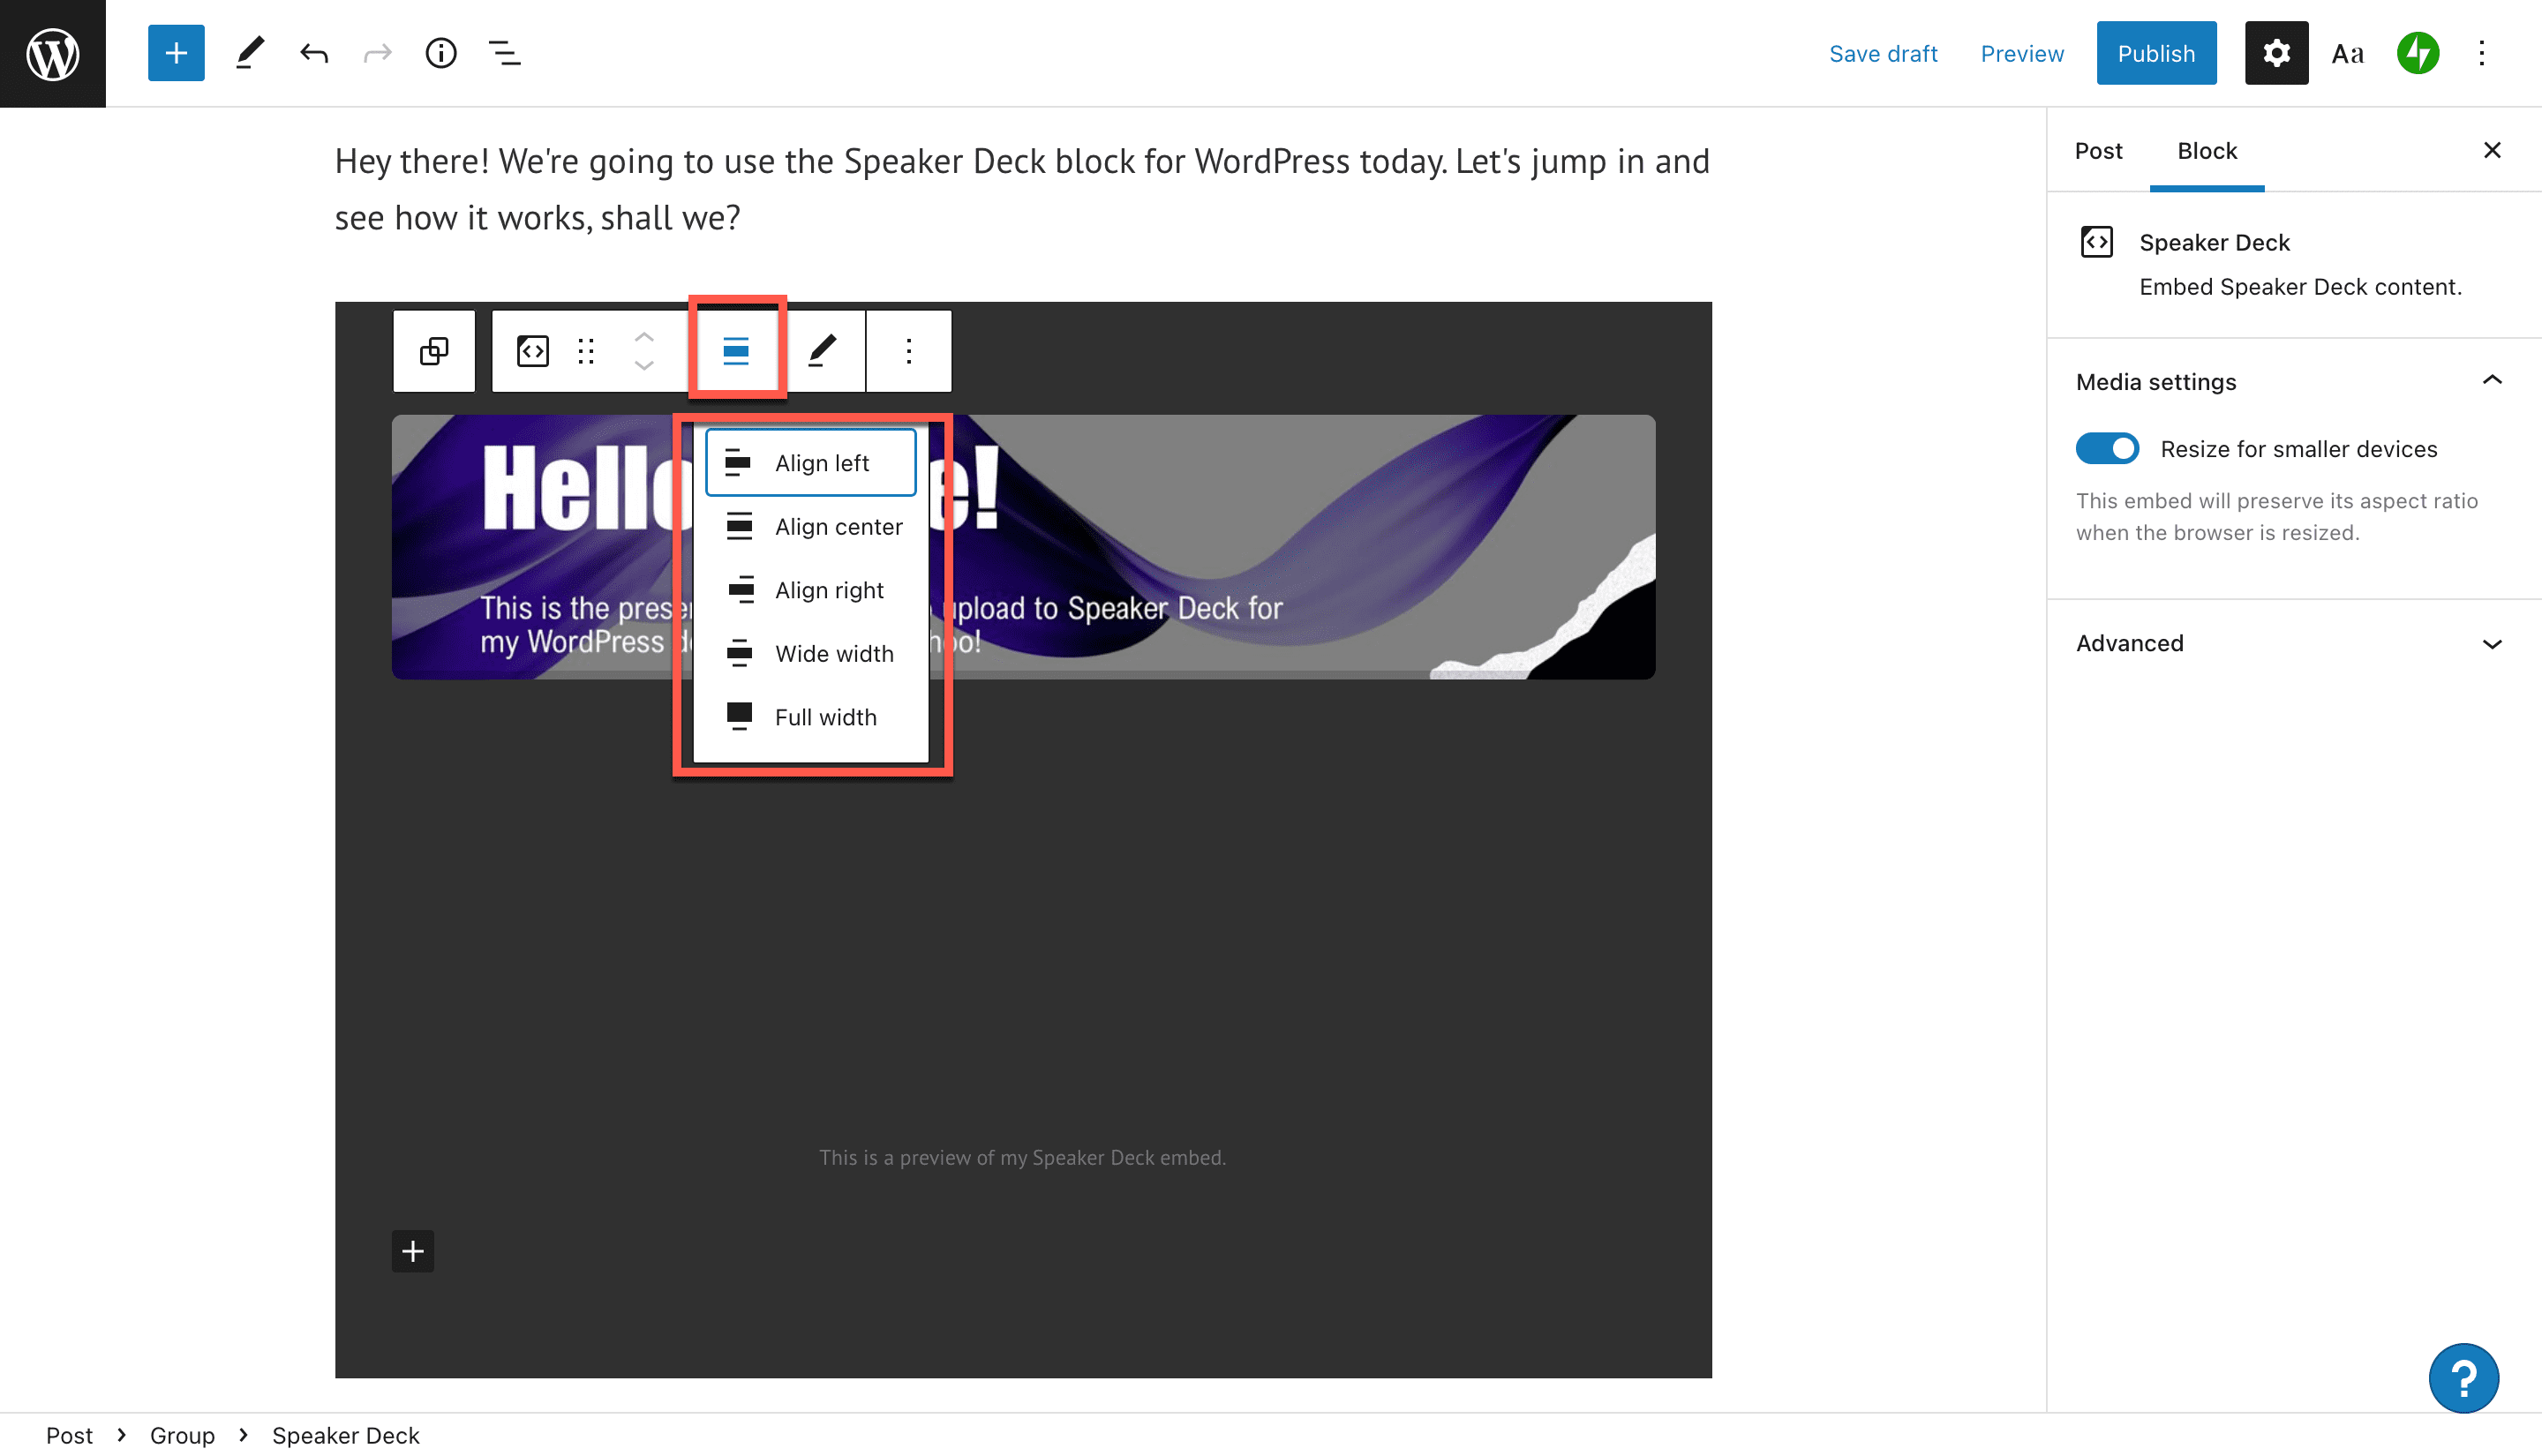
Change Alignment Option
If you want to change your presentation’s alignment in your post or page, the Change Alignment button is your go-to. Your options are to align your block to the left, center, or right. Alternatively, you can choose to display your block at full or wide width.
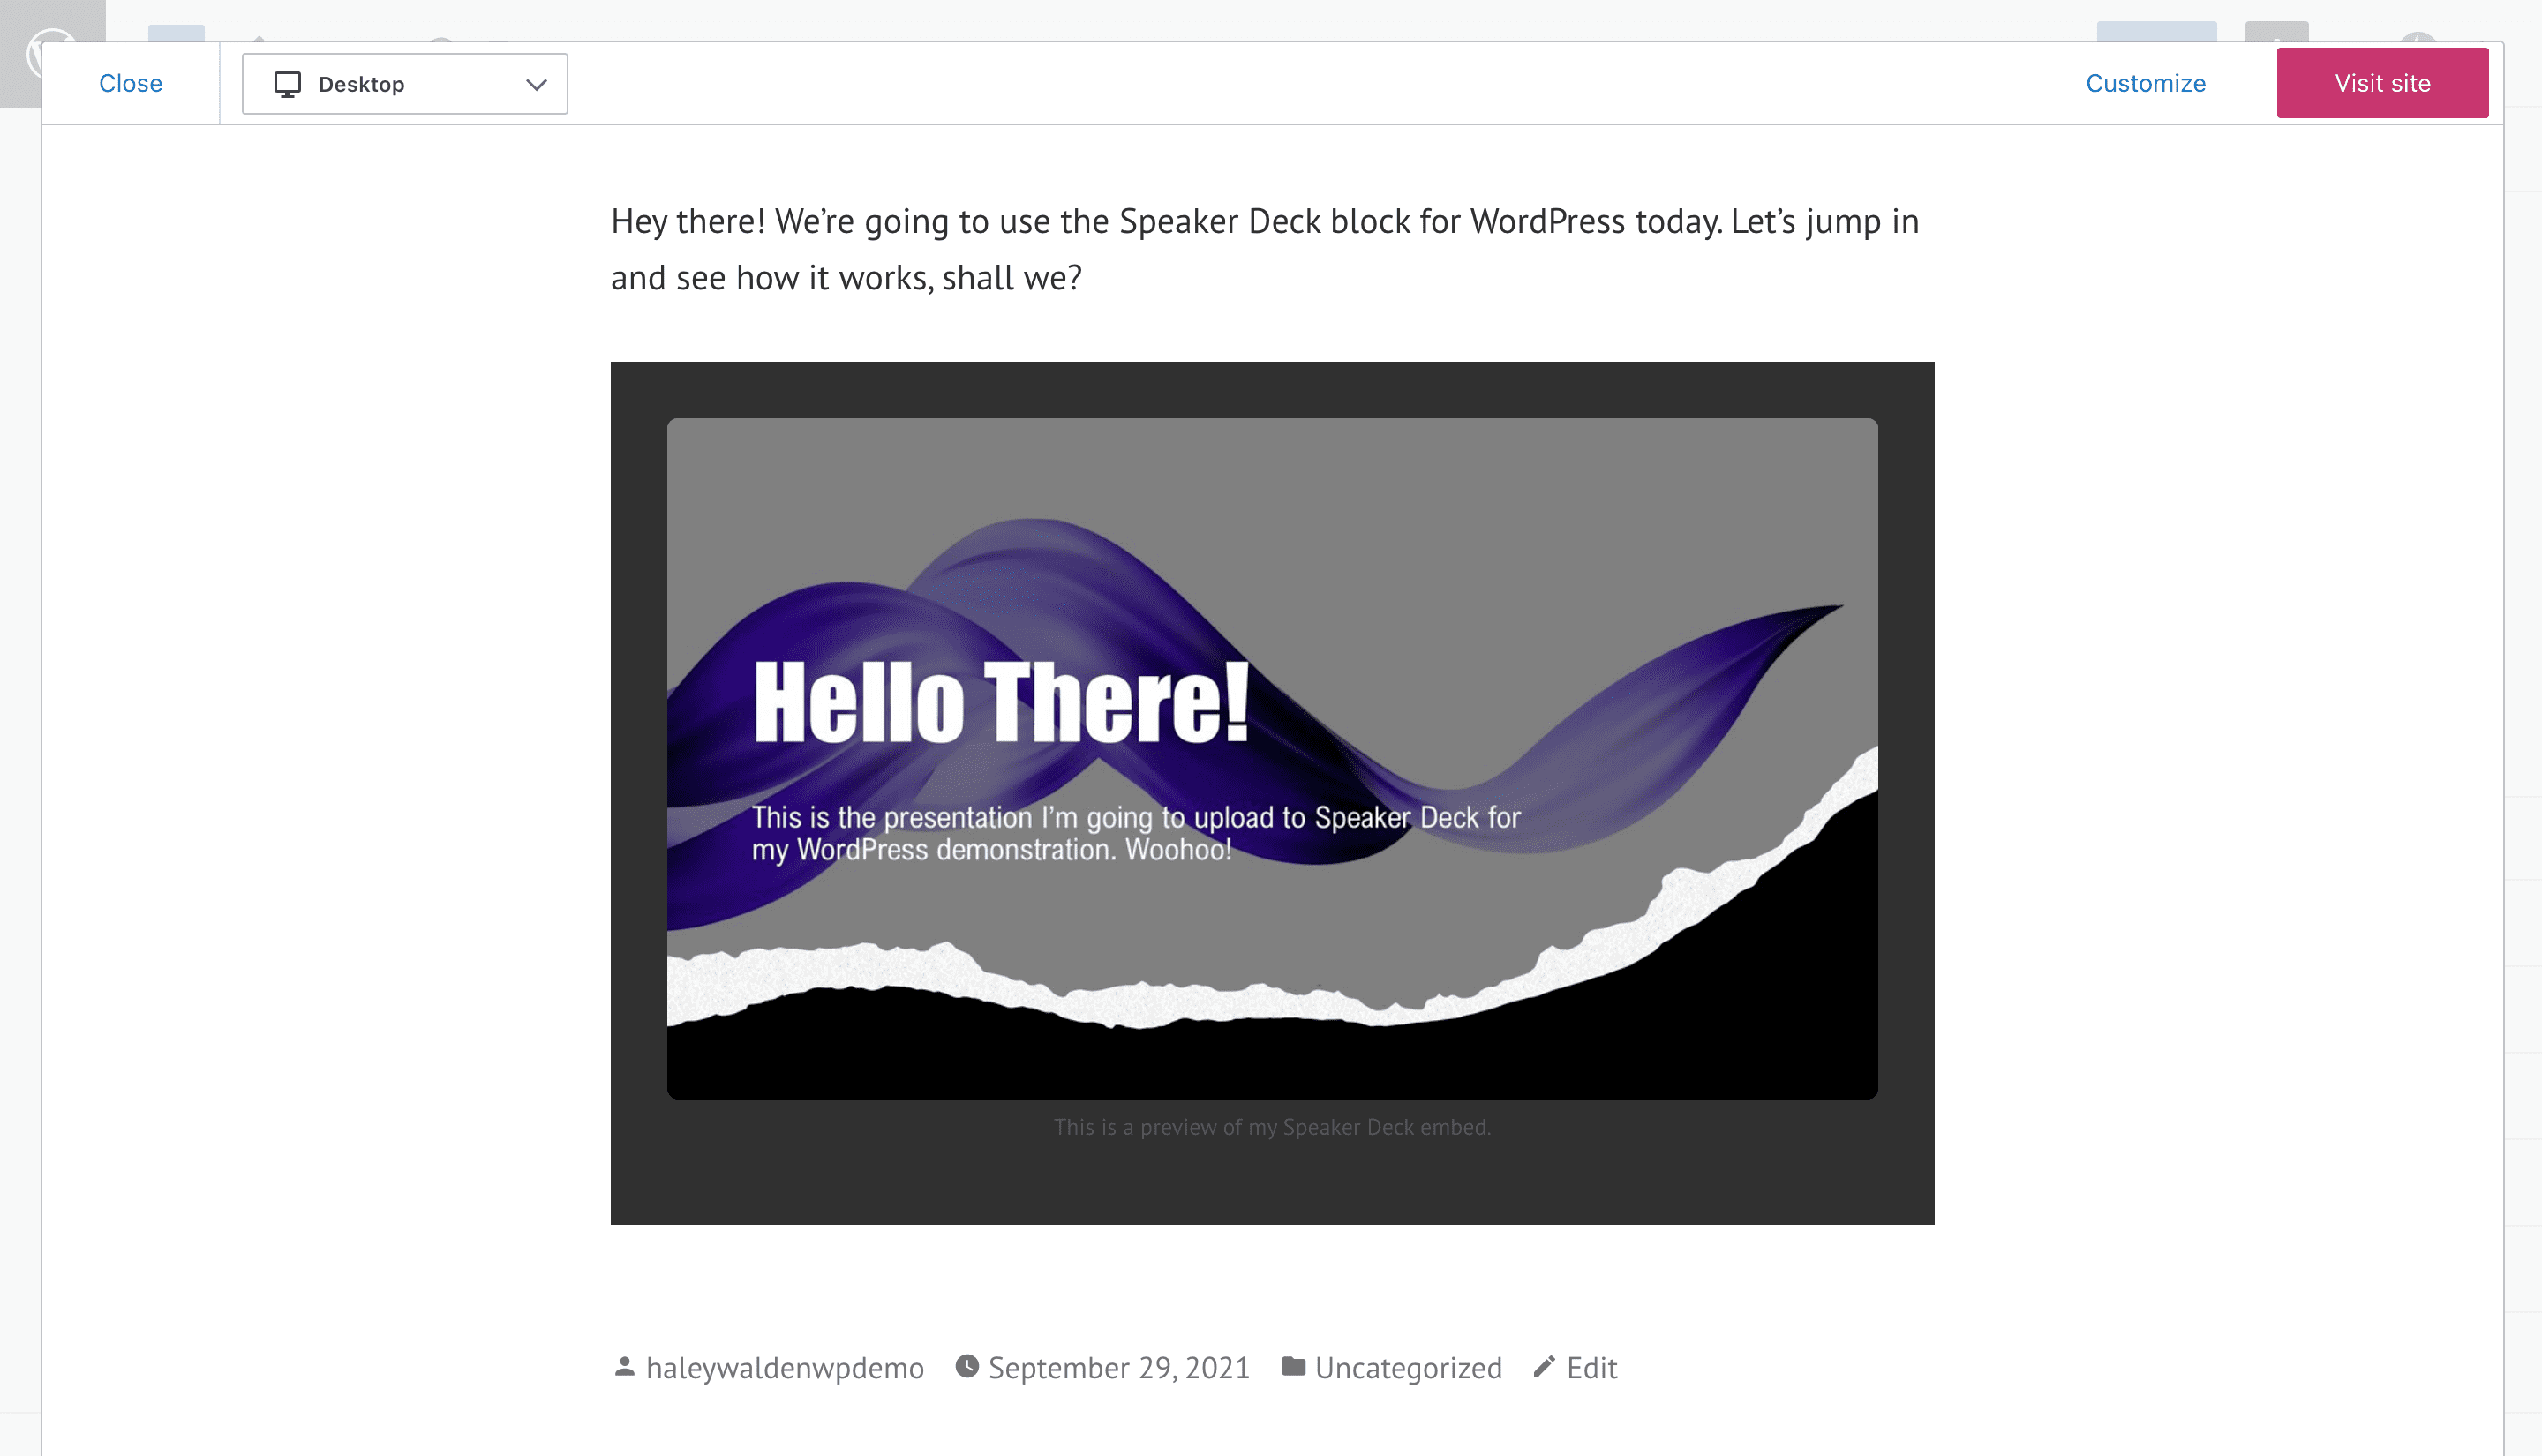
Once you’ve aligned your block the way you want it, click Preview in the upper right corner of your WordPress editor to see how it looks.
Edit URL Option
Don’t have the right Speaker Deck presentation for your embed? You can click Edit URL, and you’ll see the original embed window from step 7 above. Click the blue Embed button to replace your presentation with the new URL you entered.
Additional Options And Media Settings
Now, move on to your additional options at the far right end of the toolbar. When you click on your additional options, it’s possible to:
- Copy the block
- Duplicate the block and its contents
- Insert a new block immediately before or after the slide deck
- Move your Speaker Deck presentation block elsewhere
- Add the presentation to reusable blocks to be saved and used again at a later time
- Include the block in a group
- Remove the block entirely
On the right-hand side of the screen, you’ll also see Media Settings. You can use this setting to toggle between automatically optimizing your media for a smaller screen.

Tips And Best Practices For Using The Speaker Deck Embed Block Effectively
Now you know how to embed your Speaker Deck presentation into your WordPress blog post or page. It’s important to understand some best practices you should be following before you share the Speaker Deck embed. Here are a few tips:
- Your SpeakerDeck must be in PDF format
- Make sure your Speaker Deck presentation content is original and not copied from anyone else’s work
- Your presentation should be public on Speaker Deck, otherwise, you won’t be able to embed it at all
- A Speaker Deck presentation should be easy to read, with eye-catching images and graphics
- Ensure your presentation deck aligns with your brand and values
Frequently Asked Questions About The Speaker Deck Embed Block
While public decks can be shared and embedded, proceed with caution. You’ll want to make sure the content aligns with your message. Additionally, you’ll need to ask permission of the original creator and give appropriate credit where it’s due.
What kinds of presentation files can I upload to Speaker Deck? Can I use my PowerPoint presentation, for example?
The only supported file format on Speaker Deck is PDF. Users can export a PDF from their Keynote or PowerPoint presentation.
When I tried to embed my Speaker Deck presentation, WordPress just gave me a URL. Why did that happen?
Getting a URL rather than a Speaker Deck embed means something went wrong with your process. Maybe the presentation can’t be shared due to settings by the original creator. Or, perhaps you need to adjust the settings in your Speaker Deck account. The deck will need to be set to public in order to embed properly. Alternatively, you can get a paid Speaker Deck account to make your decks private, but still shareable to WordPress.
Conclusion
Now that you know how to include a Speaker Deck embed in your WordPress blog post or page, it’s time to share your expertise with the world. What’s your niche, and how will you use Speaker Deck to enhance your website? Share your ideas for your Speaker Deck embed in the comments section.
Featured image via PureSolutions / shutterstock.com




Thanks alot for the awesome totorial.
oh! SpeakerDeck looks like an interesting tool. Thanks for sharing this!