If you want to export all your content and media from your existing WordPress website, the native WordPress export tool is a fast and easy way to get your data with just a few clicks. Exporting your WordPress site doesn’t require plugins. Instead, the functionality is built right into the interface.
WordPress export is a simple process that allows you to download directories that contain your site data. These directories can then be imported into another WordPress site or other platform and used to build your new website.
Before we move on, this article covers exporting pages, blog posts, and media from the native WordPress export tool. If you’re looking for information about exporting pages from Divi, for example, you can find that here.
Ready to learn how to export your WordPress website content? Let’s dive right in.
Subscribe To Our Youtube Channel
How To Use the WordPress Export Tool
Whether you want to download your written content, your media, or all of the above, it’s easy to get access to all your files.
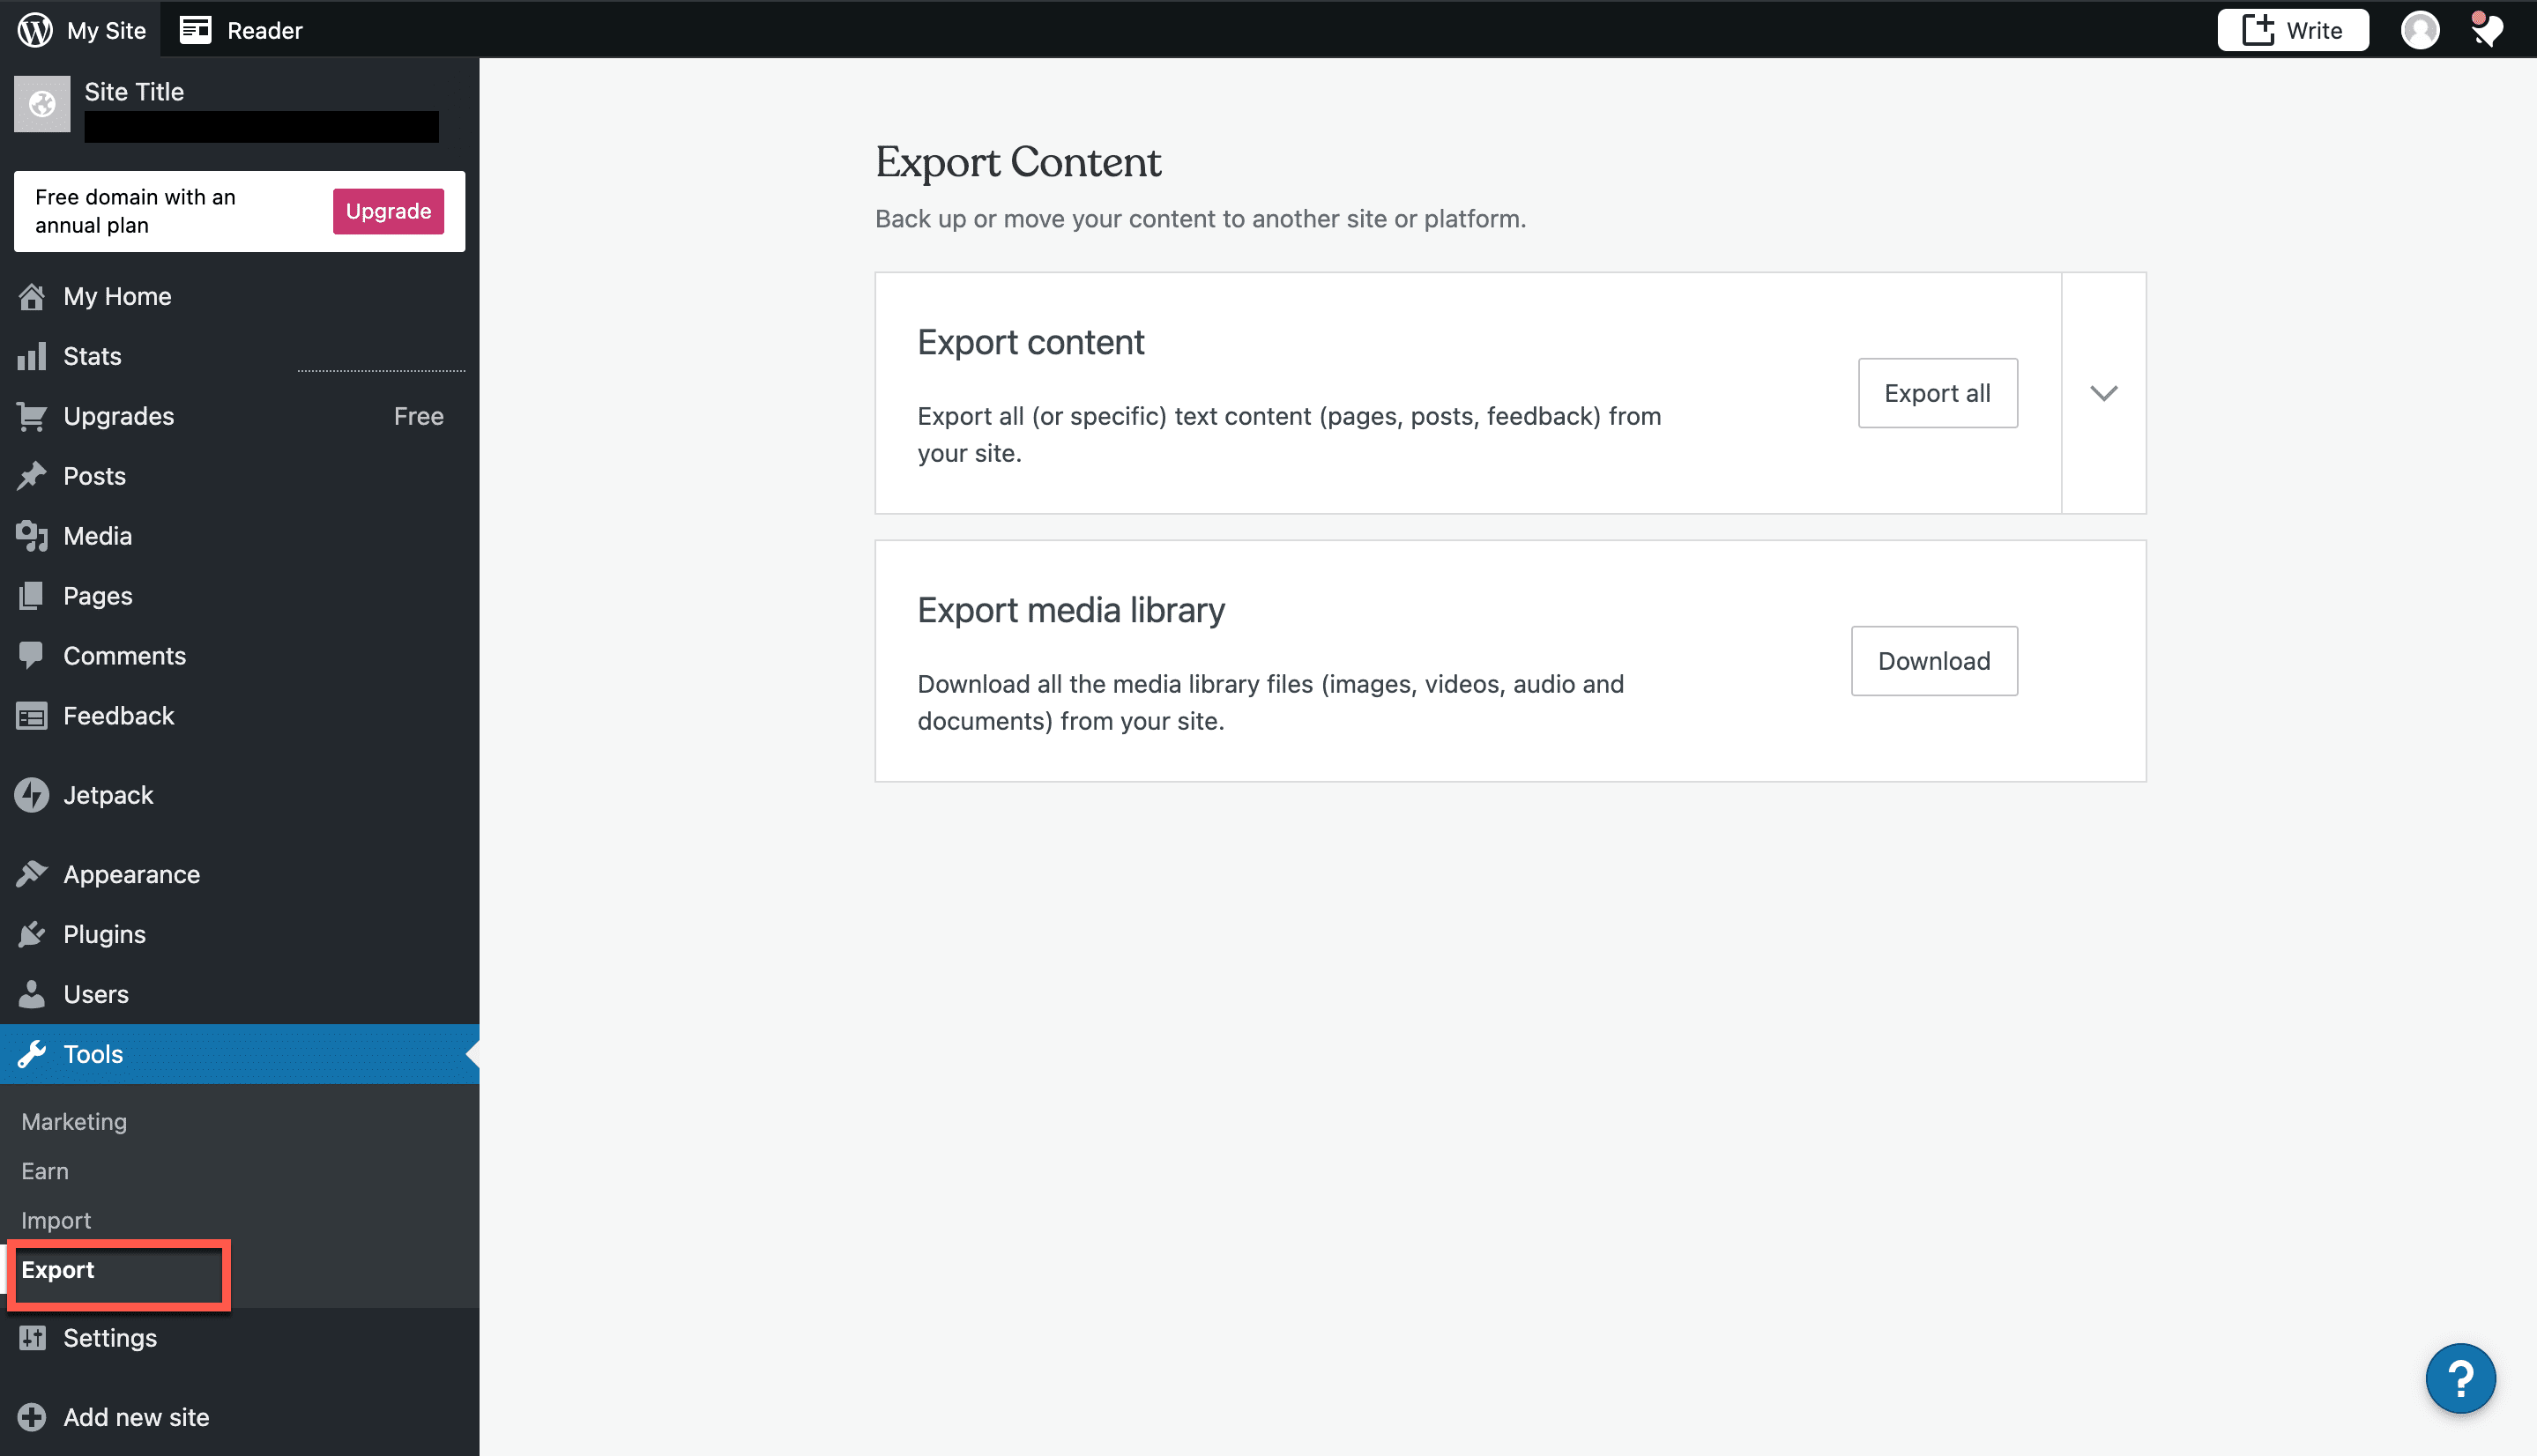
1. To find the WordPress export feature, head to your Dashboard and take a look at your main admin menu. Click Tools to expand, then click Export.
2. Once you’ve clicked Export, WordPress will display the main export screen. You’ll see options to export content or your media library.
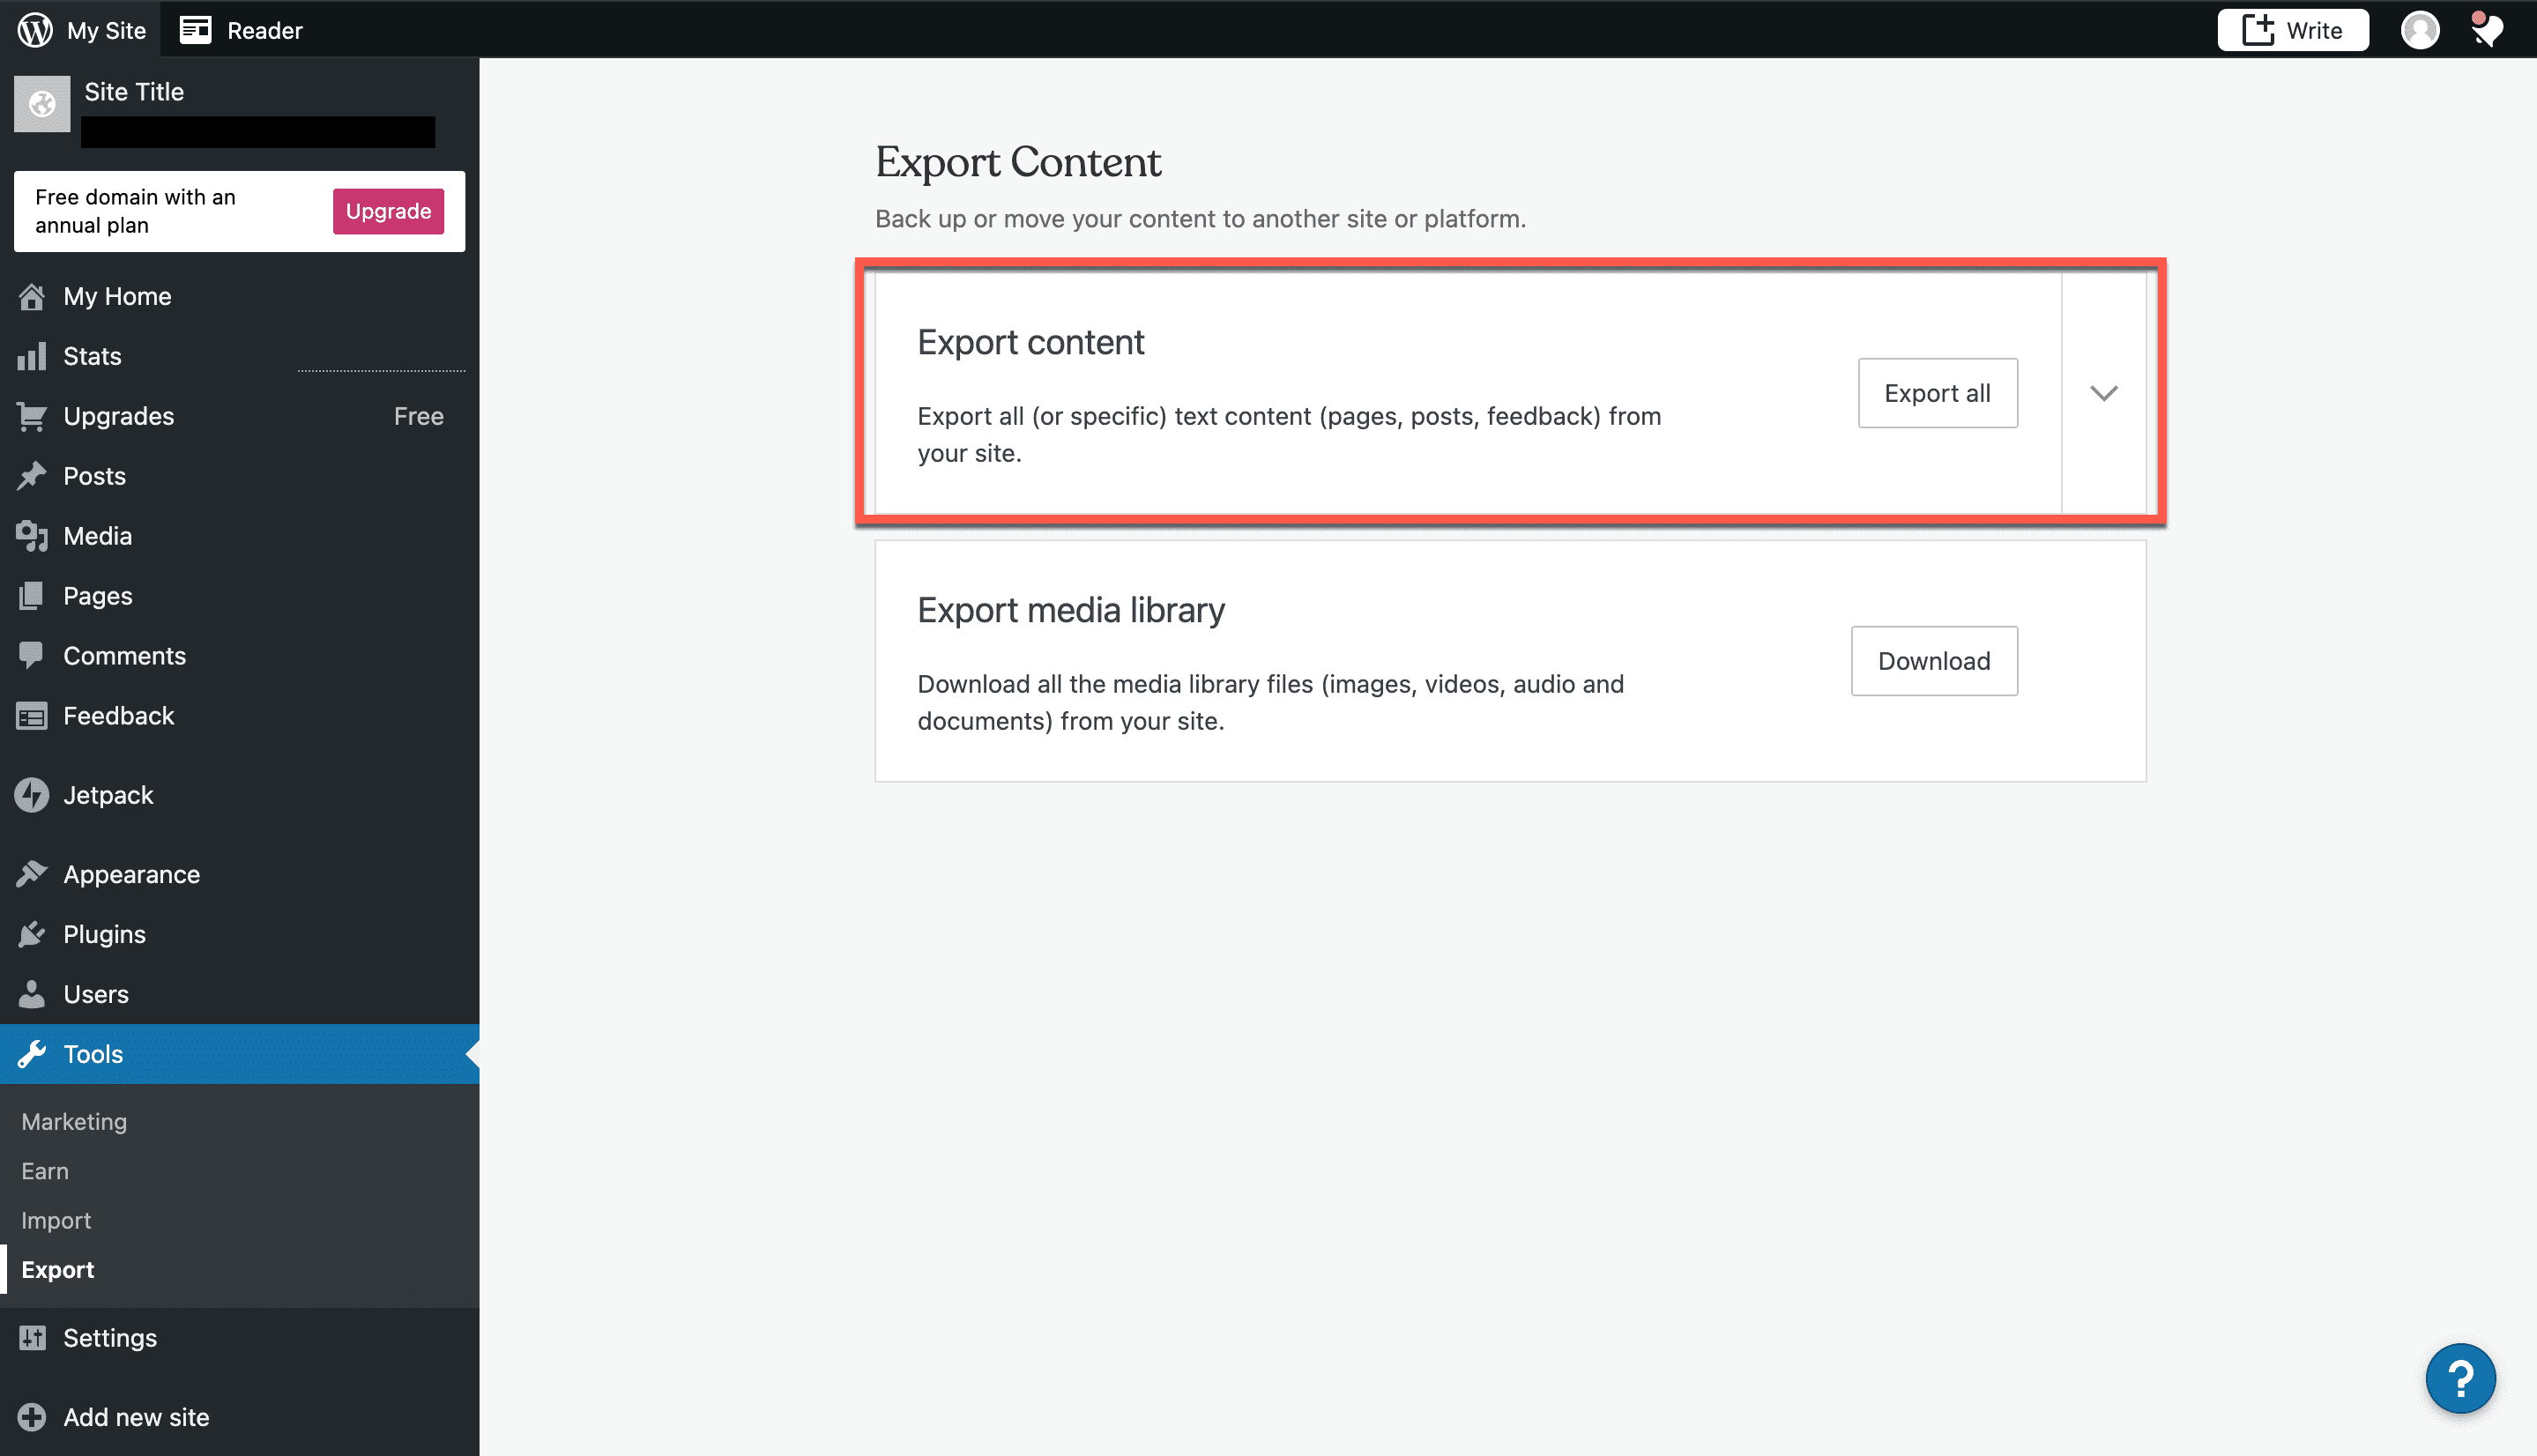
3. If you want to export all the written content, such as website pages, feedback, and blog posts, from your site, you can select the Export All button. When you click Export All, WordPress will prompt you to choose a folder where you want to save your zip file.
Narrow Your Export By Post, Pages, Or Feedback
4. Alternatively, if you want to be more selective about the site contents you’re exporting, you can click the arrow to expand your options. You’ll want to use this option if you have specific content you’d like to download, rather than taking the entire site with you. Once you’ve expanded the menu, you will see options to narrow your export by Post, Pages, and Feedback.
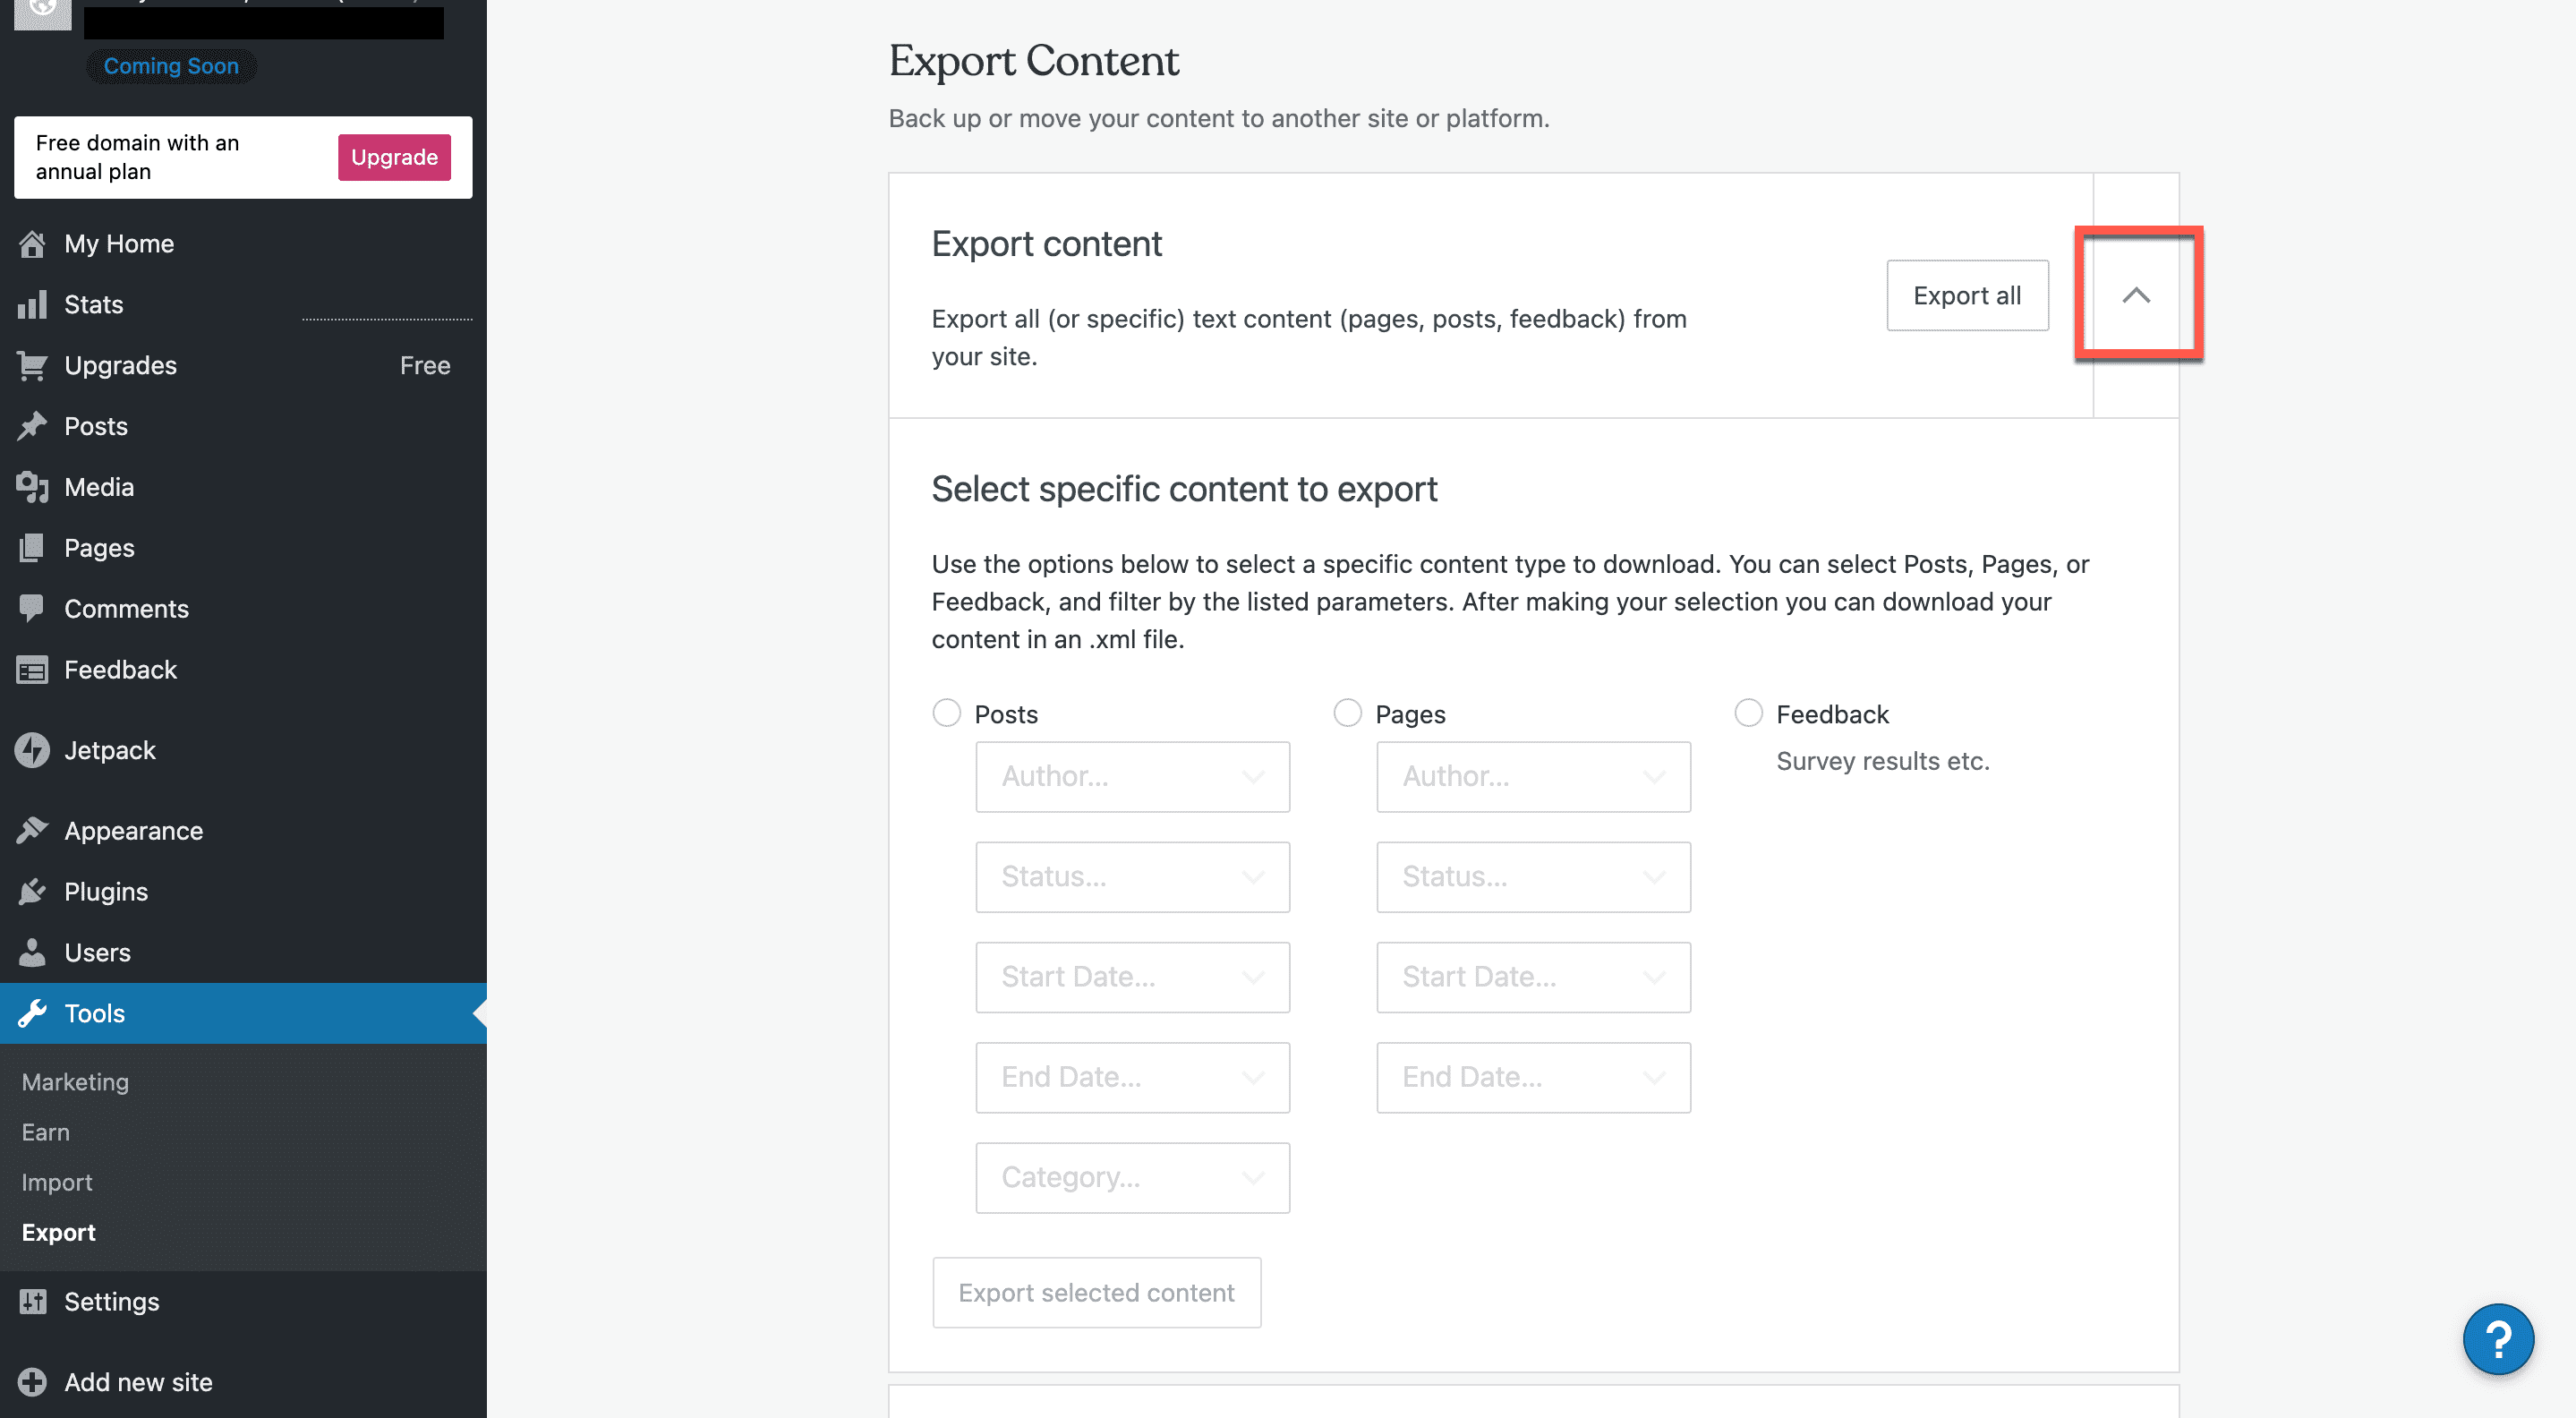
If you want to filter your export by a specific Post, go to the left-hand column. WordPress gives you options to filter by Author, Status, Start Date, End Date, and Category. Select the appropriate information to filter your Post export. Exporting posts gives you the opportunity to move your blog to a new WordPress site, or to import it onto a new platform entirely.
The middle column allows you to export your website pages. You can filter these by Author, Status, Start Date, or End Date. Like the blog posts, exporting Pages allows you to move that content over to a new site, whether on WordPress or elsewhere.
Finally, look at the right-hand column if you want to filter your exported content by Feedback. You may download information such as survey results using this option.
5. Once you’ve determined which content you want to export, you can click Export selected content. After your export is done, you’ll get a dialog box that lets you know your export was a success.
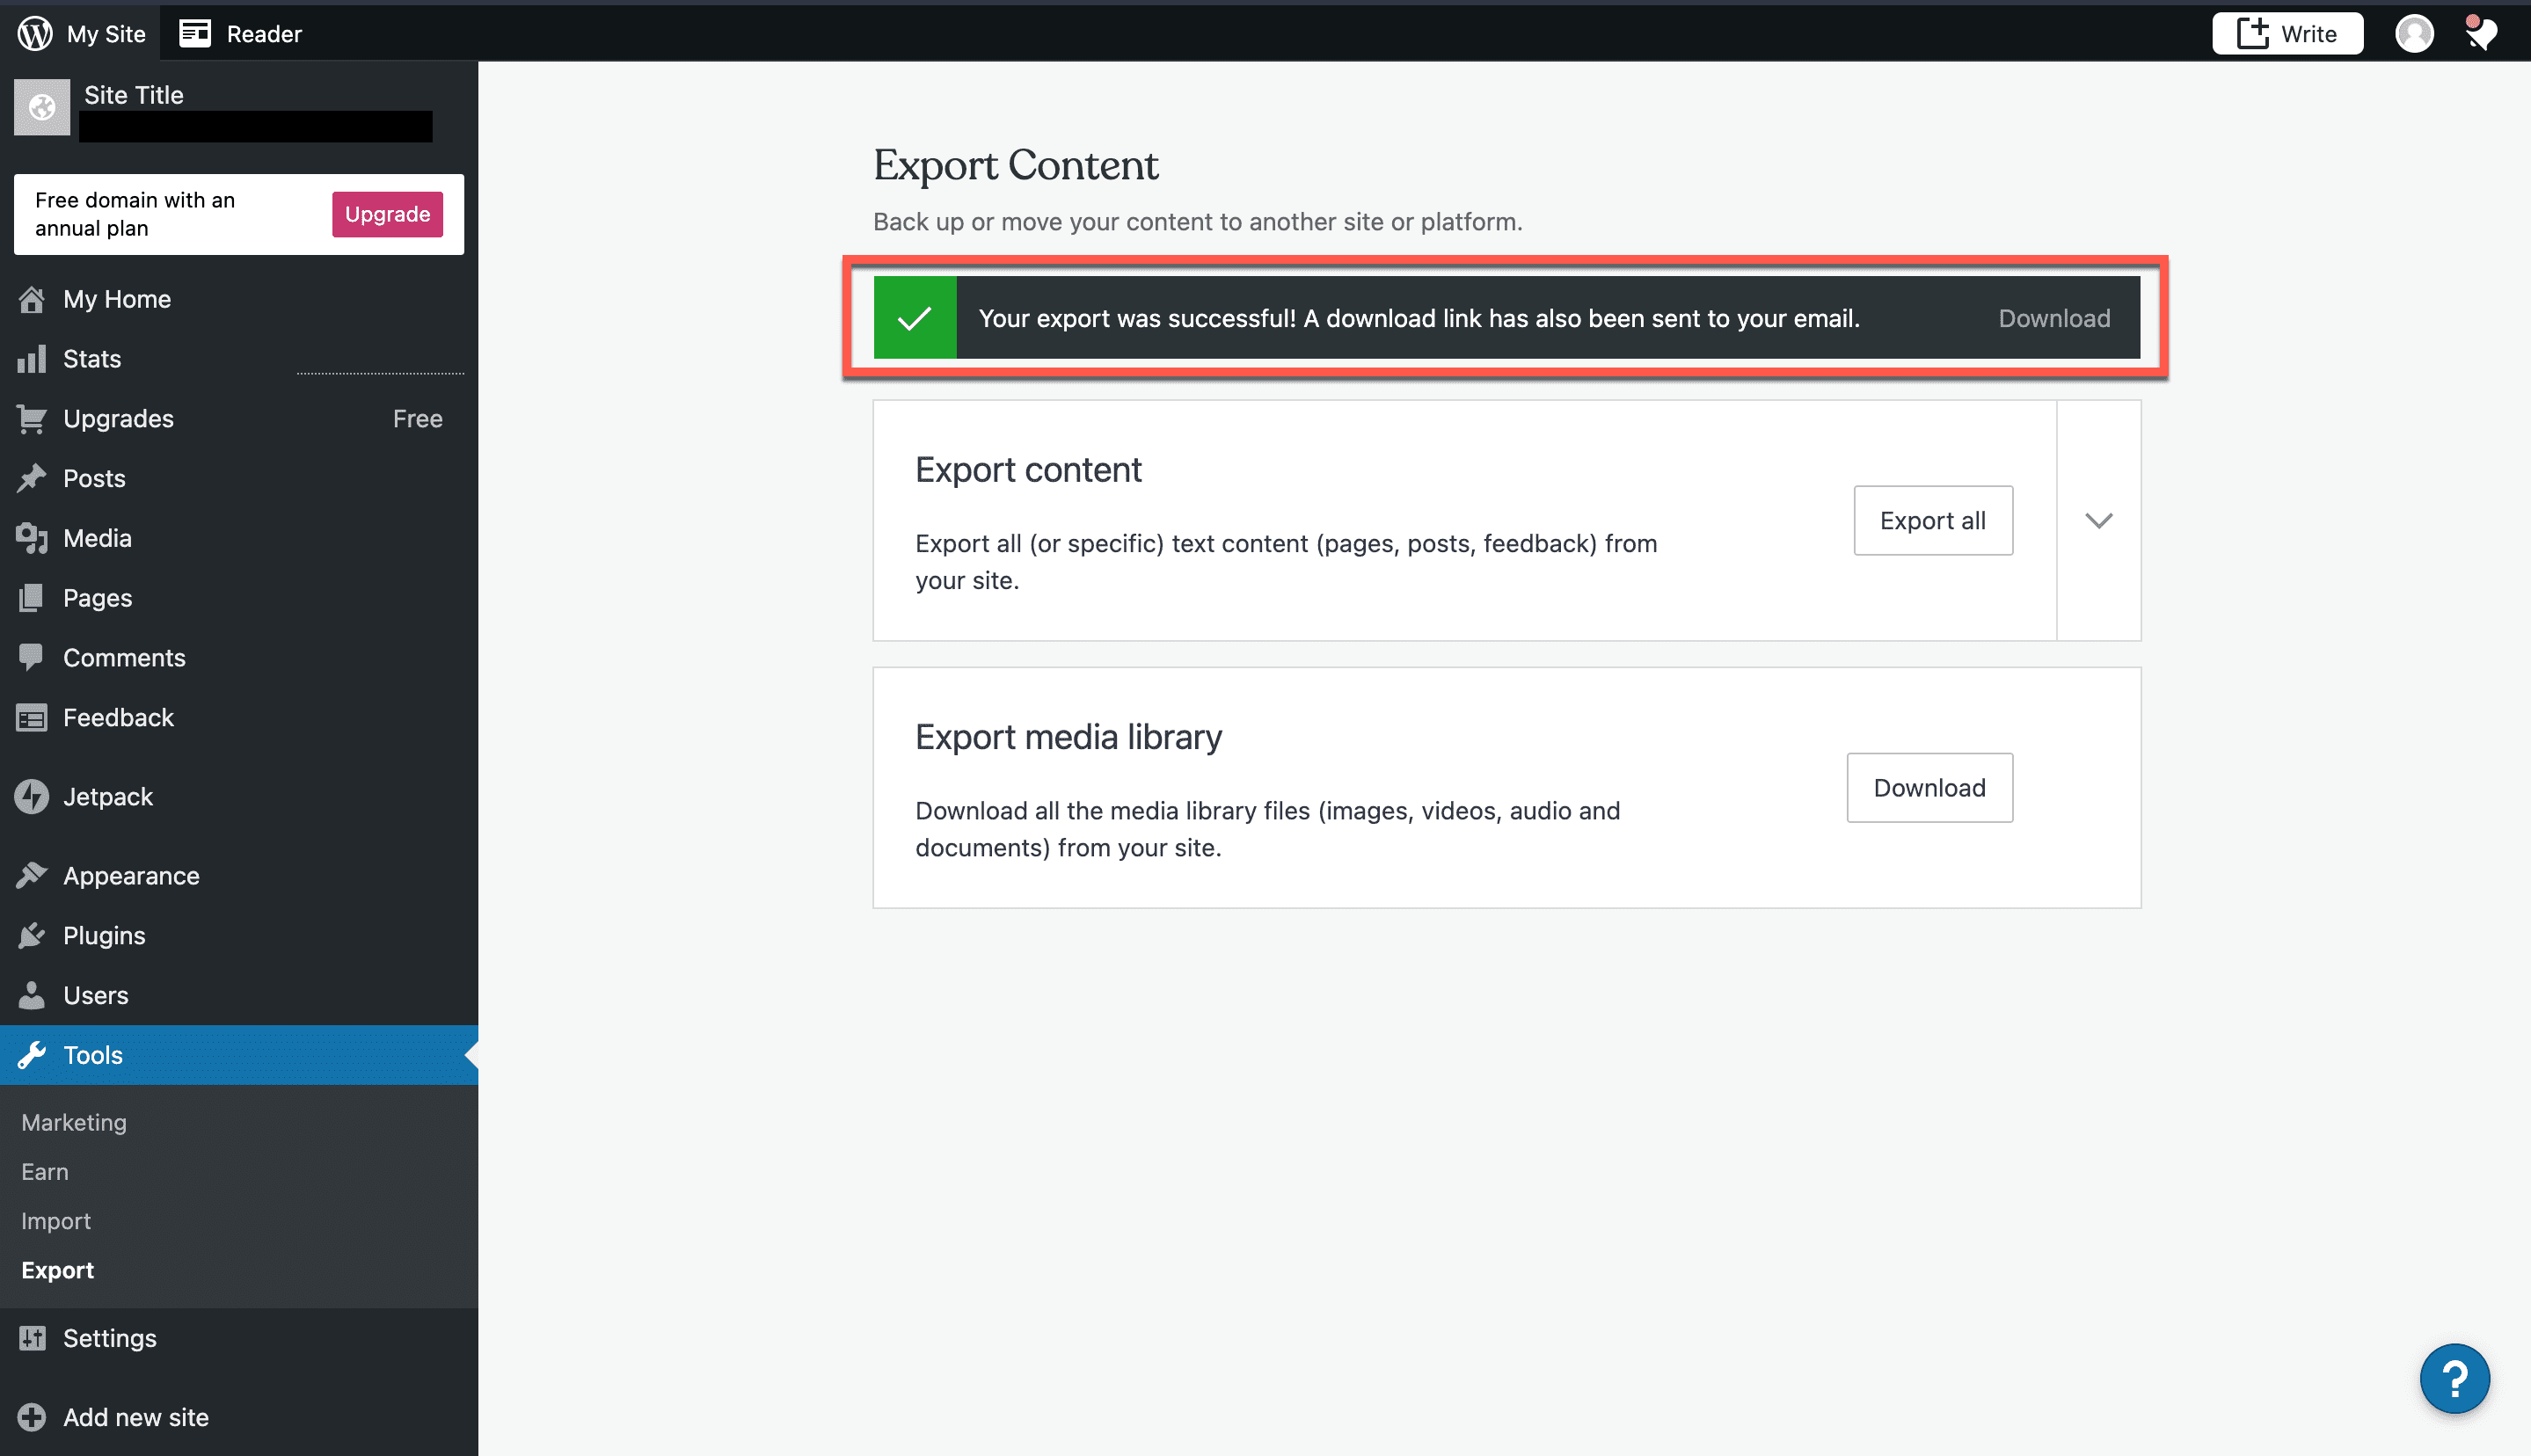
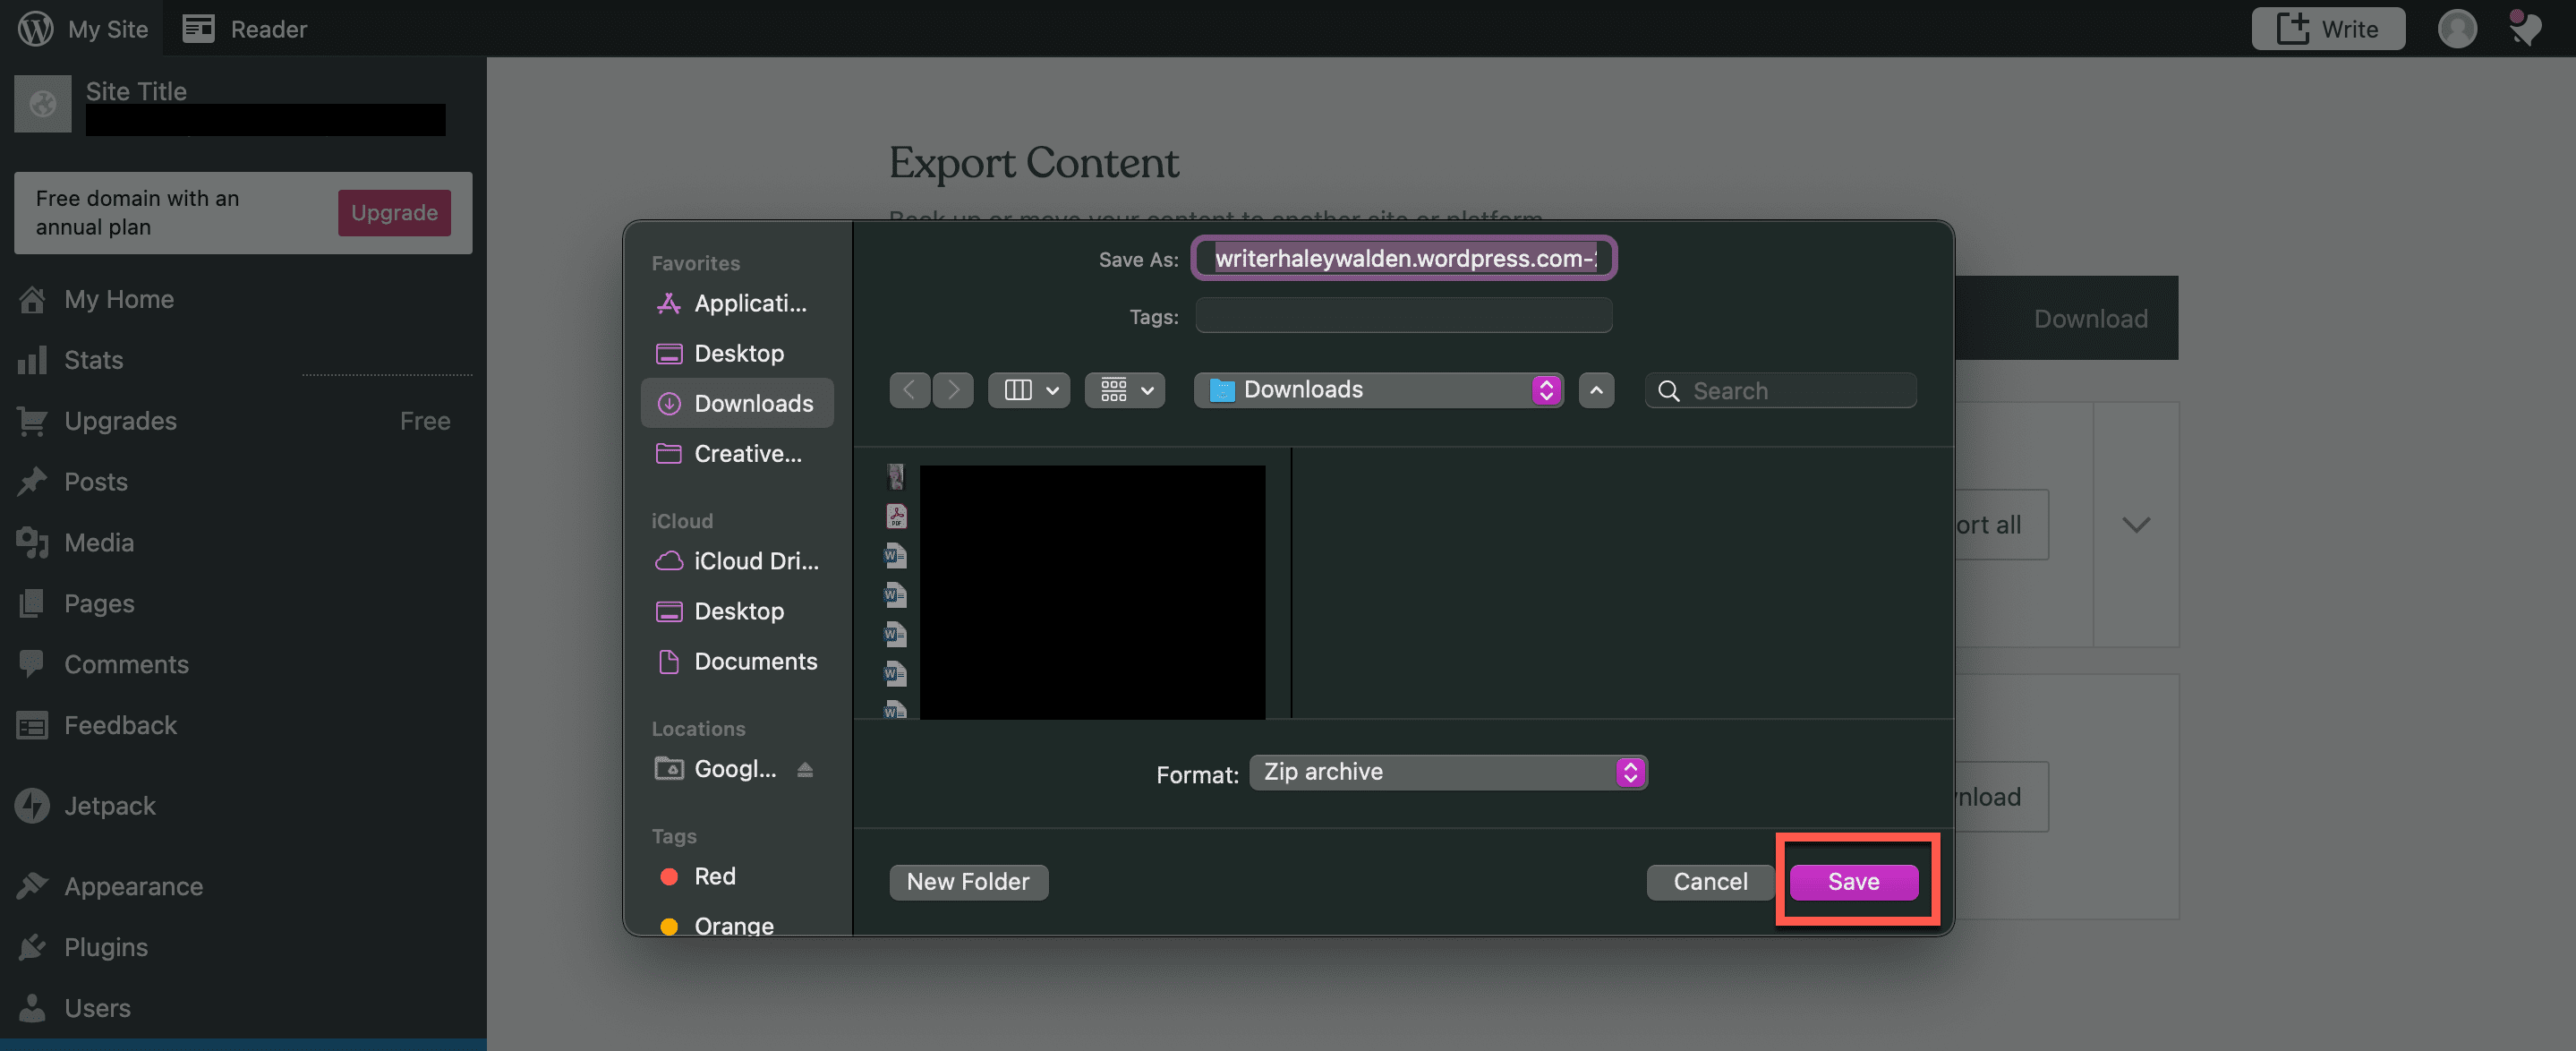
6. You’ll have the option to download your export right away by clicking Download. You’ll get a prompt to choose where you want to save your zip file. Choose the folder where you want your file to go, then click Save.
Alternatively, WordPress automatically sends a download link to your email account.
How To Export Your WordPress Media Library
7. If you want to export your Media Library, you can do that by heading back over to the main Export page. When you export the Media Library, that means you’ll be downloading an archive file of content that includes your images, audio, videos, and documents from your WordPress site. To export your Media Library, click Download.
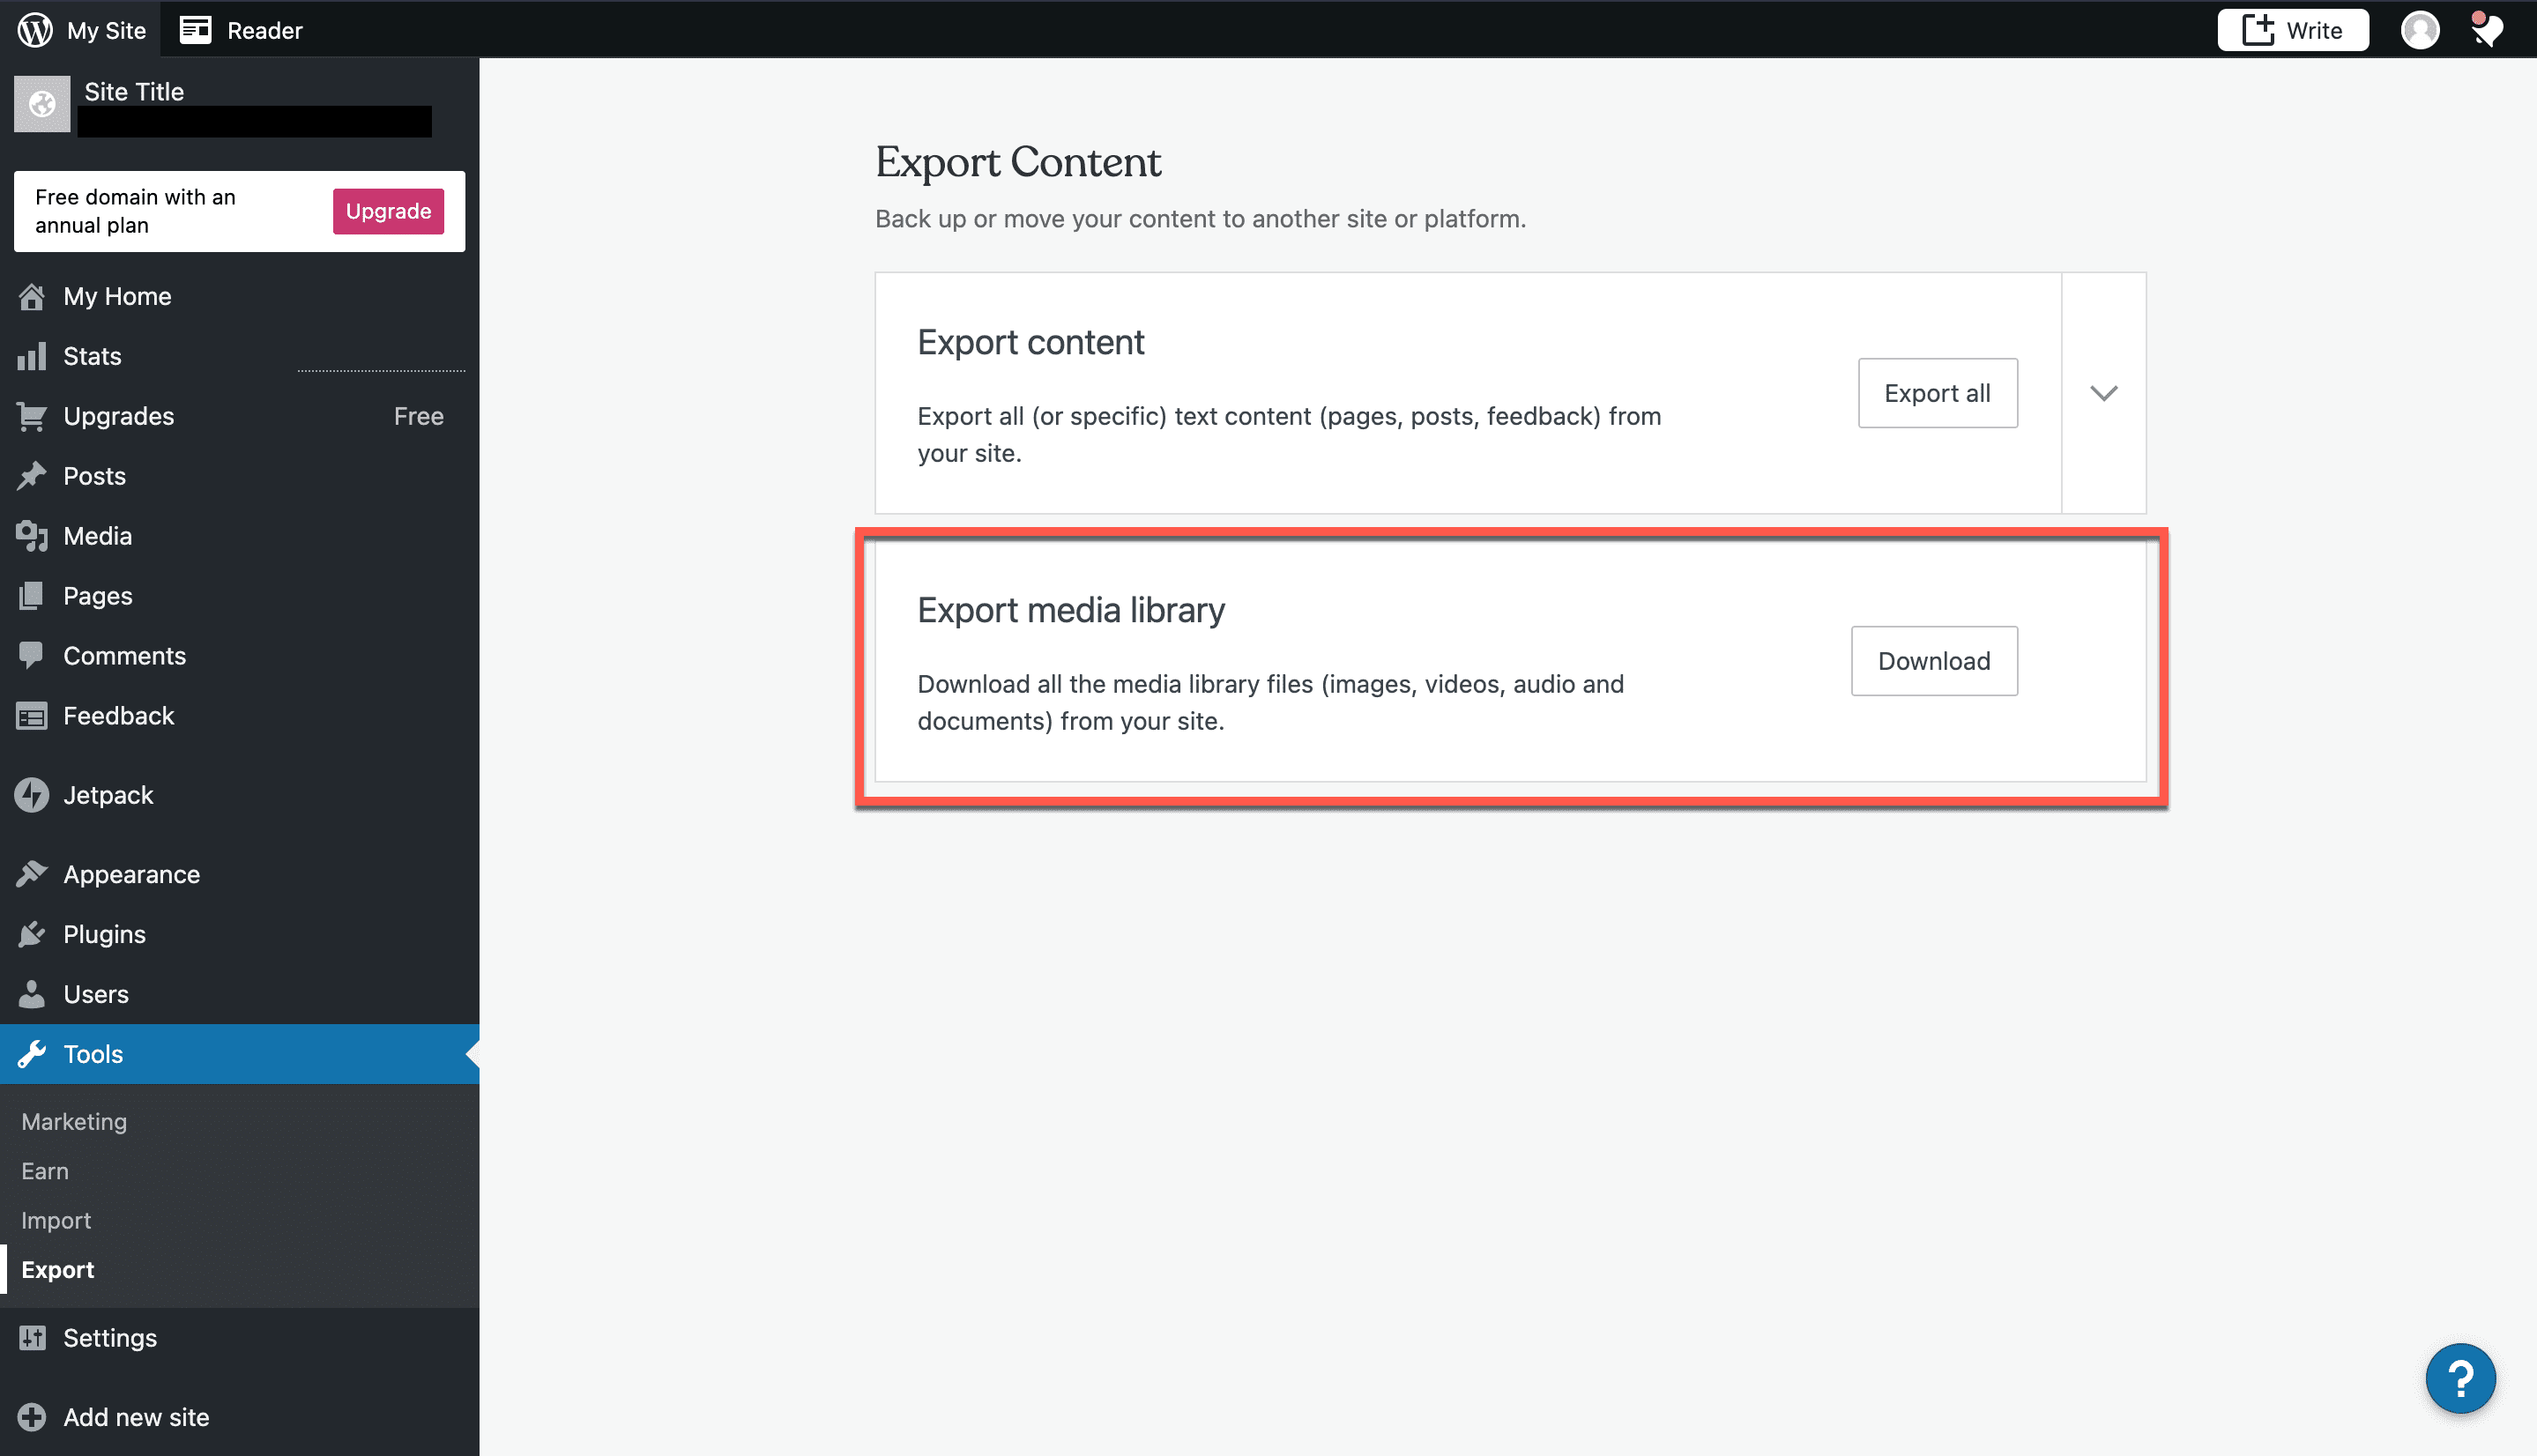
8. WordPress will prompt you to save your file in a specific location. The file will be a .TAR archive, similar to a zip file.

How To Import Your WordPress Export Into A WordPress Site
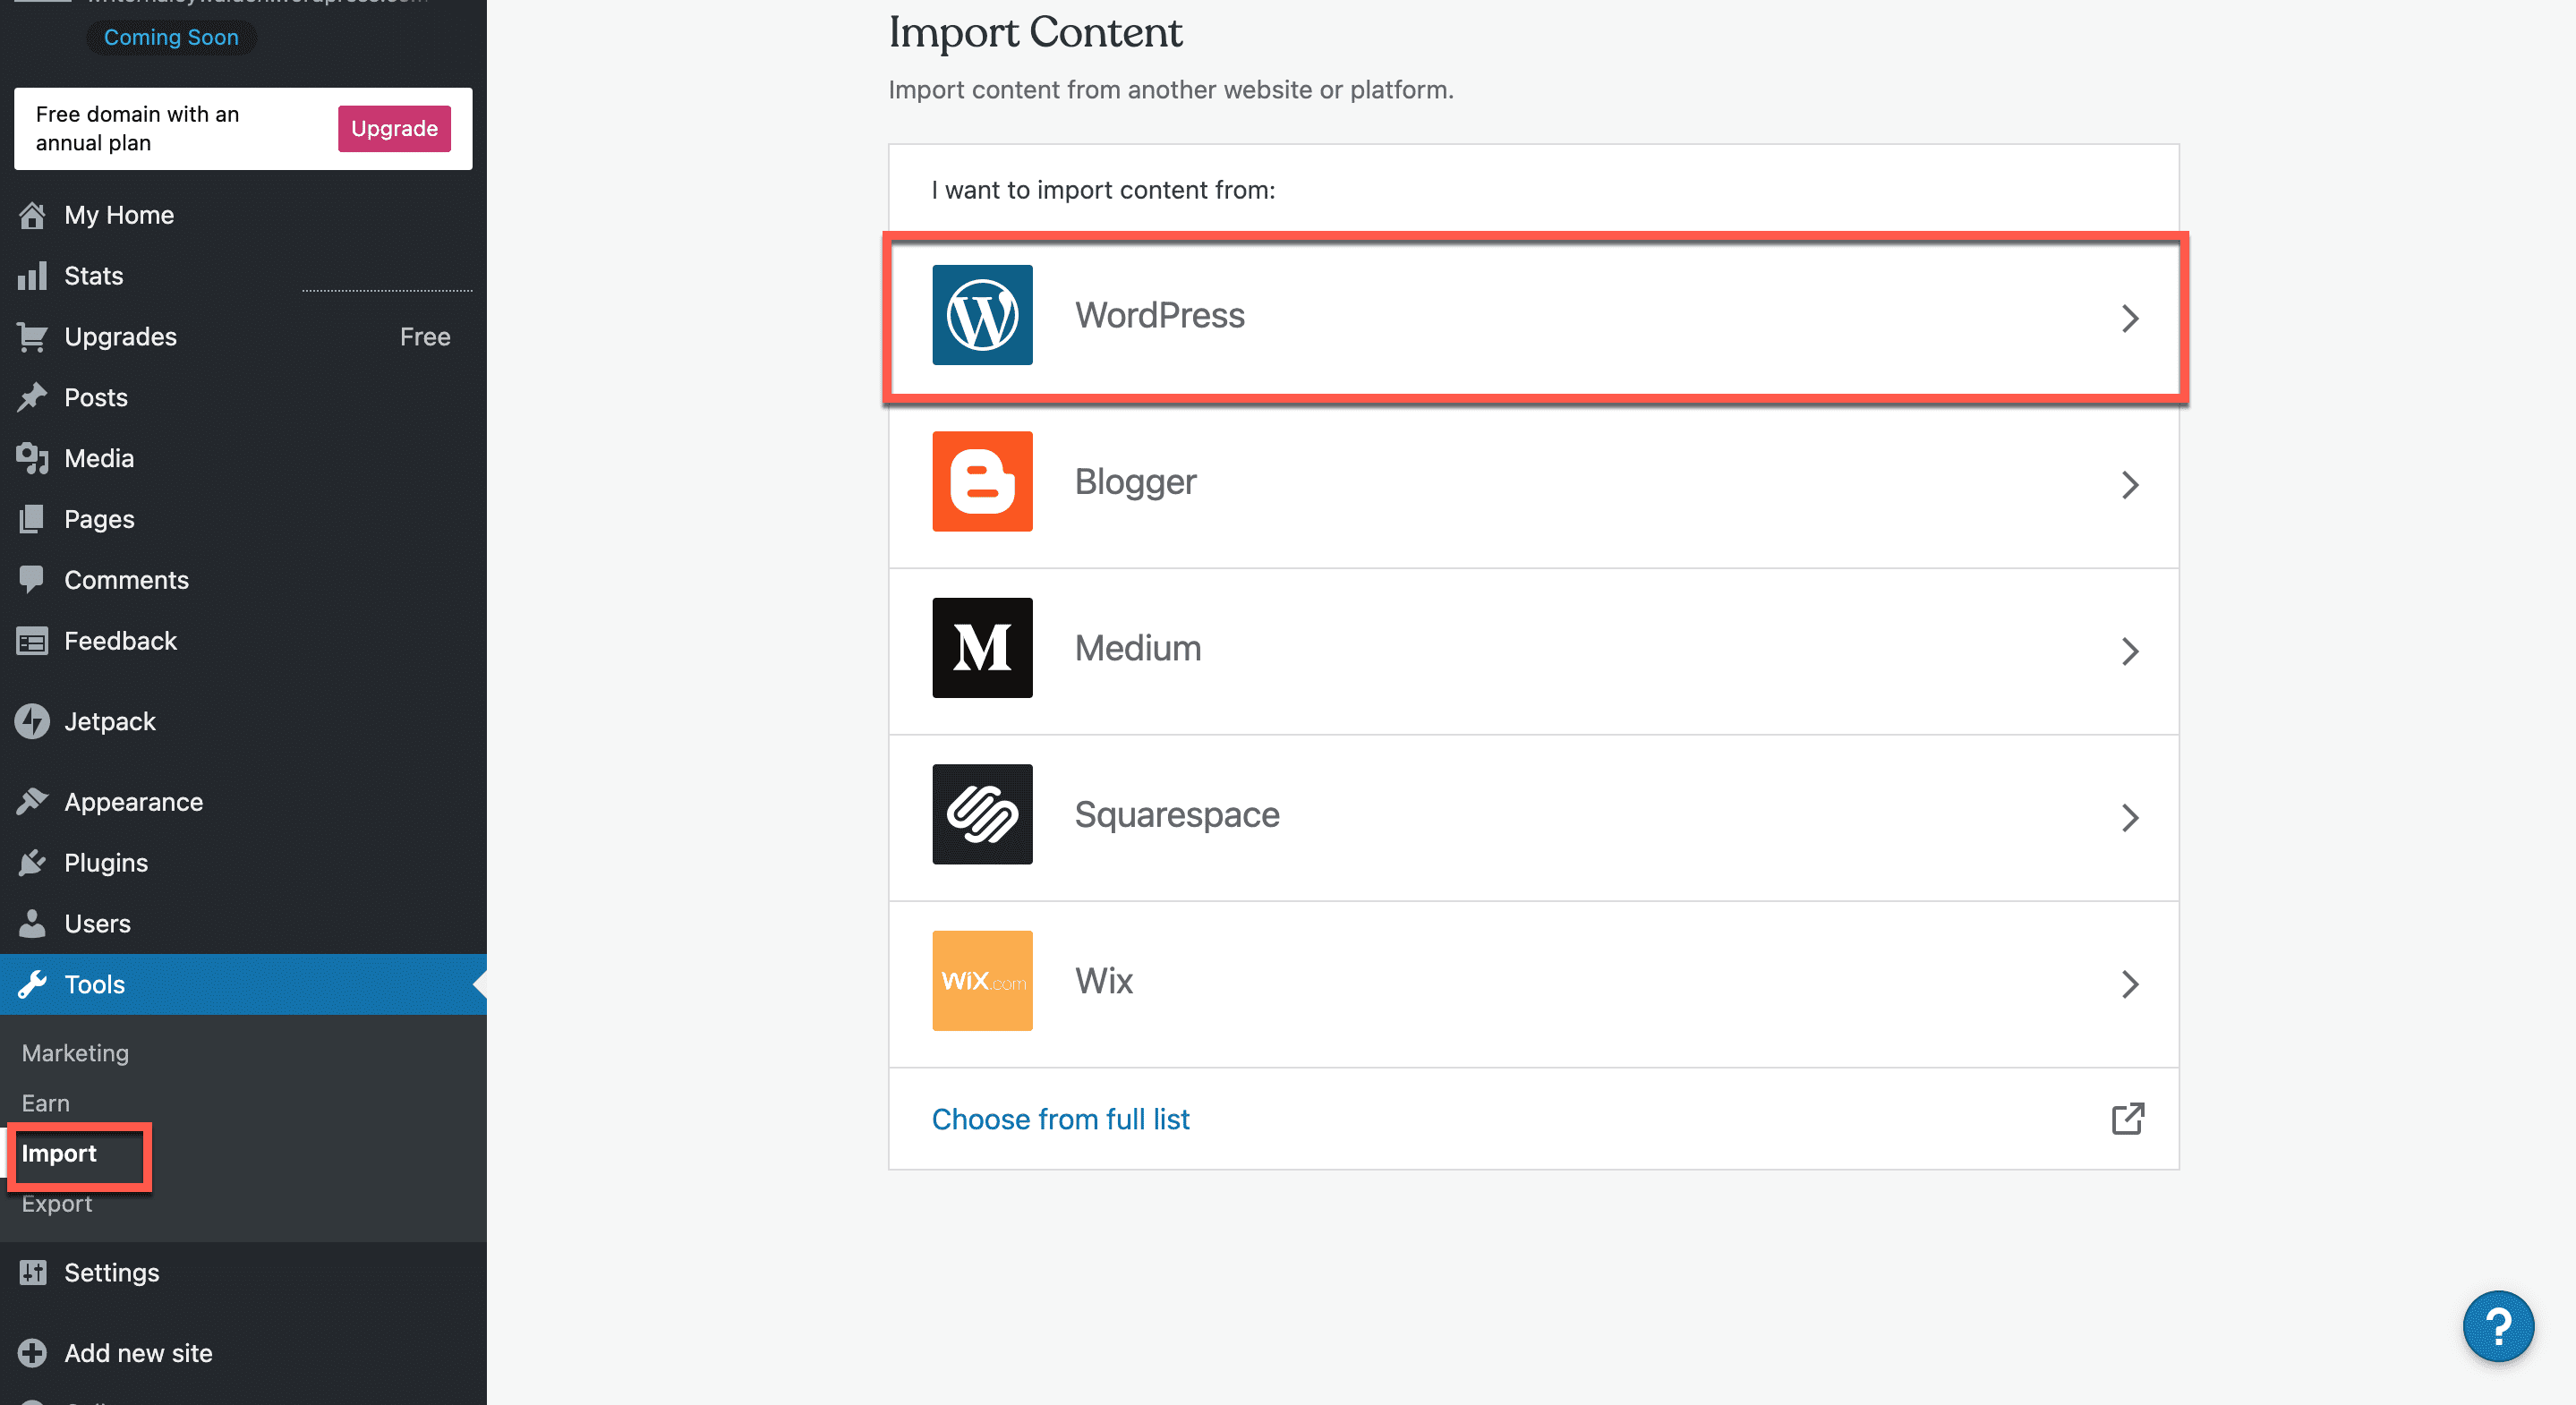
9. From your WordPress Dashboard, click Tools, then Import. You’ll see a screen that allows you to choose which platform you want to import your files from. Because you exported the files from a WordPress site, go ahead and select WordPress.
10. The WordPress import tool gives you two options for importing your WordPress content from another WordPress site. You can either upload the files manually, or you can import them via URL.
In this case, I chose to manually import the zip file I exported. In order to manually import your zip file, click the blue link that says “upload it to import content.”

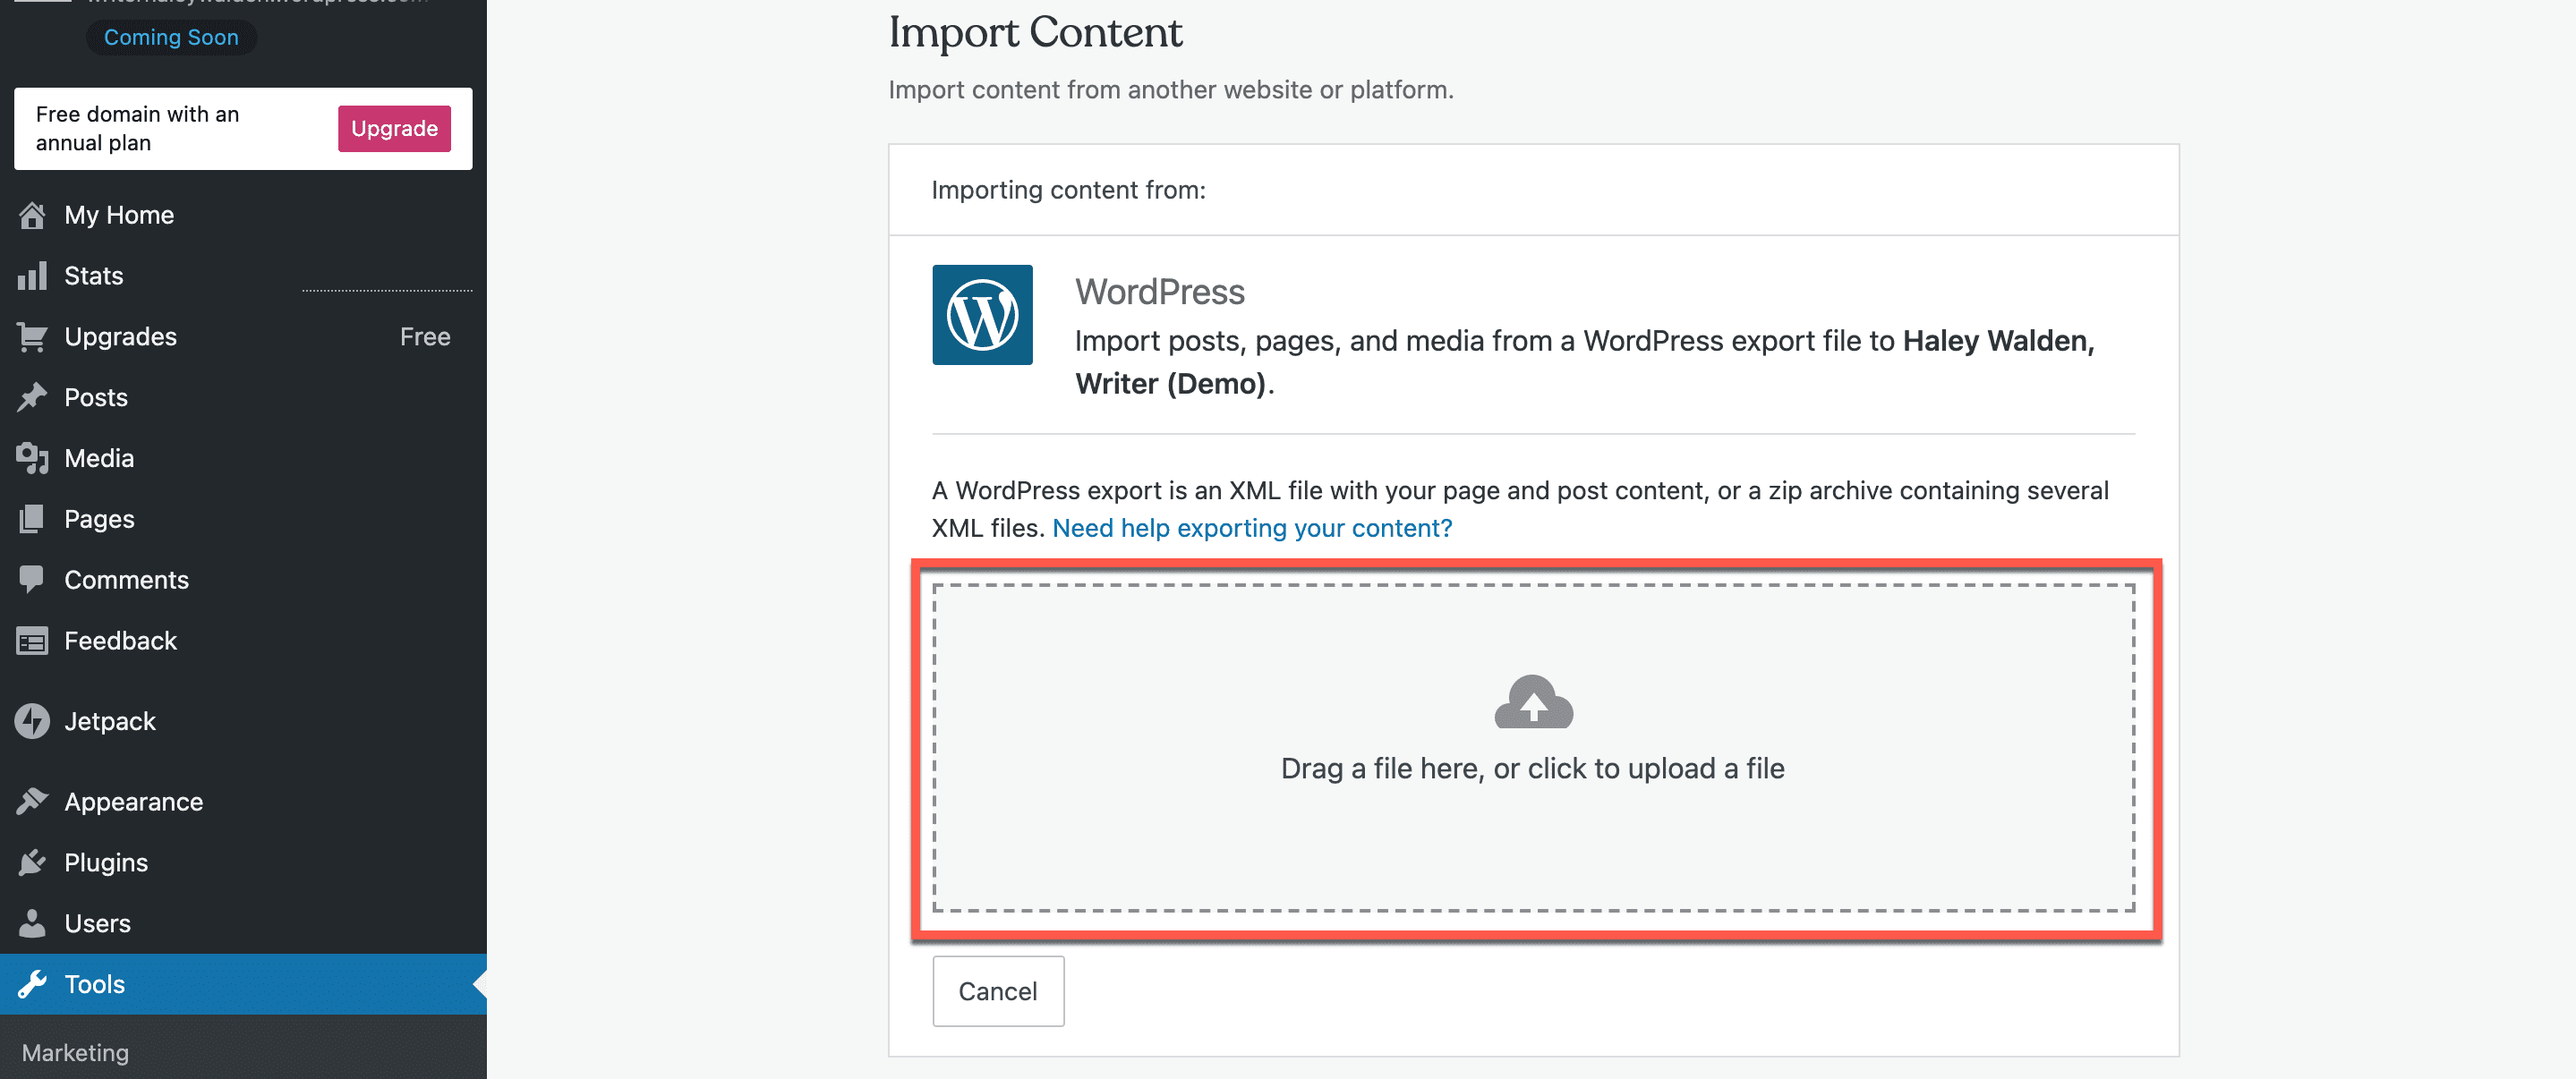
11. Next, WordPress will take you to a drag-and-drop upload page, where you can either click to choose your zip file from its current location, or drag it into the box for upload. The upload will begin automatically.
12. Once you start the upload process, WordPress will process your file to ensure it can be uploaded seamlessly into the system.
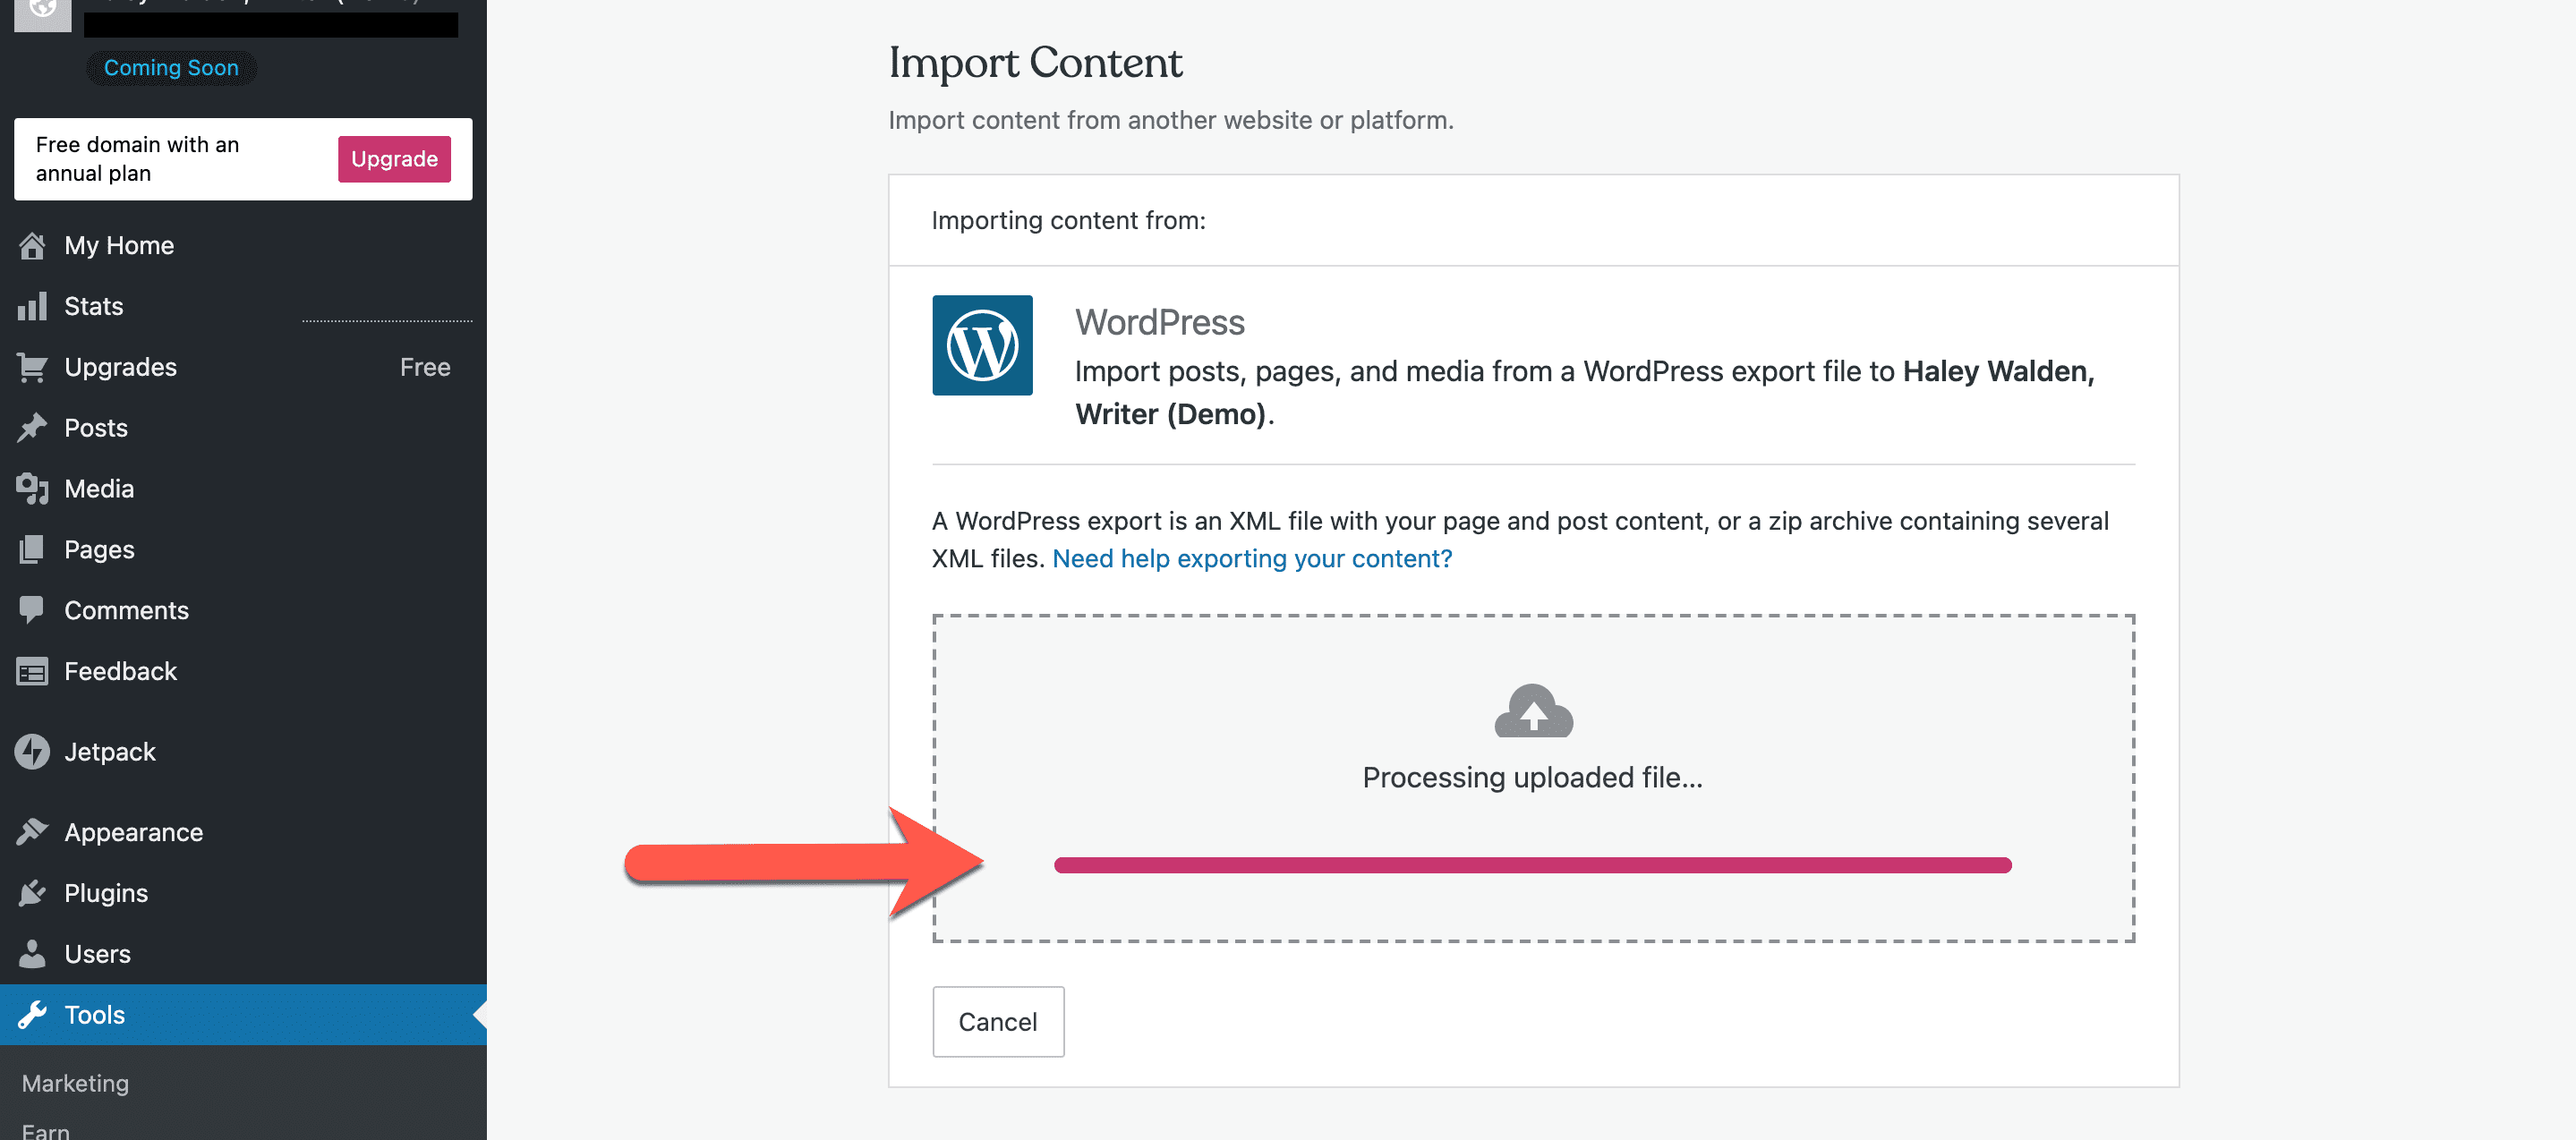
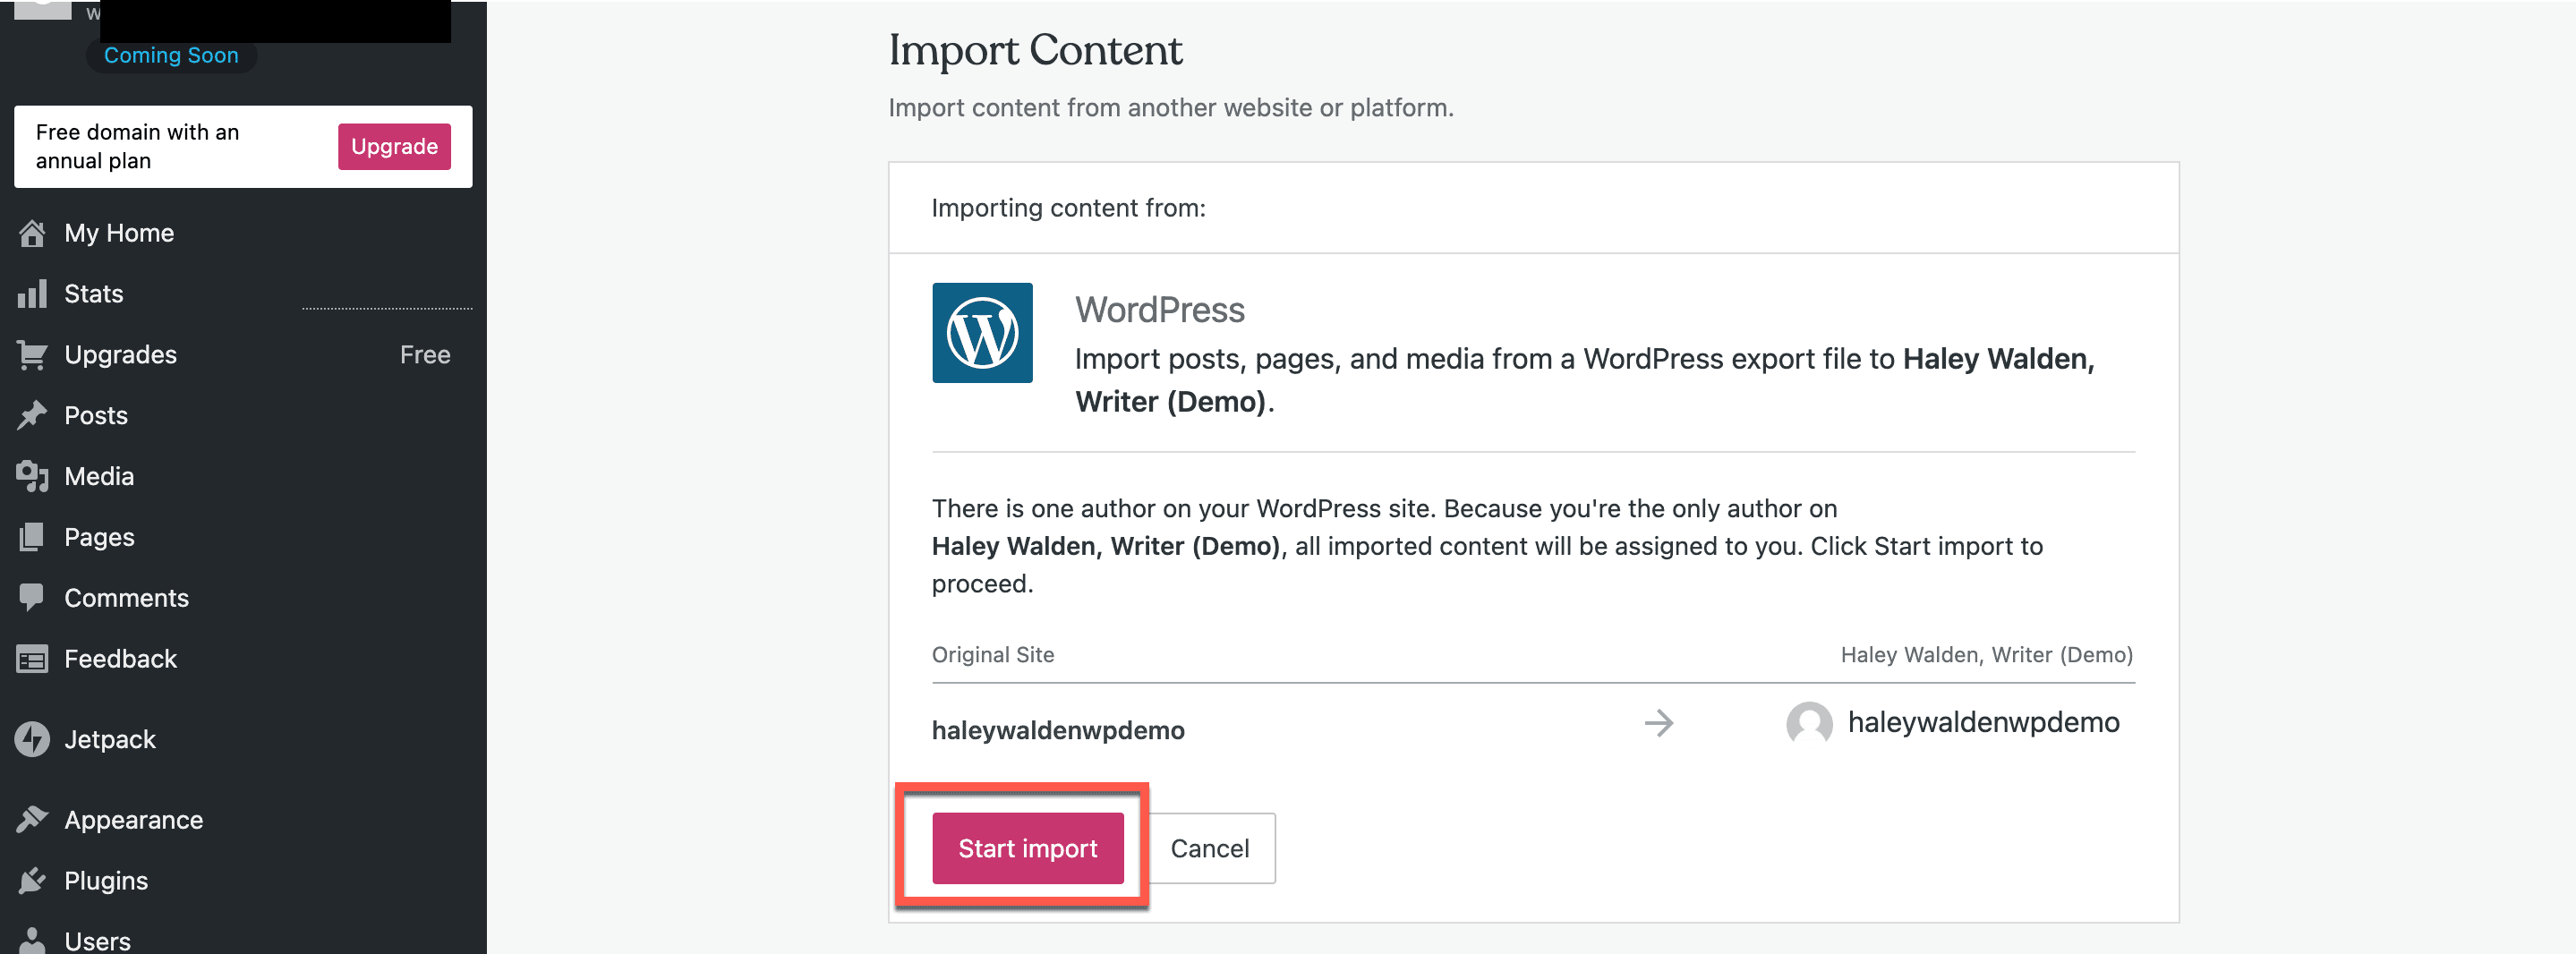
13. Before you proceed with the full import, WordPress will ask you to confirm the author of the posts. If there is only one author on the site, such as in the example below, then you can simply click Start Import. But if you have multiple authors in your site, you’ll want to ensure you’re only selecting the ones you want to be associated with the pages and posts you’re uploading. Once you’ve selected your authors, click Start Import.
You’ll see a progress bar that shows you how the import is coming along, and how many files are being imported.

View Your Imported Pages And Posts
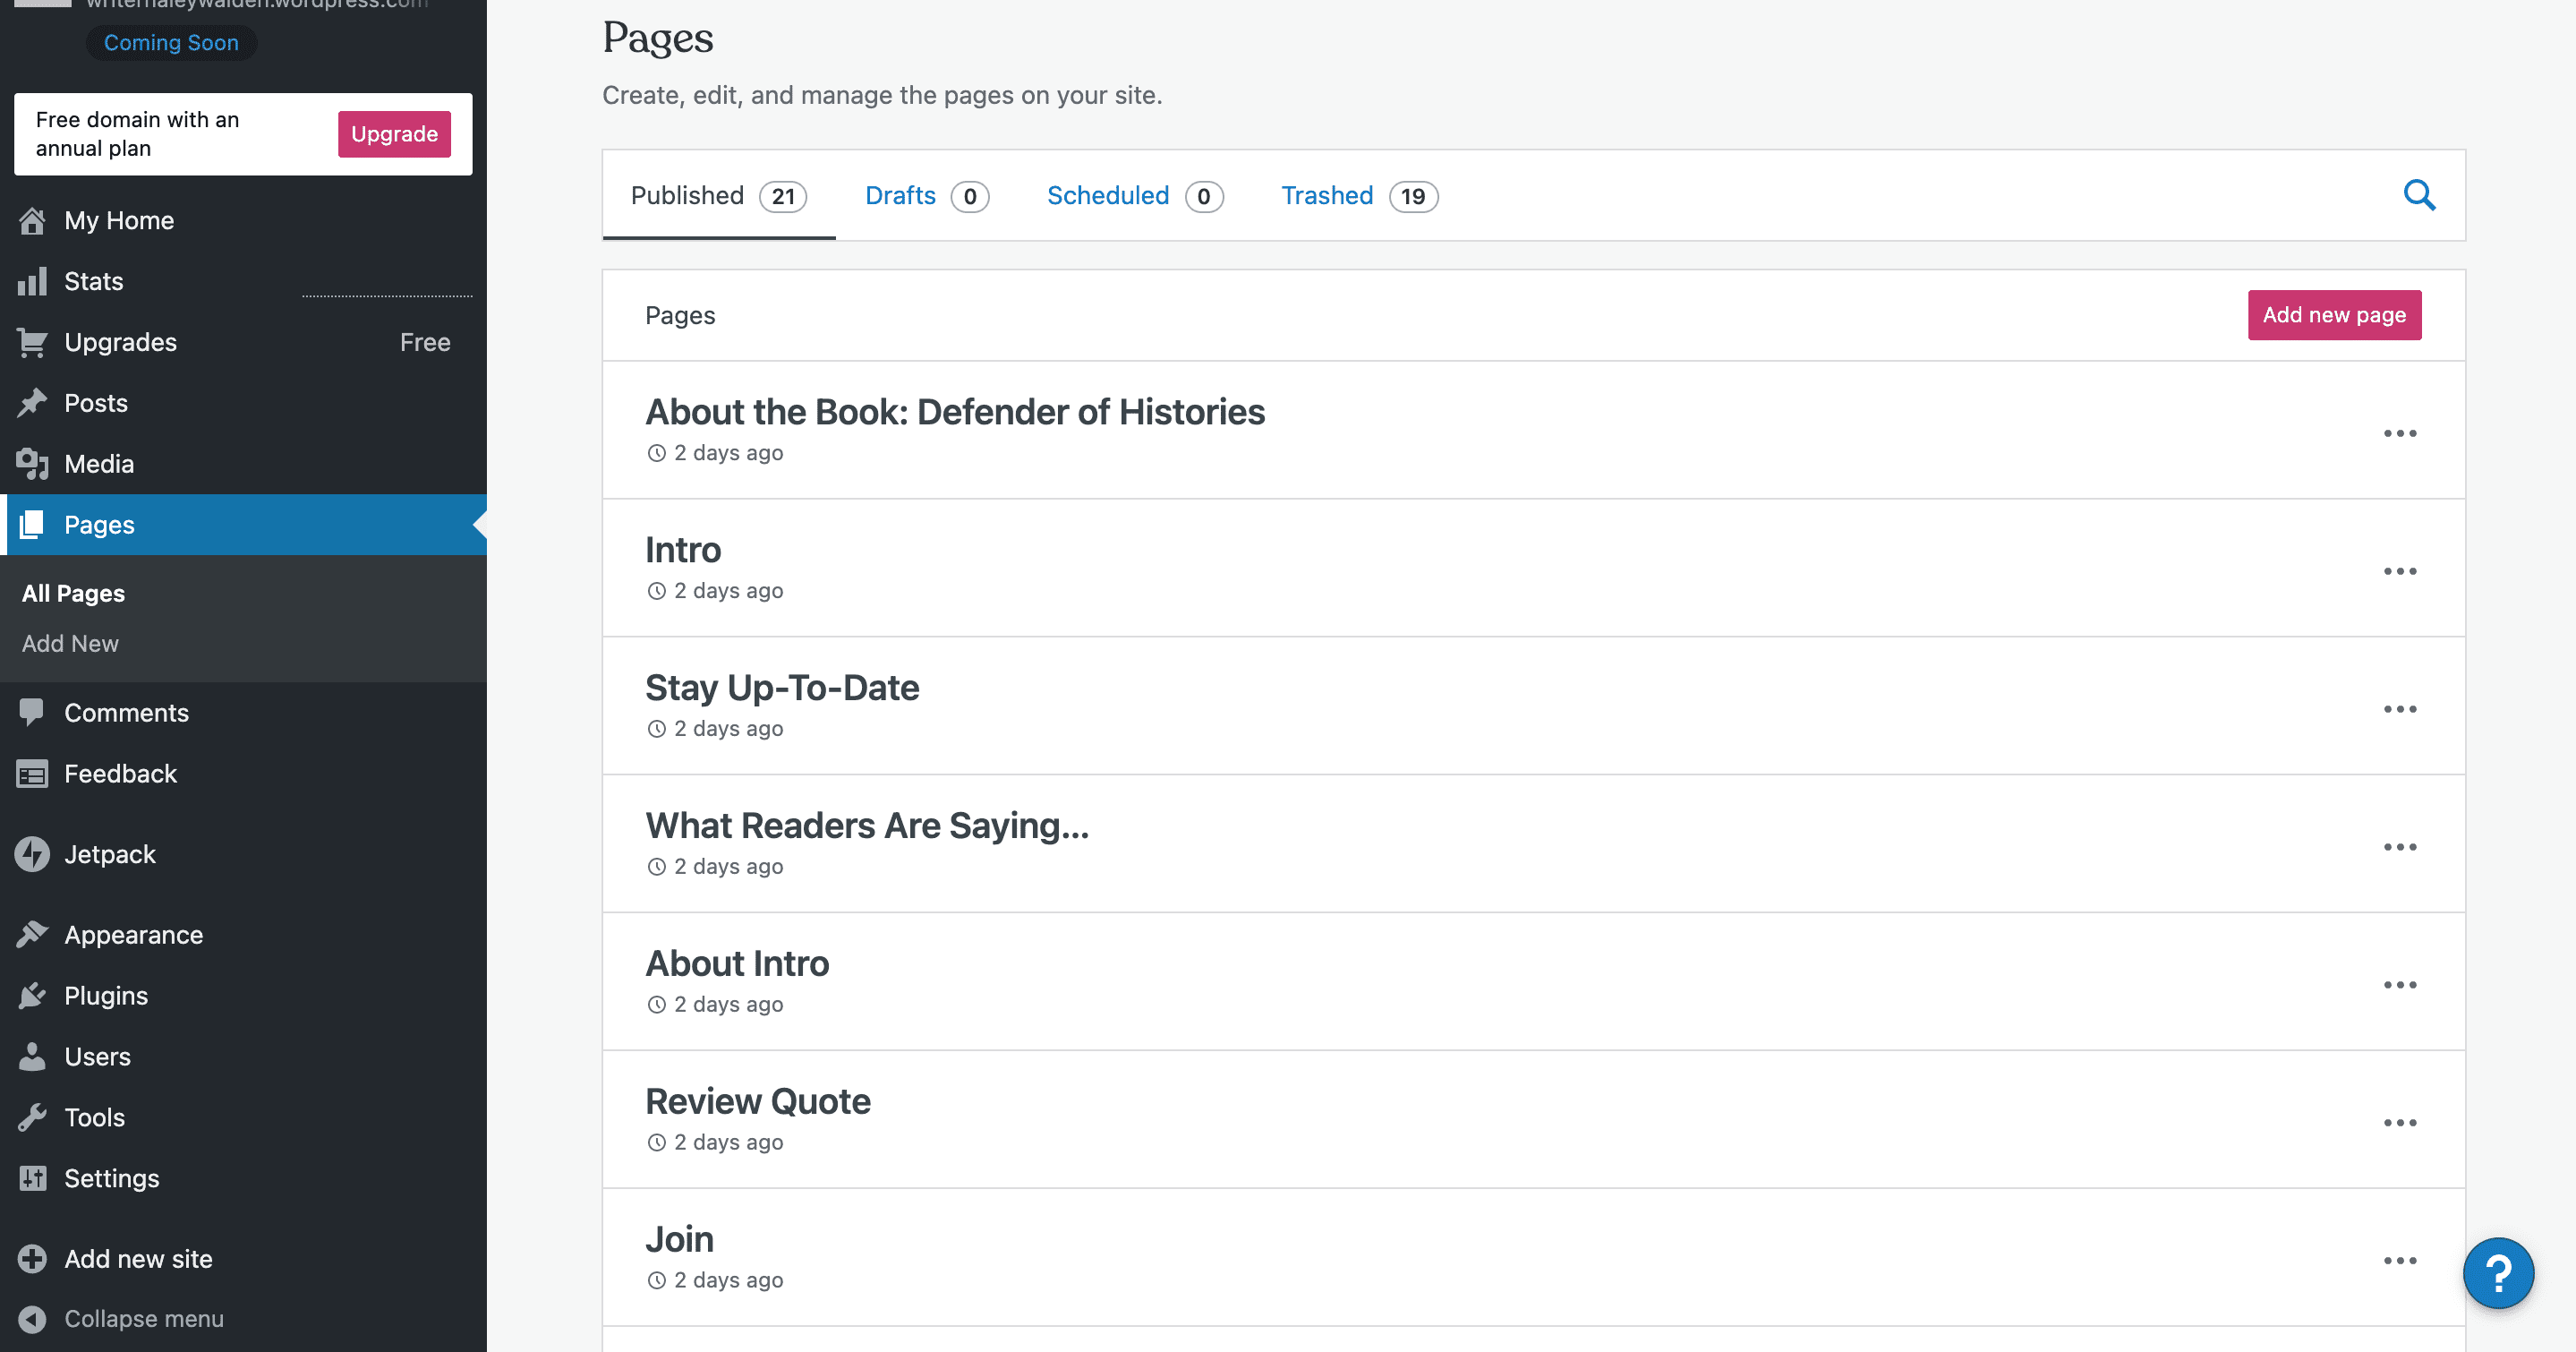
14. After your import is complete, you can view your Pages and Posts.

I clicked on Pages in my admin menu in order to make sure the site pages were properly imported. All the pages from my export are now present in this section of the website.
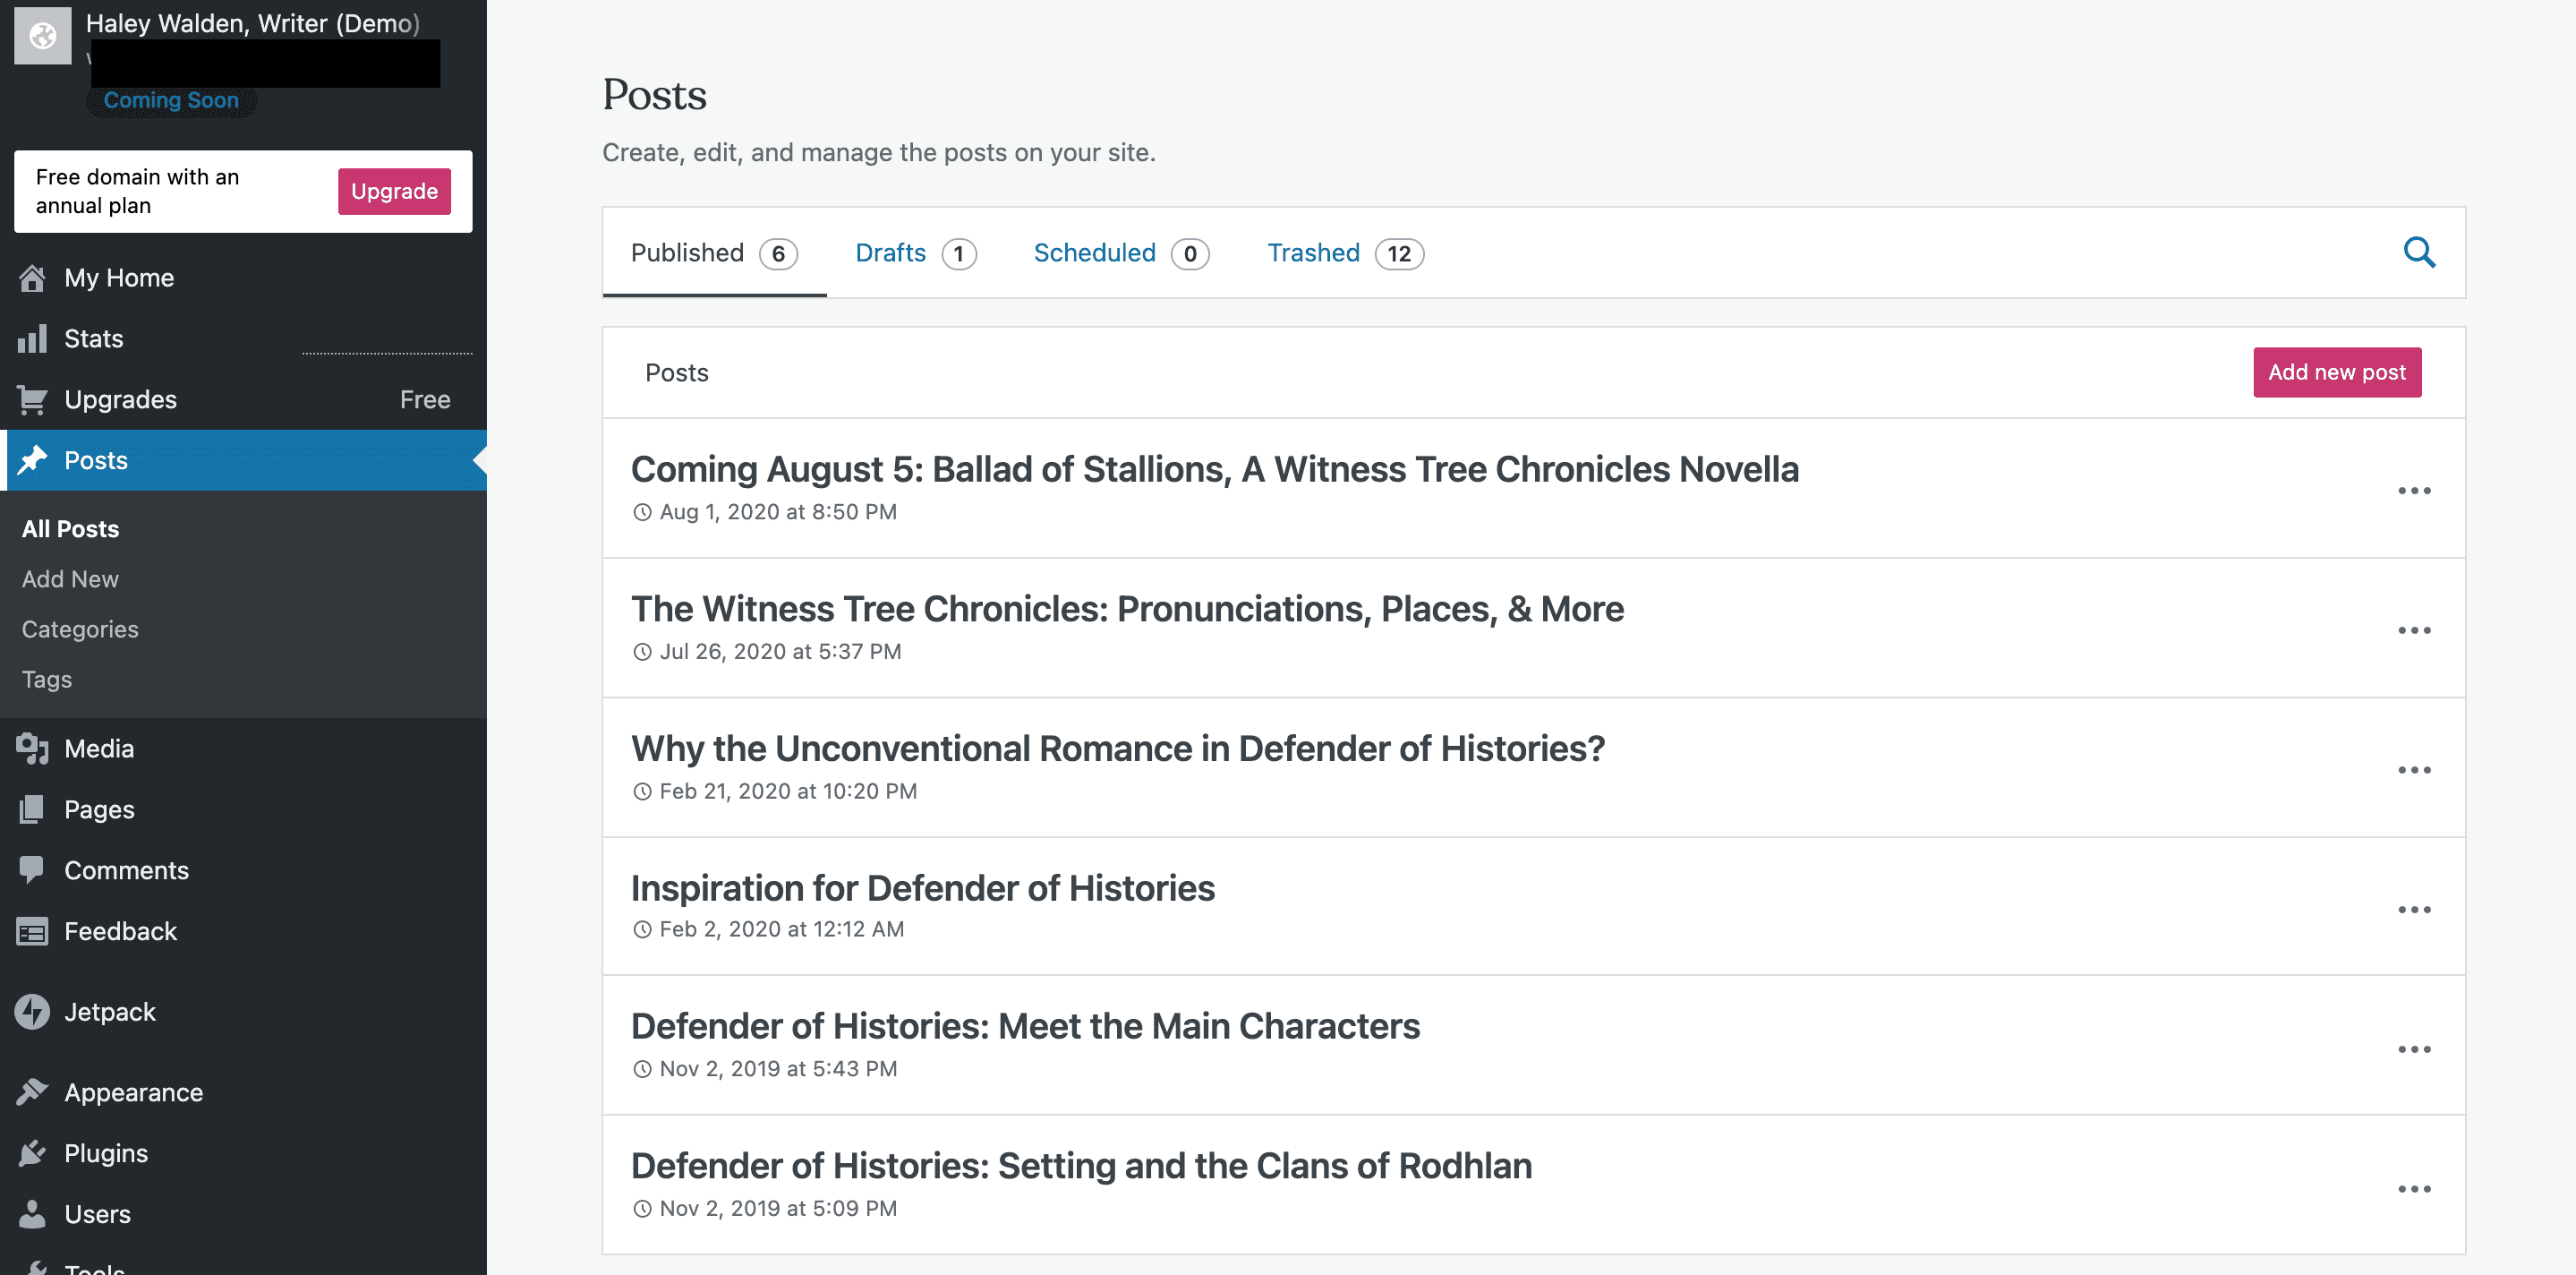
To check my posts, I navigated to the Posts section in my admin menu. I could see that all the blog posts from my original export made it into the site.
Because my Media Library export is a .tar file, I’ll need to bulk upload my media via FTP or a compatible plugin such as WordPress File Upload. When moving your content from one WordPress site to another (via the URL), it’s possible to bypass this step, as all your content and media will be pulled into your new WordPress site.
Wrapping Up
Exporting your site from WordPress is a straightforward process that’s easy to follow. Now that you’ve seen the tool in action, it’s time to give it a try. Good luck!
Have you used the WordPress export tool before? Planning to in the future? Drop us a comment and tell us about it.
Article featured image by V4D / shutterstock.com



This does not work. All that happens is WordPress downloads an empty XML file. 🙁
The theme from the old website was not copied to the new website. Is there a way to do this?
Nice article, I will try in one of my website. How to import the email contents during this process?
Thank you for this post. Timely as I am going to move my website to create a new version very soon!
One question: Does one need to upload the media to the new site prior to uploading the content? The reason I ask is that the images in my content are linked in my current website to the media file.
Second question: Could you explain what you are referring to in the final paragraph about transferring content from one URL to another? What is the process for doing that (it sounds simpler!).
Thanks